Key fobs have come a long way since their introduction. Once used as a way to unlock your car from afar, they’ve now become the key themselves. They can be color-matched to your car’s exterior paint and can start your car when it’s way too cold out. Even the shapes have become more design-focused as they’ve become more of a focal point in car ownership. However, some things never change, and for the key fob, it’s the need for a battery.
When you have to hit the unlock button a few times just to get it to work, chances are that your battery needs replacing. Replacing the key fob battery is truly one of the simplest things you can do, even though the fob may look complicated. The hardest part of the job will be finding which battery it takes, but that’s nothing that a simple google search can’t handle.
Tools & Parts Required to Test & Replace a Key Fob Battery
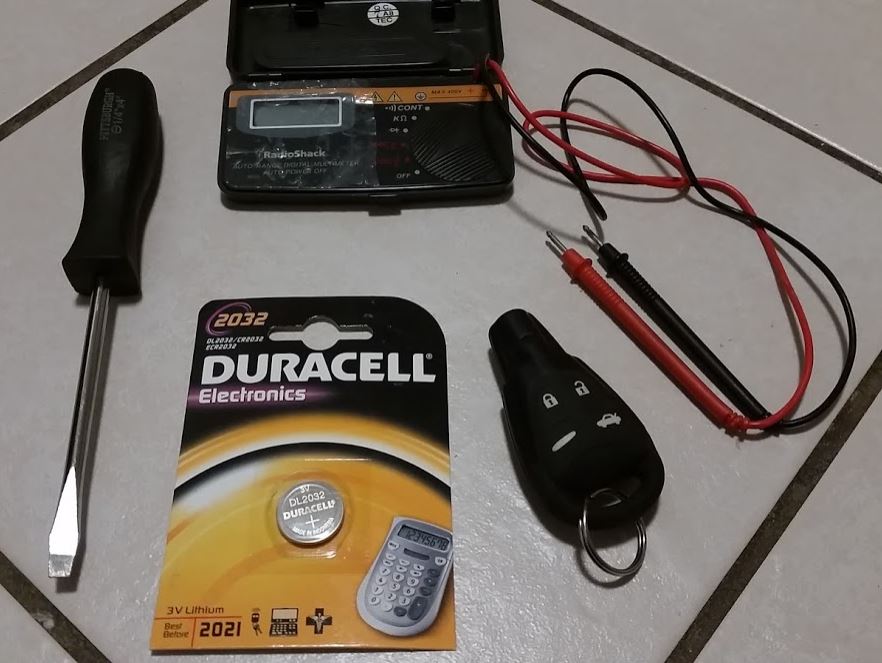
Because this is such a simple job, you won’t need many tools to get it done. This is what you’ll need to replace your key fob battery:
- Small Flathead Screwdriver
- New Fob Battery
- Multimeter (Optional)
In this case, the required battery is a CR2032-type. It's a very common size for a lot of manufacturers, including BMW, Volvo, and Saab. Ensure the battery you’re buying is the right one for you before purchase. During the job, you can also check the old battery's voltage. Checking the voltage will tell you whether or not the intermittent fob issues are from a dying battery or not.
Steps Required to Test & Replace a Key Fob Battery
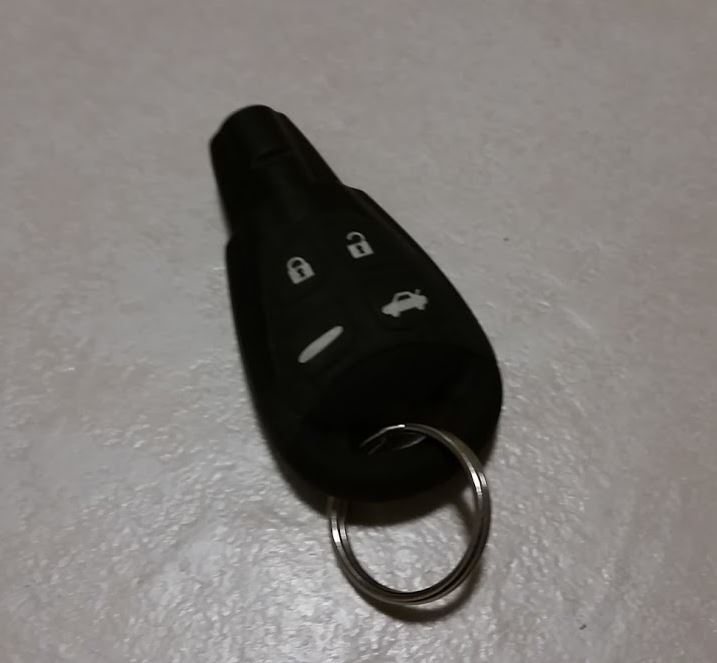
For this how-to, we’re using a Saab key fob, but the general process should be nearly the same for every fob.
Start the job by removing the backup key from the fob. All modern key fobs that correspond with a push-button start or act as a key themselves have a backup key located inside them. You’ll need to find the button that releases the key on your fob. For us, the button was the Saab logo.
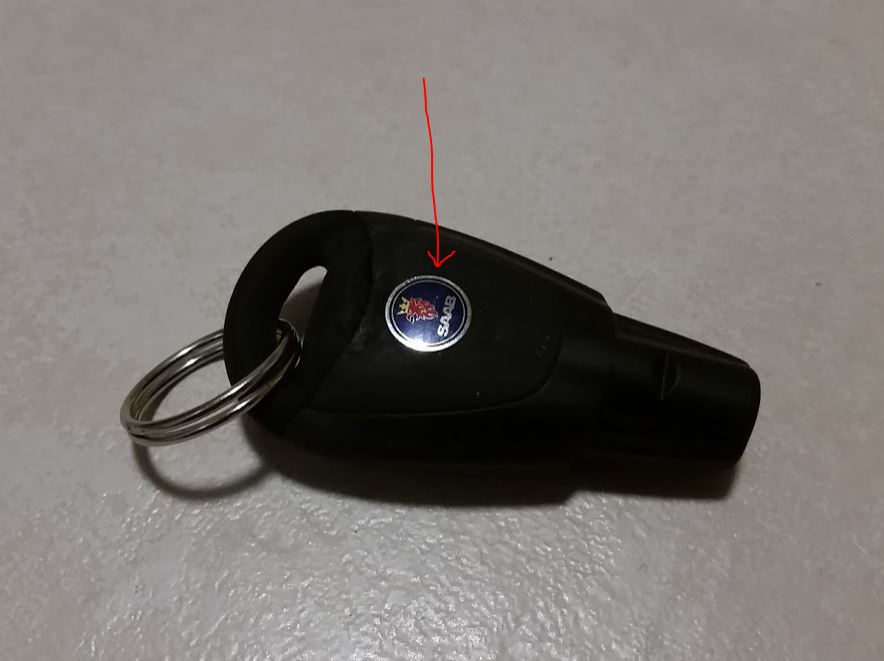
Once you locate the button, press or pull it, and remove the key.
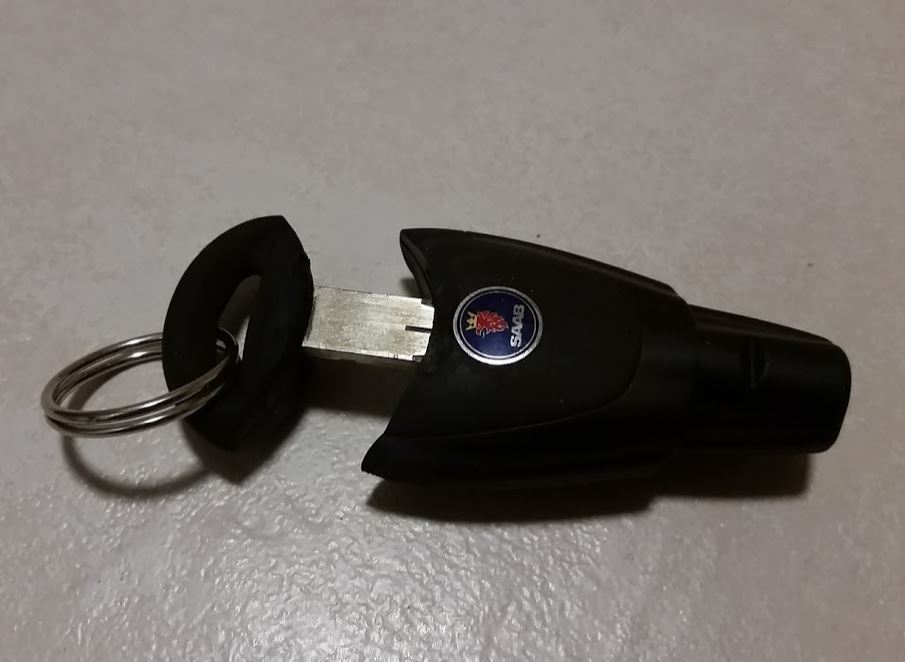
Look into where the key sits; you should notice some sort of notched area between the seam of the key fob halves.
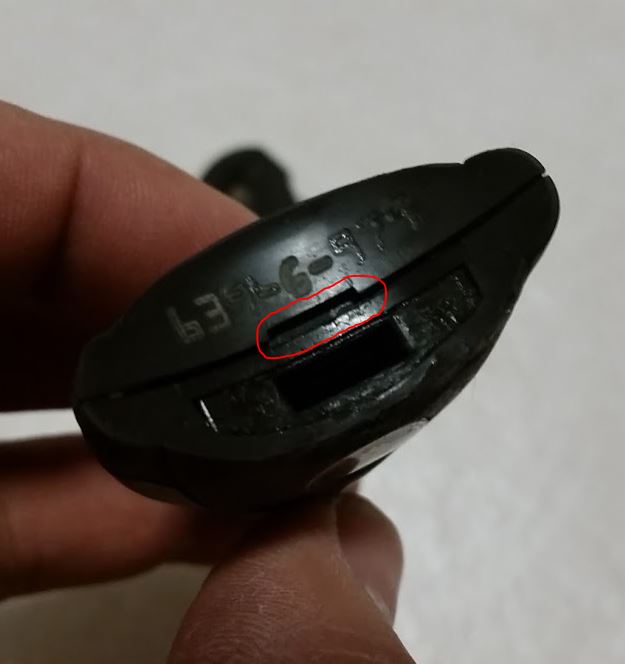
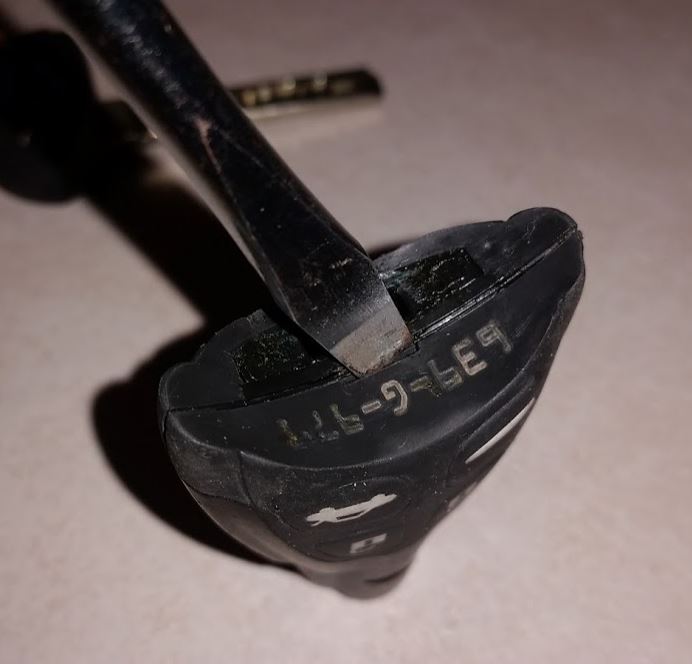
Place the flathead screwdriver into the notch and twist it to open up the fob. Splitting shouldn't take too much force but it will try and keep itself as one piece so don't be afraid.
You have two options with the battery exposed: replace the battery or test the old battery. Insert the new battery and snap the fob halves back together if you aren't going to test the old battery. Otherwise, break out the multimeter to test the voltage of the old battery.
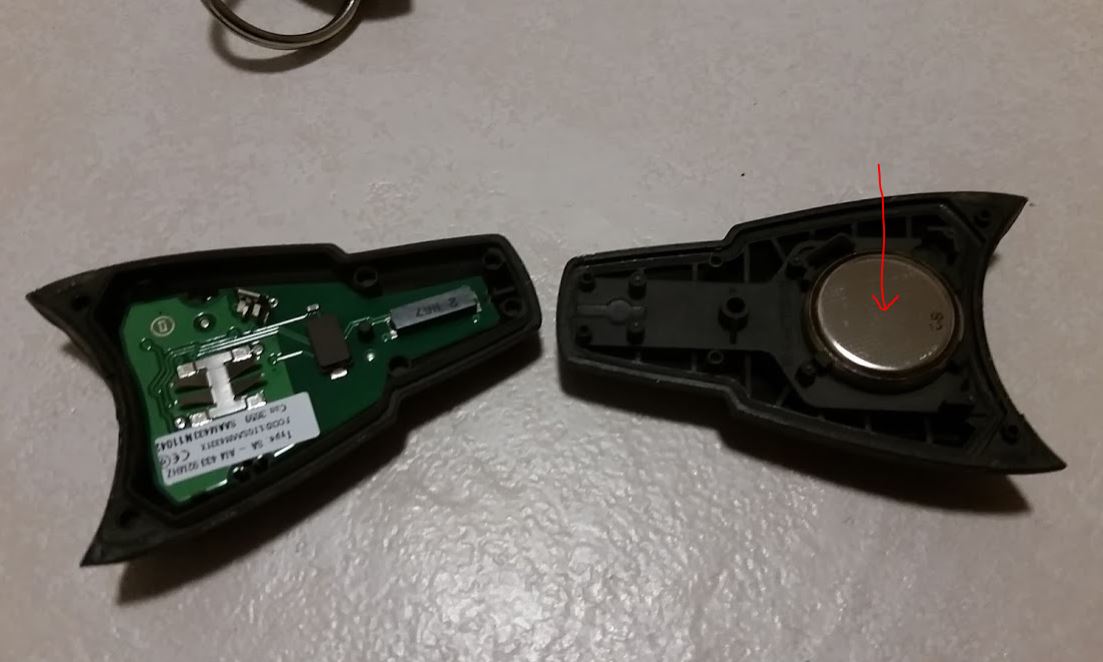
Set the multimeter into a voltage-reading setting and touch the positive and negative leads on the battery's respective sides. The CR2032 is a 3.0v power supply, so anything less than that is a battery on its way out. You might have a larger issue with the locking system or the fob itself if the battery reads at its original voltage.
If you haven't already, snap the fob back together and test out the new battery. Test your remote key fob to ensure it's still synchronized with the car, and enjoy some peace of mind now that your fob's battery is good to go! As always, follow along on our DIY blog and subscribe to our YouTube channel for more great DIY and entertainment content.