- 05/06/2023
- 4 Min Read
- By: Dave Greco
How To Safely Wash Your Car Without A Pressure Washer Using The 'Two Bucket Method'

You'll often hear about many different ways to wash your car, and it seems that nearly everyone has their own opinion on this subject. In this article, I cover the products and steps needed for one method to safely wash your vehicle without leaving behind scratches & swirls—all without the use of a pressure washer. The filthy car used to demonstrate this is a 2008 Audi S5.
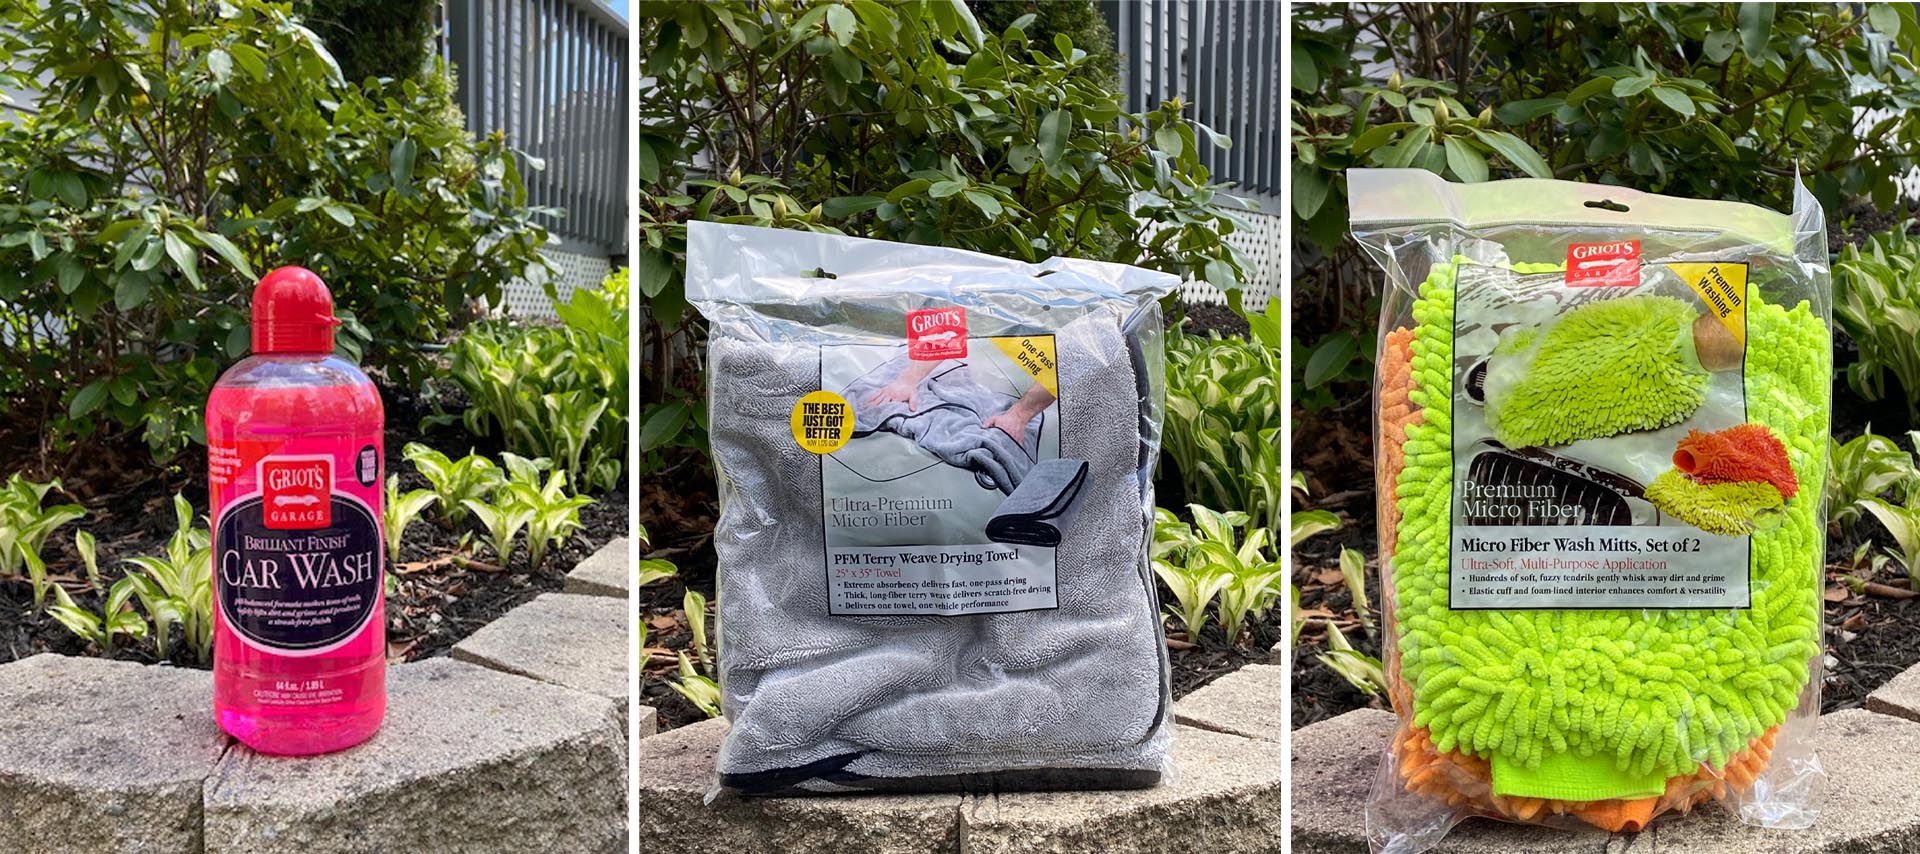
Recommended Products To Safely Wash Your Car |
- Wash Mitt (paint & glass)
- Wash Mitt (wheels & tires)
- PH-Balanced Car Soap
- 5-gallon Bucket (soap bucket)
- 5-gallon Bucket (water bucket)
- 5-gallon Bucket (wheel & tire bucket)
- 3x Grit guards
- Drying Towel
- Tire Brush
- Wheel Brush
- Tire Dressing
- Wax
Preparation & Setup To Safely Wash Your Car |
Just like when cooking, preparation is key to making washing your car an enjoyable experience rather than an inconvenient chore. Having all of your tools and products neatly laid out and within easy reach takes the hassle of having to search for things when you need them.
The general wash method I'm going to be outlining here is known as the "two-bucket method." By utilizing a minimum of two buckets, one with your soapy water, and one with clean water to rinse out your wash mitts, you reduce the amount of grit transferred to your car's paint.
First, I start by filling up my first 5-gallon bucket with water and the recommended amount of Griot's Garage Brilliant Finish Car Wash. Typically, the amount is 1 ounce per gallon of water; however, it doesn't hurt to use a little extra.
The second bucket in the two-bucket method should be filled with straight water. I recommend using a grit guard at the bottom of the bucket to prevent dirt and debris from being embedded in your wash tools.
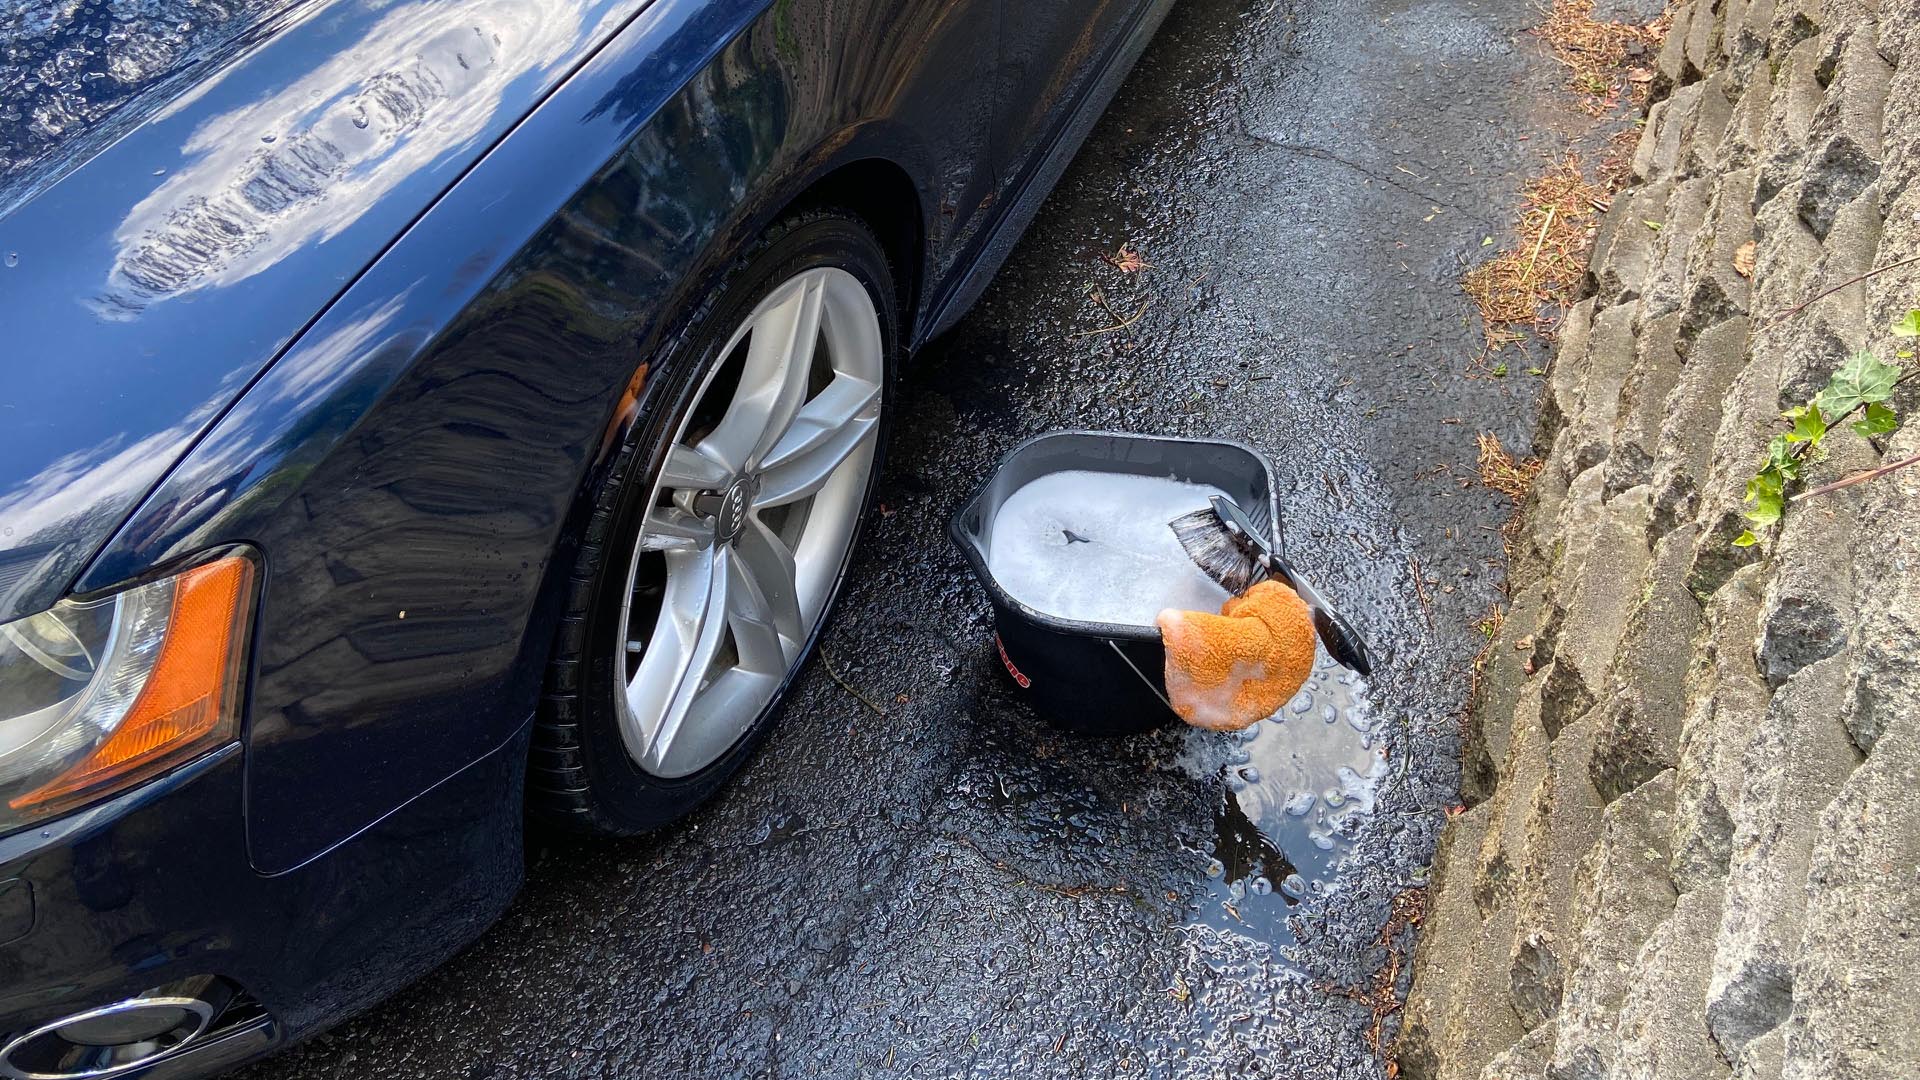
In my wash method, I actually use a third bucket dedicated to my wheels and tires. Wheels and tires get incredibly filthy compared to the rest of your vehicle, with unique materials like metals from your brake pads. You'll want a separate bucket for wheels and tires to avoid dirt and contamination damaging your paint. I use a 2-gallon bucket because it's more manageable, but another 5-gallon bucket works perfectly fine and is easier to find. At this point, I fill up my 2-gallon wheel bucket with the same car wash soap and typically add my sponge or wash mitt to each bucket. I also added a tire brush into the wheel bucket to remove dirt and oil from the sidewalls.
How To Safely Wash Your Wheels & Tires |
I start by spraying the car and its wheels with water. Once wet, I then clean the wheels with a wash mitt, being sure to get between each spoke. At the same time, I use my tire brush to scrub off any remaining dirt and oils. You can also use a tire brush to clean inside your fender liner as well if you have the clearance. I work on one wheel at a time and rinse with water to see if any spots were missed. Follow the same steps for all four corners. After finishing the wheels, I use the same wash bucket to clean my exhaust tips.
How To Safely Wash Your Car's Paint and Glass |
Now it's time for the best part—washing the entire vehicle. I first spray the whole car with water starting with the roof. You'll want to begin washing the roof first since any dirt will run down the side of the car. Taking a wash mitt and dipping it in the car soap bucket, I use a side-to-side motion from one end of the roof to the other as far as I can reach and then do the same for the other side of the roof. Typically, a side-to-side motion works best instead of circular motions, where you're more prone to miss spots.
During this process, dip the wash mitt back in the bucket a few times to make sure there's plenty of soap. If you're using the "two bucket method," you'll want to dip the mitt in the clean water bucket before putting it back into the car soap bucket. Before continuing to the next panels, rinse the roof off so that soap does not dry on the paint. This is especially important if it's hot outside.

Now, move onto the side pillar, side glass, and mirror using the same method. You want to work on one panel or section of the car at a time. Working on too large of an area will leave water/soap spots behind. Once that section is complete, rinse off the pillar and glass and wash the door and side skirt. You'll want to rinse off the wash mitt more when you get towards the bottom side skirt to make sure you don't have dirt or oils stuck to your mitt. After that section is rinsed, move onto the fender.
The hood and bumper should be completed separately as they're large surfaces. When it comes to the front bumper, it helps to use extra soap to remove embedded dirt and contaminants. A small sponge may be needed that's specifically made for insect removal.
Complete this process for the remaining panels of your car. Again, be sure to thoroughly rinse the car of all soap in between to prevent it from drying on the surface. Pay extra attention to inside your mirrors and trim work as soap tends to get trapped in there and trickle its way out later on.
How to safely dry your car |
Drying is the most often overlooked part of washing your car and arguably makes the biggest difference in how your car looks afterward. You can complete the best wash possible, and it won't look good afterward if you don't dry it.
To dry my car, I use a Griot's Garage PFM™ Terry Weave Drying Towel. You only need the one to dry an entire vehicle. The towel is large and makes quick work of the drying process. It's also extra soft, so you don't have to worry about scratches. With the towel folded over, I start at the roof again, using a side-to-side motion while applying hardly any pressure. The towel only needs to glide across the surface to fully dry a panel or glass. After the roof is complete, I use the drying towel on the glass and the rest of the panels. You'll want to fold the towel over a couple of times while drying to expose a dry section. Once complete, walk around your car, checking for water spots. If there are any dried water spots, you can spray the area with water and dry them quickly to remove them.
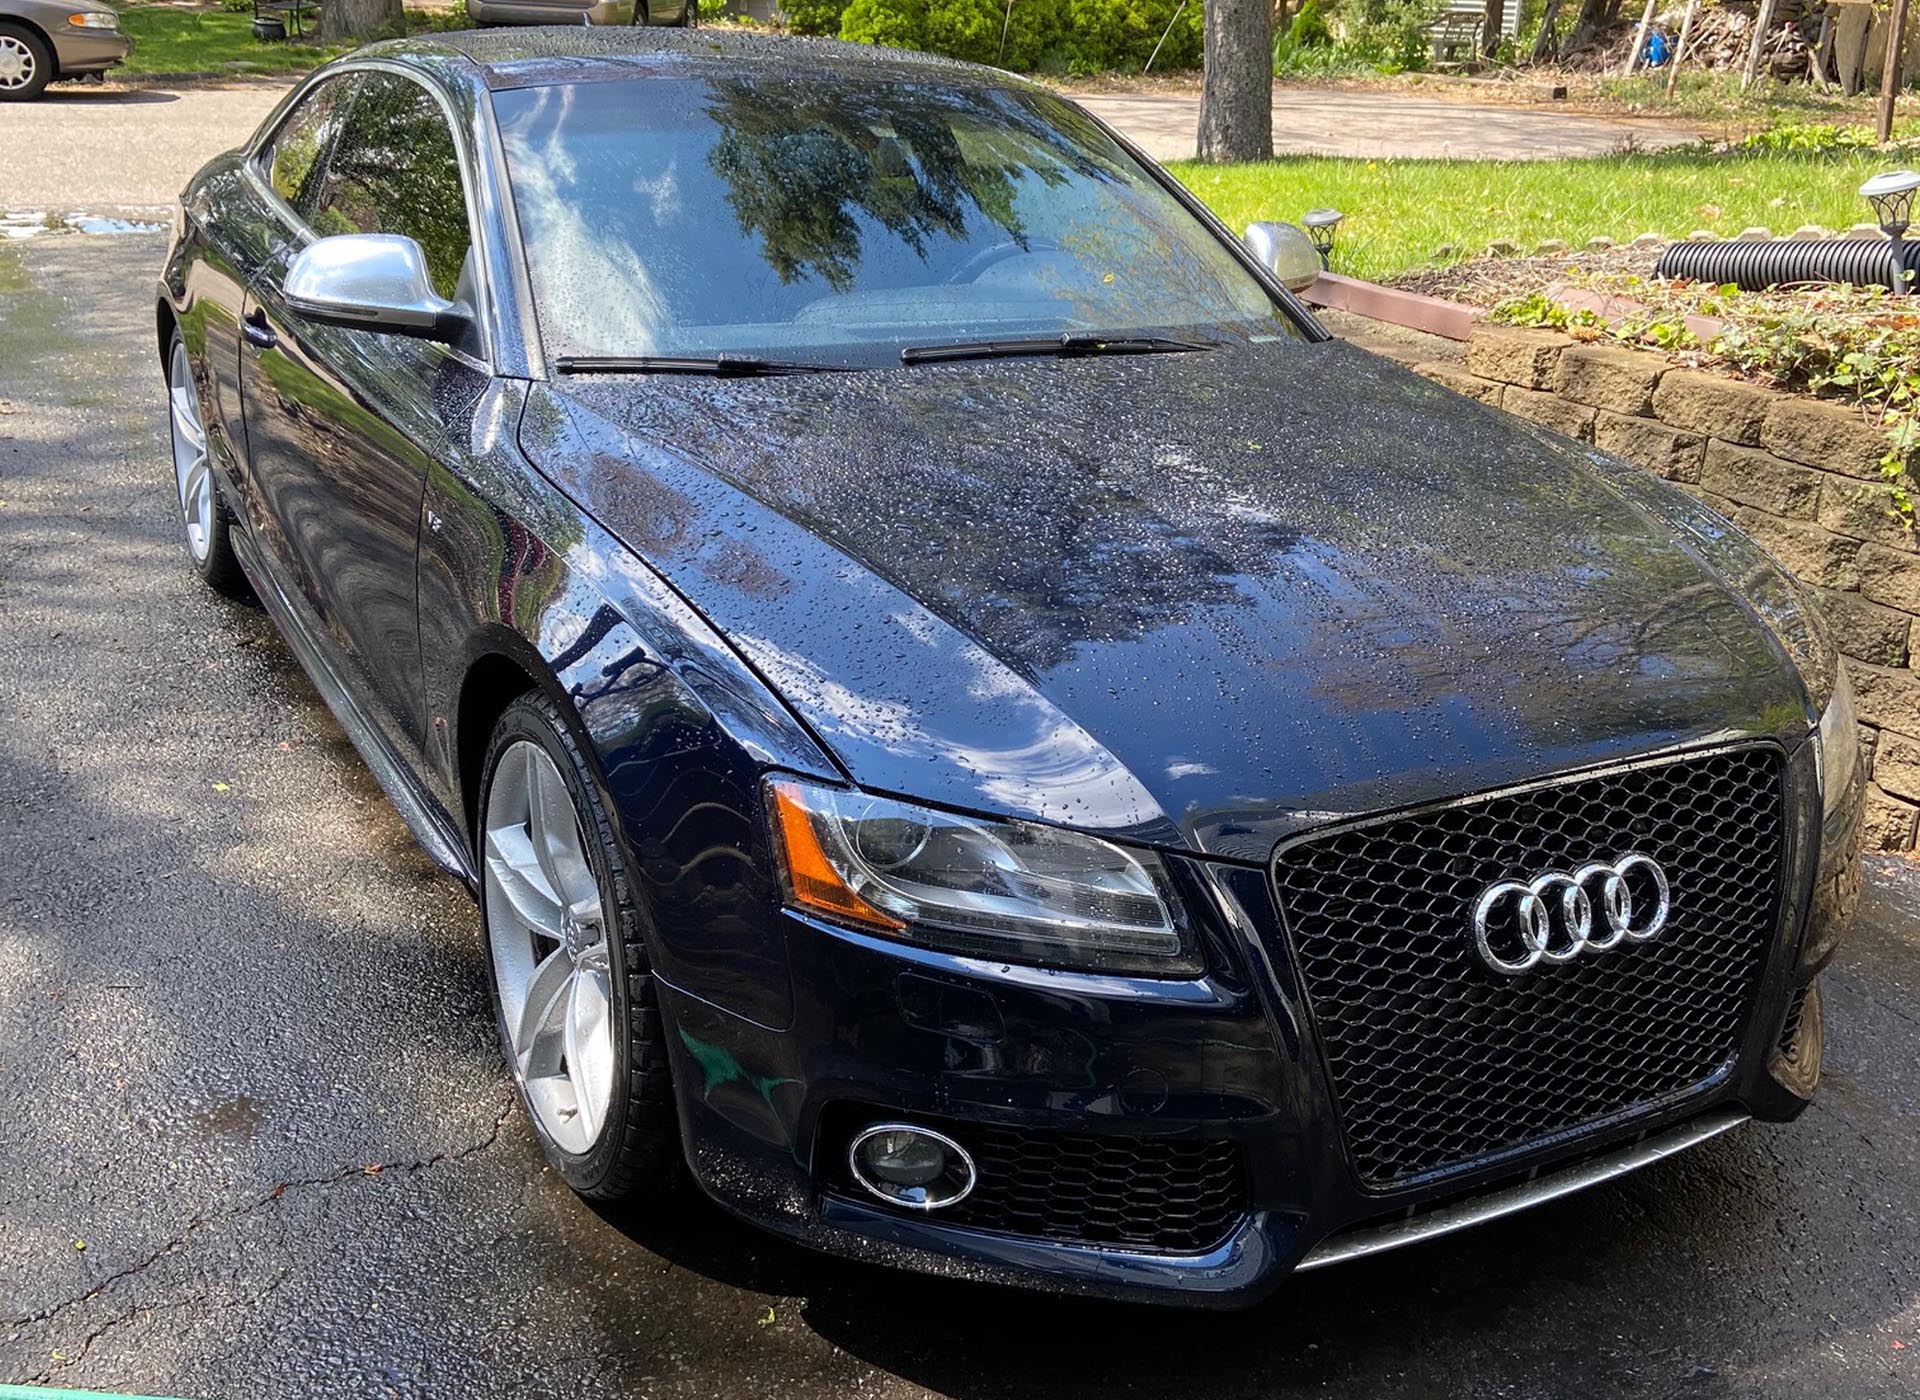
That's it; you're done washing your vehicle. If you're going to go further in the wash process and clay your car, you can stop here. If you just planned to wash your car, you should now apply a light coat of wax to add that gloss and protection to your paint. I recommend following up on your wash with Griot's Best of Show Wax.
If you have any questions or comments about the process, please leave them in the comments below. Check back for more car detailing articles, including how to clay your car and how to perform a paint correction.