- 01/19/2021
- 13 Min Read
- By: Christian Schaefer
How To Replace The Water Pump & Thermostat On Your B8/B8.5 Audi S4

An engine should always be brought to its standard operating temperature before leaning on it in anything more than easy driving. That is especially the case with engines under boost pressure, such as Audi's 3.0t. Built with tighter tolerances to endure abuse, you should only thrash on them when fully warmed up to prevent premature internal wear. Regulating the coolant warm-up is the thermostat. When the engine is cold, it prevents coolant from circulating to bring the engine to temperature quickly. When the operating temperature is achieved, it opens up, allowing the coolant to circulate. A failed thermostat can either be stuck open or stuck shut, leading the engine to never warm-up or overheat quickly.
The 3.0t Audi engines are fairly notorious for their water pump and thermostat issues. They are especially a point of contention with the early B8 models. Although the later cars have had the updated parts installed, all 3.0t engines should have their water pump and thermostat changed at their recommended service interval. This DIY requires removing the supercharger, among other things, so it is best suited for the more experienced DIYer.
Audi models and years applicable:
- 2013-2016 Audi S4
- 2013-2017 Audi S5
Symptoms of a failed water pump or thermostat on a B8 Audi S4:
- Engine fan continually running on high
- Coolant temperature dashboard error message
- Vehicle taking longer than usual to get to operating temperature
- "Open circuit" fault code for the MAP-controlled thermostat
- Engine overheating
The early B8 models had a lot of issues with the water pumps. Search through any of the Audi forums, and you'll find owners who've experienced failures at 30k miles, and some who've gone through multiple pumps before 100k miles. Thankfully Audi has updated their parts, eliminating the frequency of the water pump failures. However, change the water pump and thermostat after no more than 100k miles.
Audi designed a weep hole in the water pump to allow coolant to slowly drip out and alert the owner that it was due for replacement. Coolant has a sweet smell to it when it is leaking out and hitting the hot exhaust parts. That smell is a telltale sign of a coolant leak. Other things to look out for are fluctuations with the engine temperature while driving and the engine completely overheating.
How long will it take to replace the water pump & thermostat on a B8 Audi S4?
We show you how to put the car into the service position to complete this job. That requires removing the front bumper and loosening the front end to allow for clearance to the front of the engine. On top of that, the entire supercharger assembly needs to be removed. Set aside a full day to complete the job.
How much will it cost to replace the water pump & thermostat on a B8 Audi S4?
The price for our cooling system kit is just shy of $260. For that, you'll get every part and seal you'll need for the job. Since you have to remove the accessory belt and the supercharger drive belt, you may as well replace them too. They are $20 and $14, respectively. And, as always, f the thermostat or water pump fails after replacement, you can make use of our Lifetime Replacement Guarantee.
Tools required to replace the water pump & thermostat on a B8 Audi S4:
- Ratchet set
- Torque wrench
- 16mm Wrench
- Wobble Extensions
- 8mm Socket
- 10mm Socket
- 13mm Socket
- 16mm Socket
- M10 Socket
- T25 Socket
- T30 Socket
- 5mm Allen
- Channel Locks
- Pick
- Screwdrivers
- Diagonal Cutters
Parts required to replace the water pump & thermostat on a B8 Audi S4:
Steps required to replace the water pump & thermostat on a B8 Audi S4:
Step 1: Remove the front bumper
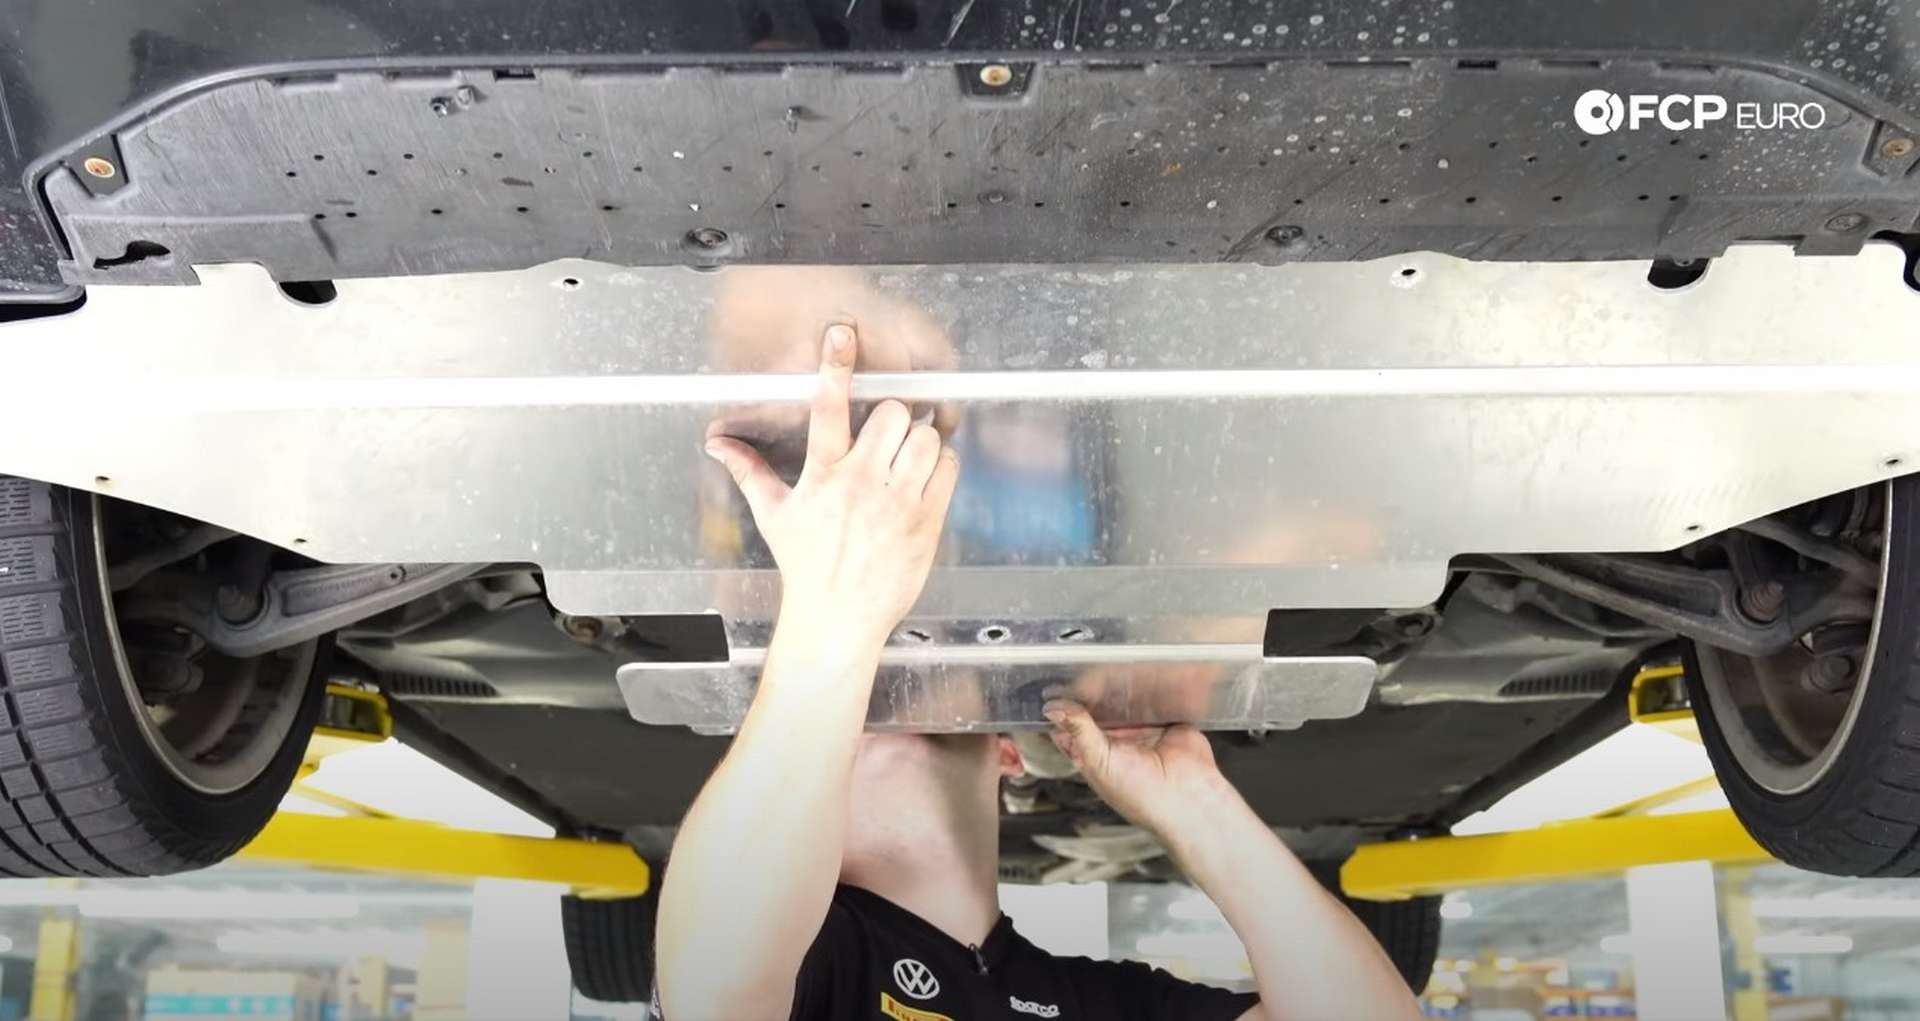
Jack up the front of the car and remove the plastic undertray from below the engine. A series of twist-lock fasteners hold on the undertray. Rotate them 90° to the left to unlock them and then pull the undertray down.
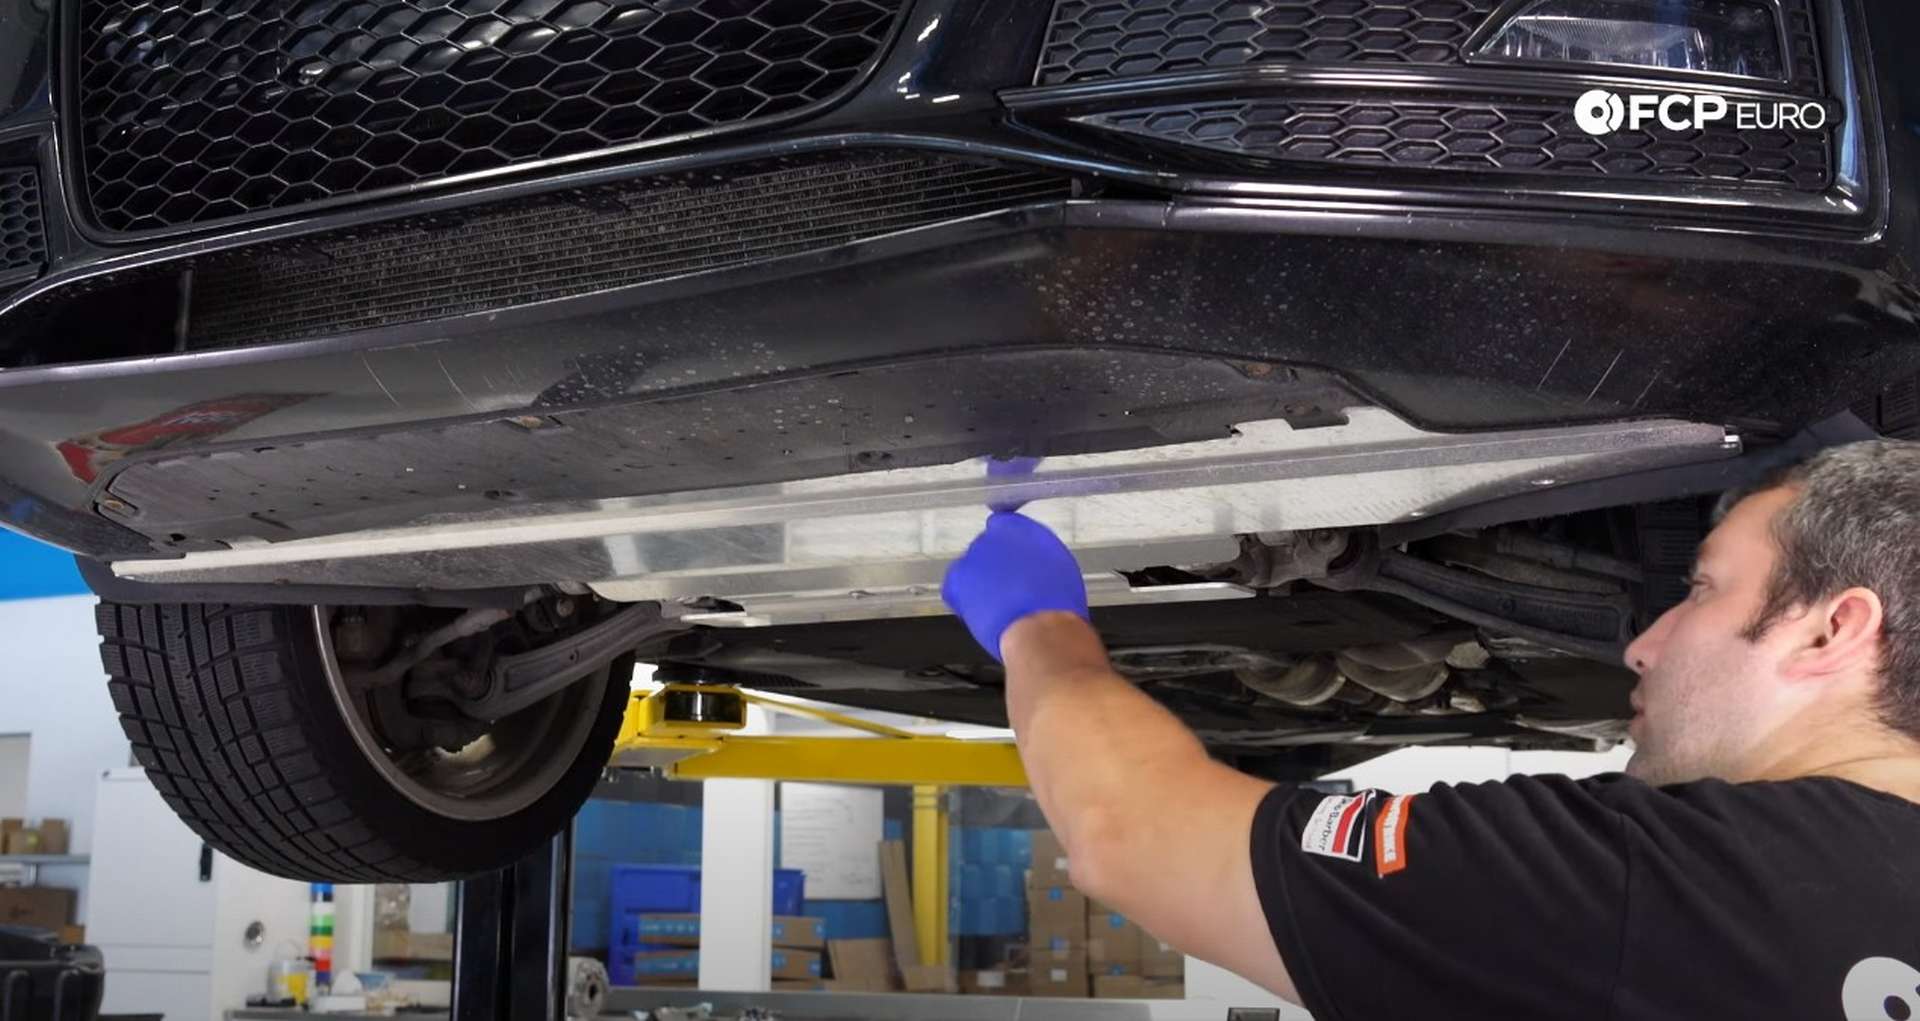
Be careful when removing the undertray. Dirt and debris will have gotten caught on it and will come falling upon removal. Next, remove the five T30 fasteners that secure the bottom of the bumper to the lower radiator support.
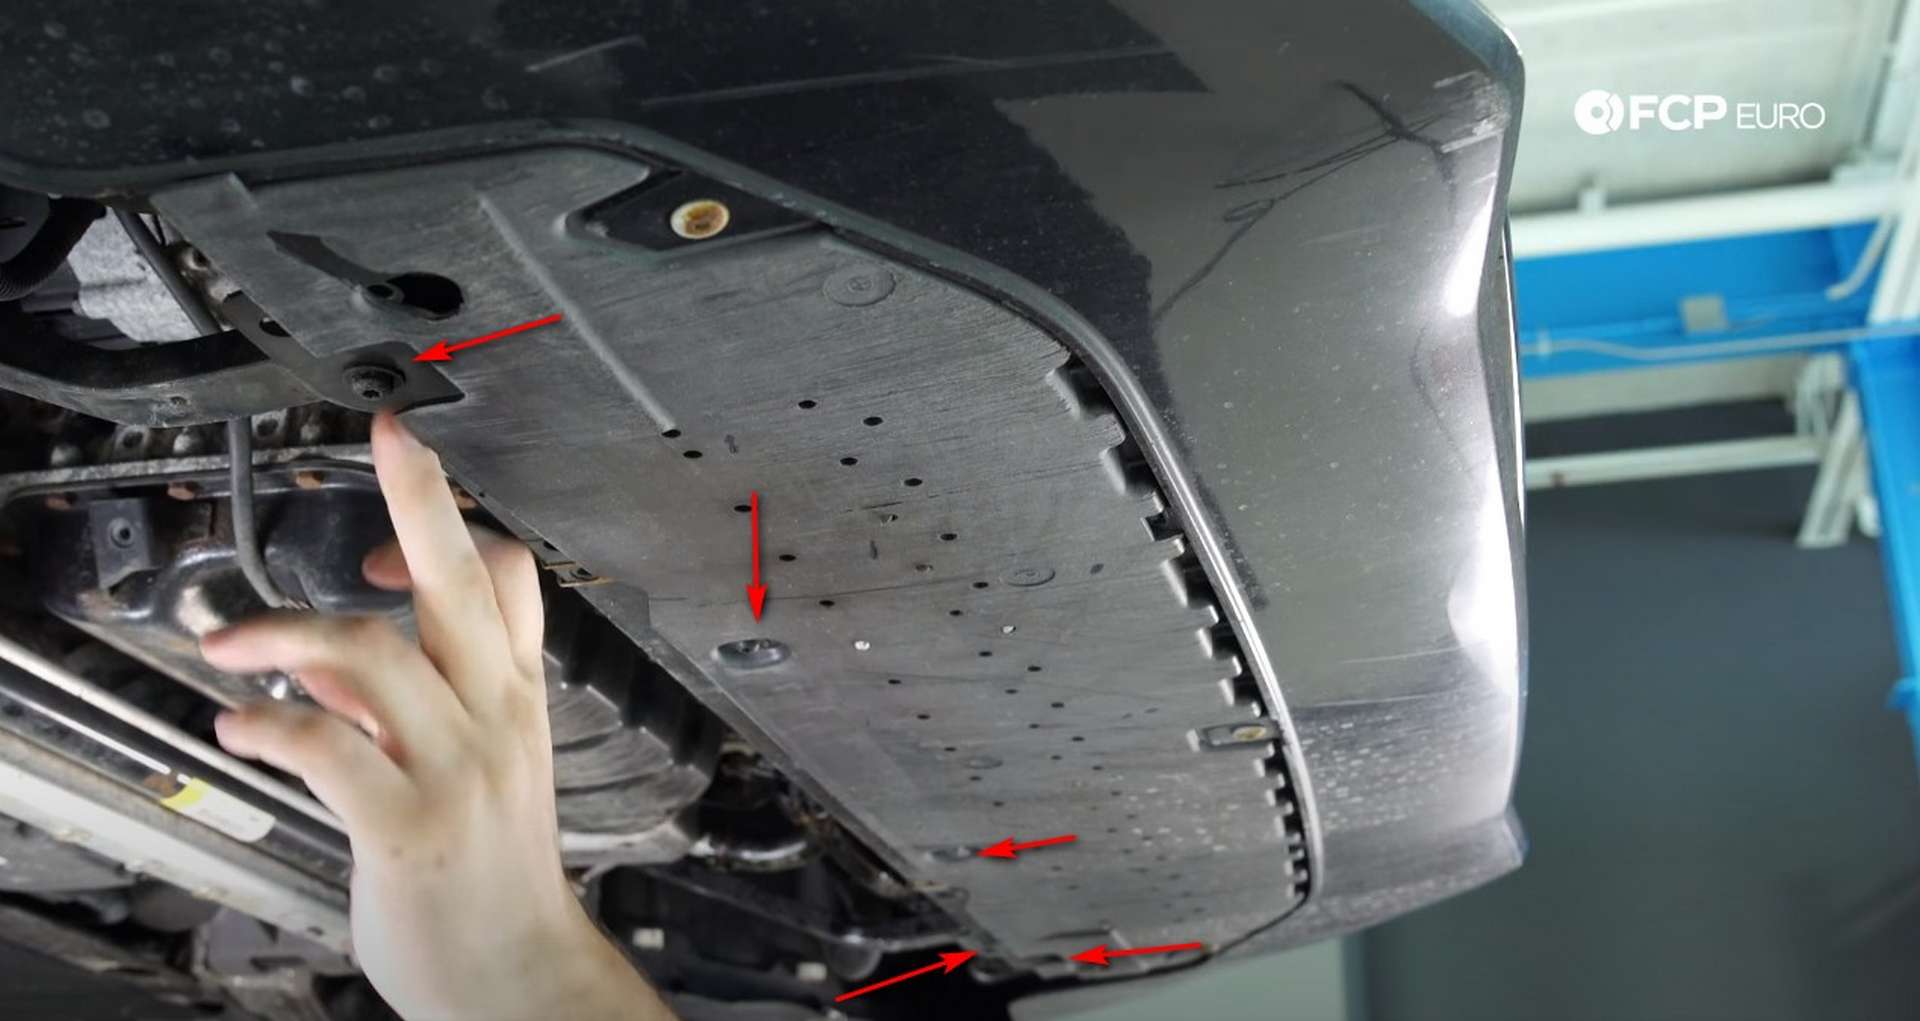
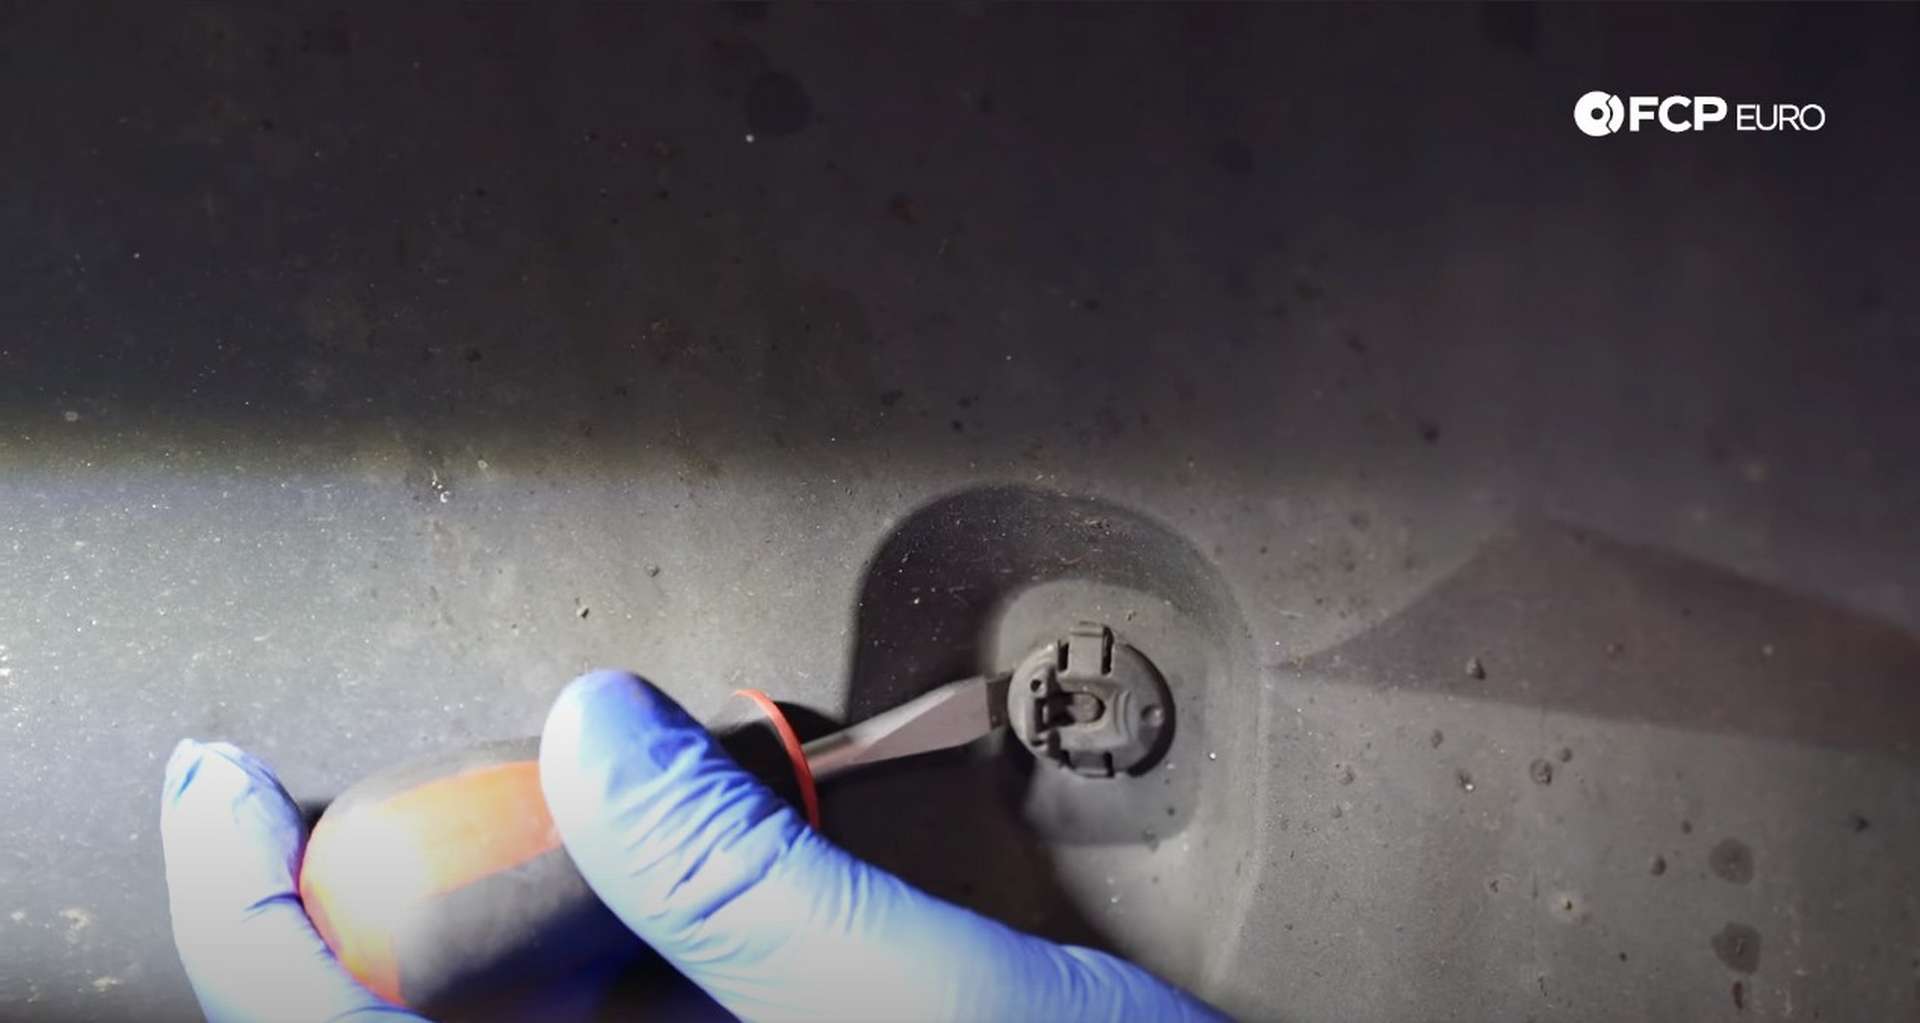
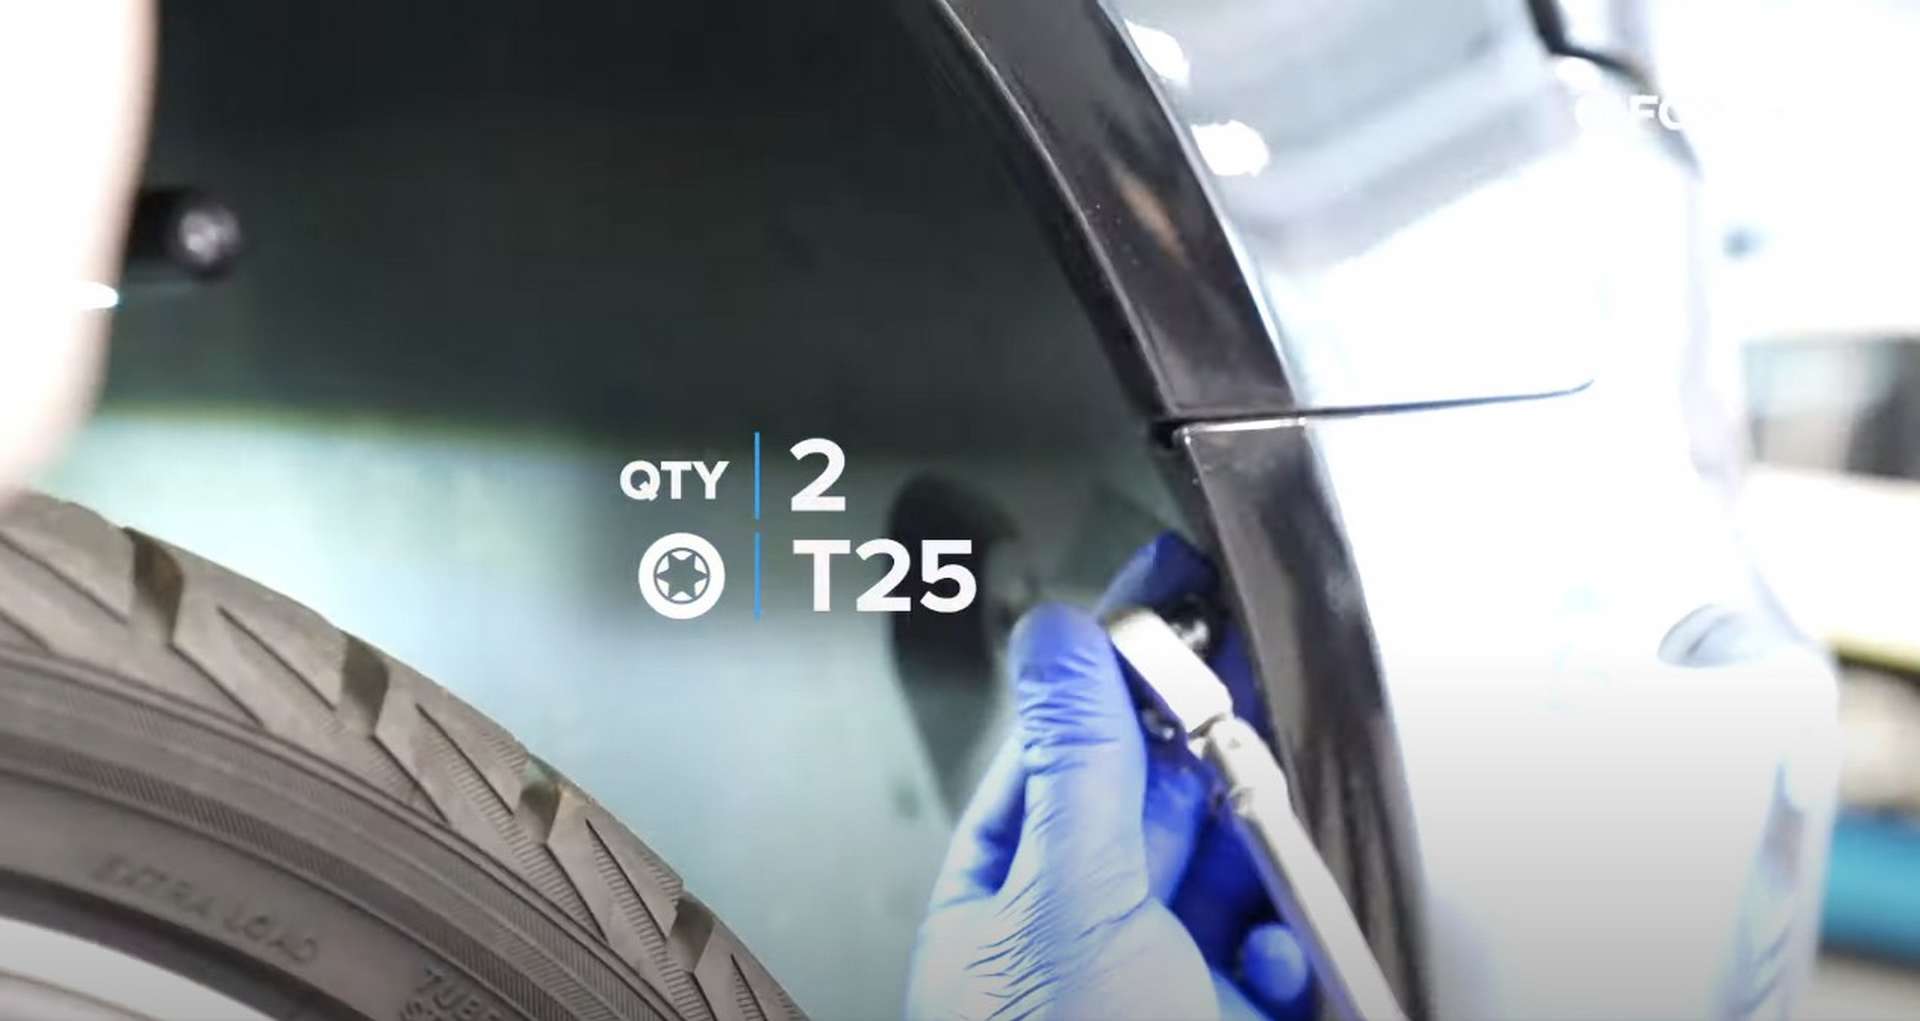
Then, you need to remove two fasteners and a clip at the front of each wheel well. Use a T25 socket to remove the two fasteners, one at the bottom corner of the bumper and the other where the bumper meets the fender. Then use a flathead screwdriver to remove the clip in the wheel well.
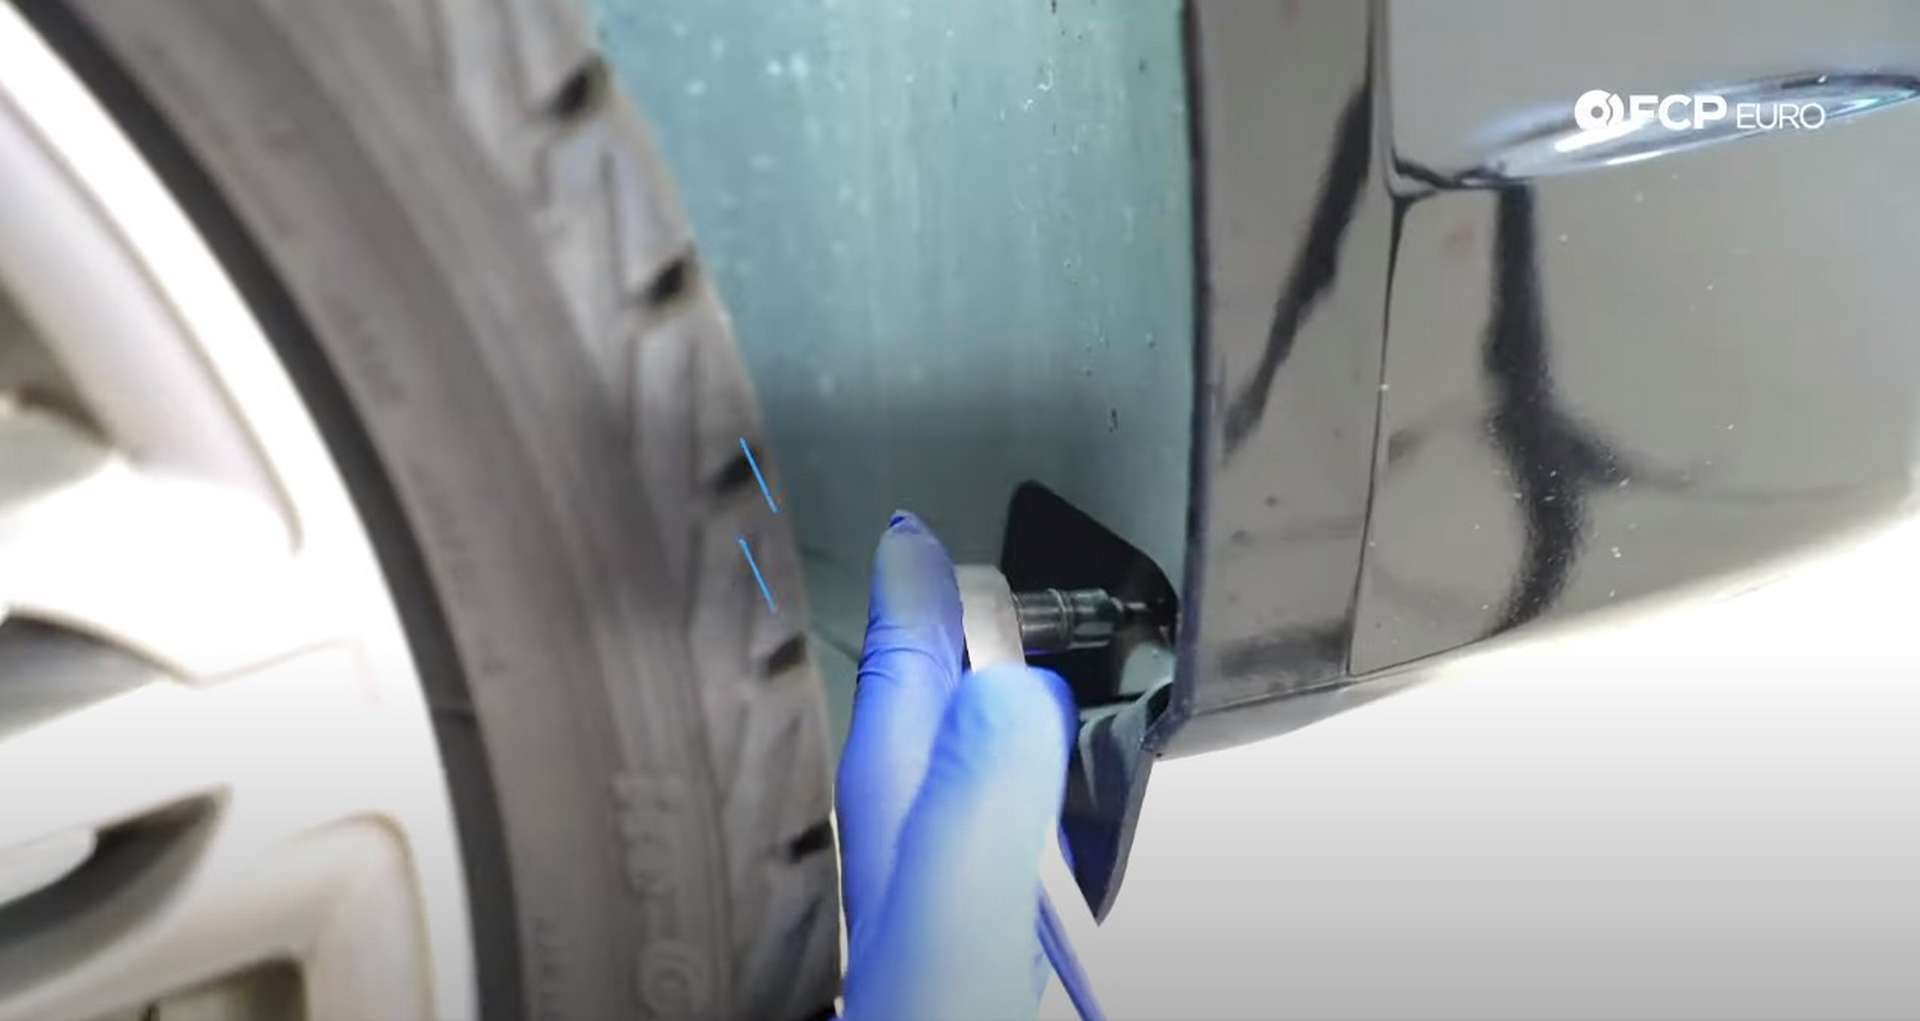
Next, peel back the fender liner and expose the bolt securing the front bumper to the chassis. Use a 10mm socket and a wobble extension, if you have it, to remove the bolt.
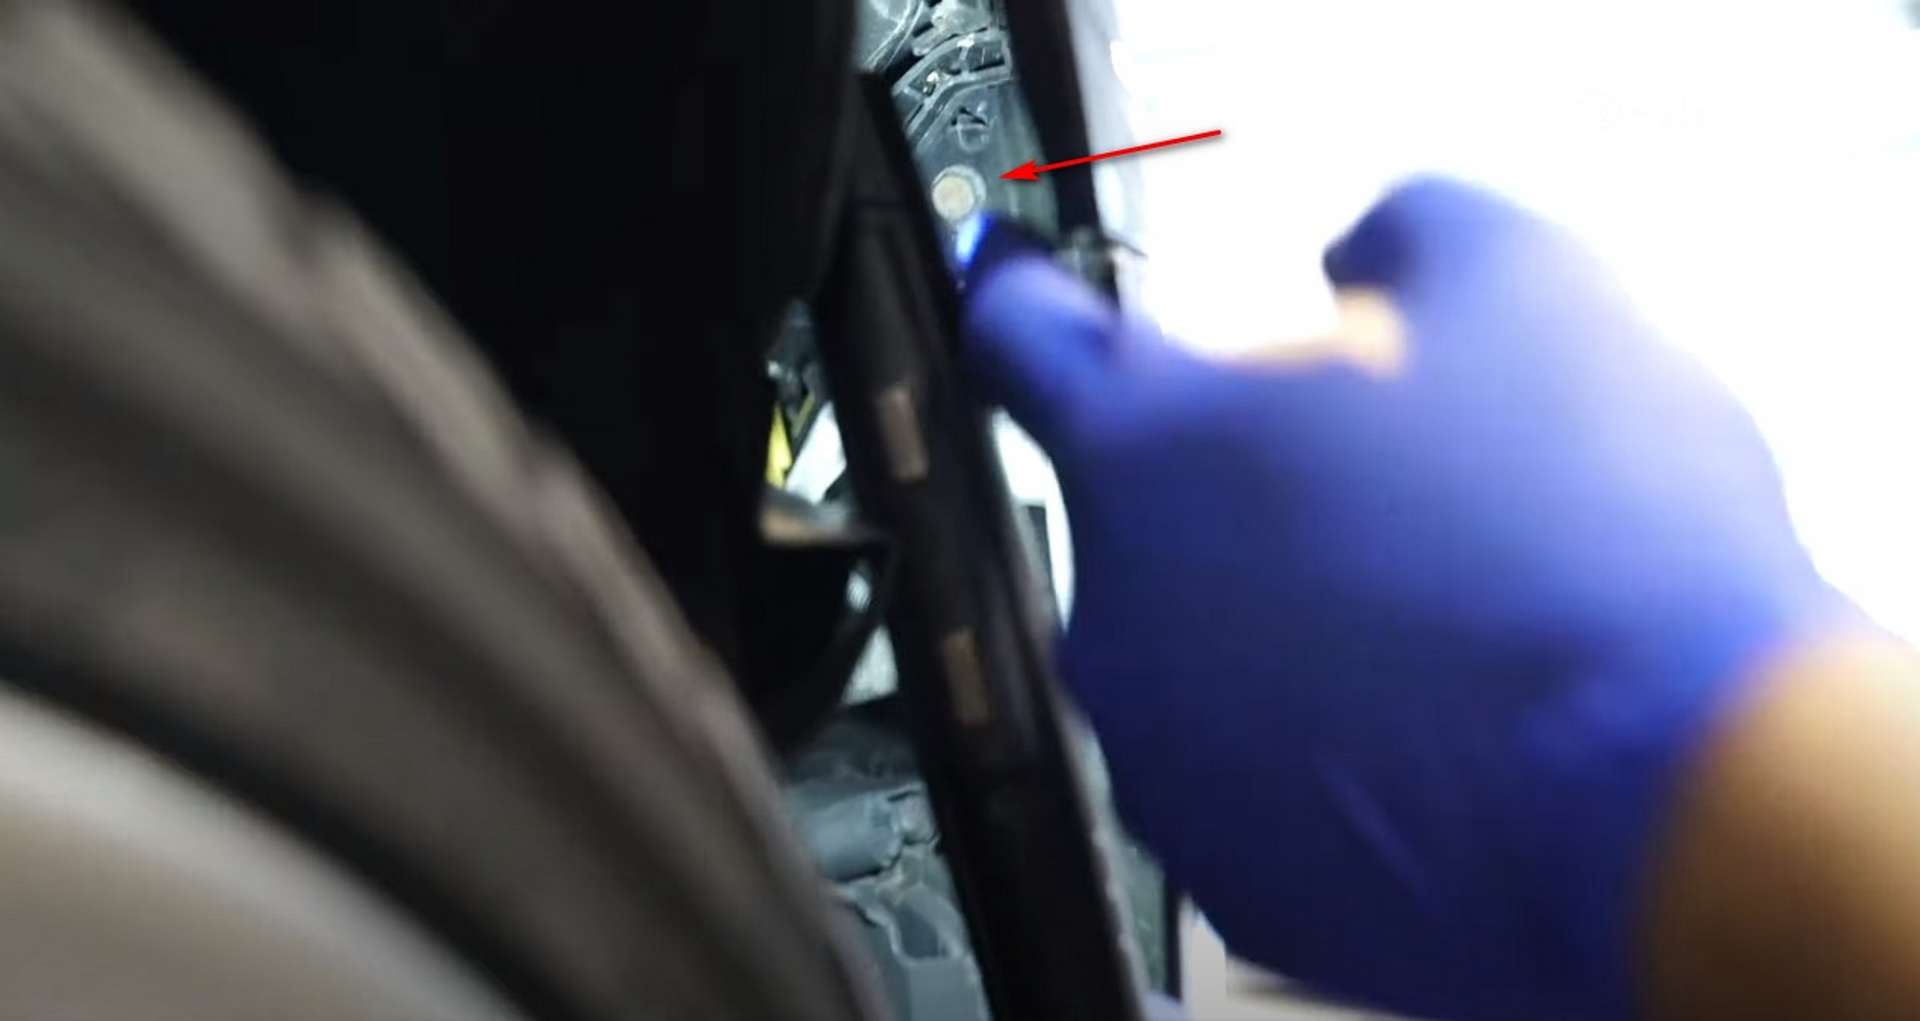
Repeat that process for the other corner of the bumper.
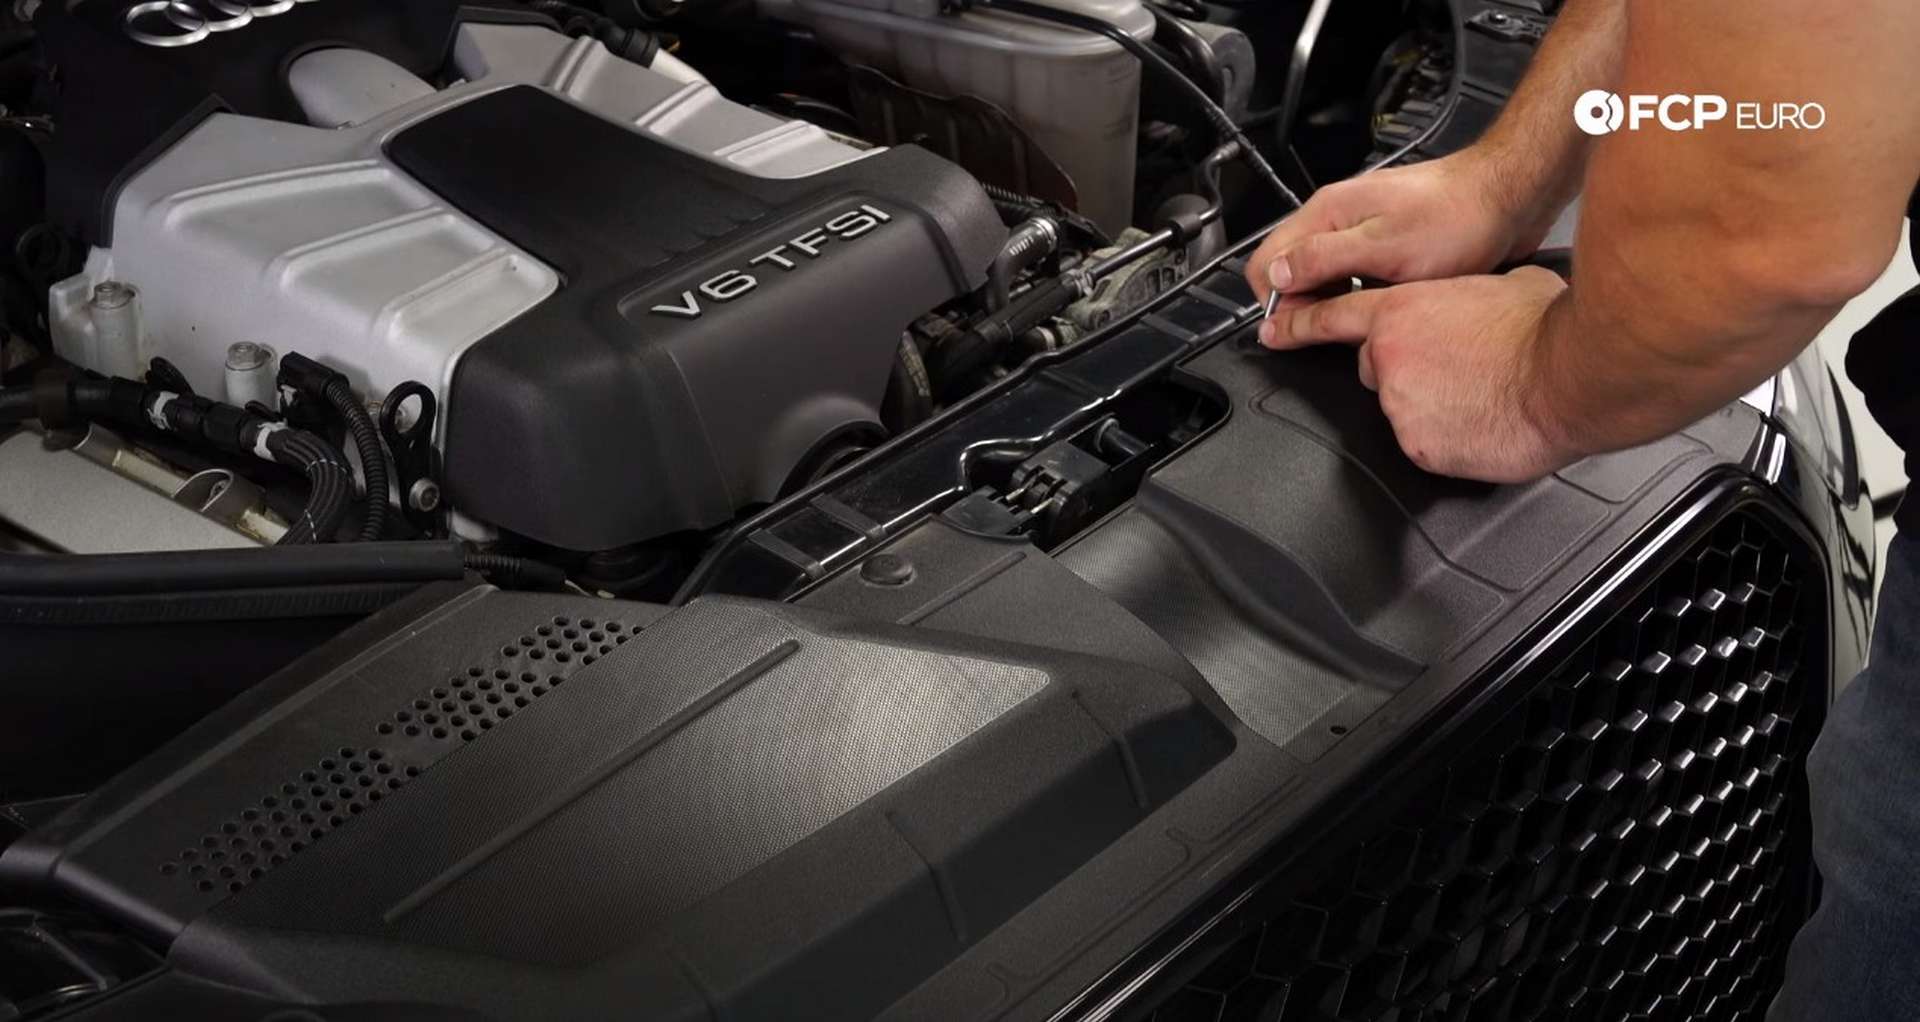
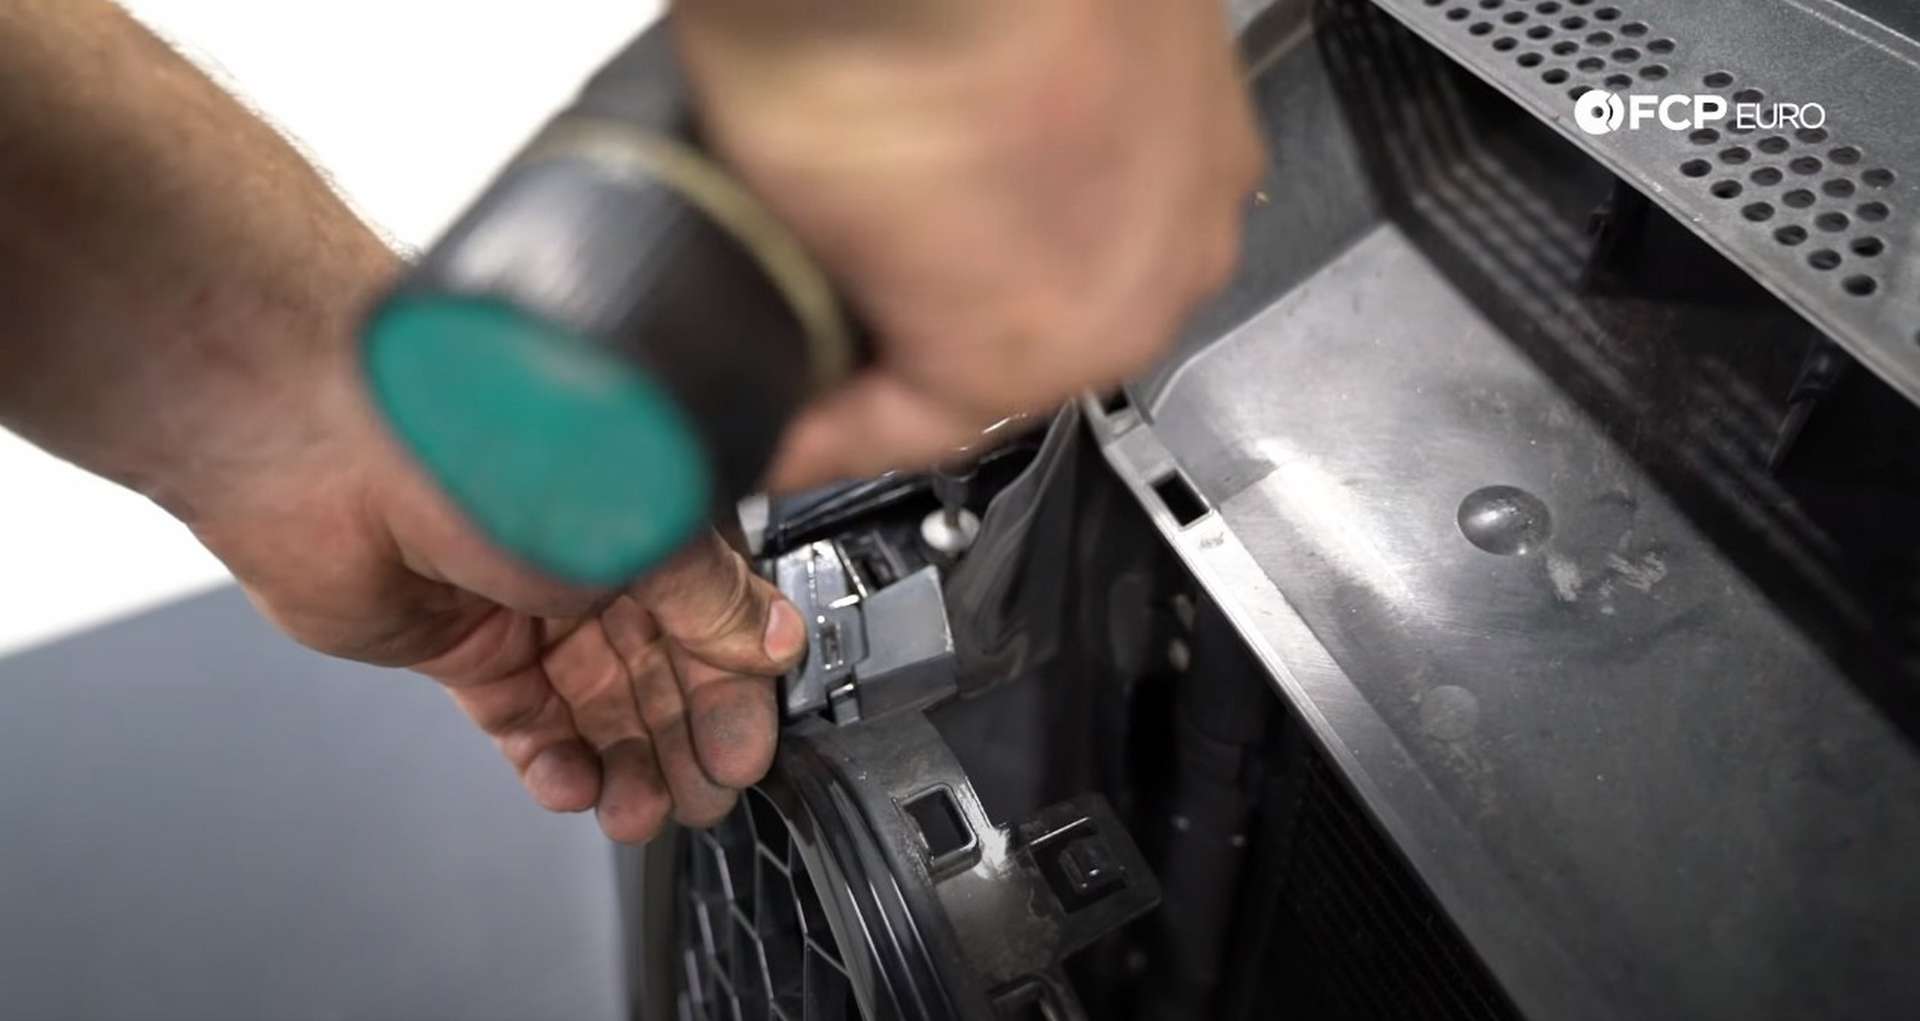
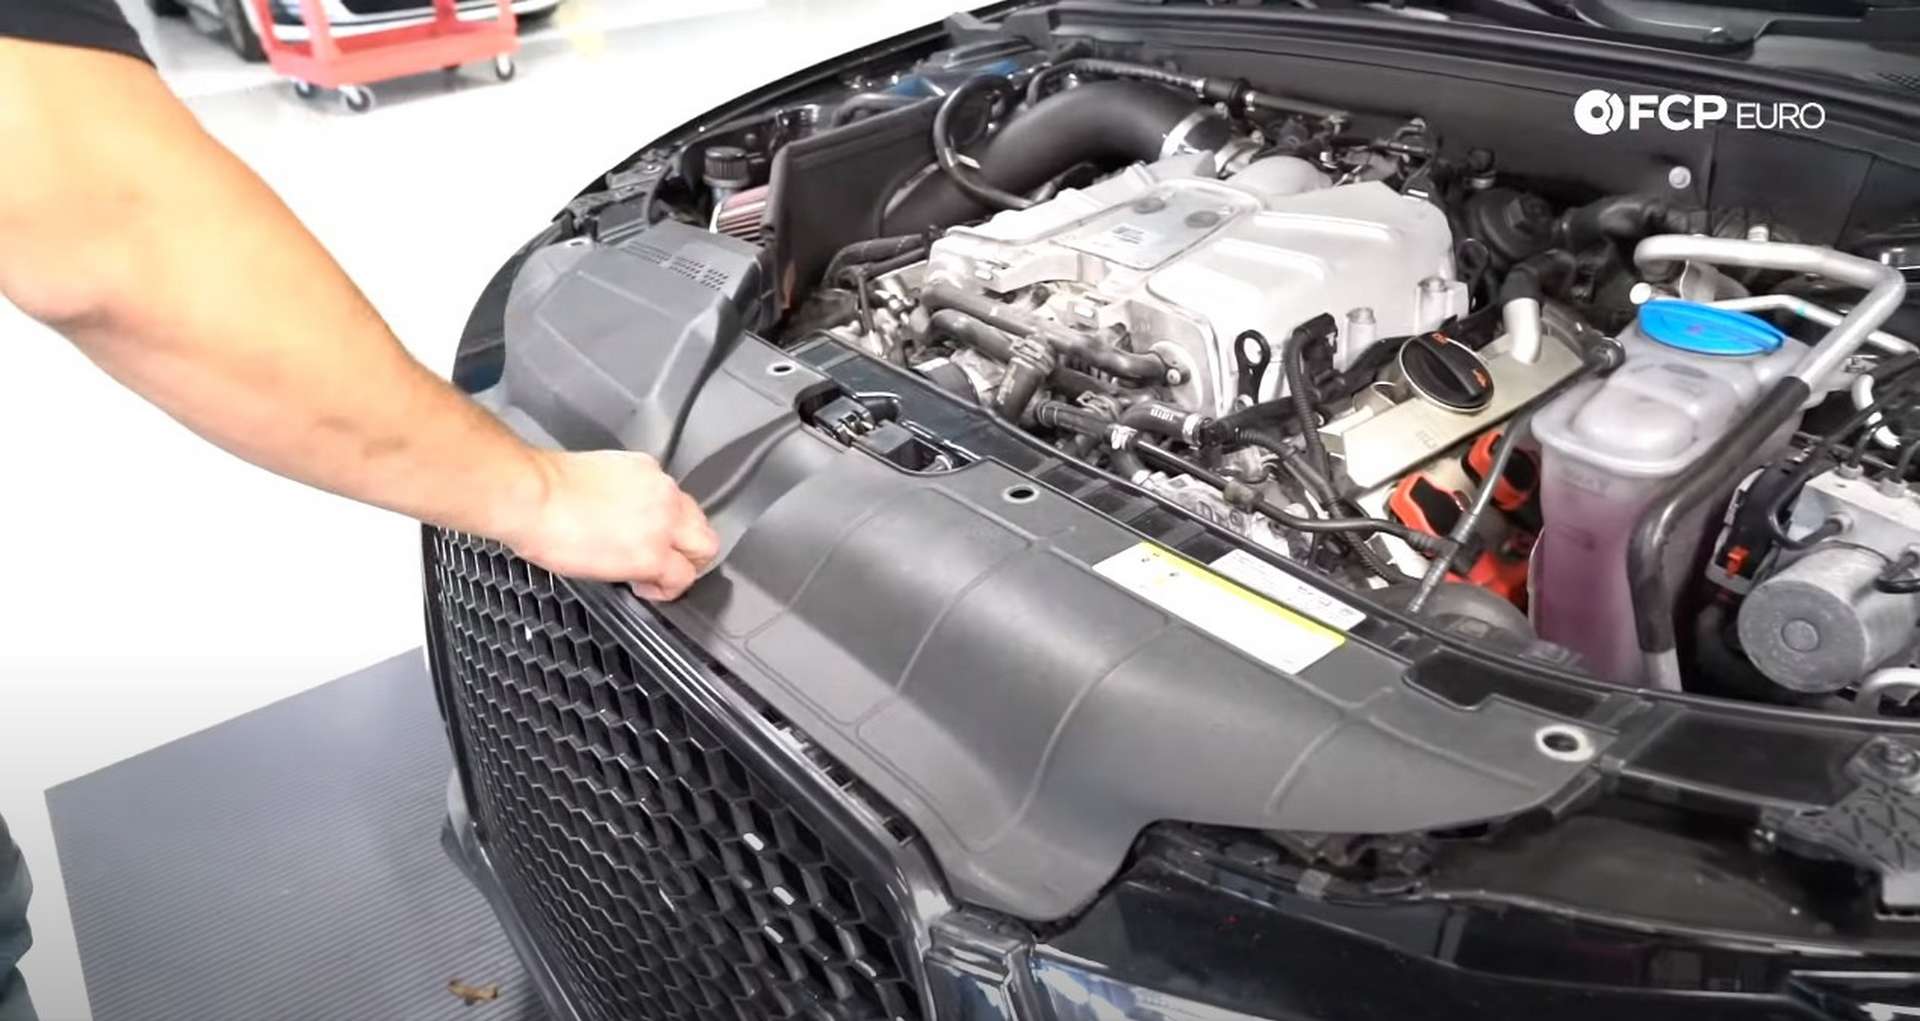
After that, open the hood and remove the radiator shroud. Use a pick to push in on the four clips, and they will pop out.

Finally, remove the T25 fastener next to each headlight.
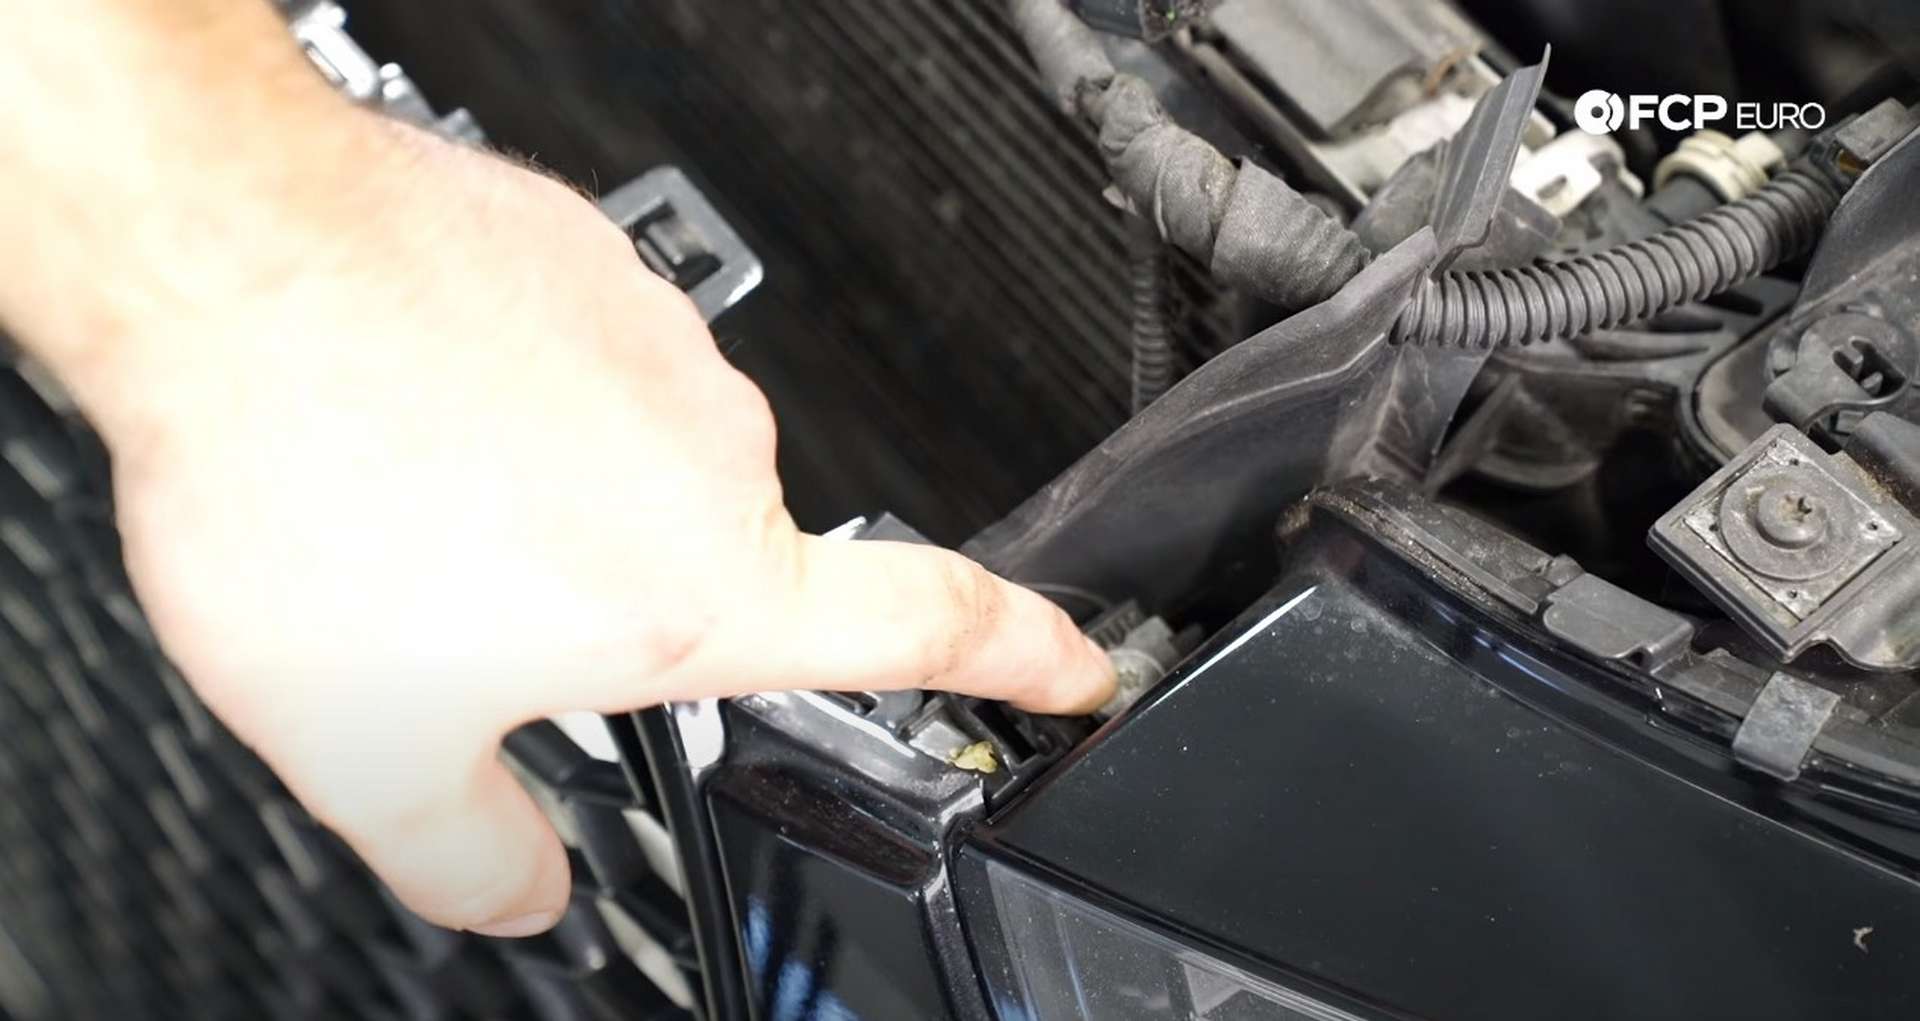
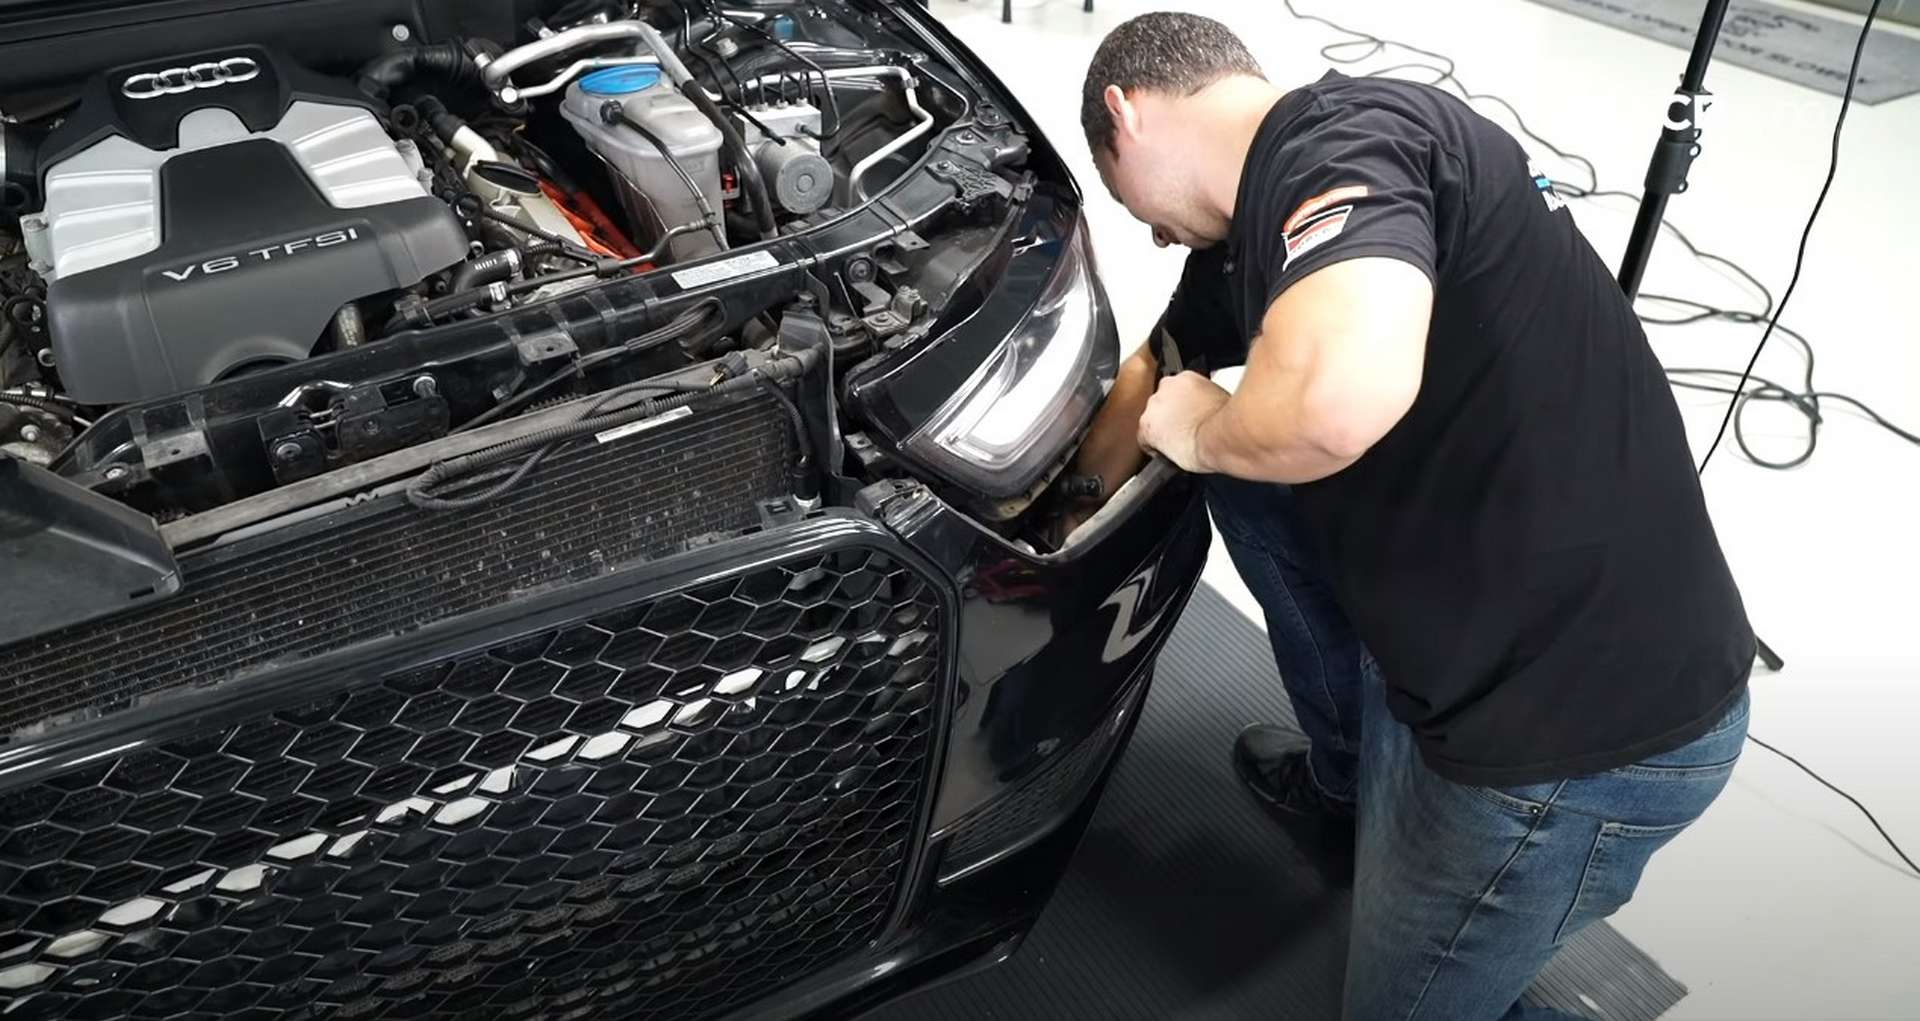
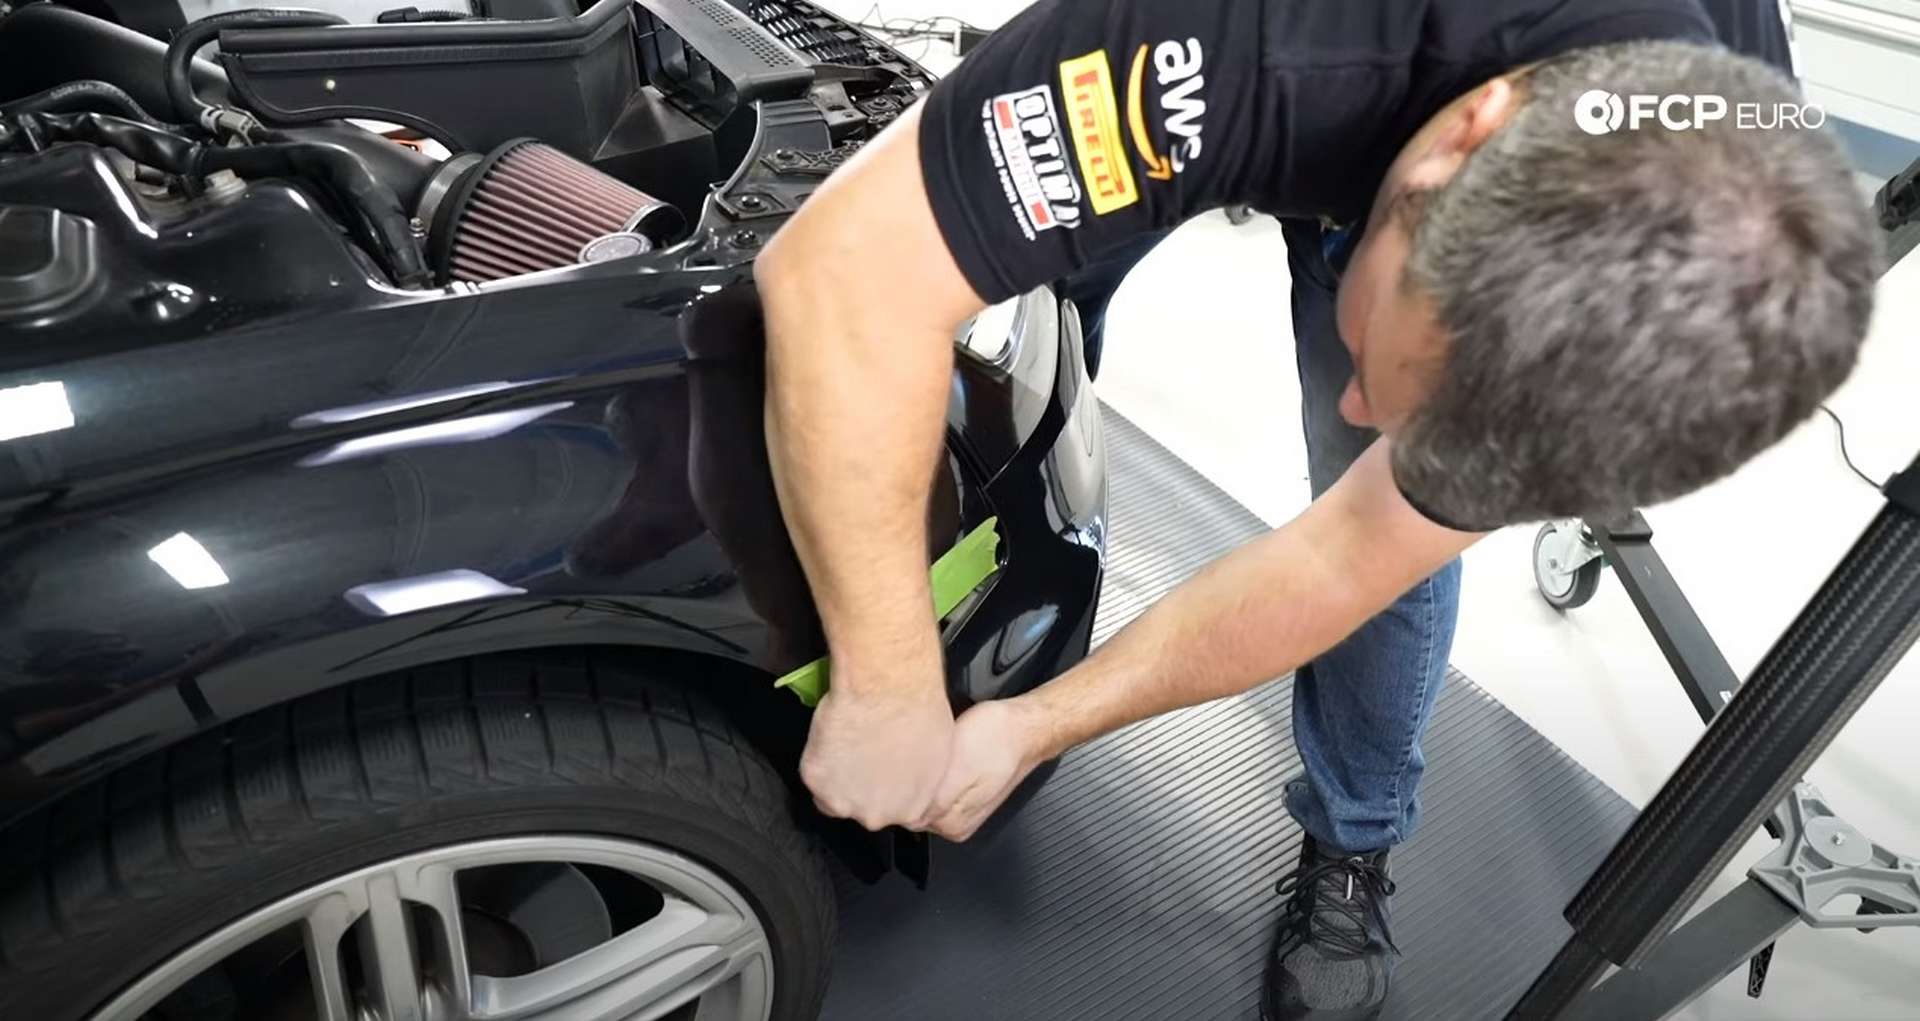
Grab the bumper corner below the fender and pull on the bumper to separate it from the chassis. Don't yank it too far away, as you need to disconnect the fog lights before completely removing it.
Step 2: Put the nose into service position
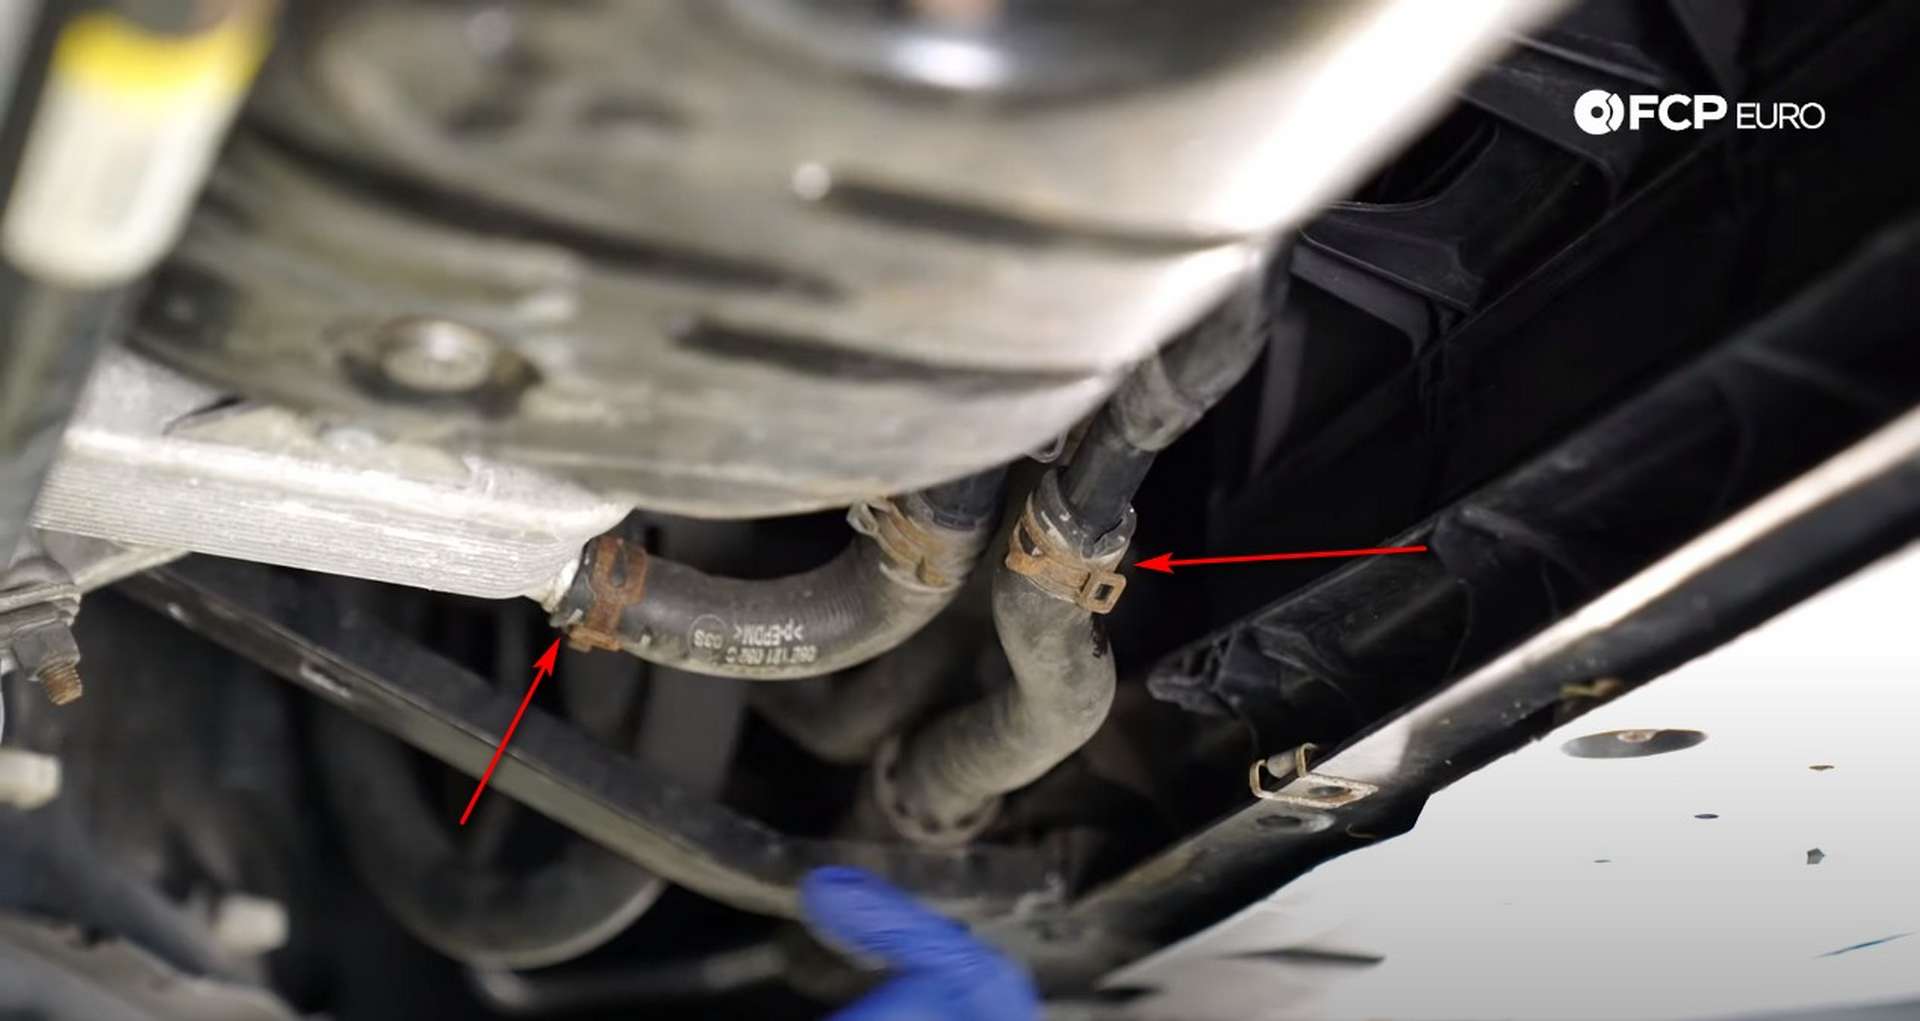
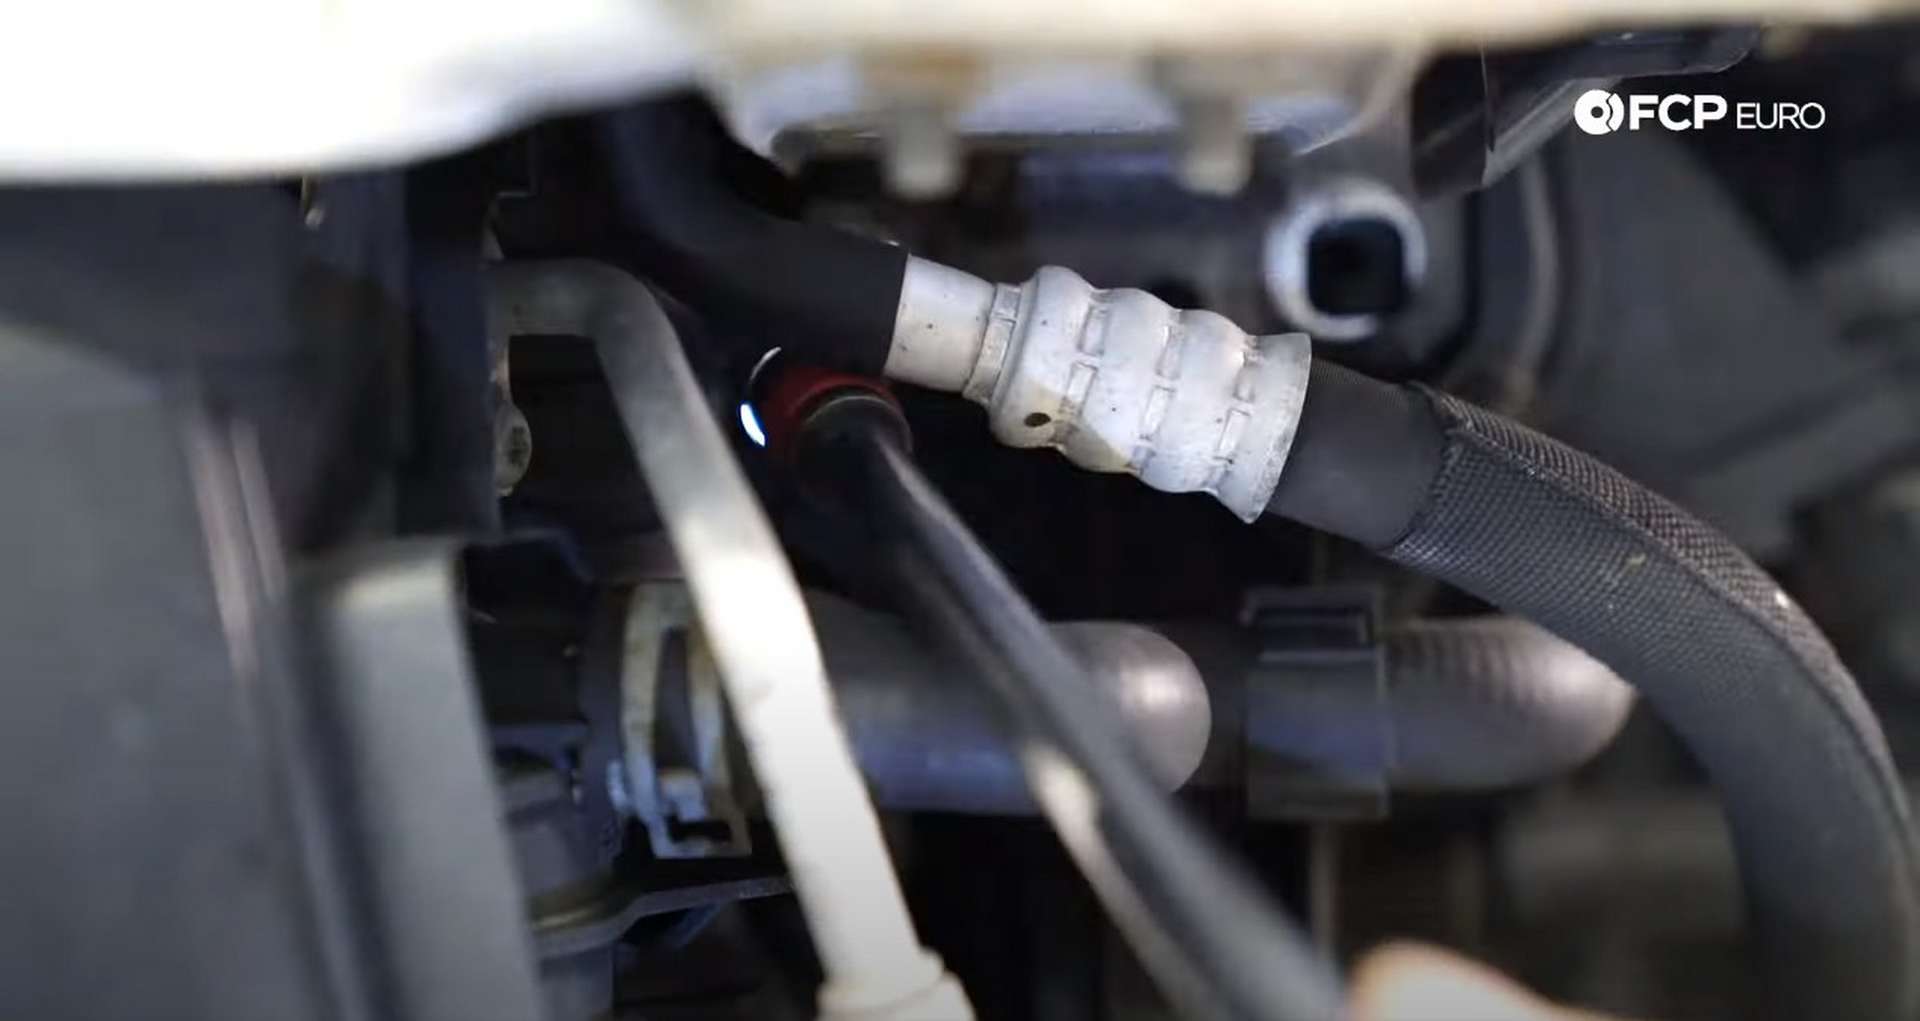
Before unbolting the nose, head under the car to drain the coolant. At the bottom of the radiator on the passenger side is the coolant outlet. On the side of the outlet is a drain that you twist to open up and drain the coolant. Additionally, you can ignore the drain and remove two of the hoses on the driver's side.
Have a drain pan ready to catch all of the coolant. Close the drain or reconnect the hoses once the coolant drains out.
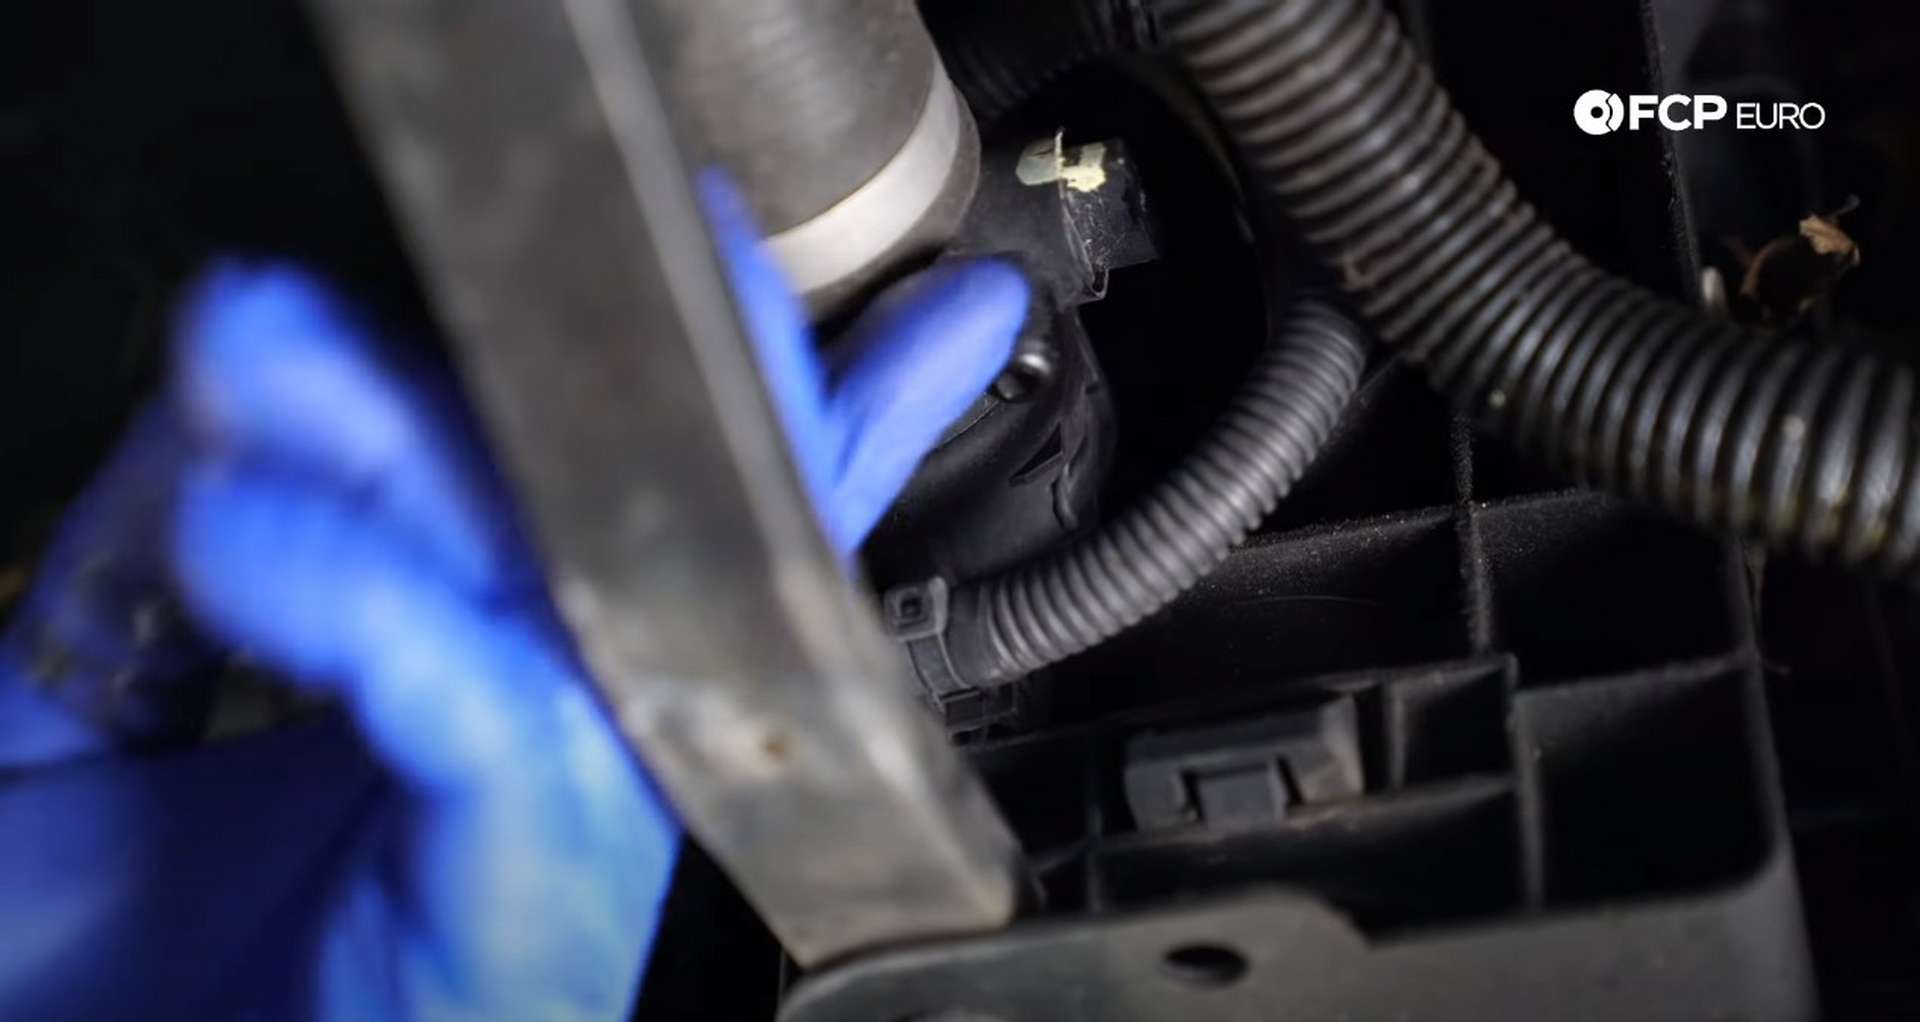
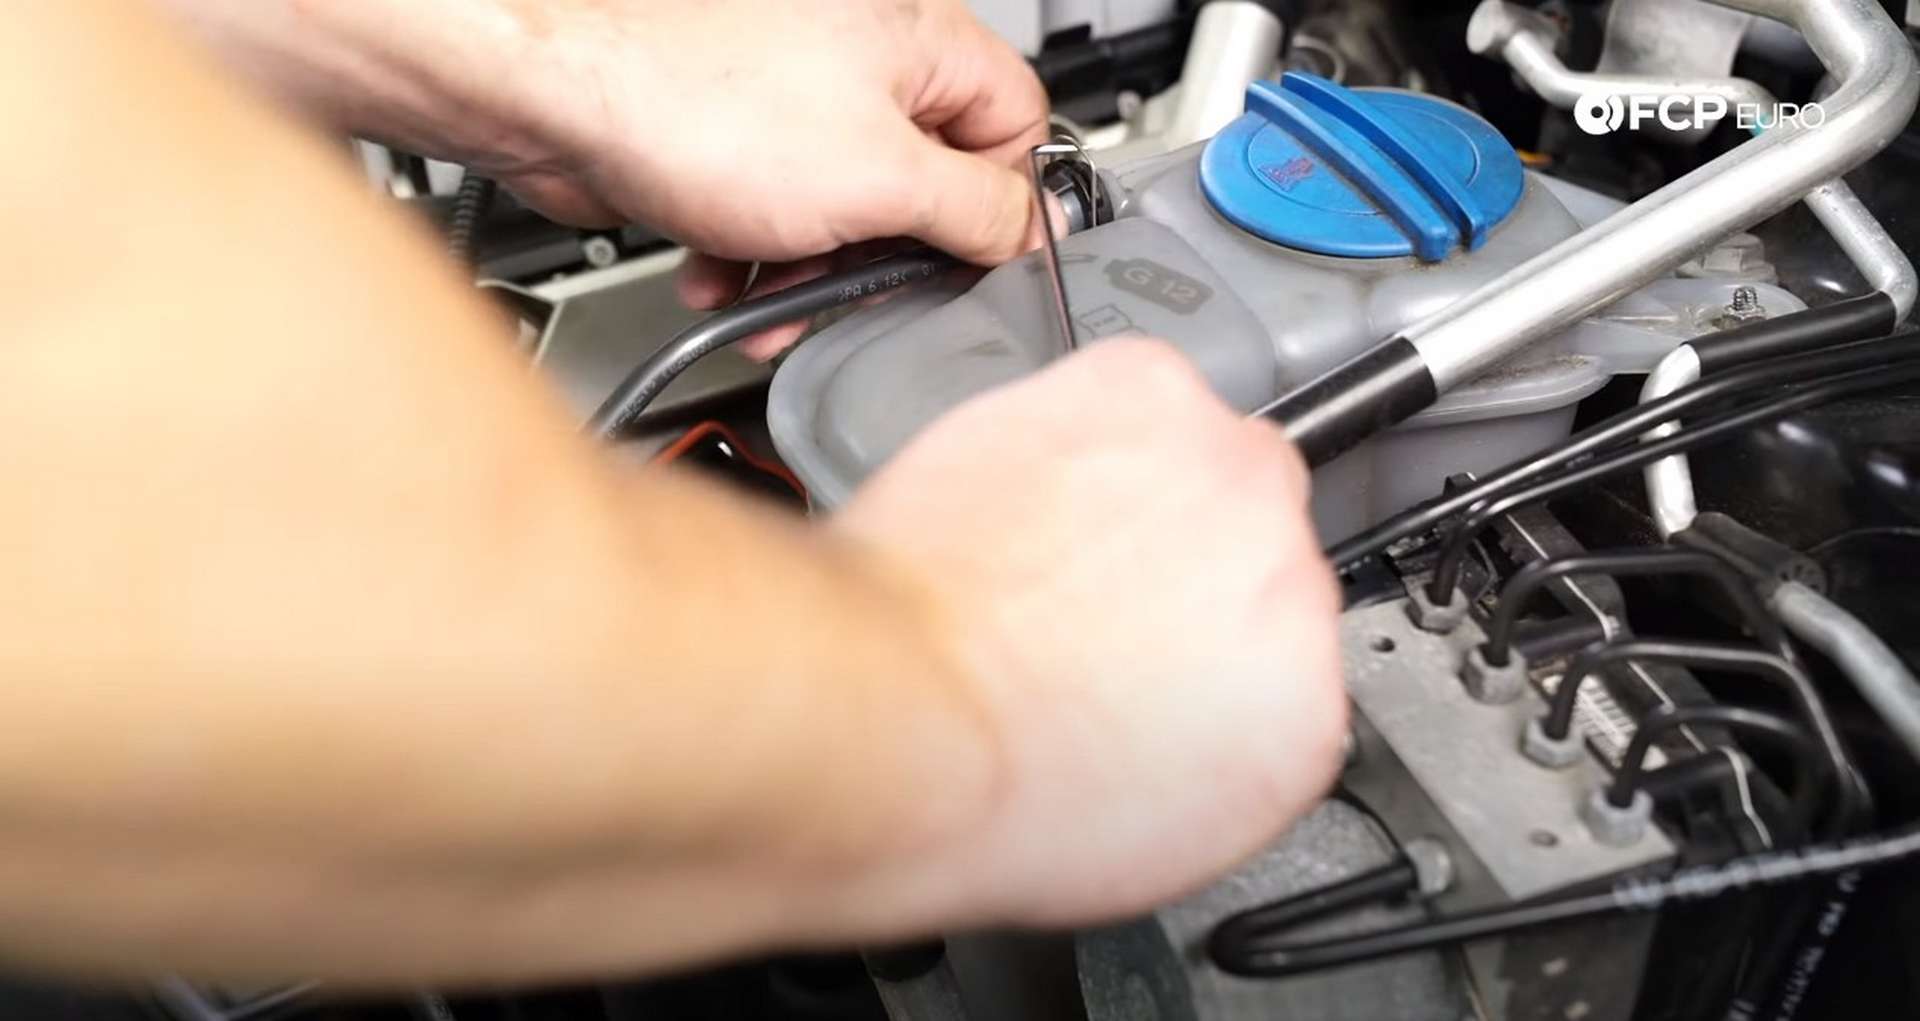
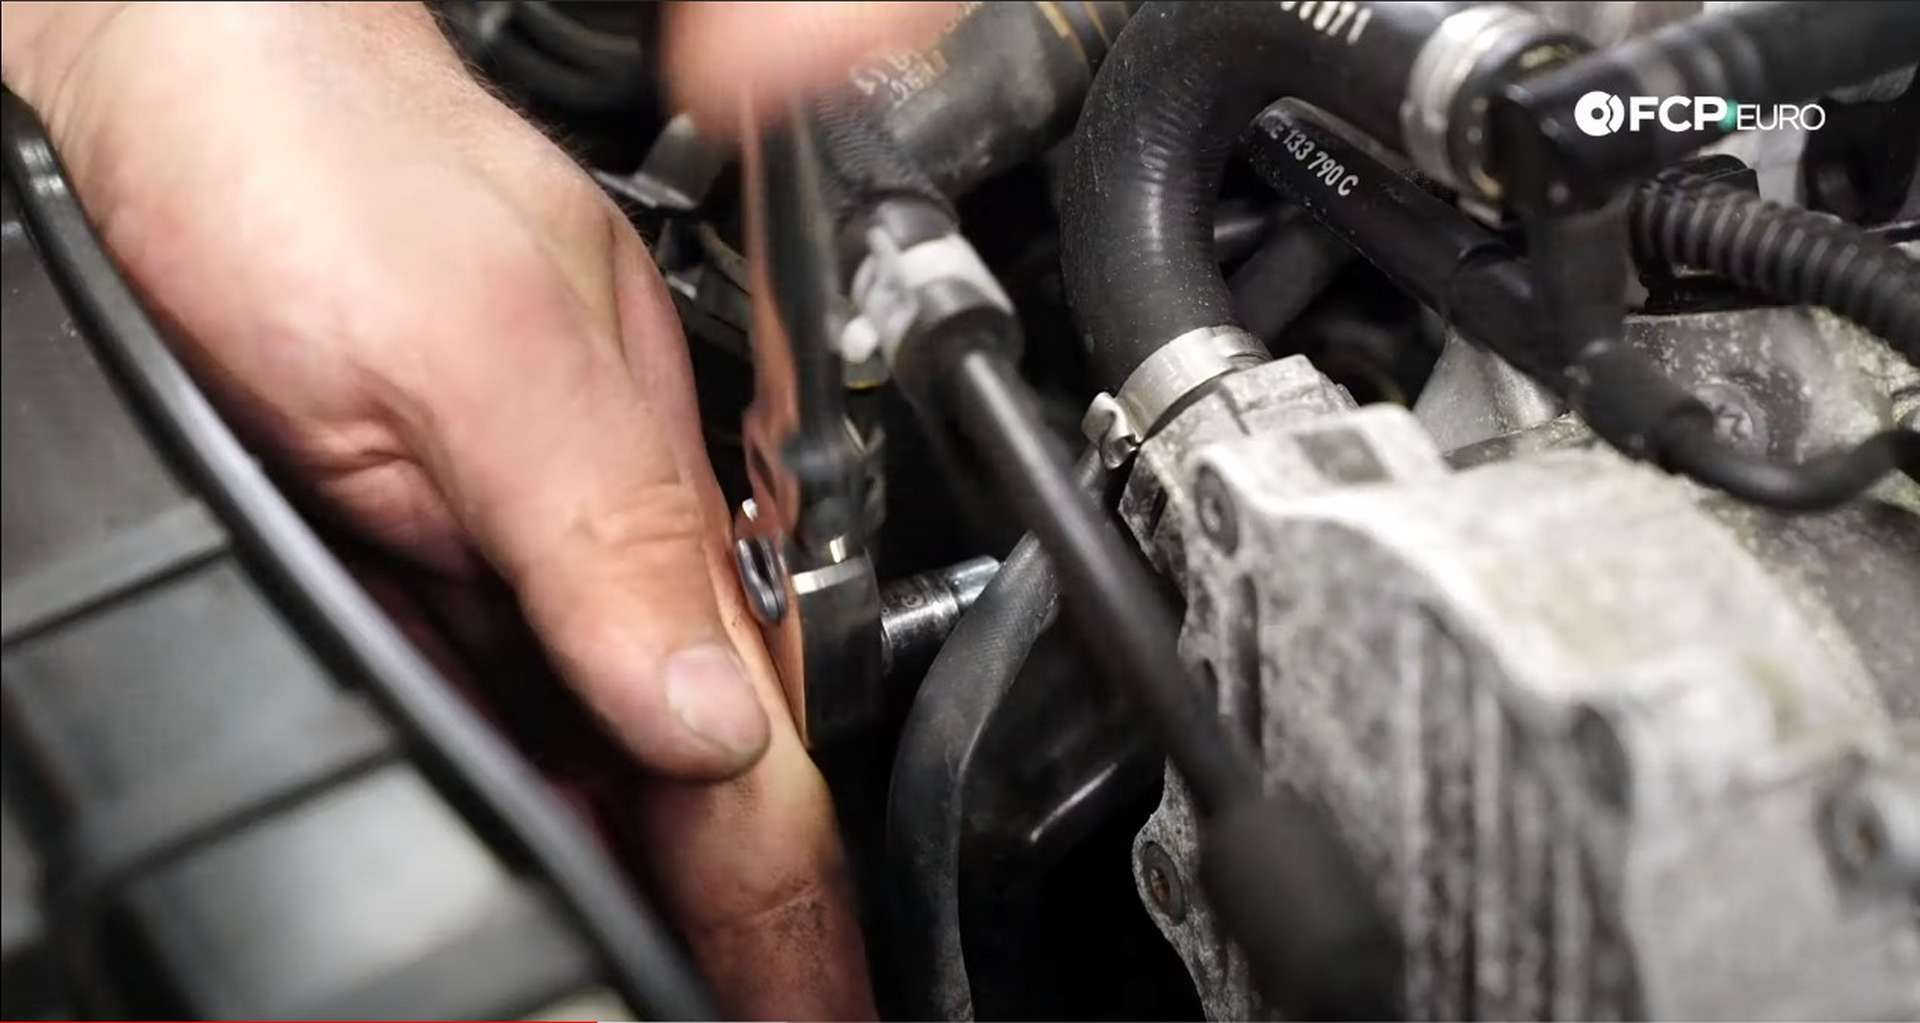
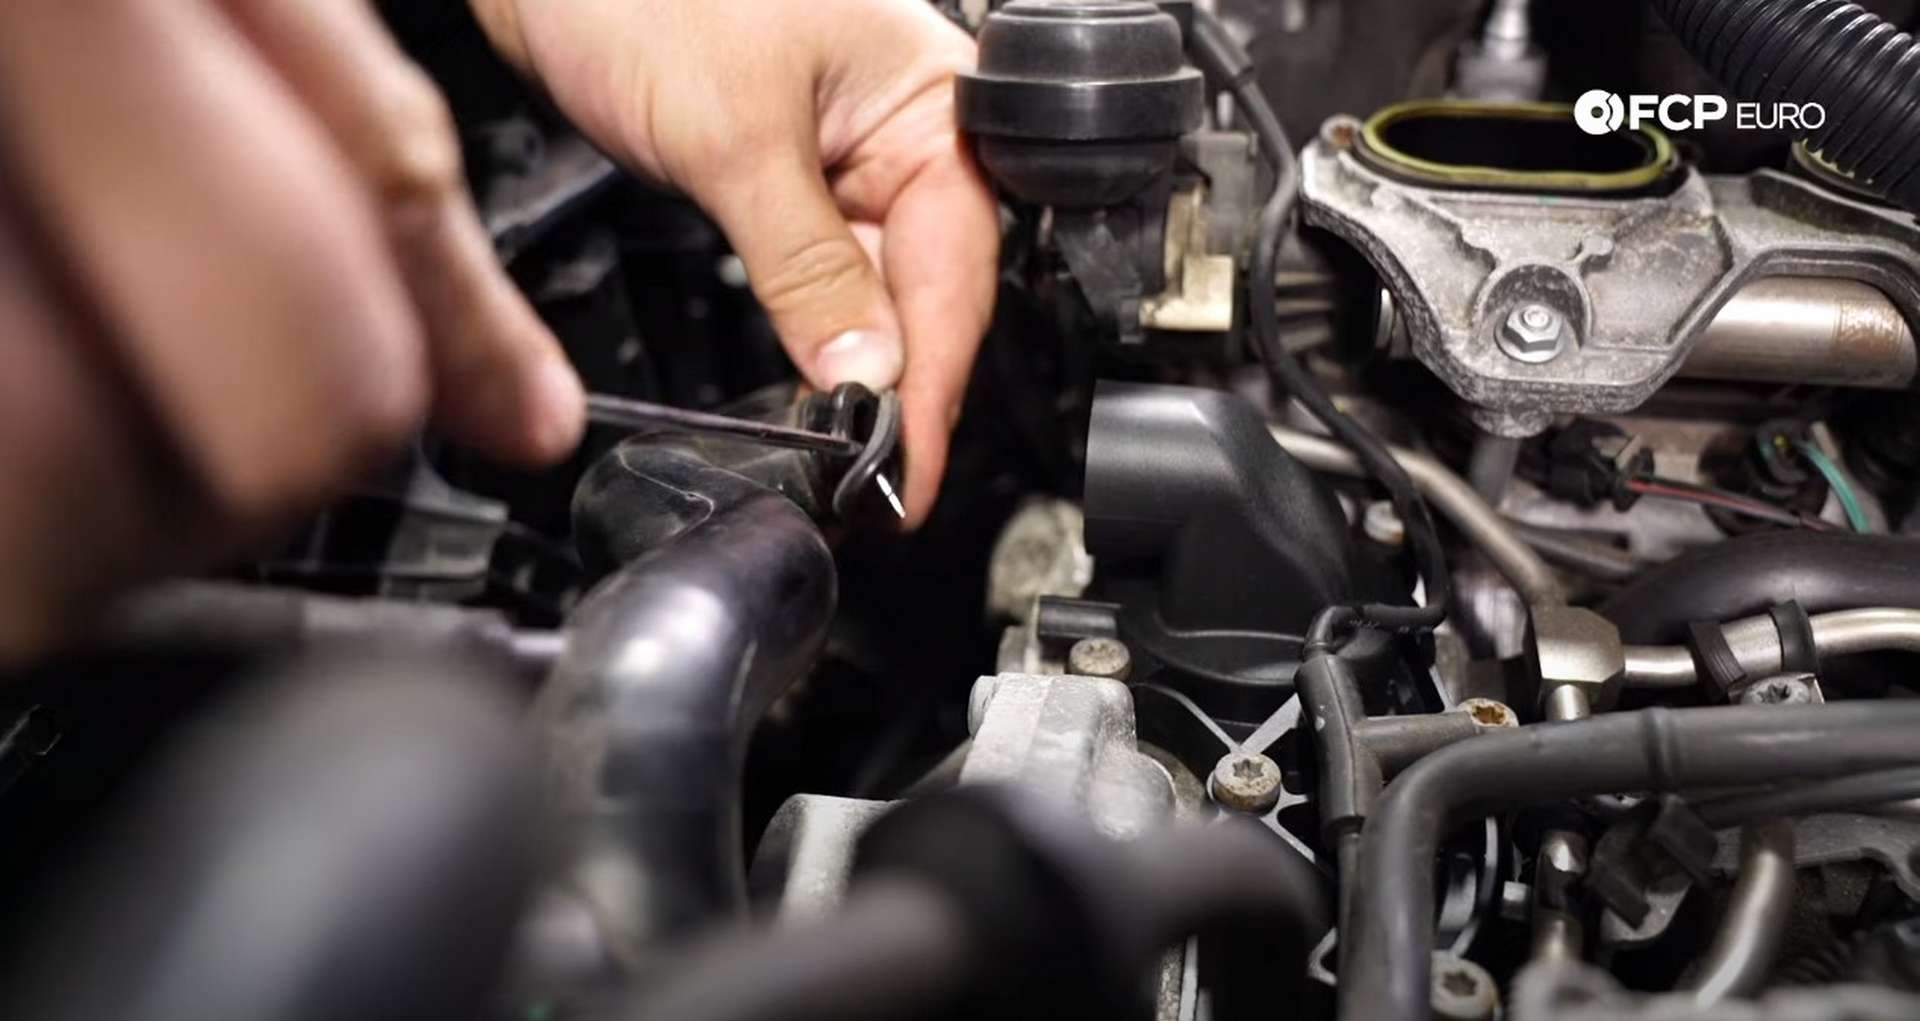
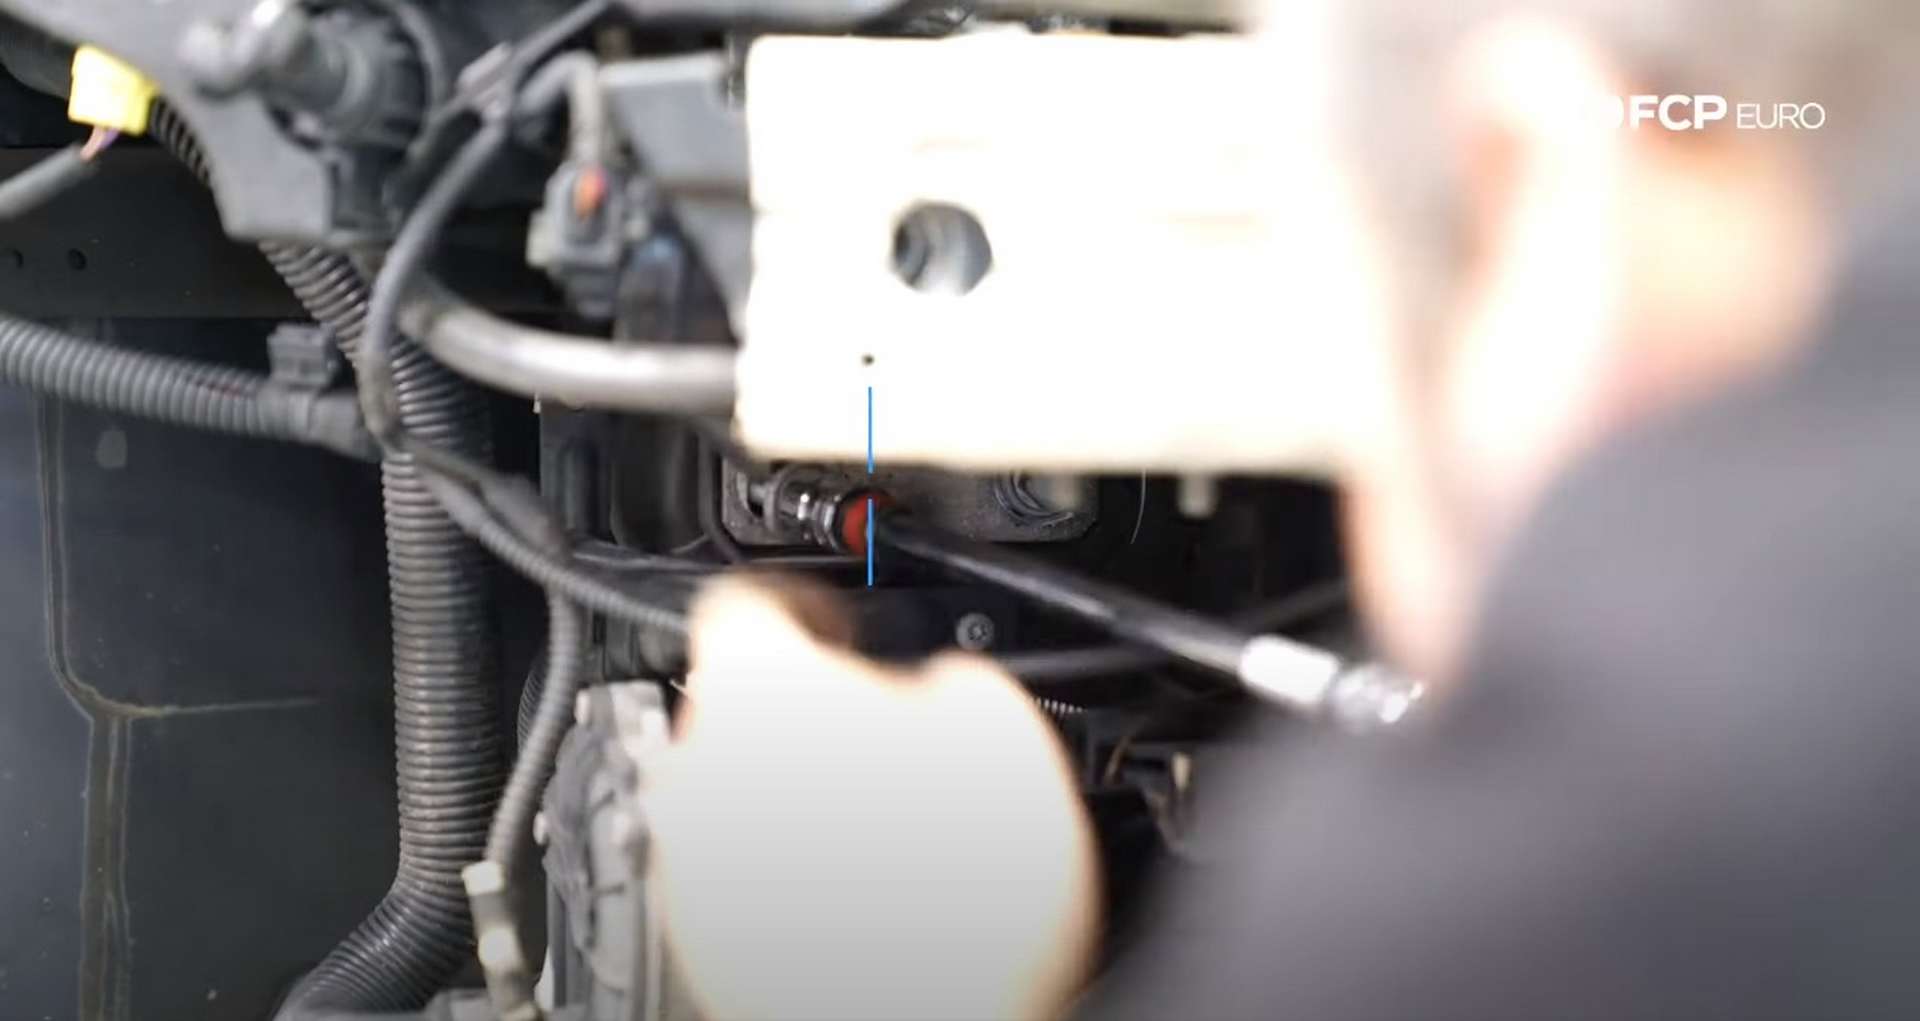
Next, head into the engine bay and use a pick tool to disconnect the coolant bleeder line. Then, unplug the headlights.
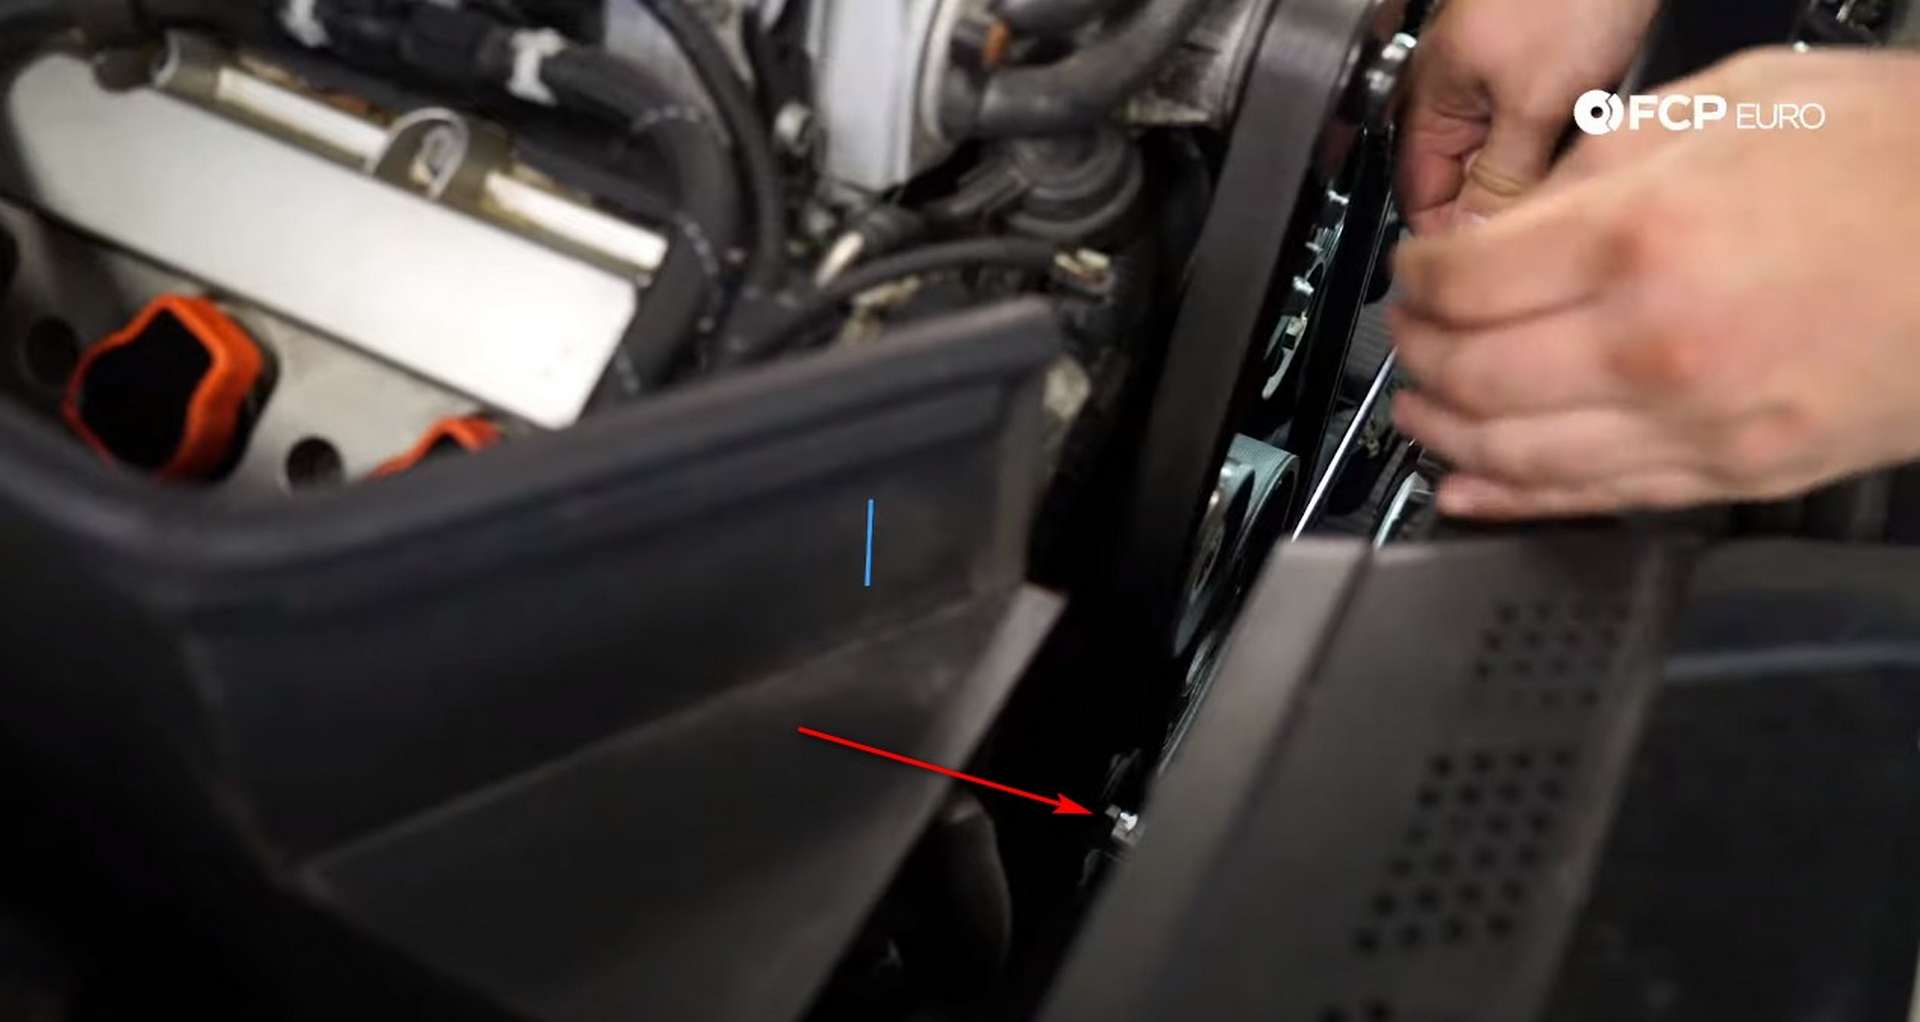
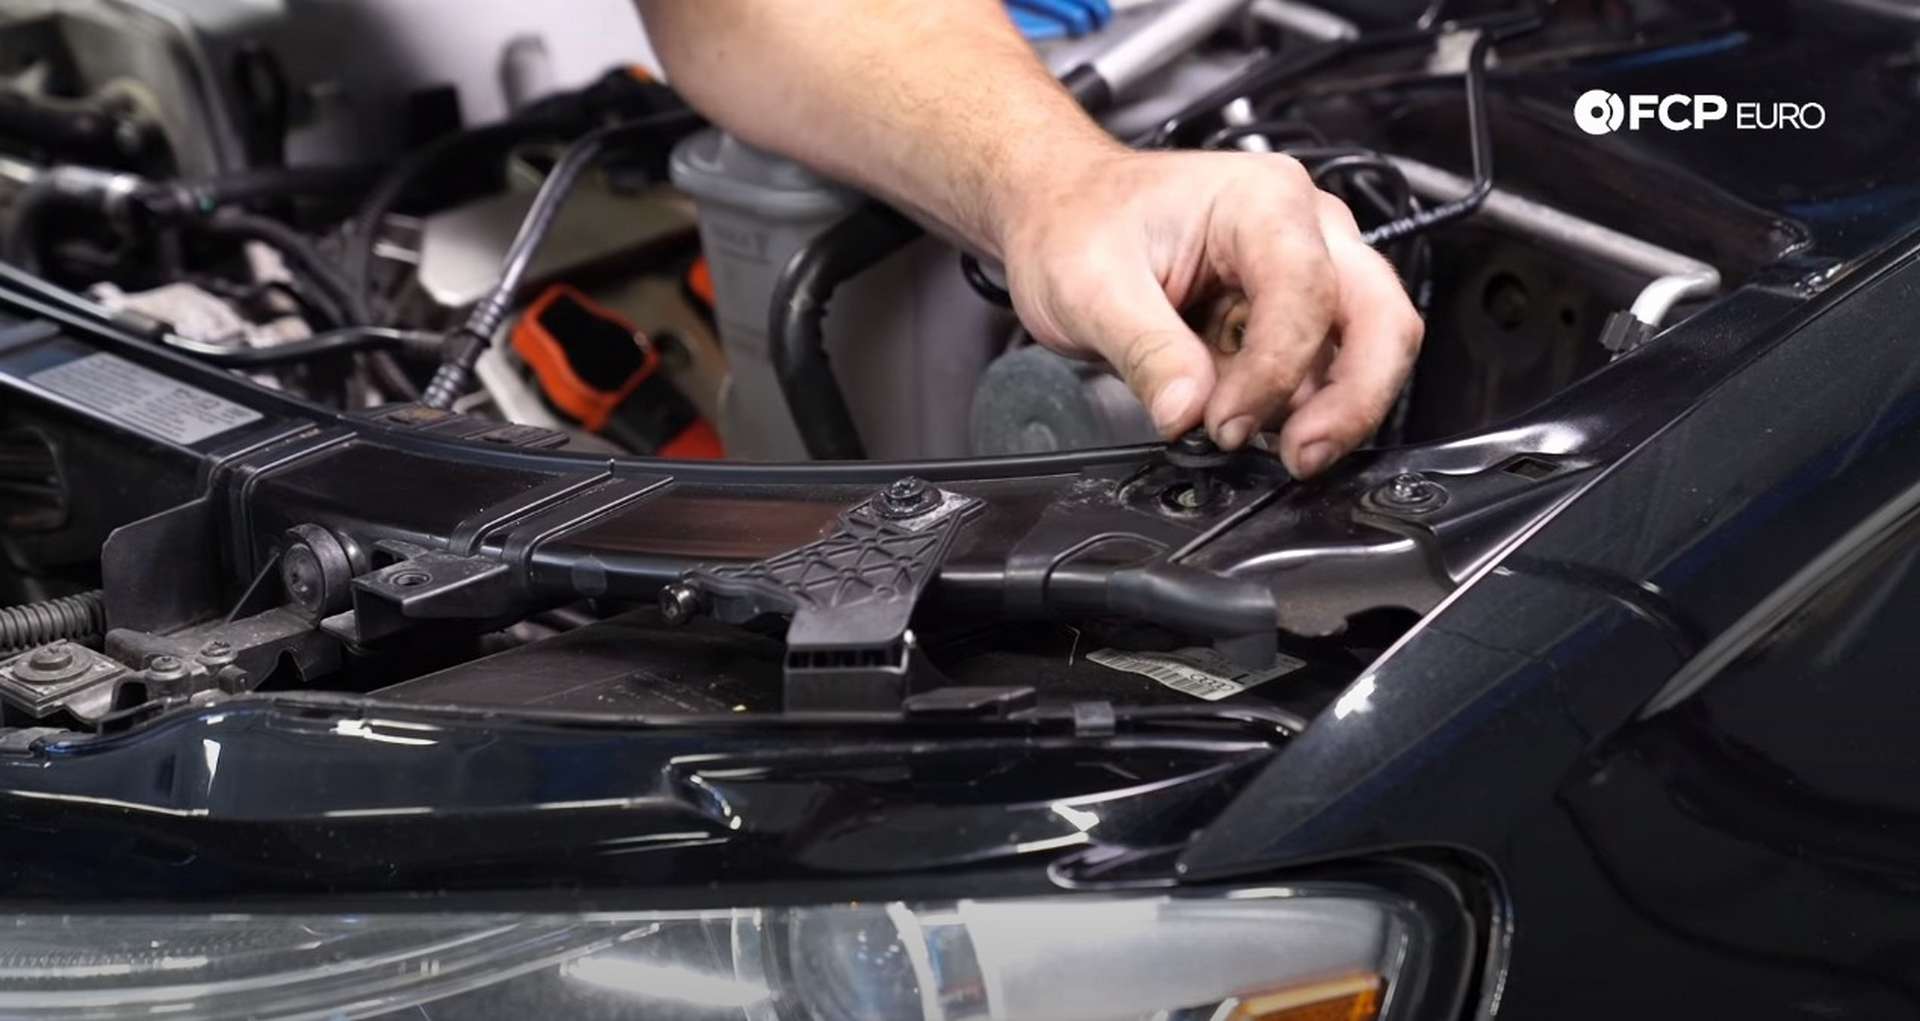
On each corner of the bumper support beam are three bolts. Use a 16mm socket to remove them. Then, use a T30 socket to remove the single fastener behind each headlight.
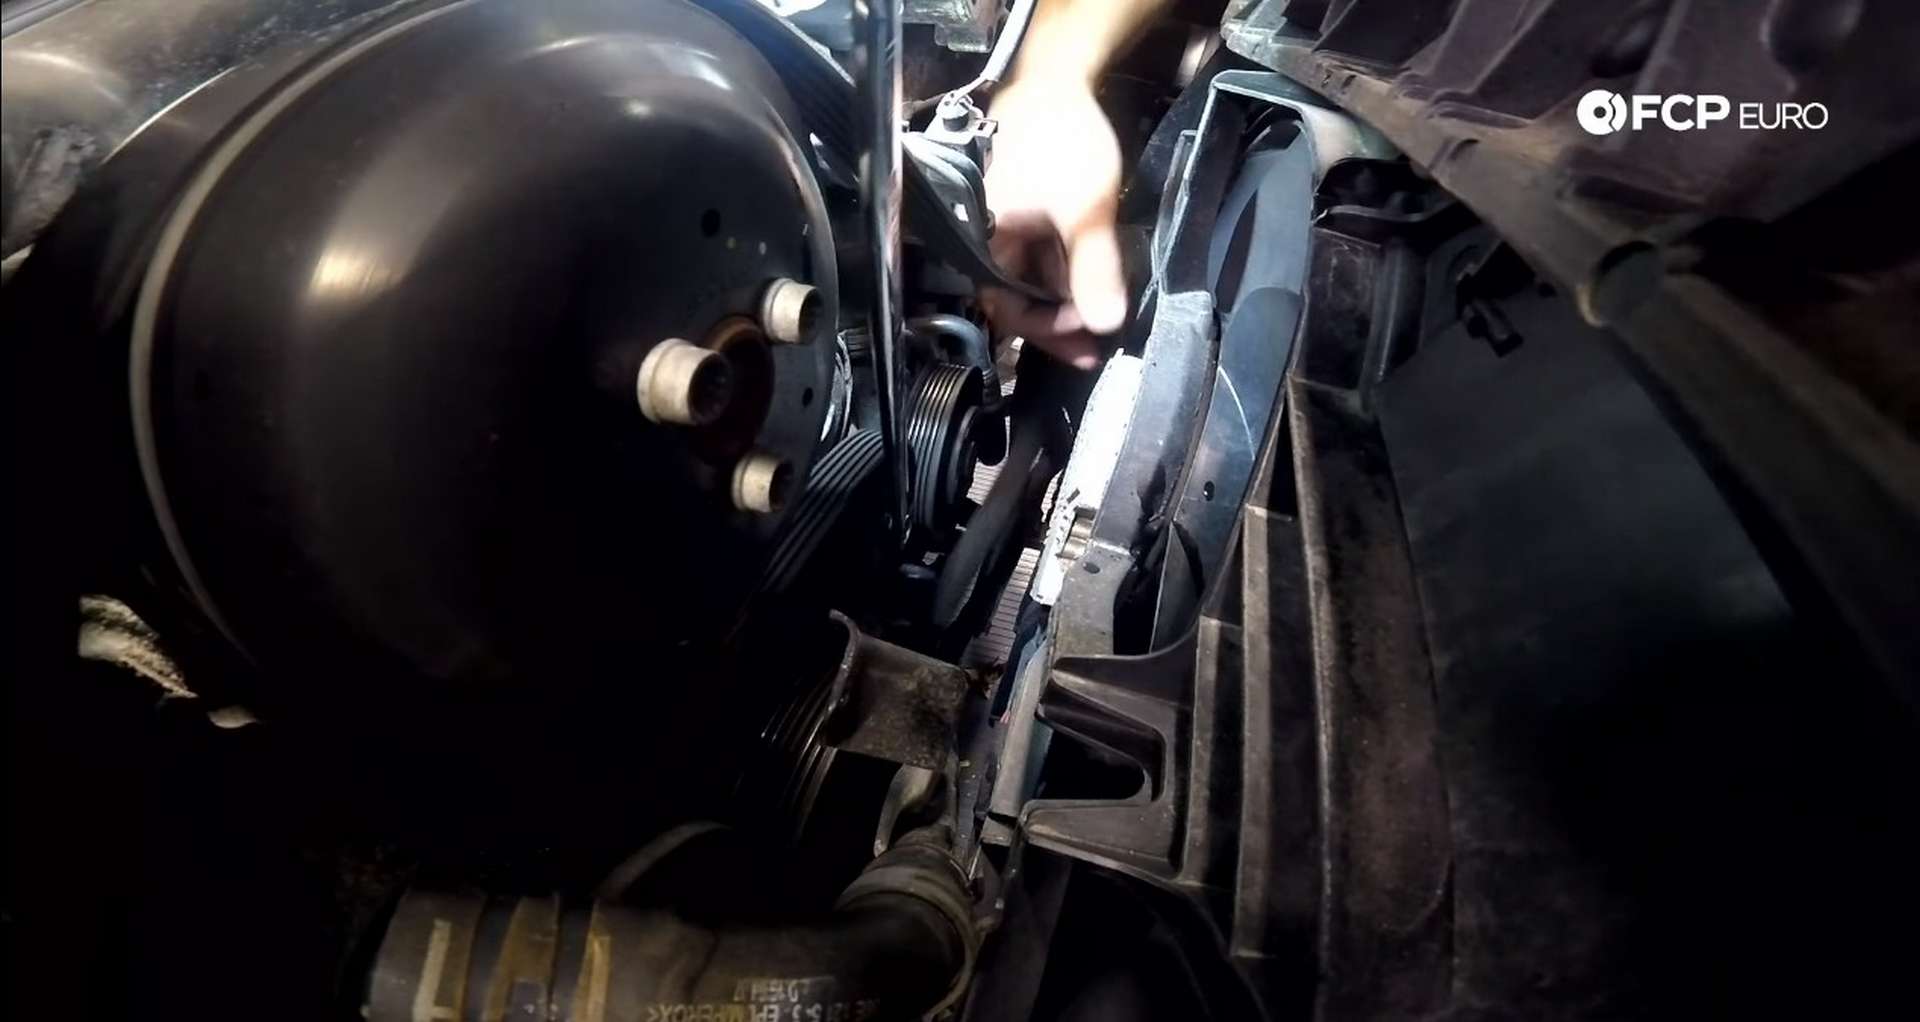
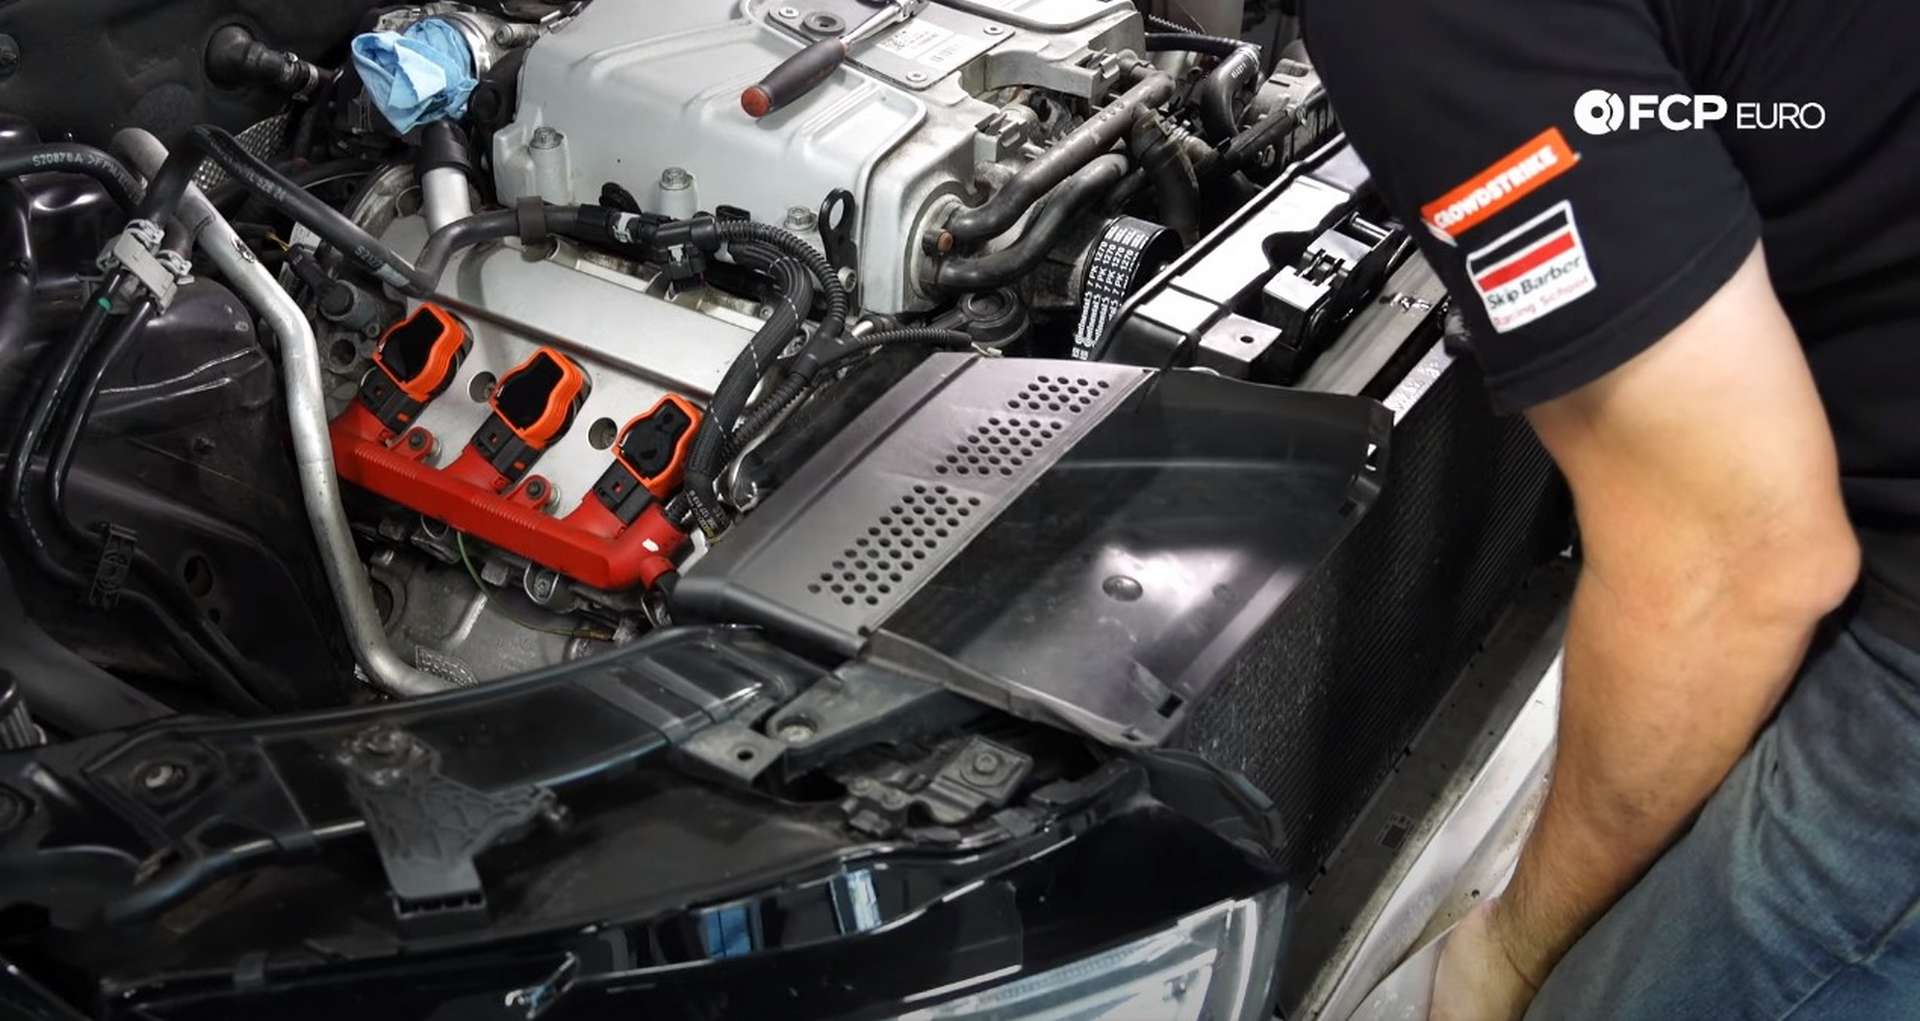
Then, gently pull the nose away from the car creating enough space to access the front of the engine to remove the belts and water pump.
Step 3: Remove the supercharger
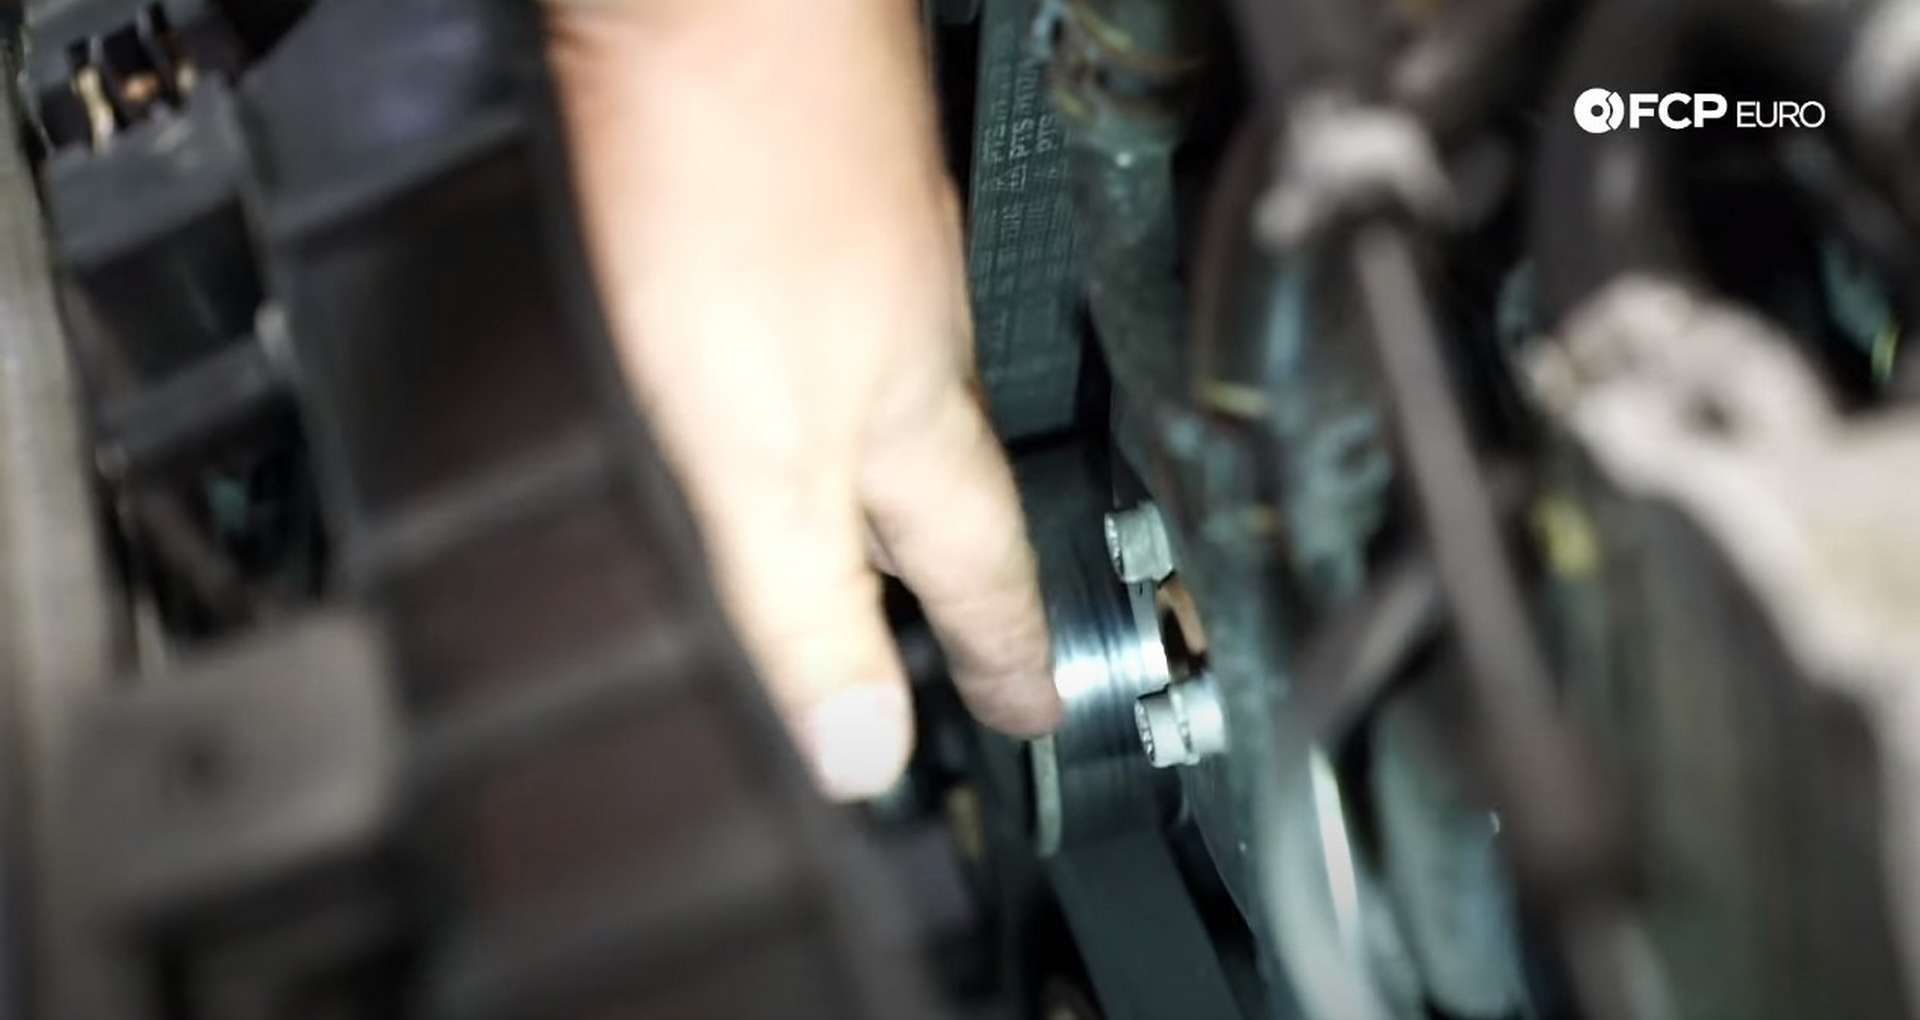
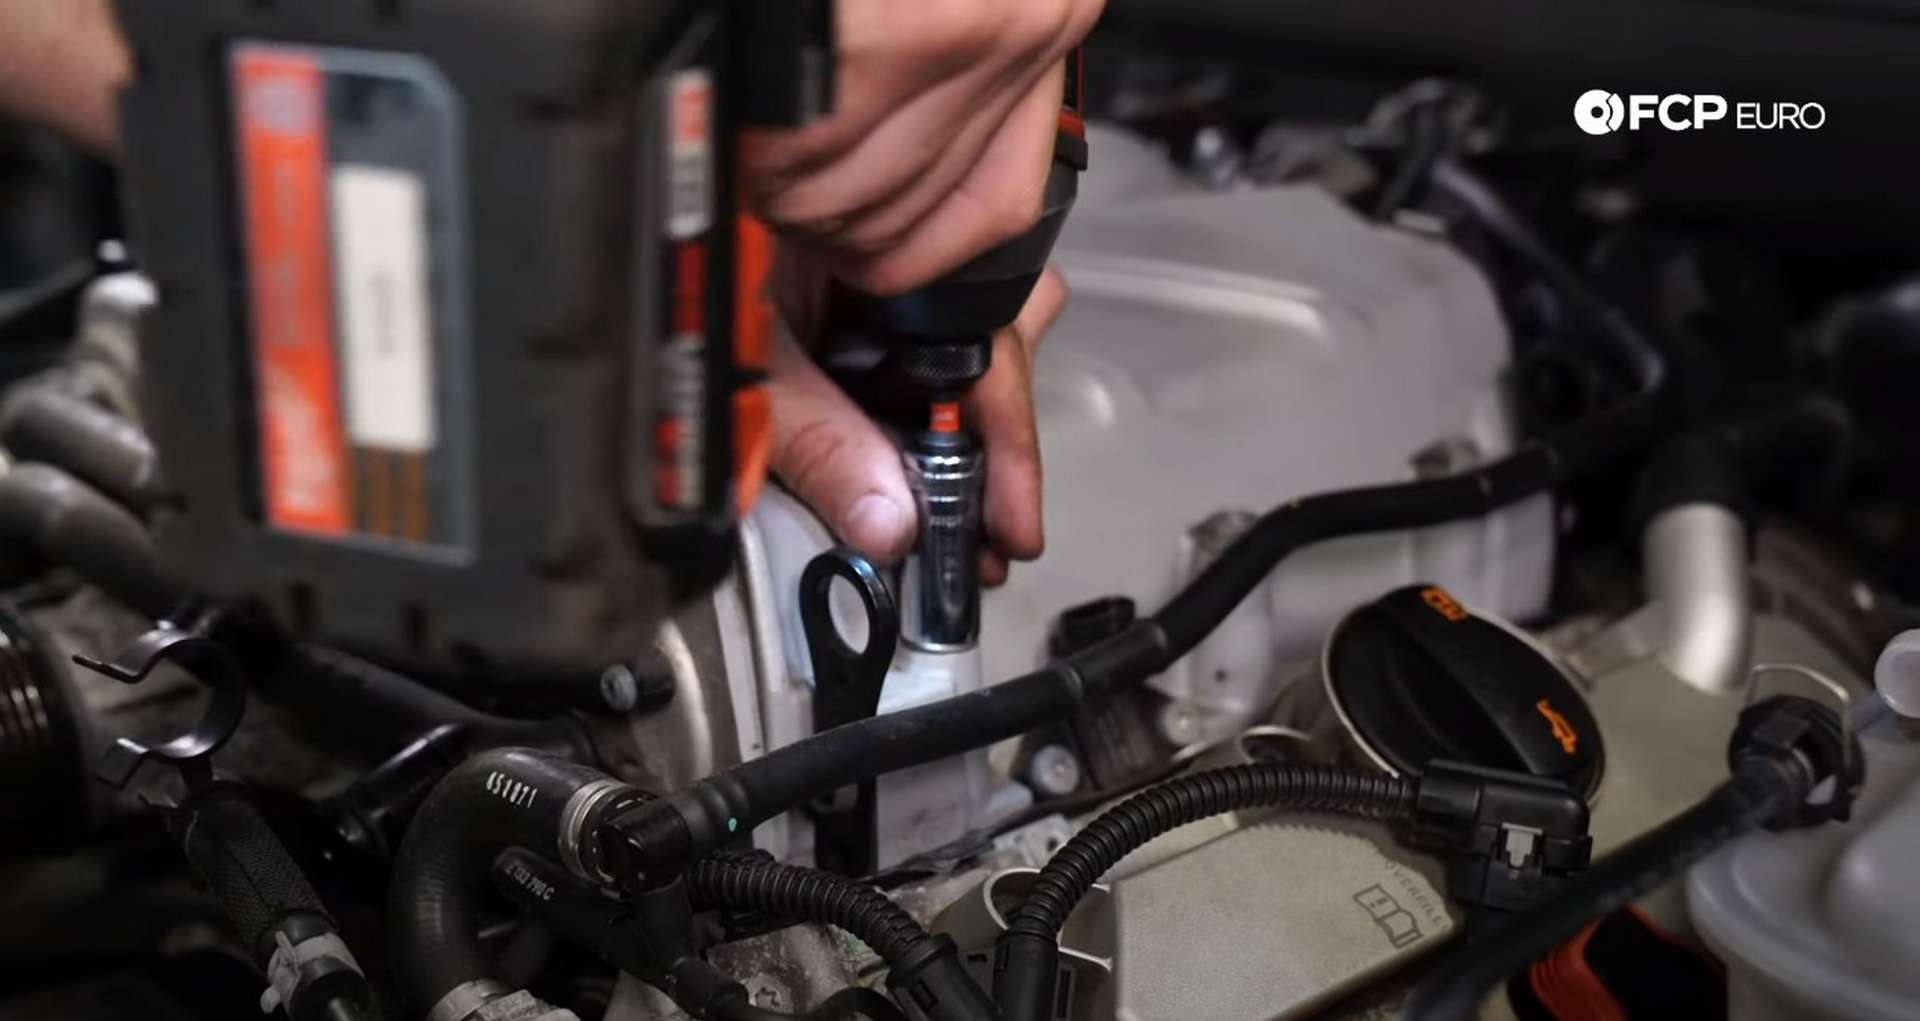
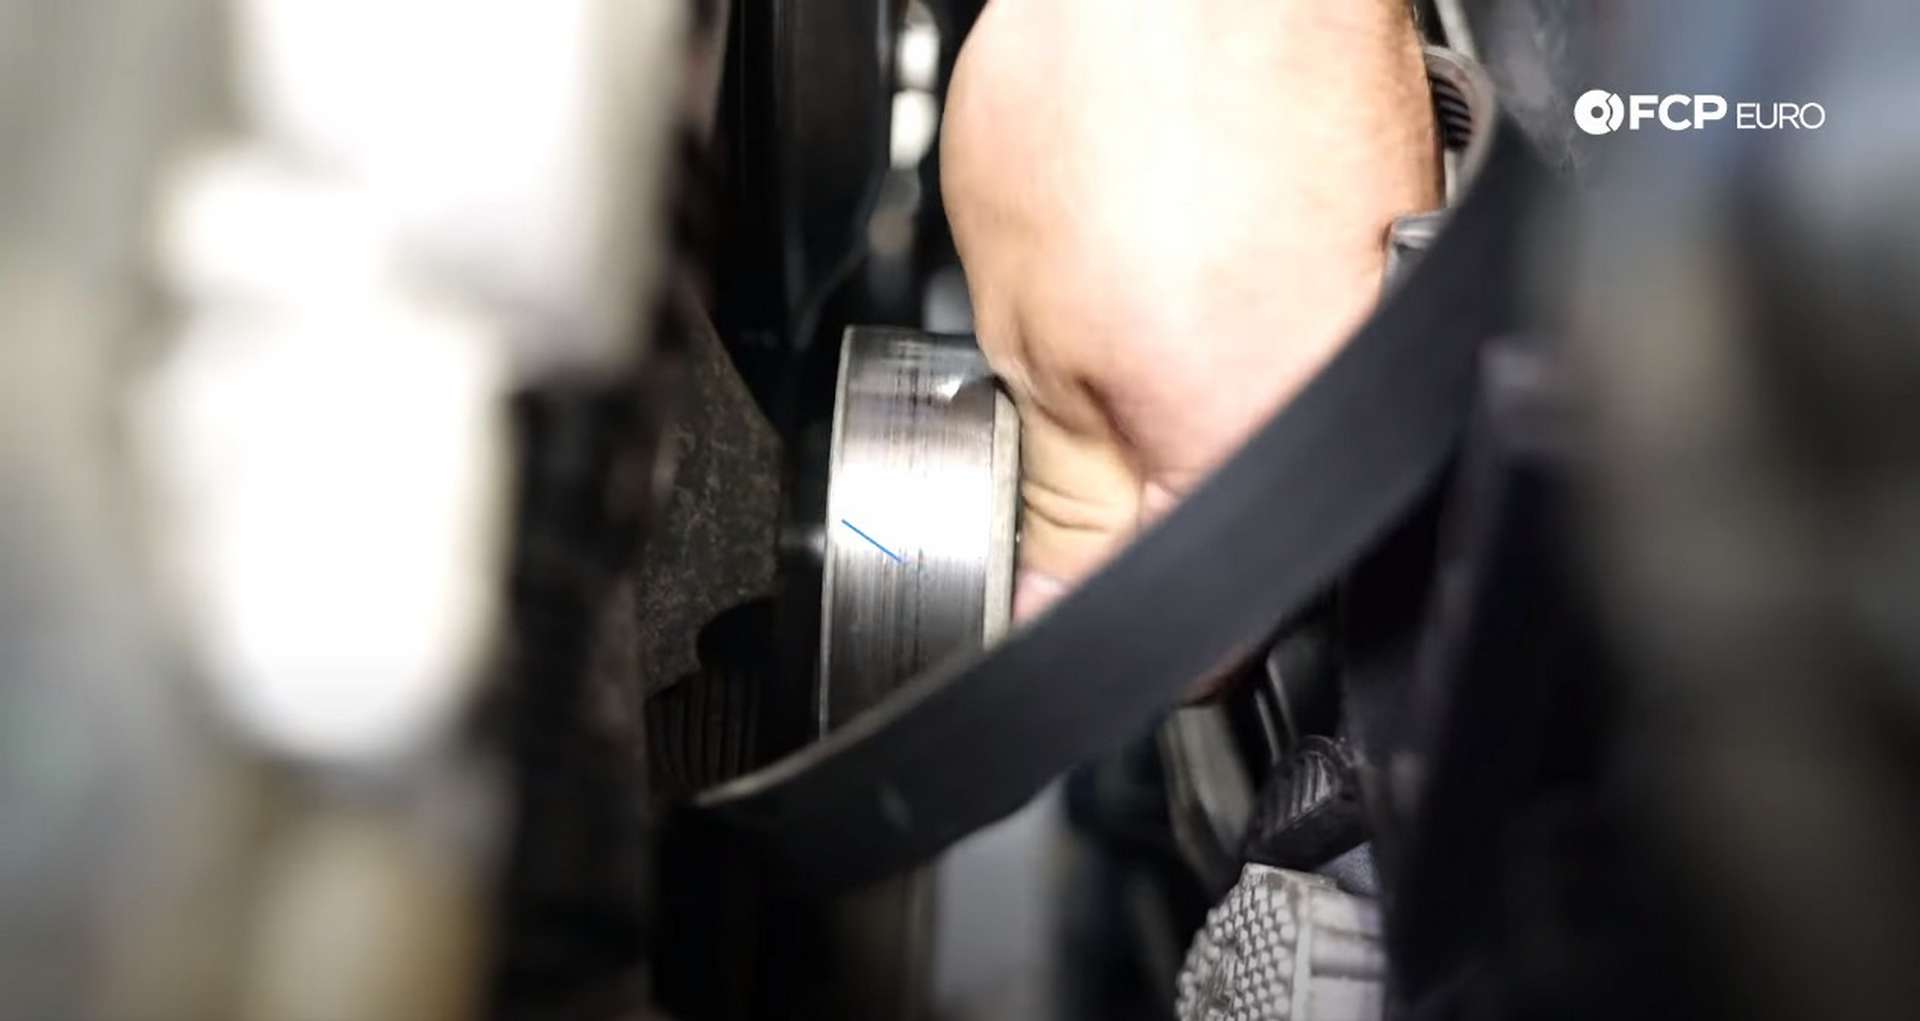
Use an M10 triple-square socket to remove the three water pump pulley bolts while there is still tension on the belts, holding the pulley in place.
Pull off the front and rear dress-up covers from the supercharger. Then, use a 16mm wrench to release the supercharger belt tensioner's tension and remove the belt. Rotate the tensioner bolt to the right to release the tension.

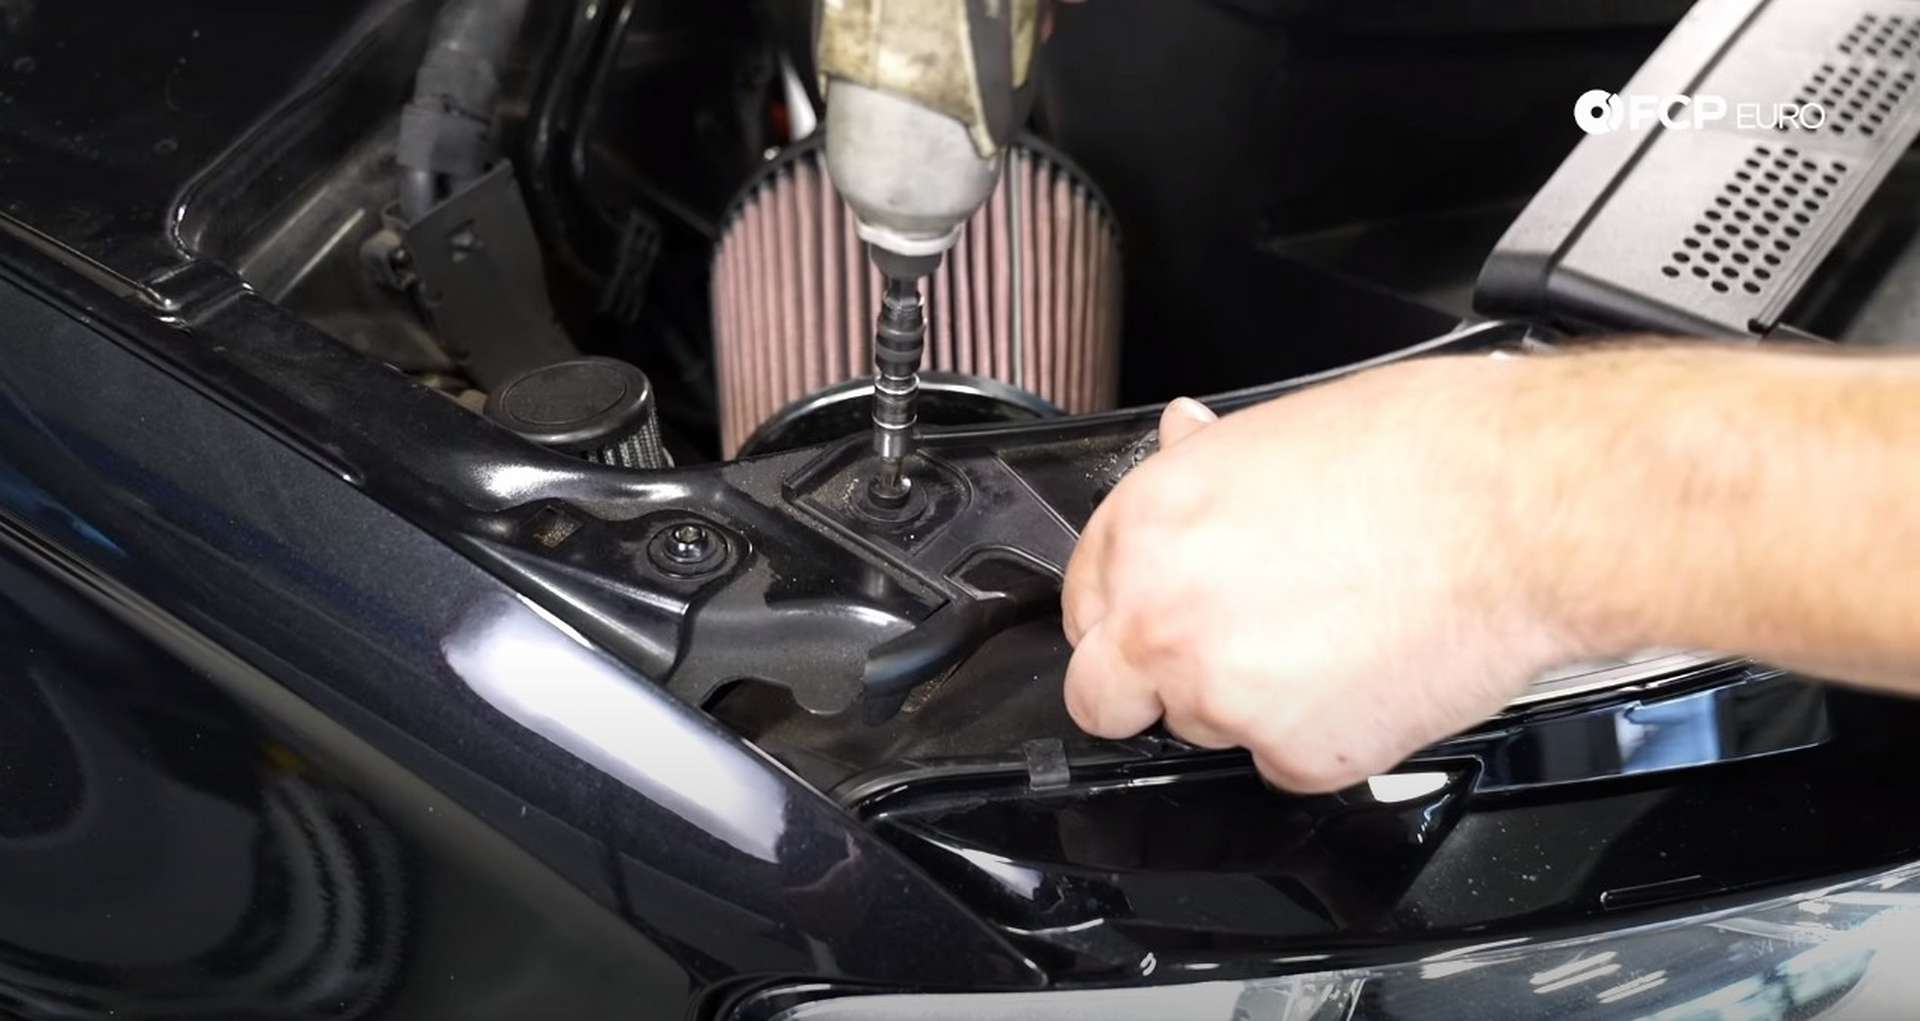
Next, use an 8mm socket to release the hose clamp for the intake tube on the throttle body and pull up on the airbox to remove it from its mounting grommets. Then, remove the intake assembly from the engine bay.
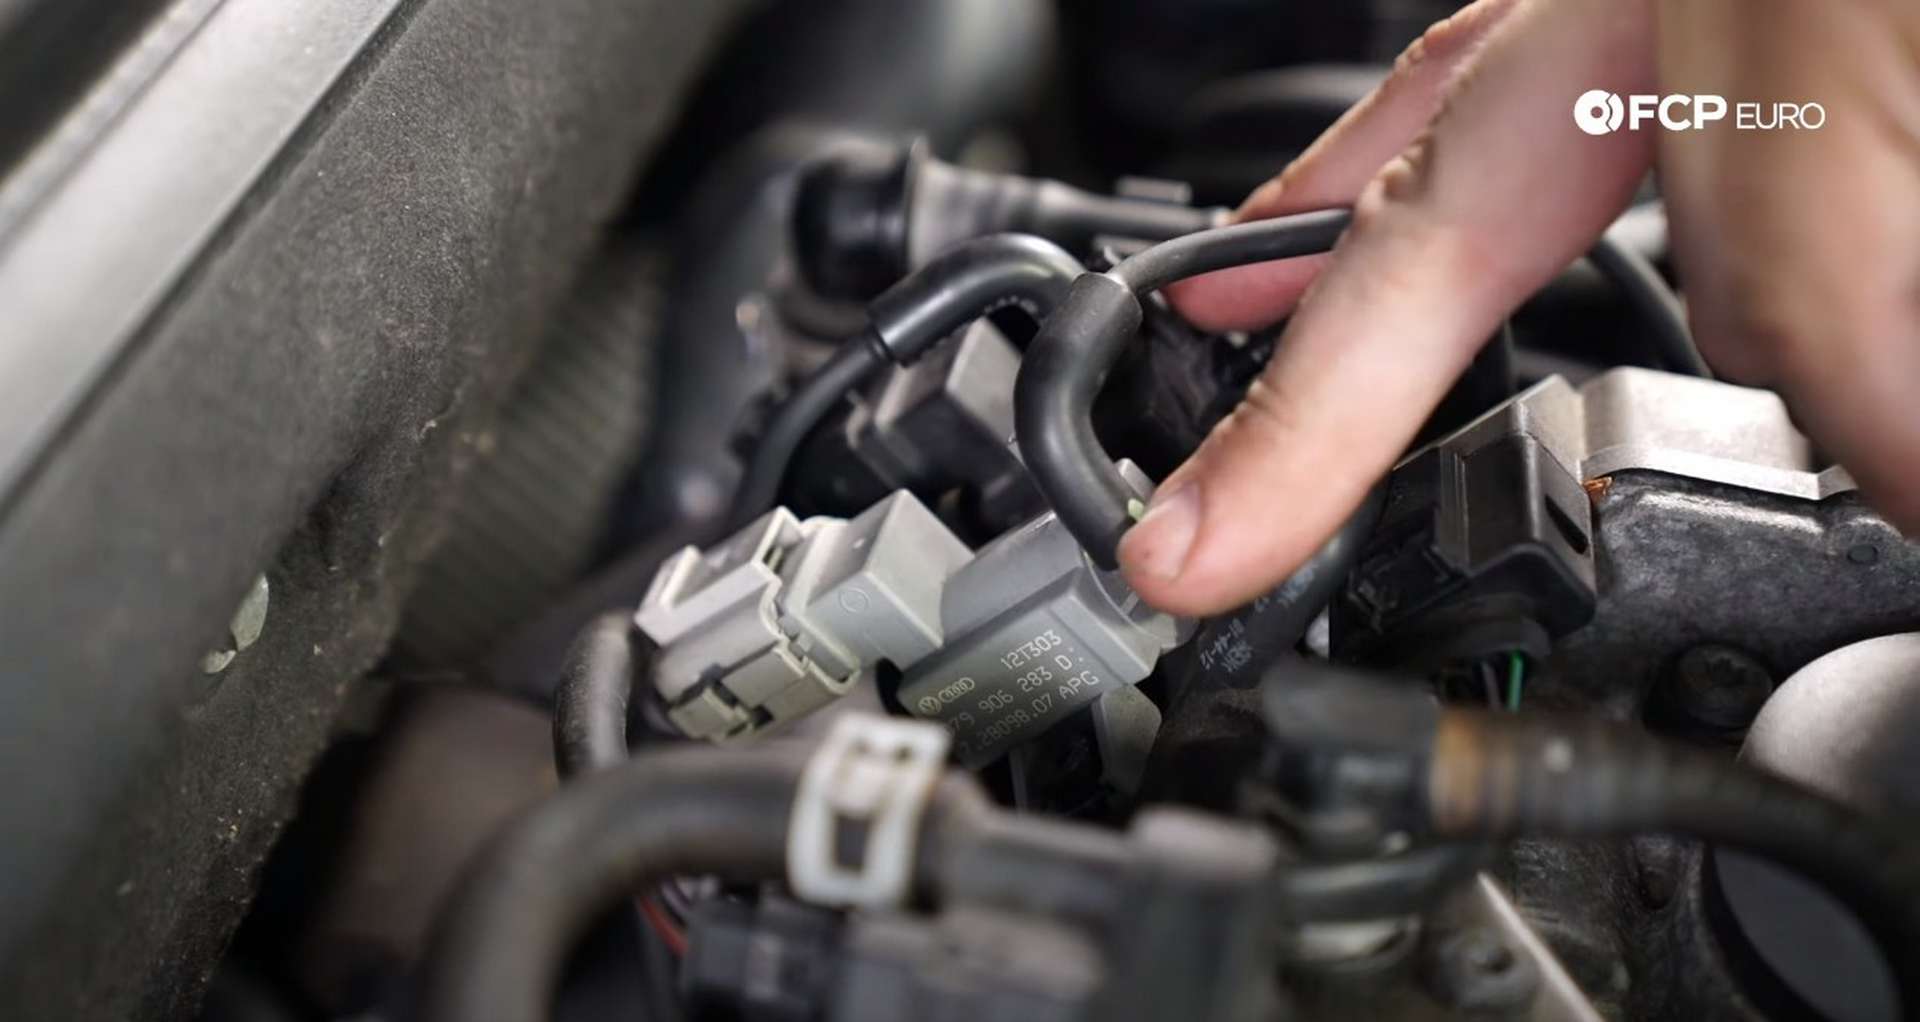
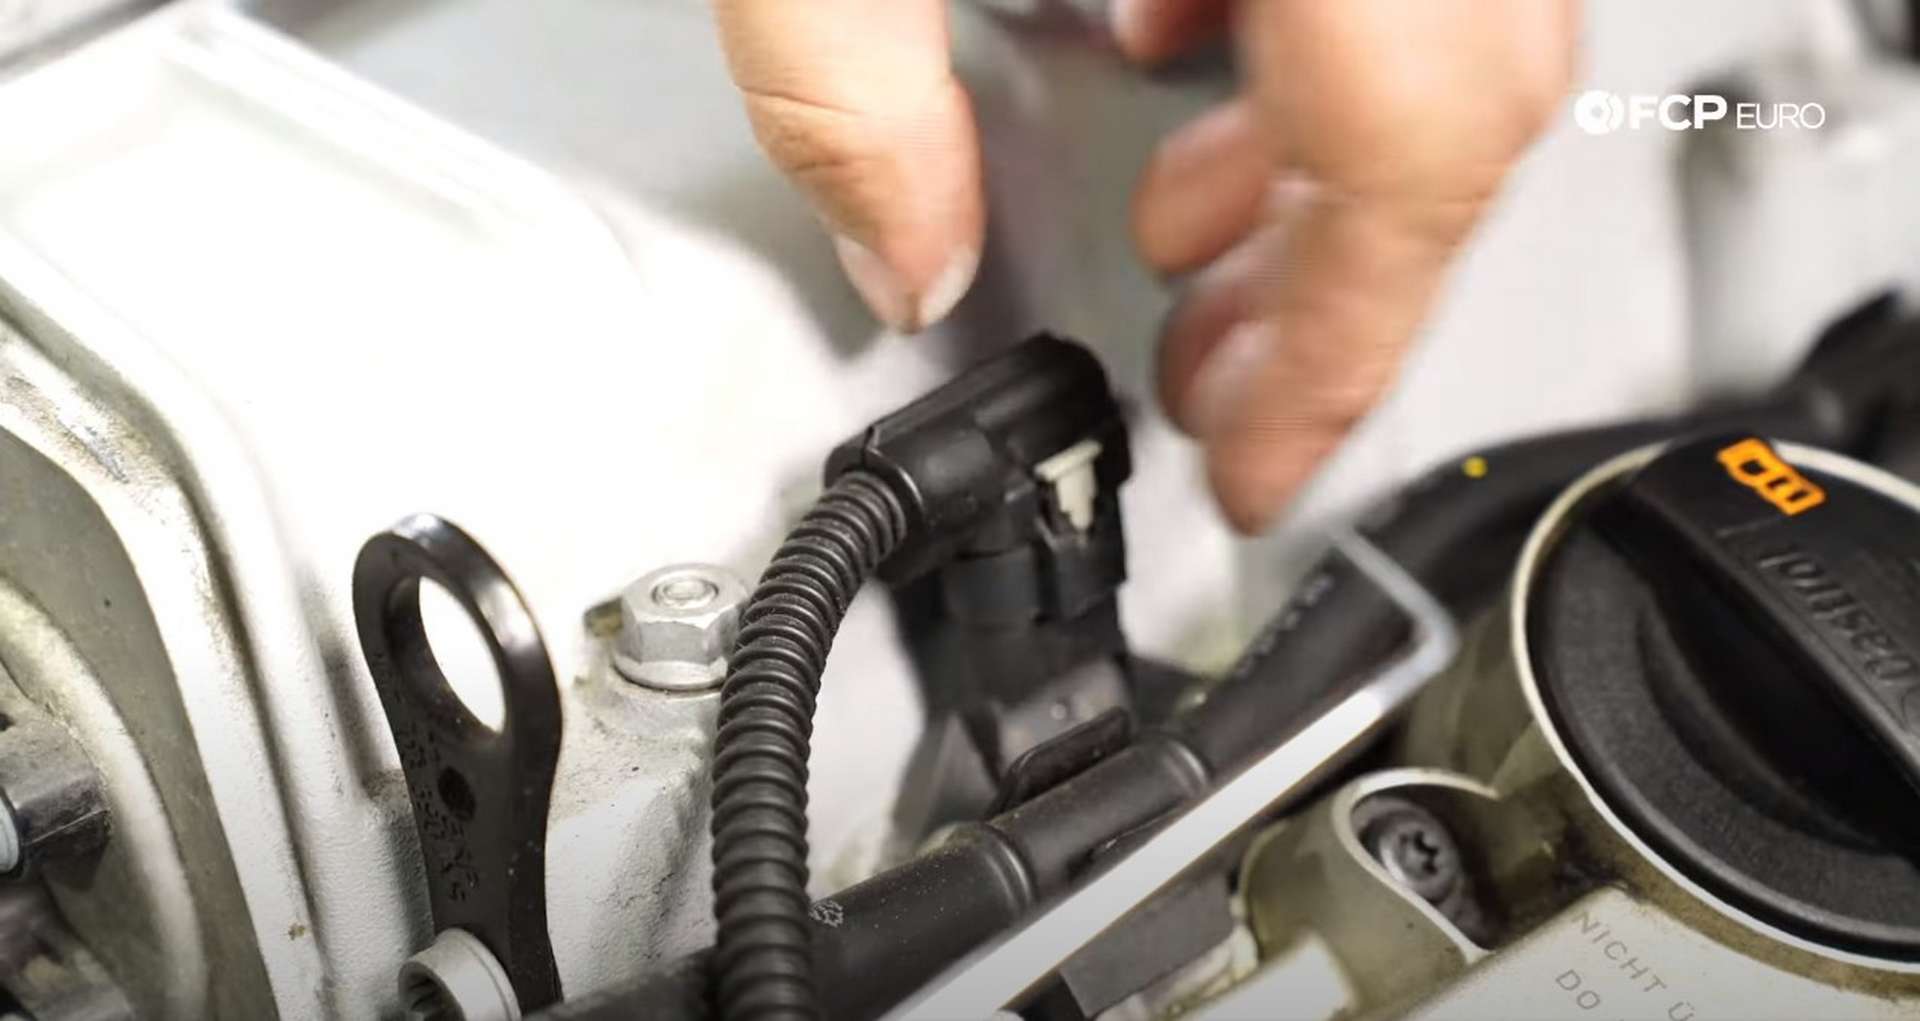
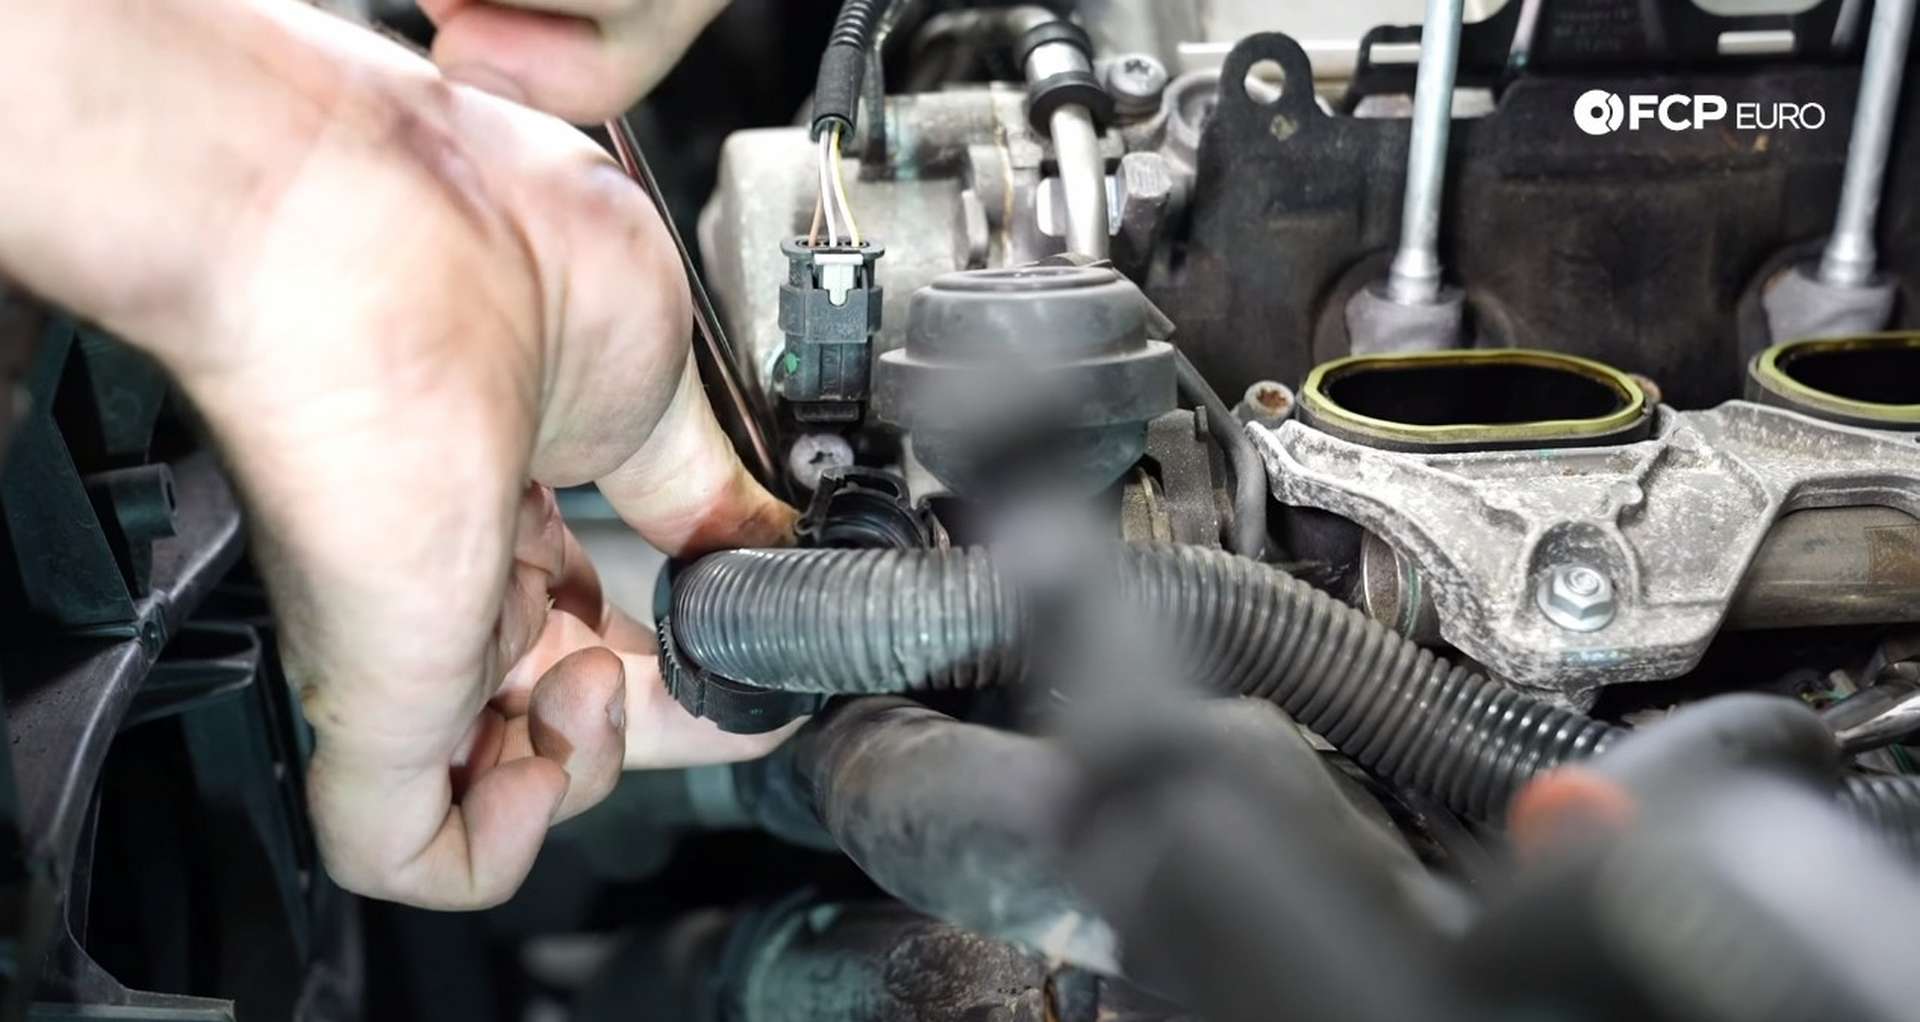
At the back of the supercharger are the throttle body and a whole mess of sensors and hoses. Use markers to mark the hoses to make them easier to reinstall, then remove them. Then, unplug the throttle body, MAP sensor, the two solenoids, throttle valve, and the evap purge valve. While back there, disconnect the hose that runs to the evap valve.
On either side of the supercharger are MAP sensors. Unplug them, then remove the two plastic covers below them. Use a T25 socket to remove the two bolts for each of the covers.
Use a vacuum or compressed air to clear the area around the supercharger of any loose debris. Removing the supercharger will expose the intake ports, potentially allowing debris to fall inside the engine.
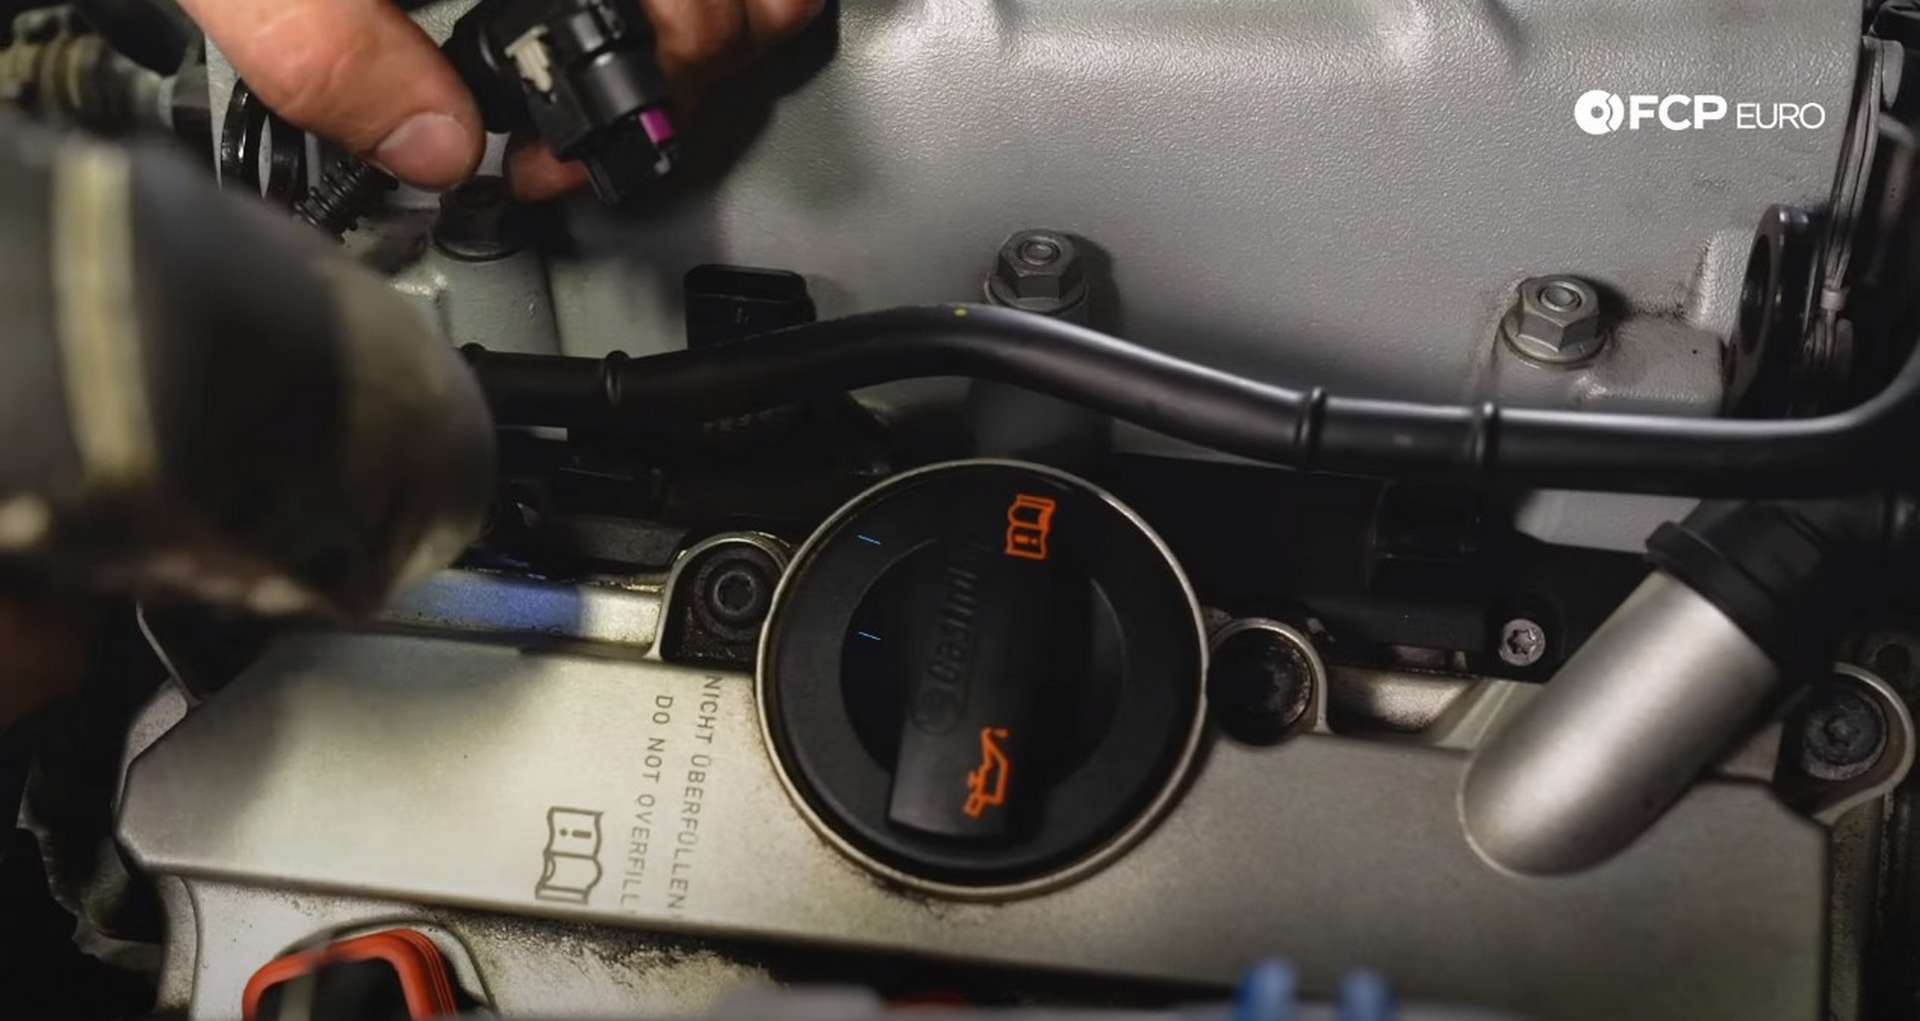
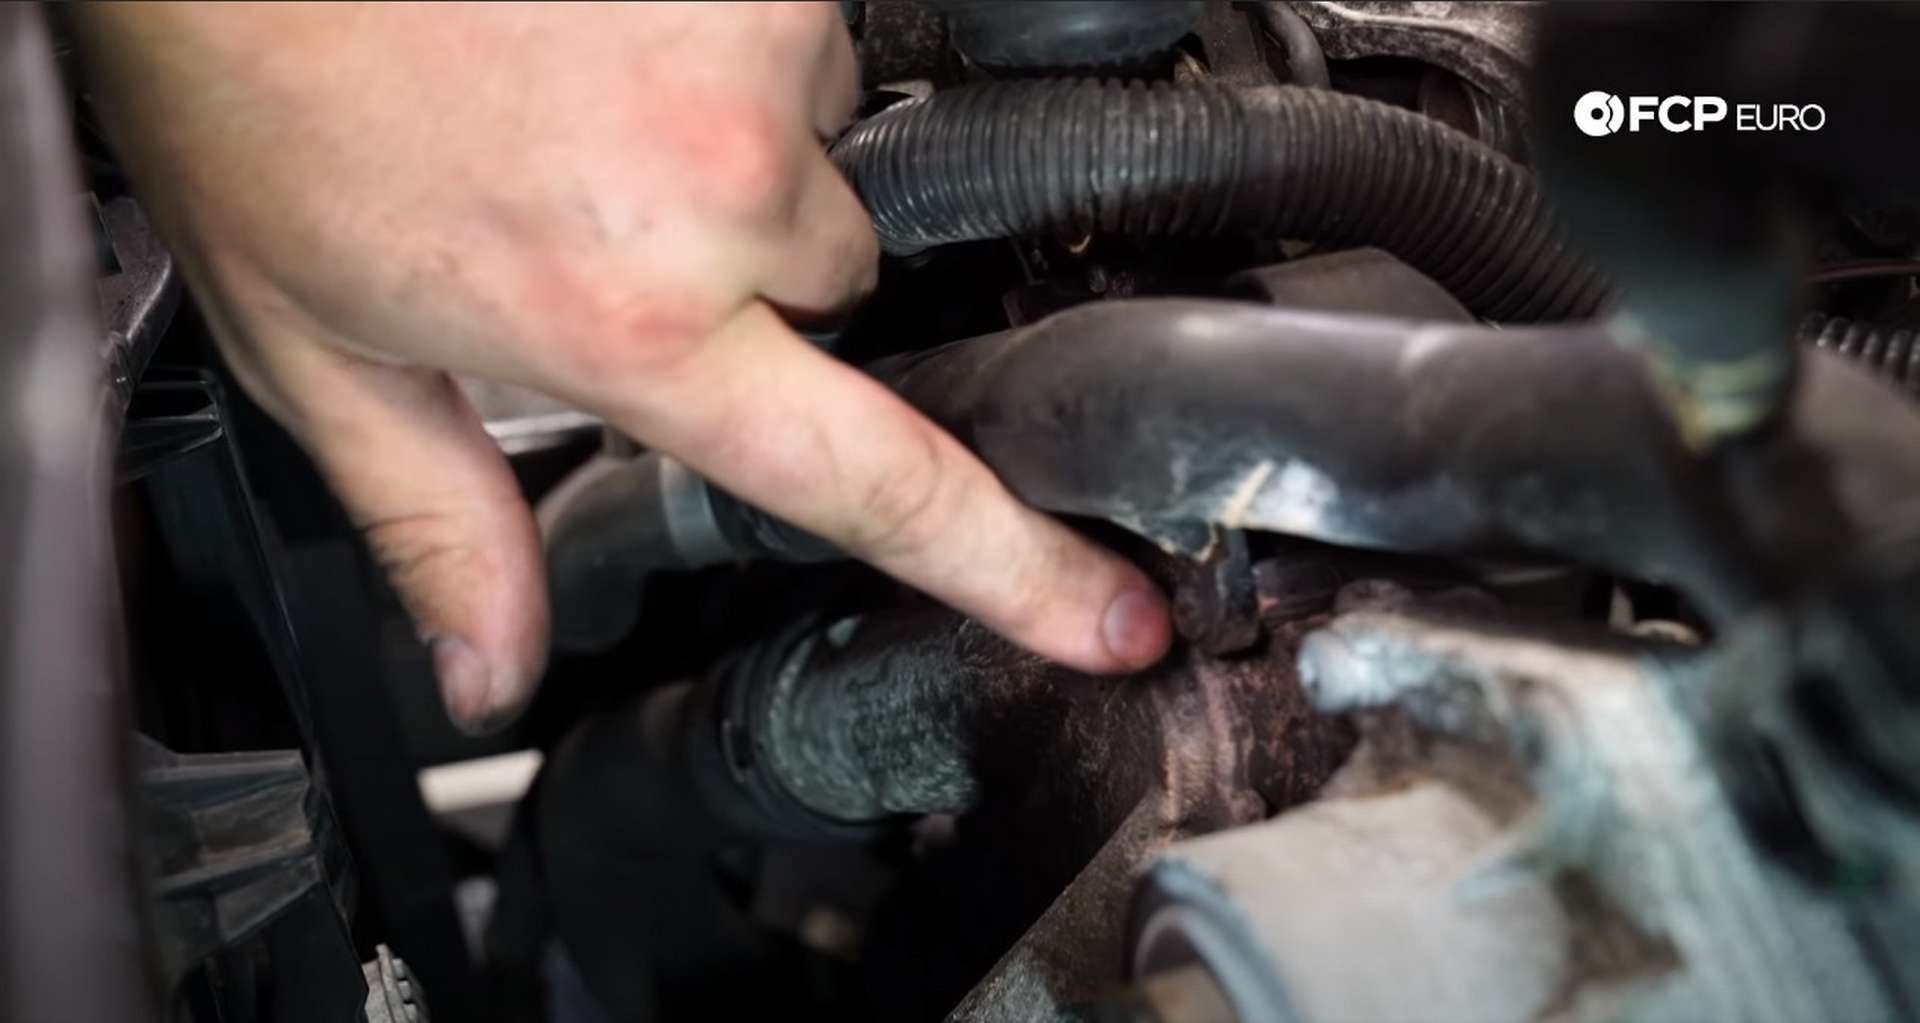
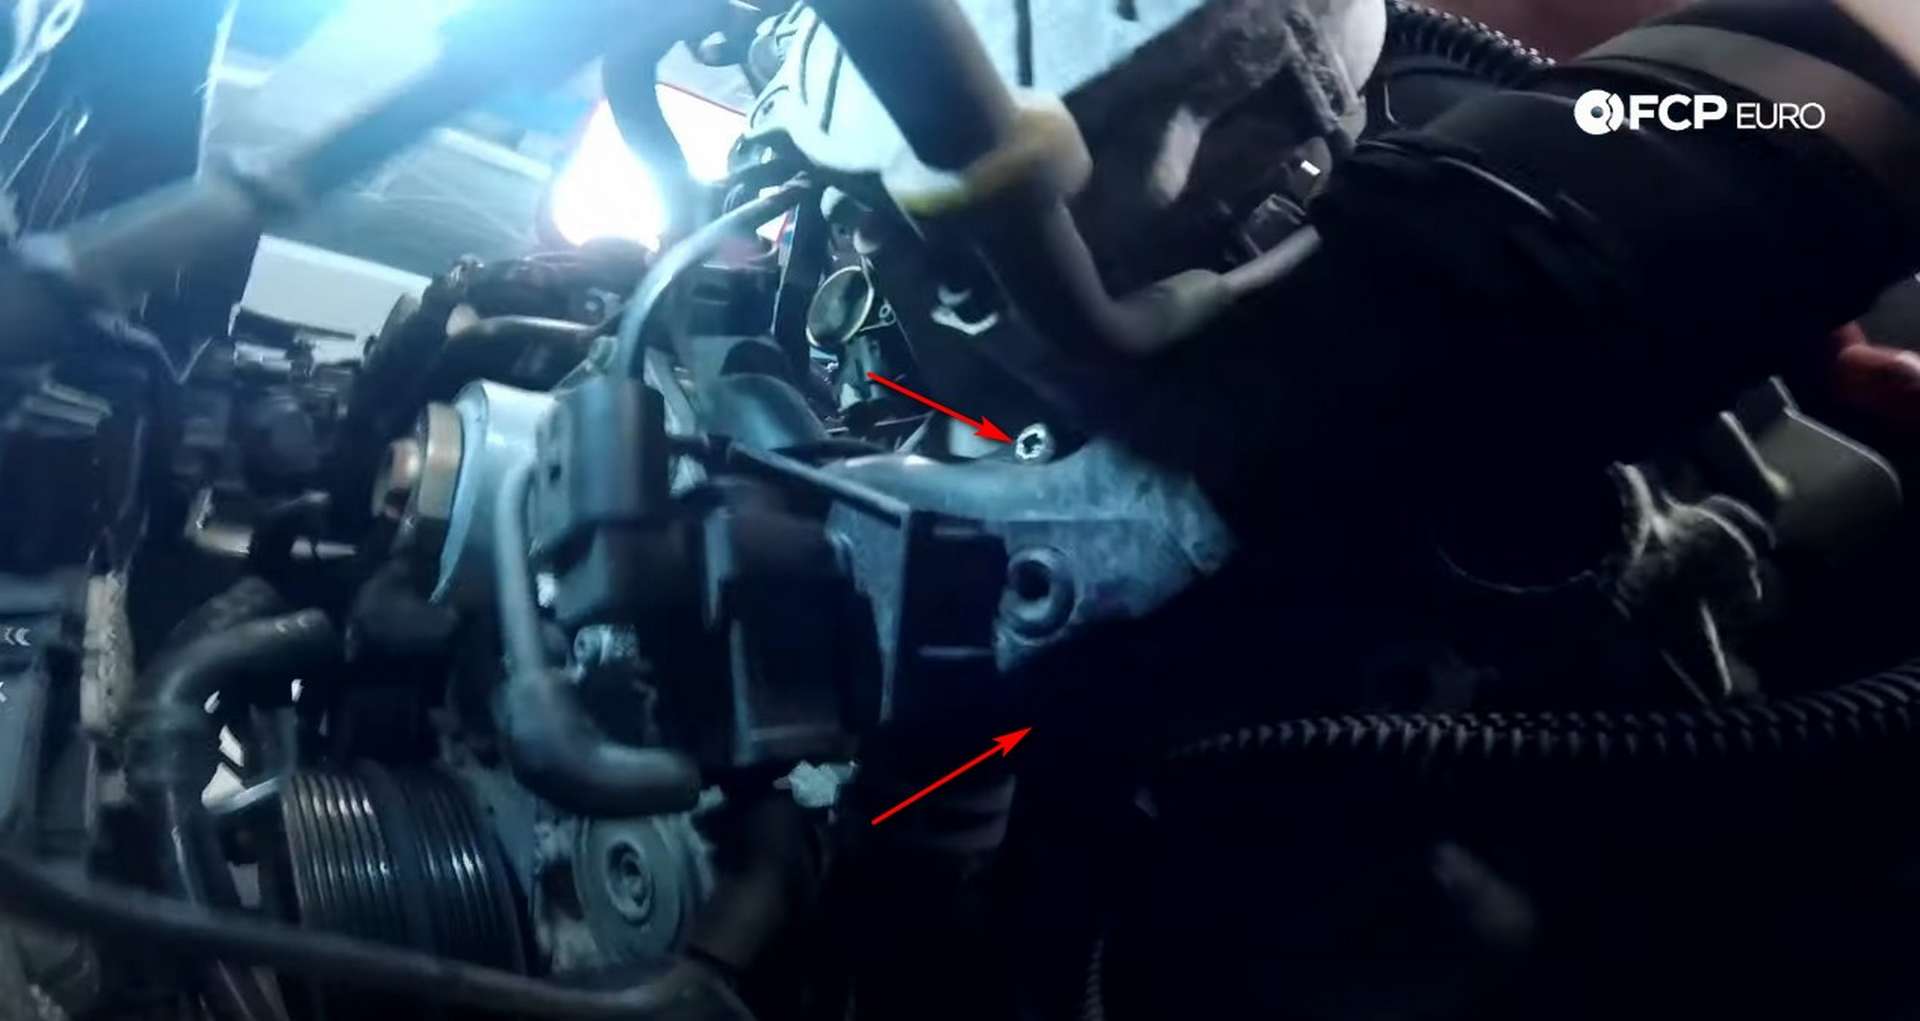
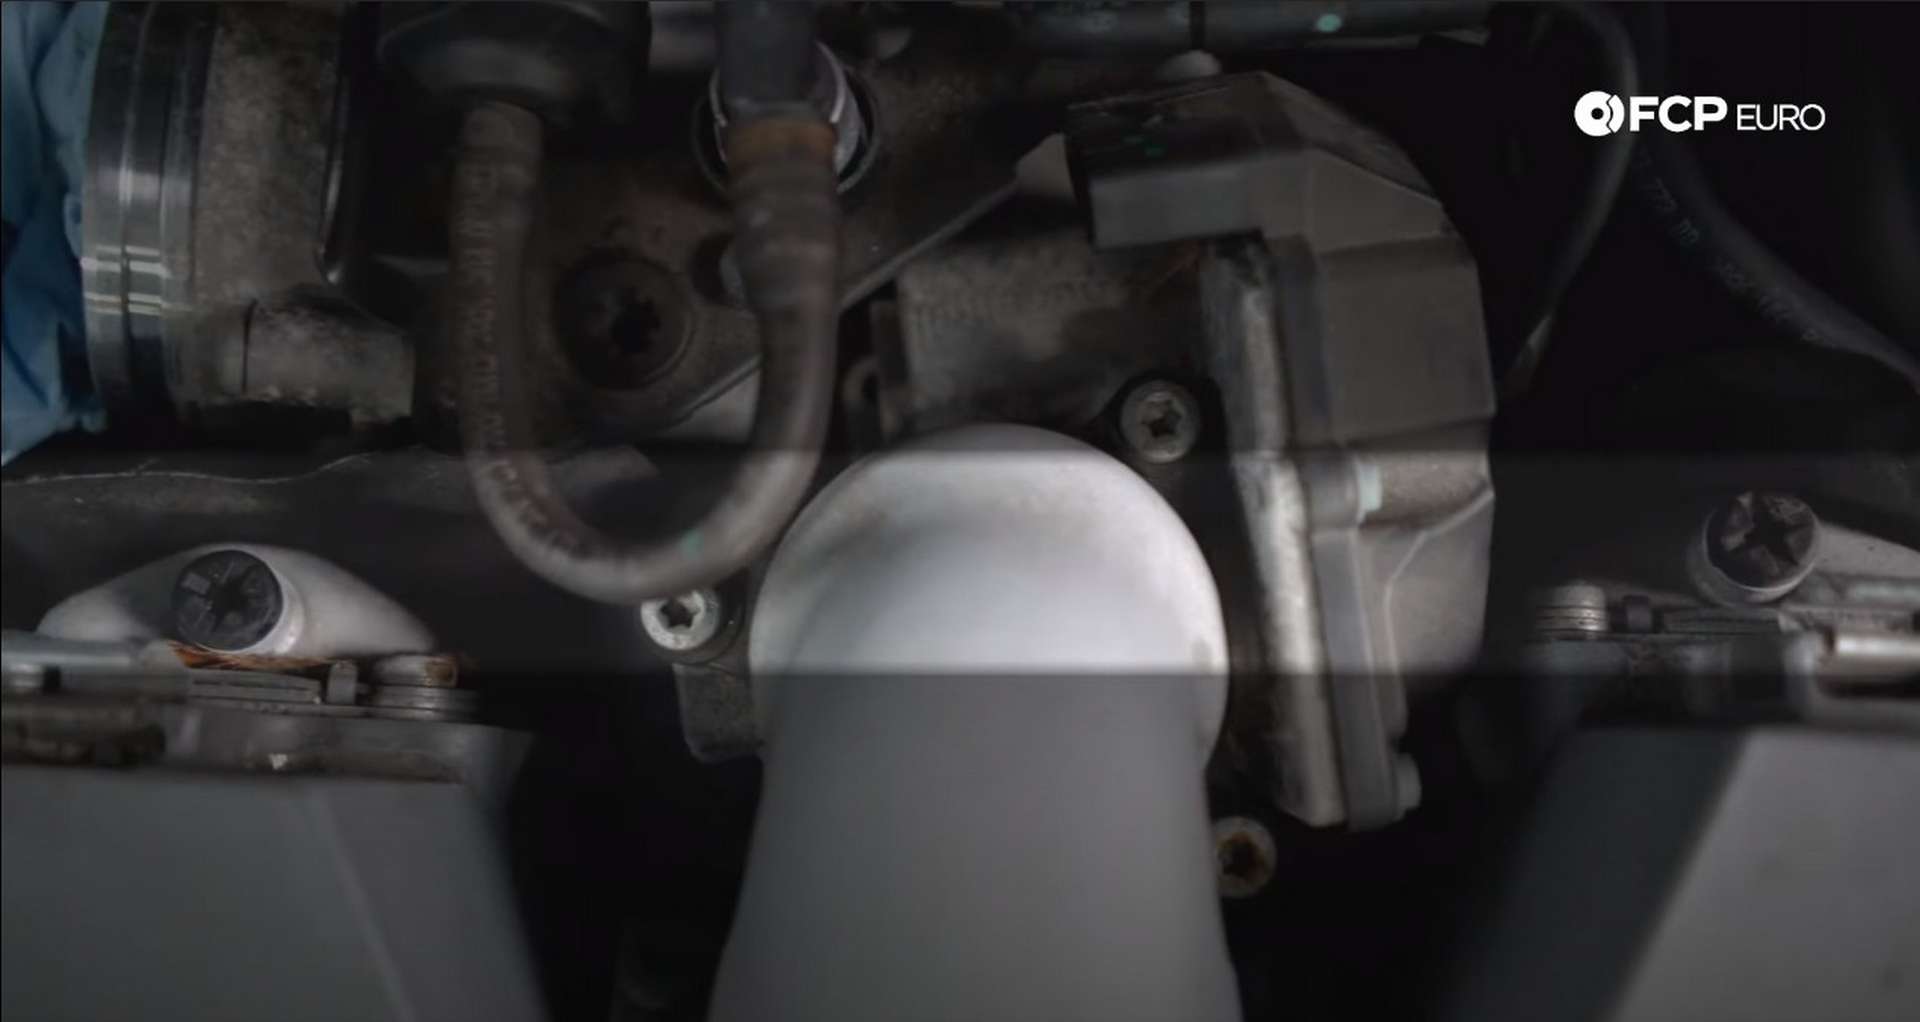
Next, remove the two coolant lines from the front of the supercharger. To the right of the coolant lines is a T30 fastener, just below the u-shaped coolant line. Remove that fastener too.

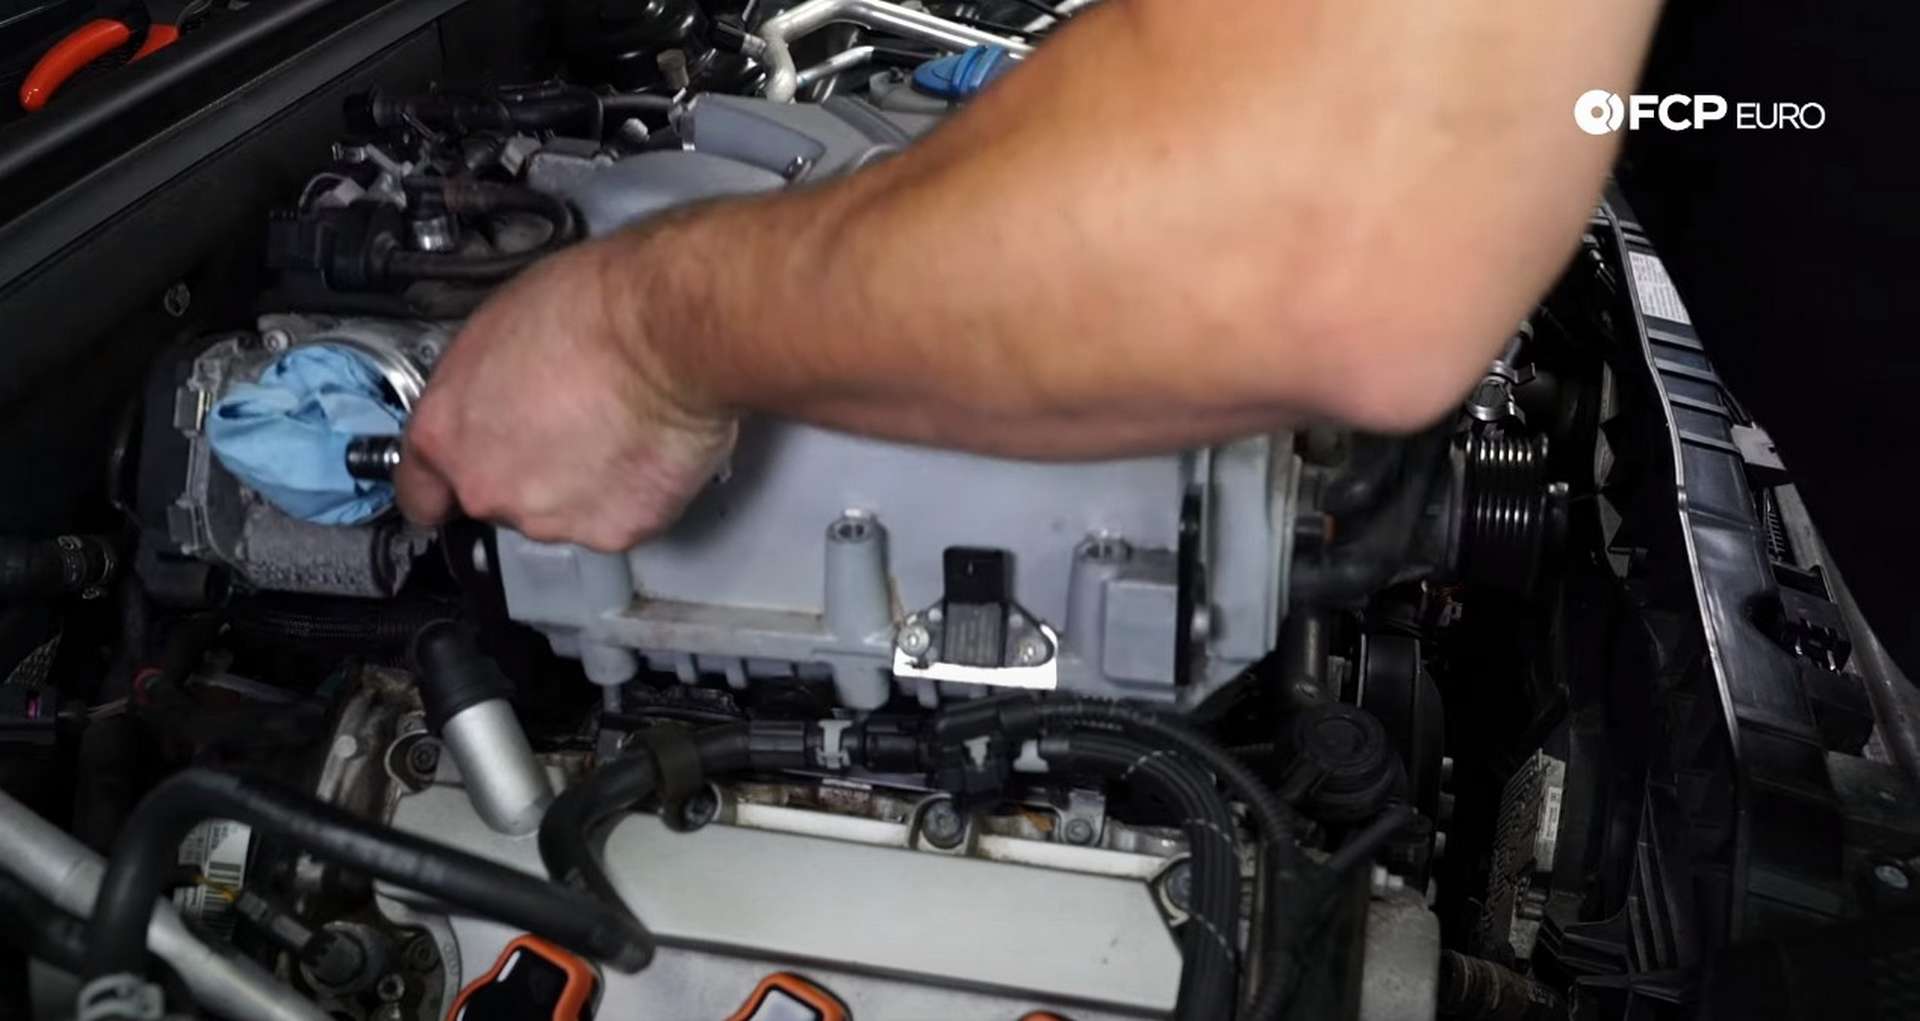
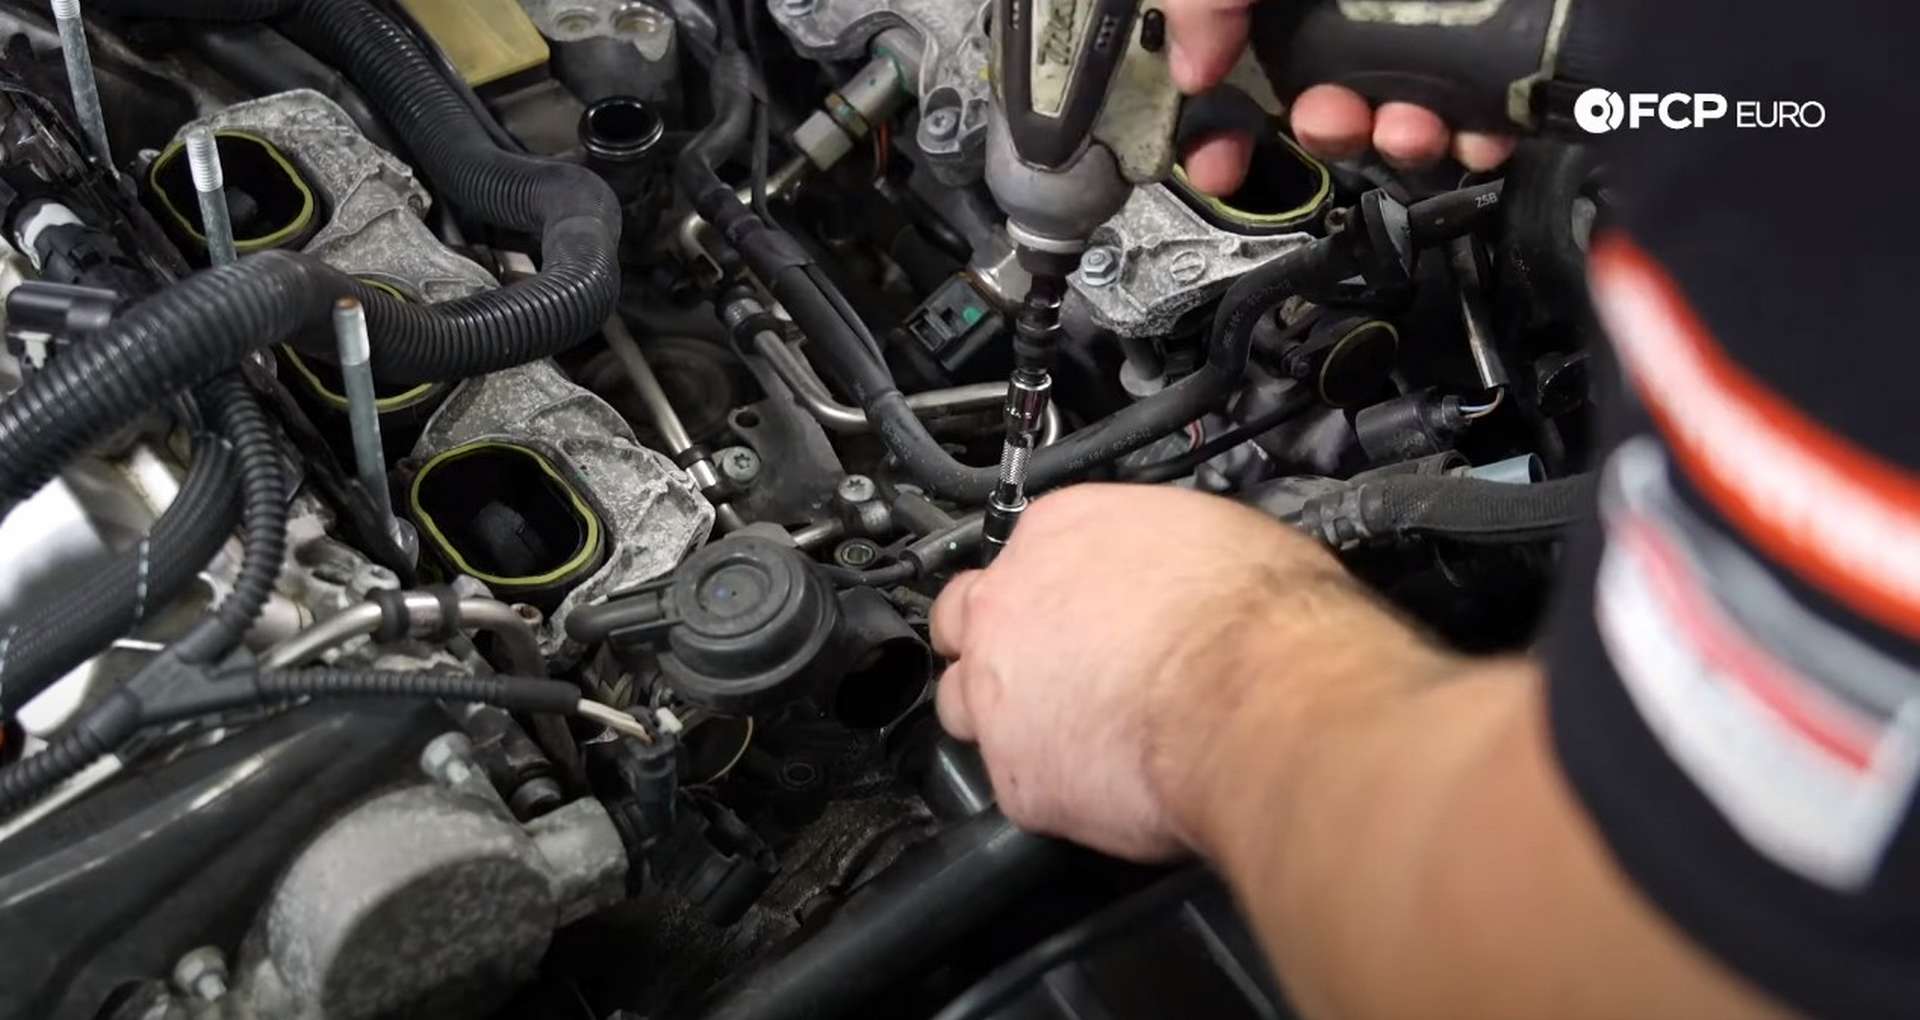
Finally, use a 13m socket to remove the six nuts that secure the supercharger to the intake manifold. Use the eyelets on each corner of the supercharger to pull it up and remove it from the engine.
Step 4: Replace the thermostat
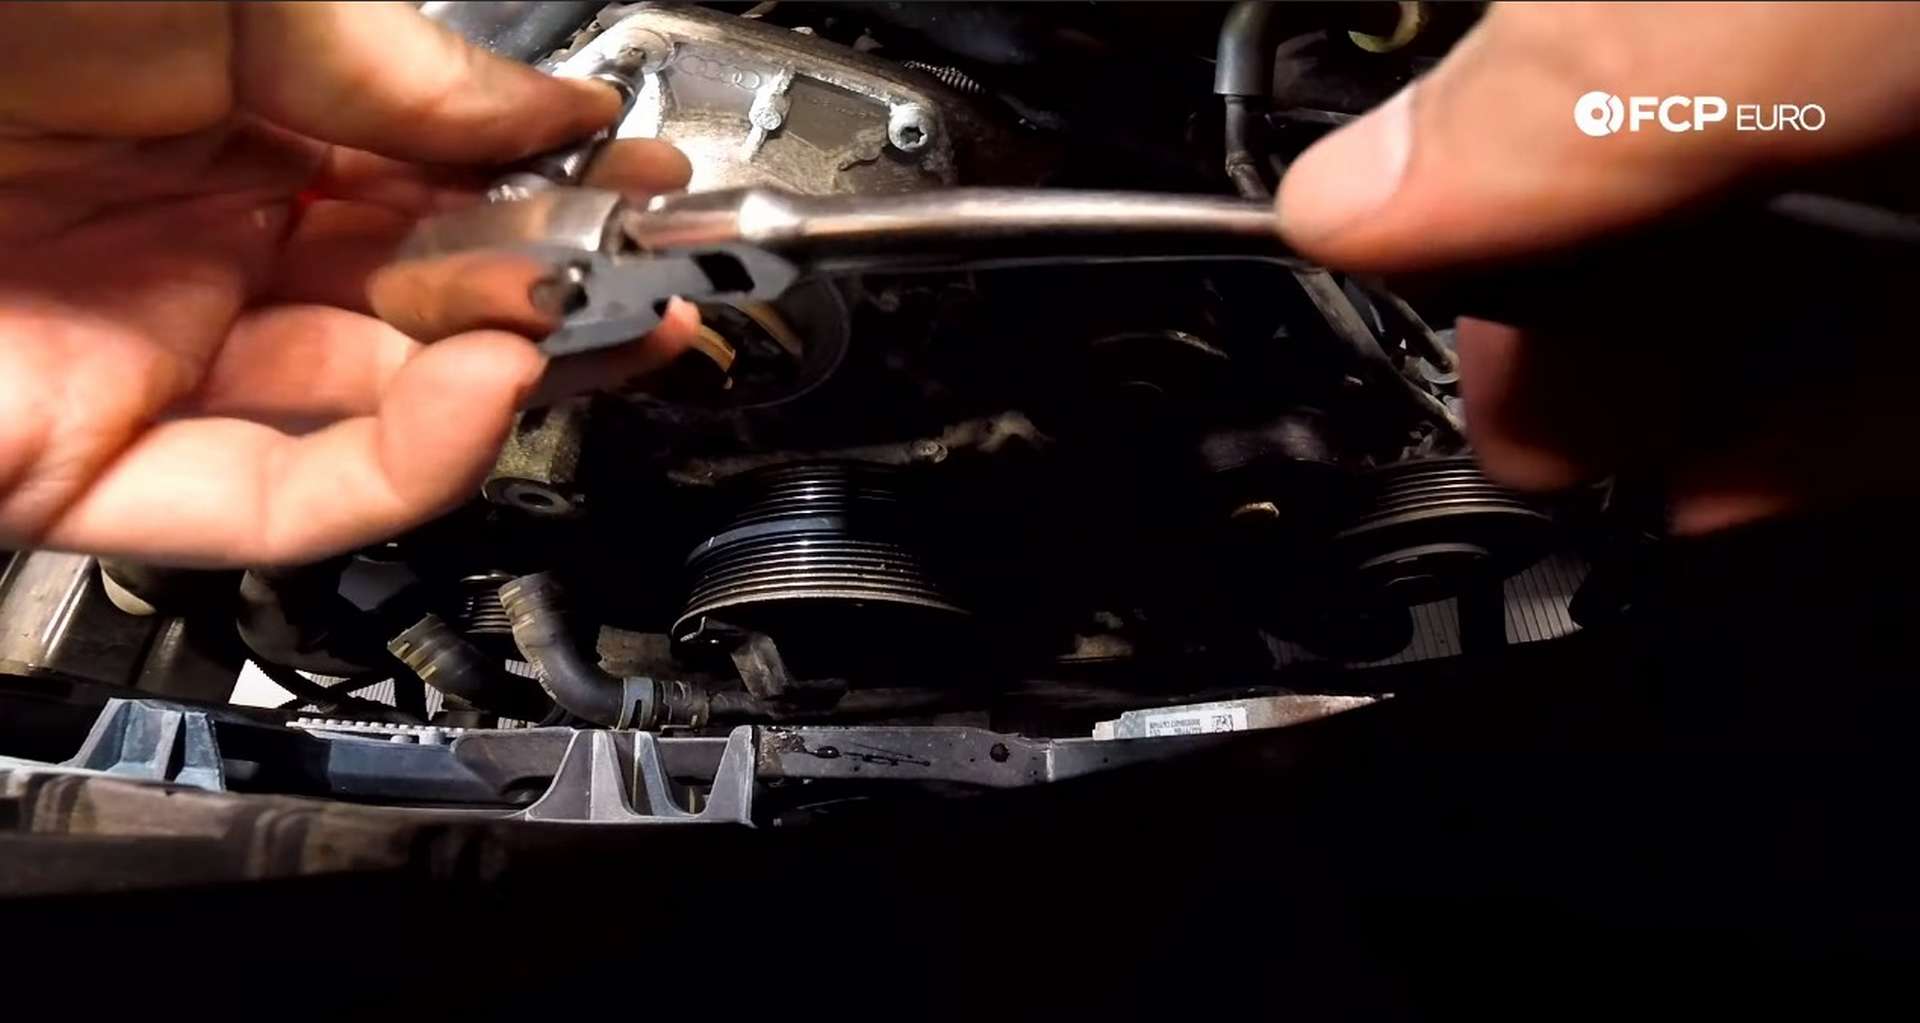
Use a 16mm wrench to remove the tension from the accessory belt tensioner and pull the belt off. The belt will get held up by one of the idlers, so use an M10 triple-square socket to loosen it enough to sneak the belt by.
Then, remove the bolts from the water pump pulley and pull it off of the pump. Next, you'll need to remove the coolant pipe. But, before loosening the coolant pipe, move the secondary air hose out of the way. Pull the hose out of its retaining clip and then pull up on the tabs to disconnect it from the rest of the hose.
The coolant pipe runs across the front of the engine. It bolts to each cylinder head via two T30 fasteners per head. There is also one T25 fastener just to the left of the water pump. Remove these five fasteners and pull back on the coolant pipe, away from the engine.
The thermostat is the black plastic housing behind the water pump that the coolant pipe connects to. Remove the seven fasteners mounting it to the engine with a T30 socket. Then, pull the old thermostat out.

Peel the old thermostat seal off the engine and wipe down the mating surface with a rag. Always wipe away from the opening in the engine to keep out any debris.
The new thermostat has the seal installed on it, so fit it into place on the engine and fasten it down. Torque the fasteners to 9Nm with a T30 socket. Remove the three old o-rings from the coolant pipe with a pick and replace them with the new ones provided in the kit.
Fit the coolant pipe back into the thermostat housing and then thread in the four T30 fasteners by hand. Use a T30 socket to torque them to 9Nm. Then, reinstall the T25 fastener next to the water pump.

Step 5: Replace the water pump
The later S4/5 chassis known as the B8.5s have a vacuum nipple on the side of the water pump. Use a pick to remove the vacuum line from the nipple if your Audi has it. Ignore that if you don't have that vacuum nipple.
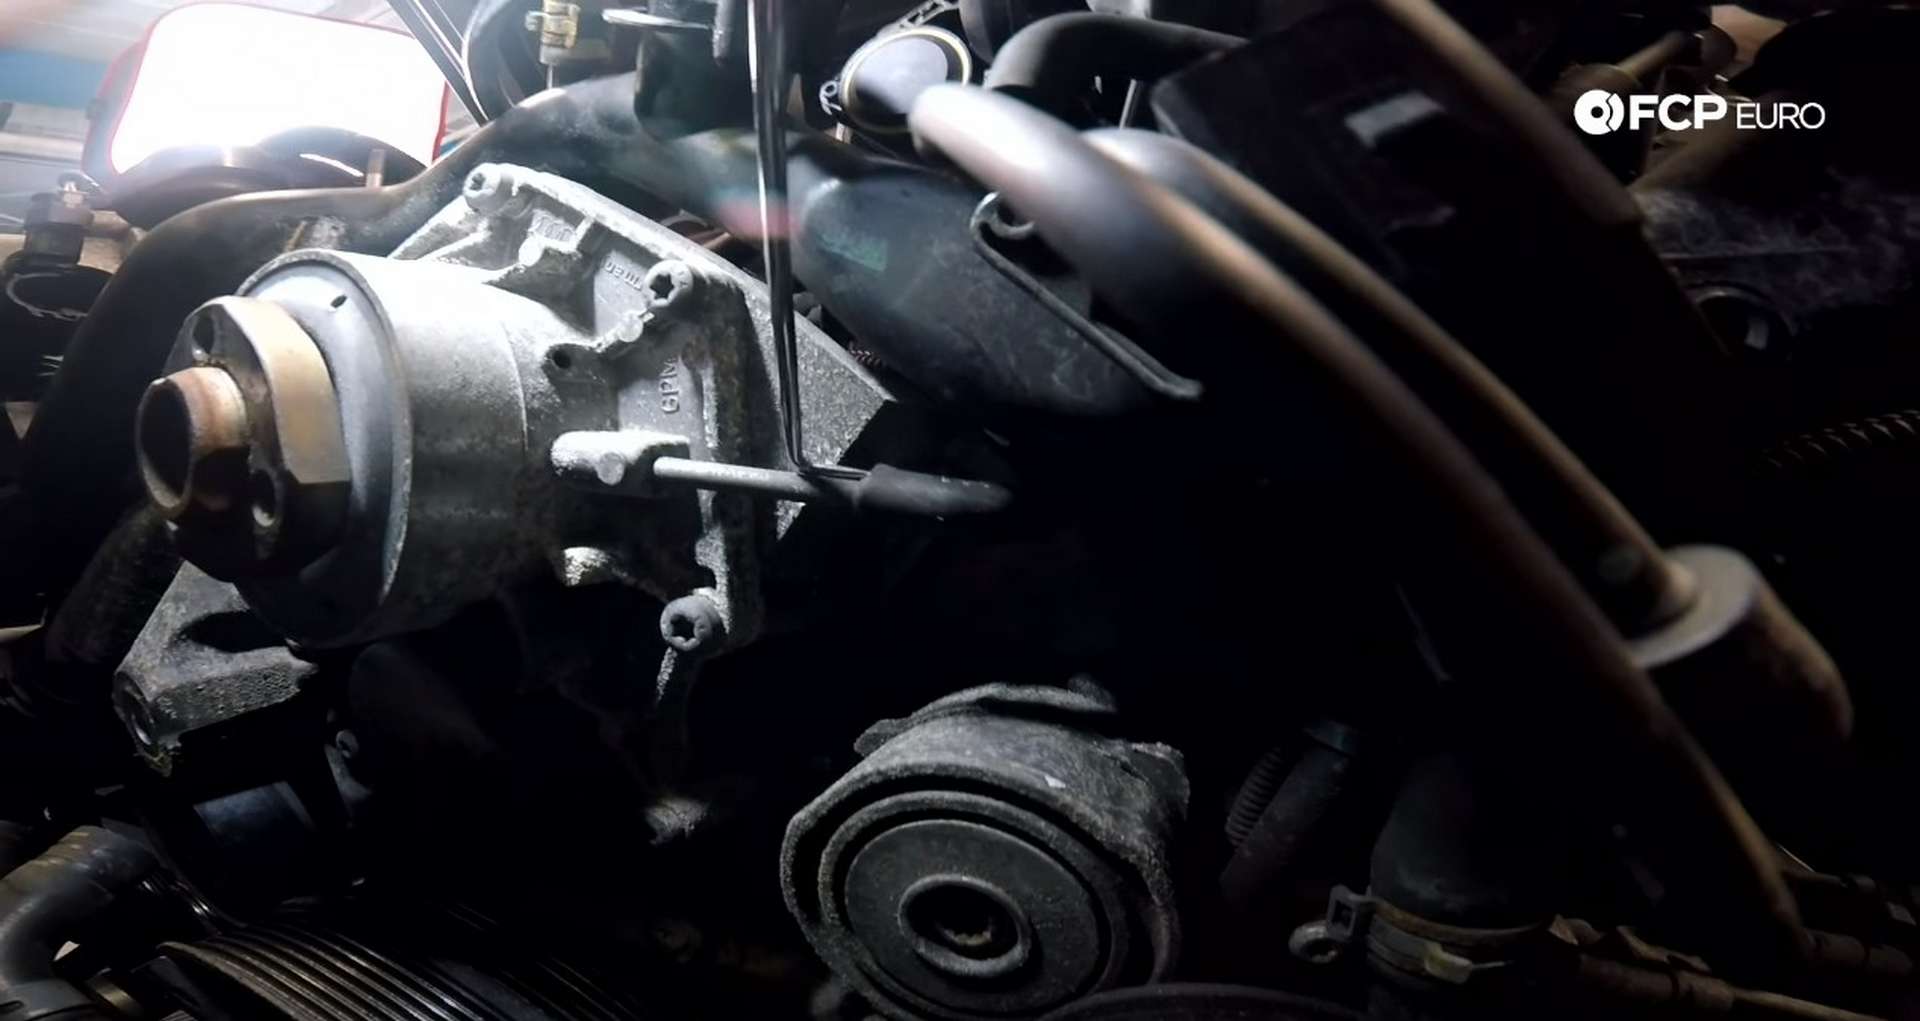
Next, use a T30 socket to remove the seven bolts that mount the water pump to the engine.
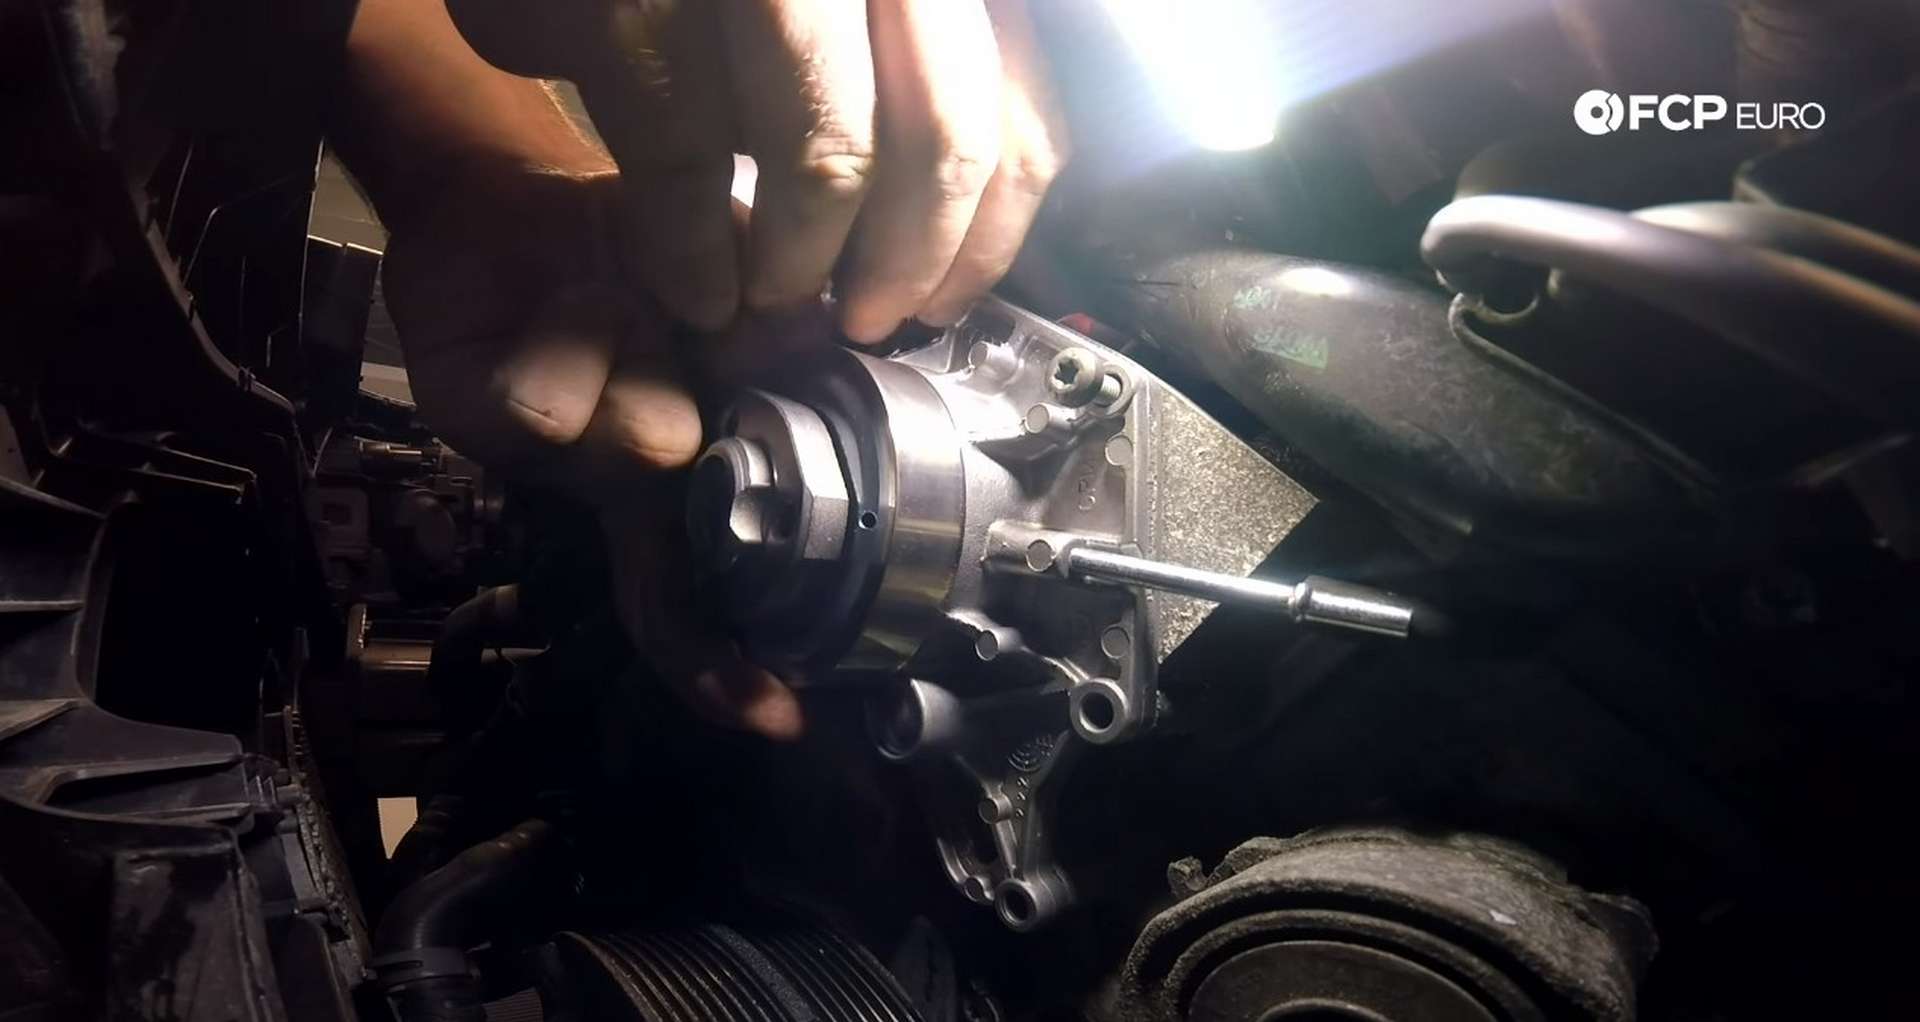
Tap the water pump's snout with a hammer to loosen it and then pull it off of the engine. Again, use a rag to wipe the mating surface away from the opening. Dab the o-ring on the water pump with coolant before installing. Line up the new water pump and thread in all of the bolts by hand before tightening them down with a T30 socket. Torque the bolts to 9Nm.
Reconnect the vacuum line and any electrical connections that may have needed to undo. Reconnect the secondary air hose and clip it back into place. Then, reinstall the water pump pulley. Thread in the bolts by hand as tight as you can, but don't try to tighten them. You'll only spin the water pump.
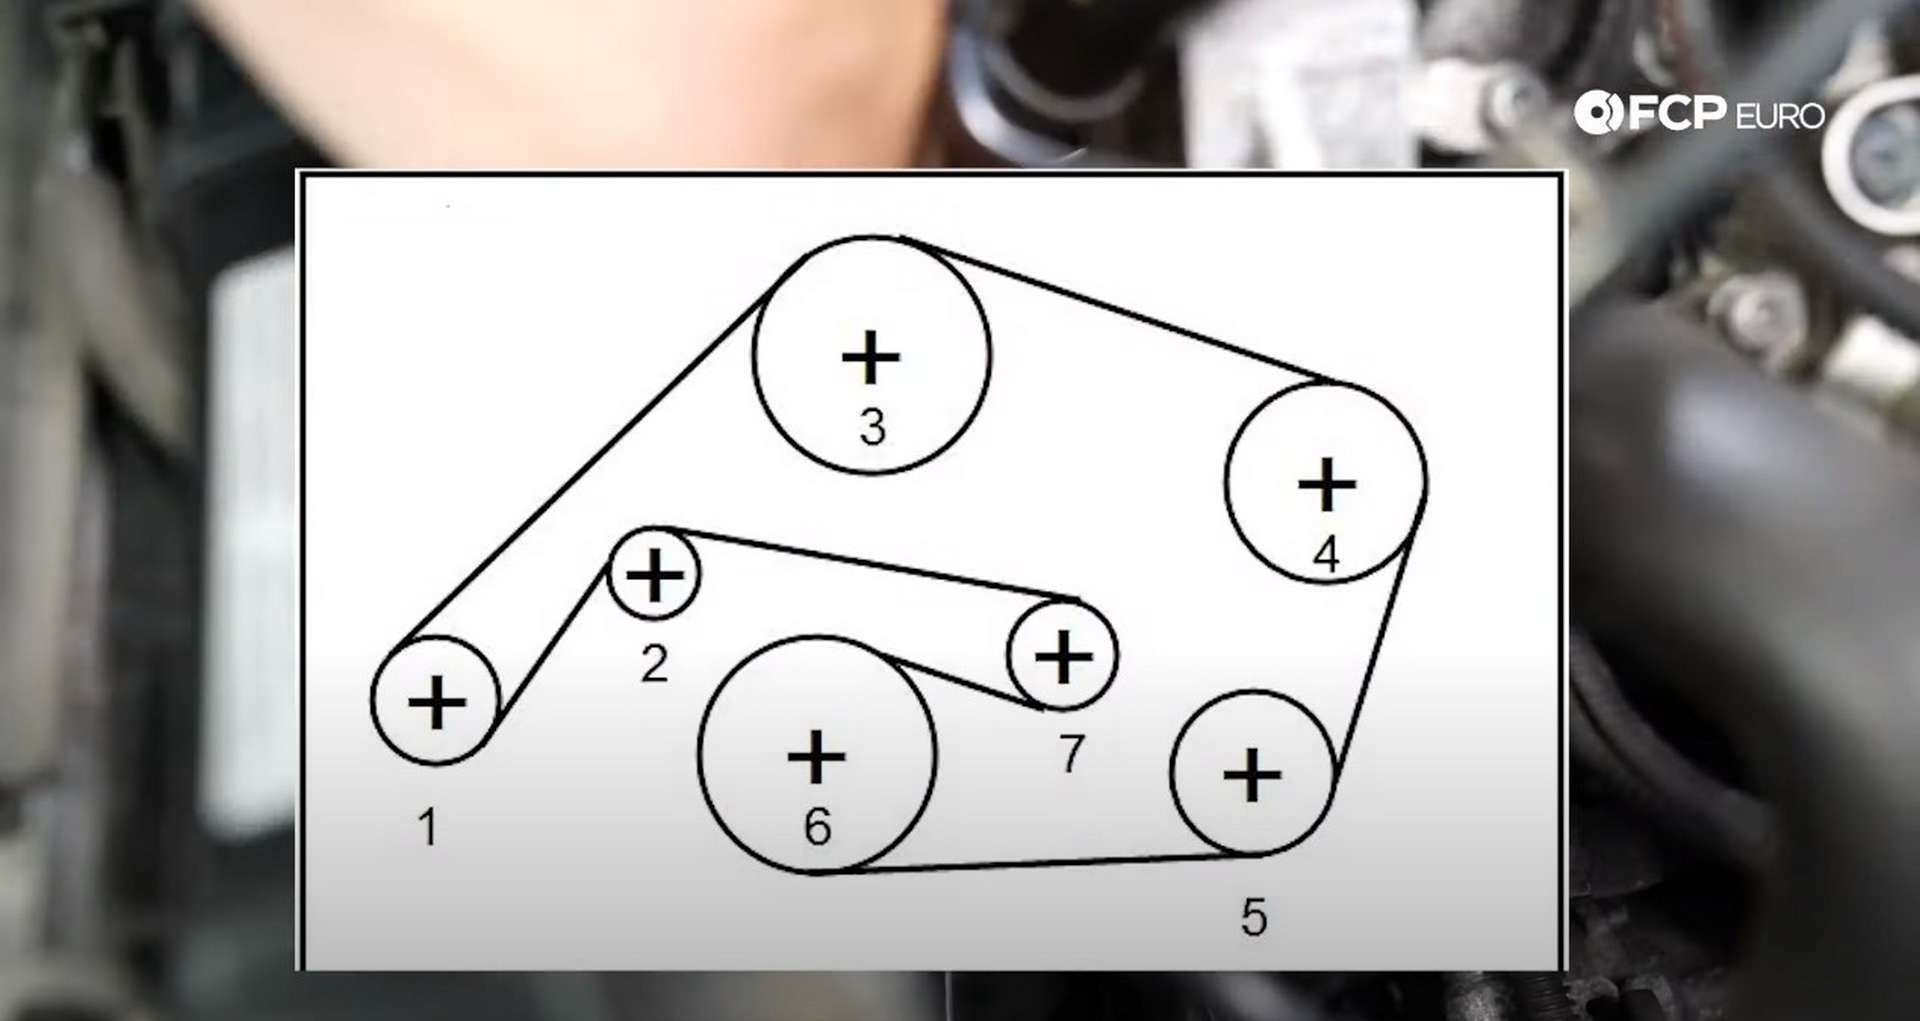
Next, reinstall the accessory belt using the diagram below. Torque the water pump pulley bolts to 20Nm once the belt is installed. Torque any idlers you needed to remove to 40Nm.
Under the supercharger sits a small coolant pipe. Pull the old pipe off of the engine and seat the new pipe in its place.
Step 6: Reinstall the supercharger
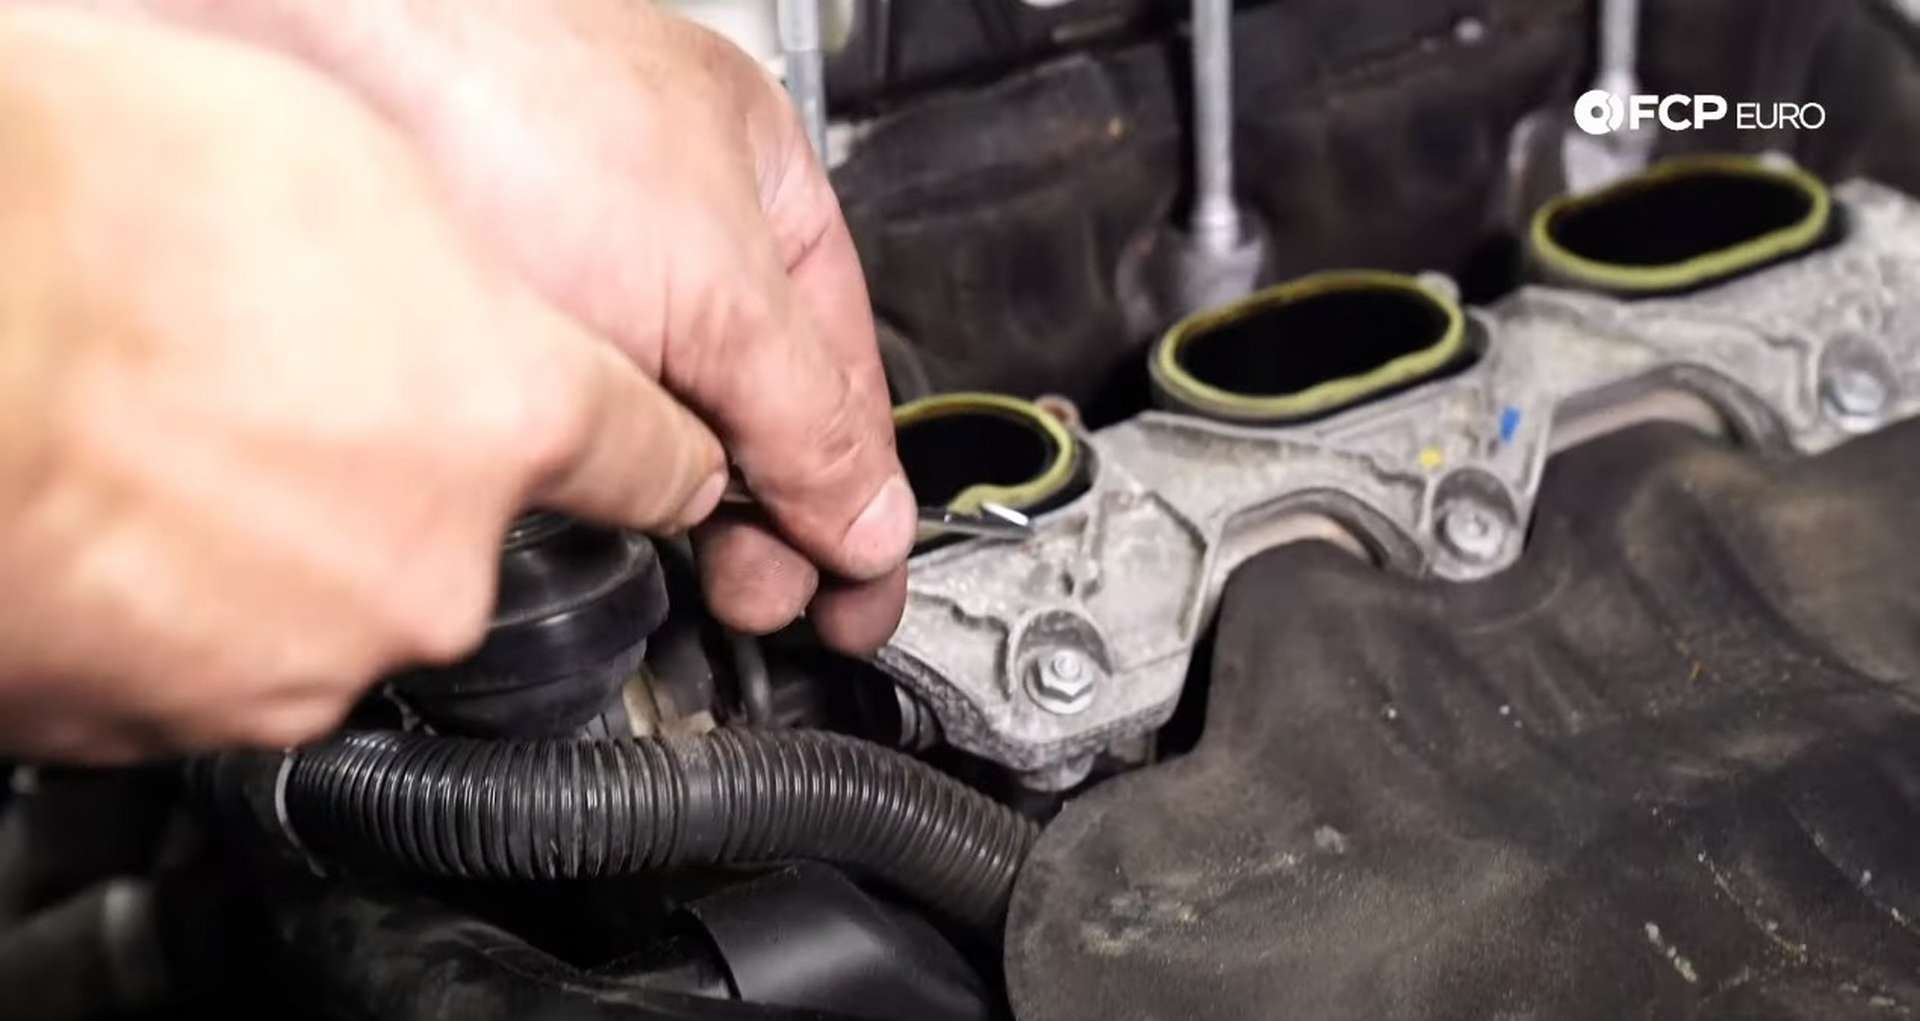
Use a pick to remove all of the old intake manifold gaskets and then replace them with the new ones supplied in the kit.
Next, refit the supercharger to the engine. When installing it, ensure that none of the wire harness plug or vacuum lines at the back of the supercharger get crushed under it. Give it a few pushes down by hand to seat it on the new coolant pipe and intake manifold gaskets. Then, install the six 13mm nuts. Torque the supercharger nuts to 22Nm in a criss-cross pattern.
Next up, reinstall the supercharger belt. Then, reconnect the tow coolant hoses to the supercharger and reinstall the T30 for the coolant line bracket.

Reconnect the evap solenoid line and reconnect all of the plugs and hoses that were disconnected from the back of the supercharger. Then refit the plastic cover to each side of the supercharger, tightening down the fasteners with a T25 socket. Finish that up by plugging in the MAP sensor on each side of the supercharger.
Step 7: Check for any leaks
Push the nose back into place and reinstall the T30 fasteners that sit behind the headlights.
Then, reattach the coolant bleeder line and open up the expansion tank. Fill the tank with coolant and open up the bleeder screws on the supercharger. Start the car and run it, allowing the air to bleed from the cooling system. Keep an eye on the coolant level and add it as you see fit.
Close up the bleed screws once the coolant system has bled, and then reinstall the intake and airbox. Use an 8mm socket to tighten the hose clamp on the throttle body.
Step 8: Resecure the nose and install the bumper
First, plug in the headlights. Then, resecure the bumper beam to the chassis using a 16mm socket.
Next, bring the bumper over to the car and plug in the fog light. Then, fit the bumper into place on the car. After the bumper snaps into place, use a T20 socket to install the fastener just to the inside of either headlight.
Then, refit the radiator shroud and install the four clips holding it in place.
Next, move onto mounting the bumper on the sides in the wheel well. Use a 10mm socket to fasten the bumper to the chassis behind the fender liner. Then put the fender liner back into place and secure it to the bumper with the two T25 fasteners and the plastic clip. Repeat that process for each side.
Head under the car and install the five T30 bolts that secure the bottom of the bumper to the radiator support. Then, refit the plastic underbody to the car with its twist-locks.
Audi B8 S4 water pump & thermostat torque specs:
- Audi Thermostat Bolts = 9Nm or 6.6 ft-lbs of torque
- Audi T30 Coolant Pipe Bolts = 9Nm or 6.6 ft-lbs of torque
- Audi Water Pump Bolts = 9Nm or 6.6 ft-lbs of torque
- Audi Accessory Belt Idler Bolts = 40Nm 30 ft-lbs of torque
- Audi Water Pump Pulley Bolts = 20Nm or 14.8 ft-lbs of torque
- Audi Supercharger Nuts = 22Nm or 16.2 ft-lbs of torque
Just like that, your cooling system is back to full health. If you're interested in more DIYs for your Audi, you can visit audi.fcpeuro.com or subscribe to our YouTube channel.


