- 04/23/2020
- 5 Min Read
- By: Christian Schaefer
How To Replace The Thermostat On A Mercedes-Benz M156 Engine (C63 AMG, E63 AMG, SLS AMG & More)

An engine should always be brought to its normal operating temperature before being leaned on in anything more than easy driving. This is especially the case with high-performance engines, such as Mercedes-AMG's M156 6.2L V8. Built with tighter tolerances to endure abuse, they should only be thrashed on when fully warmed up to prevent premature internal wear. Paramount to getting the engine warm and keeping it cool is the thermostat. The thermostat sits in the coolant inlet of the engine block. When the engine is cold, it prevents coolant from circulating too quickly bring the engine up to temperature. When the operating temperature is achieved, it opens up, allowing the coolant to circulate. A failed thermostat can either be stuck open or stuck shut, leading the engine to never warm-up or overheat quickly.
Tackling a thermostat replacement on your M156 doesn’t require any special tools, and won’t take you more than two hours if you’re prepared. There are only a few parts you’ll need, and we’ve put together a kit to make sure you’ll have everything needed to do the replacement yourself. Follow along below as with the video as our Mercedes Catalog Manager, Kyle Bascombe, takes you step-by-step through this replacement job.
Mercedes models and years applicable:
|
|
|
|
|
|
|
|
|
|
|
What are the symptoms of a bad Mercedes-Benz M156 thermostat?
- Engine fan constantly running on high
- Coolant temperature dashboard error message
- Vehicle taking longer than usual to get to operating temperature
- "Open circuit" fault code for the MAP-controlled thermostat
- Engine overheating
Ignoring the signs of a failing thermostat can cause very expensive engine issues. Repeated overheating can cause head gasket failure and the warping of the cylinder heads, leading to costly repairs. If your vehicle is regularly overheating, it shouldn’t be driven until the issue is fixed.
How long will it take to replace the thermostat on a Mercedes-Benz M156?
Unlike some cars, the thermostat on the M156 is near the top of the engine, at the front. This makes access fairly easy once a few hoses and sensors are moved out of the way. The replacement, including bleeding the coolant system, should take under two hours.
How much does it cost to replace the thermostat on a Mercedes-Benz M156?
Taking your AMG to a dealership or independent service shop for a thermostat replacement can cost near $800. While doing engine work on your European sports sedan sounds scary, the cost for parts is under $200 and the job can be completed with simple hand tools. If the thermostat fails after replacement, you can make use of our Lifetime Replacement Guarantee.
Tools required to replace your Mercedes-Benz M156 thermostat:
Parts required to replace your Mercedes-Benz M156 thermostat:
Steps required to replace your Mercedes-Benz M156 thermostat:
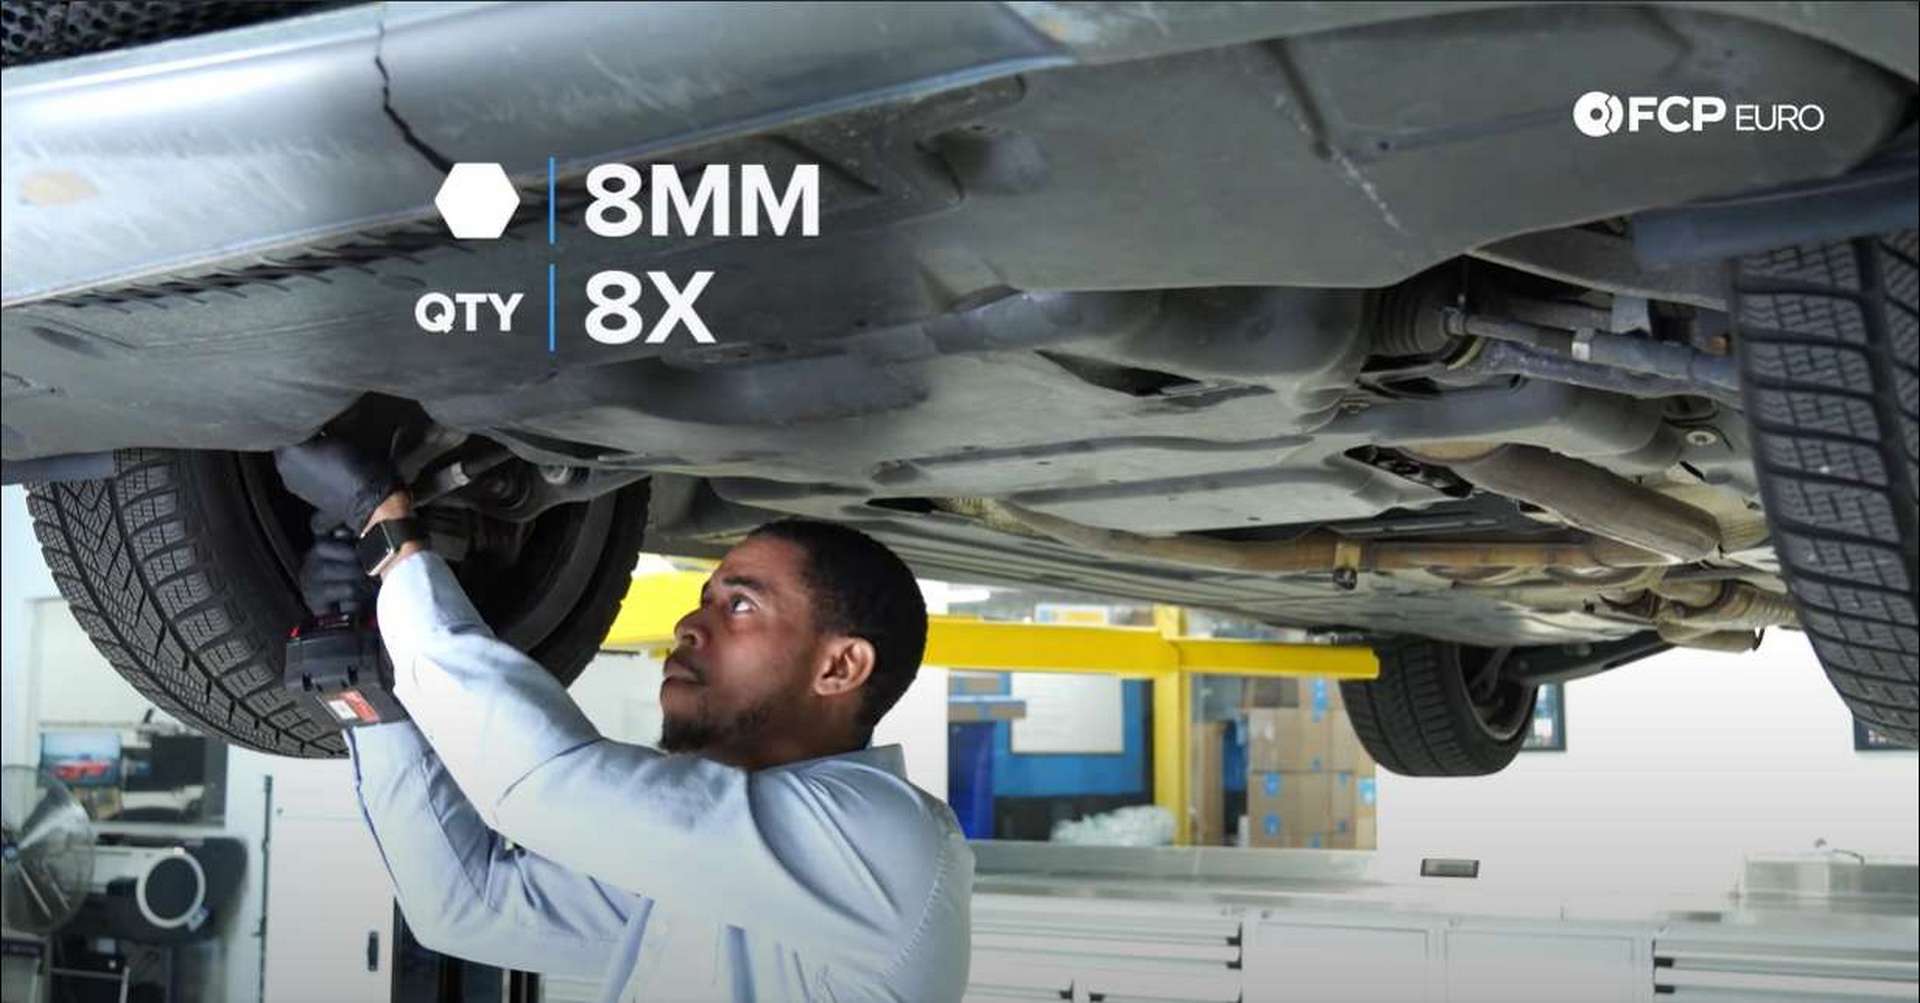
Step 1: Remove the undertray
Start by jacking up the vehicle and placing it on jack stands. Next, locate the eight bolts holding up the front-most splash guard. Use an 8mm socket to remove the bolts, and then set the tray aside.
Step 2: Drain the coolant
Locate the radiator drain valve at the bottom of the radiator, on the driver’s side. Before opening the valve, be sure to have a catch pan or bucket to capture as much of the coolant as you can. Laying cardboard down under the catch pan can help keep your driveway dry, as there is a good chance that the coolant will get deflected as it comes out of the radiator. To open the valve, rotate counterclockwise. Use pliers to rotate the valve if you can’t use your hand.
Once the radiator is empty, close the valve and position the catch pan towards the center-front of the engine. This will position it under the thermostat and help catch any residual coolant that may come out during replacement. You can now put the car back onto the ground.
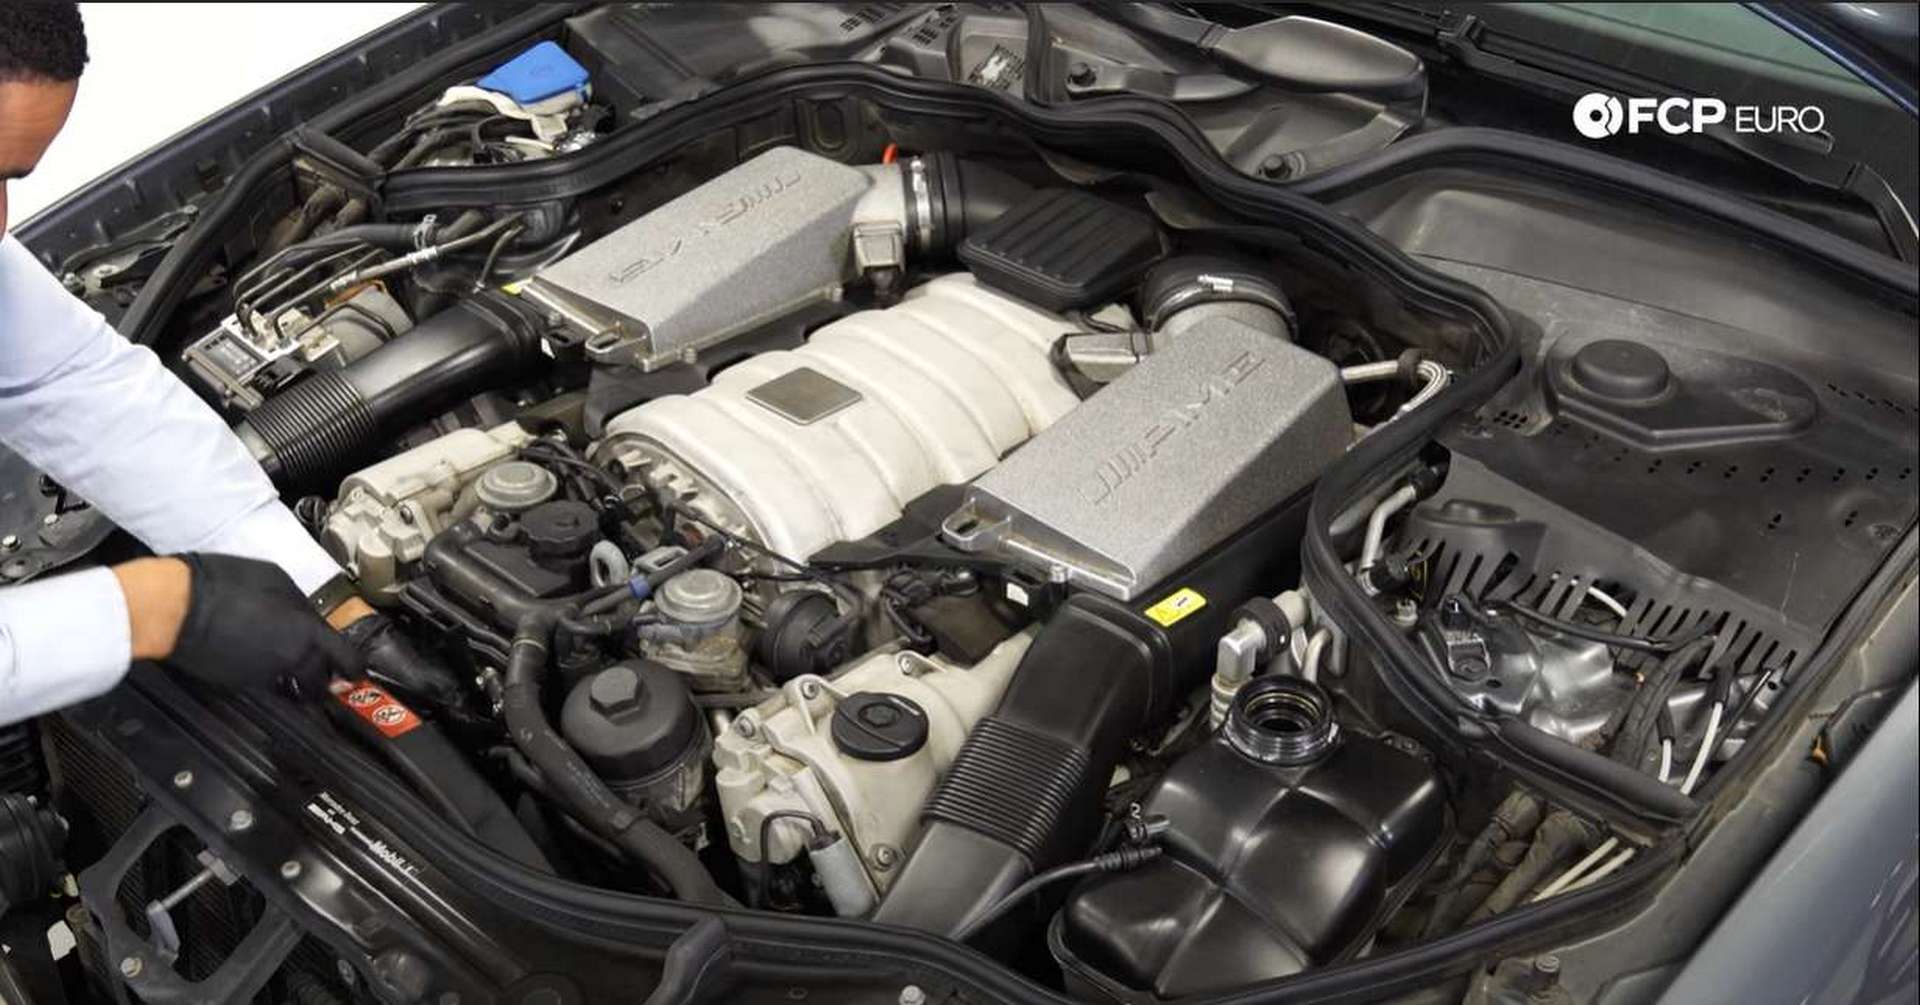
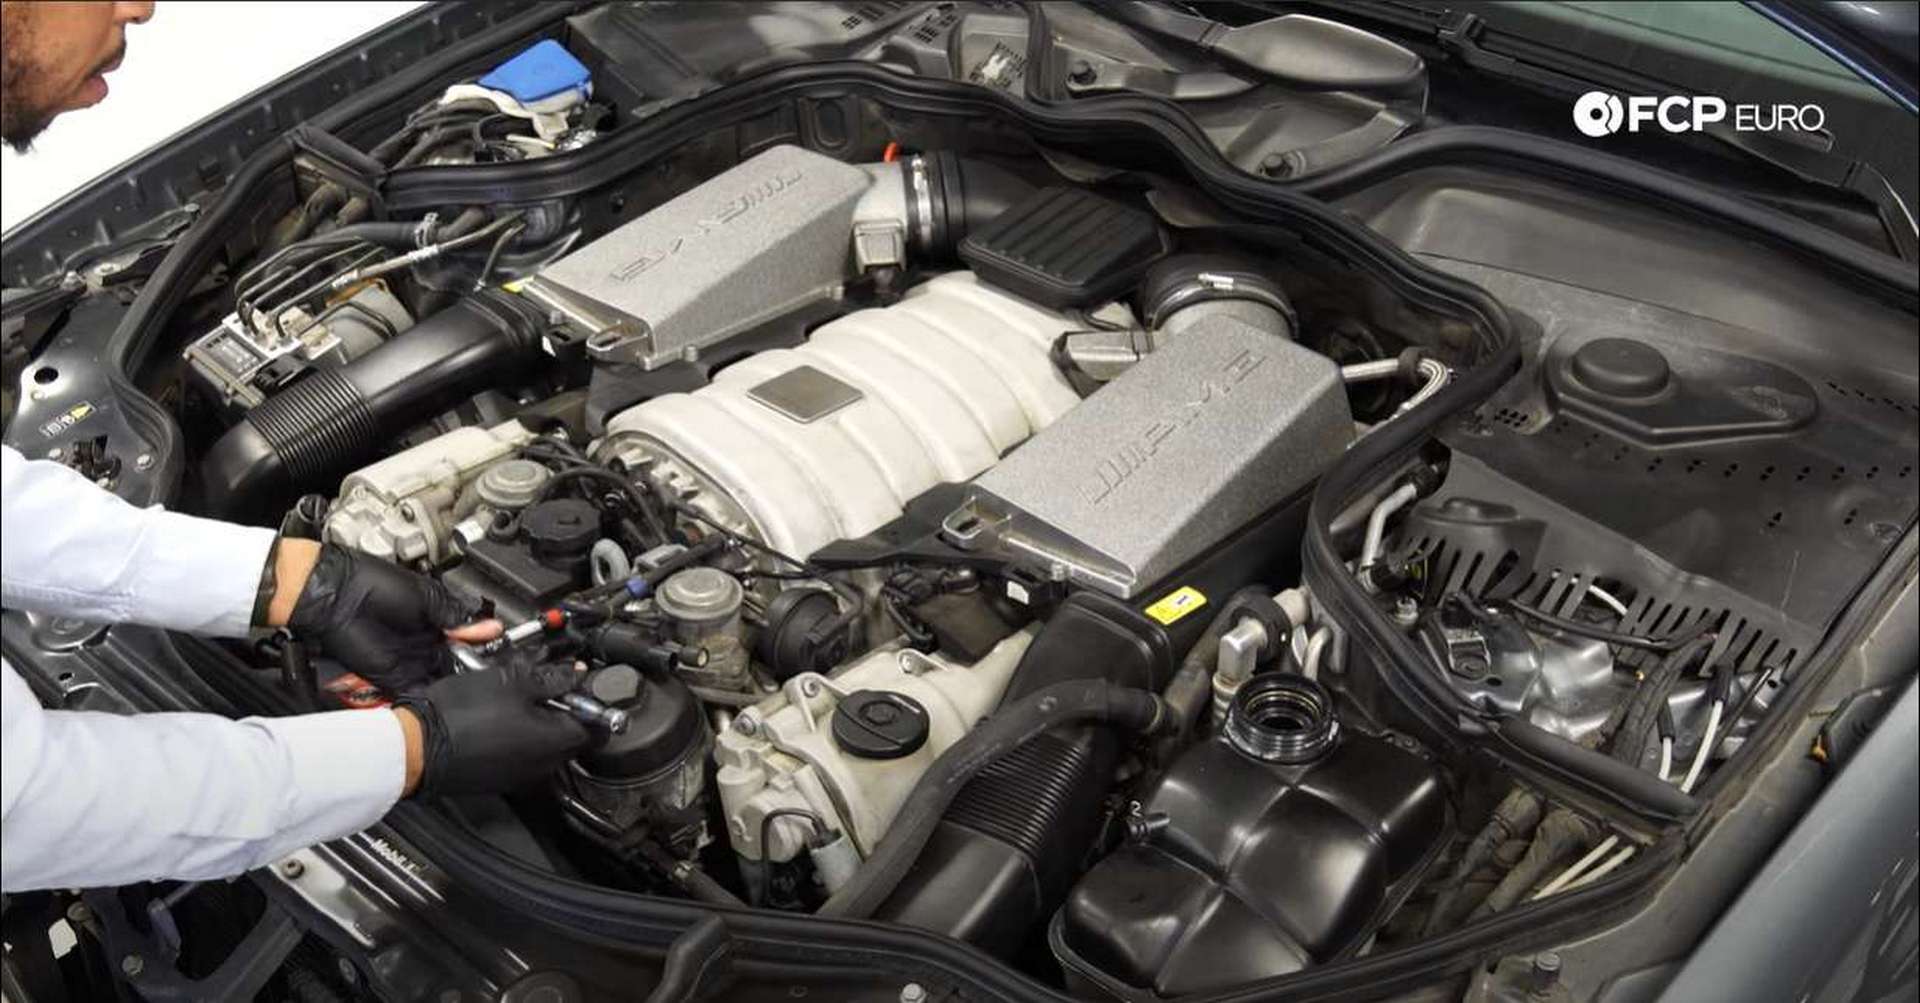
Step 3: Remove coolant expansion line and secondary air injection hoses
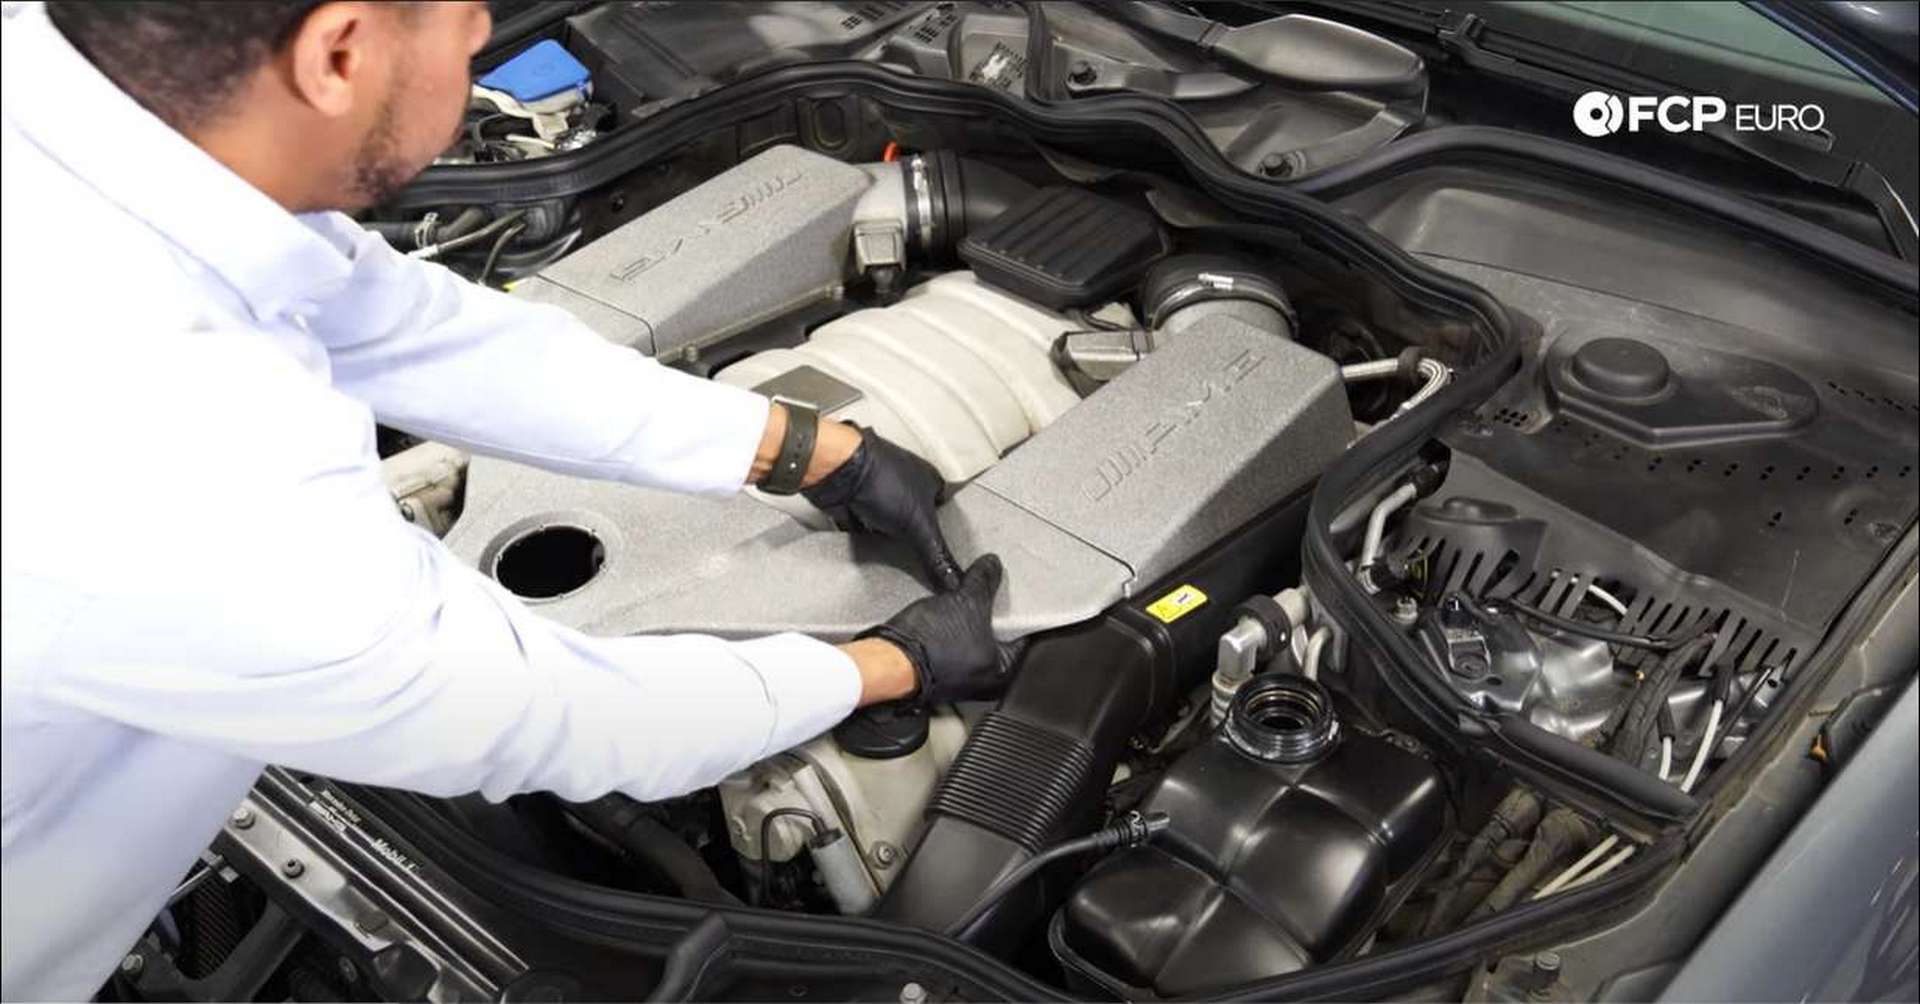
Now, that the car is on the ground the work in the engine bay can begin. Start by removing the engine’s cosmetic cover to gain access to the front of the engine. Next, use a pick to lift on the clips that lock in the coolant expansion tank line. Pull back on the ends to remove them. They are seated with o-rings and can become brittle over time, so be careful not to break them.
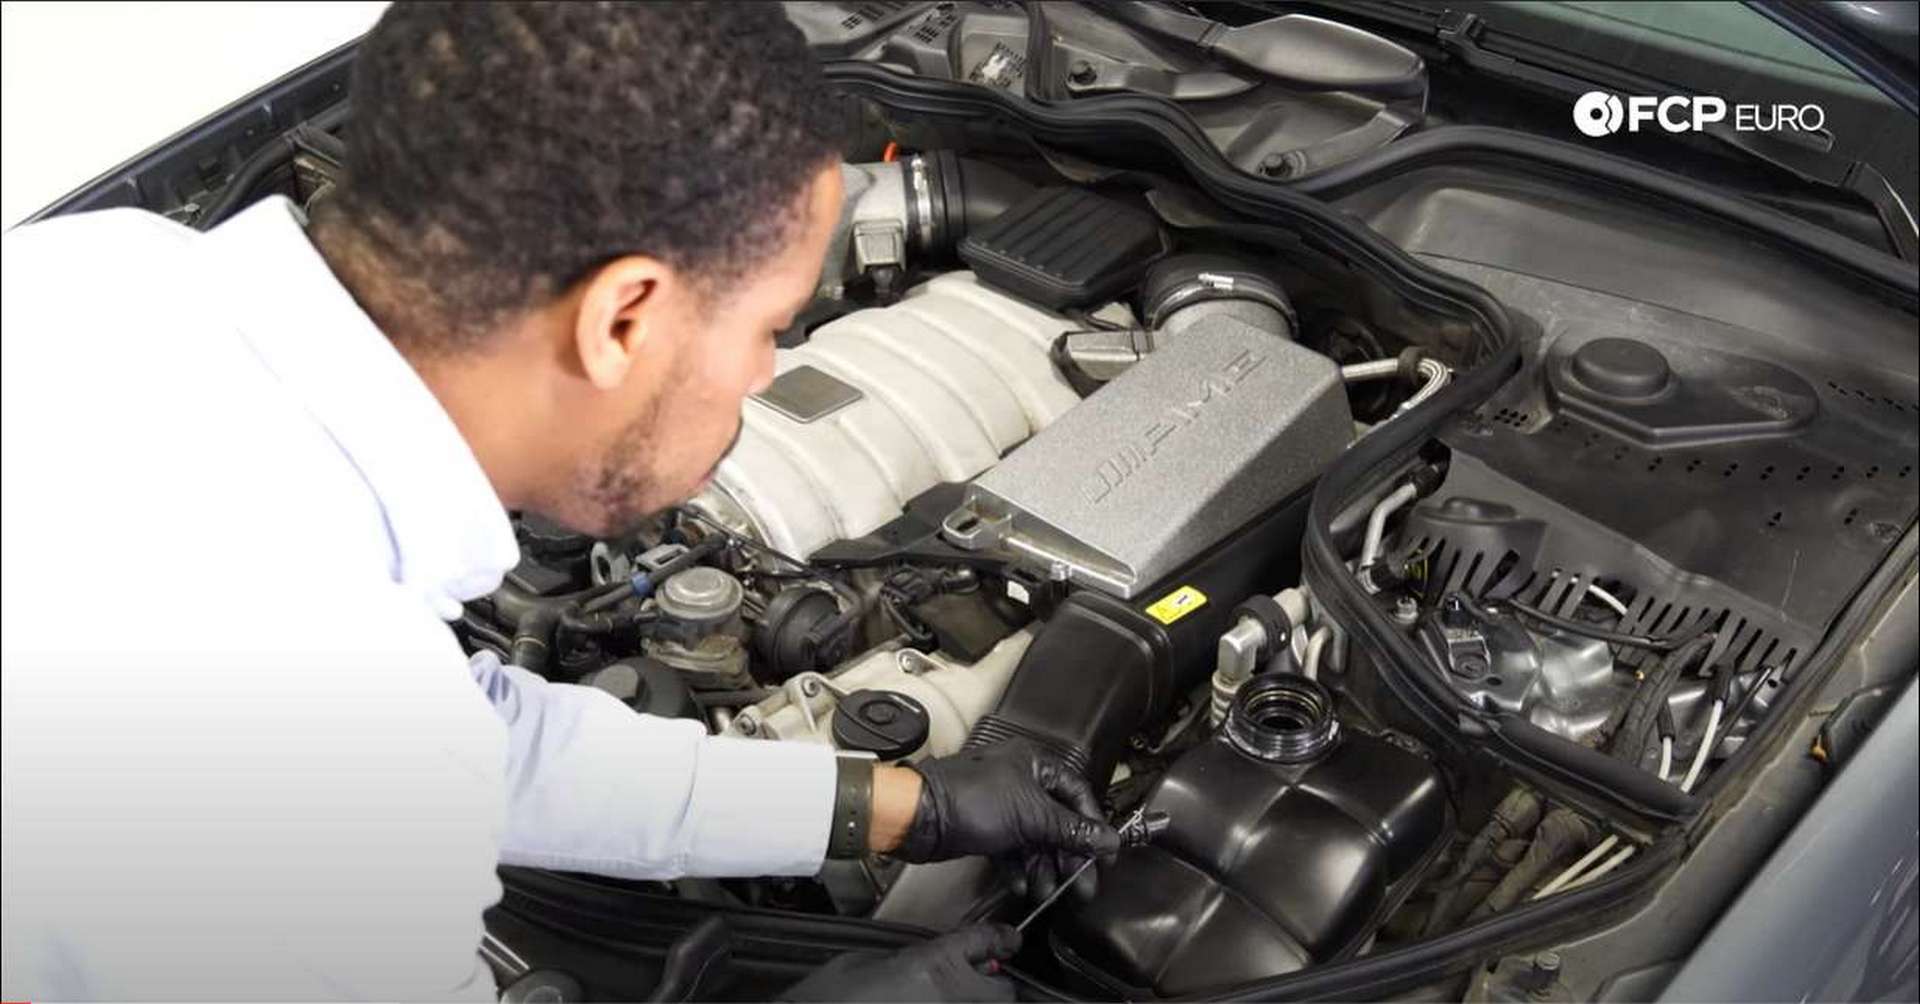
Take the line out of its retaining clip once the ends are removed and set it aside. Next, remove the secondary air injection hose. It is the wide Y-shaped hose running from near the driver’s side headlight to the front of the engine. The two hose ends should be pulled off and tucked out of the way.
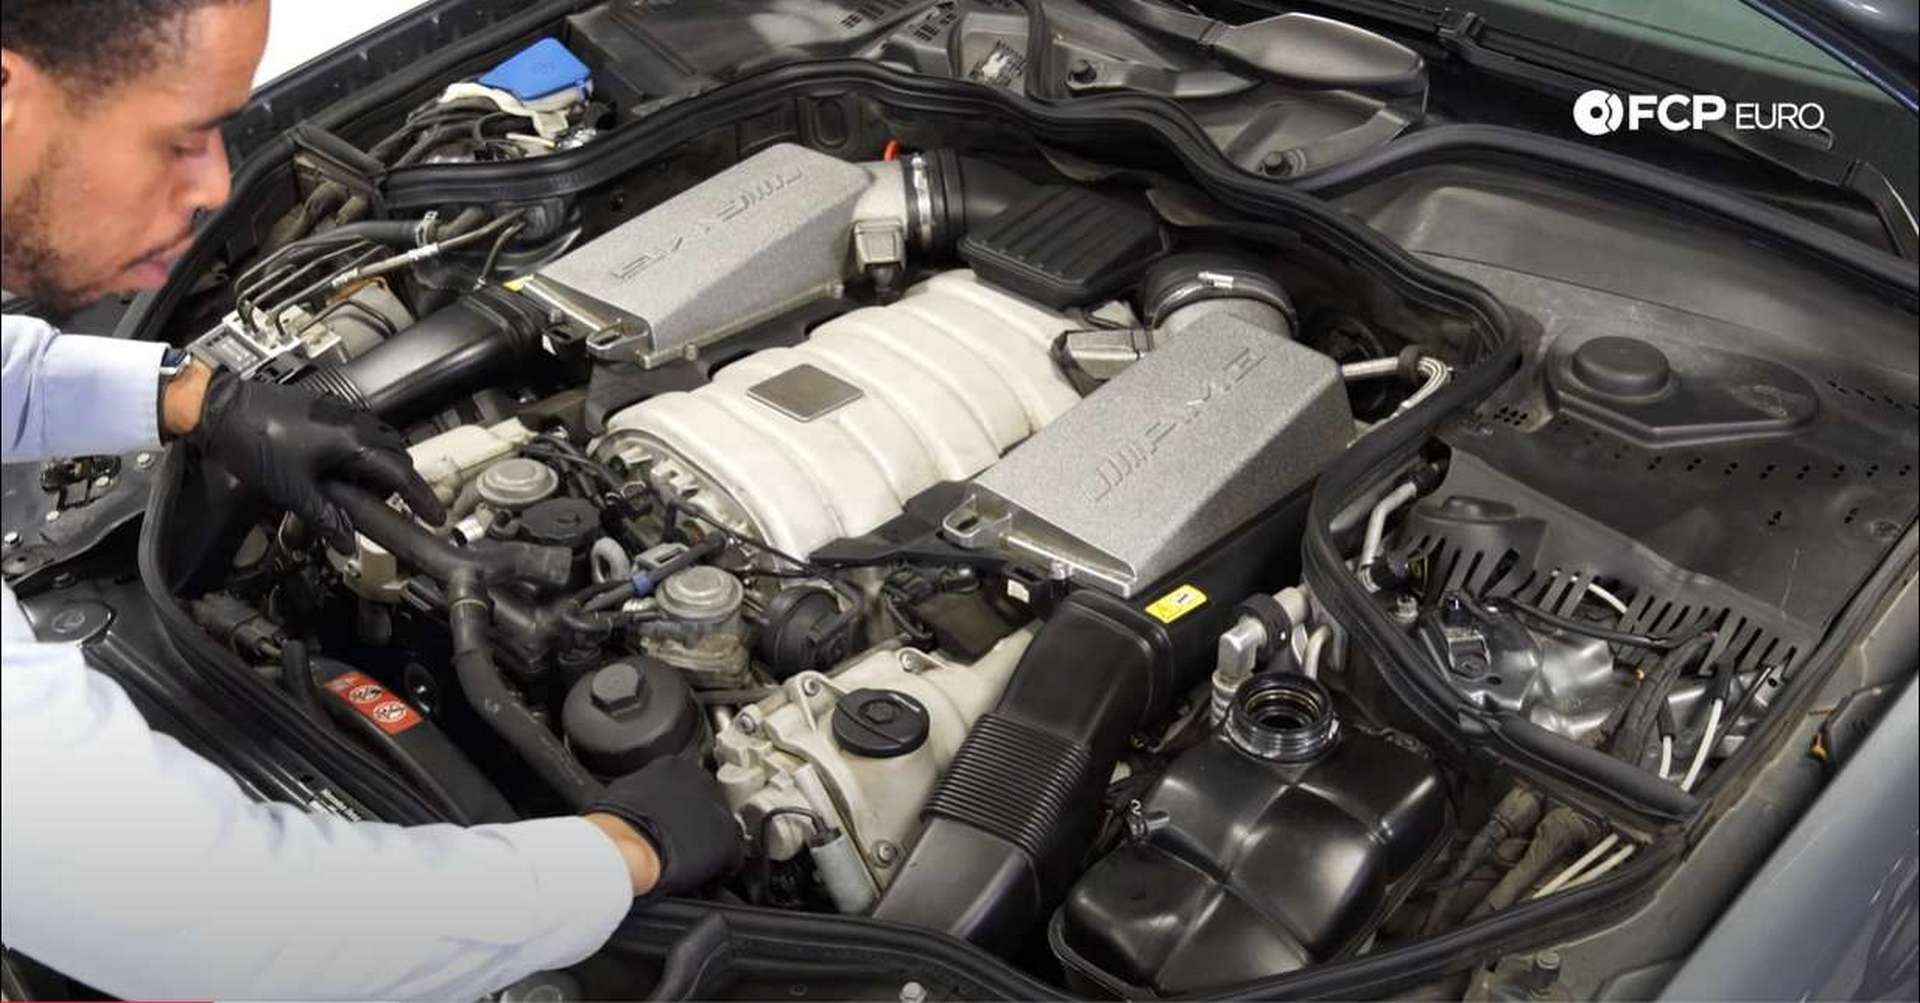
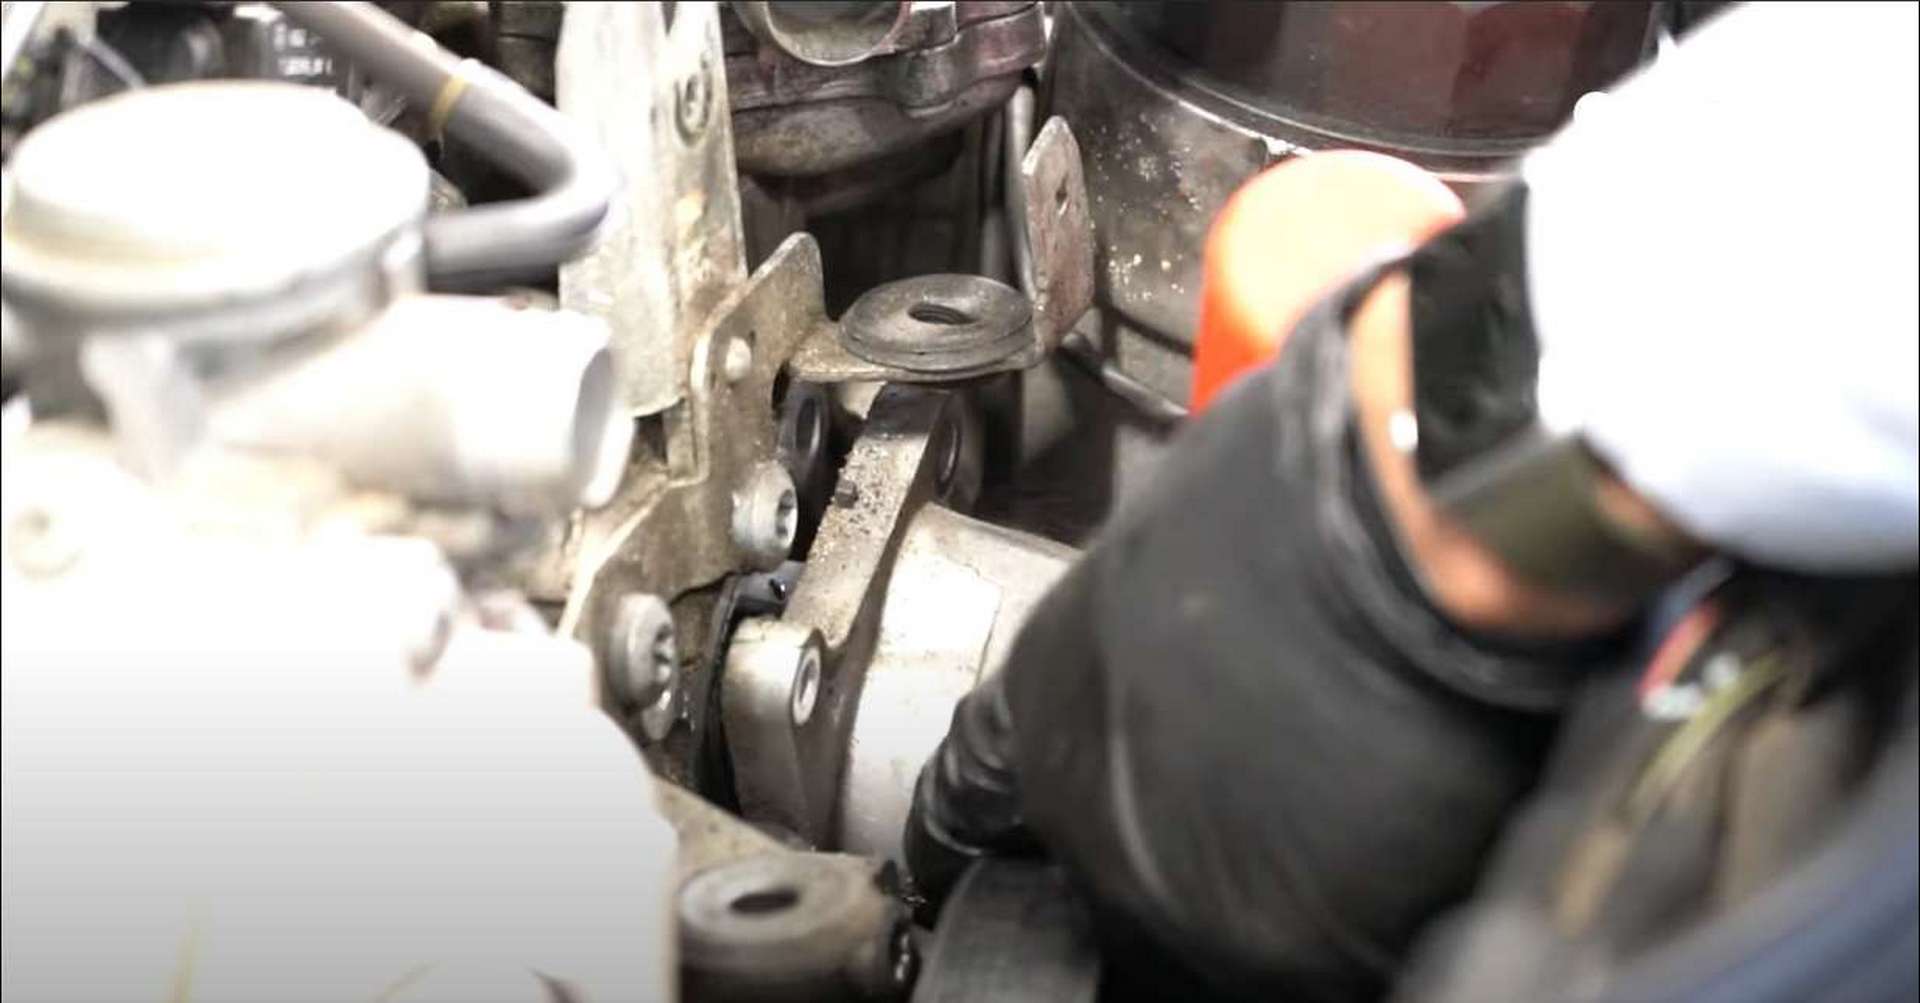
Step 4: Remove the power steering fluid reservoir
First, unclip the changeover valve from the right side of the reservoir. Unclip the electrical connector from the bottom to move it out of the way. Next, remove the hose from the clip on the back of the reservoir. Use a T30 Torx bit to remove the single bolt that holds the reservoir.
It will be a tight fit, but the reservoir is now able to be lifted out and set aside. You do not need to remove either of the hoses from the tank, but they will need to be unclipped where they are held in place. Doing this will allow the reservoir to be moved aside without completely removing it.
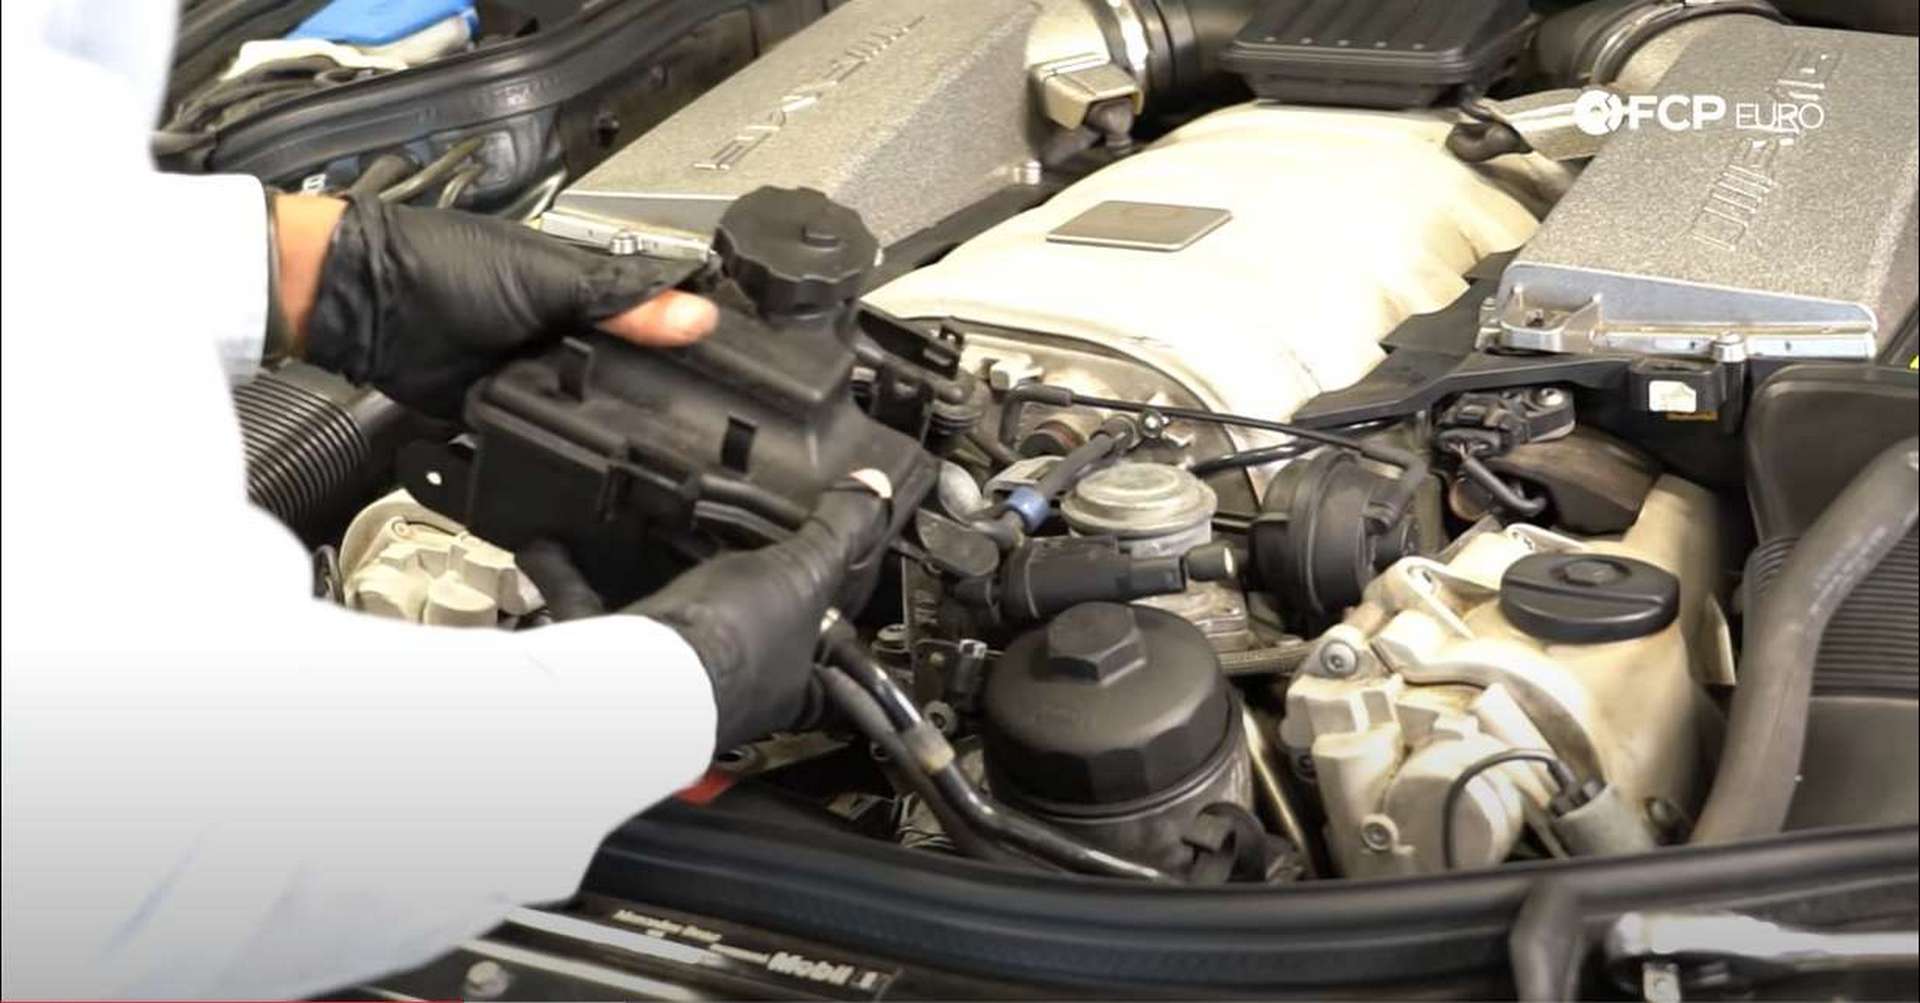
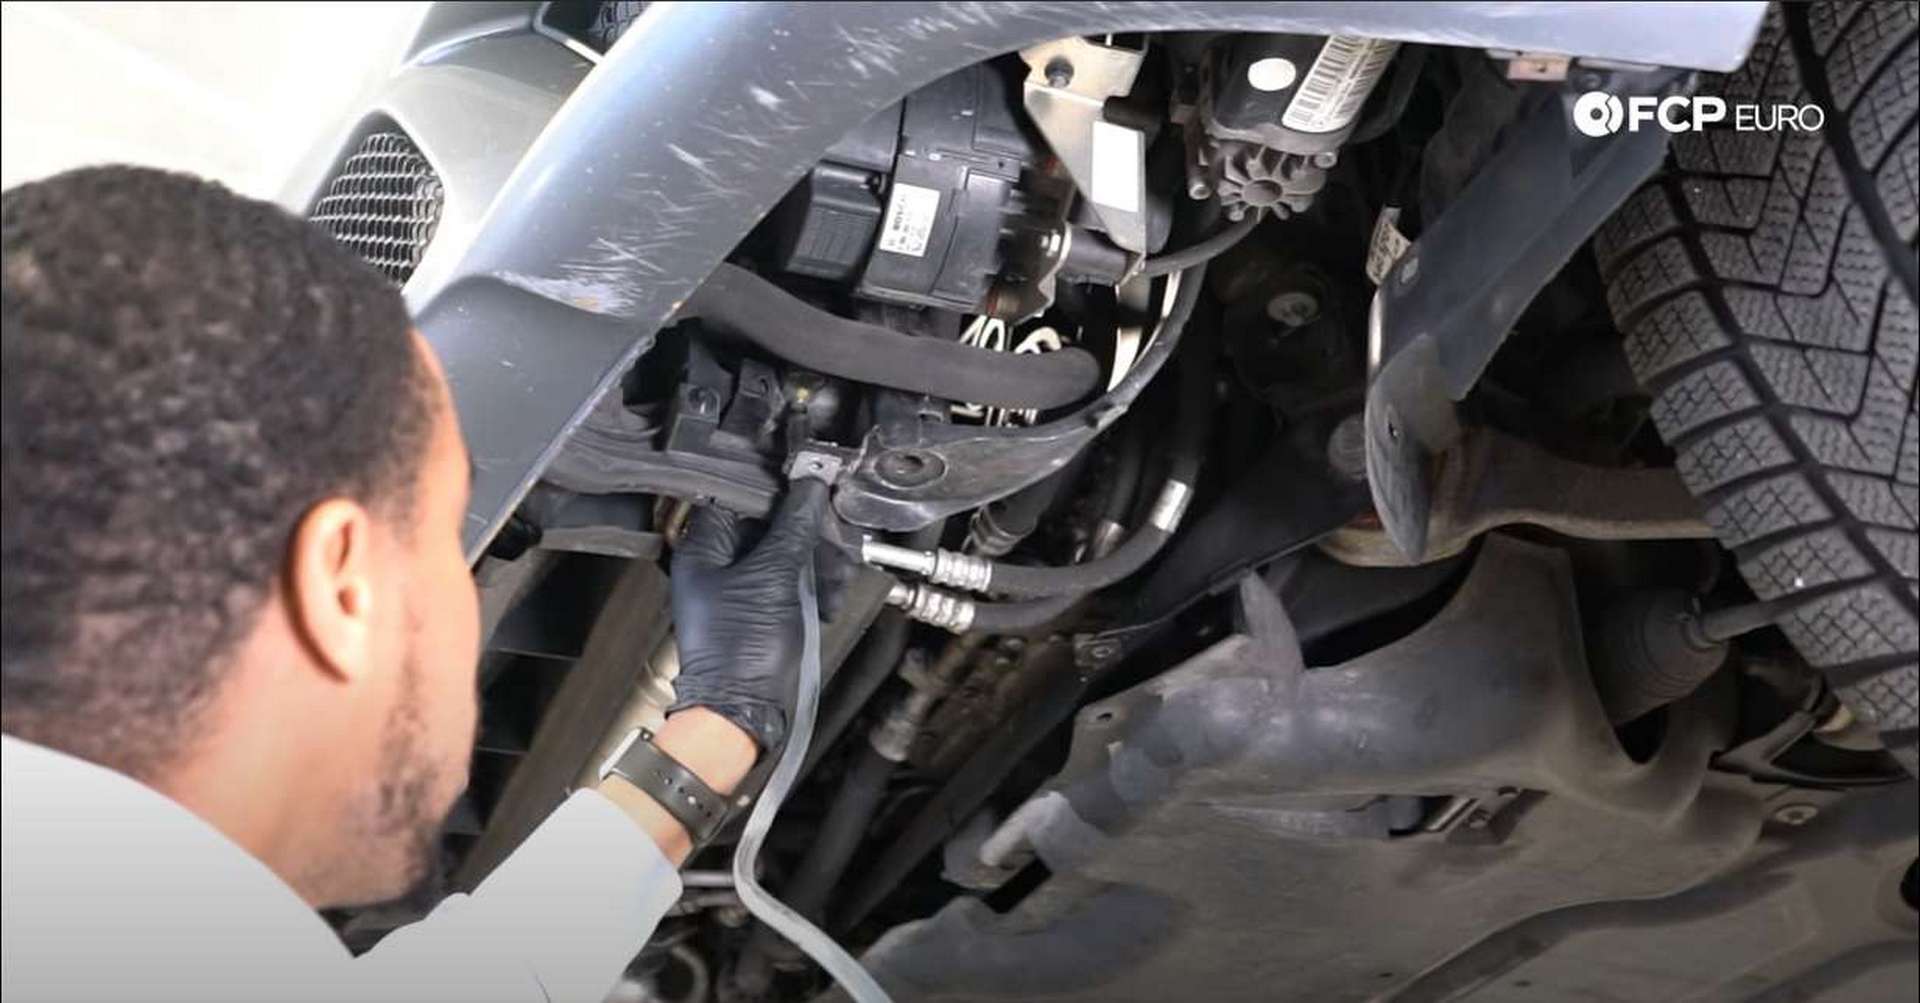
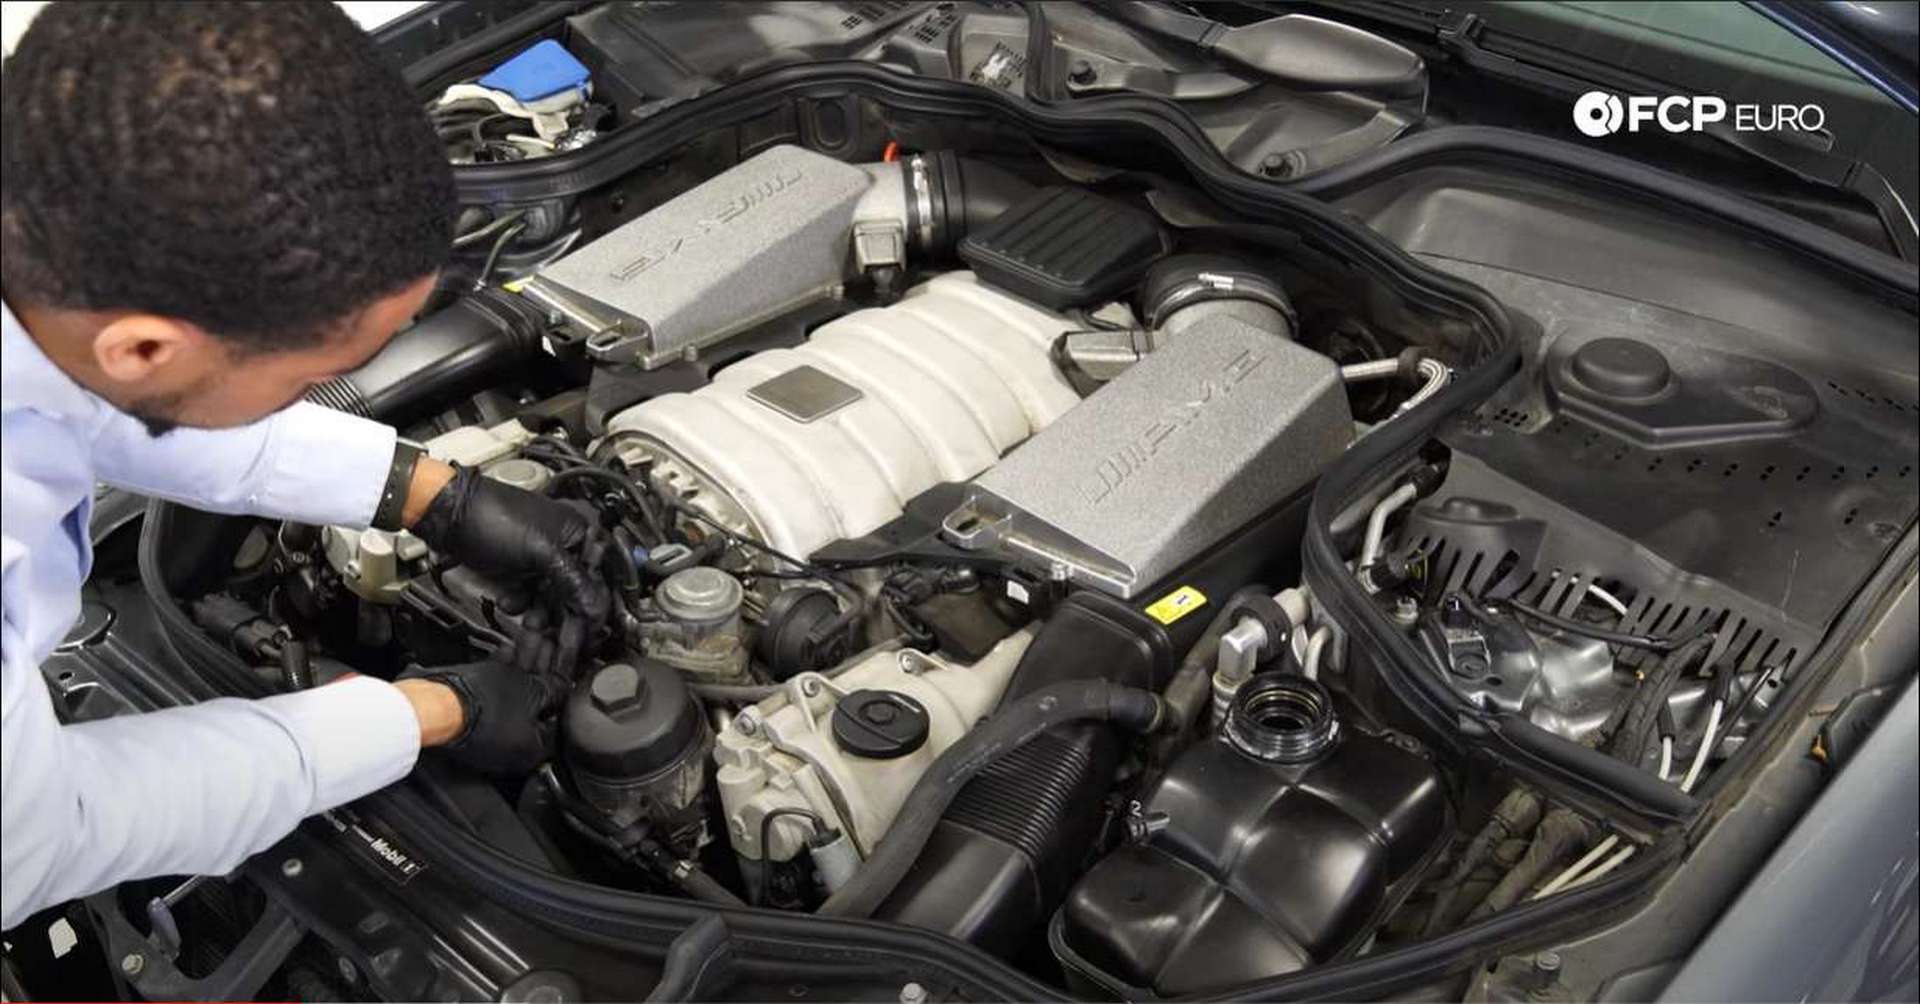
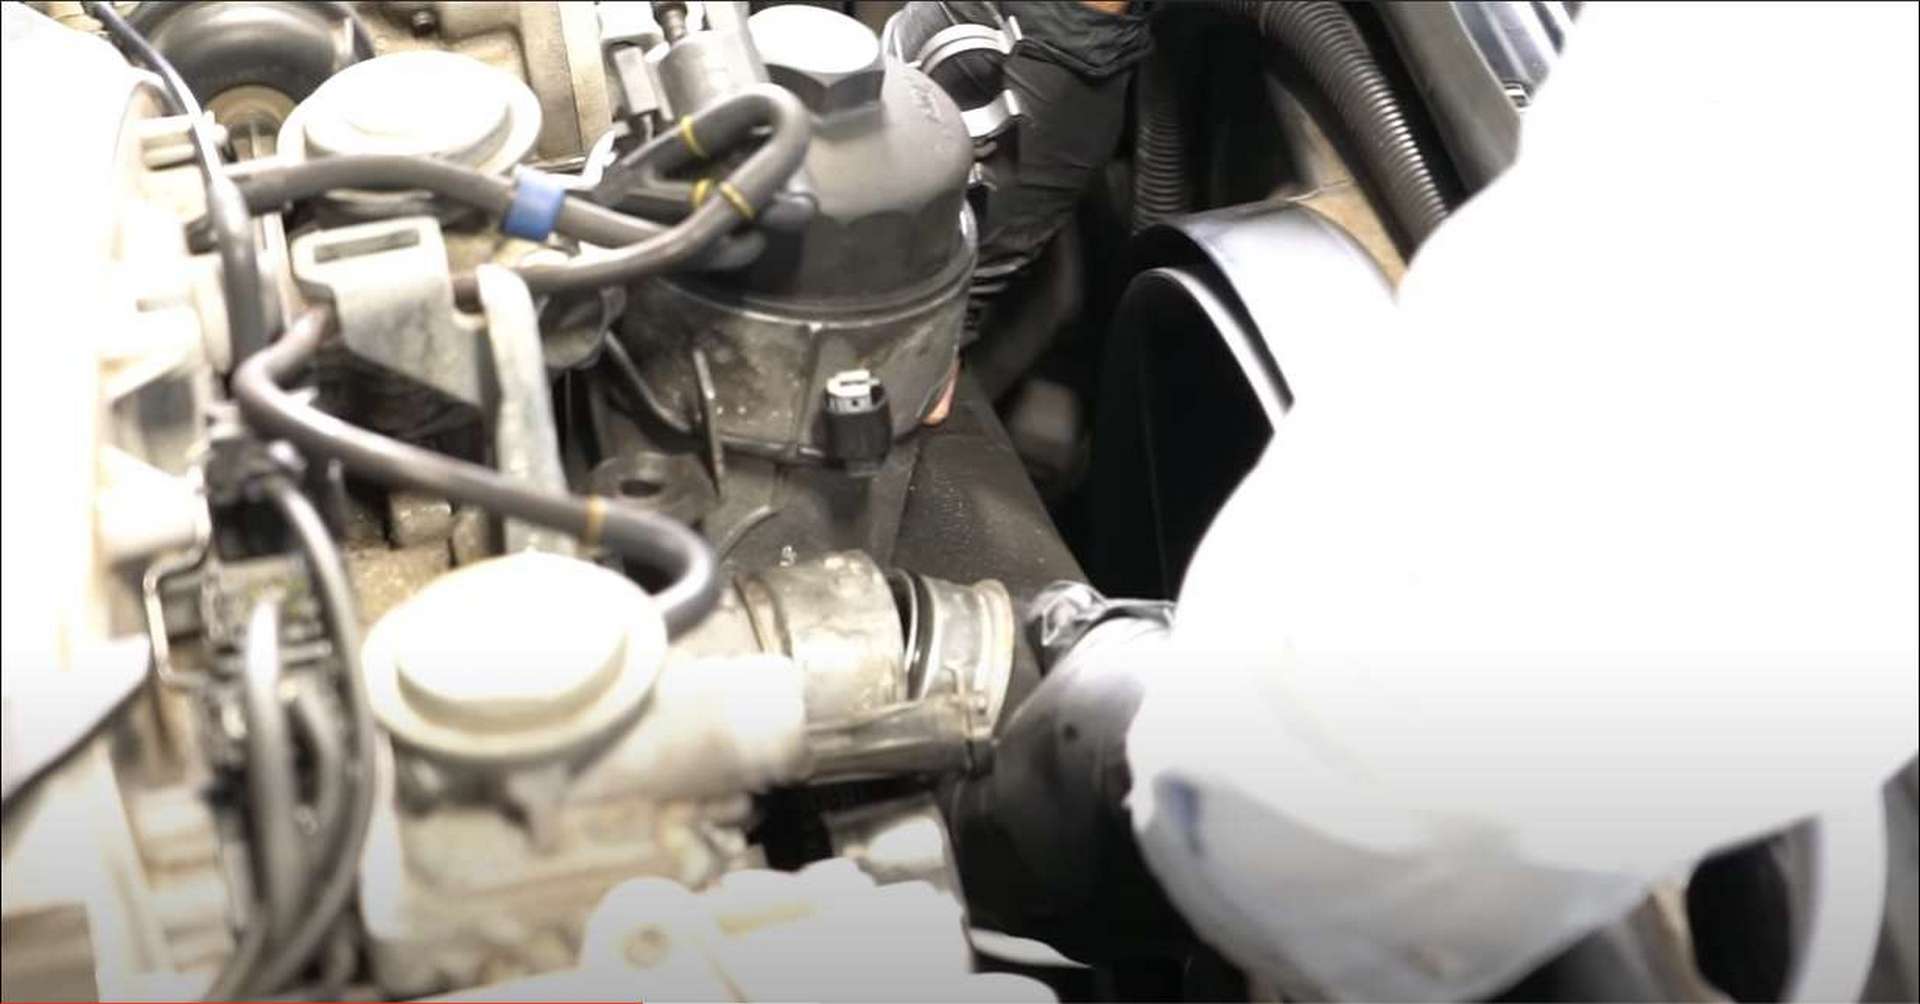
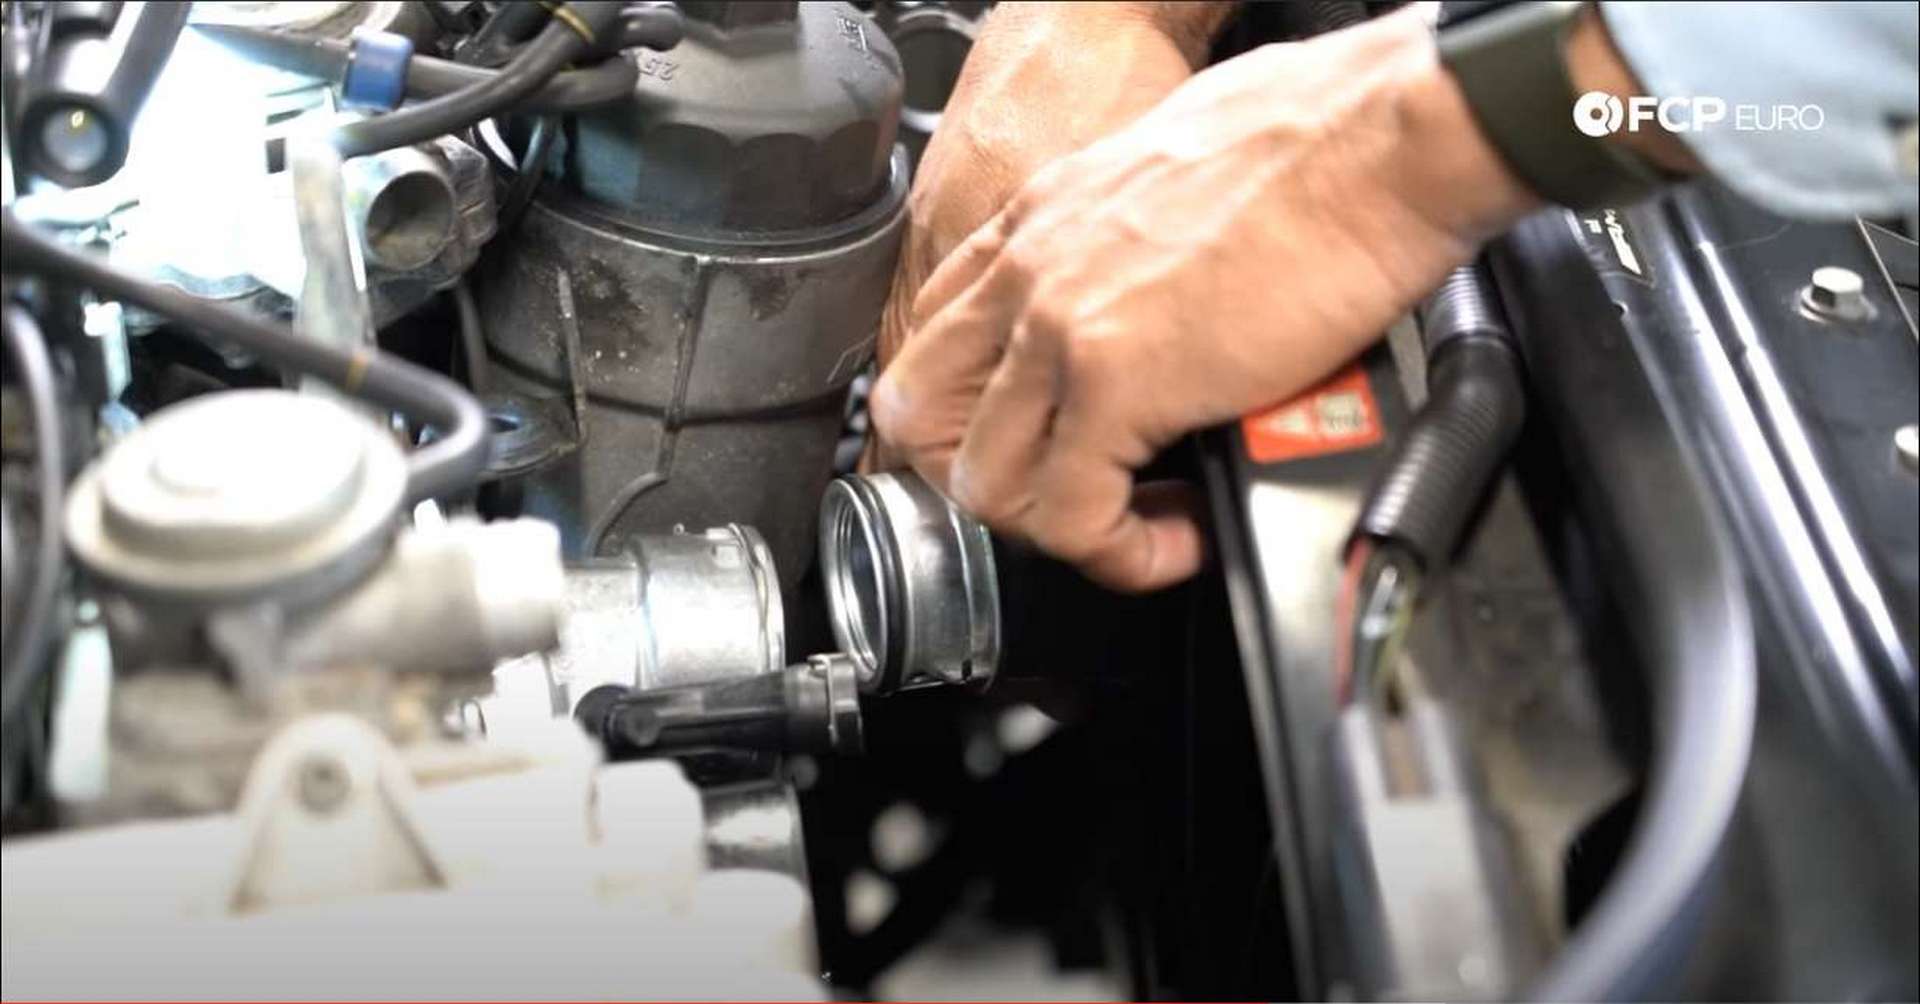
Step 5: Remove the engine inlet hose
The engine inlet hose is directly to the left of the oil filter housing. Take a screwdriver, and pry up on the clip holding the hose into the thermostat housing. Once lifted out of its slot, push it back against the thermostat housing.
Take hold of the hose and rock it back and forth while pulling back on it. It should pop right out of the thermostat housing. Pull it up and put it aside to give yourself unobstructed room to access the thermostat housing. Now is also a good time to replace the hose o-ring that is supplied in the kit. Forgetting this step can cause coolant to leak from the end of the hose.
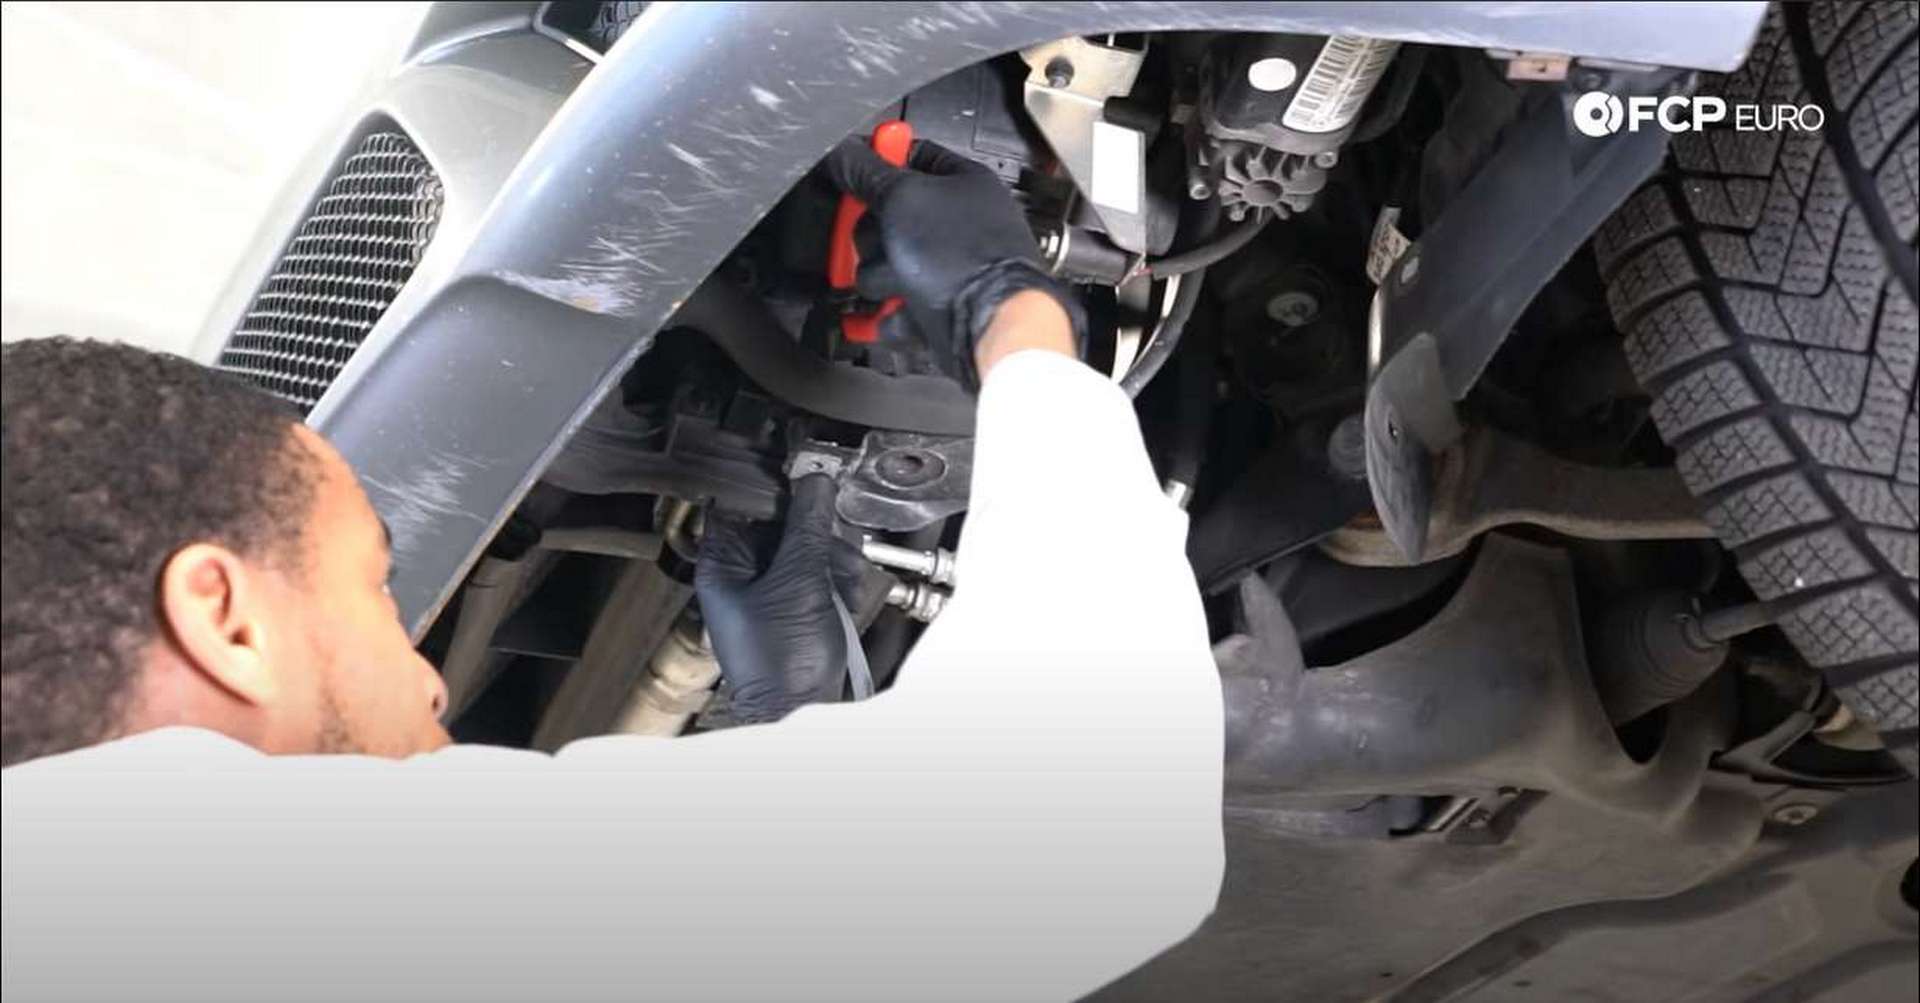
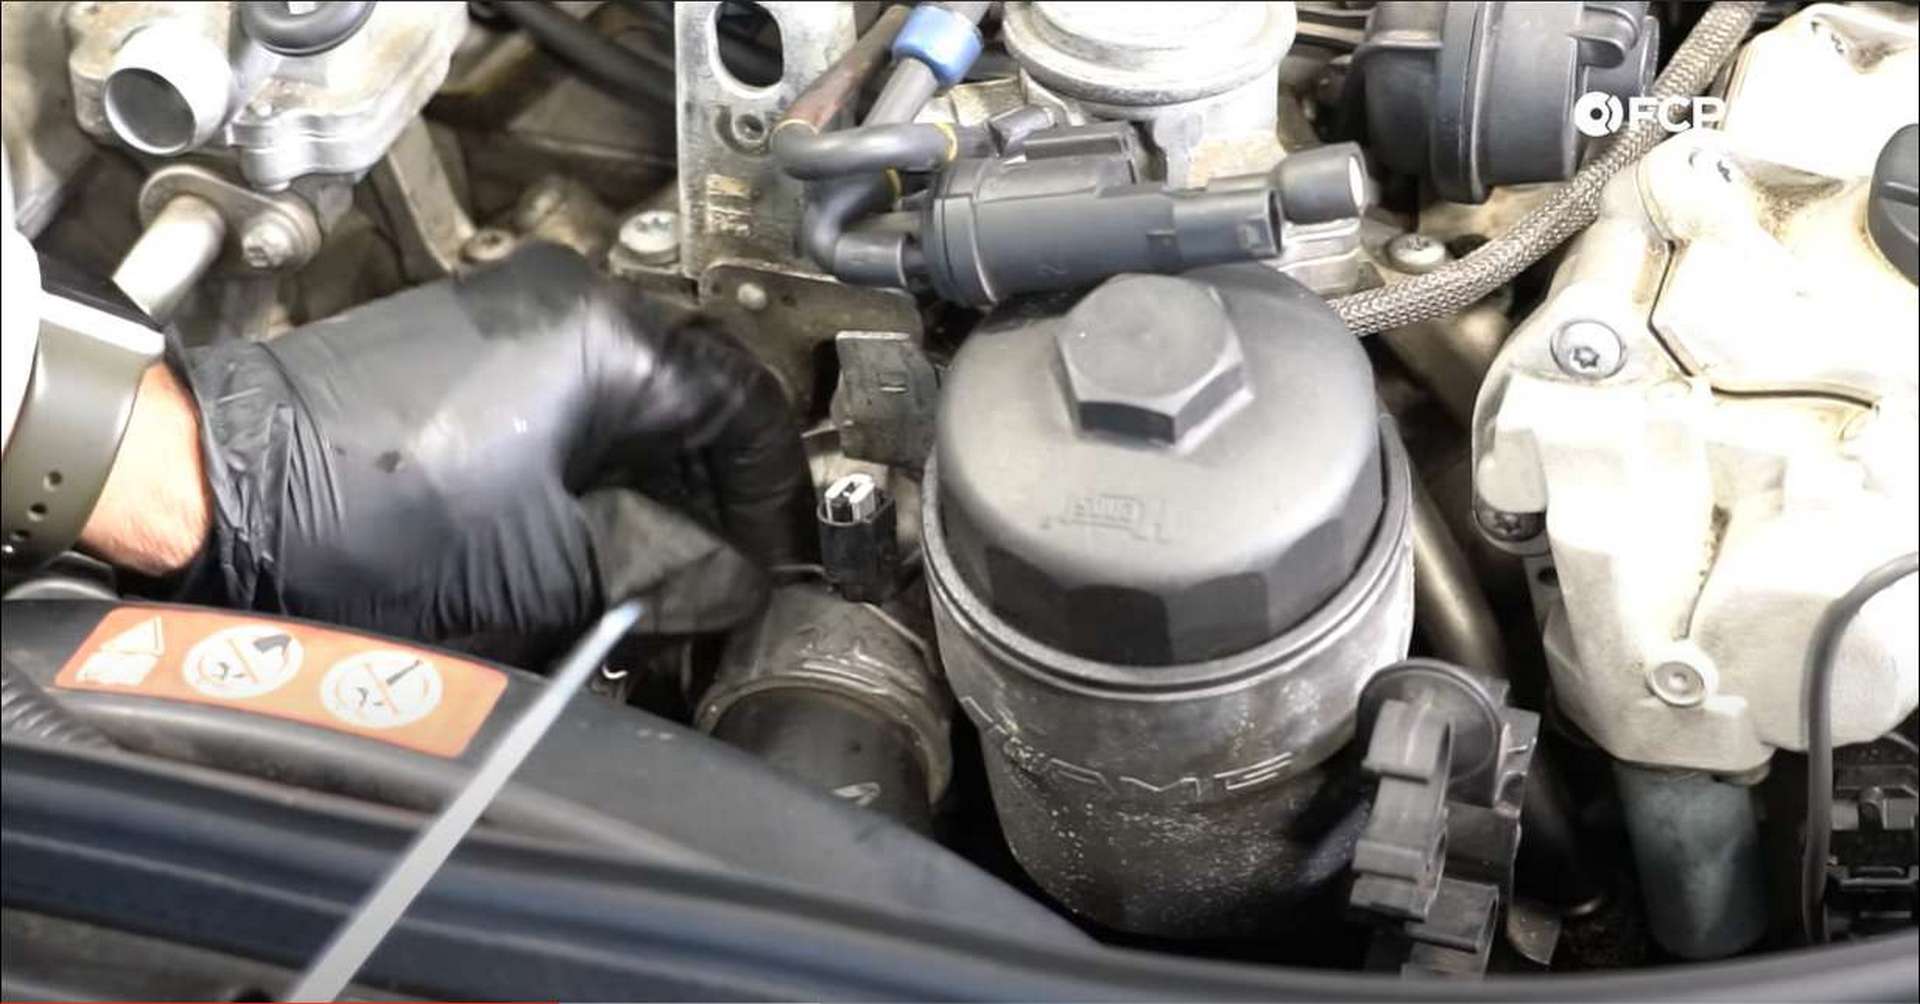
Step 6: Remove the thermostat
Three bolts secure the thermostat housing onto the engine. Under the inlet on the right side, and just left of the inlet, there are two T30 Torx bolts. The top right side bolt is a T45 Torx. Removing the top two bolts is easy but the bottom can be tricky. Using a short extension will help, as well as removing with your fingers once it’s loose to prevent it from falling under the car or getting stuck on the ancillaries.
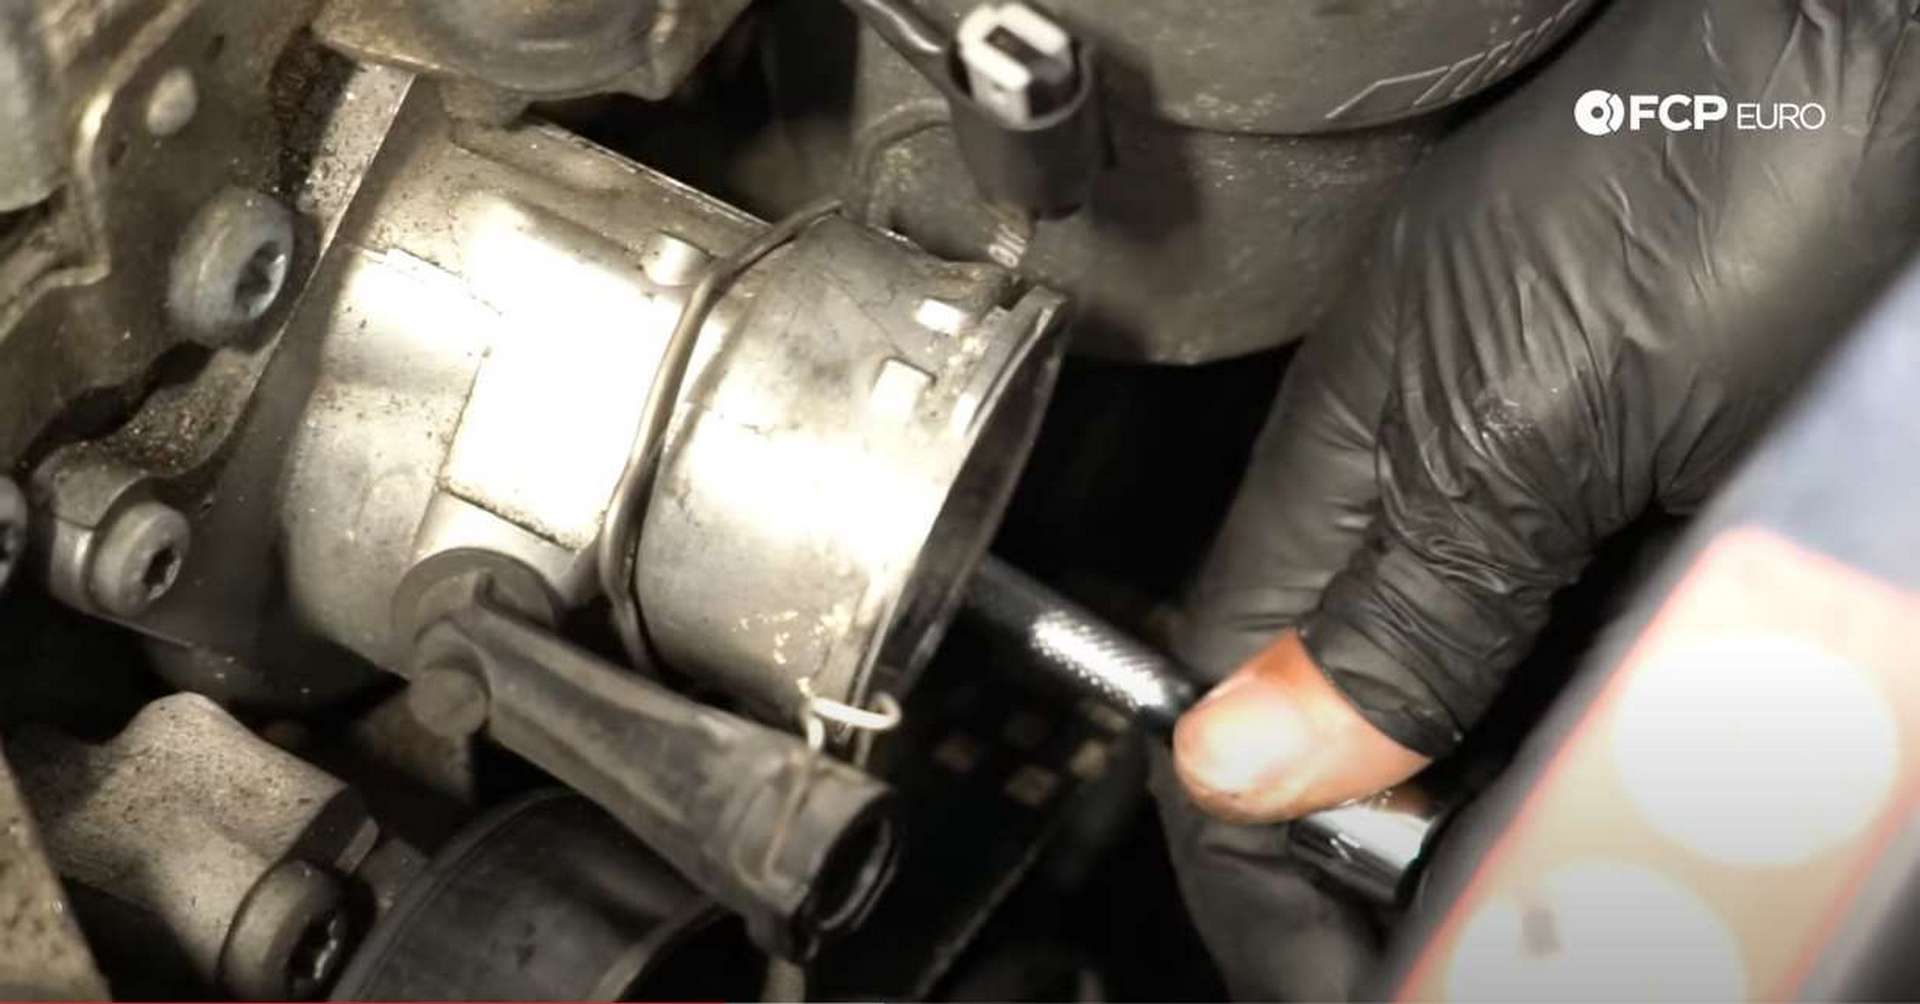
Tapping on the housing is the easiest way to break the thermostat free from the block. Once it’s popped free, unclip the electrical connector attached to it. The old thermostat is now free and can be thrown away.
Step 7: Reverse steps 3-6 and reinstall new parts
When reinstalling the coolant hose, put the clip back in its spot before inserting the hose. The hose will only go in one way, and you’ll hear a click from the clip locking in once the hose is secured.
When putting the coolant expansion line back, it is easiest to do before reattaching the air injection hoses. This is also the time to get back under the car to reattach the splash guard.
Step 8: Fill and bleed the cooling system
However much coolant came out when emptying the system is how much you will need to put back in. New coolant is a good idea as it will offer the best cooling properties possible. When using genuine Mercedes coolant, it needs to be mixed with water. When done properly, it needs to be a 50/50 mix of coolant and water.
The Mercedes coolant is designed to be used with tap water, but distilled water can be used for better treatment of the coolant passages. When using the Lisle funnel liked above, filling it to the top will put pressure on the head and help force air bubbles out. If you use a regular funnel, pouring slowly will help prevent introducing air bubbles to the system.
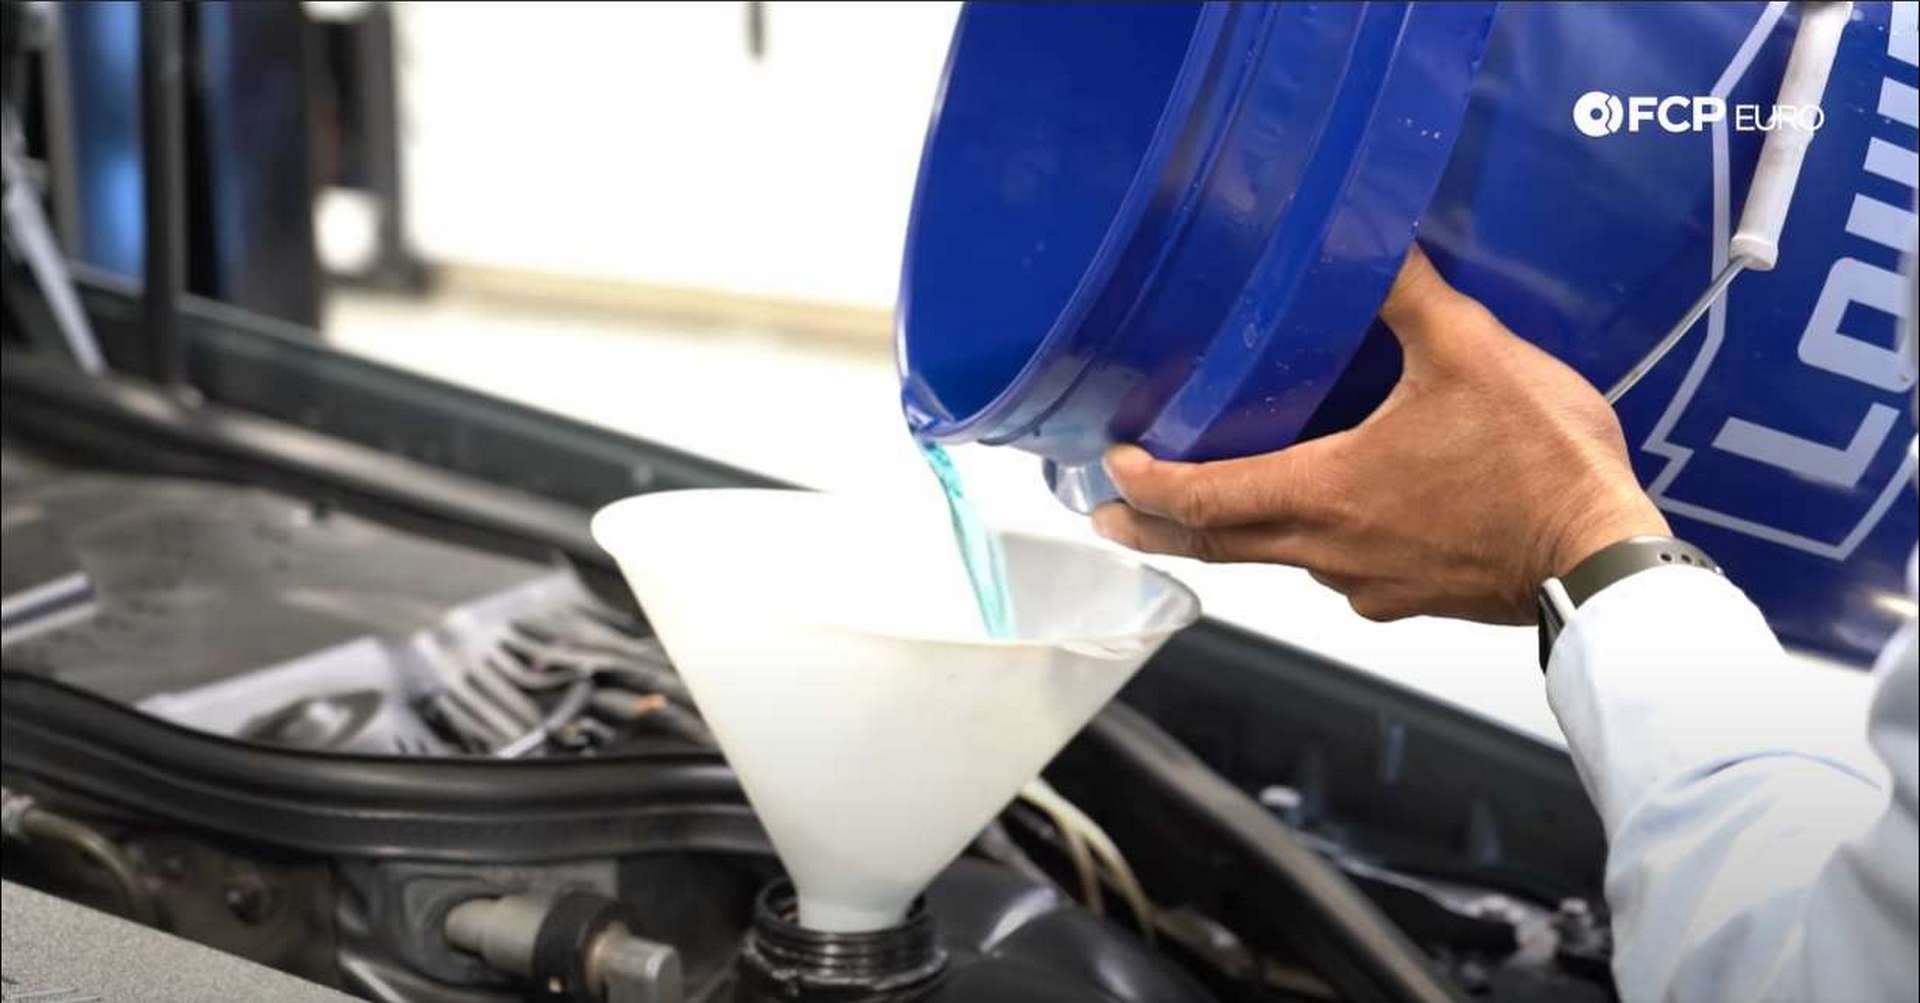
Once the system is filled, turn the vehicle on and let it get up to its operating temperature of 85°C. Once it reaches that temperature, the thermostat will open, allowing coolant to flow and the air bubbles to be pushed out. Having your heater set to its maximum temperature will allow coolant to flow through your heater core and force and air bubbles out as well.
The system will self bleed as you drive it. Check your coolant level every time you drive and fill as necessary until the coolant level no longer recedes.
Just like that, your cooling system is back to full health. If you're interested in more DIYs for your Mercedes, you can visit mercedes.fcpeuro.com or subscribe to our YouTube channel.


