Spark plugs should be replaced every 60k miles on a 2004 Saab 9-3 Arc. It takes about 30min and your car will get better fuel economy versus that from worn out plugs. For this DIY write-up I’ll be using NGK G-Power spark plugs (part # BKR6EGP) which cross-references correctly for the car. I lucked out as they happen to be included in a box of new parts from the previous owner! 
You can choose to purchase the OEM-listed version of spark plugs for your car if they’re different. Personally I’ve had no problems with NGK plugs in the past even if it’s not listed as OEM, but I’m a stickler for ensuring it cross-references correctly with the car so I don’t run into issues later. Looking at my owners manual it says to use spark plugs NGK PFR6T-10G so I’ll consider those in the next 60k mile replacement. Tools you’ll need:
- 4 new spark plugs
- Ratchet w/ a drive extension
- ⅝” spark plug socket
- 10mm socket
- Screwdriver w/ T-30 Torx bit
- Spark plug gap gauge (optional)
- Aanti-seize (optional)
- About 30min of time
Ready to replace your spark plugs? Head over to your parked car (ideally not in a hot temperature state) and raise your vehicle’s hood: This step is optional as it’s supposed to be done at the factory but I like to confirm parts before they get installed. Check your new spark plug gap to ensure it matches the manufacturer’s spec. Mine are supposed to have a 0.039” gap and 3 were spot-on while 1 was slightly over at 0.041”. I gently tapped the ground electrode and kept checking the gap until it was back to spec.

Remove the cover plate at the top of the engine by removing the 4 Torx bolts that are securing it. If you don’t have a T-30 Torx bit you can try using a 4mm hex but be careful not to strip the bolt head. If in doubt, go buy a set of Torx bits with a T-30 included as you really don’t want to strip these bolt heads and the set will be useful in other DIY projects. Set these bolts aside so they don’t fall into anything. 
Unbolt and disconnect each of the ignition coilpacks using your 10mm socket. There’s one bolt per coilpack. You don’t need to disconnect each coilpack’s wiring harness but you should be slow + careful as you’ll have less slack as you work your way toward the driver side. Gently lay it on the side and out of the way.

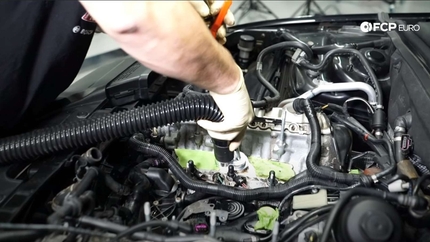
Remove each of the spark plugs using your ⅝” spark plug socket, extension bar and ratchet.

You may want to keep track of which plug came out of which cylinder if you happen to see inconsistent fouling as it’ll help with diagnosis. Here’s a picture of mine: old ones on the left, new one on the right for comparison.

Installation is the reverse of removal. A few tips to consider: Avoid dropping the spark plug into the plug well to prevent damage to the plug or affecting the plug gap. Start each new spark plug by hand so you don’t accidentally cross-thread and strip out the threads using a ratchet. Just hand tighten then use the ratchet to do final tightening. Don’t over tighten any of the plugs or bolts else you might strip threads and make a bigger job out of this. If you want torque values: Spark plug torque = 21 ft/lbs Coil pack bolts = 15 ft/lbs Firmly push each of the ignition coils onto the new spark plugs until it’s as seated as possible. You won’t necessarily feel a “click” like with old-school spark plug wires. While I consider it optional, you may choose to coat threads with anti-seize so they’re easier to remove later. Give the car a test drive and enjoy!


