Oxygen sensors are a common fault after 100,000 miles on most any vehicle. My old B5 Audi A4 once needed the upstream (pre-cat) oxygen sensors replaced, both of which being accessible from under the hood.
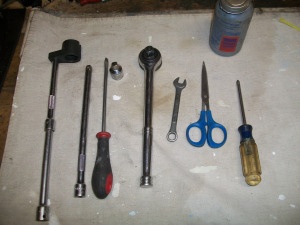
Tools Required
Crow's foot (specialty socket for O2 sensors)
3/8" Drive Extension (about 2' worth)
1/2" to 3/8" Drive Converter (not required)
1/2" or 3/8" Drive Ratchet (I used a 1/2" drive since it was longer and I could get more torque on it)
Flat Head Screwdriver
Phillips Screwdriver
10mm wrench
Scissors or Wire Cutter
Anti Seize Compound
Parts
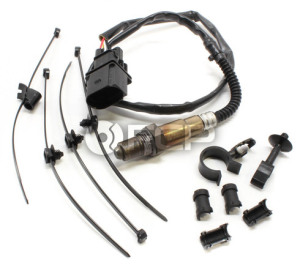 Bosch 06A906262BE Audi VW Oxygen Sensor Front (A4 S4 A6 Beetle) - Bosch 06A906262BE
Procedure
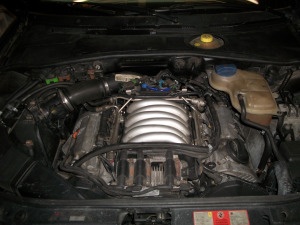
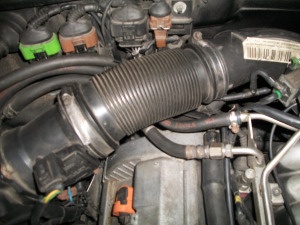
My dirty engine bay in all its glory.
First things first, remove the negative terminal from your battery.
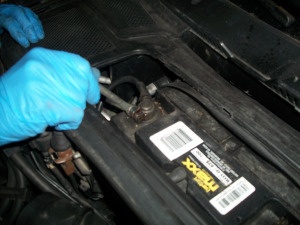
I started on the driver's side. This side is the easiest in terms of getting to the sensor.
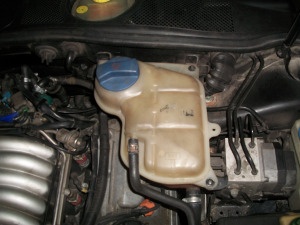
Unscrew the coolant reservoir from it's bracket.
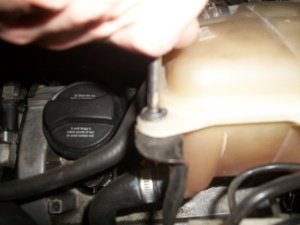
Once unscrewed, look underneath and unclip the sensor. Use your flathead to undo the clip (I've also found that an angled pick works well at disengaging the clip). Then swing it to the side and rest it on the car.
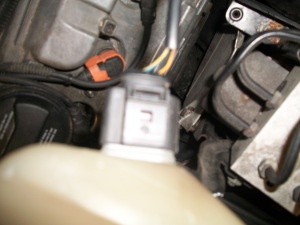
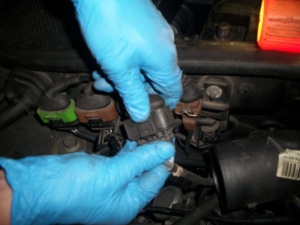
Now you'll be able to get to the O2 sensor. The sensor connection is sitting in a bracket attached to the firewall. Remove the connection and undo it.
Take note of how your sensor wire is routed. It may be ziptied to the rest of the engine harness and may require snipping to free it. Then fish out the end of the sensor from the bundle of wires so that it's free. This prevents the wires from getting twisted when you start loosening the sensor.
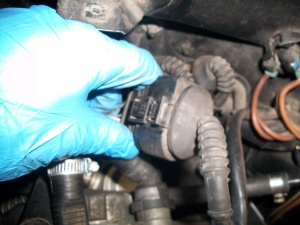
Take your extensions, crow's foot, and ratchet. Make sure that the socket is securely on the O2 sensor before you start loosening it. The sensor may need a soaking with penetrating oil. However, the sensor should come out easily. It may take some initial force to break it free, but once it's loose you can do the rest of it by hand.
As you can see by the color of the sensor, I was running rich.
Take your new sensor and apply a thin amount of anti seize. Don't go overboard with it. If you get any in the end of the sensor, you'll ruin it. Your sensor may come with a little bit of anti seize already applied.
Screw in the new sensor by hand then use your crow's foot to get it tight.
Clip the sensor back into the harness.

Route your sensor wire in a similar fashion that the old one was in. Use colorful zipties to reattach and keep away from hot parts of the exhaust, etc.
Reattach the coolant reservoir sensor and screw reservoir back into the bracket.
Let's move onto the passenger side.
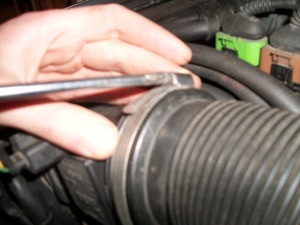
Unscrew the clamps on the throttle body boot and remove it.
It may take a bit of twisting and force to remove the boot. Remove one end at a time.
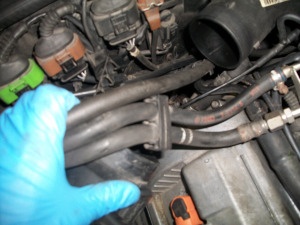
Unclip the fuel lines and EVAP lines out of their bracket and move them to the side to get access to the sensor.
Again noting the routing of your old sensor, free it from any zipties. Undo the sensor from the connection at the firewall and fish the end of the sensor out.

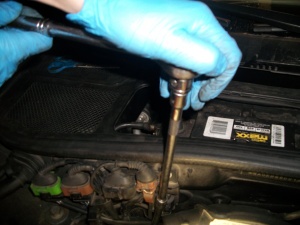
Take your crow's foot and extension again and break the sensor loose. Loosen the rest of the way by hand.
Remove old sensor. Screw in the new Audi O2 sensor after applying a tiny bit of anti seize again. Remember, don't go overboard with the stuff!!
Route the new sensor wire the same the way the old one was. Secure with colorful ziptie.
Clip sensor end into engine harness. Clip the connection back into the bracket on the firewall.
Put fuel and EVAP lines back into bracket.
Reattach throttle body boot. Make sure the clamps are loose. It may take a little bit of persuasion before it gets back into place.
Tighten clamps on the throttle body boot.
Reattach negative terminal to battery.
Congratulations! You're done.