- 02/08/2021
- 12 Min Read
- By: Christian Schaefer
How To Replace A Mk5 Volkswagen GTI Oil Filter Housing (VW FSI EA113)

A leaking oil filter housing isn't an uncommon problem to have on a Mk5 Volkswagen GTI. The gaskets on the housings get subjected to as much temperature change as anything else on the engine, and eventually, they dry up. A dried gasket is no match for oil pressure and will cause a leak. Additionally, the plastic filter housing can warp from the same heat that causes the gaskets to dry up, leading to more oil leaks. The housing is relatively cheap and not too difficult to replace, making the replacement a driveway-worthy job.
The oil filter housing on the GTI is right up against the radiator. Along with the tight workspace, there are plenty of wires and hoses that can get in your way. Thankfully, if you can navigate past the obstacles, pulling the housing out doesn't require any special tools or talents. A few sockets and some time are all you'll need to fix your VW.
Volkswagen models and years applicable:
|
|
|
|
|
|
|
Symptoms of a failing Mk5 VW GTI oil filter housing:
- Oil leak around the front of the engine
The oil filter housing is a common leak point on this series of VW engines. The old gasket dries up and shrinks, allowing oil to weep past. Additionally, the PCV hose that runs off the housing is prone to cracking with age. Since they are so closely connected, it makes sense to change them at the same time.
An oil leak from the housing is a high-pressure oil leak that will negatively affect your engine's performance. Too little oil in the engine will cause premature and excess wear of bearing surfaces that can eventually destroy the engine. If you have detected this oil leak, repair it as soon as you can.
How much will it cost to replace a Mk5 VW GTI oil filter housing?
The only part you need for this job is the oil filter housing. That alone is the bulk of the cost at $253. During the replacement, you'll need to disconnect a PCV hose with a reputation for breaking with age. We recommend that you buy the hose and replace it for peace of mind. The PCV will run you an extra $27.
To get the oil filter housing out of the car, you need to drain some of the coolant and some of the oil. At the very least, pick up a bottle of coolant to replace what you drained. VW's bottle of coolant/water mix is $21. Additionally, you can take this time to change your oil too. The leaking housing may have let some coolant into your oil system, and replacing it now would ensure fresh oil for the new housing. Our oil change kit comes with everything you need and costs $45.
If you want to ensure you have all of the right parts and fresh fluid, budget $350 for the job.
How long will it take to replace a Mk5 VW GTI oil filter housing?
While you don't need to remove too many parts to get to the oil filter housing, it sits in a very tight area. You won't see most of the fasteners you remove and need to sneak the housing through some tight spaces. Give yourself a few hours to complete the job. That should take care of any stripped fasteners or frustrations you have with the cramped workspace.
Parts required to replace a Mk5 VW GTI oil filter housing:
- Audi VW Oil Filter Housing
- Audi VW Breather Hose (Optional)
- Audi VW Coolant
- Audi VW Oil Change Kit (Optional)
Tools required to replace a Mk5 VW GTI oil filter housing:
- 36mm Oil Cap Socket
- 10mm Socket
- 7mm Socket
- 6mm Allen Bit Socket
- M6 Triple-Square Socket
- T25 Bit Socket
- T30 Bit Socket
- 24mm Wrench
- Ratchets
- Ratchet Extensions
- Pliers
- Picks
Steps required to replace a Mk5 VW GTI oil filter housing:
Step 1: Remove the intake-side parts
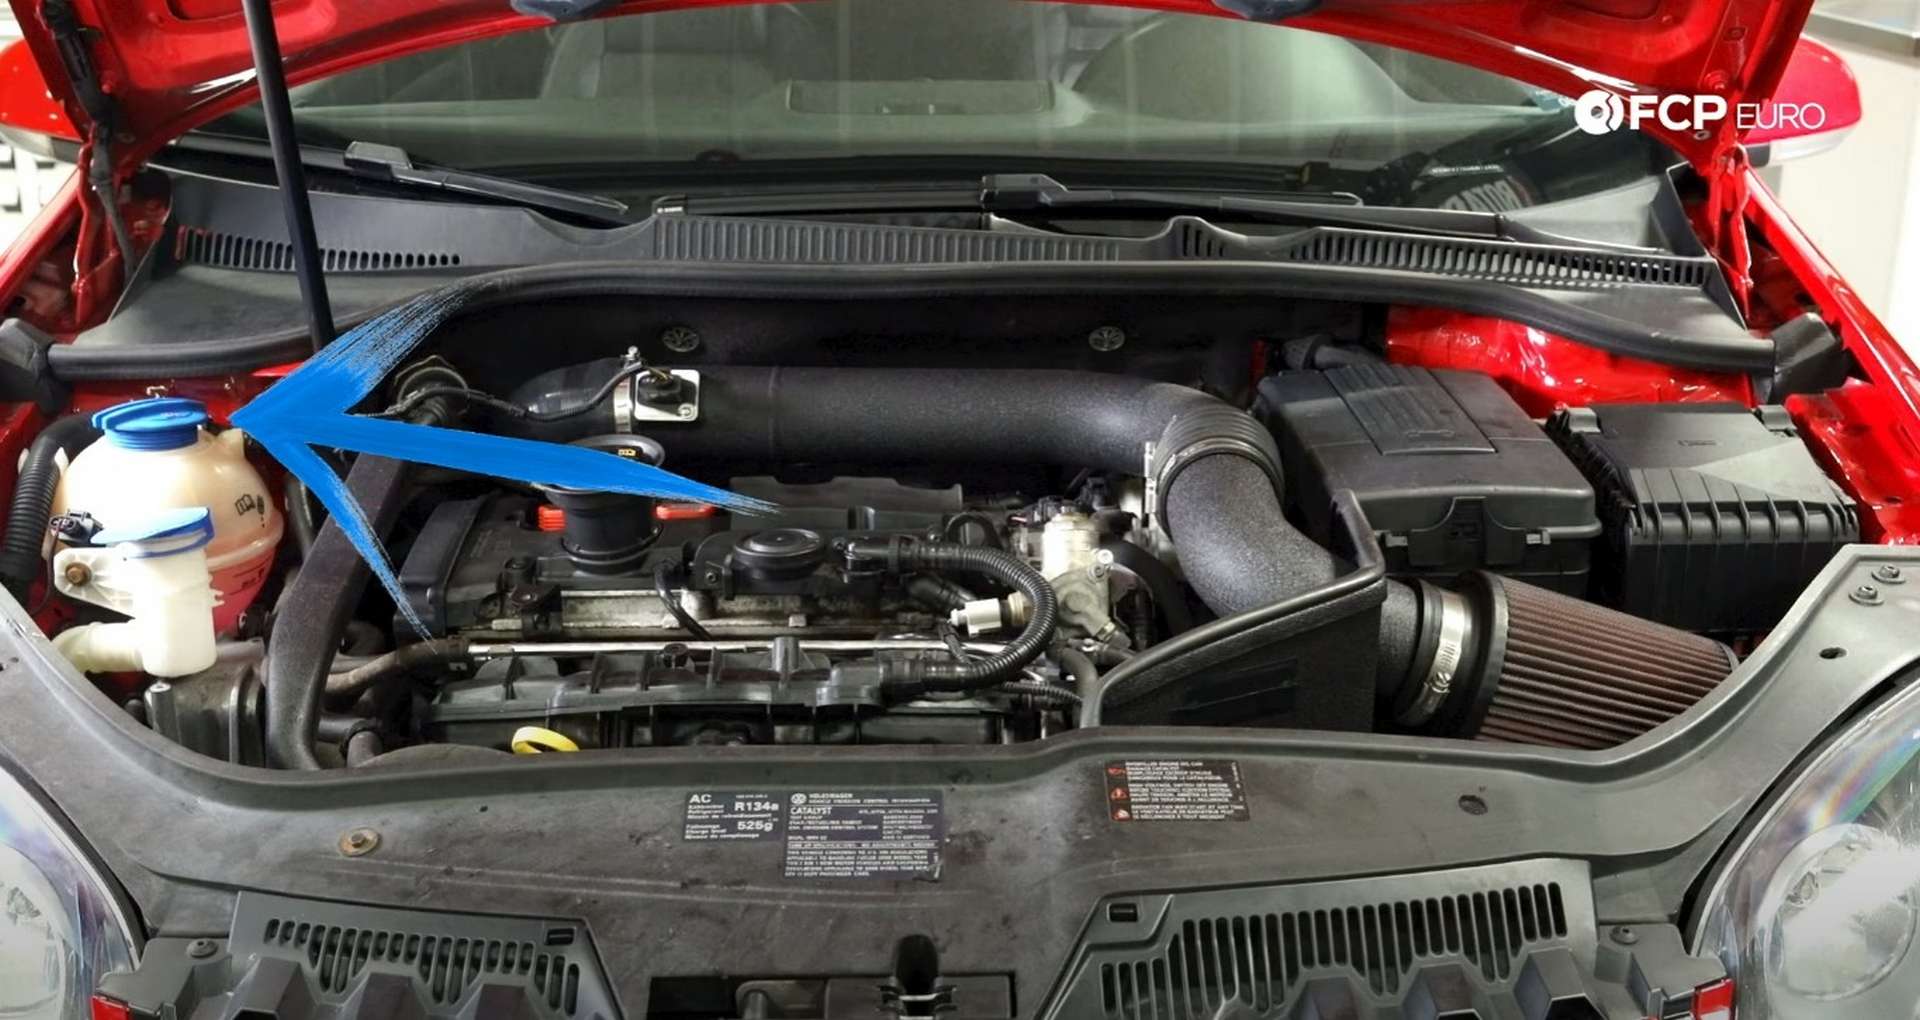
The stock airbox on the Mk5 GTI is routed through the engine cover. Use a pair of pliers to remove the hose clamp from the small intake snorkel on the right side of the cover. Use a T25 bit socket to remove the two fasteners that secure the front of the snorkel to the rest of the intake.
Then, disconnect the mass airflow sensor and use a flathead screwdriver to unlock the turbo inlet pipe's clips. Pull the pipe off of the engine cover and then lift the engine cover off of the engine. It is mounted on four rubber grommets, so you just need to pull it up to remove it.
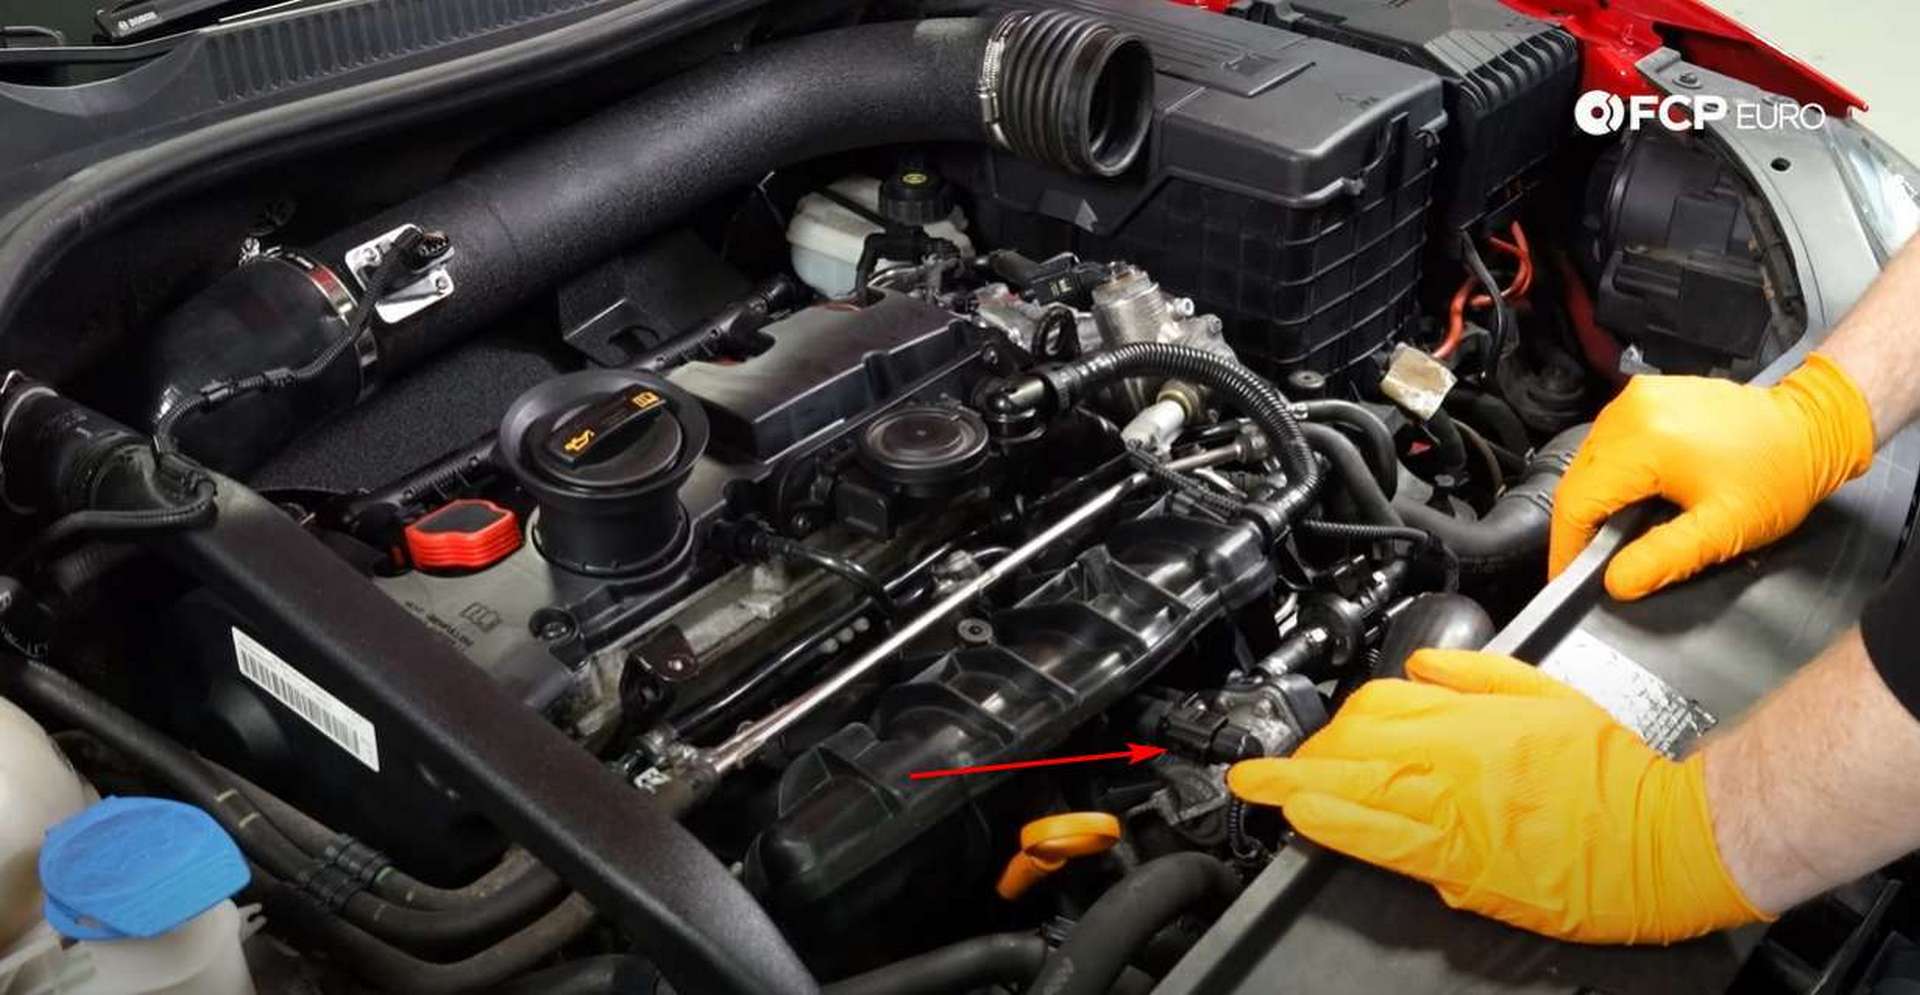
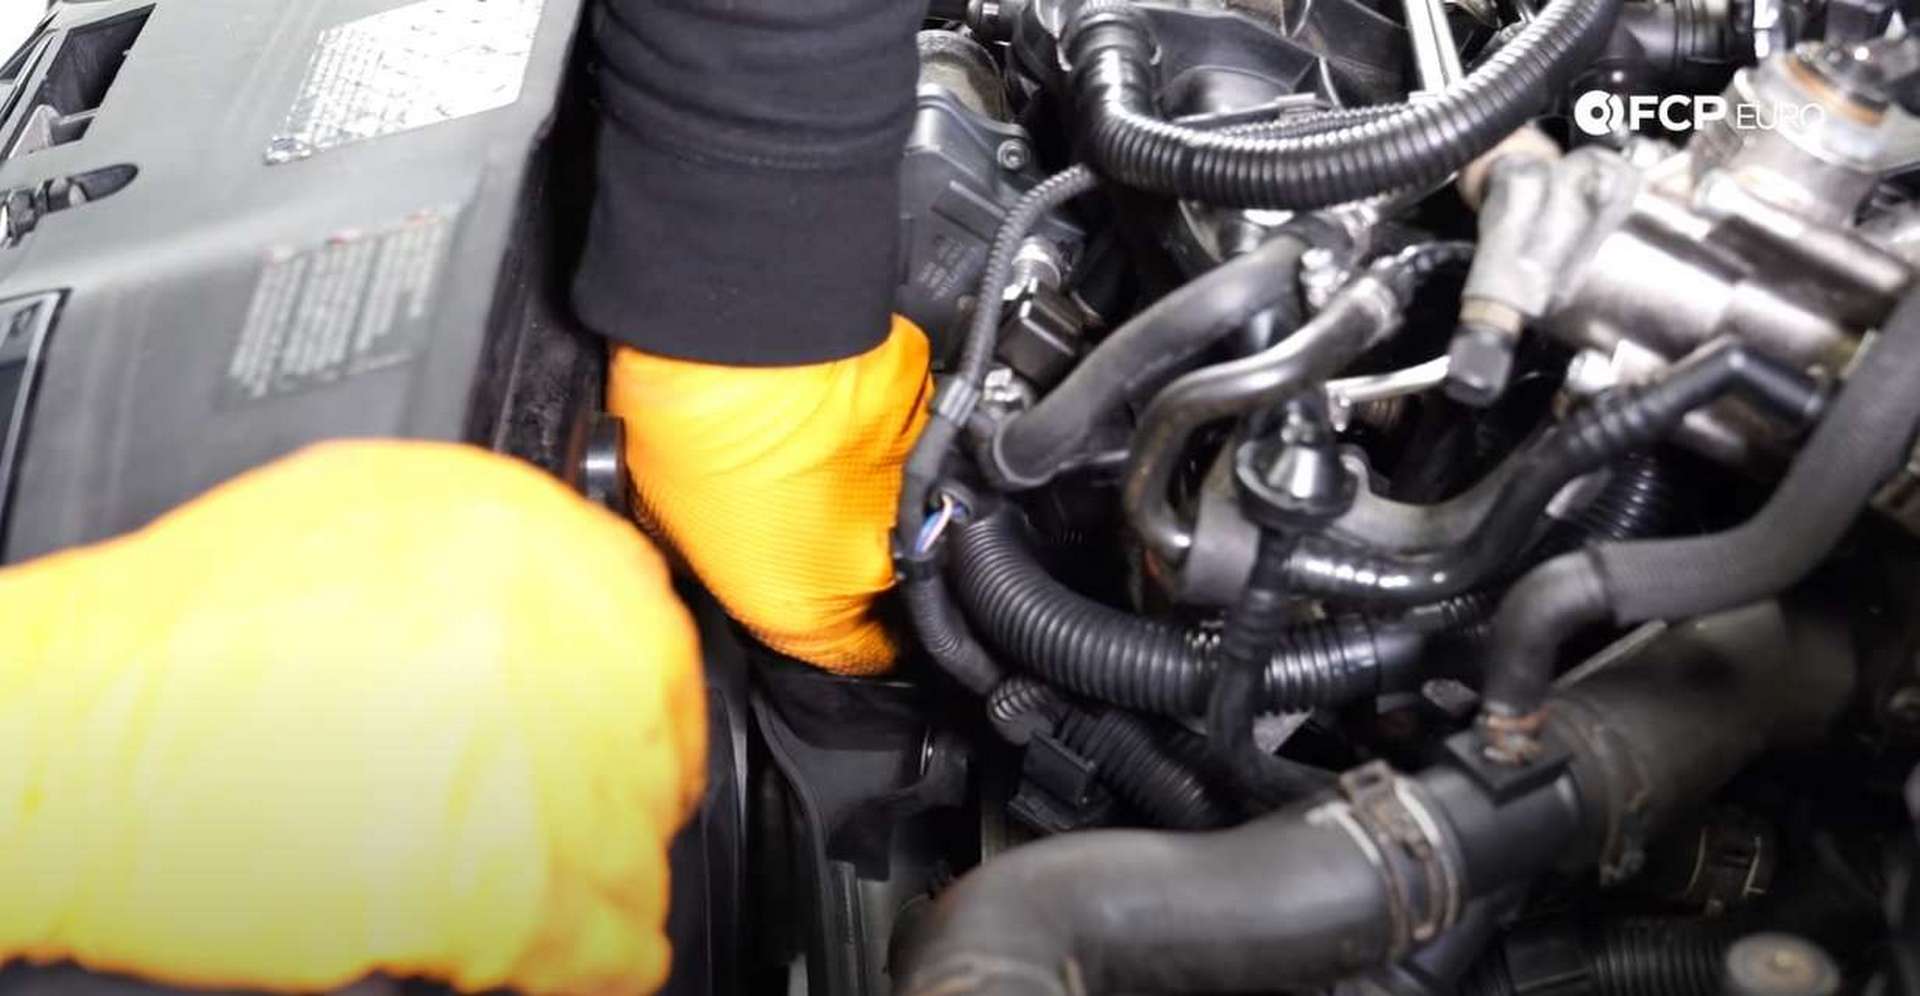
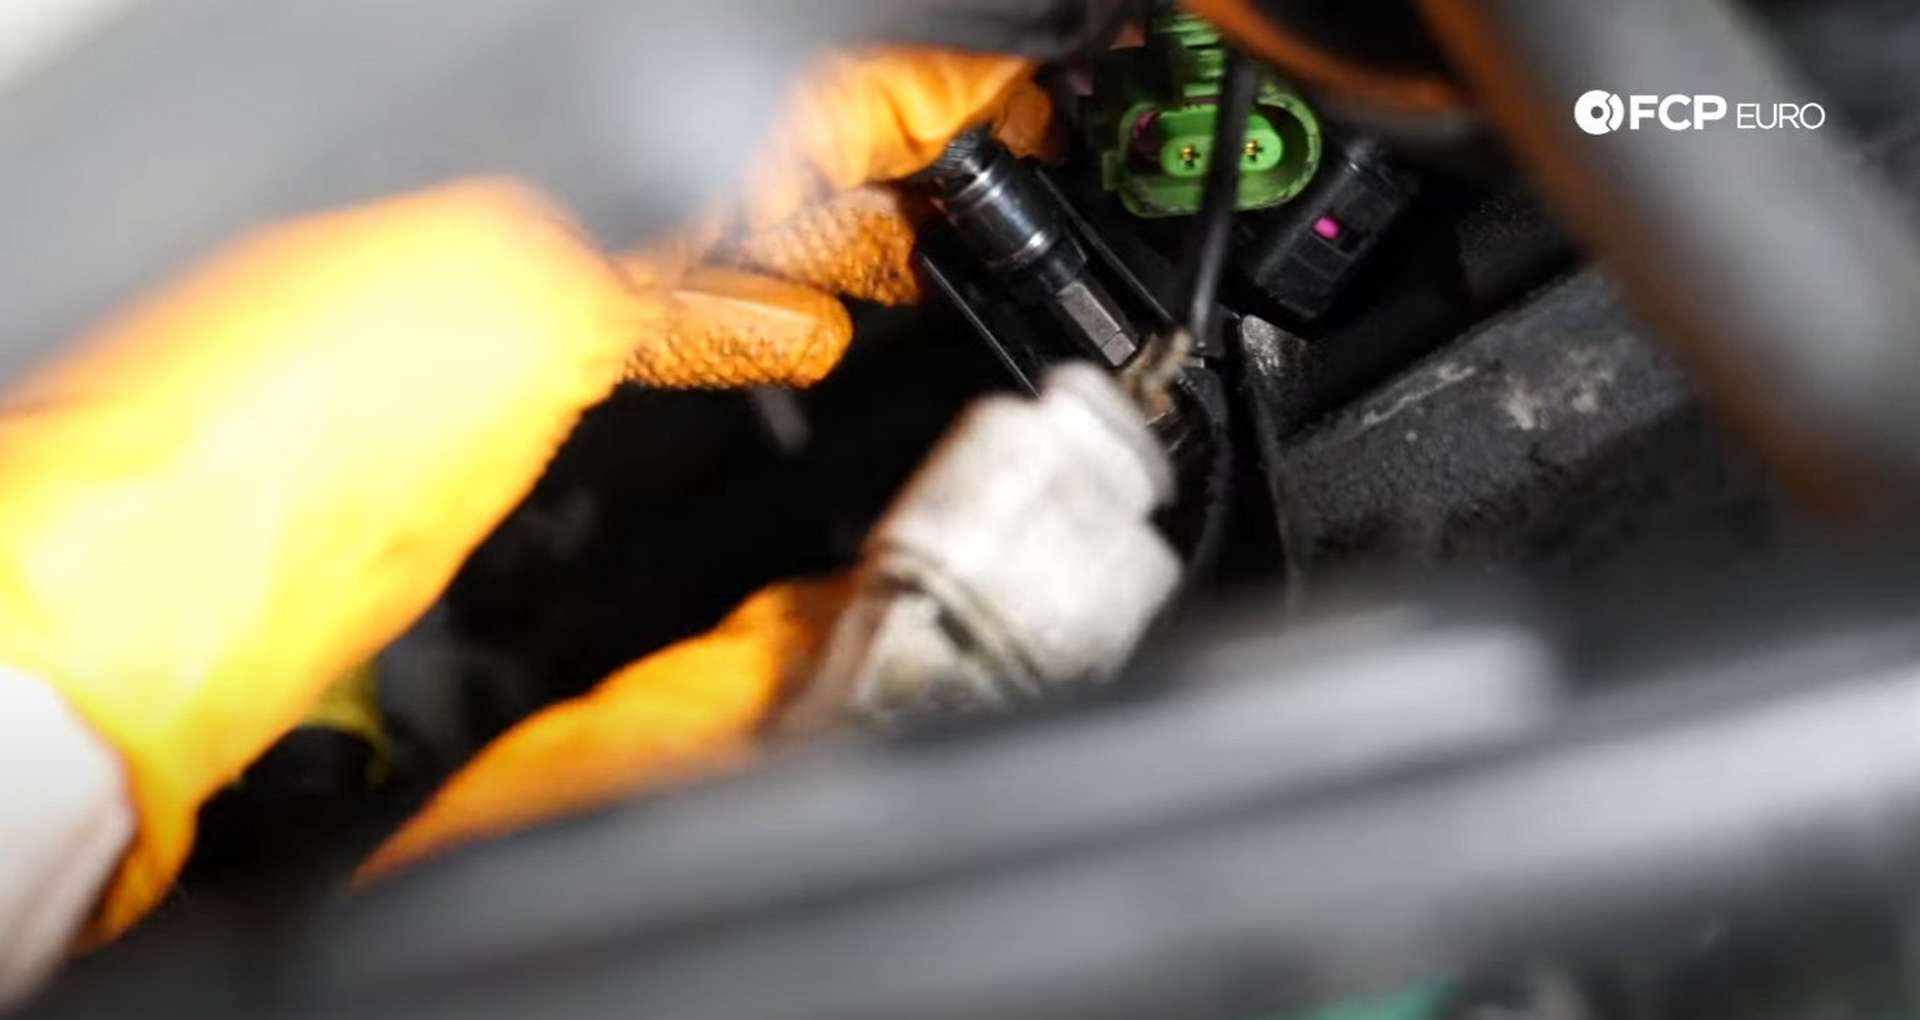
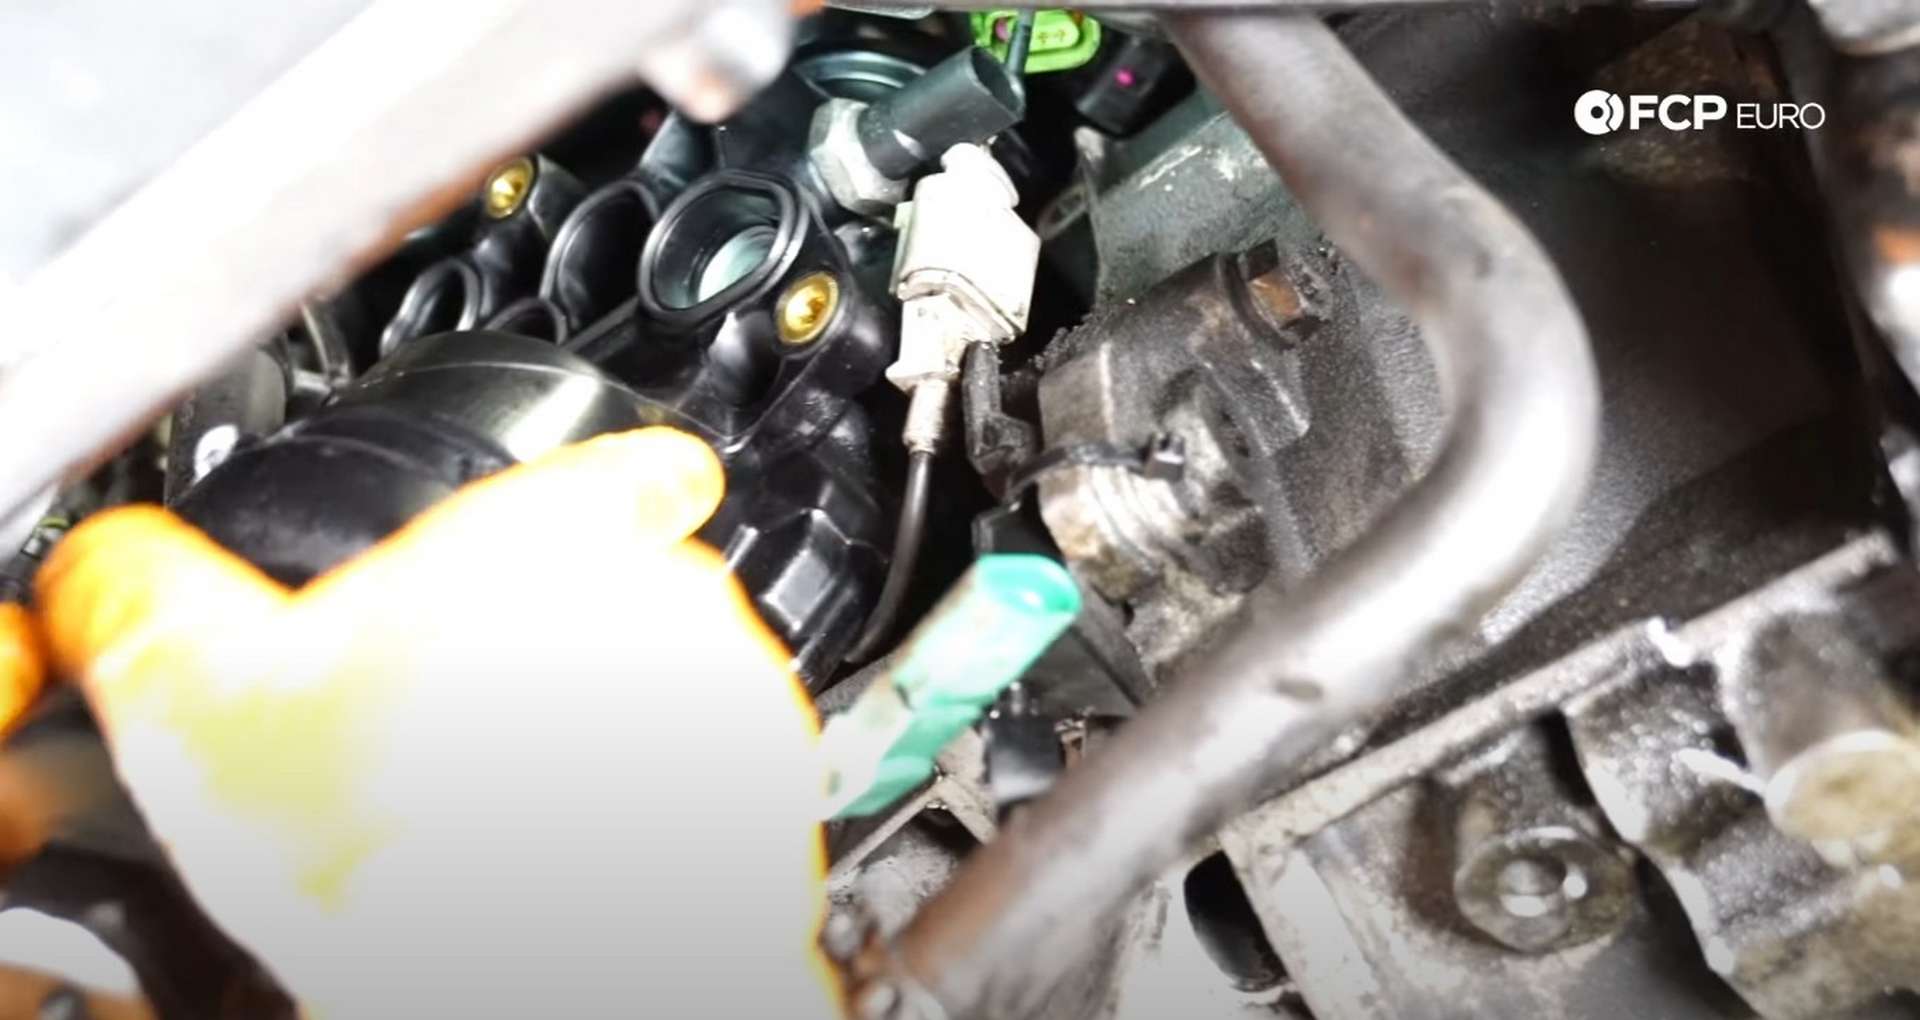
The intake side of the engine is against the radiator. Now that you removed the airbox, focus on the electrical connections on the throttle body. Disconnect the two of them and slide over to the right and disconnect the MAP sensor on the boost pipe.

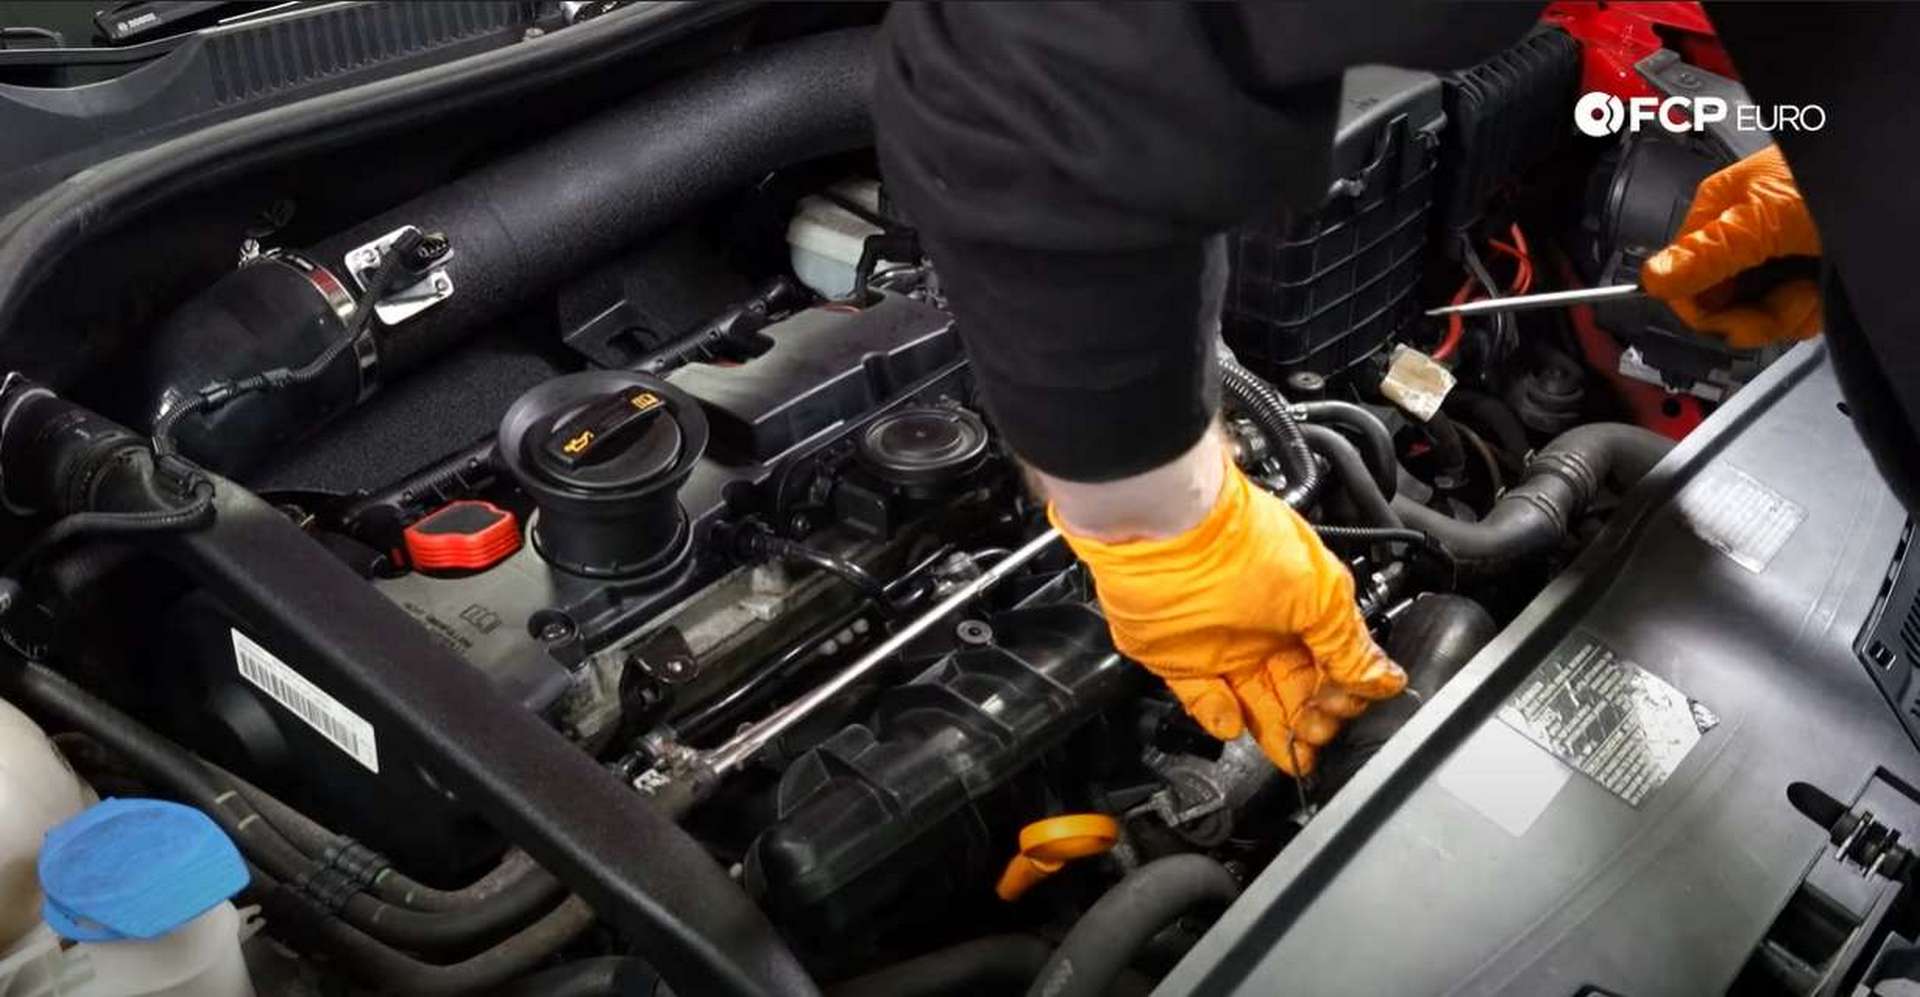
Move from the MAP sensor to the left and up on the engine. Use a 10mm socket to remove the bolt next to the oil cooler line.
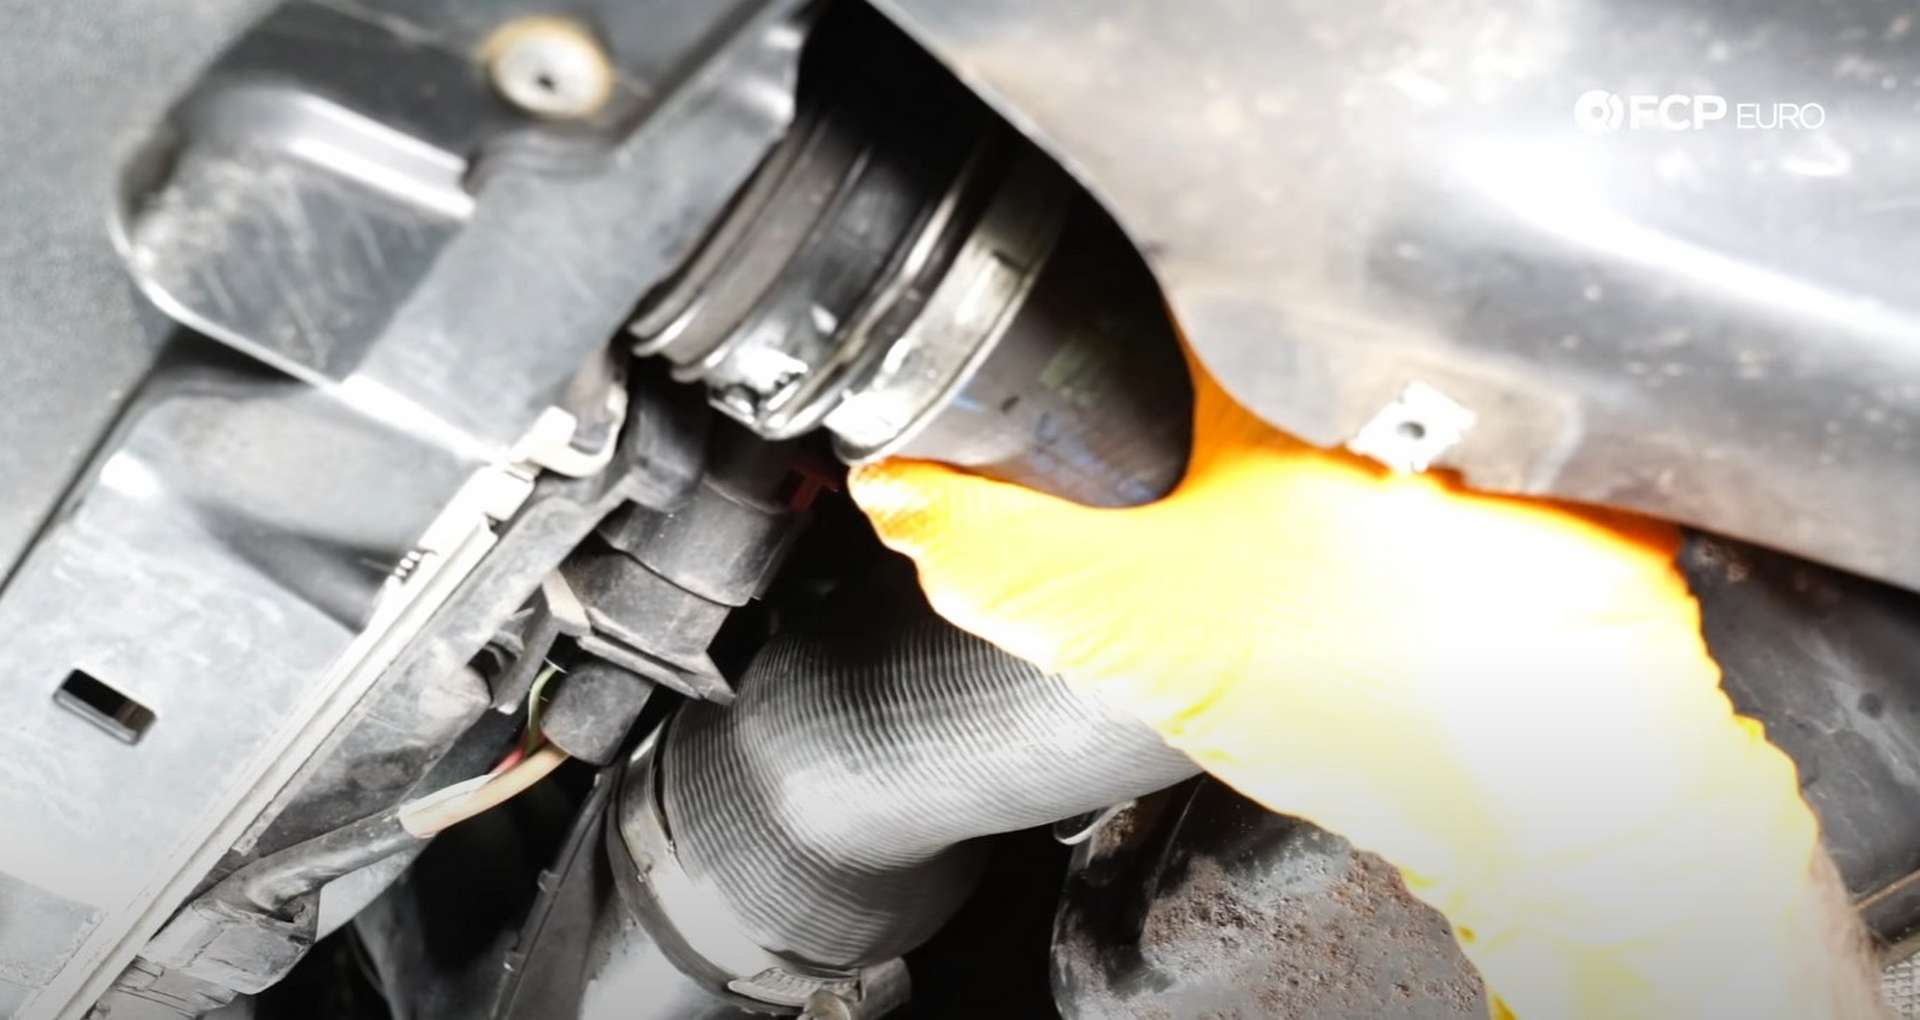
Next, remove the rubber pipe for the induction noise system. Use a flathead screwdriver to remove the lock from the top pipe connection. Use a pair of spring clip pliers to loosen the clamp at the pipe's bottom connection, and then remove the pipe from the engine bay.
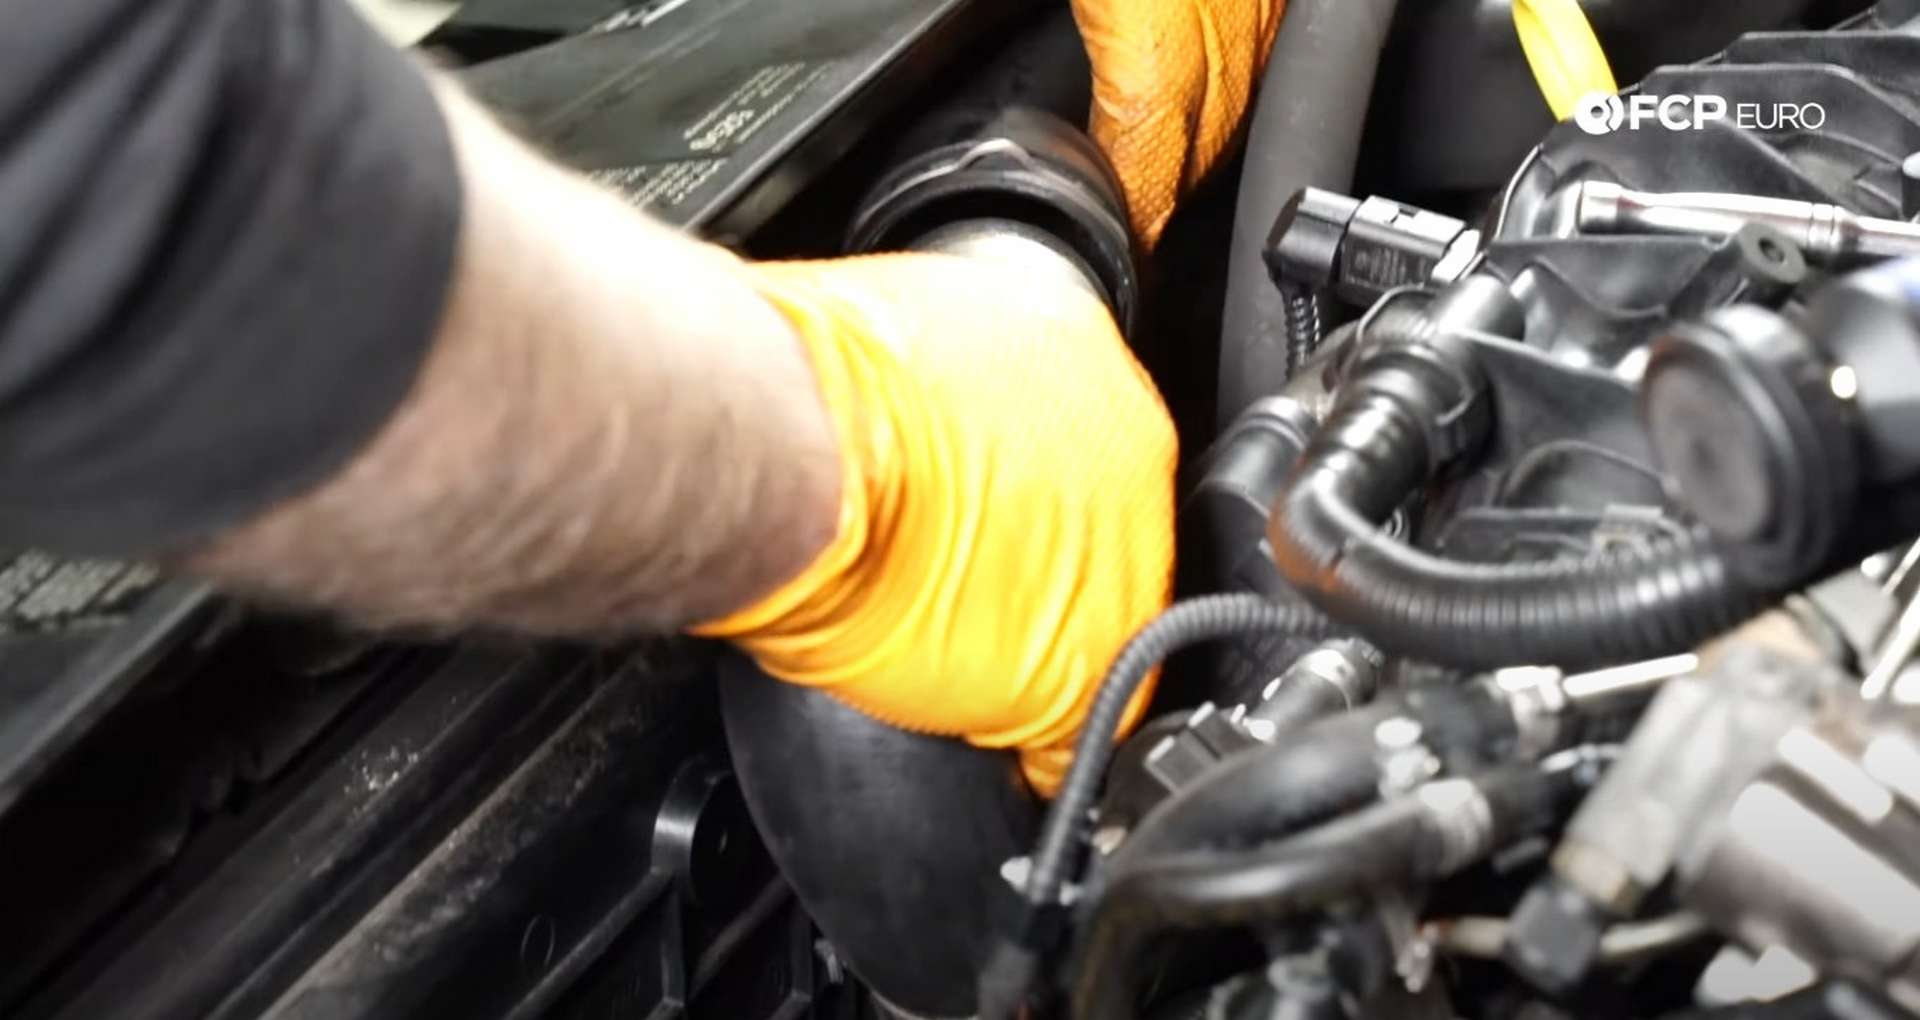
After that, use a 7mm socket or nut driver to loosen the hose clamp for the throttle body intake hose. Ise a pick to break the seal of the hose and remove it from the throttle body.
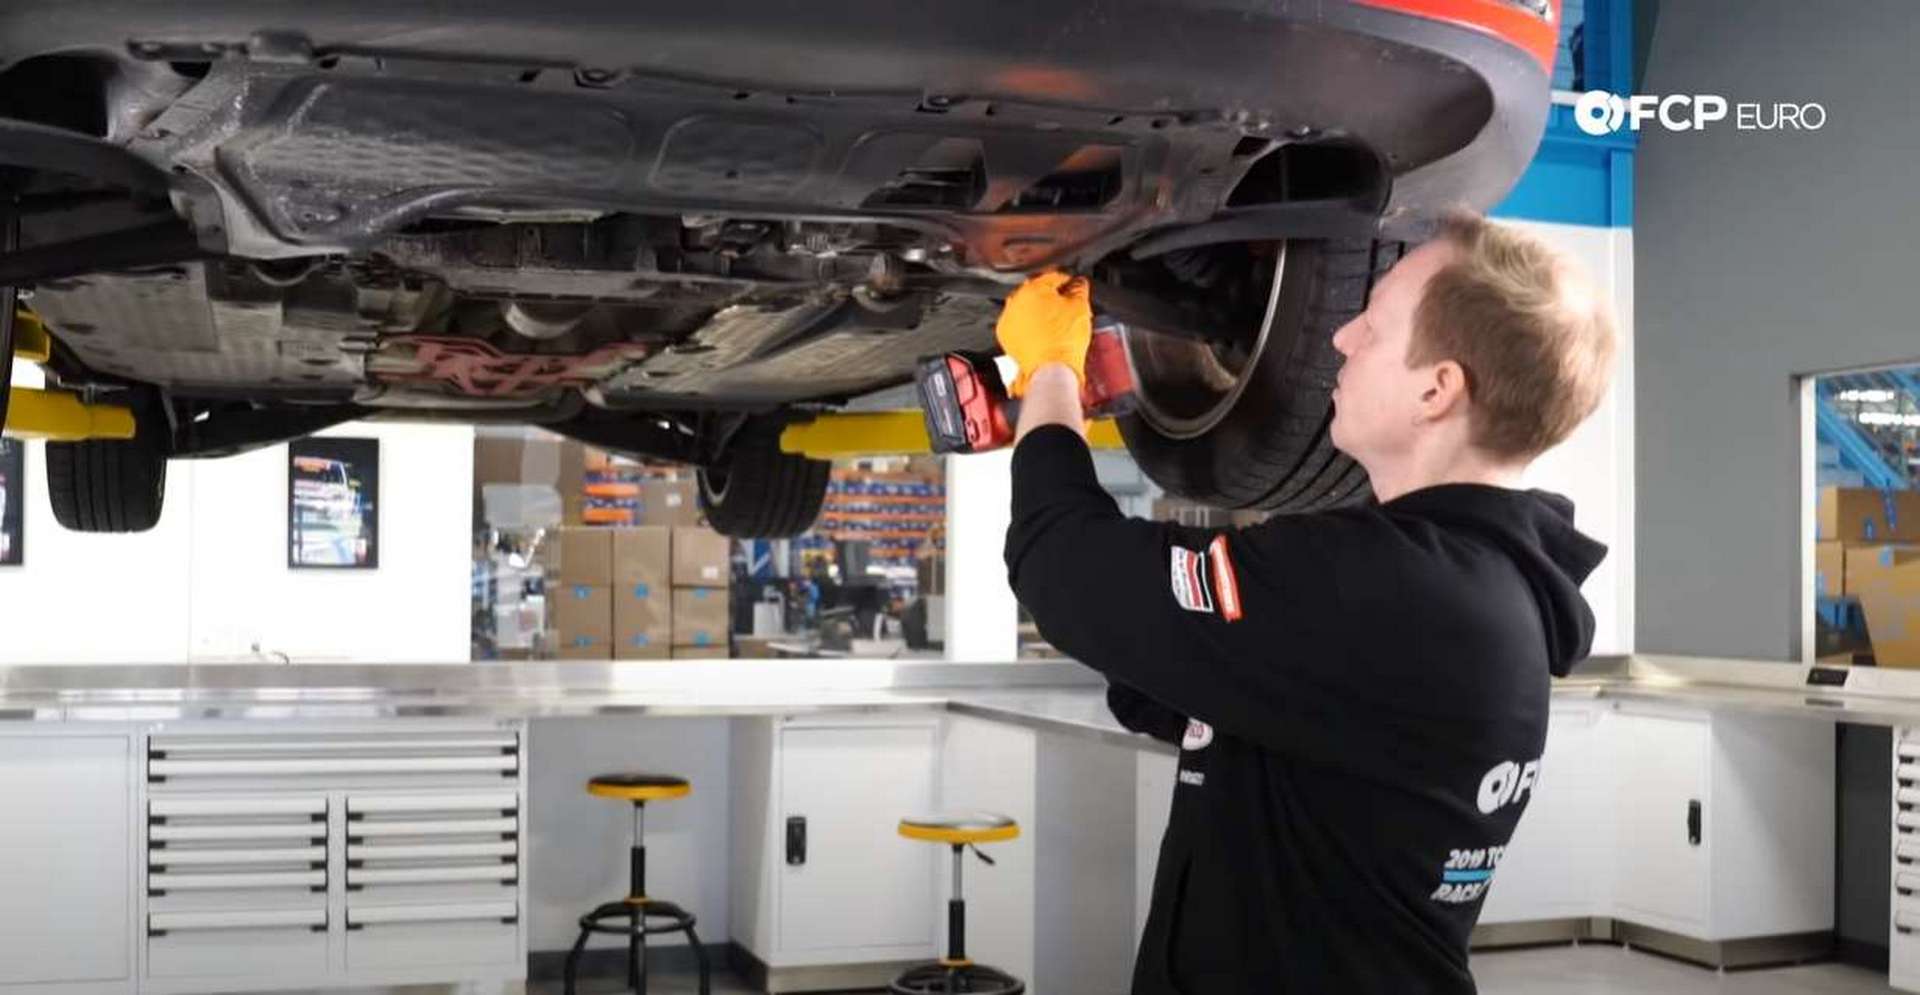
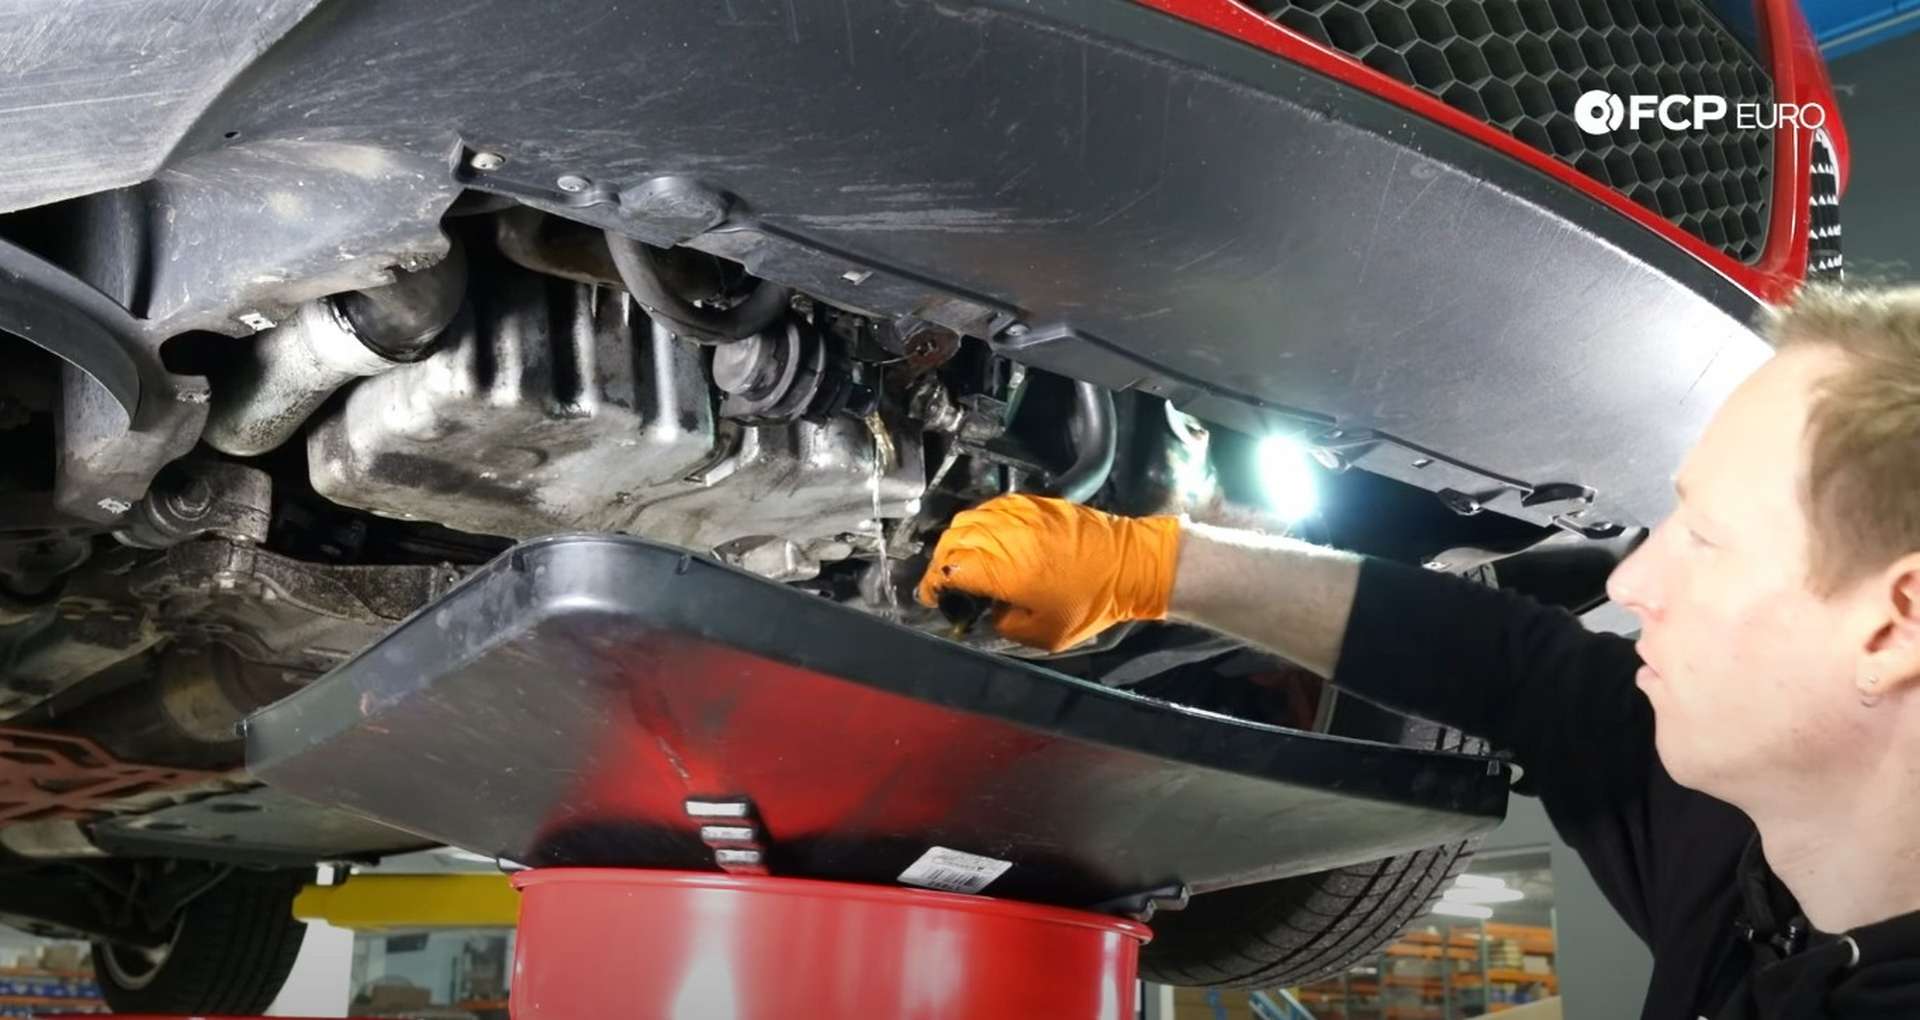
Jack up the car to get to the rest of the intake components. Use a T25 bit socket to remove the plastic splash shield from the bottom of the car.
You will see the signs of a leaking oil filter housing with the shield off of the car. The shield sits directly below the housing and will collect the oil that runs out of it. You can also now get to the boost pipe on the intercooler.
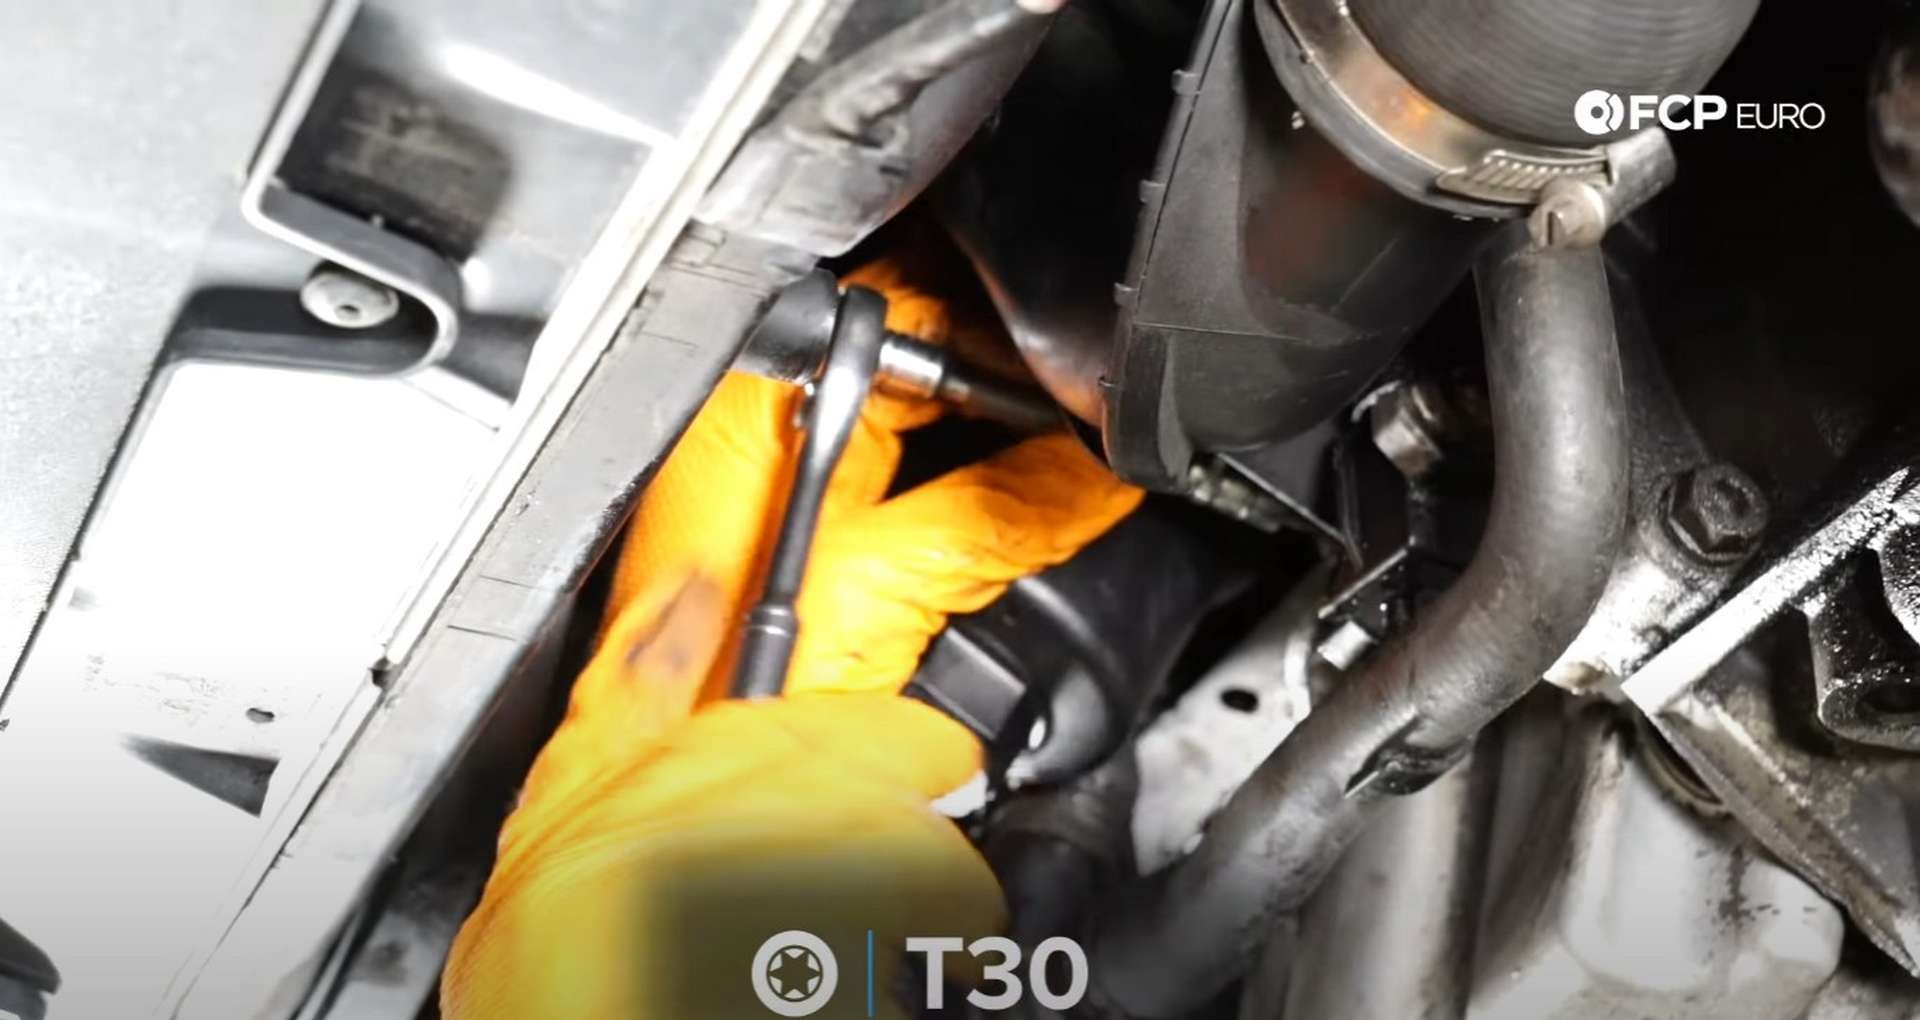
Use a flathead screwdriver to remove the lock for the boost pipe to the intercooler connection. Then, use a T30 bit socket to remove the boost pipe's mounting bolt.
Remove the boost pipe from the engine bay. The pipe sits on a stud in the engine bay, so you'll need to pull it away from the engine before pushing it down through the bottom of the engine bay.
Lastly, you need to remove the throttle body. Use a T30 bit socket to remove the four bolts securing the throttle body to the intake manifold. Space will be tight like every other step in this job, so you won't be able to see where the bolts are.
You should've already removed any other connections to it, so it will be disconnected from the engine when the last bolt is out.
Step 2: Remove the Oil Cooler
The oil cooler is an oil-to-water type that sits directly on the oil filter housing. To get the oil cooler out, you need to make some room. Start by using a T30 bit socket to remove the short fastener that mounts coolant pipes above the oil cooler.
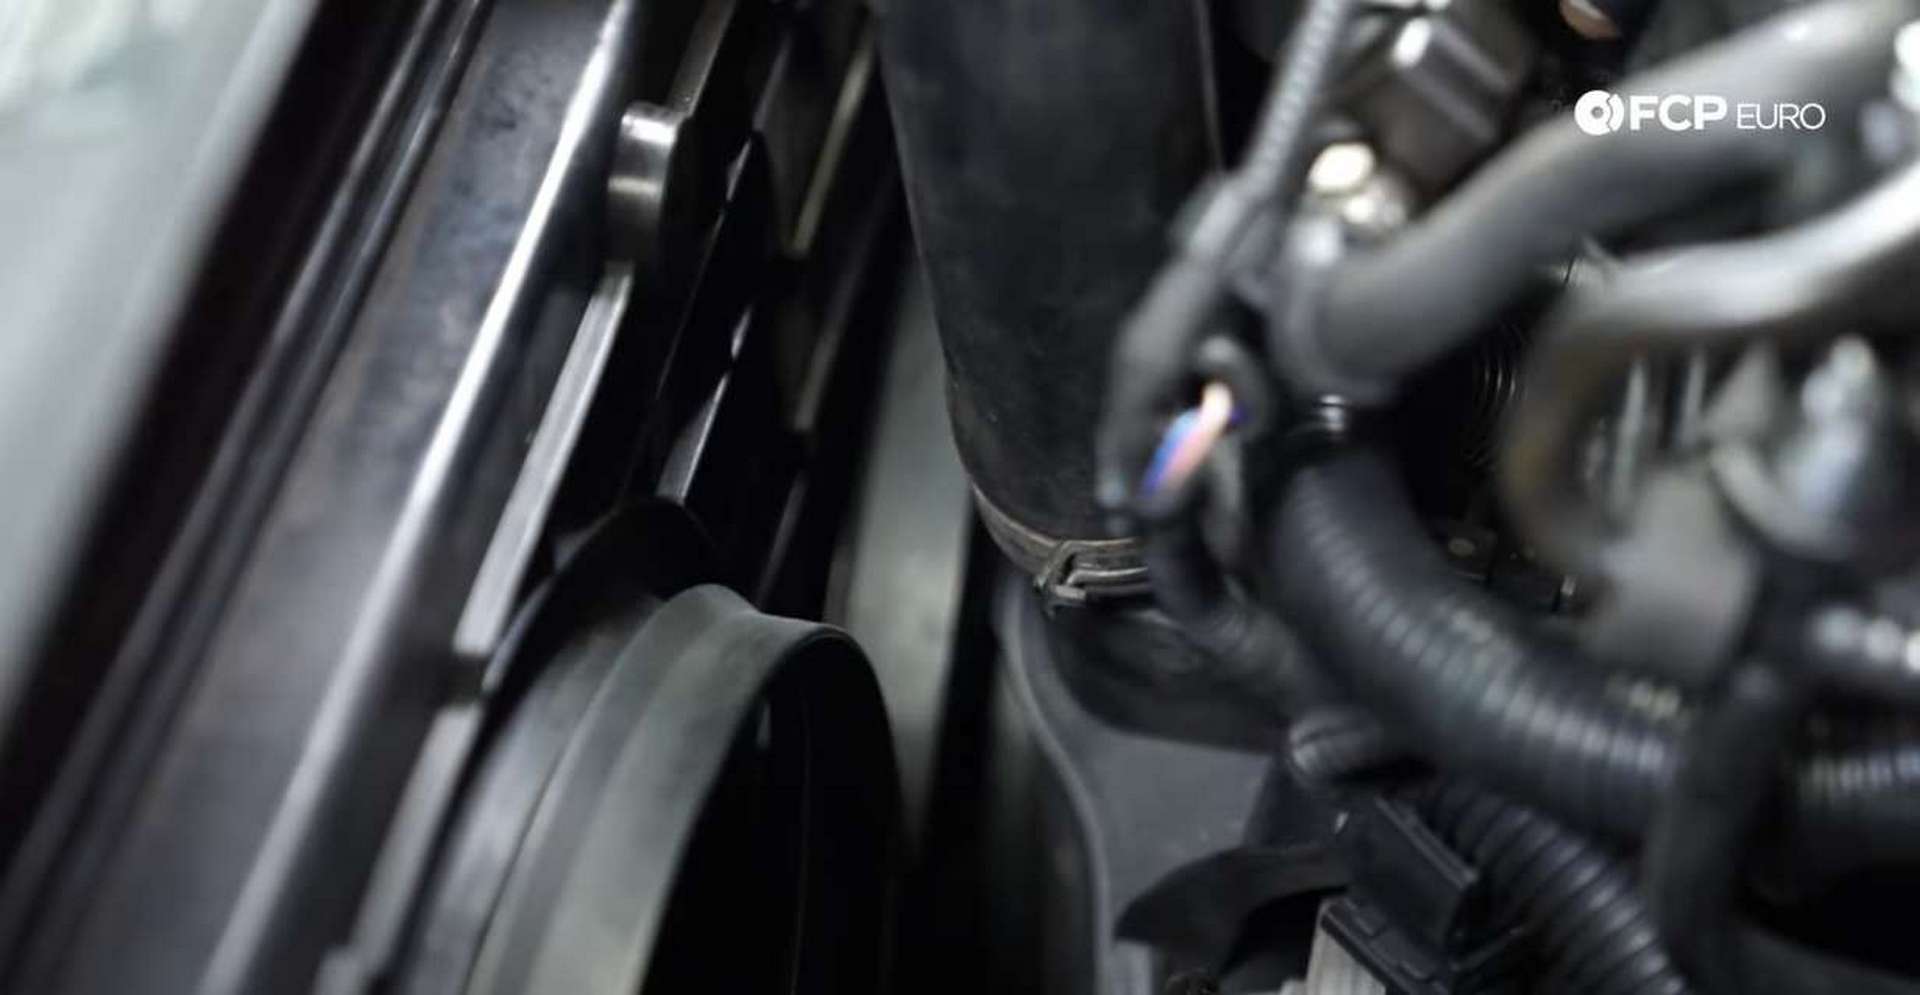
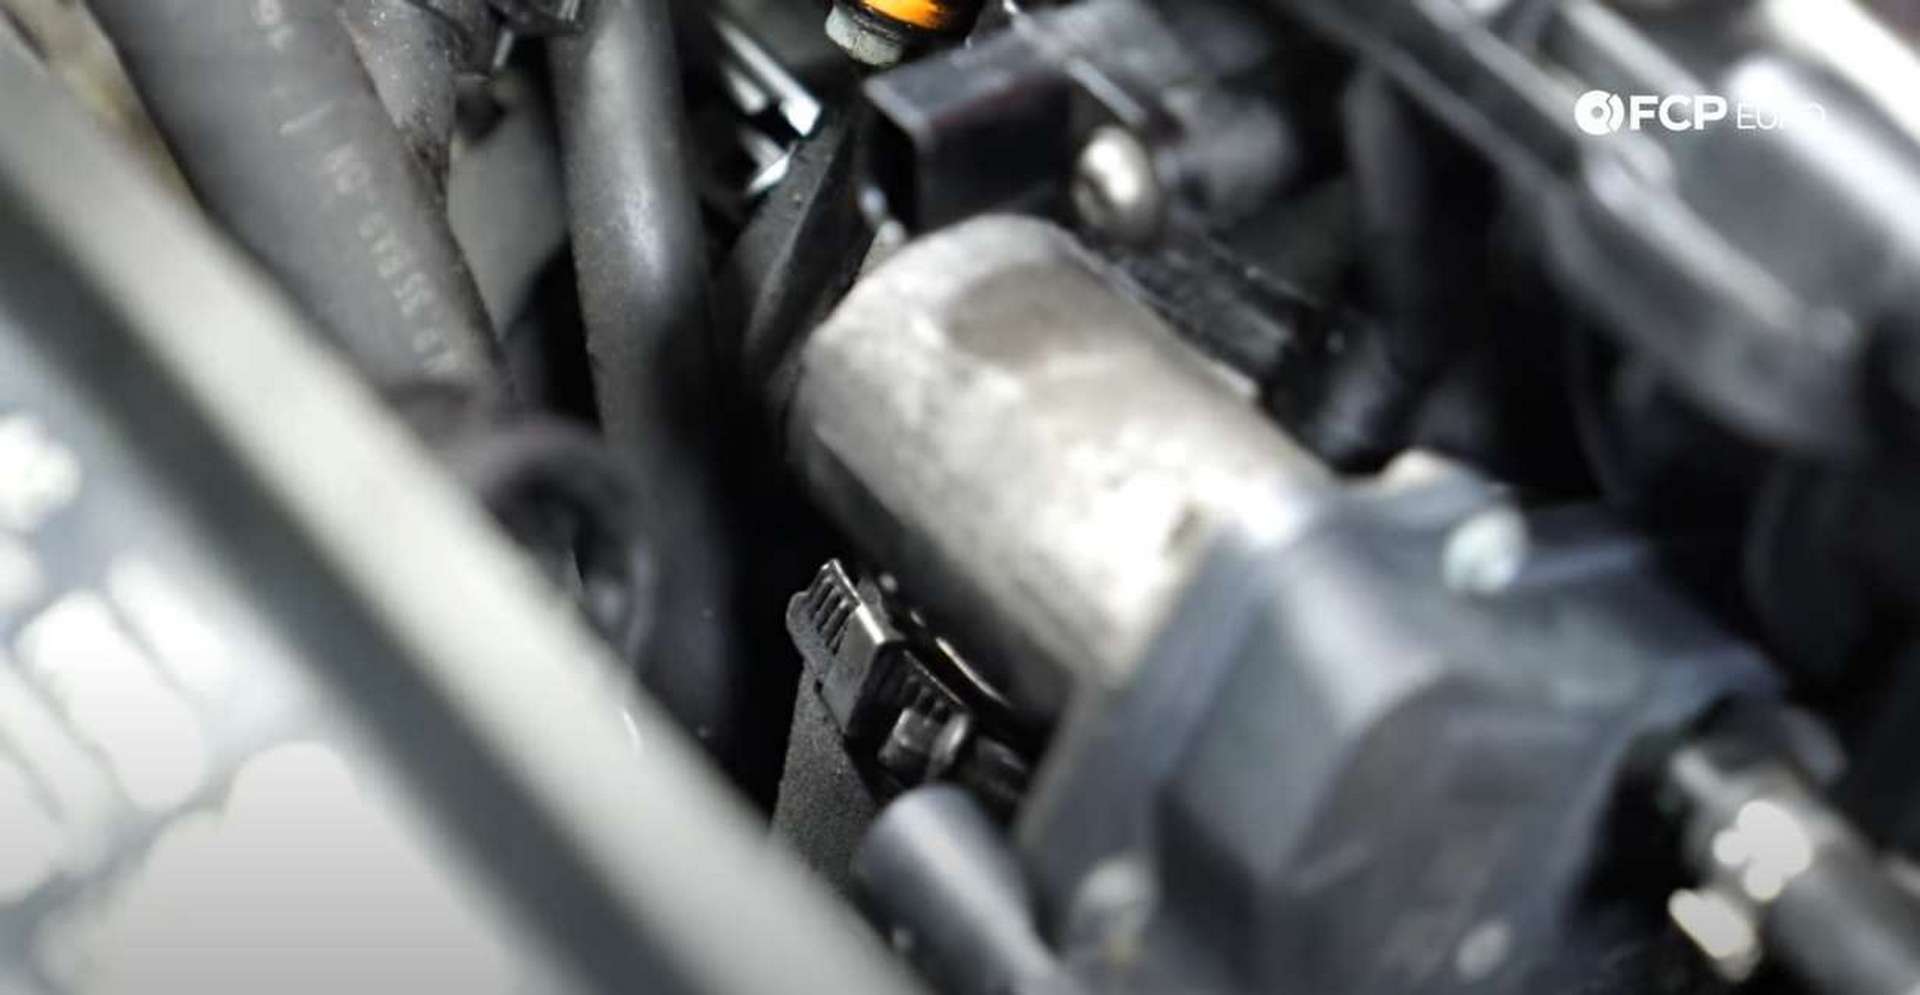
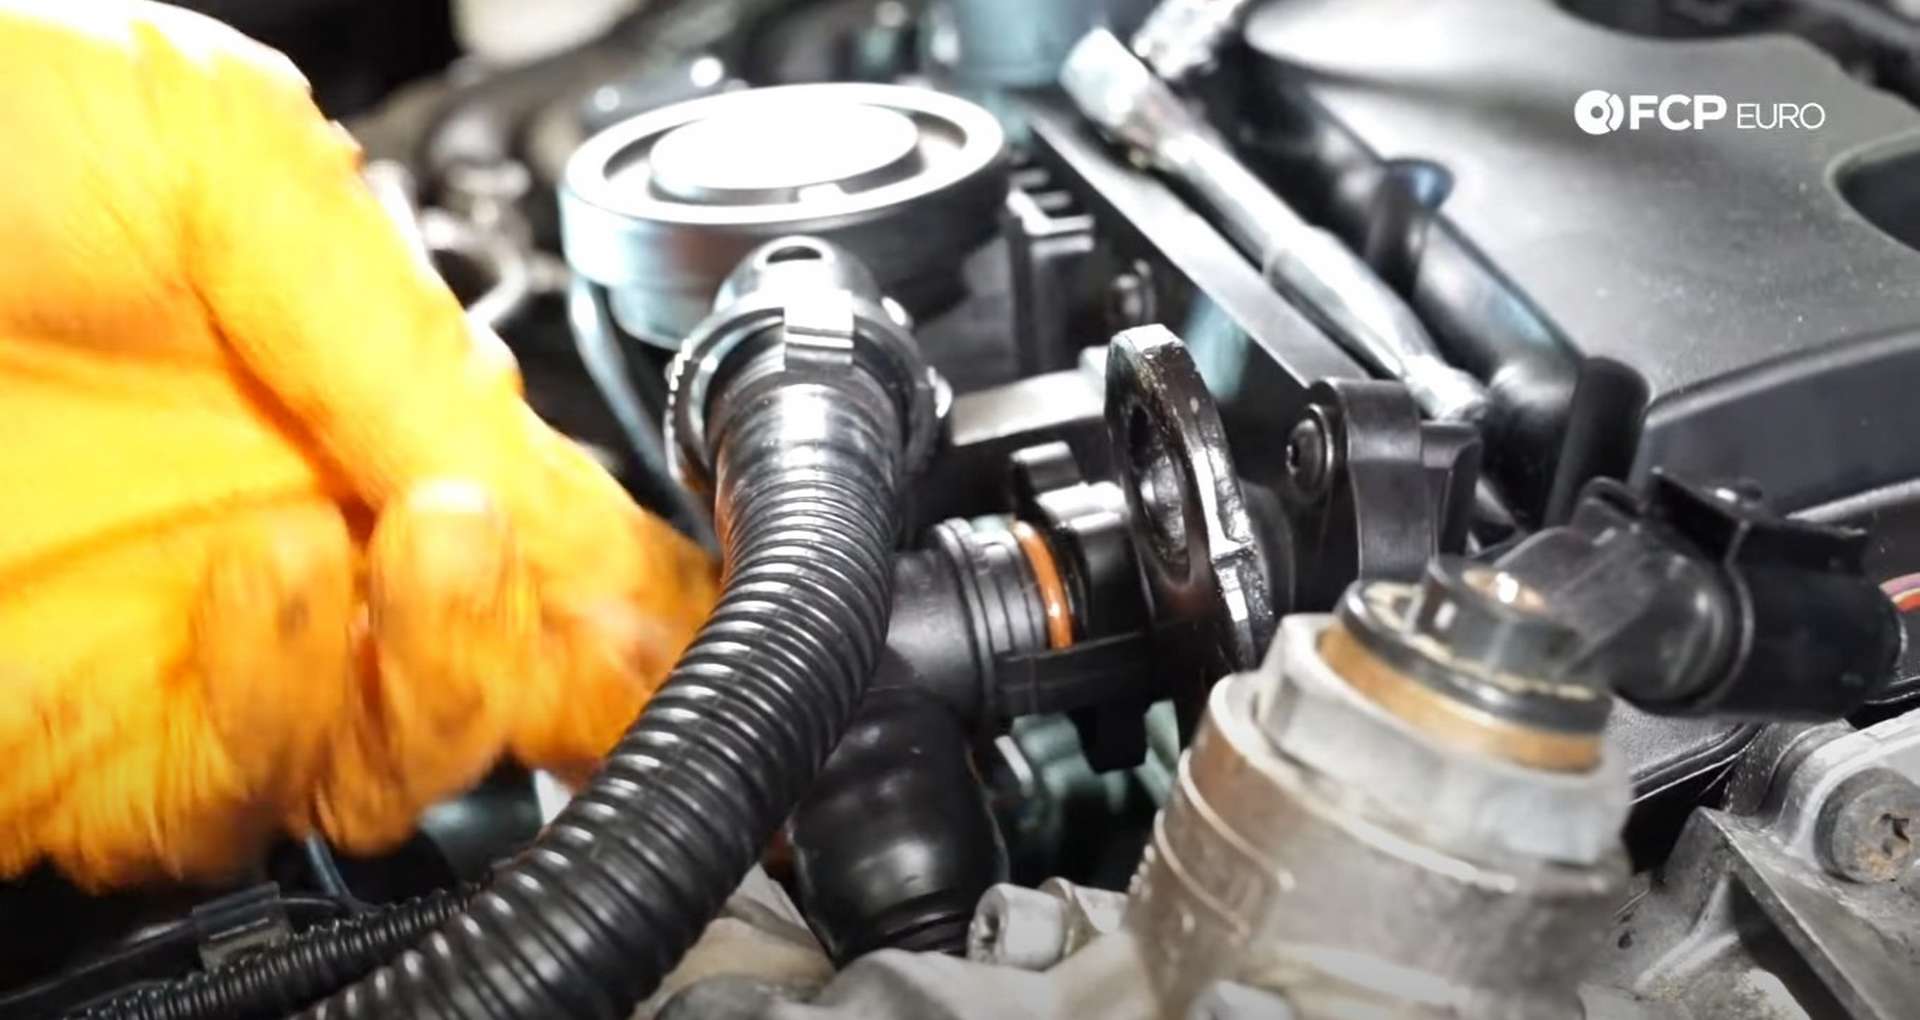
Next to the oil cooler is a long hose that runs up to the PCV housing on the valve cover. This hose is a wear item, meaning it will eventually break. Use a flathead screwdriver to lift the tabs at each end of the hose to disconnect it from the oil filter housing and PCV.
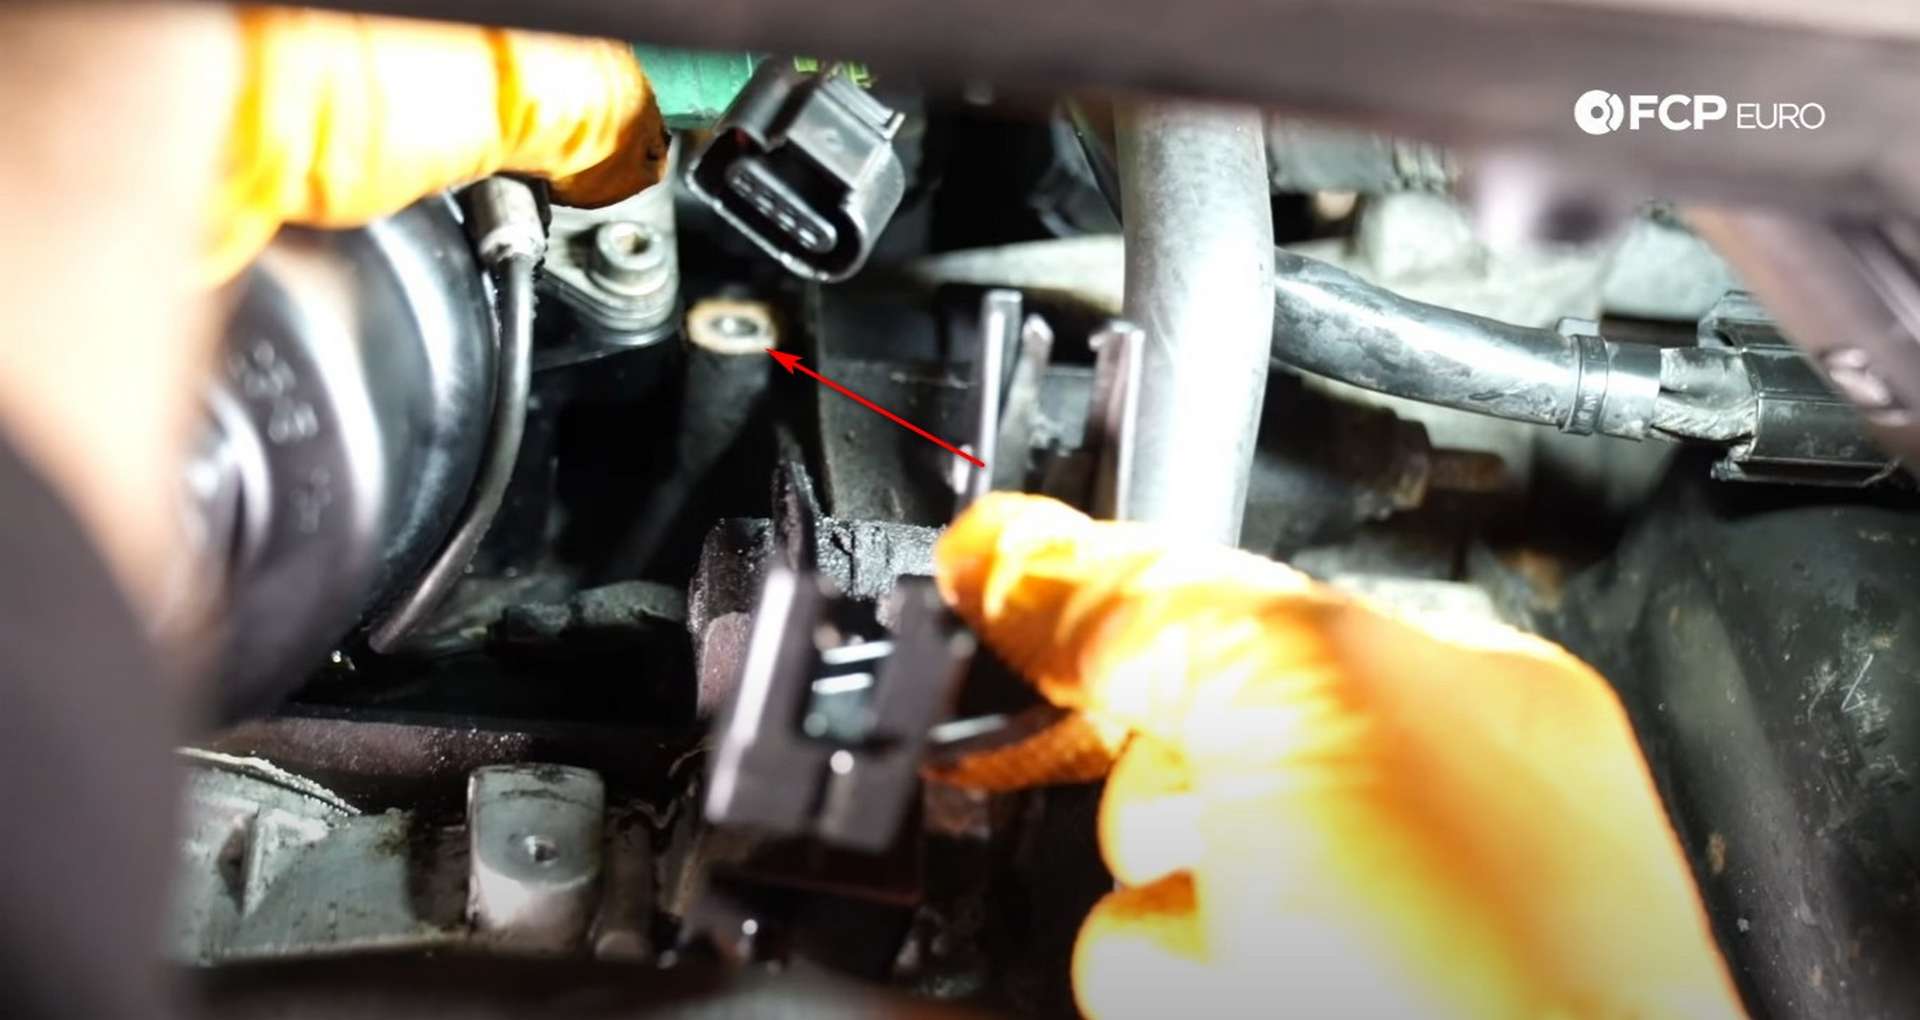
Snake the hose up and out of the engine bay. Directly beneath the hose port on the oil filter housing for the PCV hose is the fastener for another bracket. Use an M6 triple square socket to remove the bolt.
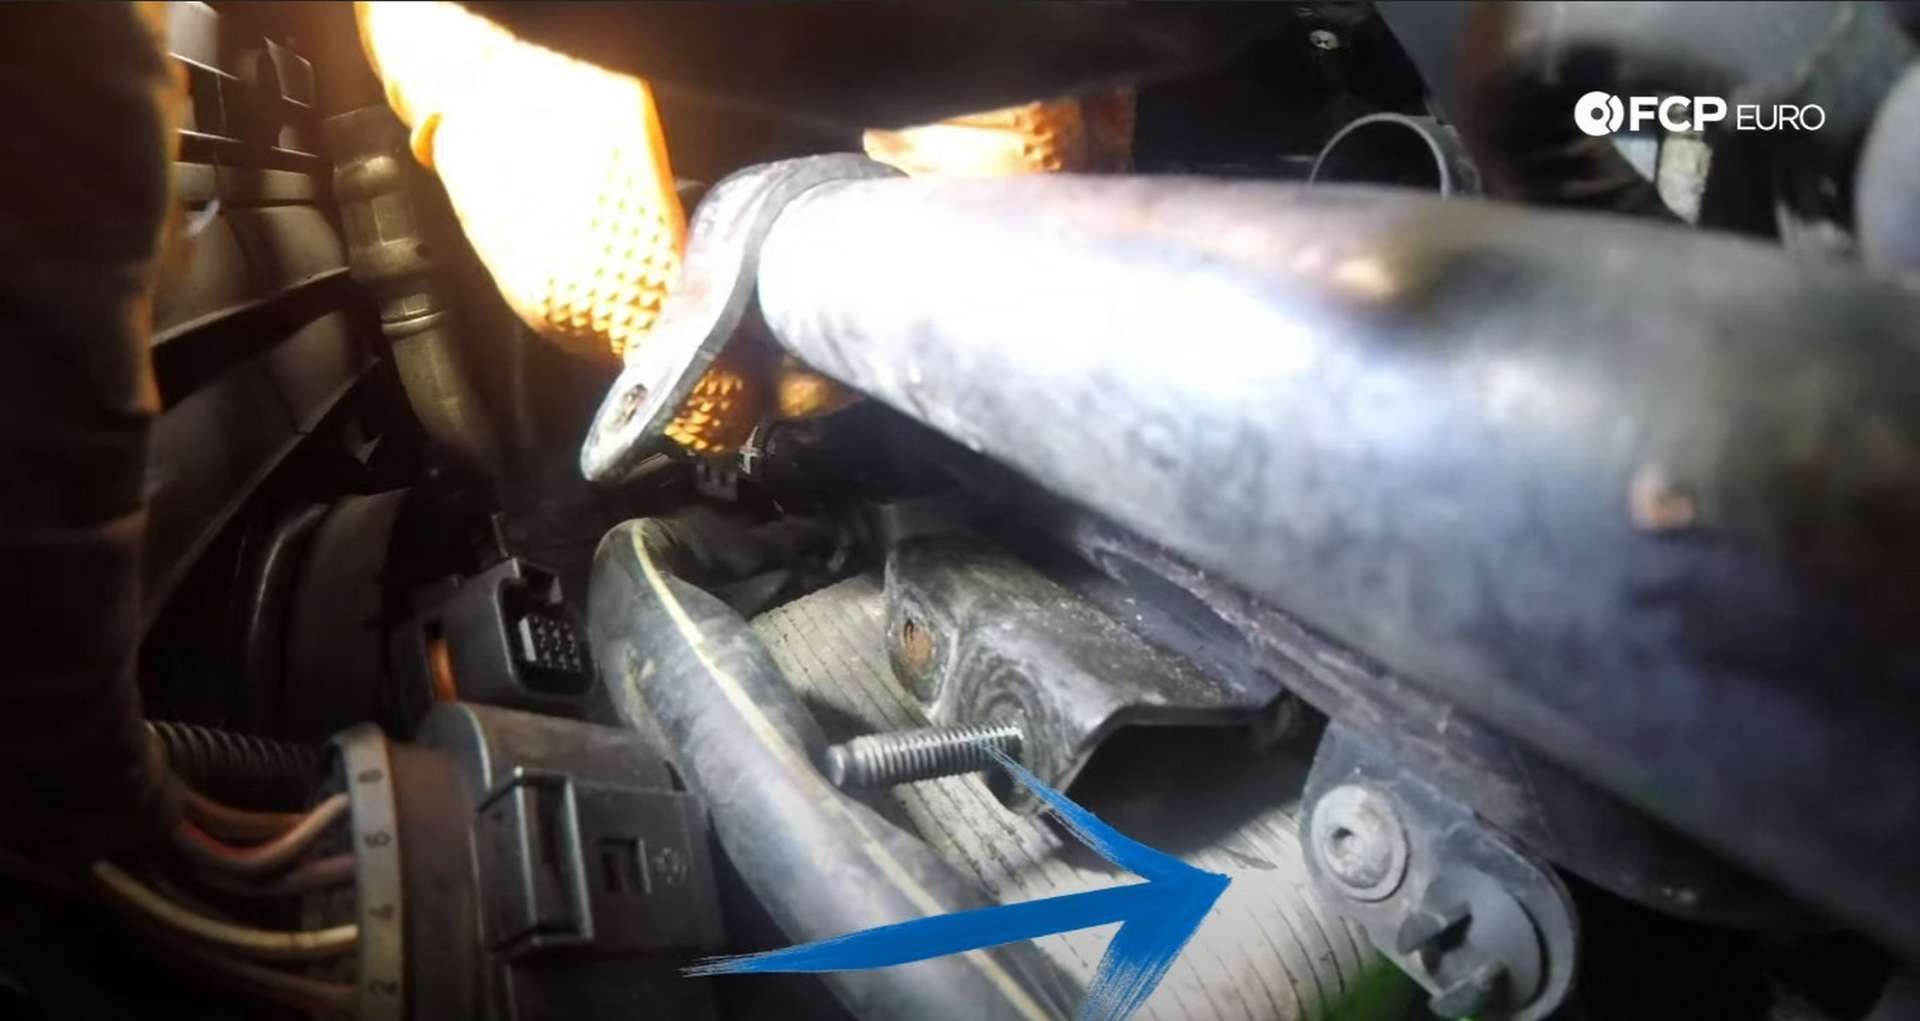
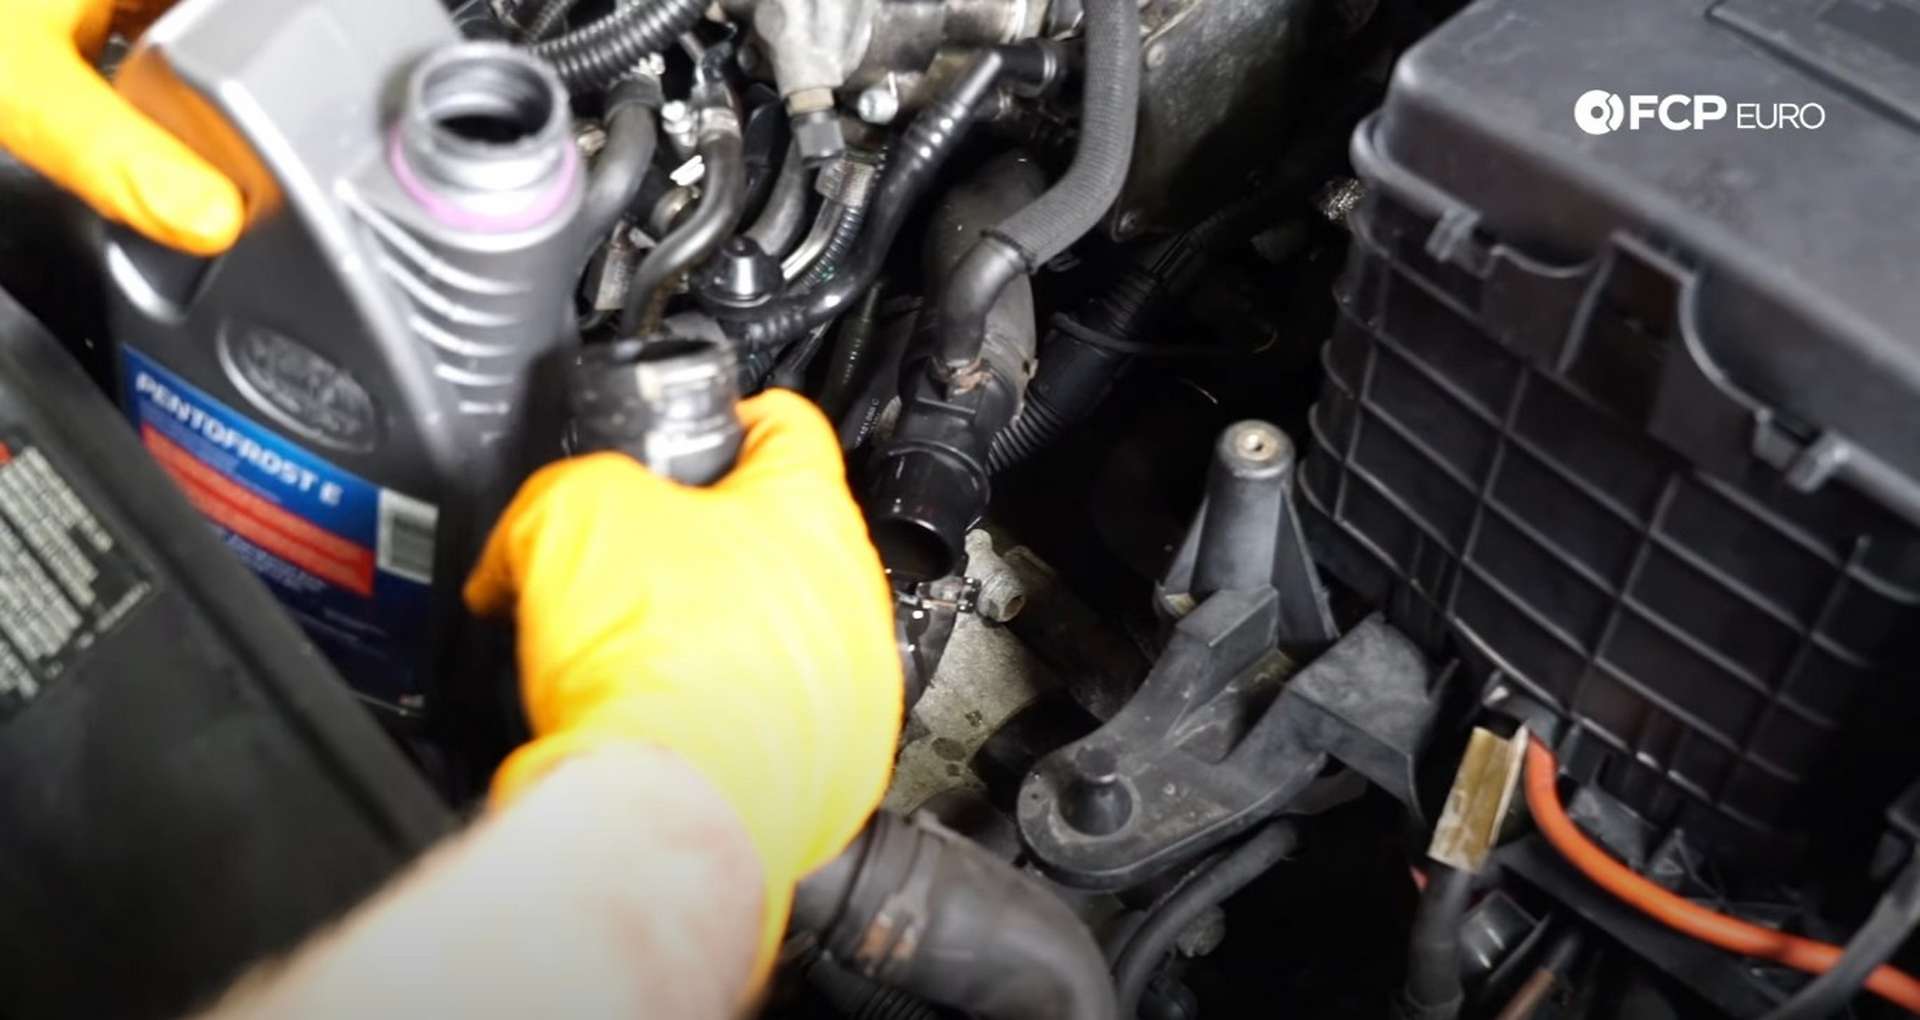
With that last bracket out of the way, you can access the oil cooler's top two bolts. But before doing so, you'll want to drain the coolant. First, loosen the cap on the coolant expansion tank.
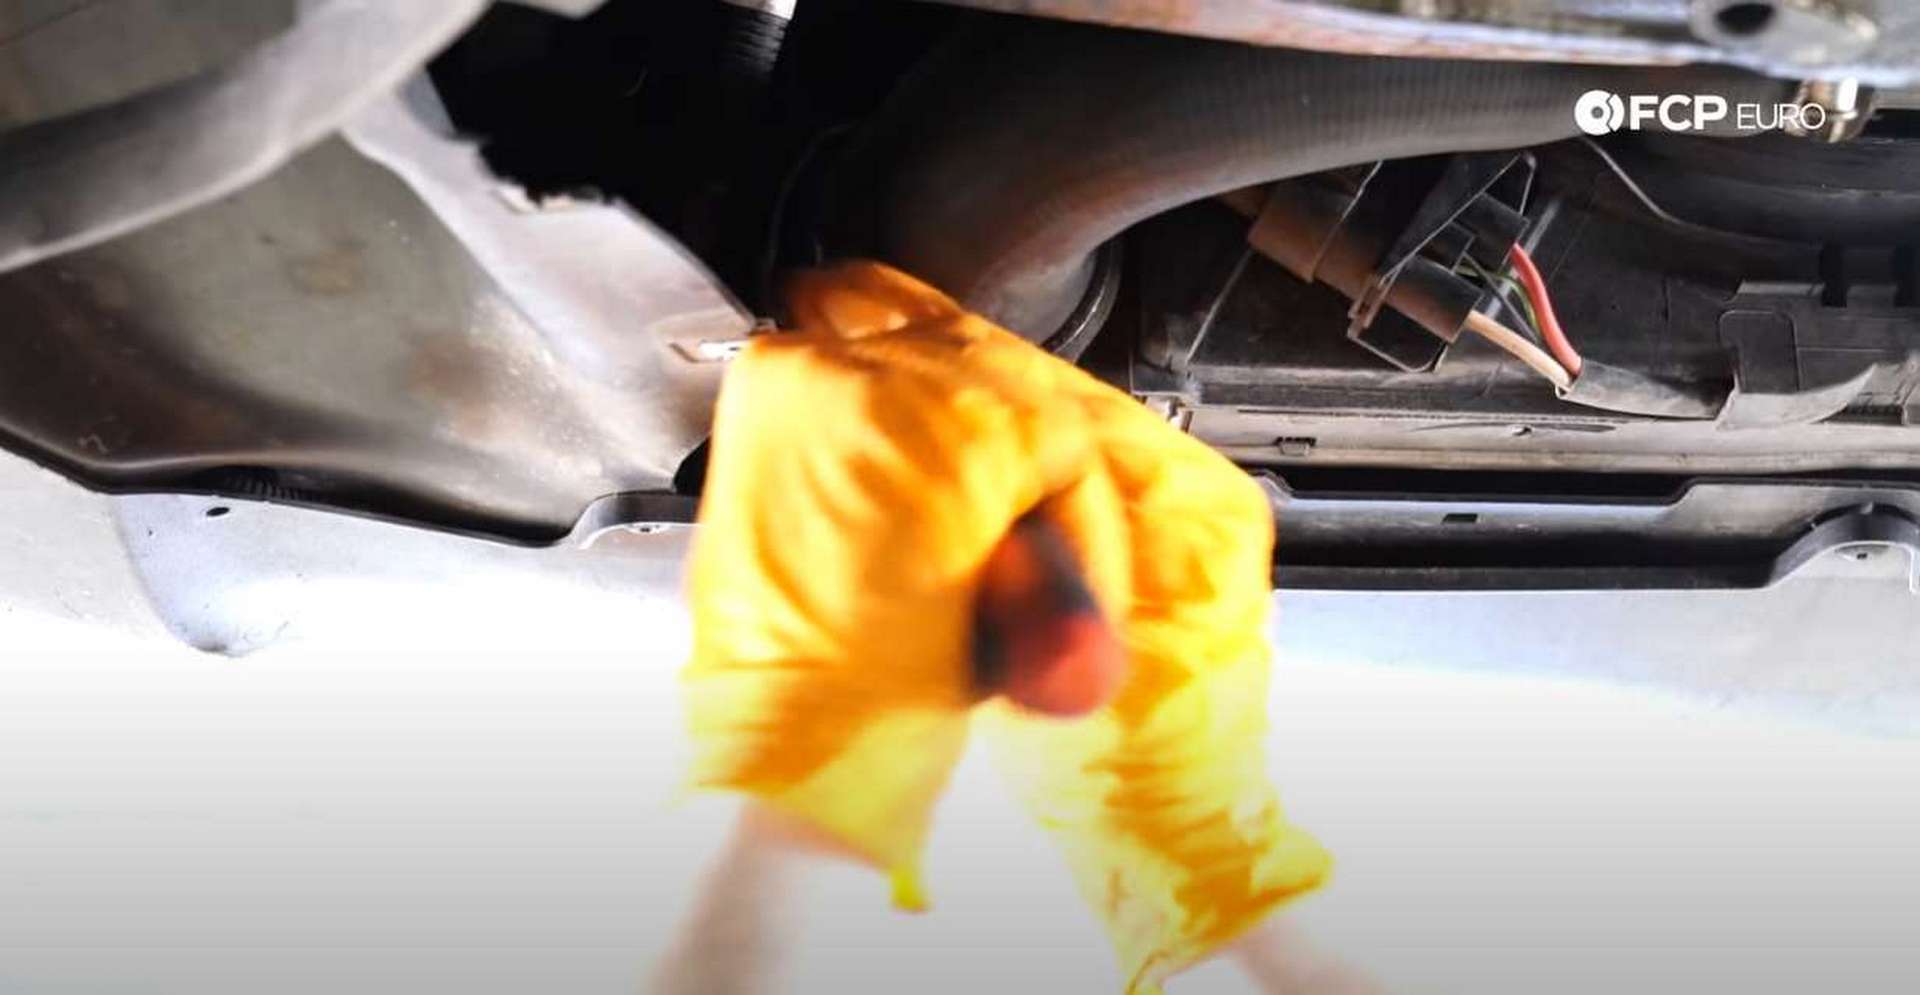
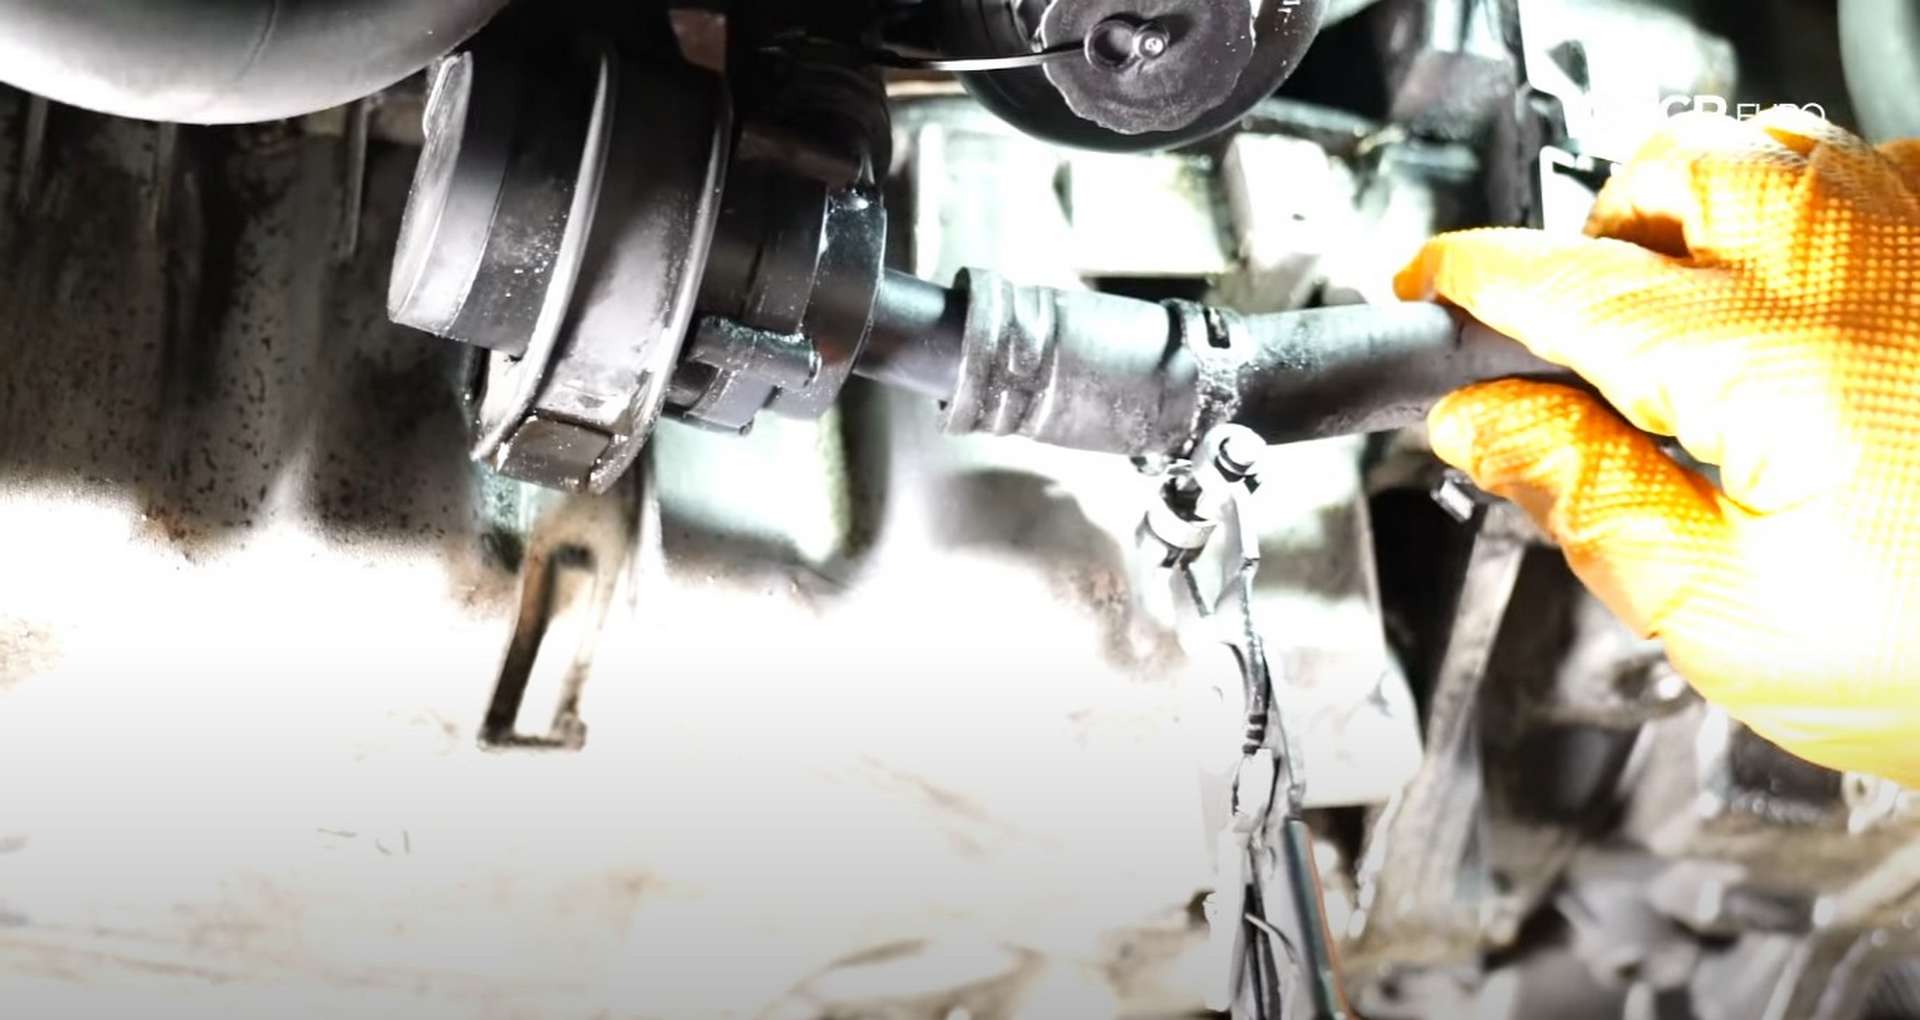
Then, head under the car and bring a drain pan with you. Use the hose clamp pliers on the coolant hose that runs to the coolant after-run pump. Pull the clamp back and remove the hose from the pump.
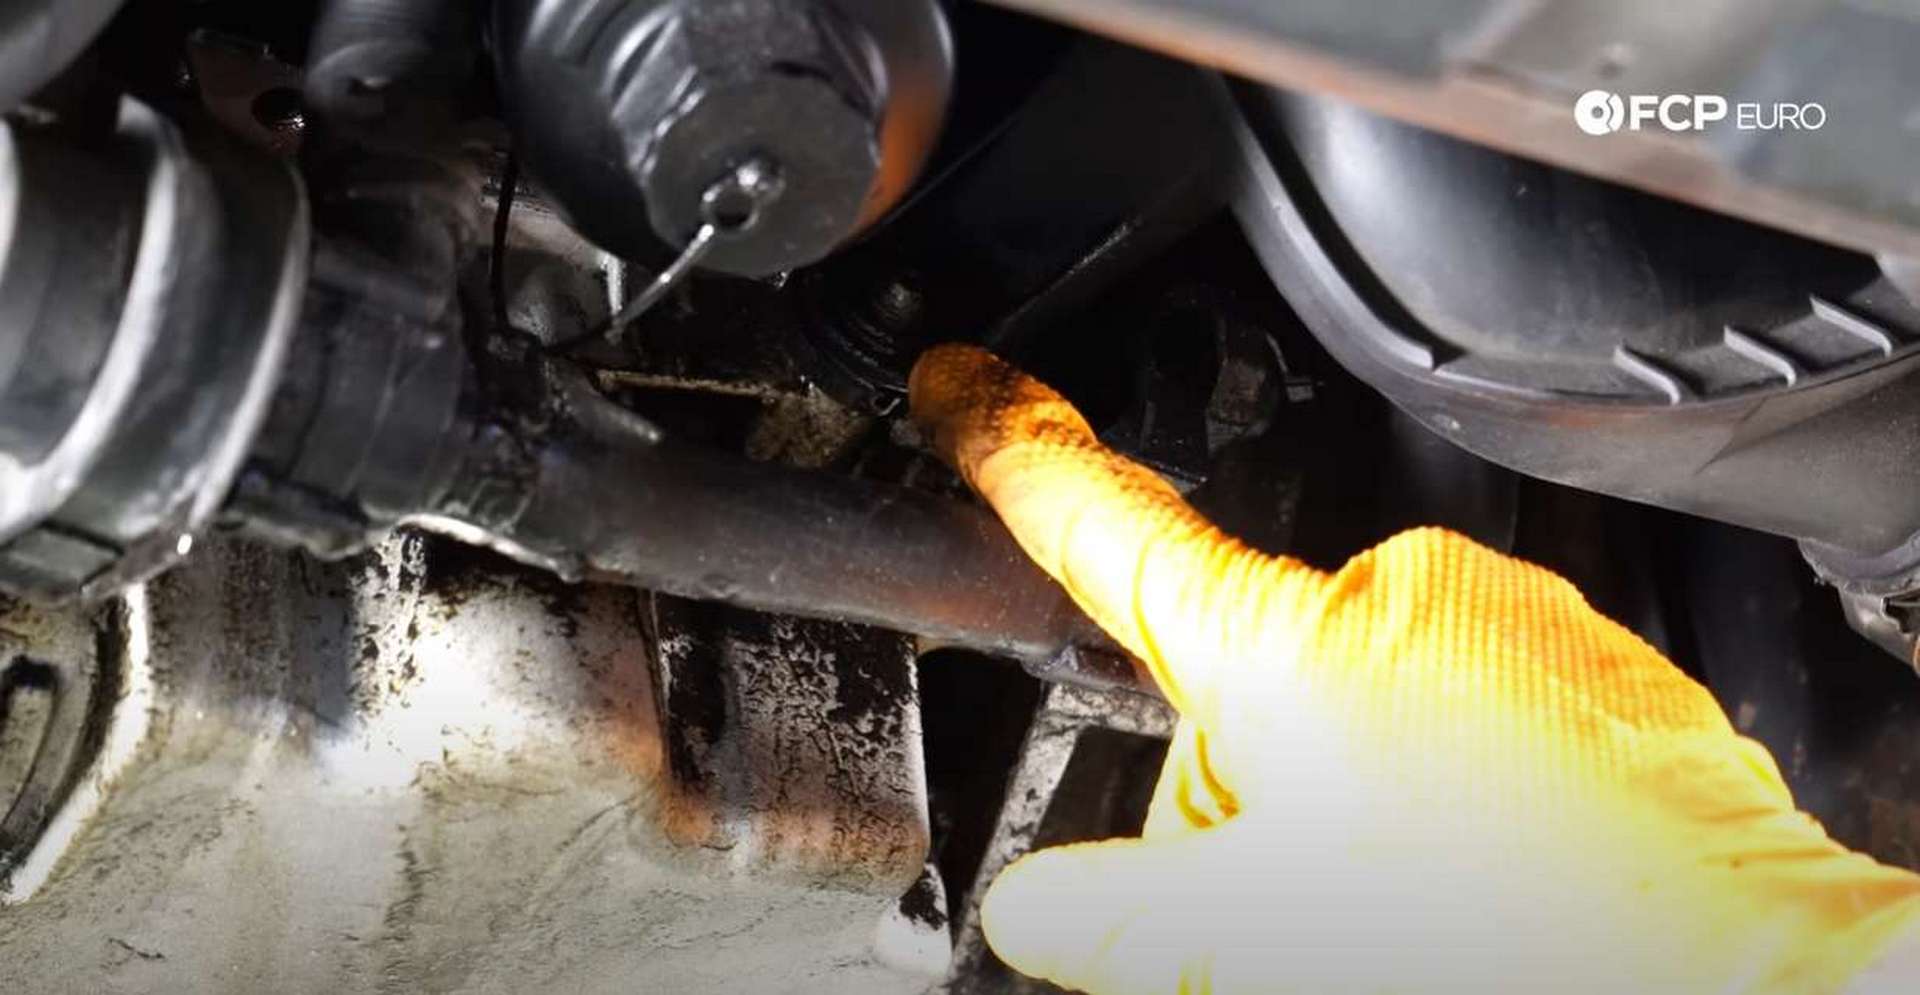
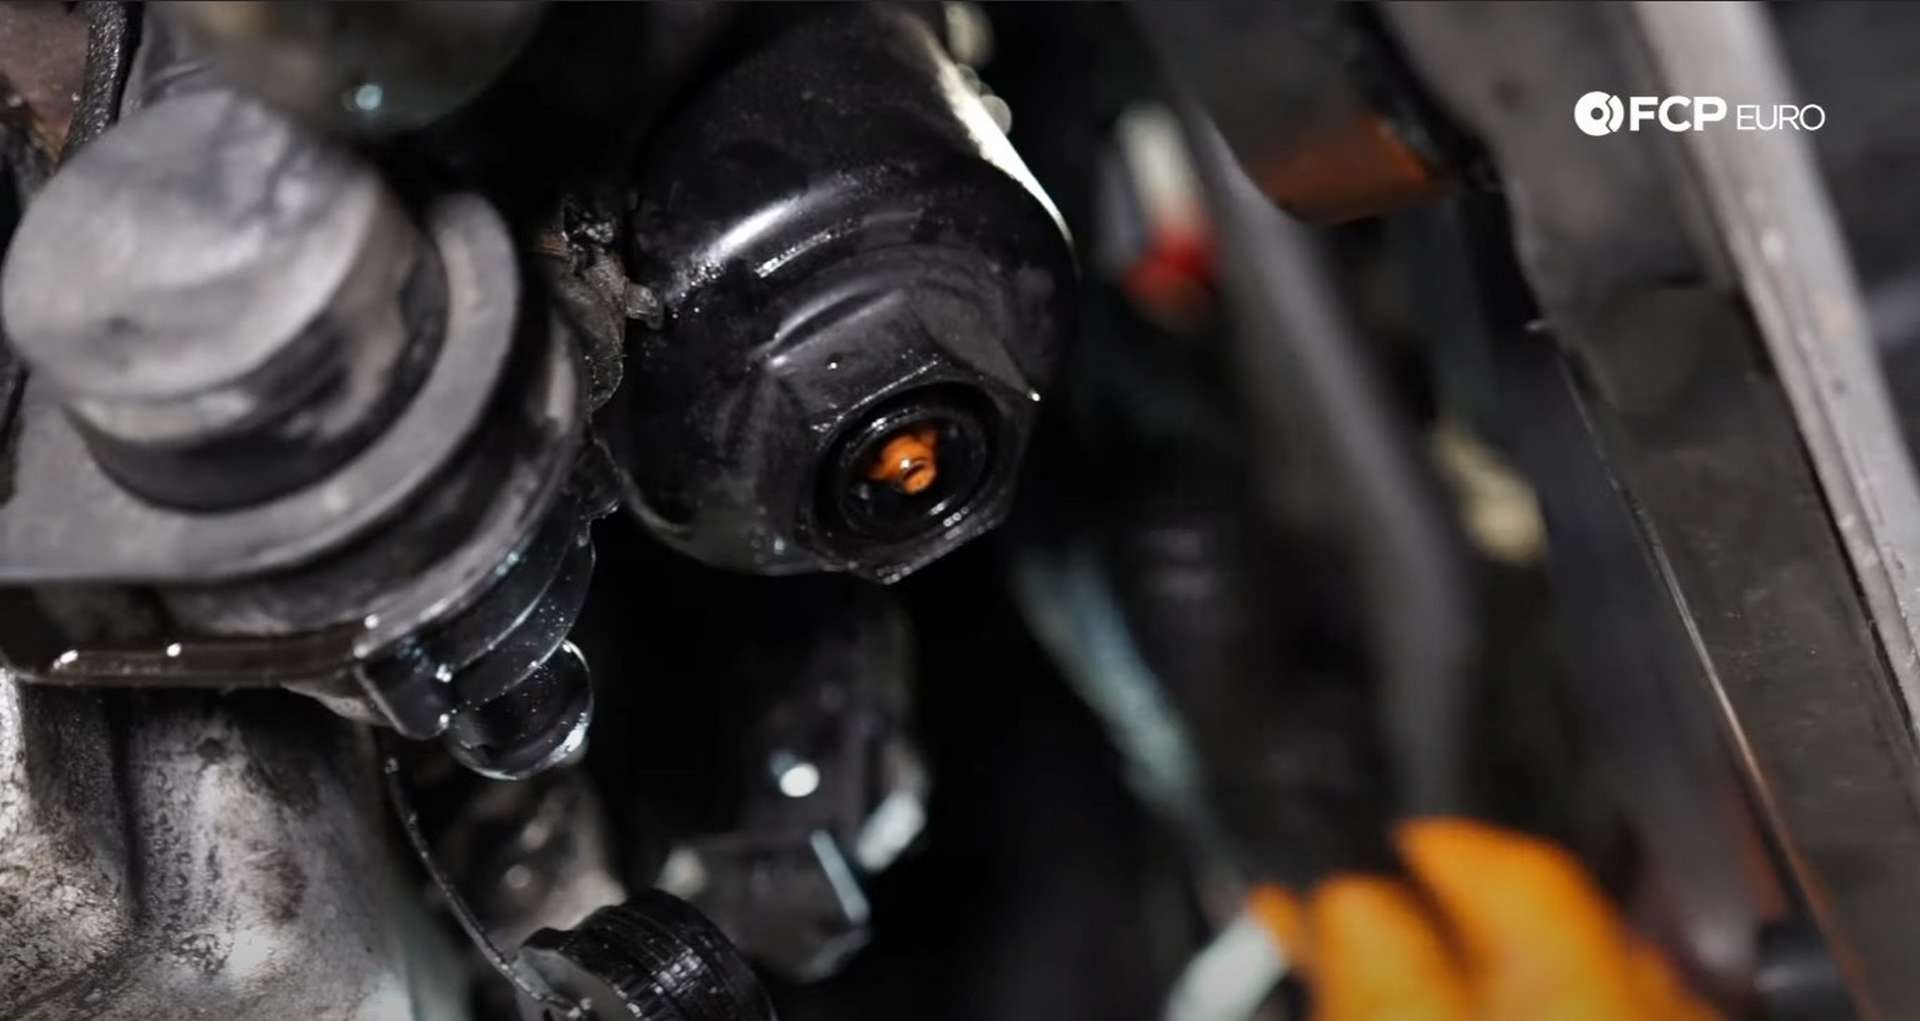
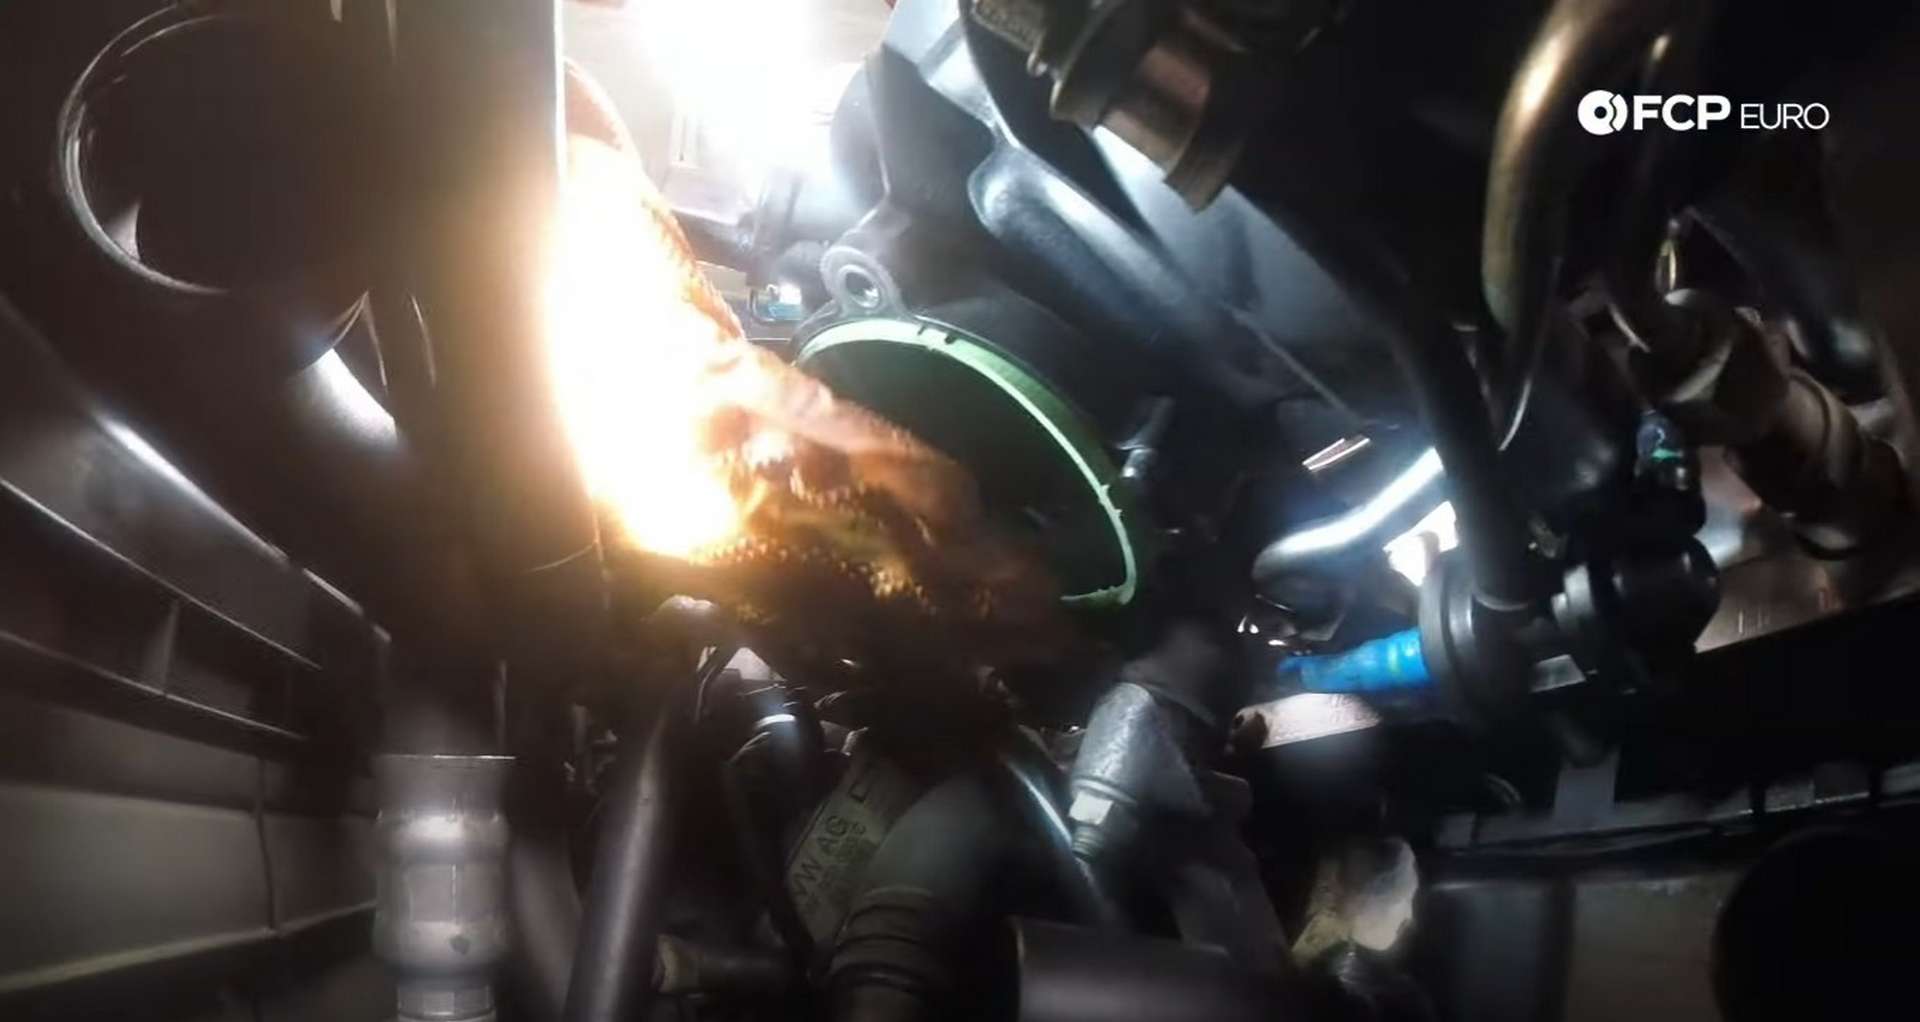
Next, drain the oil from the oil filter housing. Unscrew the cap on the bottom of the housing and push the orange piece in and up. Once the oil has finished draining, pop the orange piece back into position.
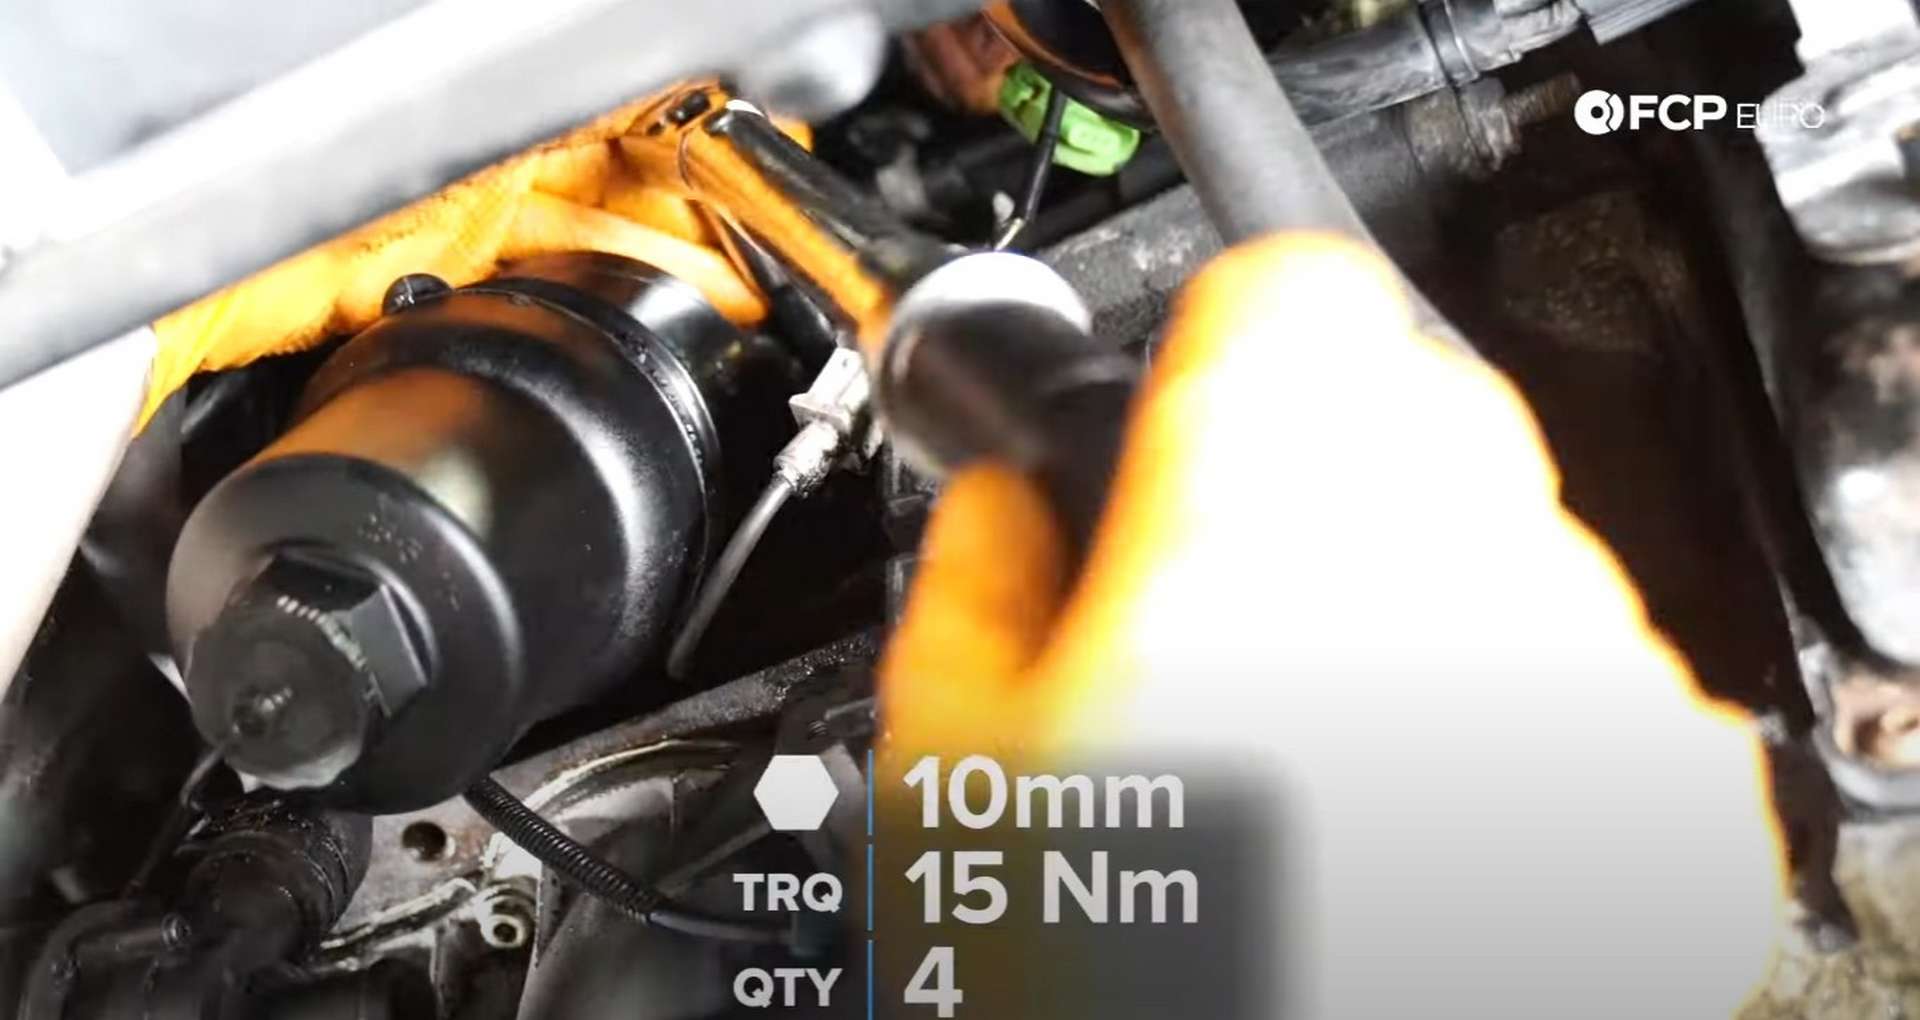
After that, remove the oil cooler bolts. Use a 6mm hex bit socket on a quarter-drive ratchet to have enough room to remove the bolts. There are four bolts in total, two above and two below the cooler.
Leave the drain pan under the oil cooler as you remove it. There will be residual coolant inside the cooler that will come out after breaking its seal to the oil filter housing.
Once it's free of the filter housing, a coolant hose is the only thing keeping the cooler attached to the engine. Use a pair of pliers to side back the hose clamp and then pull the cooler from the hose.
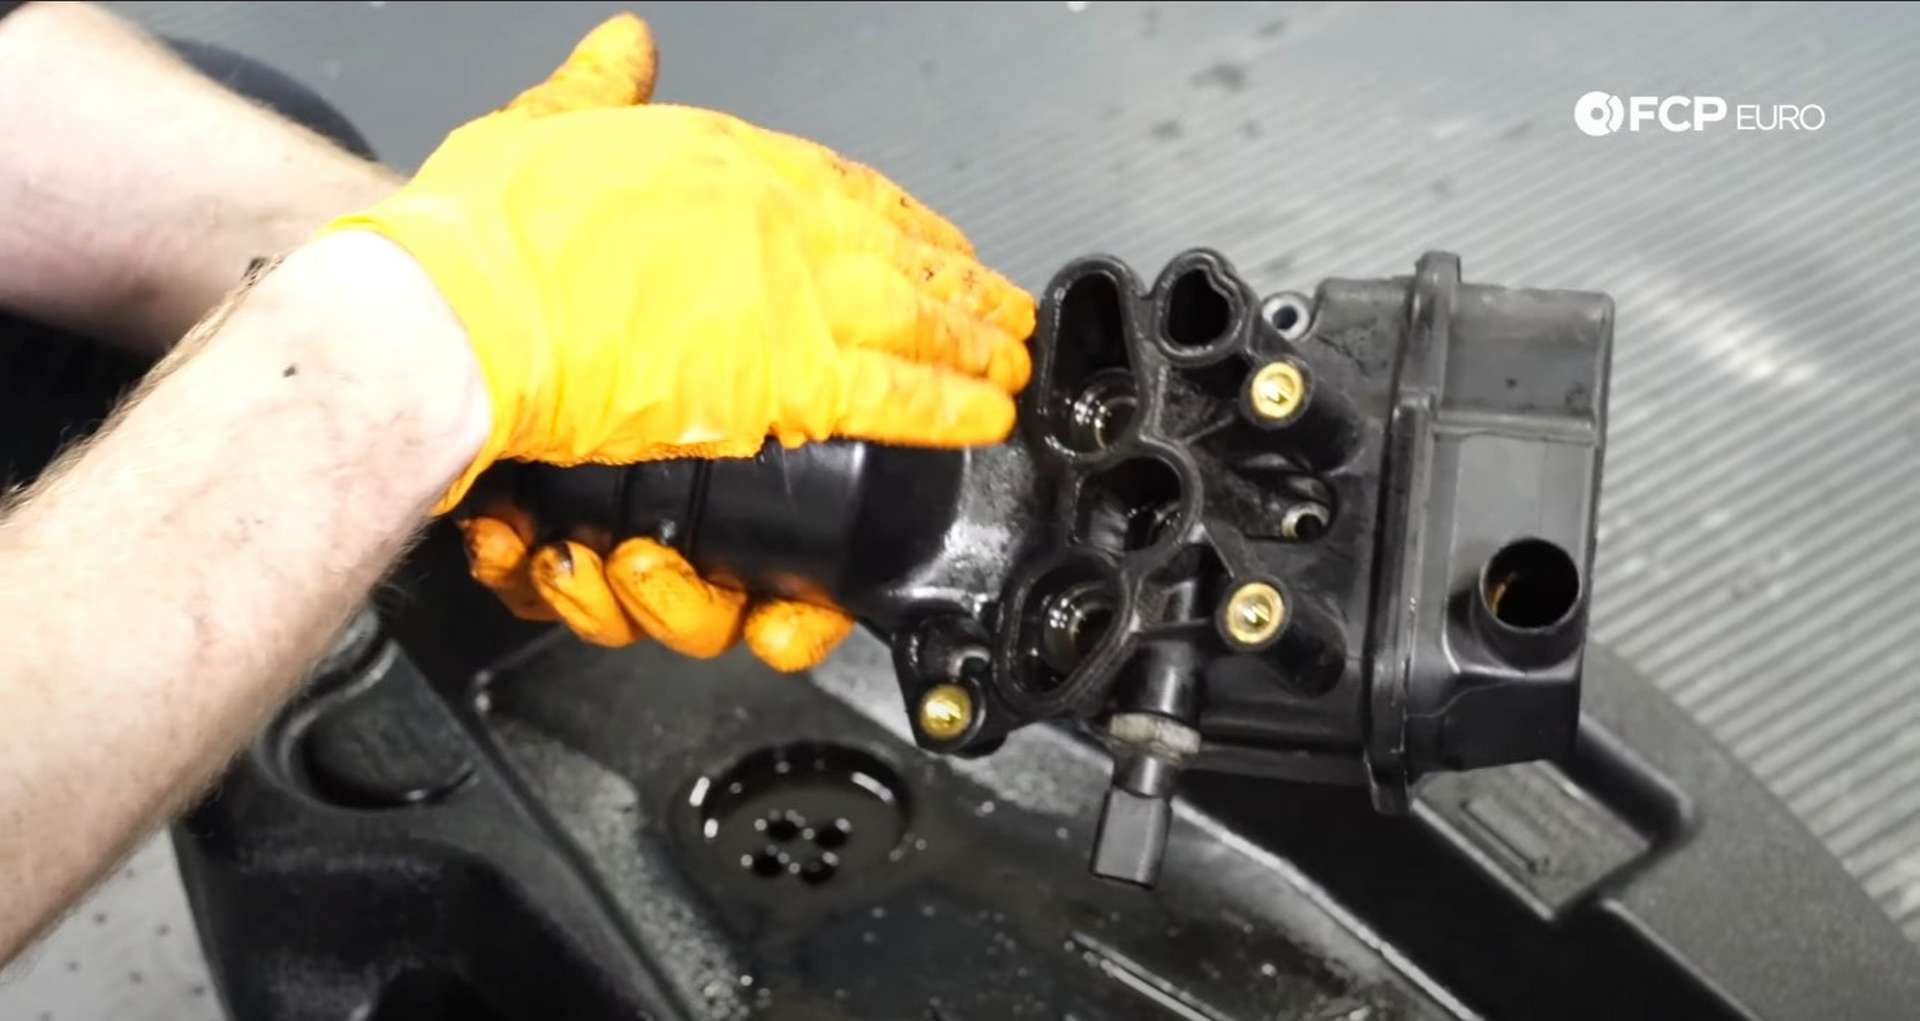
Step 3: Replace the oil filter housing
You need to remove very few things now that the oil cooler is out of the way. The housing's four bolts are set into the housing. You'll need to feel around on the housing to find the bolts as you won't be able to see all of them. You have the choice to use a 10mm socket or 5mm hex bit socket to remove the bolts; however, we recommend the 10mm.
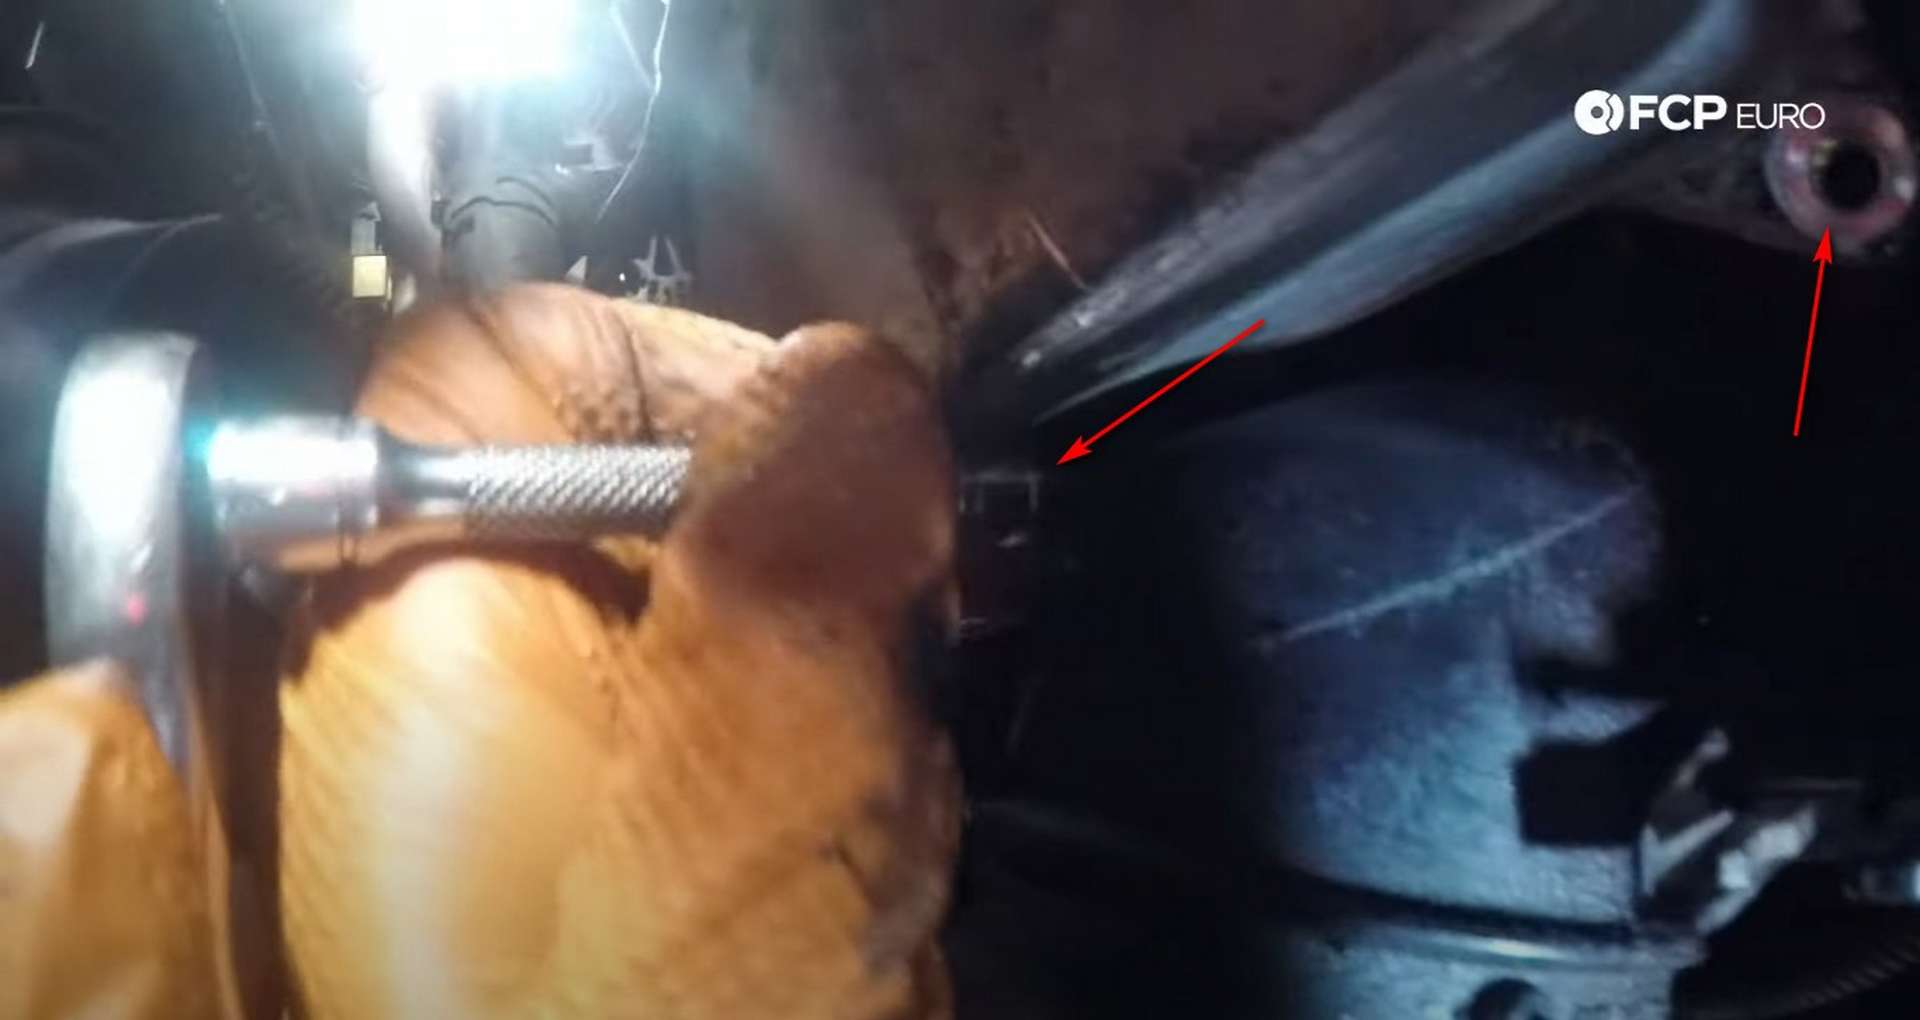
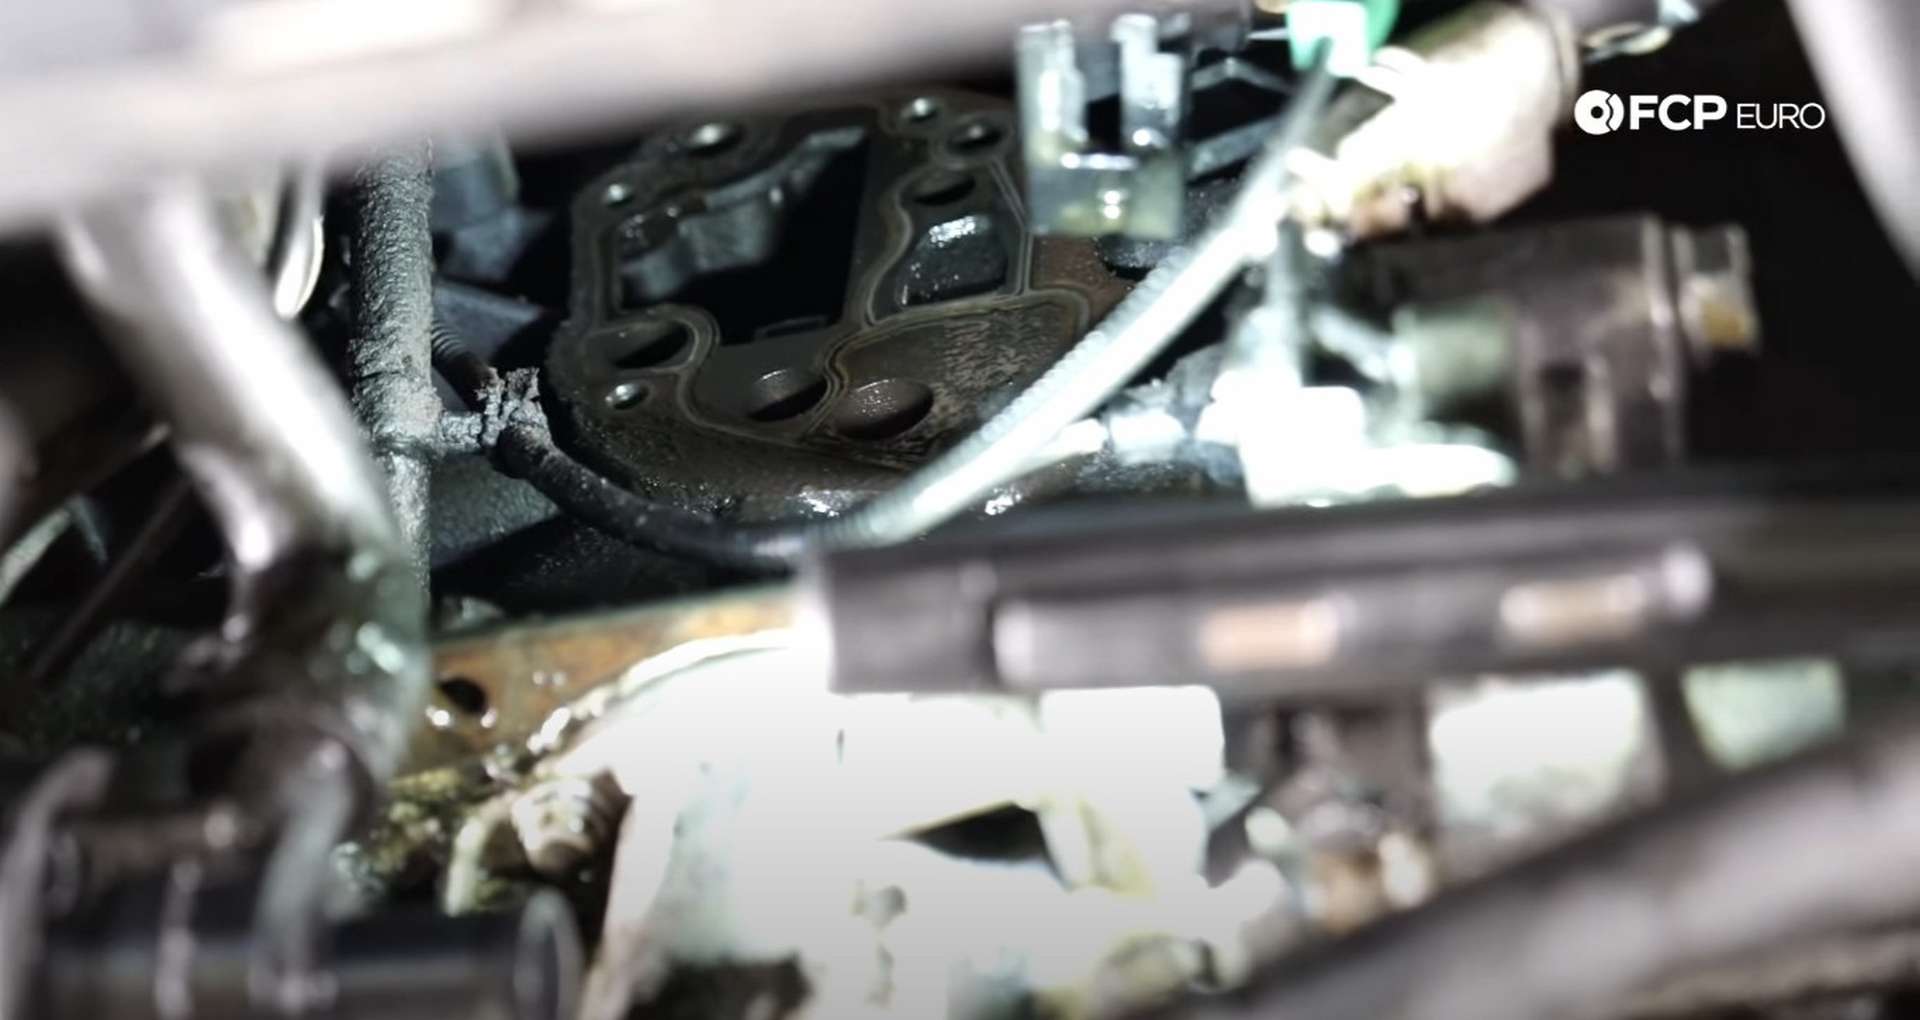
Break the housing's seal to the block and get it free of the engine. The top of the housing is pinched tight behind a coolant line. You'll need to push the line away from the engine and up so you can sneak the housing past.
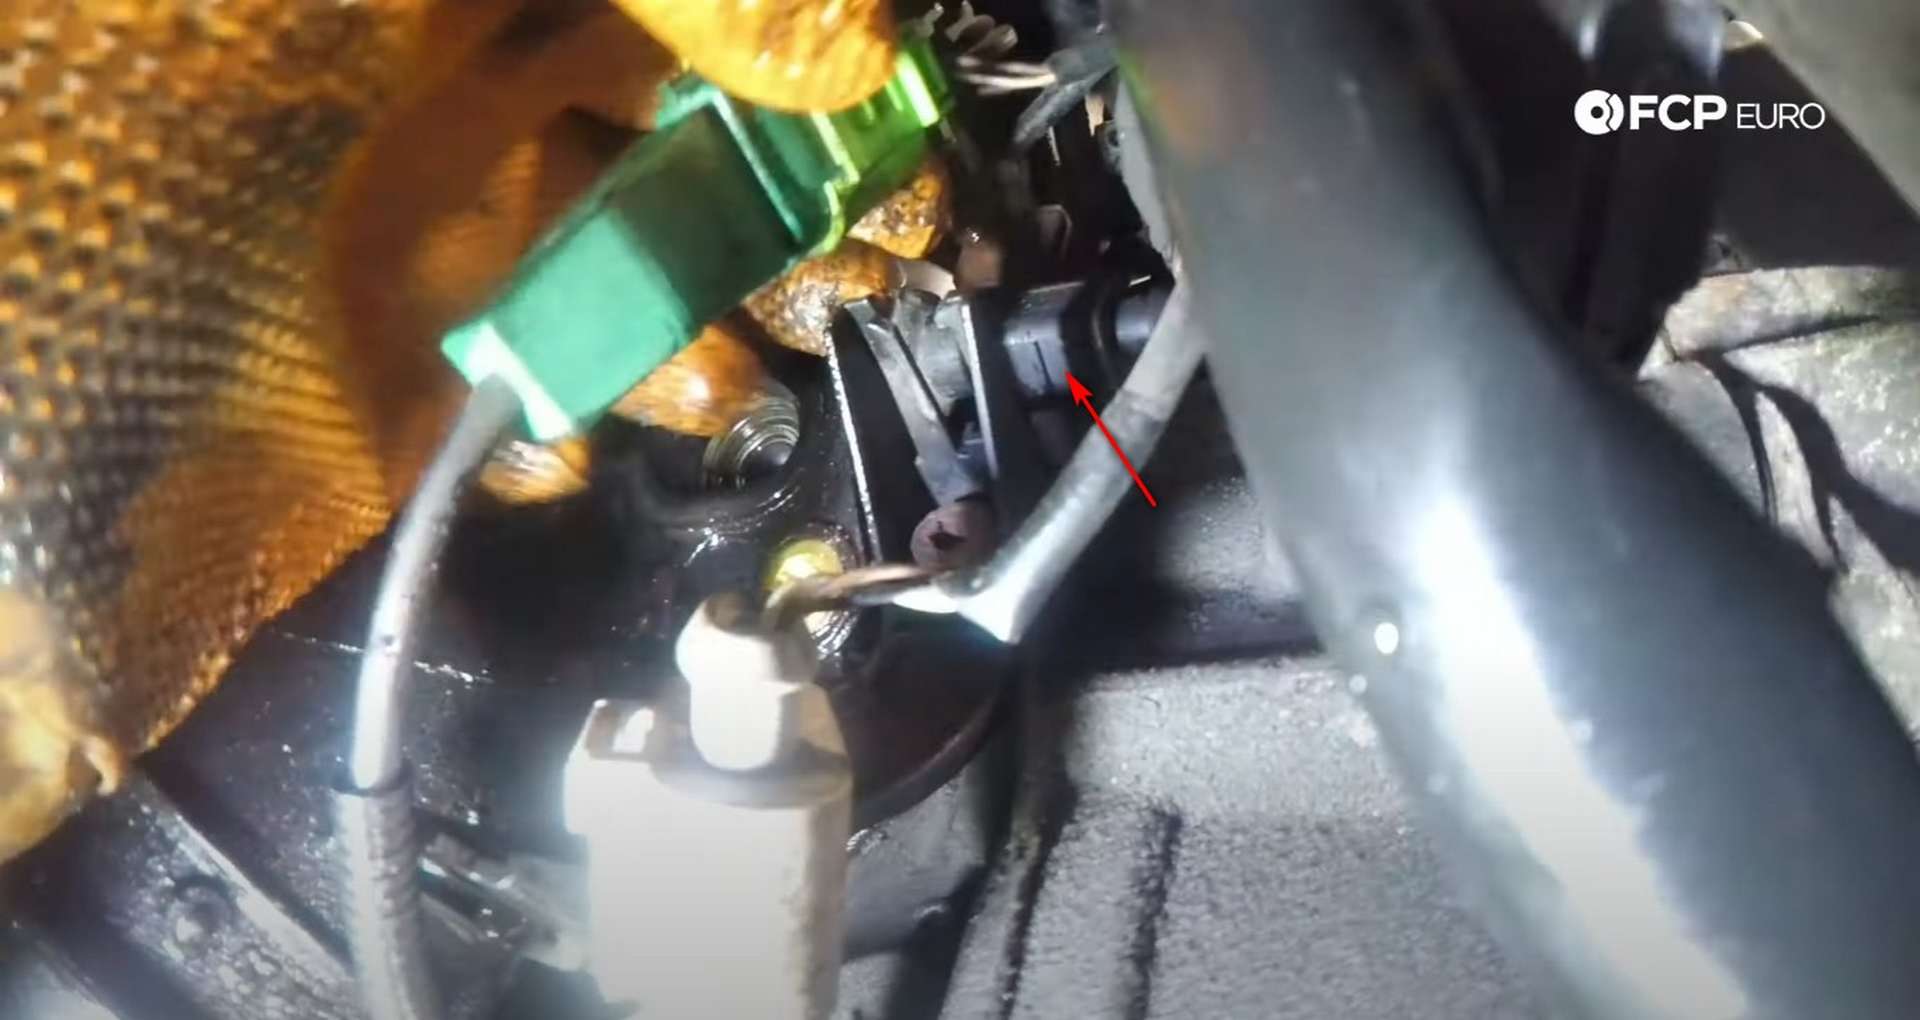
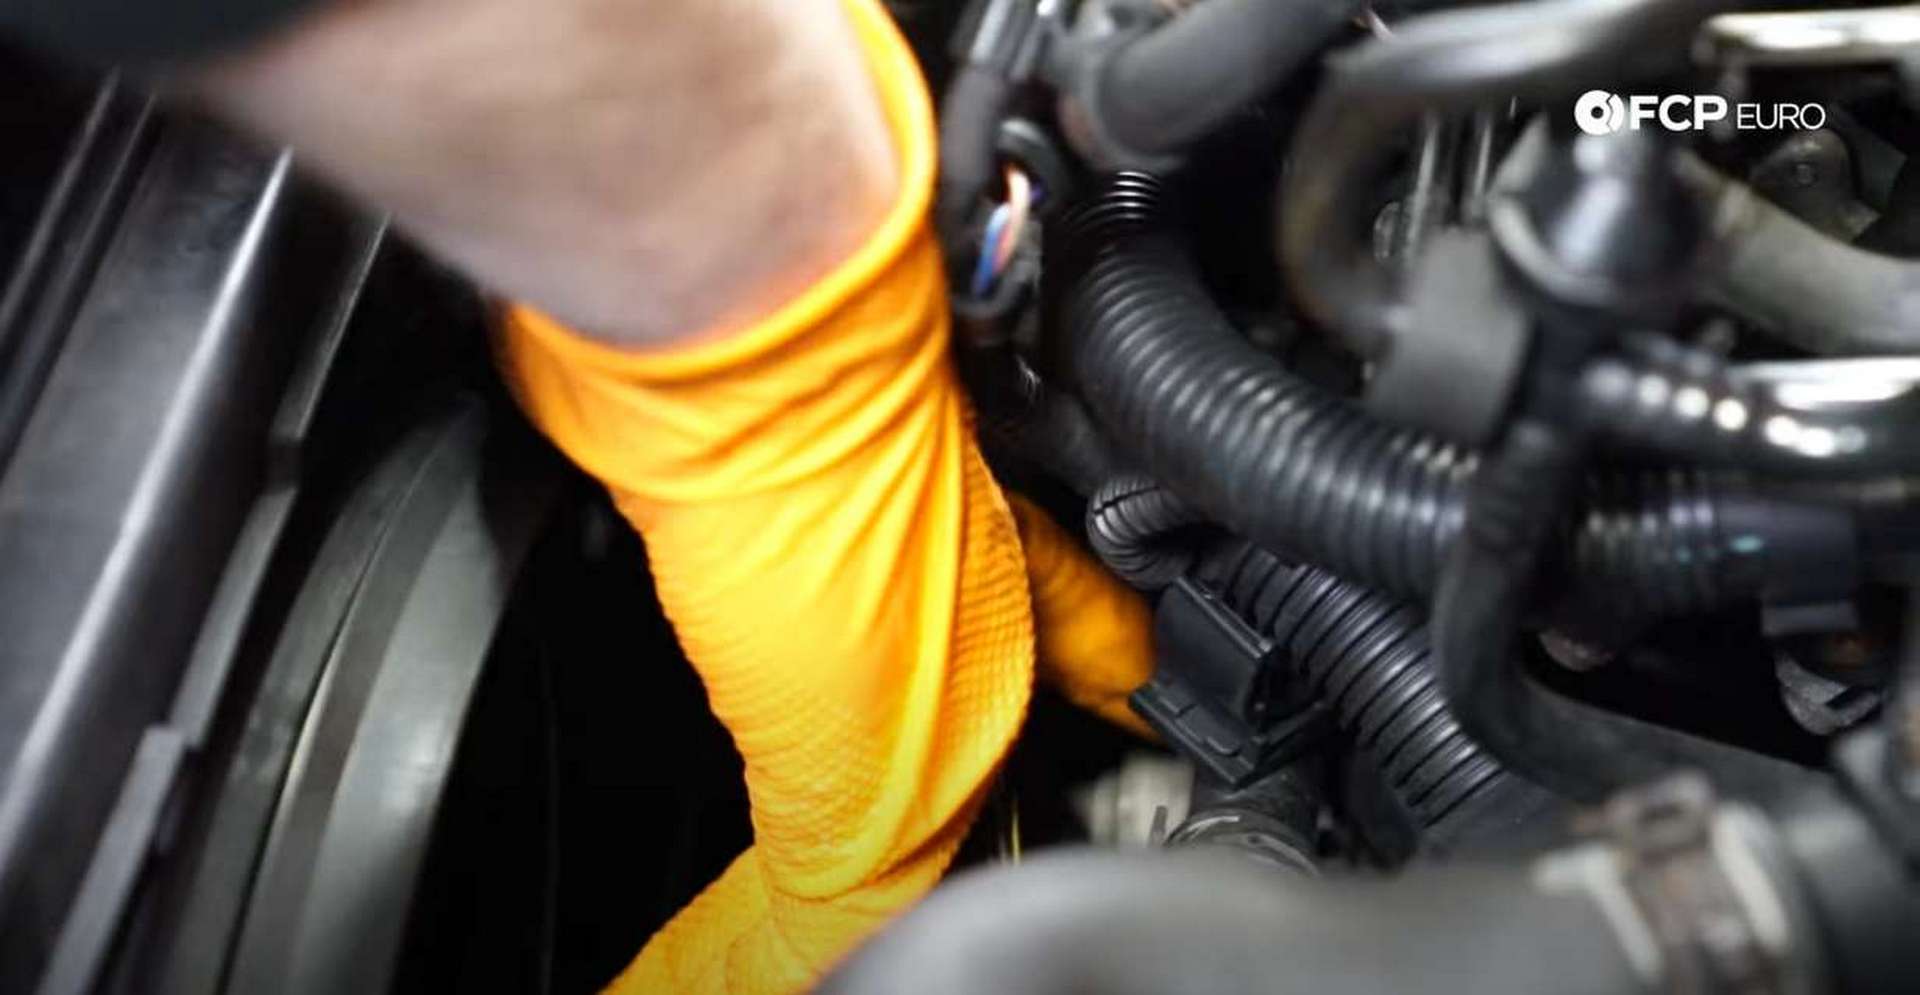
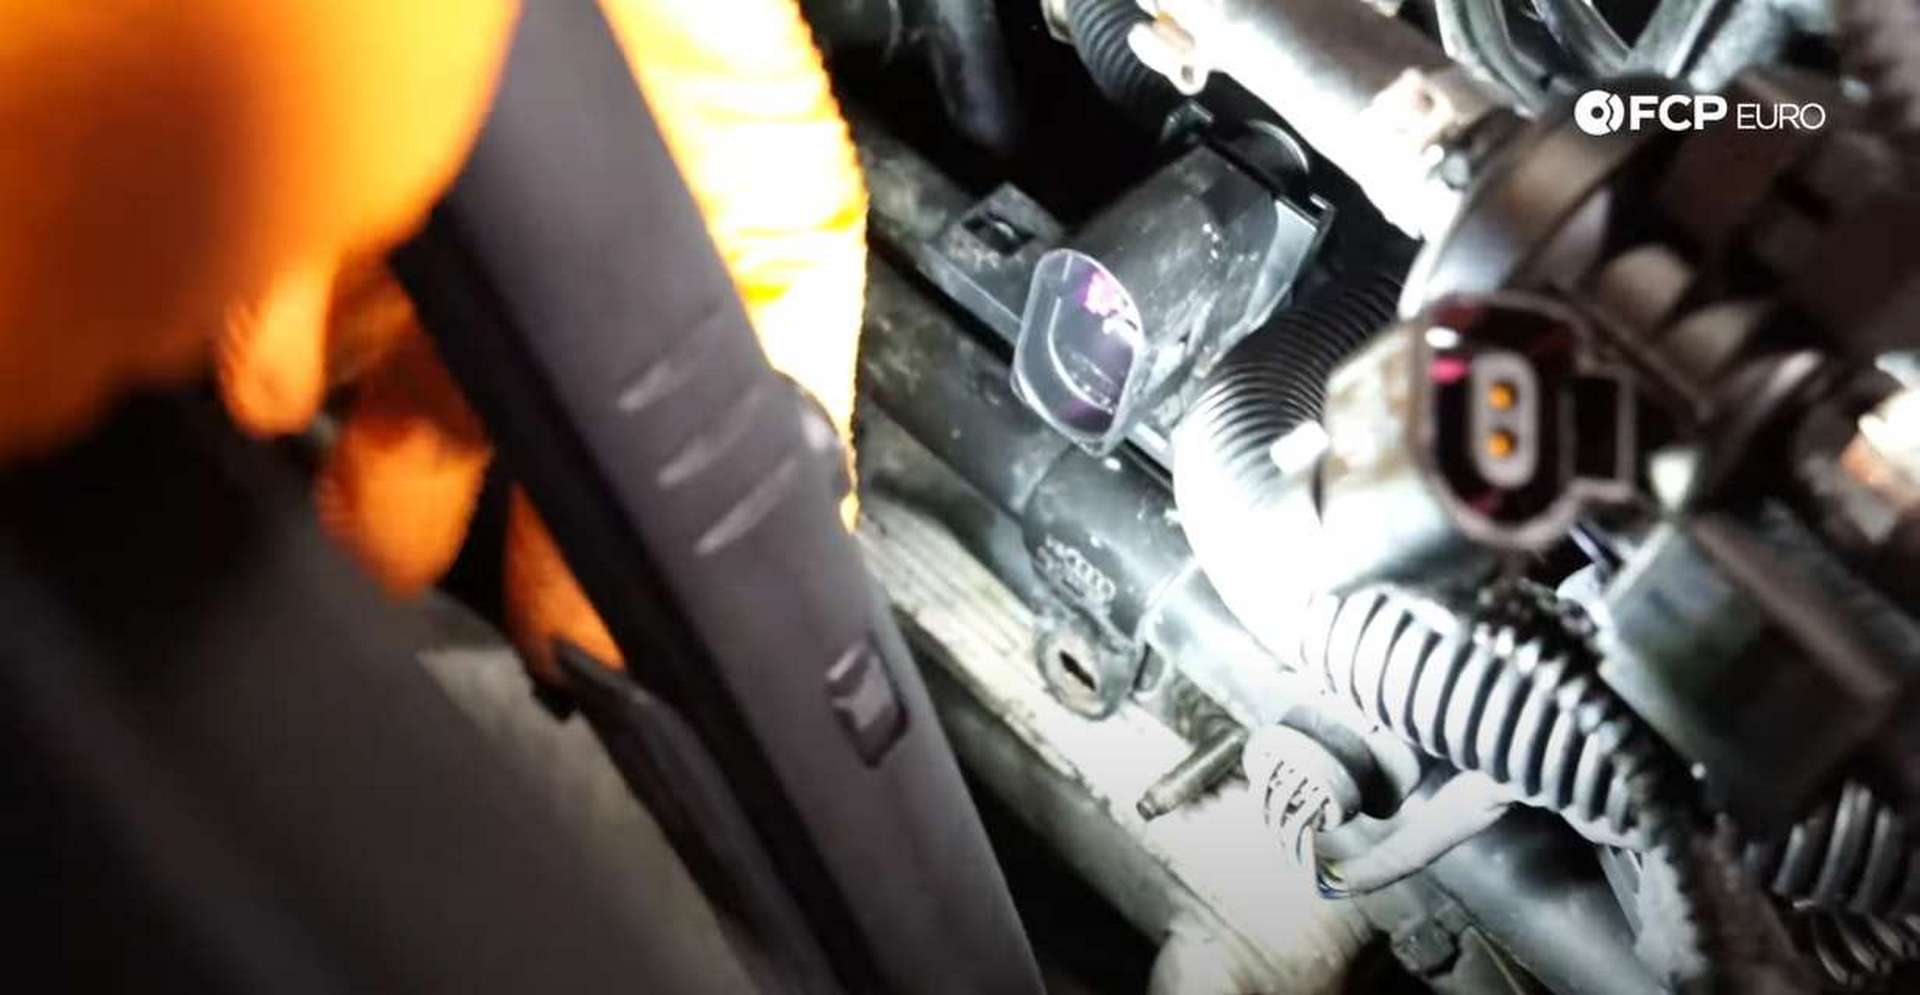
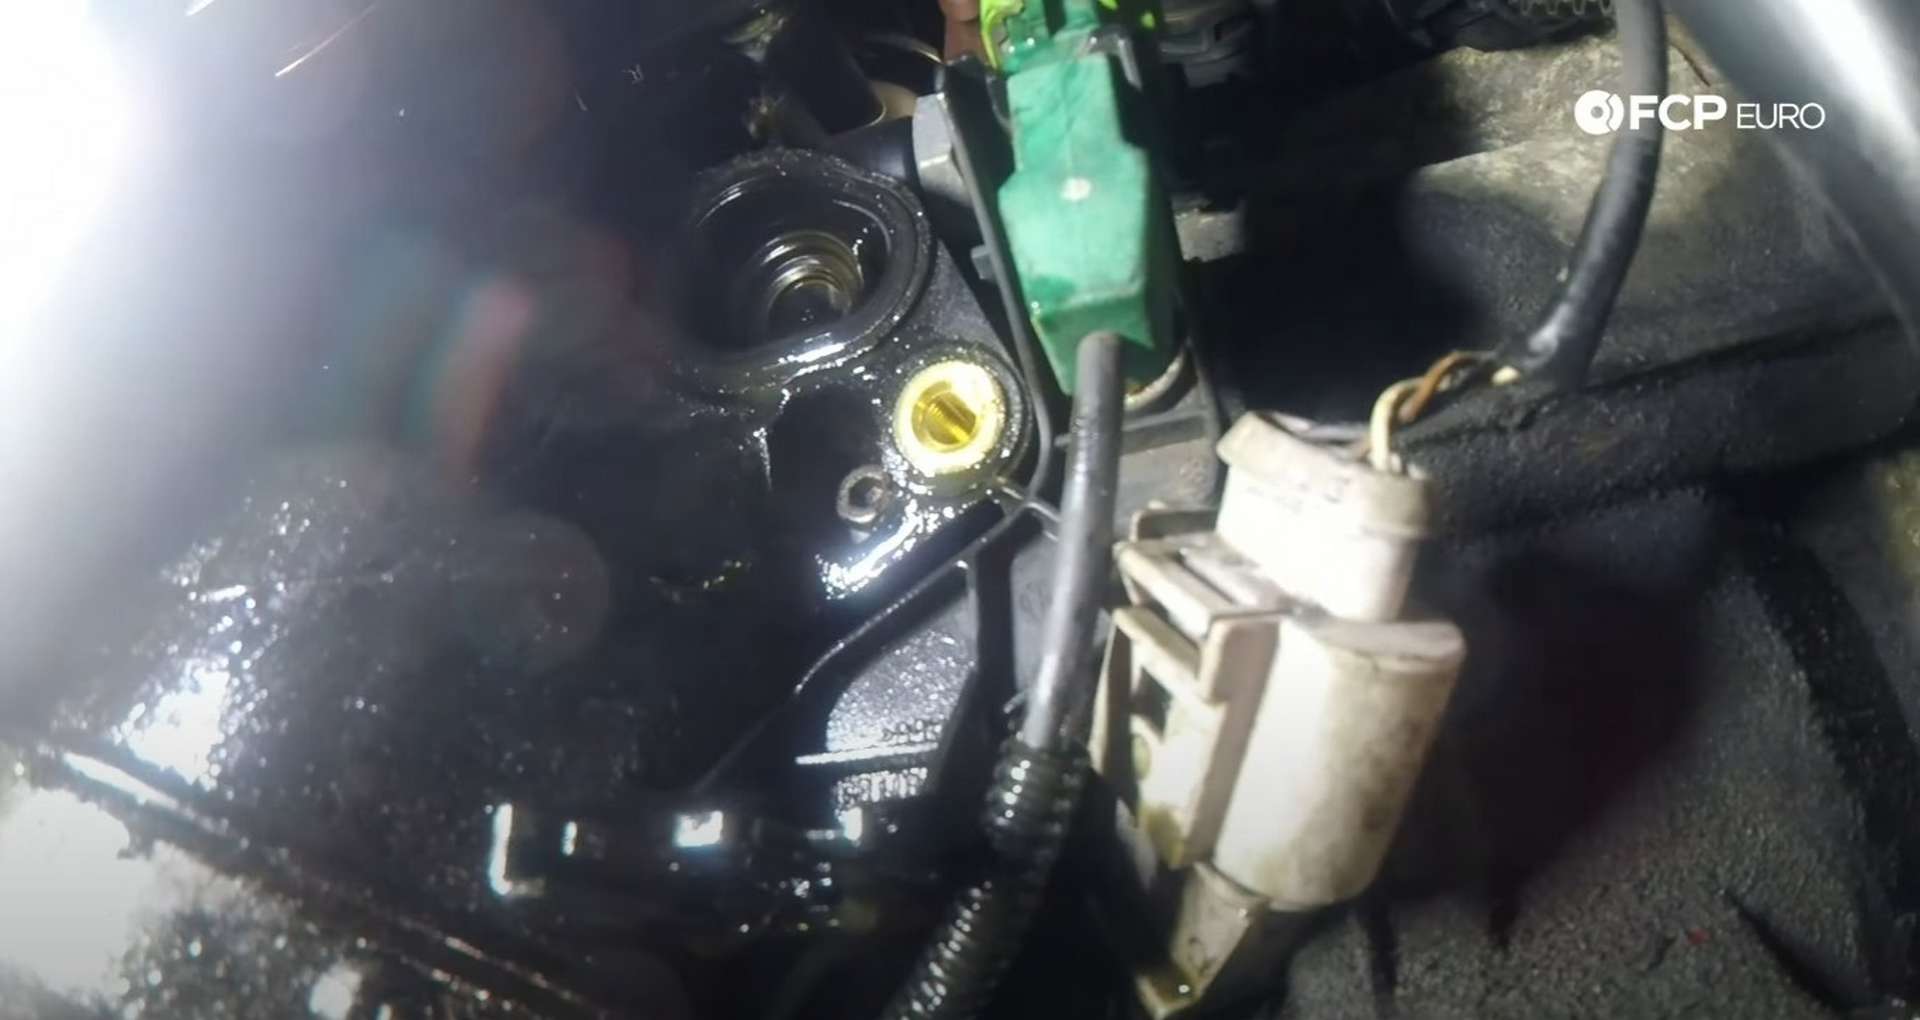
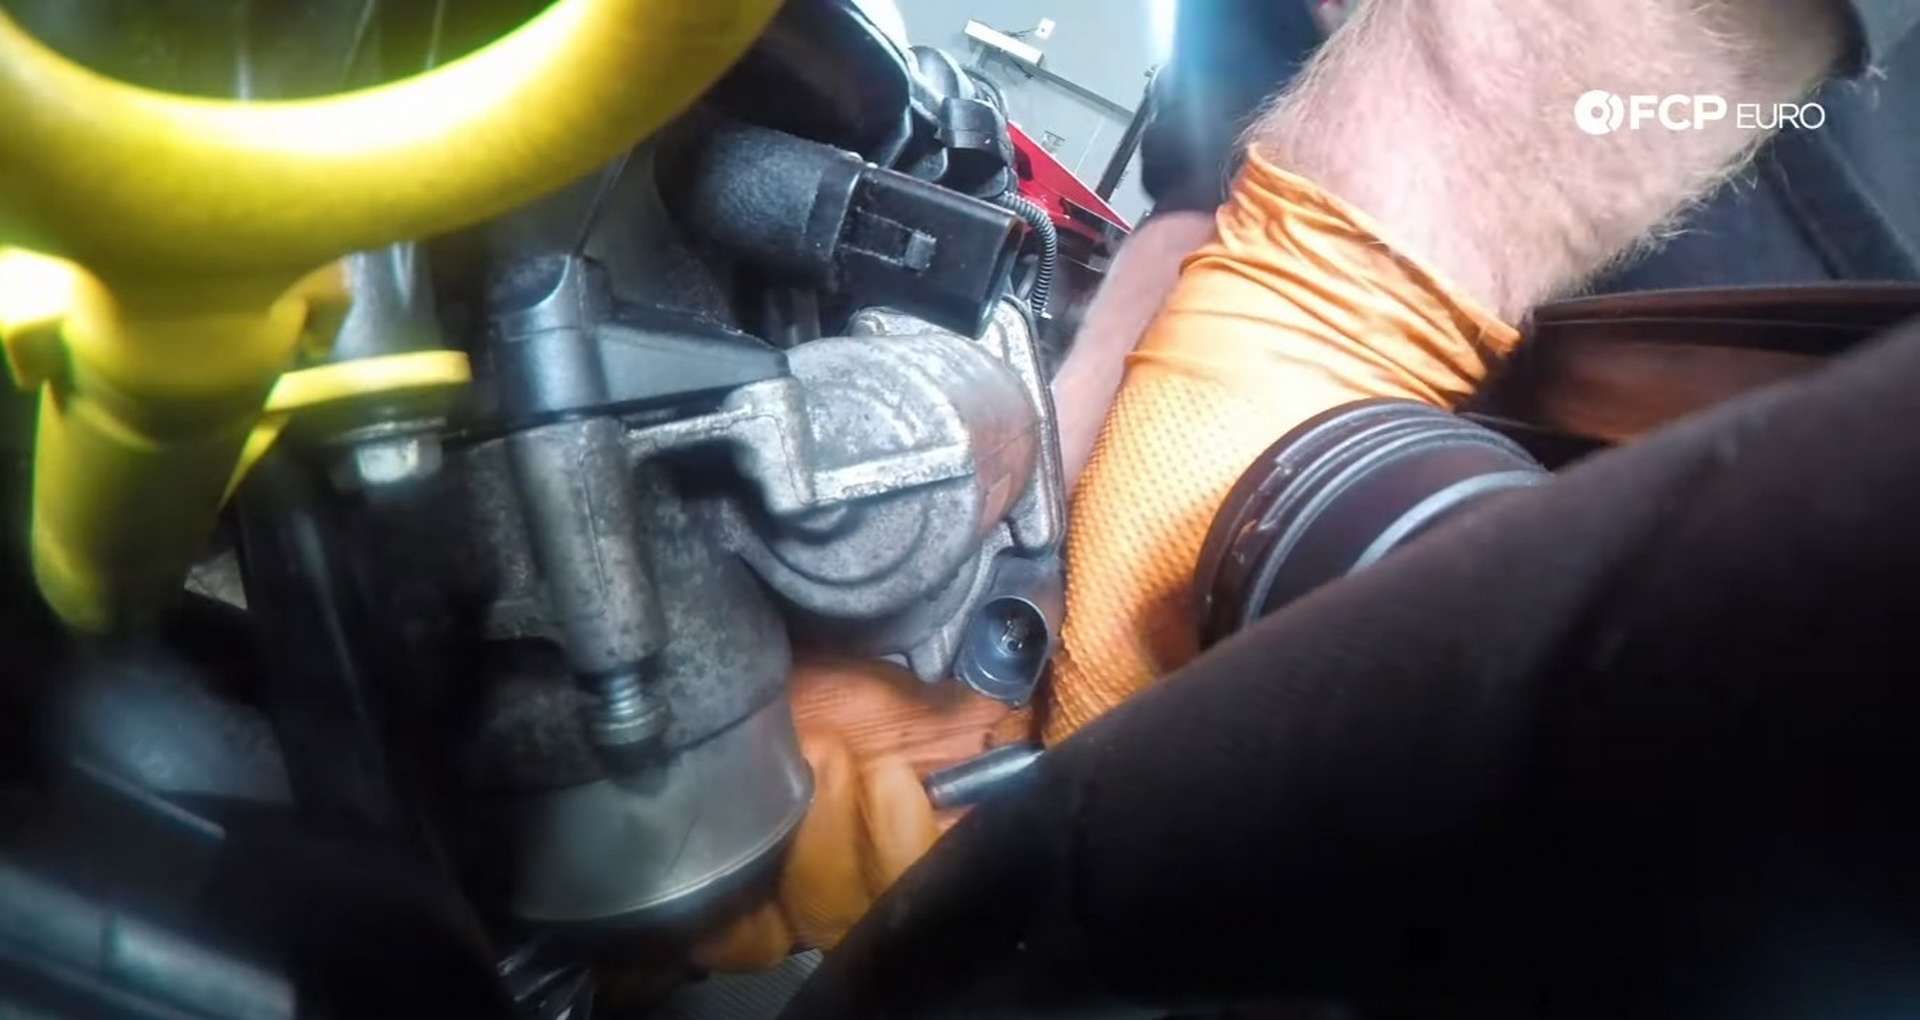
As you sneak it past the coolant line, the oil pressure switch will prevent you from fully removing the housing. Reach up and unplug the switch, then pull out the old housing for good.
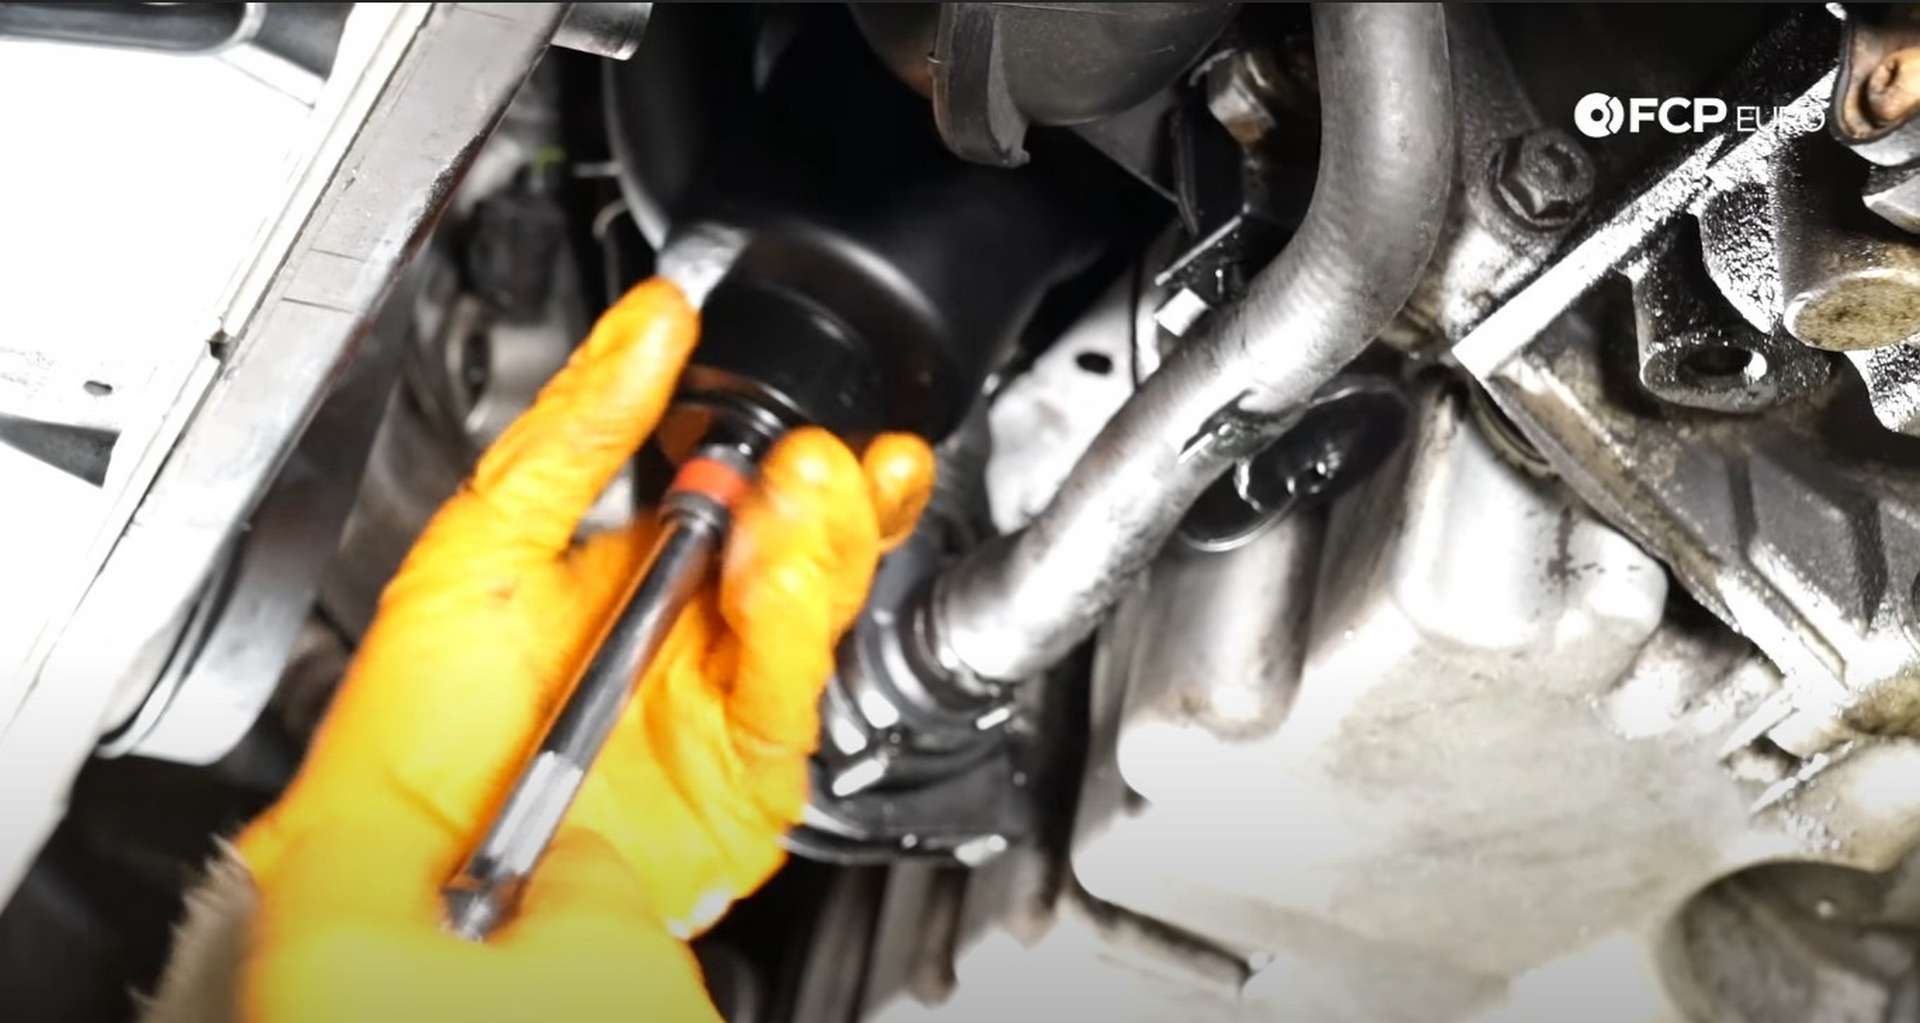
The only thing that you need from the old housing is the oil pressure switch. Use a 24mm wrench to remove it from the old housing and install it on the new one.
Next, clean the mating surface on the engine block. Spray some brake clean on a rag and wipe it down to clean it from all of the oil and coolant residues you can. A clean surface ensures a proper seal.
Take a 6mm hex bit socket and remove the bracket that sits to the housing's right side. This will clear up space to give yourself an easier time installing the housing.
Now, snake the oil filter housing up and into place on the engine. It's a tight fit with plenty of things in the way, so have patience. Once you're close enough, plug in the oil pressure switch. Then, thread in its four bolts by hand to prevent any cross-threading.
If you had to unplug any wires to free up space for the housing install, connect them now, so you don't forget them. After that, take your 10mm socket and torque the housing's bolts to 15Nm.
Step 4: Refit the oil cooler
The next piece to go back onto the engine is the oil cooler. Before you reinstall it:
-
Use a rag and brake clean to clean its mating surface of any old gasket material and oil residue.
-
Slide the cooler up from the bottom of the engine into position on the oil filter housing.
-
Thread in the bottom two bolts by hand to get it in place.

Then, head up top and thread in the top two oil cooler bolts. Tighten all of the bolts with a 6mm hex bit socket once they're all started by hand and torque them to 15Nm.
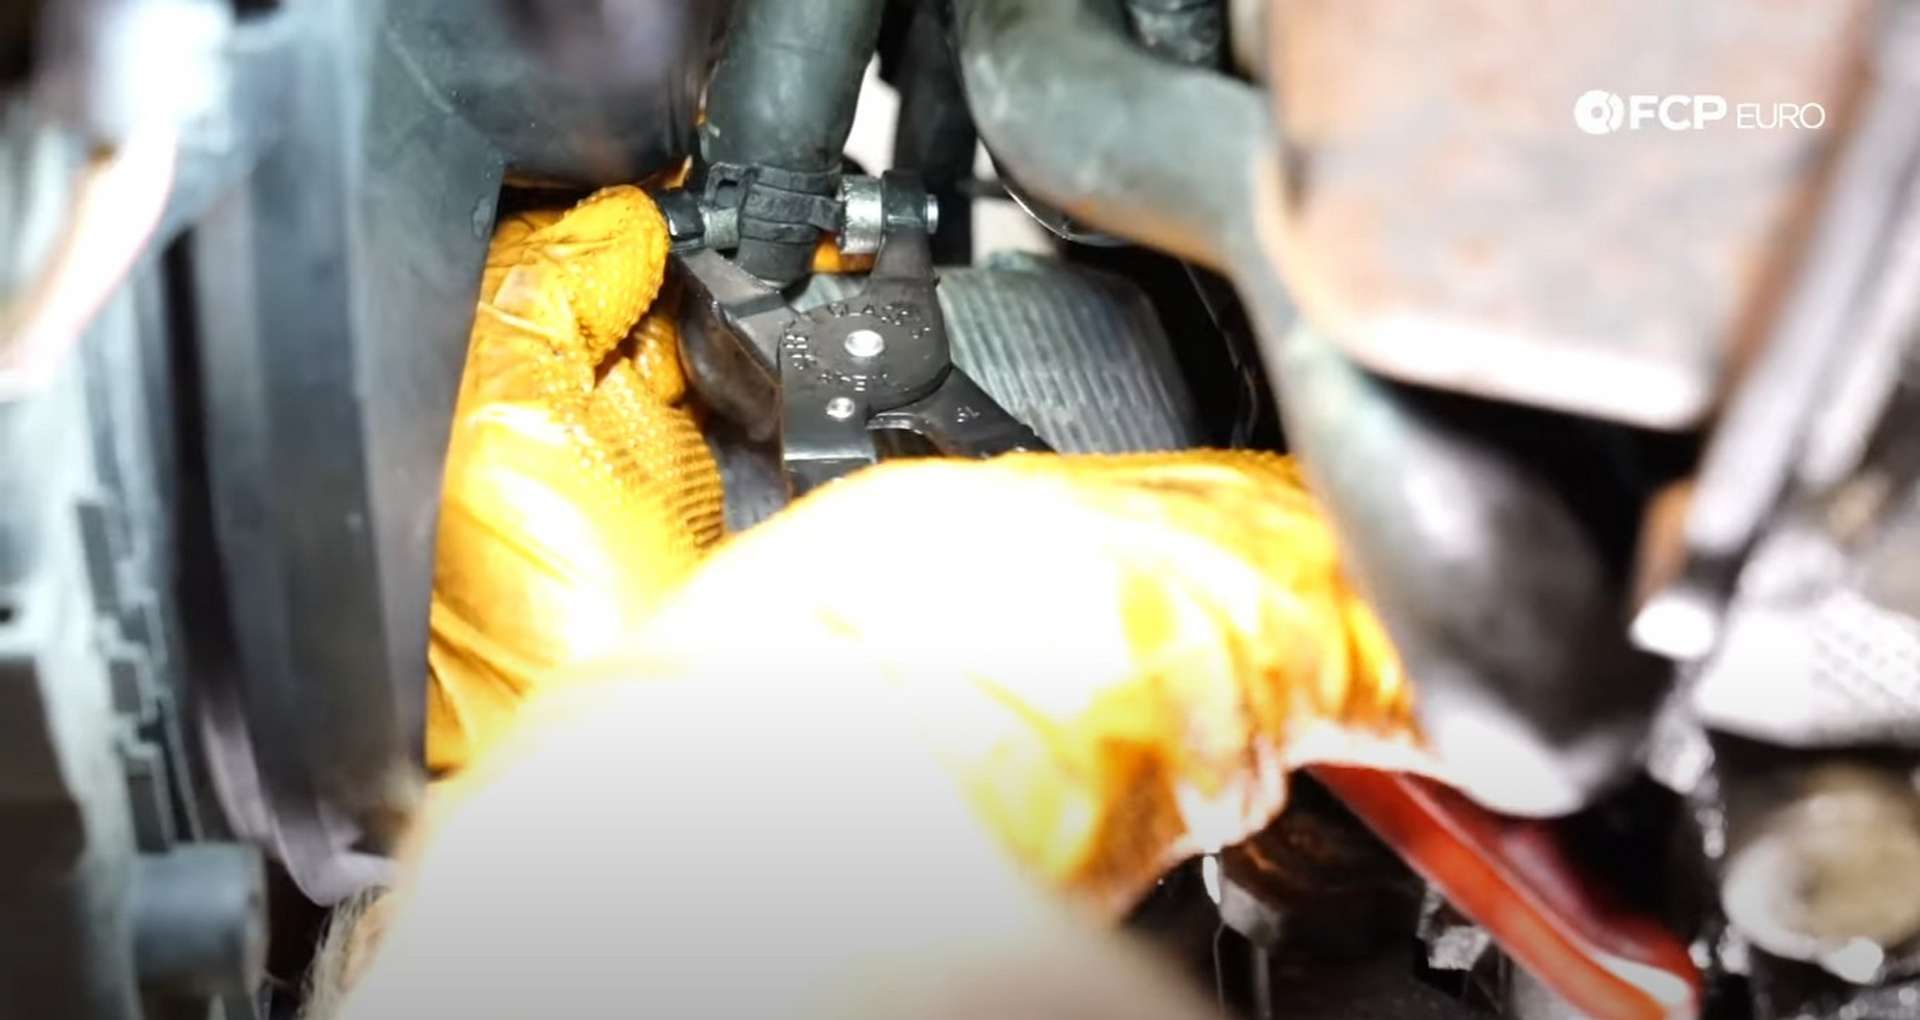
Next, refit the coolant lines to the oil cooler and coolant after-run pump. Use the hose clamp pliers to loosen the clamps and secure the lines in place.
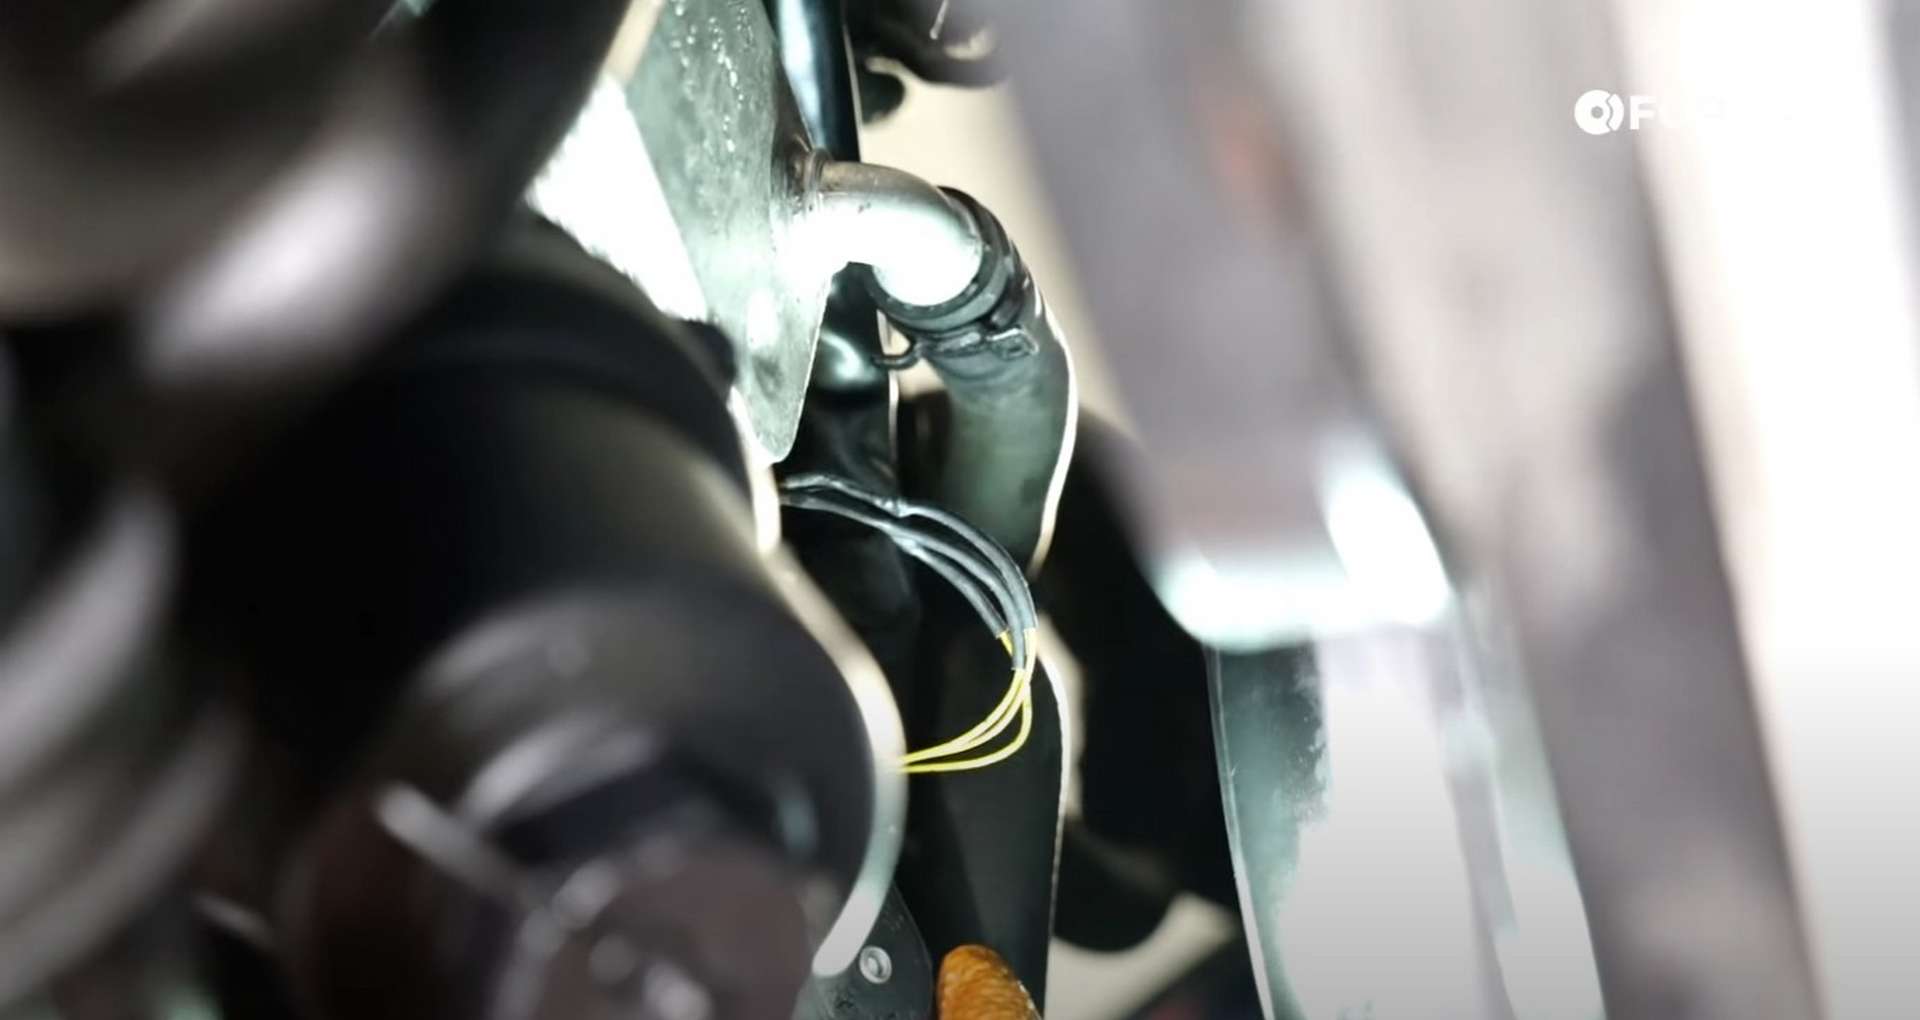
You can now refit the bracket you may have removed for more space to install the housing. Thread its bolt in and use a 6mm hex bit socket to tighten it. Clip the wires it supported into place once it's tightened down.
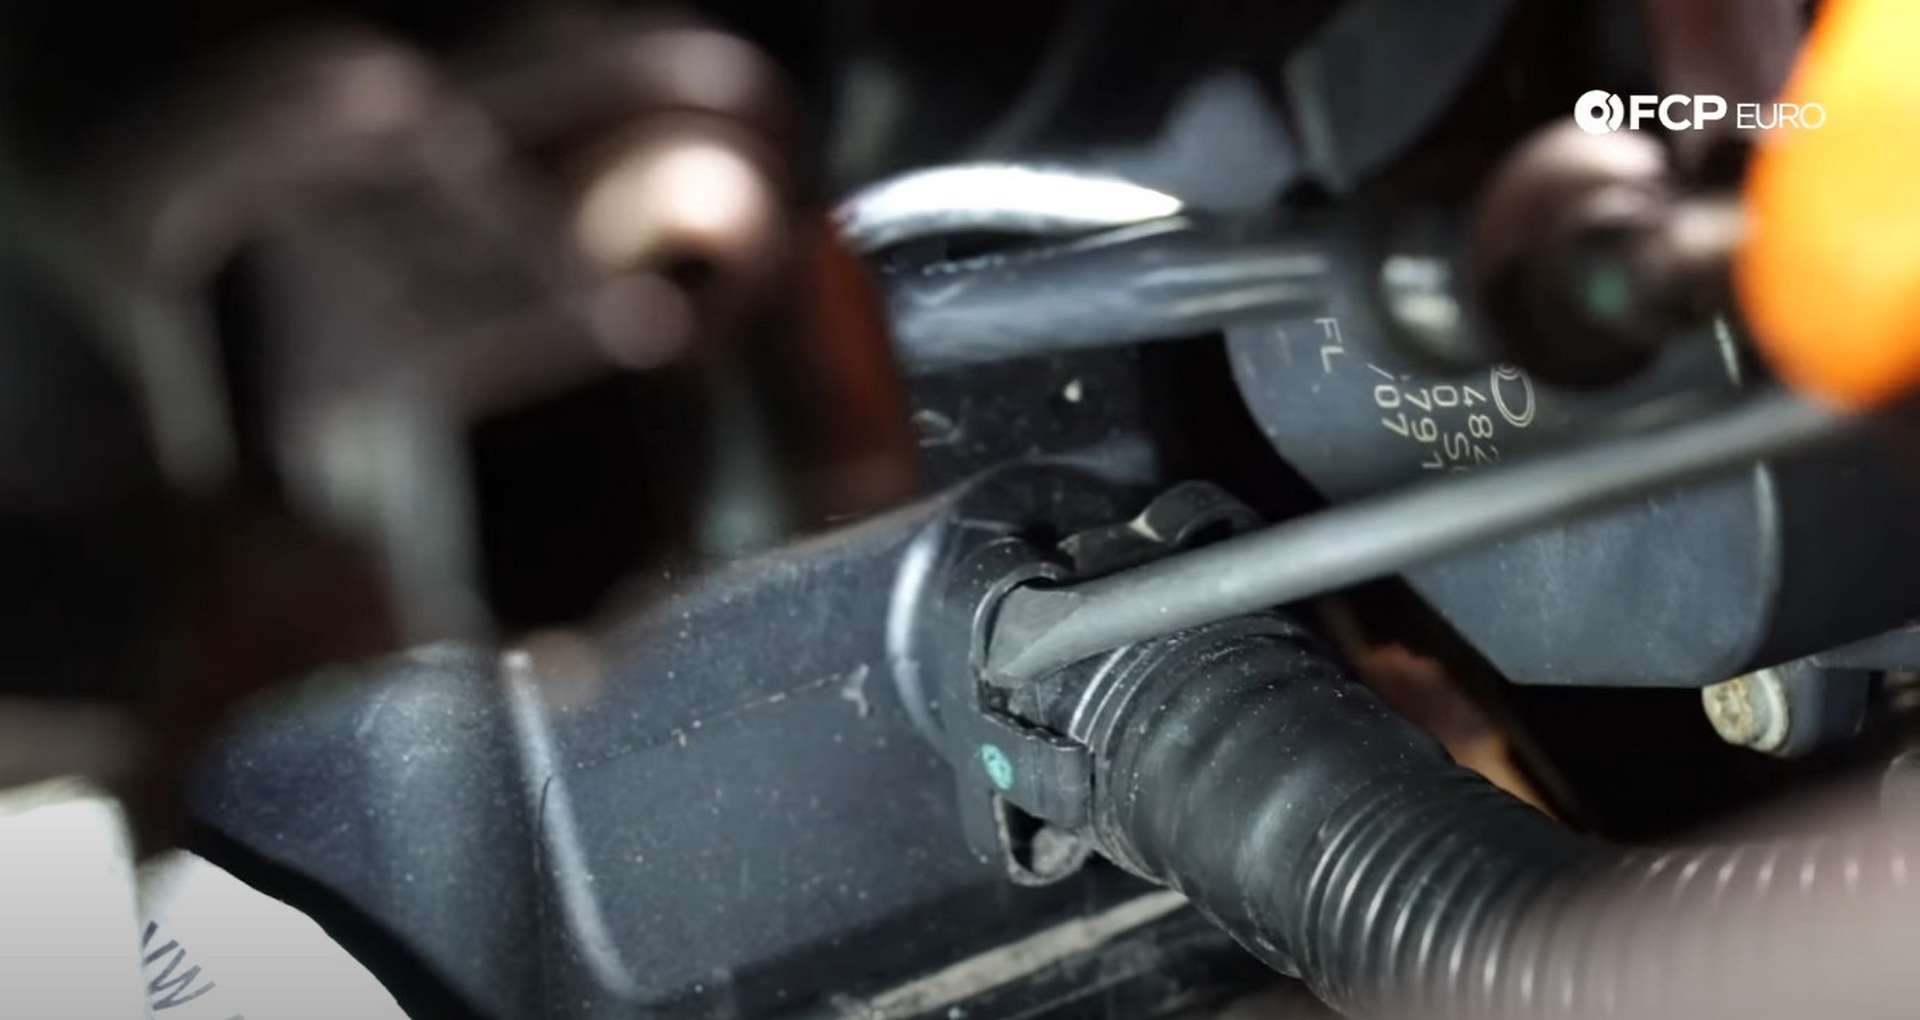
Now that you installed the oil cooler, refit the coolant line and brackets above it. Use a T30 bit socket to install the line above the cooler and reclip the harness bracket into place on the stud next to the T30 fastener. Housing tightening the T30 fastener]
Step 5: Refit the intake parts
Reach under the intake manifold and check the condition of the throttle body gasket. The gasket should be raised slightly off of the plastic manifold. Use a fingernail to push on the gasket and feel for its elasticity. If it doesn't feel rubbery, pull it out, and replace it.
With a new gasket installed, refit the throttle body to the intake manifold. There is a small locating tab on the throttle body that only allows you to install it in one orientation. Thread in its four bolts by hand once positioned correctly.
Use a T30 bit socket to tighten the throttle body bolts. Don't tighten them too much, however, as the manifold is plastic and will strip easily. After that, plug in all of the electrical connections around the throttle body.
If your old PCV hose is still in good shape, reinstall it; otherwise, route your new PCV hose through the same spots and click both ends into place. After that, slide the boost pipe up through the bottom of the engine bay for reinstallation. Work the end of the pipe onto the throttle body before aligning the mounting tab on its stud.
Thread the nut onto the stud and use a 10mm socket to tighten it. Down in that area is the MAP sensor in the pipe. Reconnect that, and then move to the top of the pipe and secure it to the throttle body. Use a 7mm socket to tighten the pipe's top hose clamp.
Before leaving the engine bay, refit the induction noise pipe. Slide the top of the hose into its connection and lock it into place with the metal tab. Slide the bottom of the pipe onto the boost pipe and use the hose clamp pliers to secure the pipes together.
Under the car, connect the boost pipe to the intercooler and refit the boost pipe's T30 bolt.
Lastly, head back into the engine bay and refit the intake/engine cover. Clip the intake into the turbo inlet and then rotate the cover down and onto the engine. Plug the mass airflow sensor in and refit the intake snorkel at the front of the cover. Use a T25 bit socket to secure the snorkel.
Step 6: Refill coolant and oil
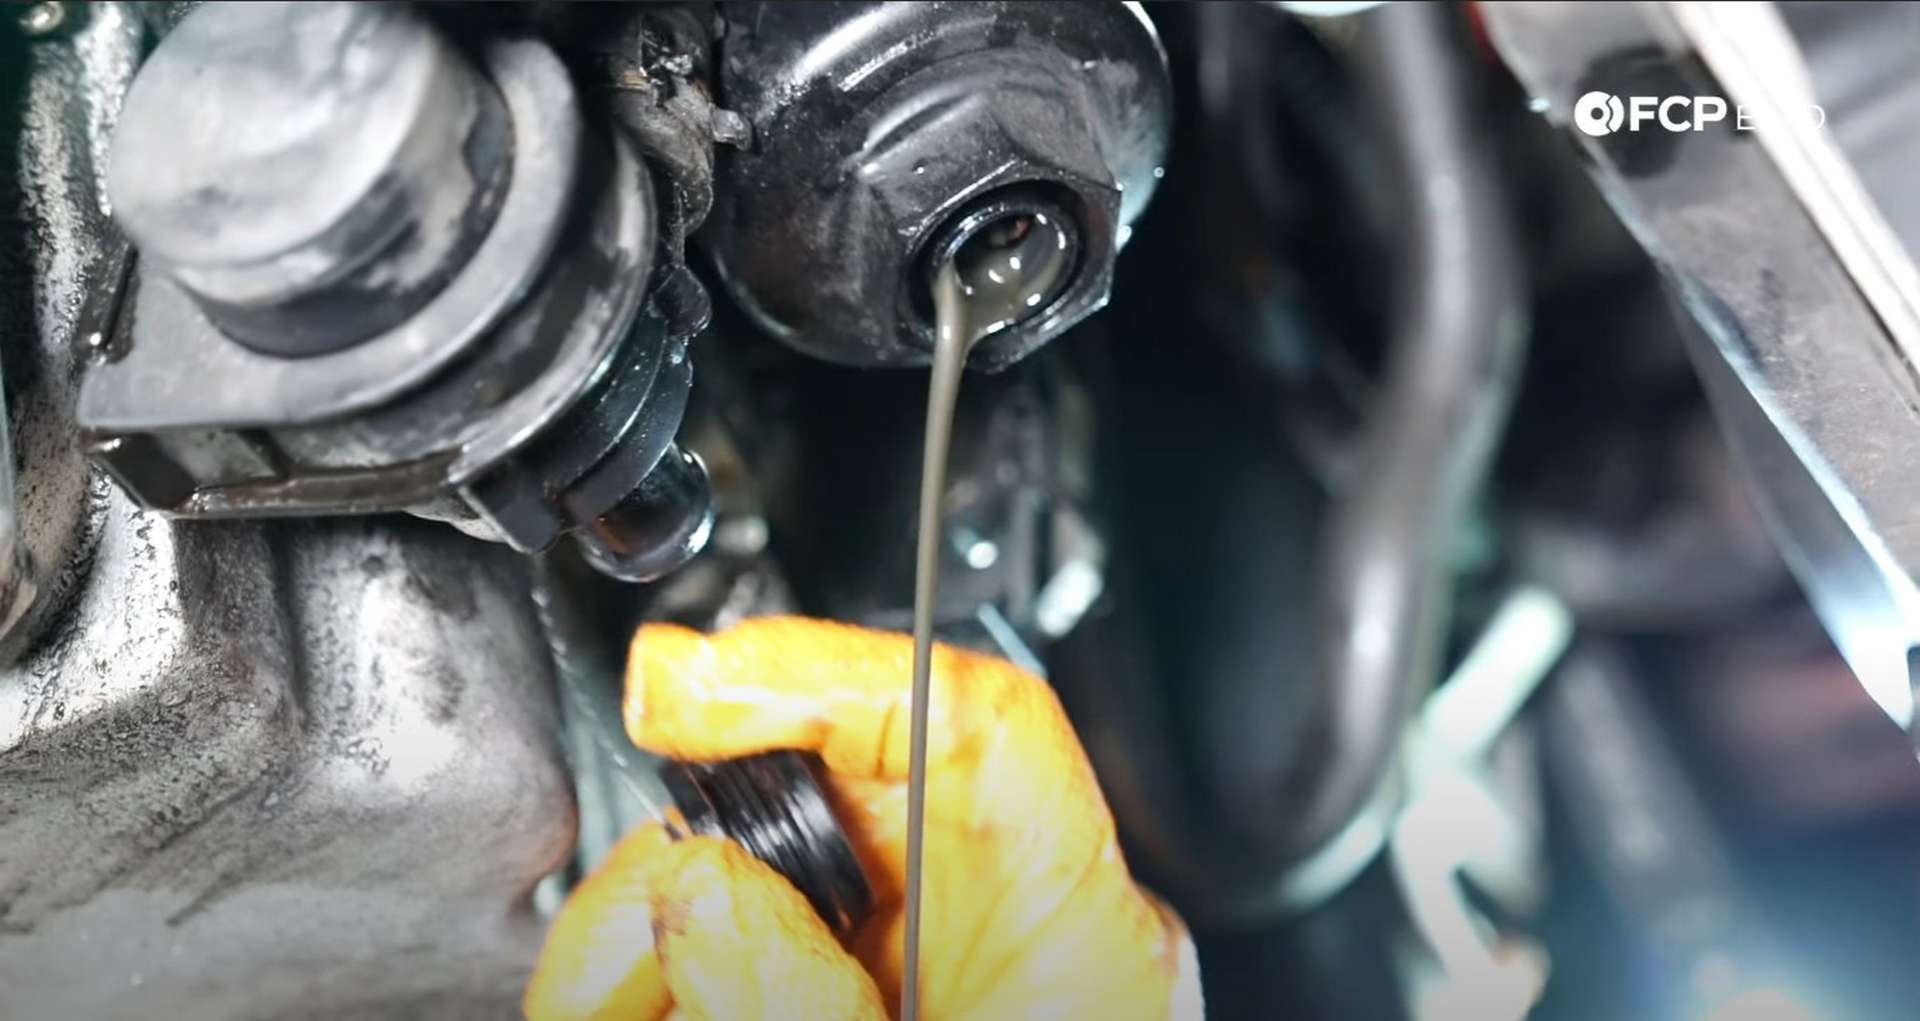
Optionally you can remove the oil filter from the housing and prefill it with oil to prevent a momentary loss of oil pressure on startup. Use a 36mm socket to remove the oil filter cap from the housing.
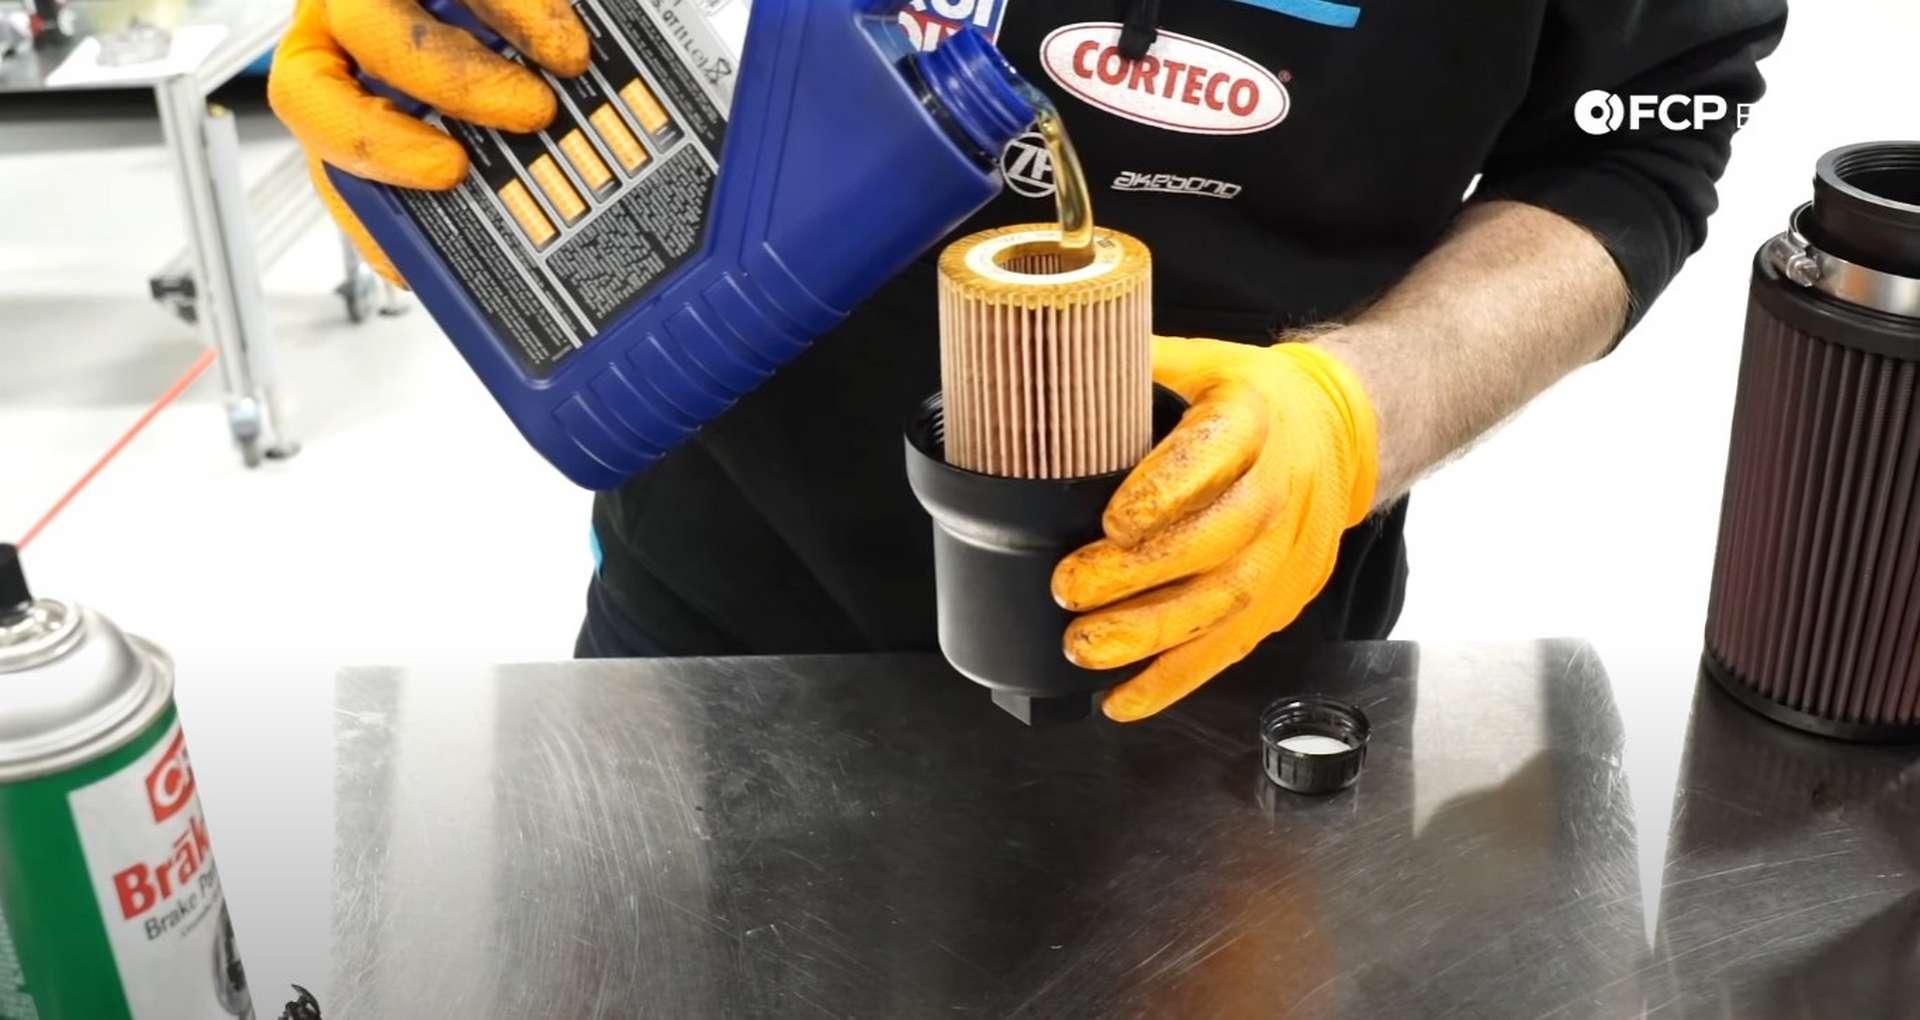
Then, pour fresh oil into the filter and reinstall it to the housing. Use the 36mm socket to torque the filter cap to 25Nm. Check the oil level back in the engine bay and add as much as necessary. Then fill the coolant expansion tank with a coolant and water mix.
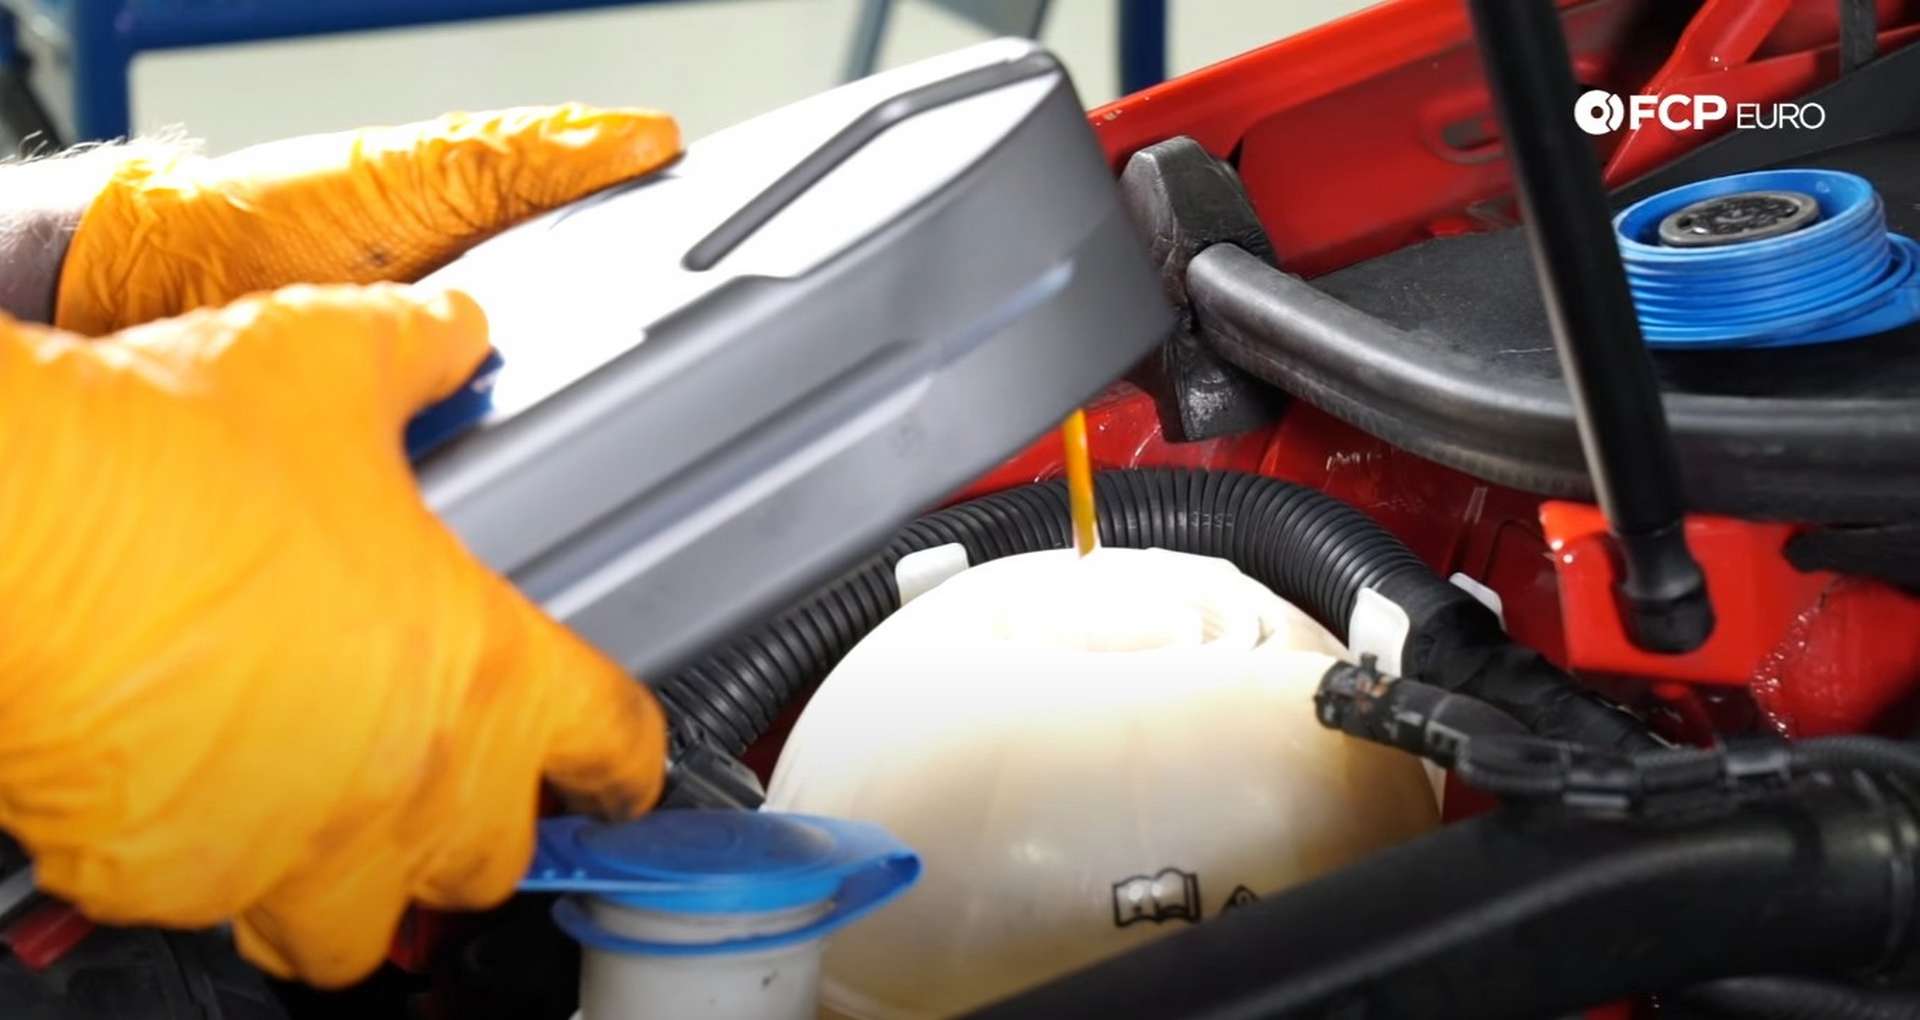
Additionally, you can disconnect the driver's side radiator hose and fill that with coolant as well. Use the hose clamp pliers to remove and secure the hose.
Lastly, start the car and check for any leaks. Look under the car as it runs to looks for any oil or coolant that may be seeping out. If no leaks are present, refit the splash shield. Use a T25 bit socket to tighten the shield's eight fasteners.
Let the car run and burp its coolant system. Fill the expansion tank as necessary until the level stops receding. Then refit the cap and shut the hood.
Volkswagen Mk5 GTI oil filter housing torque specs:
- Volkswagen Oil Pressure Switch = 15Nm or 11 ft-lbs, of torque
- Volkswagen Oil Filter Housing Bolts = 15Nm or 11 ft-lbs, of torque
- Volkswagen Oil Cooler Bolts = 15Nm or 11 ft-lbs, of torque
- Volkswagen oil Filter Cap = 25Nm or 18.4 ft-lbs, of torque
Wham bam, thank you, ma'am. Just like that, your oil filter housing leak is no more. If you're interested in more DIYs for your Volkswagen, you can visit vw.fcpeuro.com or subscribe to our YouTube channel.


