- 06/07/2021
- 5 Min Read
- By: Christian Schaefer
How To Replace A Mercedes-Benz W205 Auxiliary Battery

The auxiliary battery in the Mercedes-Benz W205 isn't a battery. Instead, it's a small capacitor used to store energy that helps with the stop/start function and switches the transmission into park when the battery dies. Regardless of what it is, the battery's performance is critical to those key features of your Mercedes. The auto stop/start function plays a crucial role in reducing emissions, and without it, your fuel mileage will somewhat suffer. You'll want your electronically shifted transmission to be able to put itself into park too.
Replacing the capacitor/battery/converter is quickly done in your driveway. Located in the passenger's footwell, two screws, three nuts, and some clips are all that's blocking you from the part in question. However, you may also need to replace a fuse in the trunk once you observe the condition of the old part. Whatever you find, follow the steps below to ensure a proper replacement the first time around.
Mercedes models and years applicable:
|
|
|
|
|
|
|
|
|
|
|
|
Symptoms of a failing auxiliary battery:
- Trouble starting while using the start/stop function
- "Shift the vehicle into park but leave engine running" message on dashboard
You're going to notice a potential issue when using the start/stop function or if your Mercedes is equipped with an electronic gear selector. You'll know when there is a fault as the vehicle will alert you through a few different messages. When the vehicle detects a fault with the battery, it'll ask you to shift the vehicle into park with the engine running or throw an auxiliary battery warning message.
How much will it cost to replace the auxiliary battery on my Mercedes-Benz W205?
The only piece required to replace the auxiliary battery on your W205 is the battery itself. Also referred to as a voltage converter, the OE piece from Hella will run you right around $140.
How long will it take to replace the auxiliary battery on my W205 Mercedes-Benz?
Reaching the battery isn't difficult at all. It sits behind the passenger's carpet in the footwell under a plastic cover. Expect the replacement to take you around 20 minutes. Factor in another few if you have to replace the fuse in the trunk.
Parts required to replace the auxiliary battery on your W205 Mercedes-Benz:
Tools required to replace the auxiliary battery on your W205 Mercedes-Benz:
Steps required to replace the auxiliary battery on your W205 Mercedes-Benz:
Step 1: Expose the auxiliary battery
Open up the front passenger side door and move the seat to its rear-most position. Next, remove the floor mat and the fuse box cover from the footwell trim. Then, pull up on the plastic door sill trim and remove it from the interior.
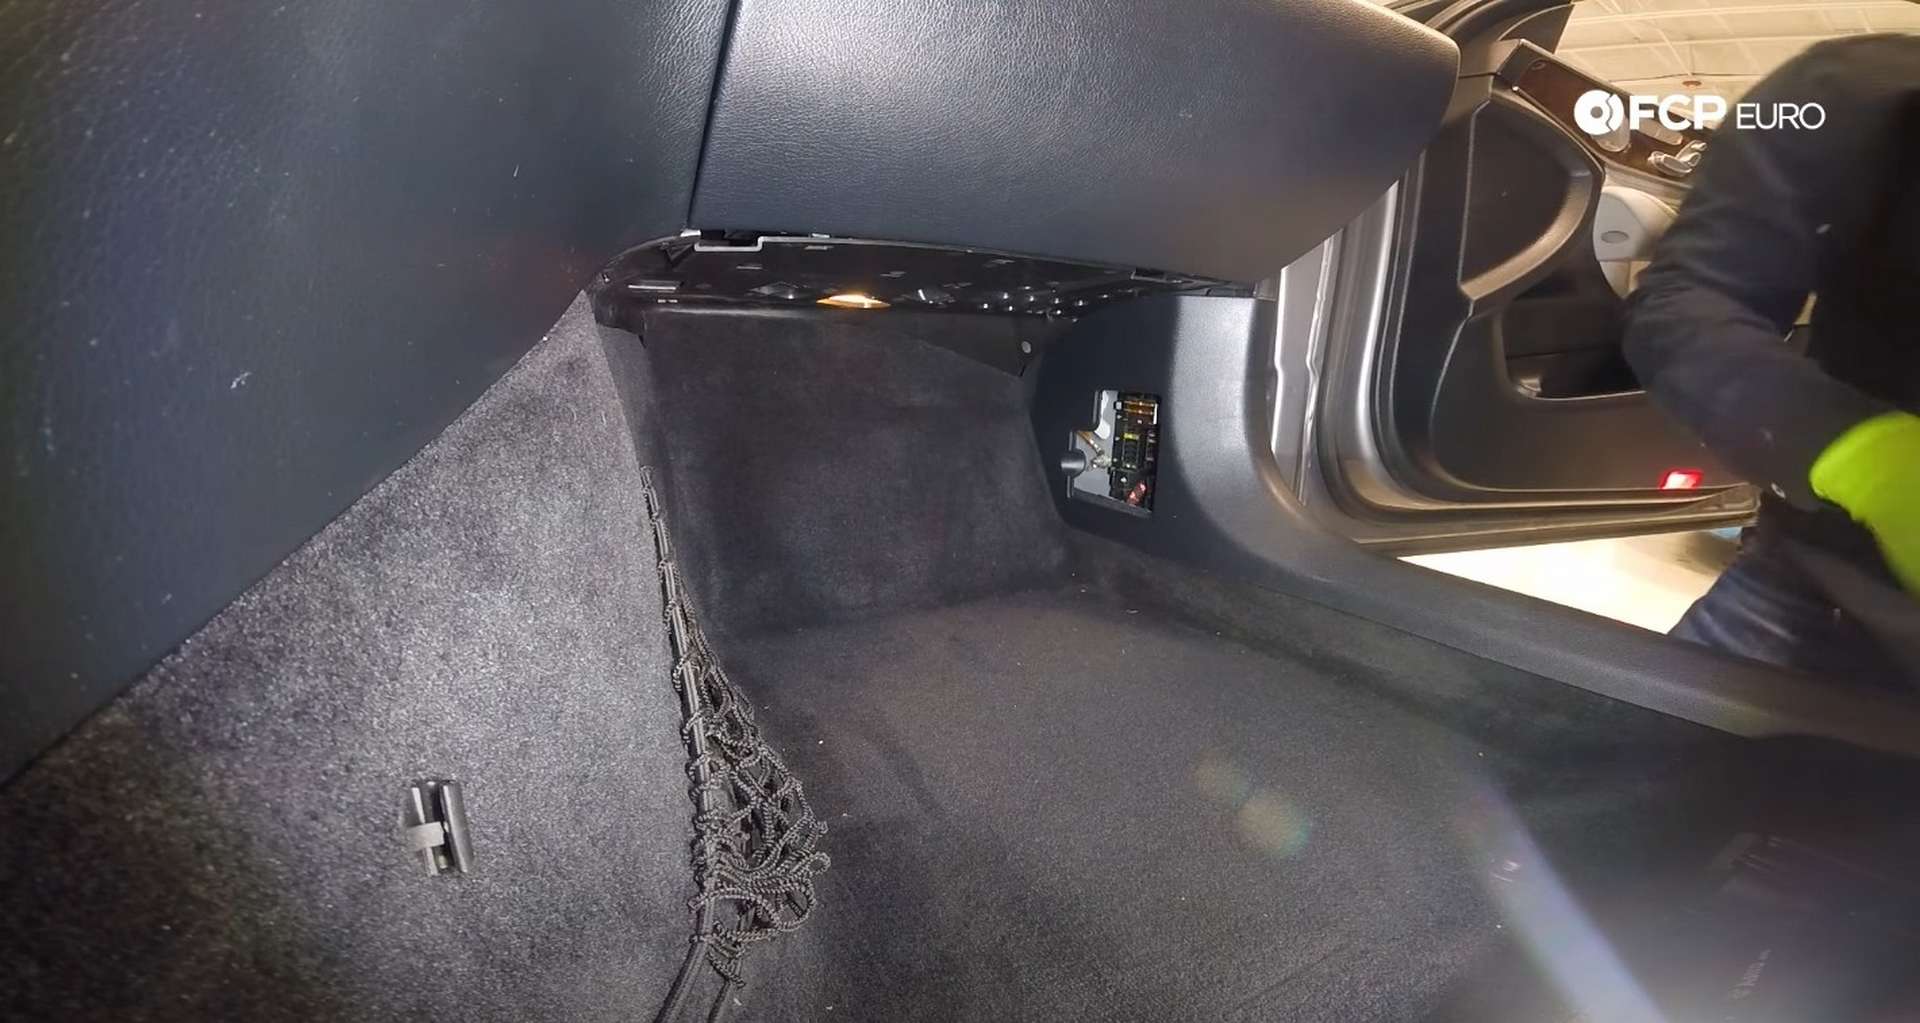
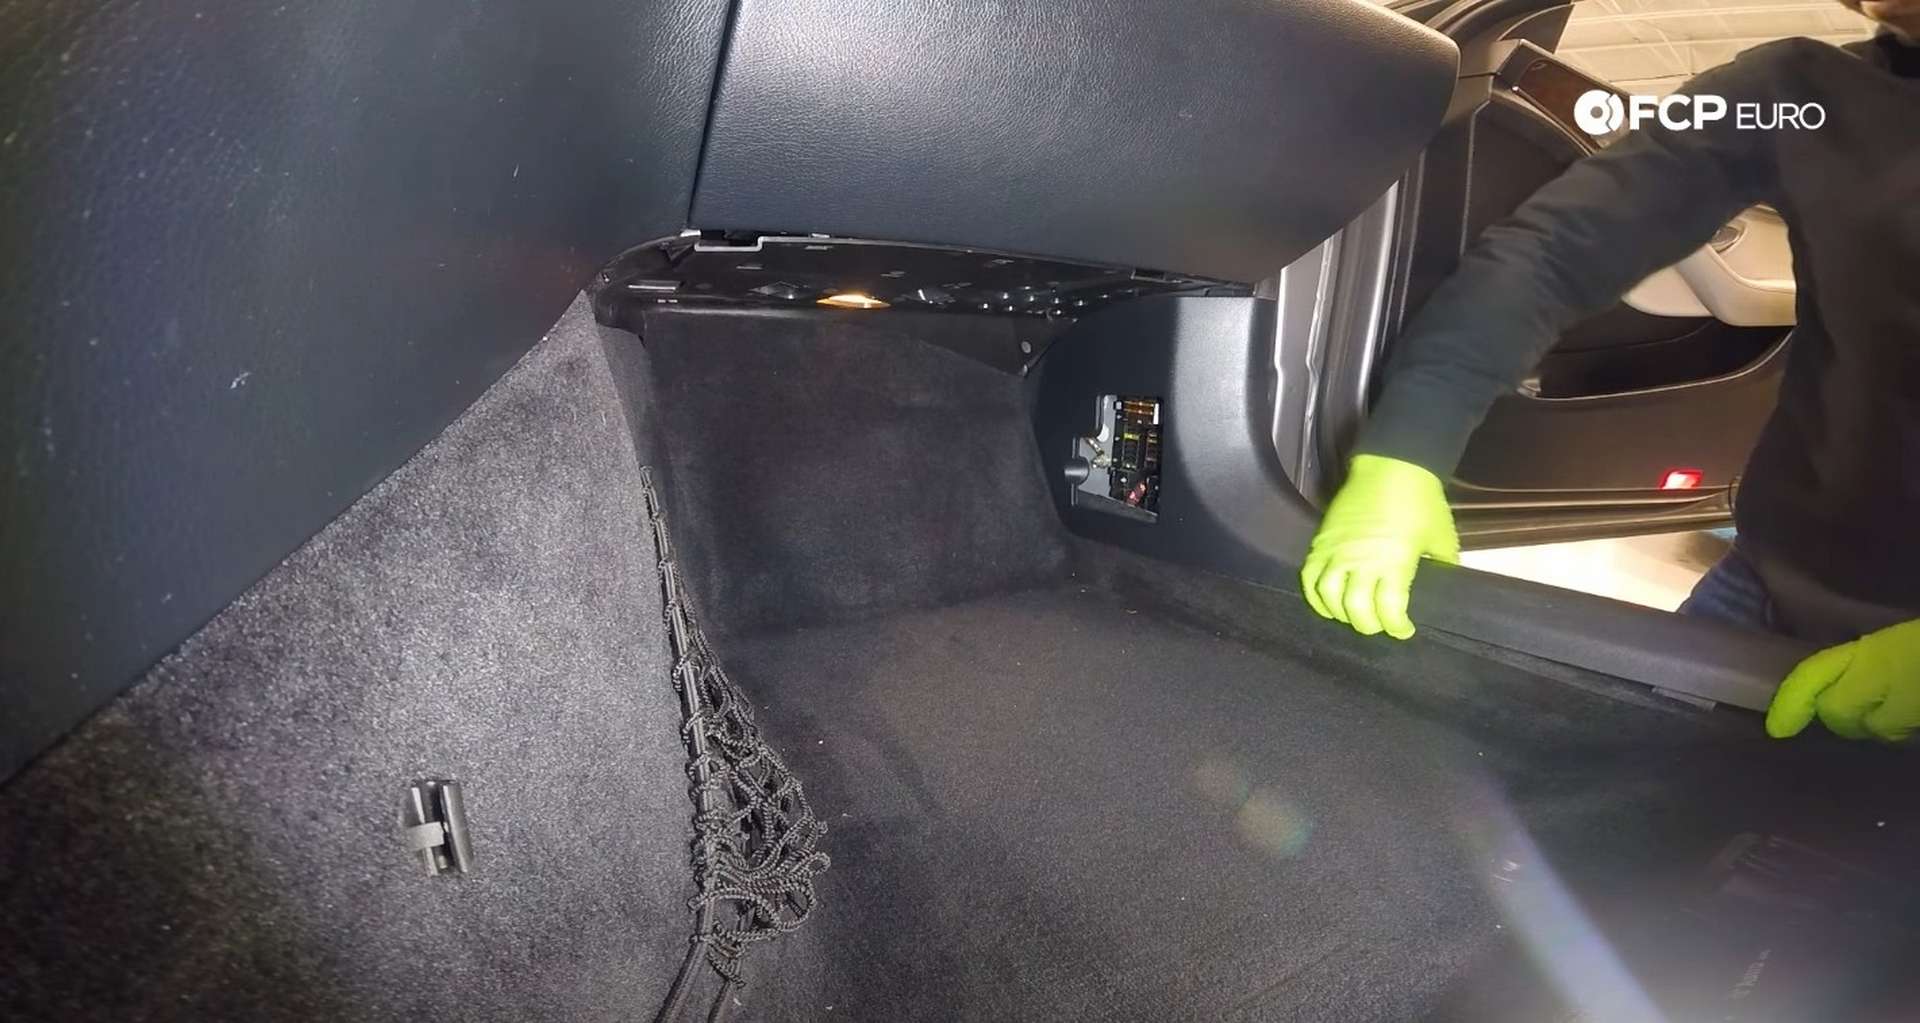
After that, use the T15 Torx socket to remove the two self-tapping screws from the leading edge of the panel below the glove box. Pull down on that leading edge to free the panel before pulling up the footwell carpet.
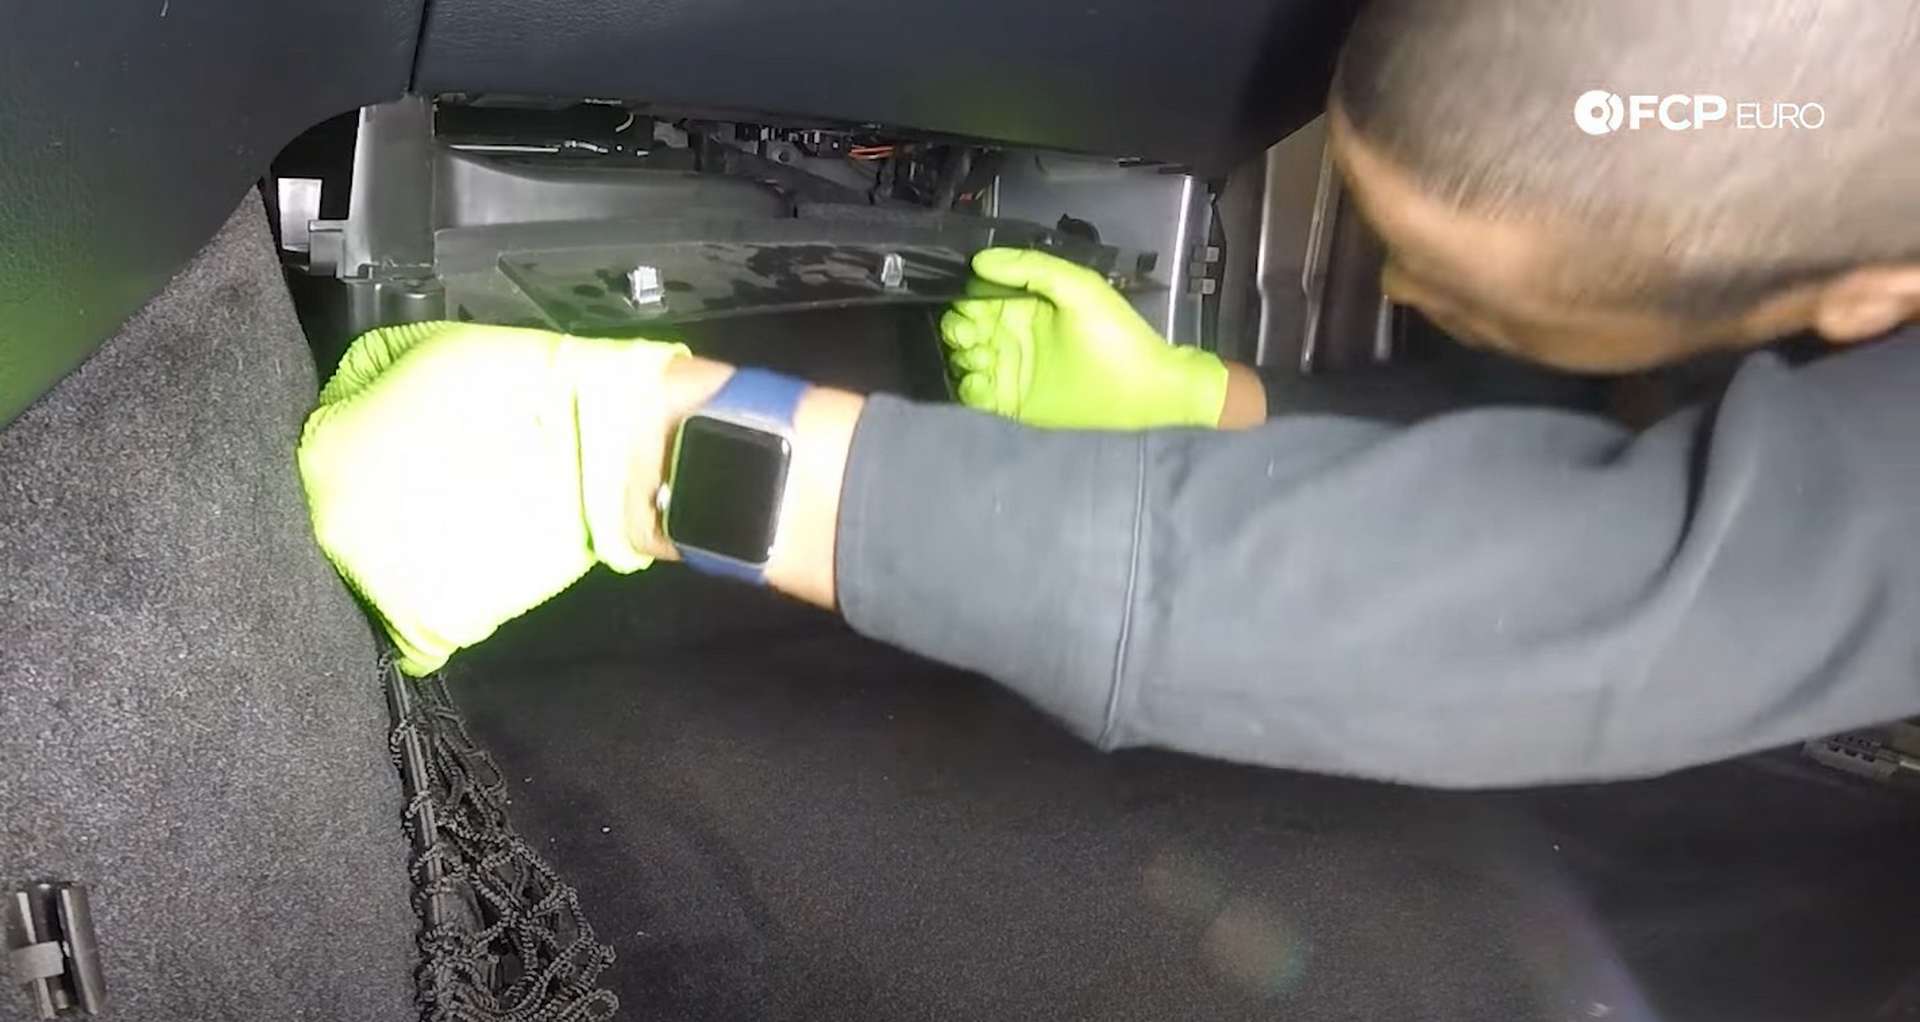
You must remove the interior temp sensor and footwell light from the panel before removing it fully. Twist the temp sensor 90° and pull it out of the panel. Then press in the tab on the footwell light and pull that out of the panel.
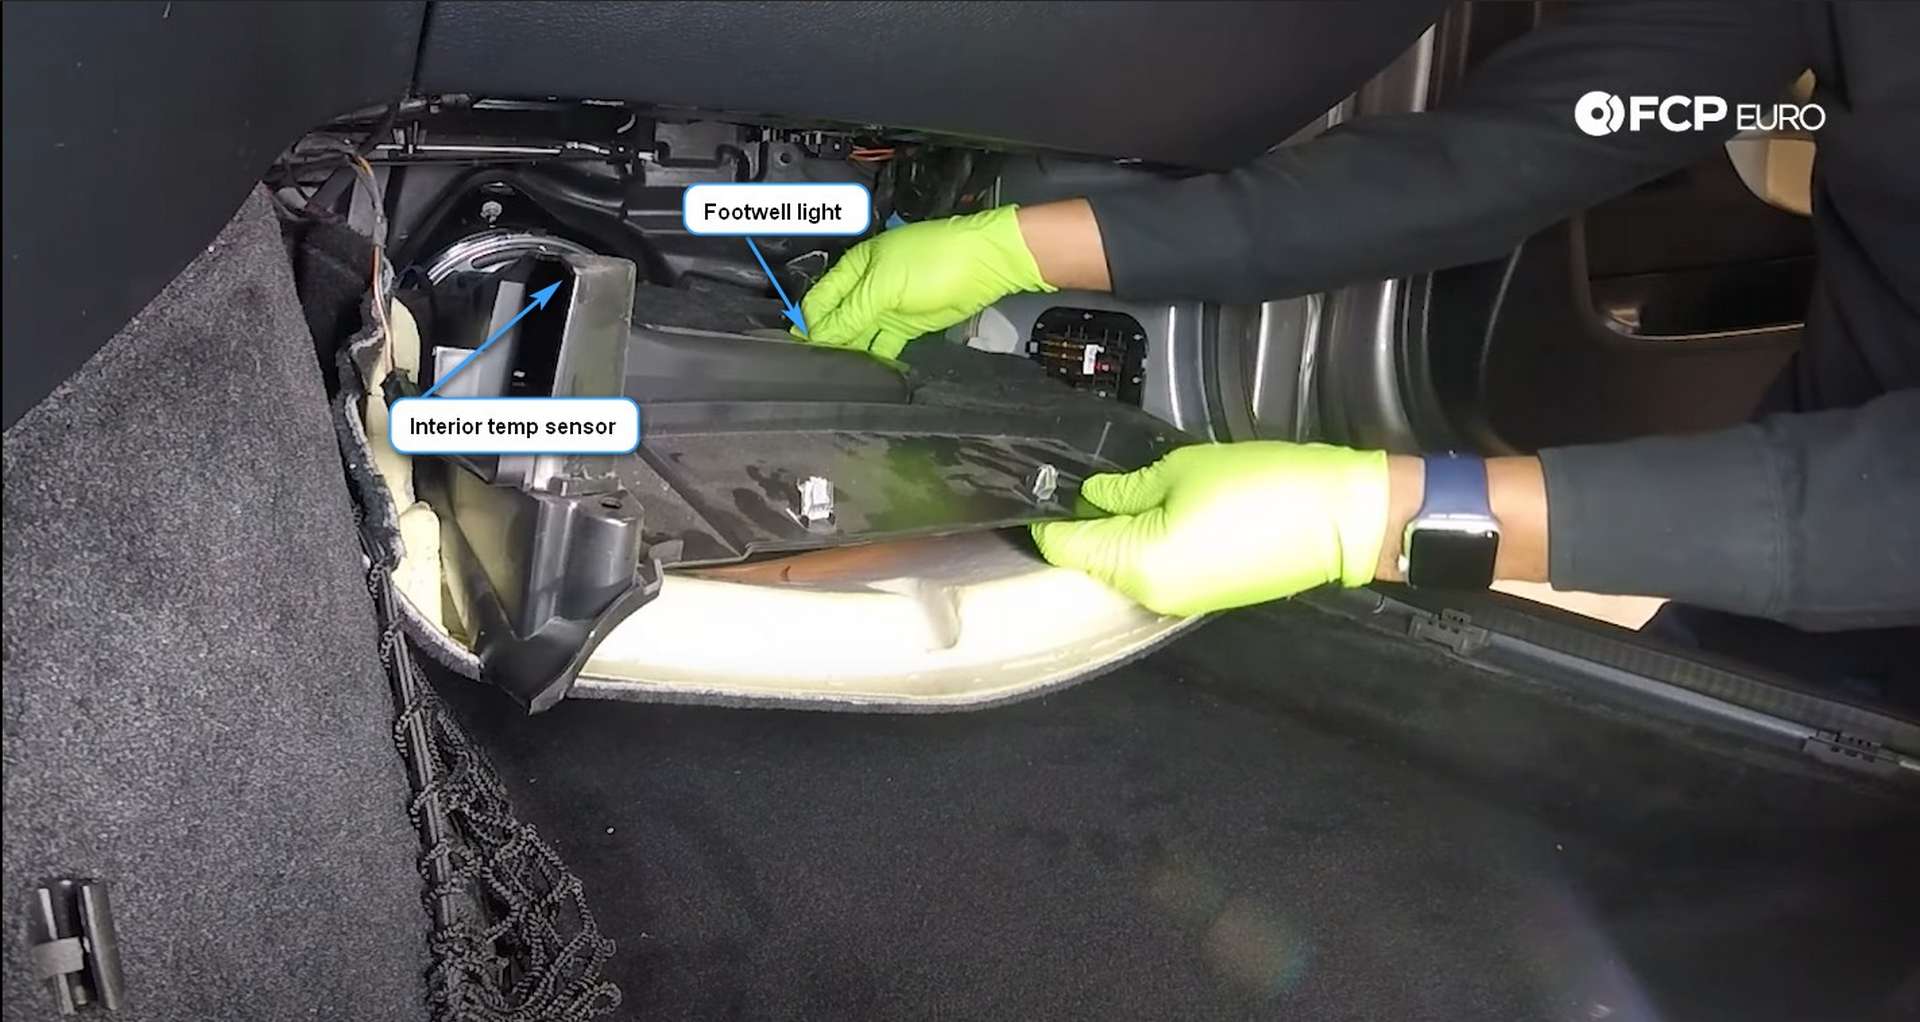
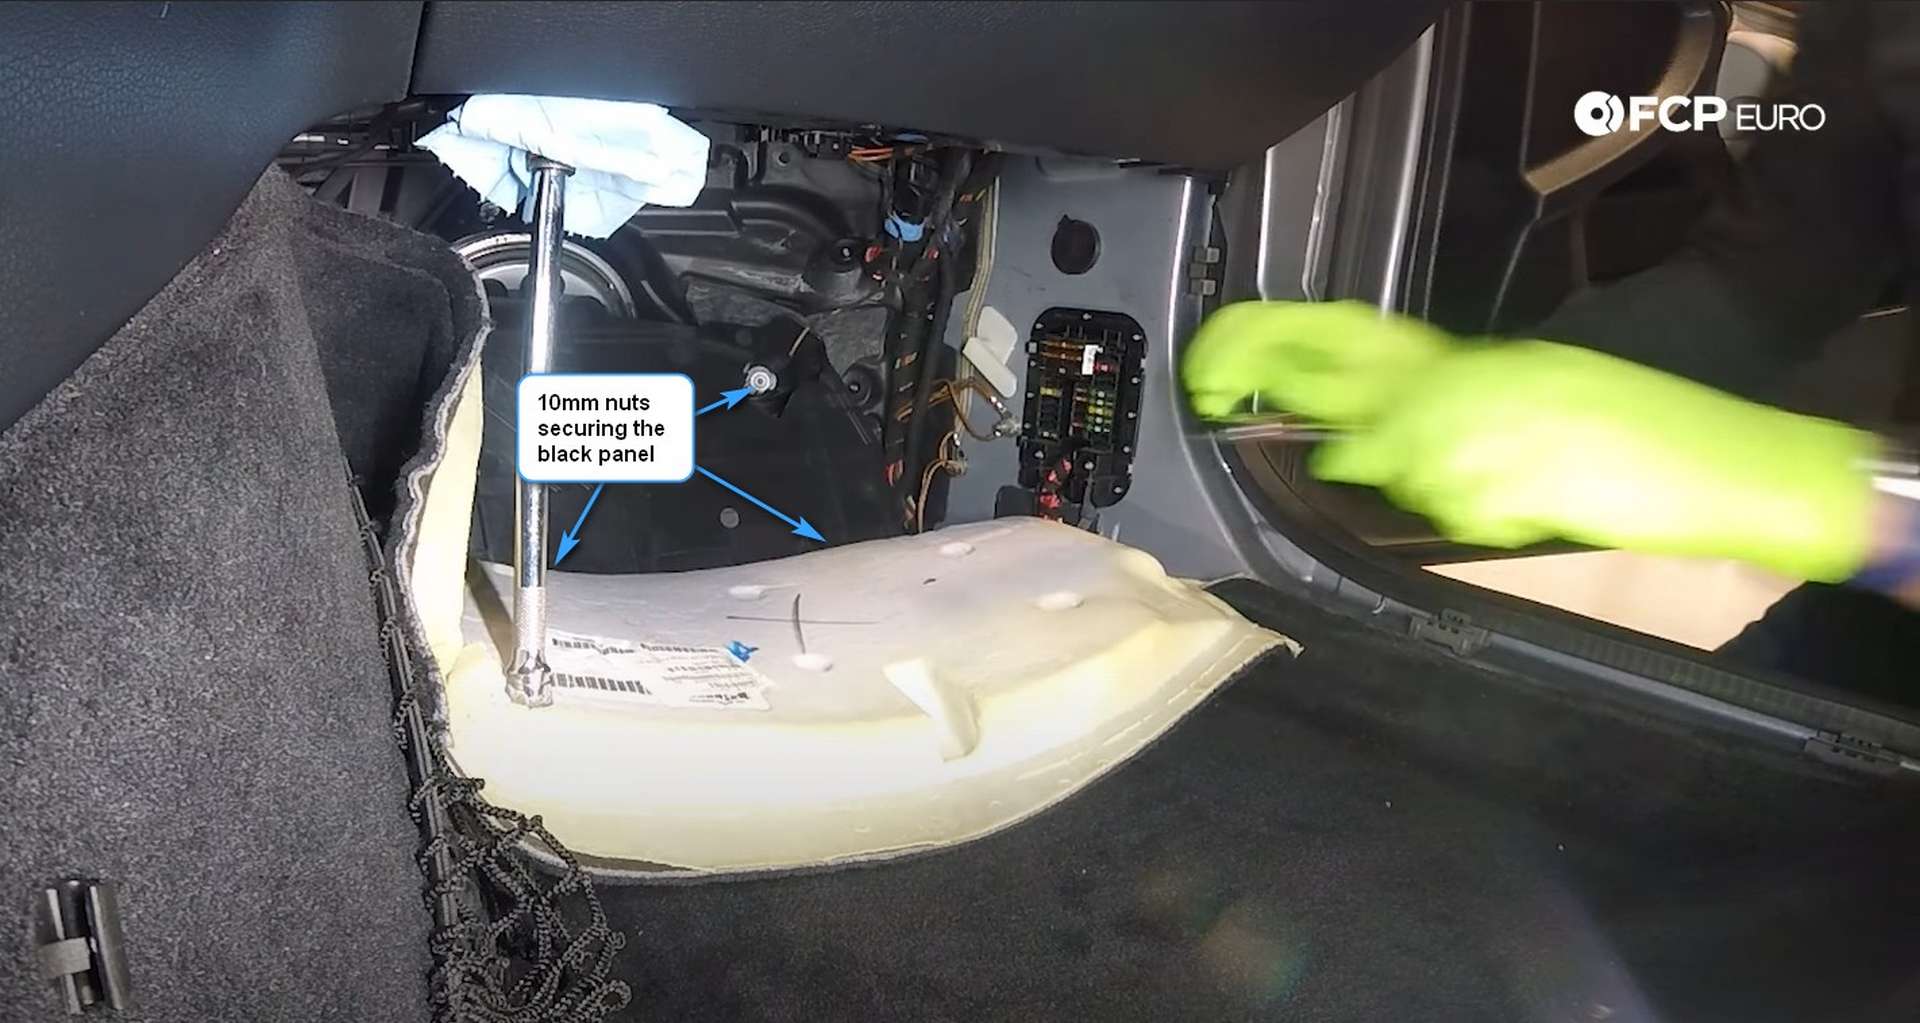
The auxiliary battery sits behind that black plastic panel normally hidden by the carpet. Use a deep 10mm socket on an extension to reach the two lower nuts. The carpet will try and push its way back into position, so get it out of the way as best you can and get something to hold it down. Pull the panel out to expose the battery once you remove all three nuts.
Step 2: Replace the battery
The battery is front and center, with the panel out of the way. Use an 8mm socket to remove the mounting nut from the top of the battery. Then, lift it out of its mount and unplug the wiring harness from it.
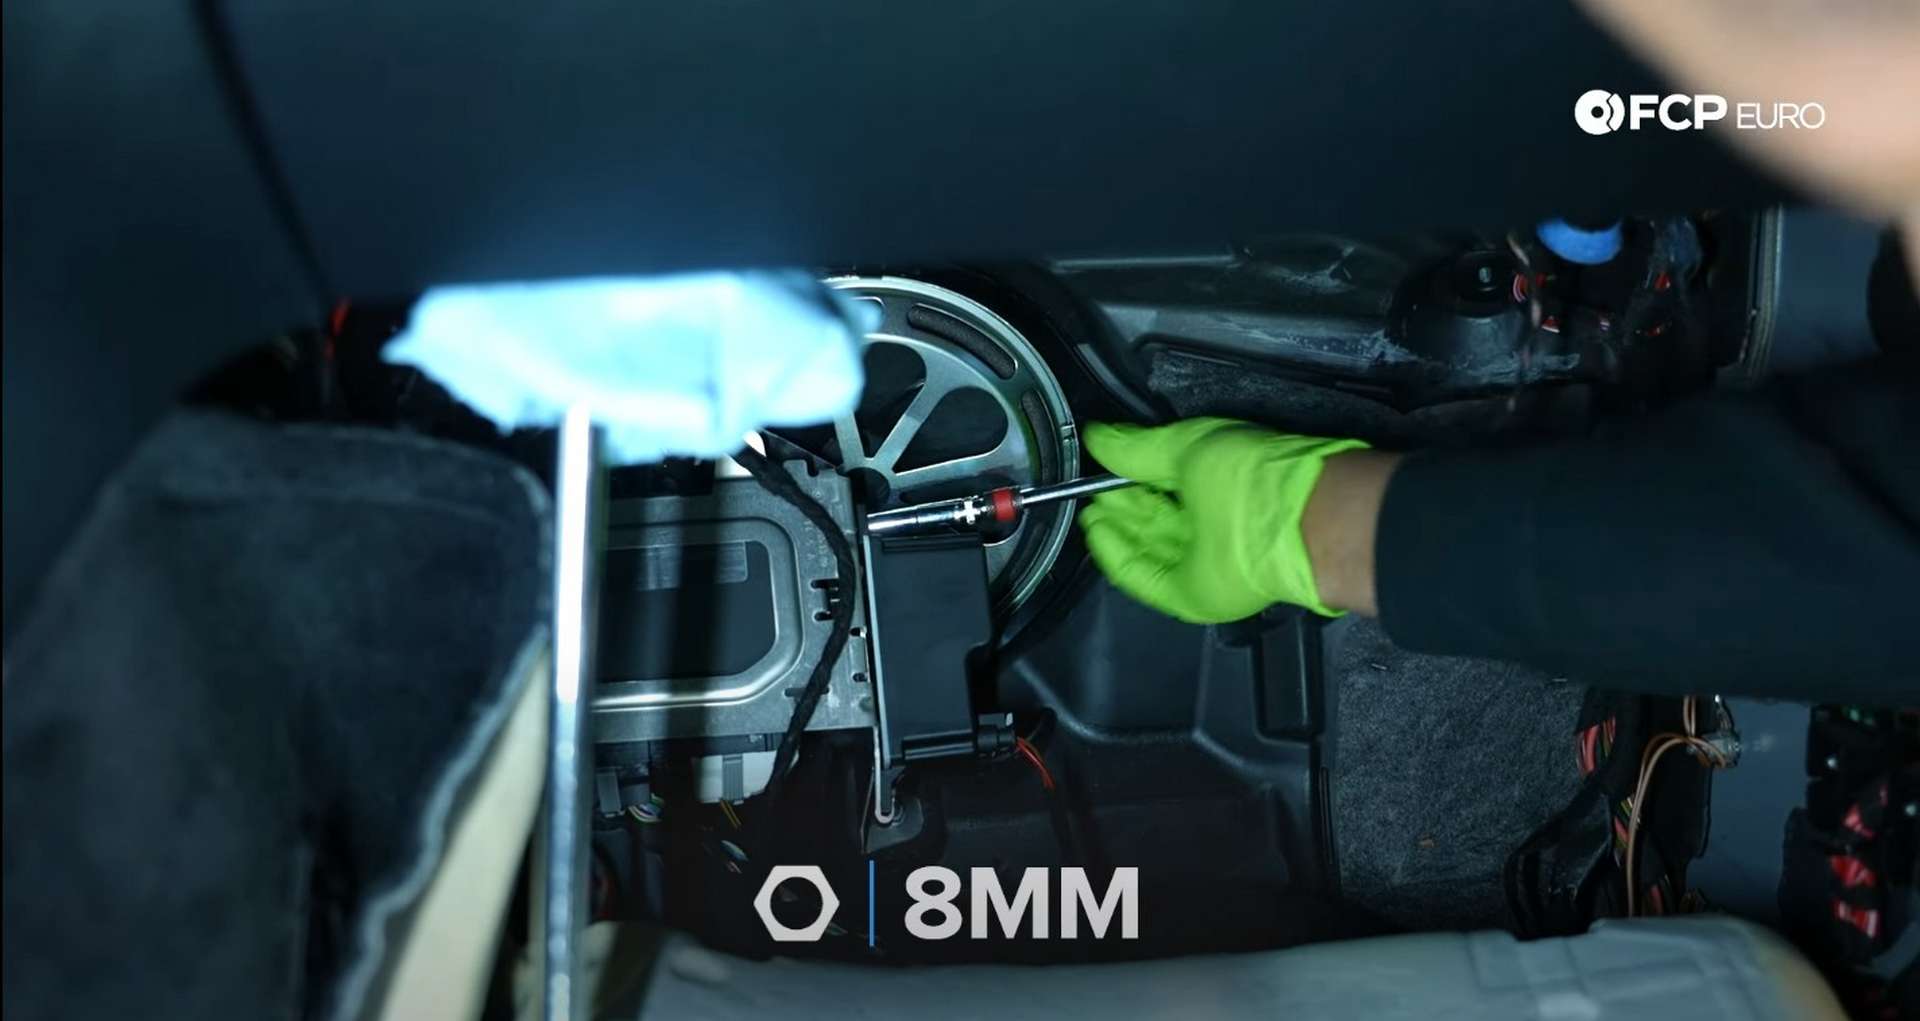
Inspect the old unit before throwing it away. If the back of it has become a brown or black color, it may have overheated. If that's the case, you'll probably have blown a fuse located in the trunk. Don't worry about that now though, just plug in the new battery and get it mounted. Thread on the nut by hand before tightening it with the 8mm socket.
Step 3: Refit the interior
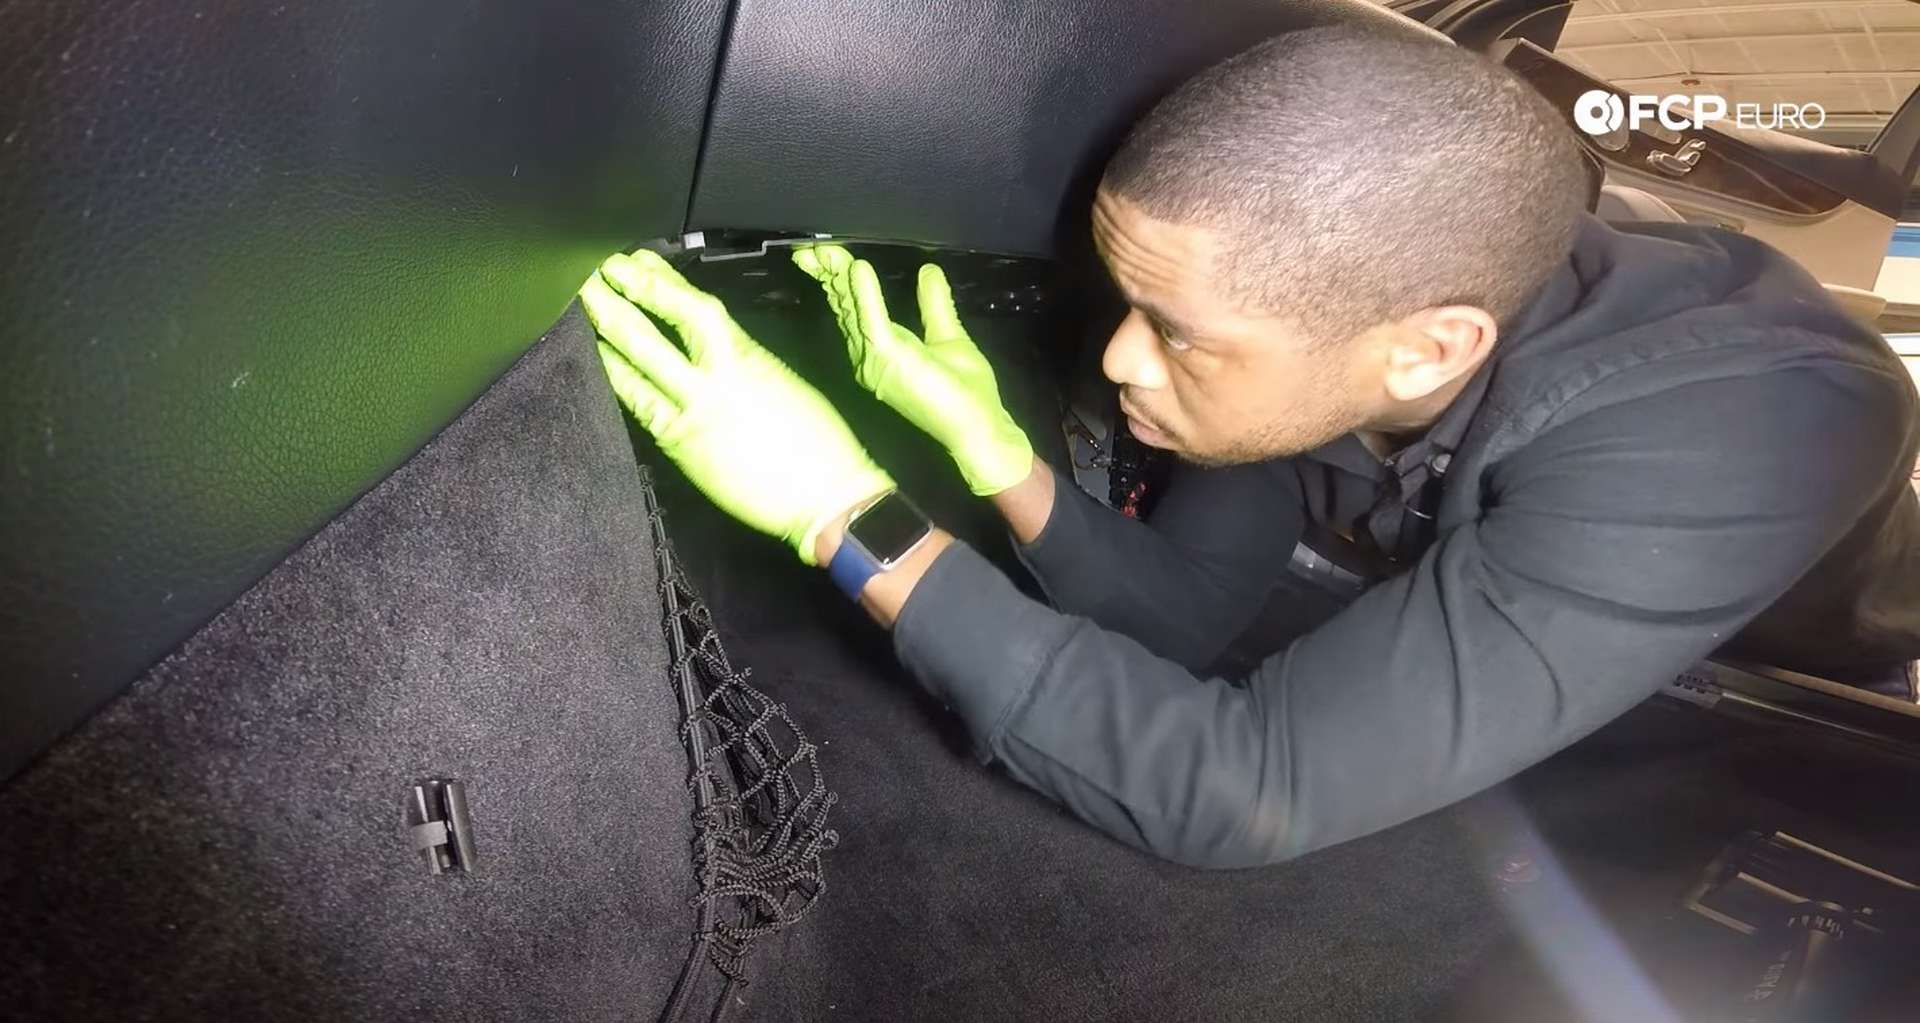
Start by refitting the black panel that covers the battery. Slide it into the footwell and look for the three mounting studs. Get the stud in position through the panel and then thread on all three nuts. Use a 10mm socket to tighten them up.
After that, push the carpet back into place while ensuring that the temp sensor and the footwell light don't get trapped behind it. Then, refit the temp sensor and light to the glove box panel, and press it up into position.
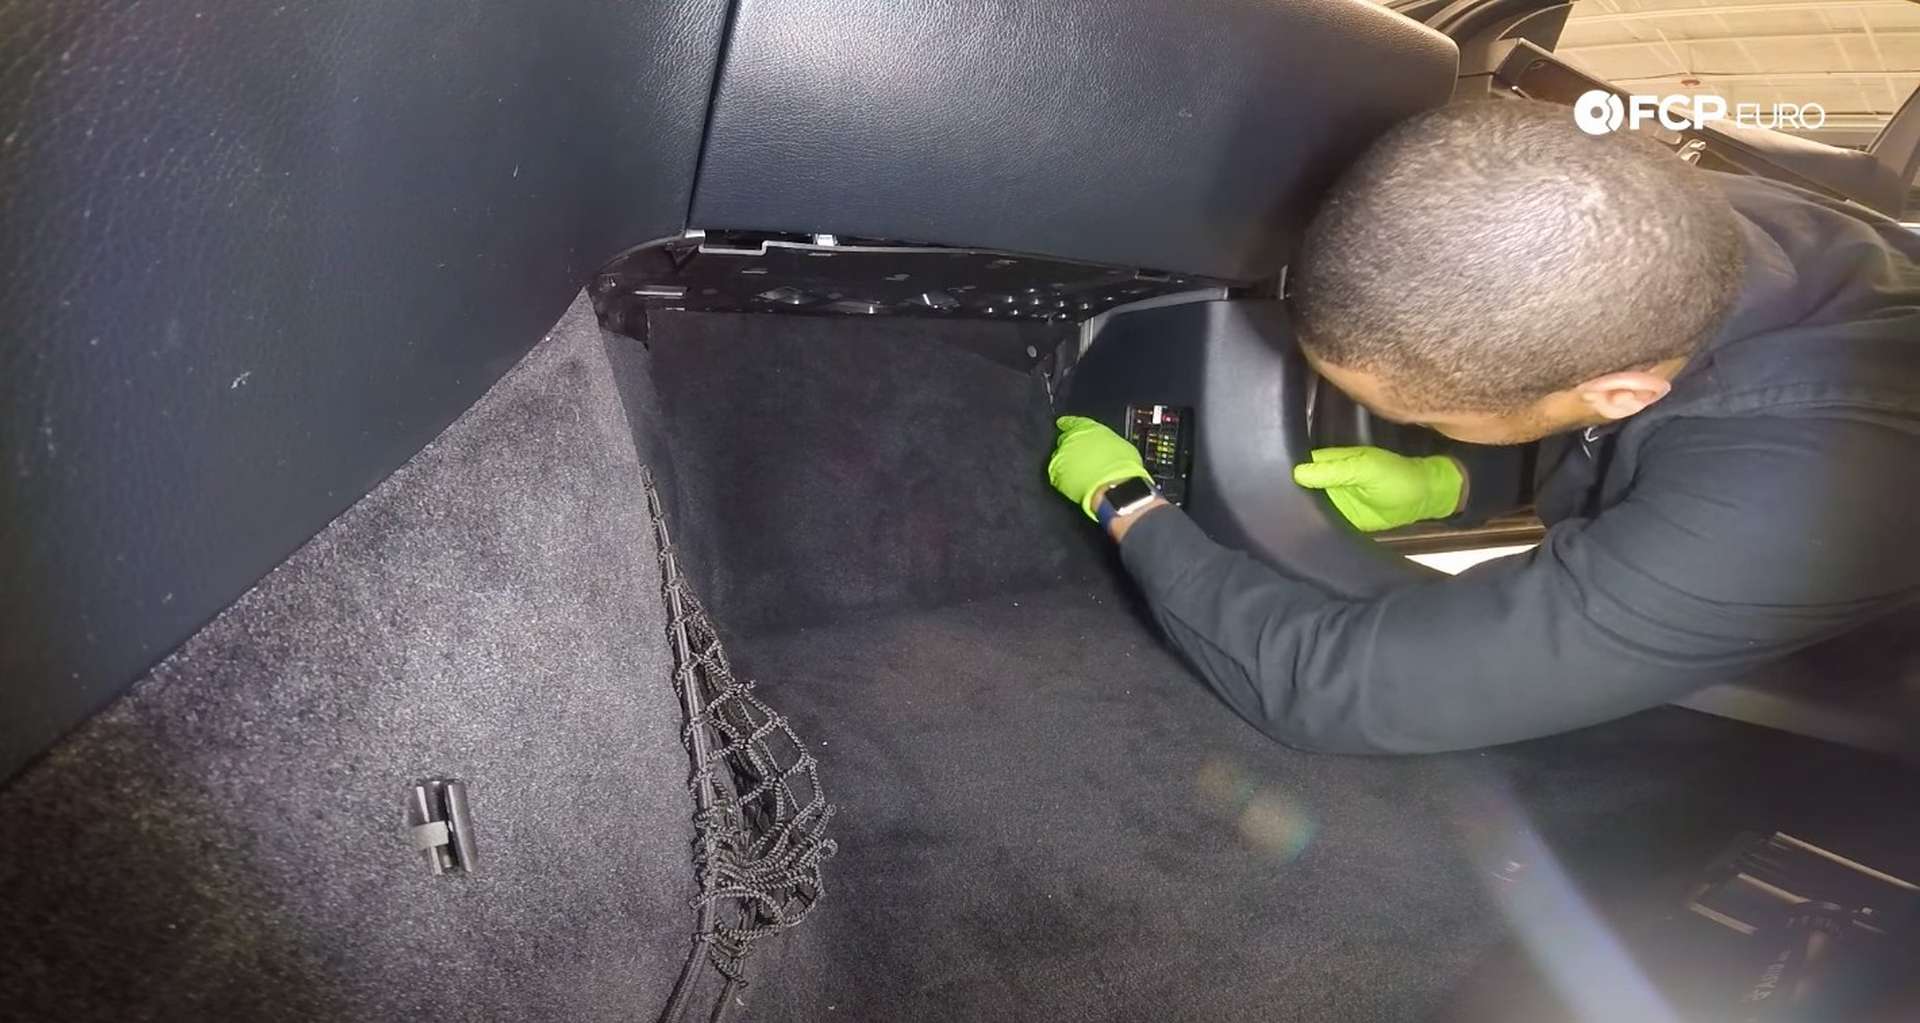
You'll know you have the panel in the proper position when the two self-tapping fasteners thread in easily. Use a T15 Torx bit for those fasteners.
Next, refit the kick panel/door sill trim. Slide the panel over the white tab positioned to the left of the fuse box. Then press the door sill portion down, clipping it into place.
Lastly, refit the fuse box cover and the floor mat.
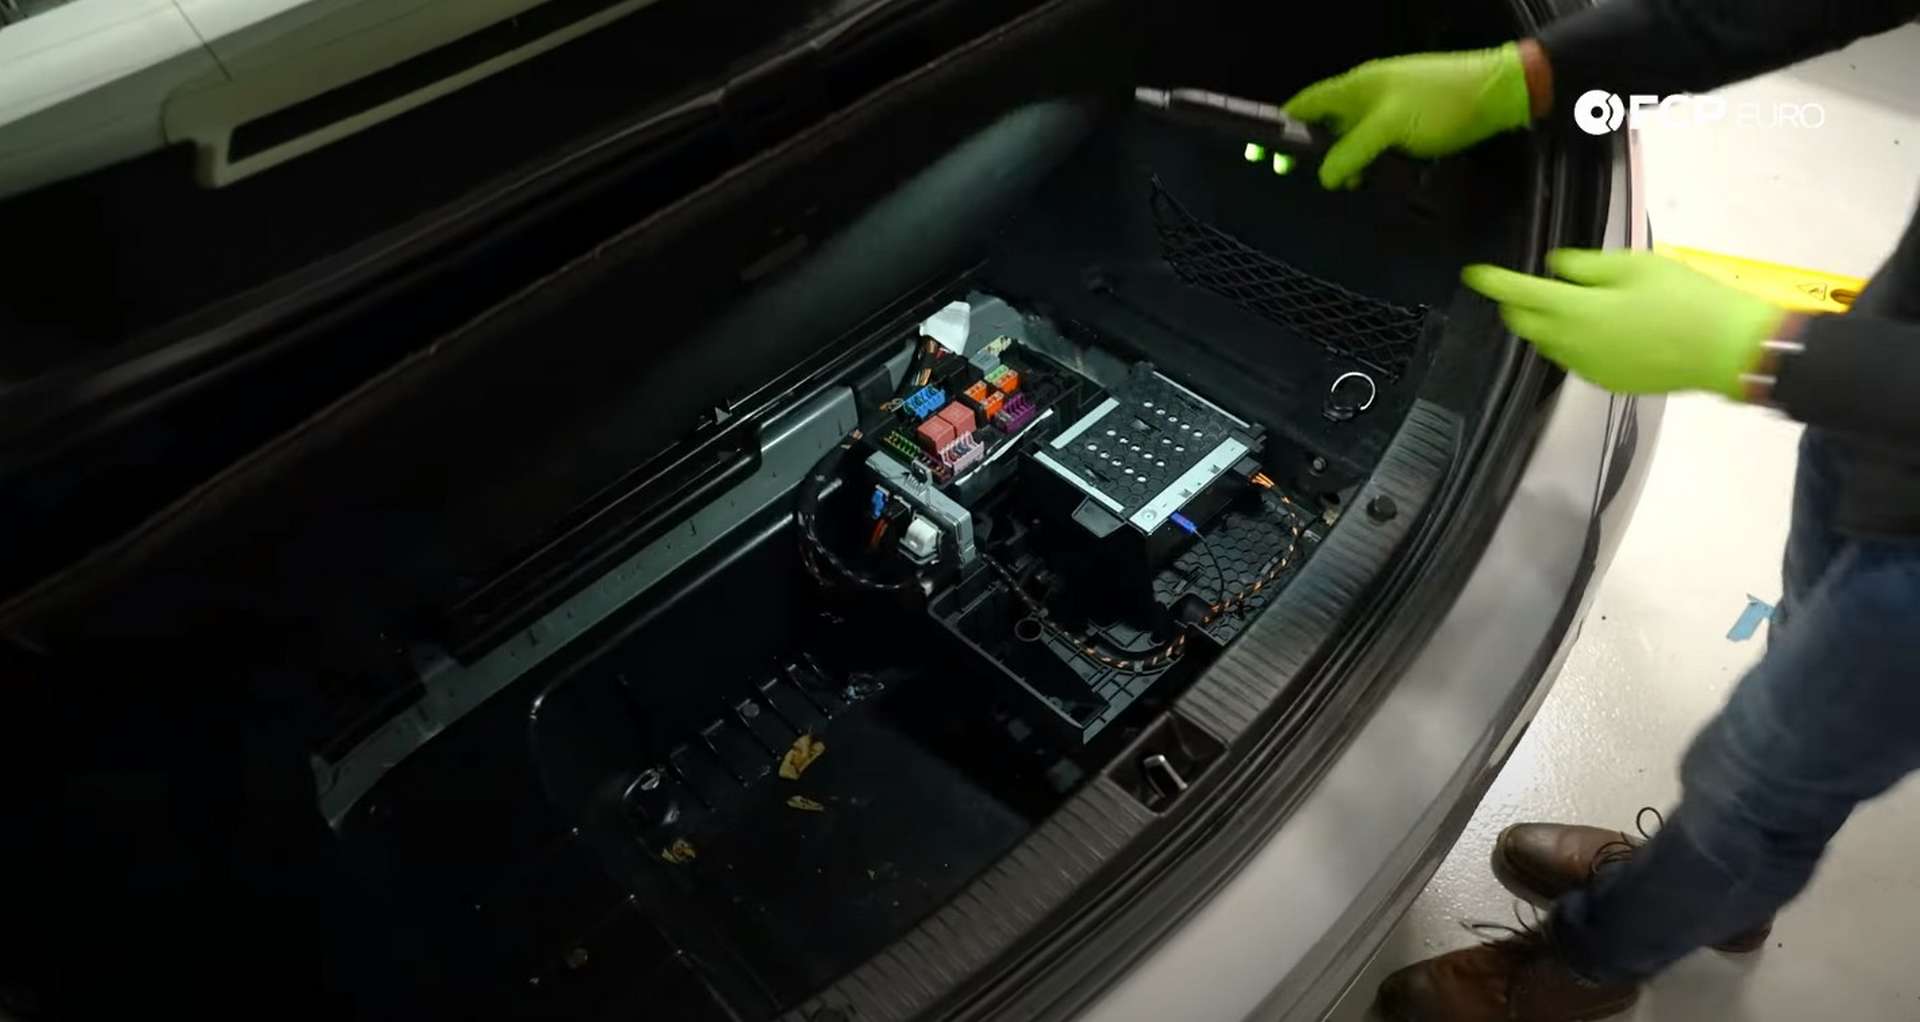
Step 4: Checking the fuse at the rear signal module
If your old auxiliary battery appeared to be burnt, you're going to want to head into the trunk and check a specific fuse. Pop open the trunk and remove the false floor below the mat to reveal the signal module.
The fuse you need to check is #448, a red, ten-amp fuse.
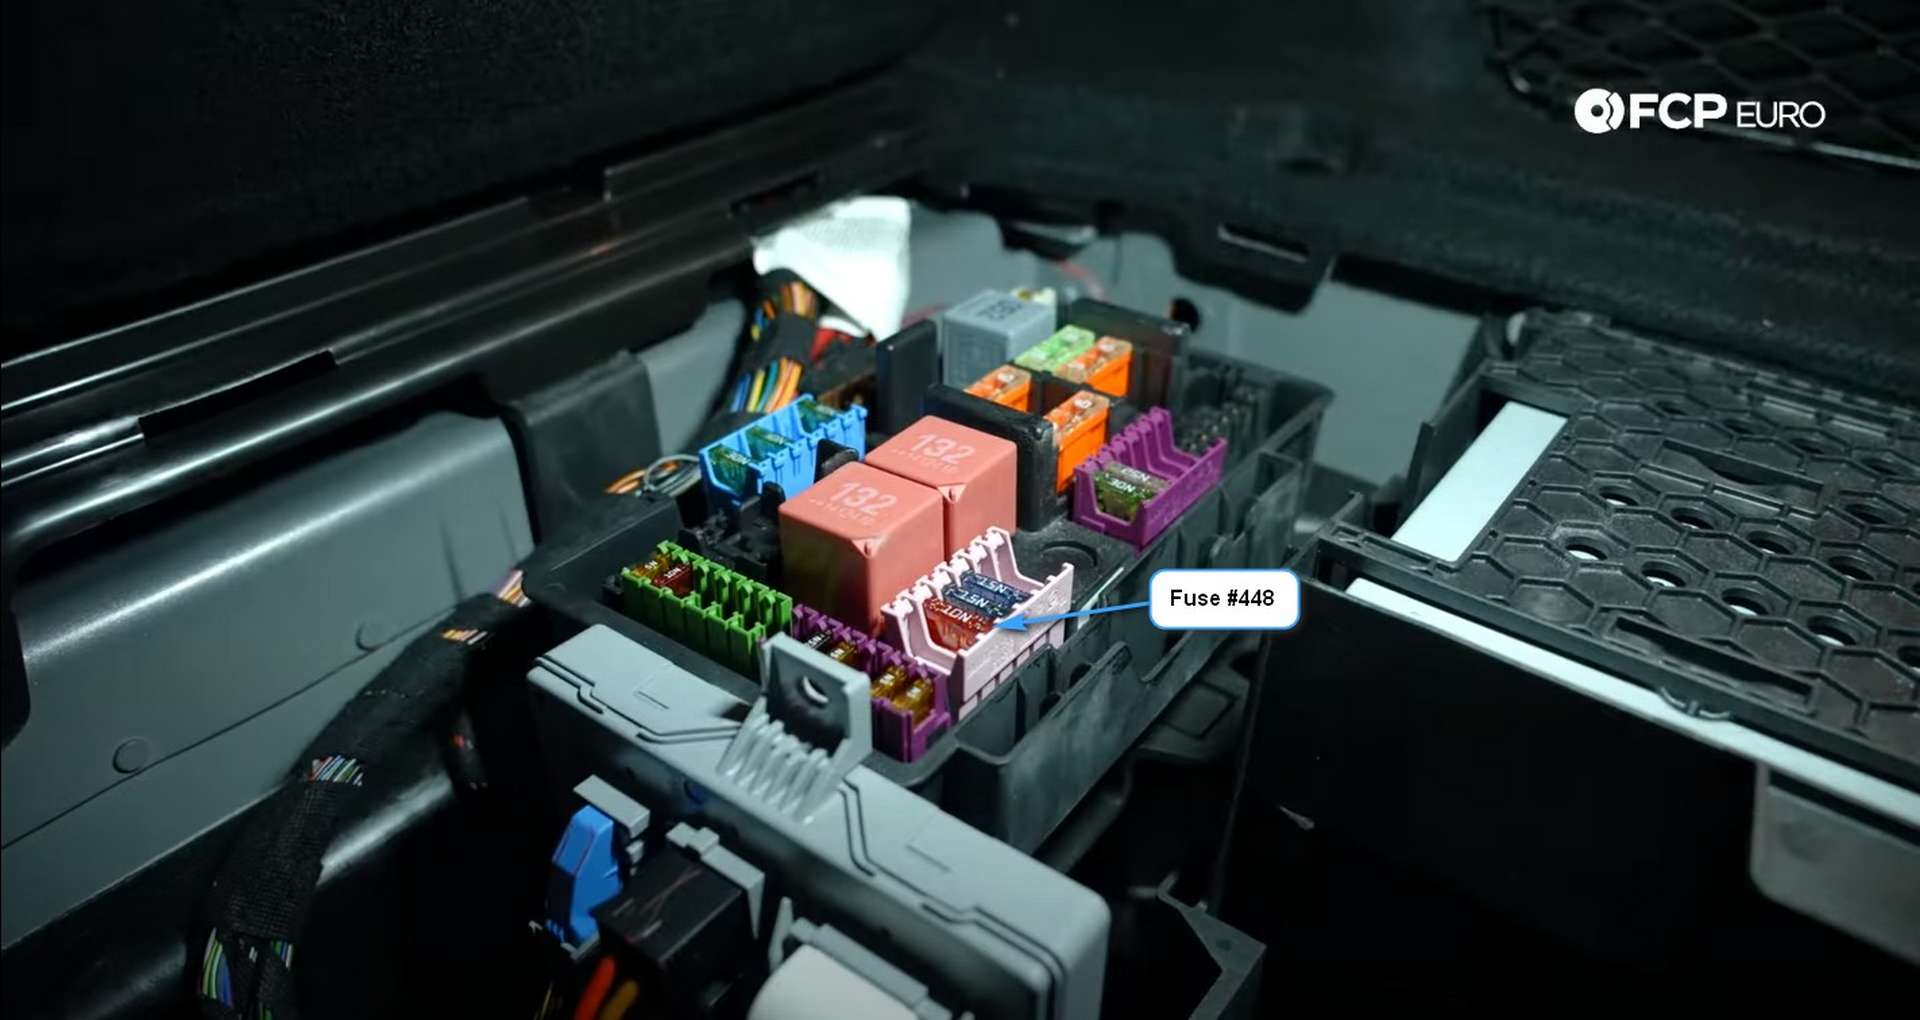
Pull the fuse out of its slot and replace it if it's blown.
So, there you have it. You've replaced the auxiliary battery and you can get back to using the stop/start function. If you're interested in more DIYs for your Mercedes, you can visit mercedes.fcpeuro.com and subscribe to our YouTube channel.


