- 07/30/2020
- 3 Min Read
- By: Christian Schaefer
How To Perform A Volkswagen PCV Valve Replacement (Mk7 GTI, Golf, Jetta, Passat, & More)

PCV valve (also known as air/oil separator) issues are not uncommon in late model Volkswagens. The constant strain of regulating the vacuum in modern engines wears at the internals of the PCV system, leading to a variety of different symptoms of varying degrees of severity. The PCV valve interacts with just about every part of the engine and can cause an issue with the fuel system, oiling system, and vacuum system. Taking a look at the PCV valve during any engine-troubleshooting gives you a good chance at finding a potential issue.
Contrary to most beliefs about modern German engines, changing the PCV valve on VW’s modern TSI engine is a breeze. Replacing the PCV valve is short, simple, and doable with just a few hand tools. The cost of the part is relatively cheap, making the replacement as part of preventative maintenance an easy choice.
Volkswagen Models and Years Applicable:
|
|
|
|
|
|
|
Symptoms of a failing VW PCV valve:
- Vacuum Leaks
- Illuminated Check Engine Light
- Illuminated Oil Pressure Light
- Rough Idle
- High Oil Consumption
- Lean & Misfire Codes P0300 & P0171
- Idle Regulation Codes
- Whistling Noise from Engine Cover
- Oil Leak from Rear Main Seal
Owners typically see symptoms of a failing PCV system between 60,000 and 80,000 miles. However, it isn’t uncommon for them to appear well before or after that range. The issues the PCV valve can cause don’t always point right to it, but because it is an easy part to replace, checking it is a good idea.
How much will it cost to replace a VW PCV valve?
The new OEM PCV valve, or oil separator, as VW calls it, costs $140 on our website. If you choose to go aftermarket, it’ll cost $78.08. No other parts are needed in this DIY.
A dealership or independent shop will charge you around an hour of labor, doubling the cost of the job.
How long will it take to replace a VW PCV valve?
Newer cars may not be as DIY friendly as those of twenty years ago, but this job is as simple as they come. Set aside thirty minutes to complete the swap.
Tools required to replace a VW PCV valve:
Parts required to replace a VW PCV valve:
Steps required to replace a VW PCV valve:
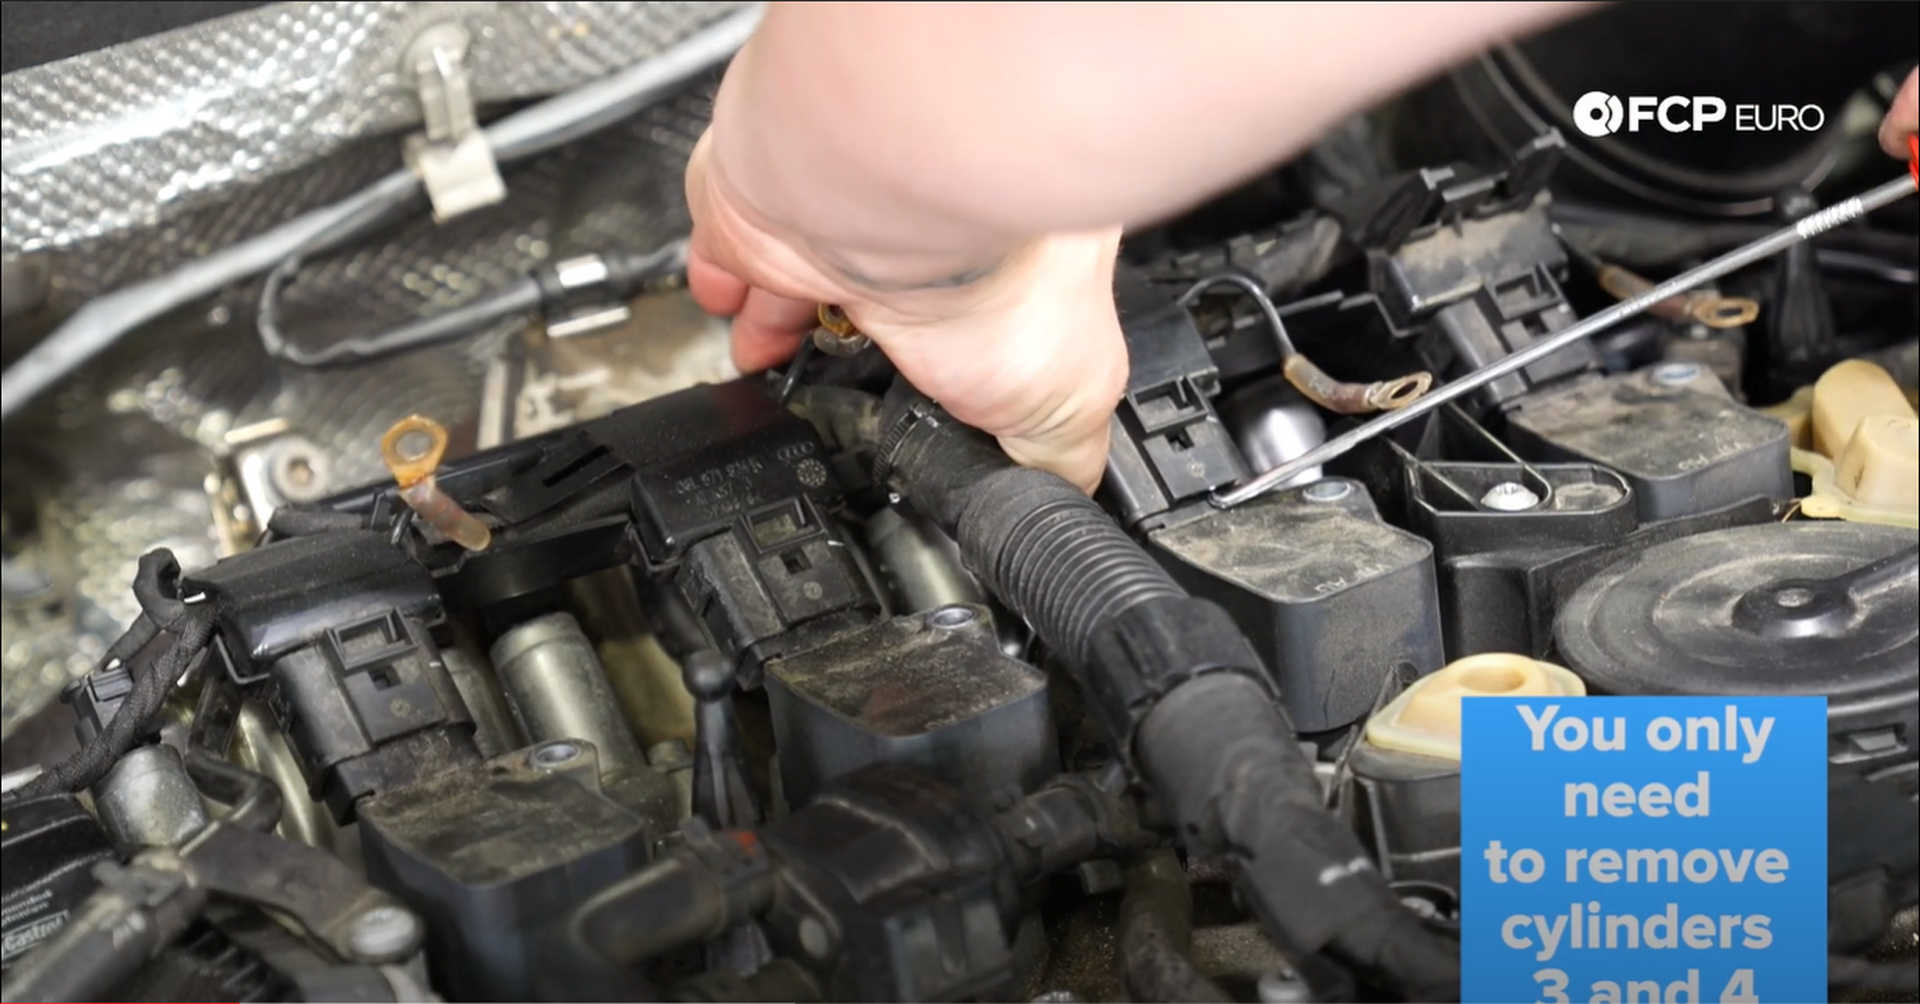
Step 1: Remove the coil packs on cylinders 3 and 4
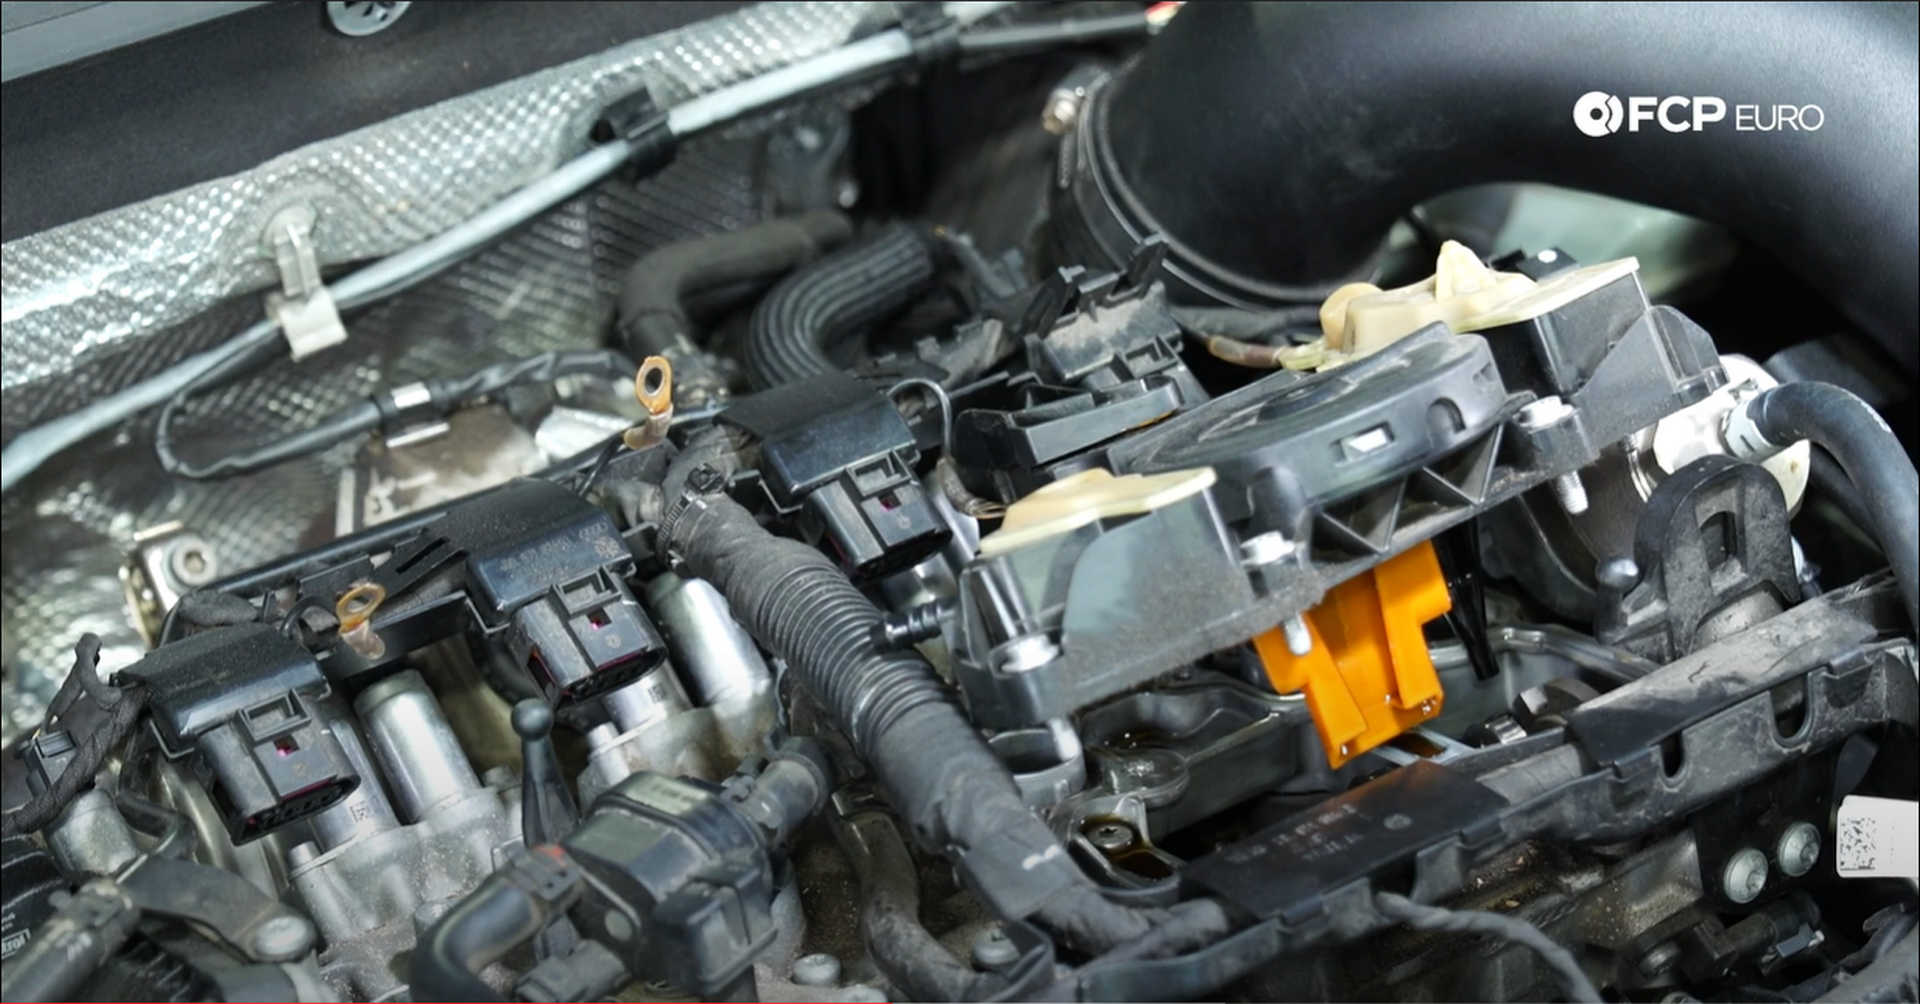
Open the hood and remove the plastic engine cover. Then use the 10mm socket to remove the nut securing the grounds to the coil packs. Pull the ground wires off of the studs and again use the socket to remove the studs themselves from the coil packs.
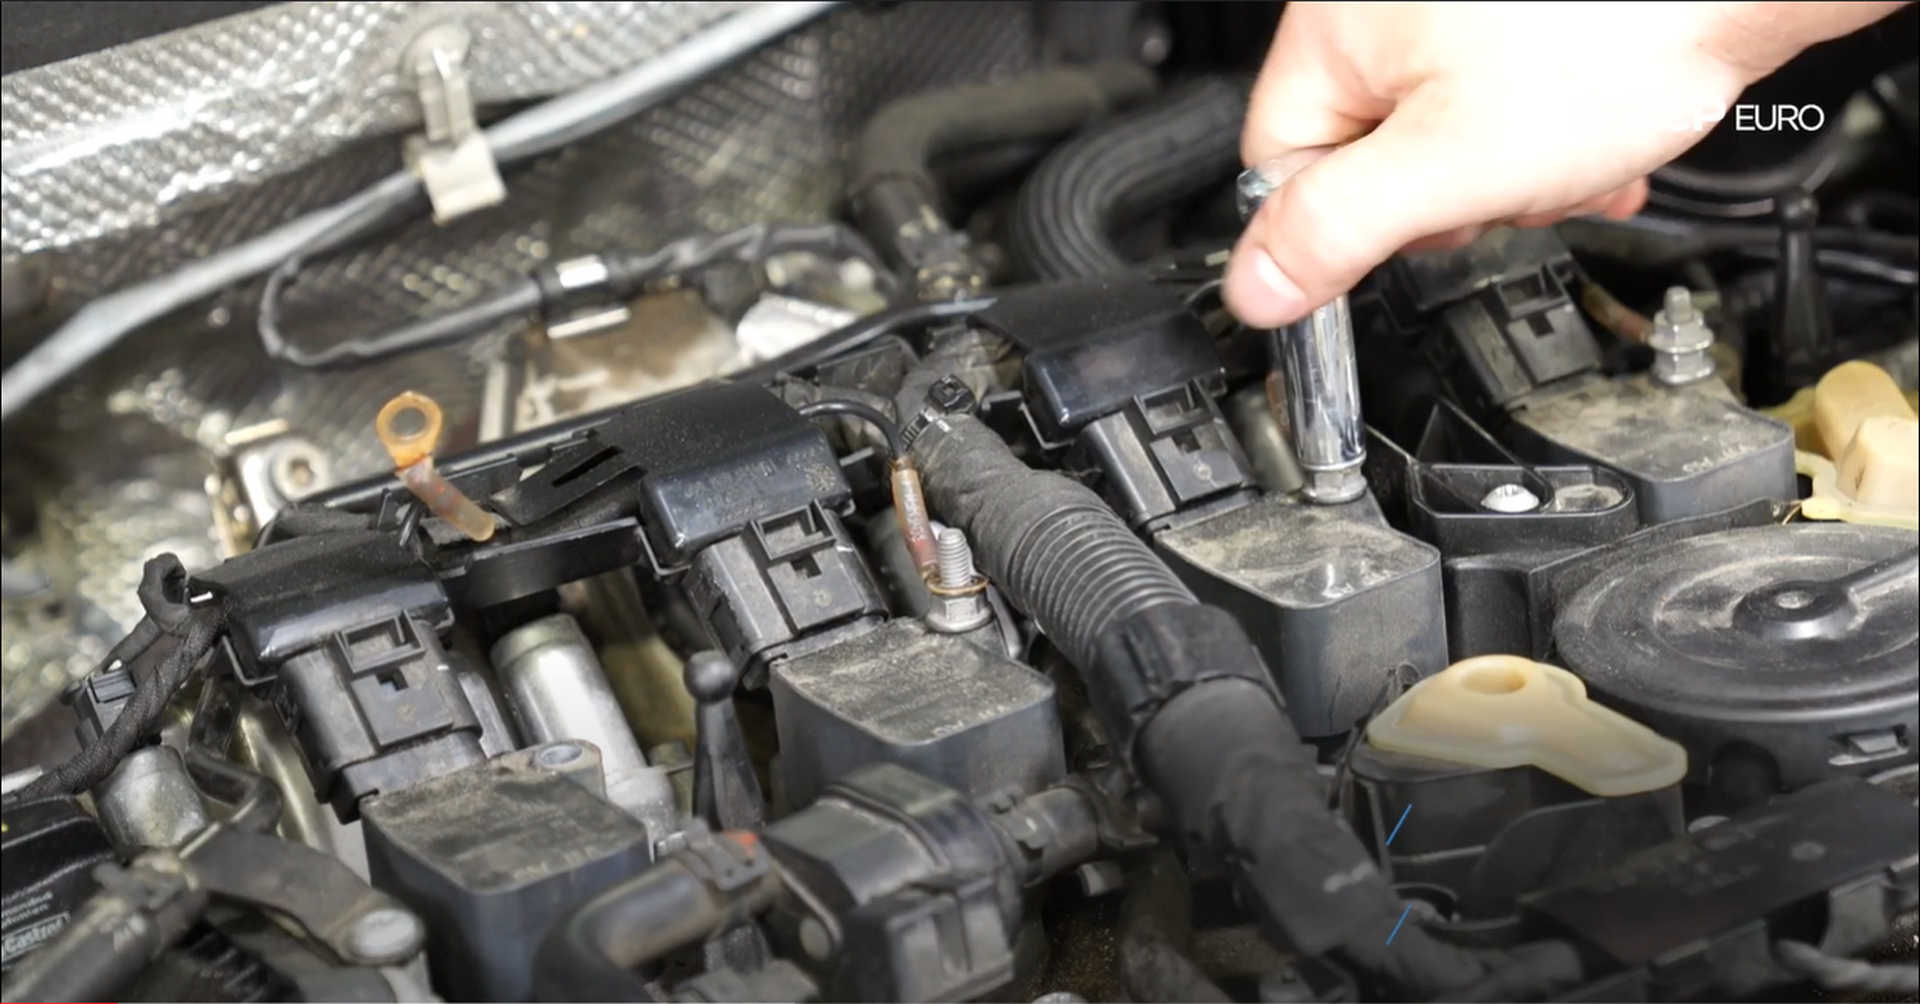
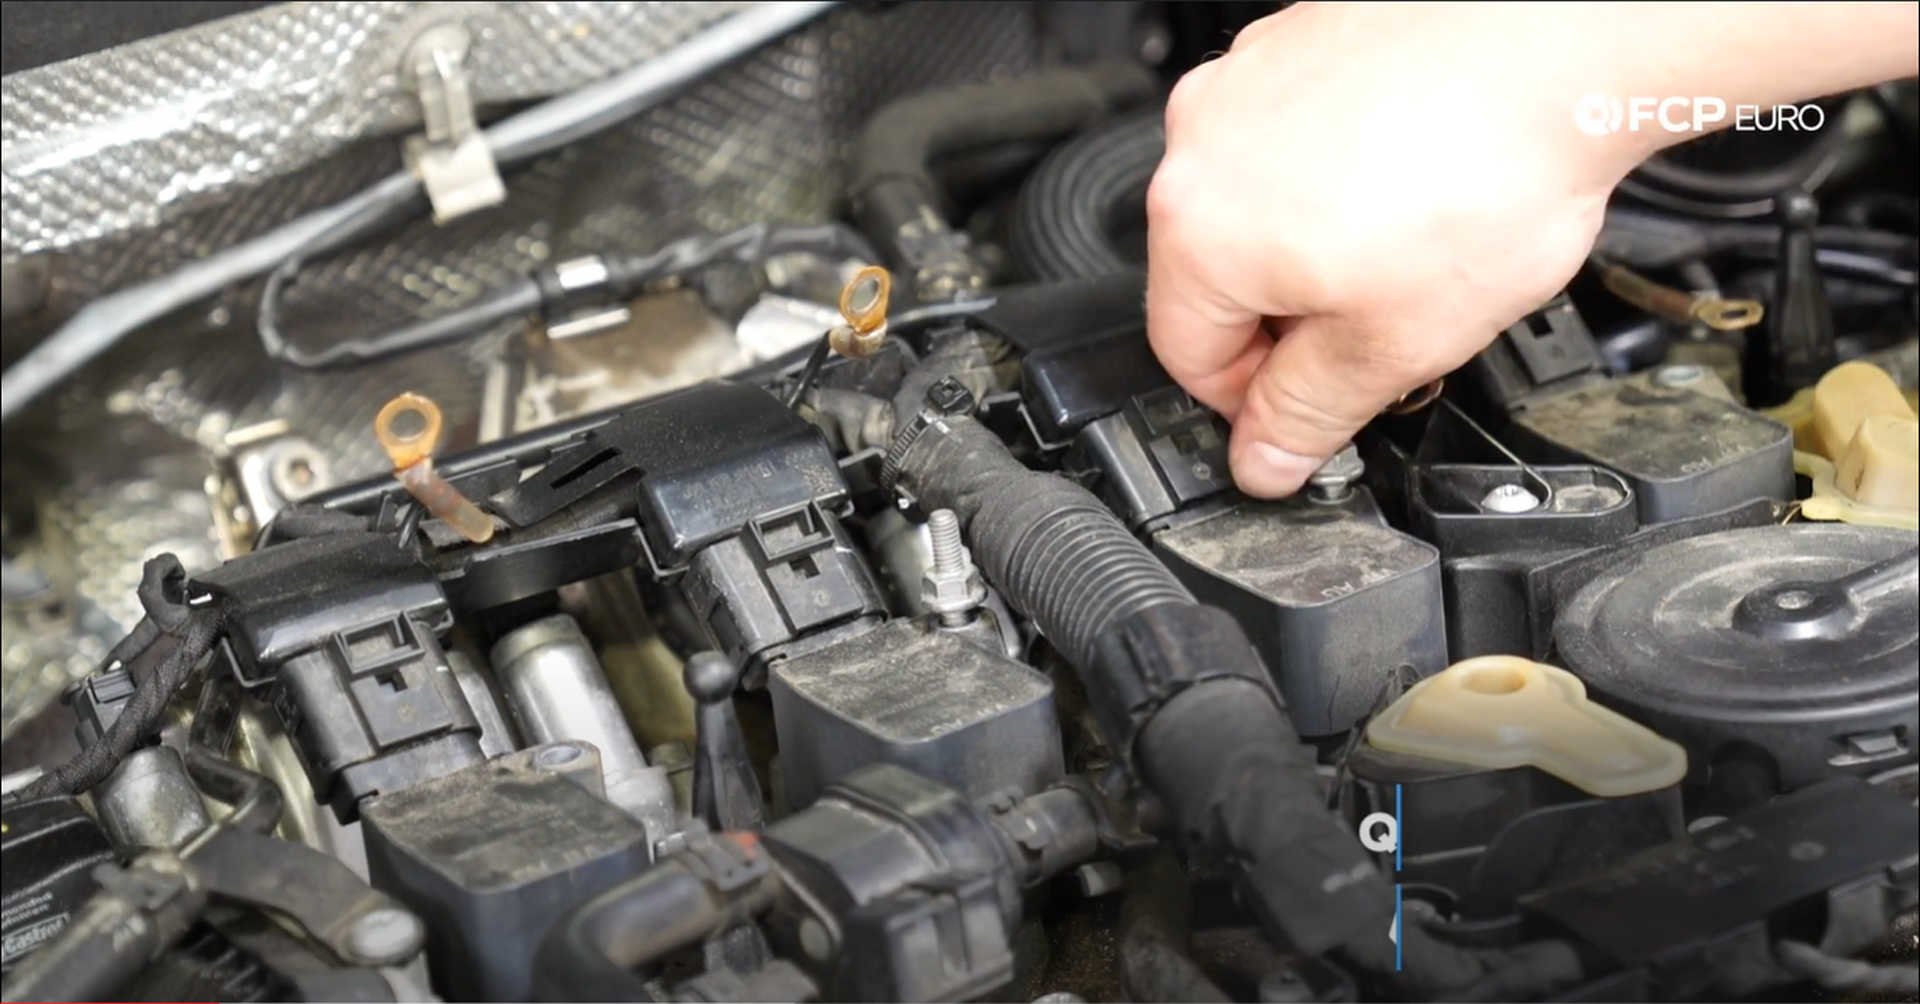
Next, use the pick tool to pry up on the ignition harness to remove it from the coil packs. Pull up on the coil packs for cylinders 3 and 4 to remove them.
Step 2: Remove the PCV valve
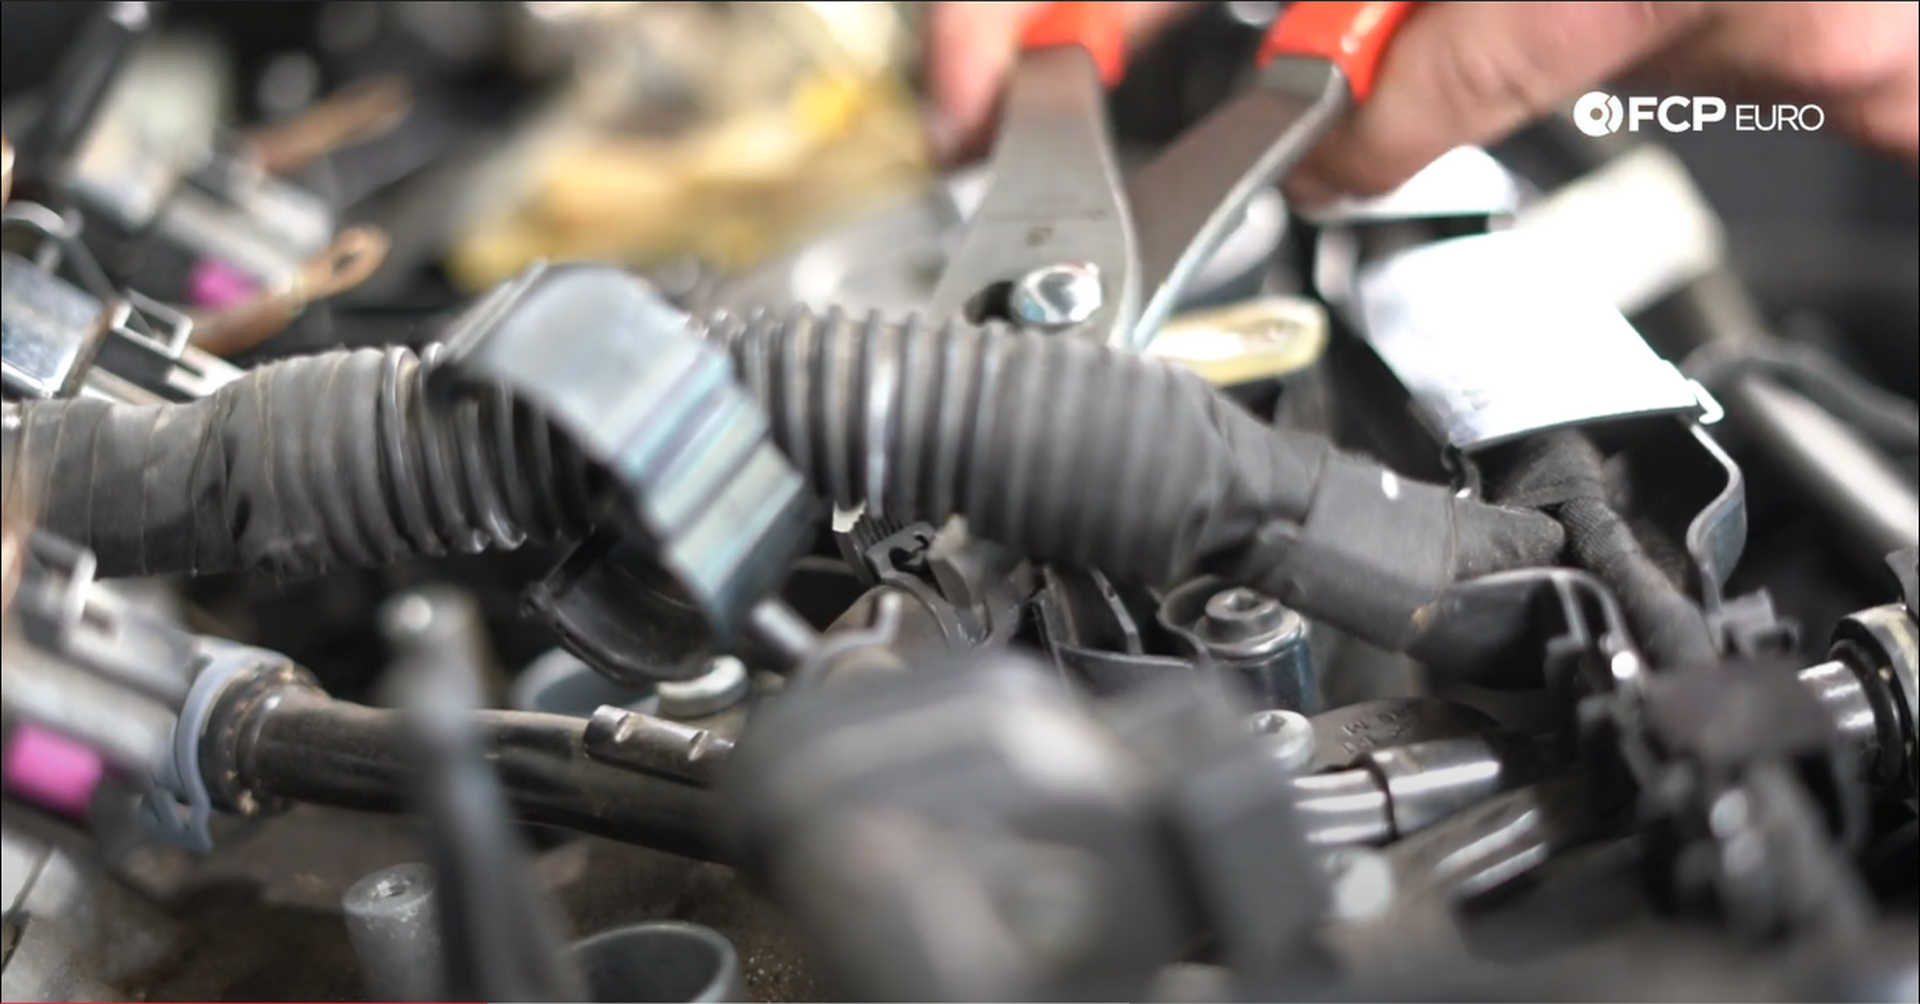
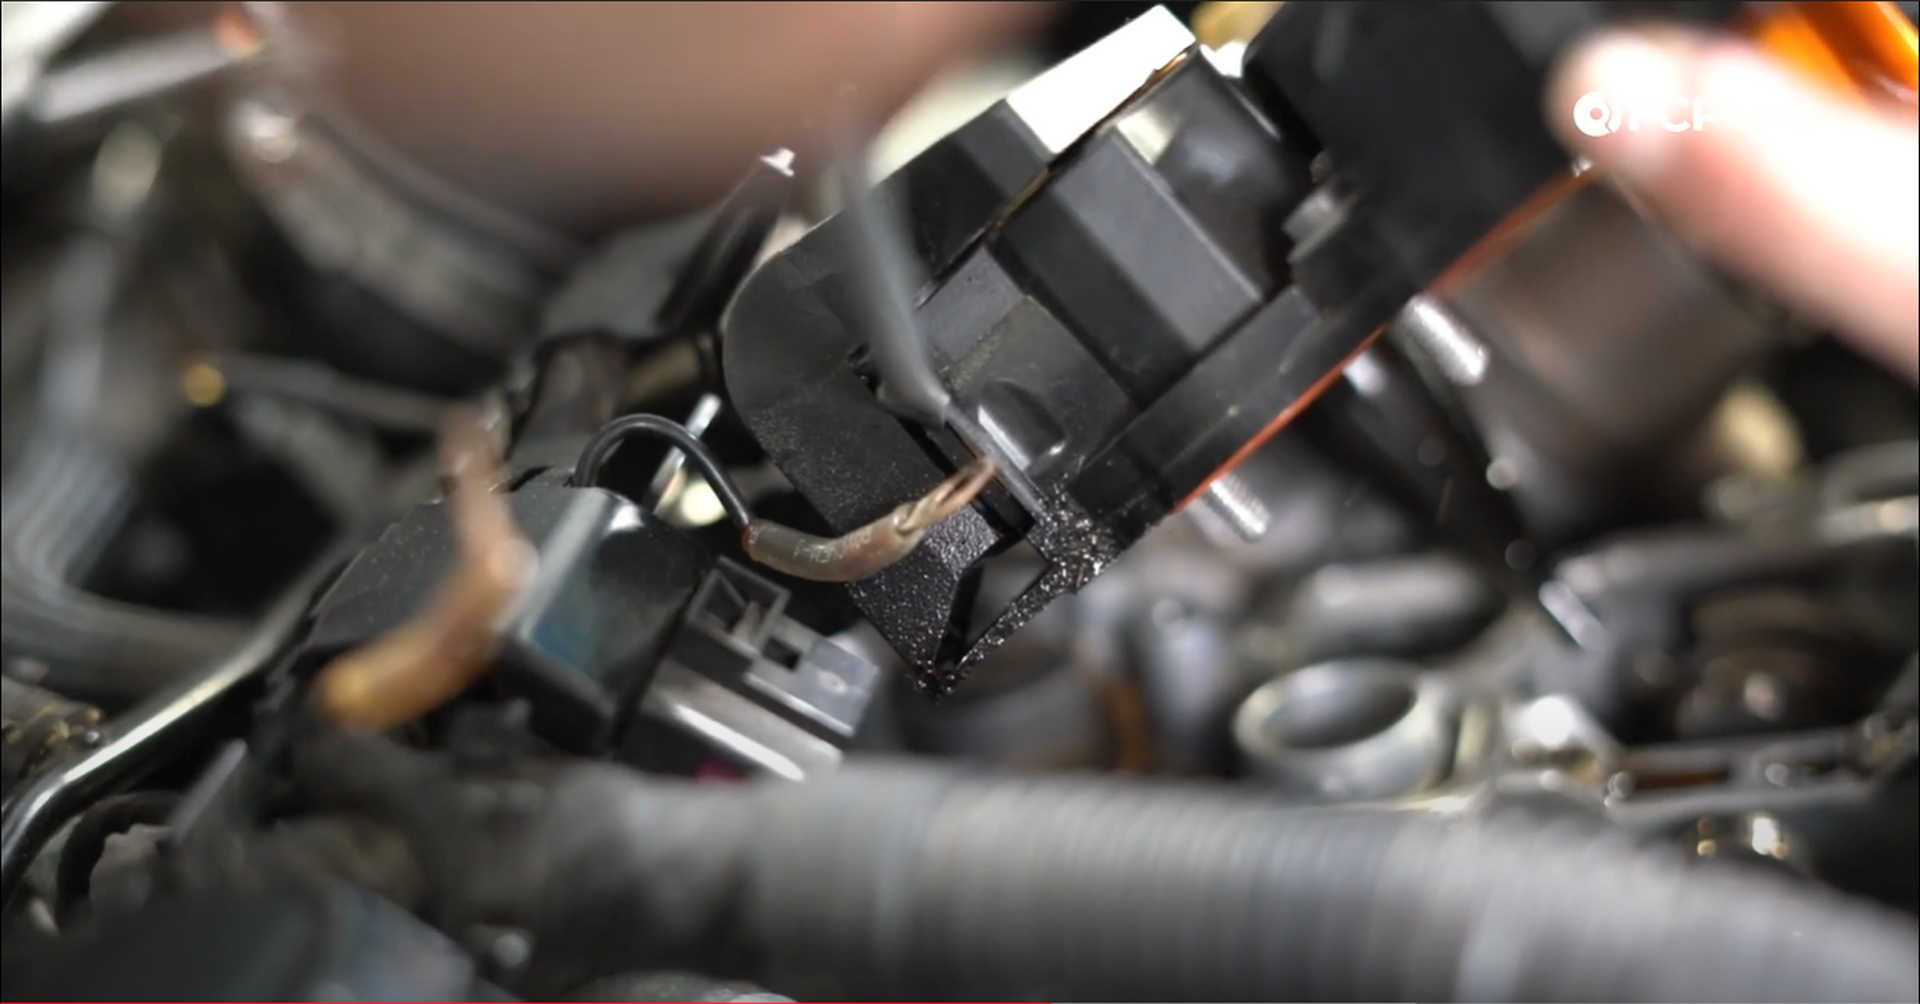
There are two lines connected to the PCV valve. A rubber hose held on with a standard hose clamp is connected to the right side of it. Use pliers to release the clamp and walk it back on the hose. Then, use the pick tool to separate the hose from the nipple and release any corrosion connecting the two. Pull back on the hose to pull it off of the PCV valve.
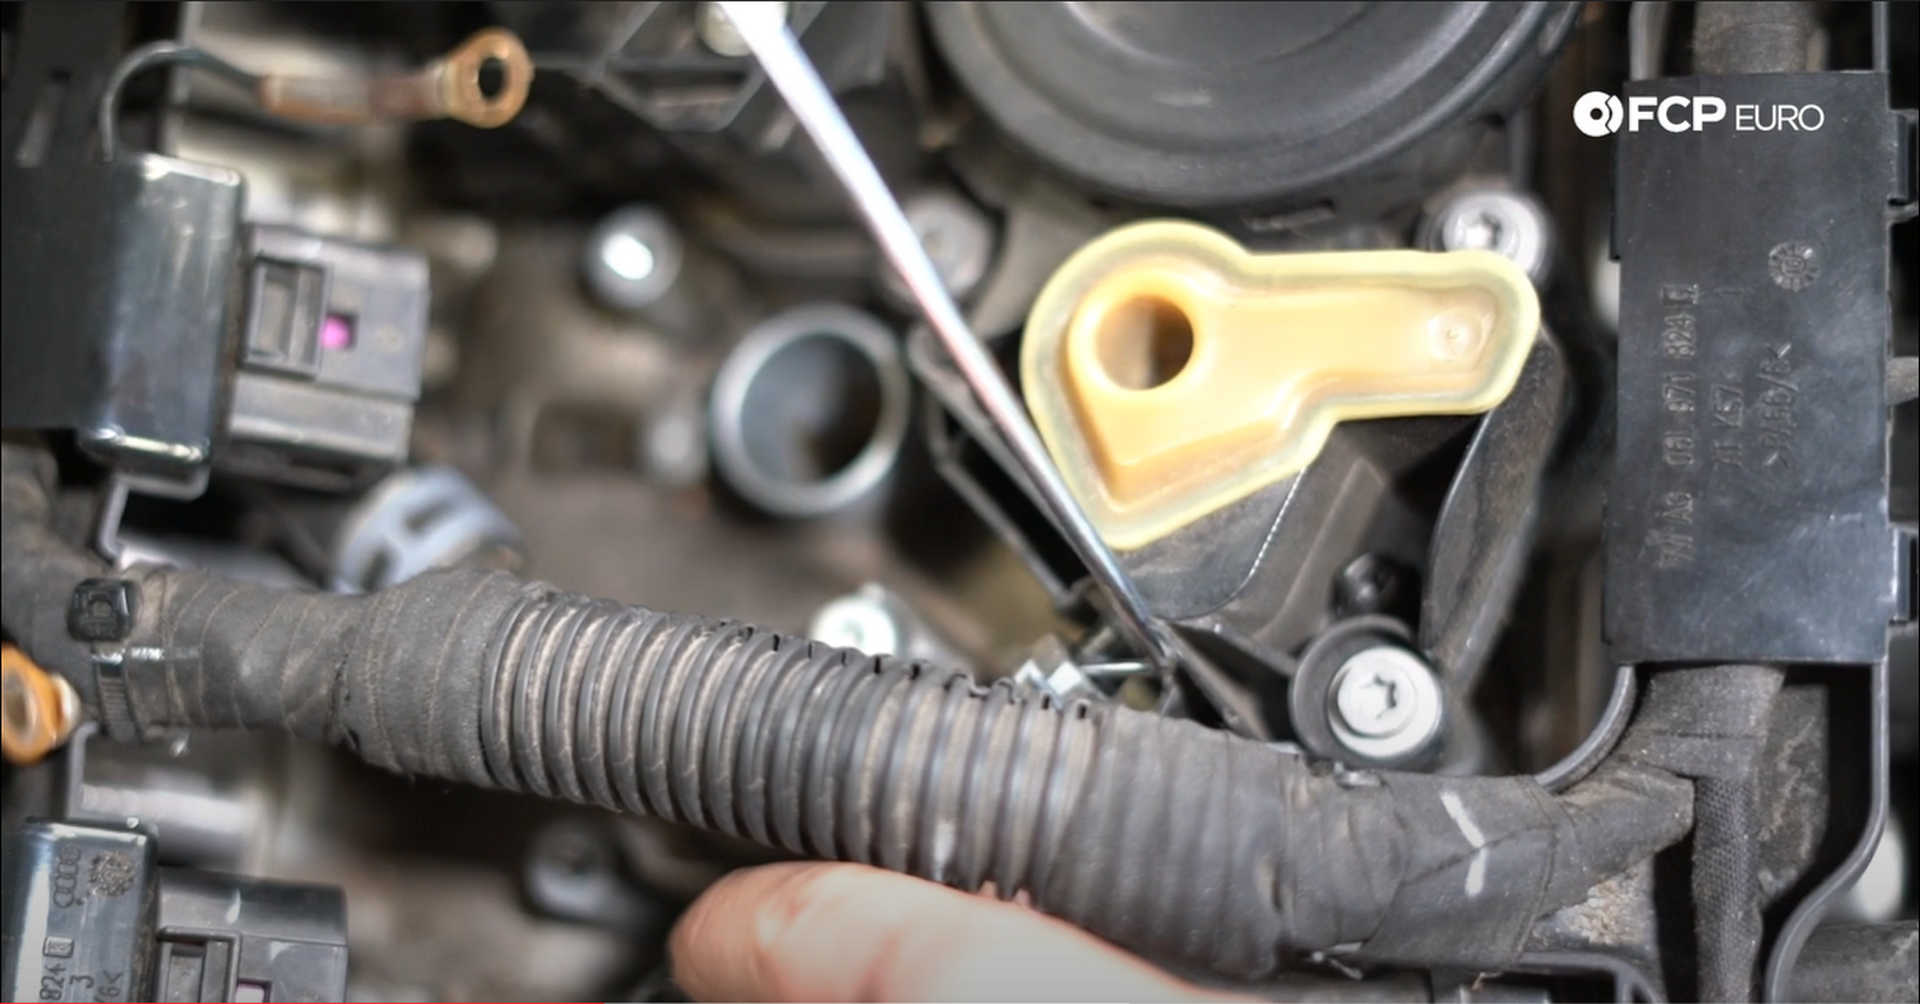
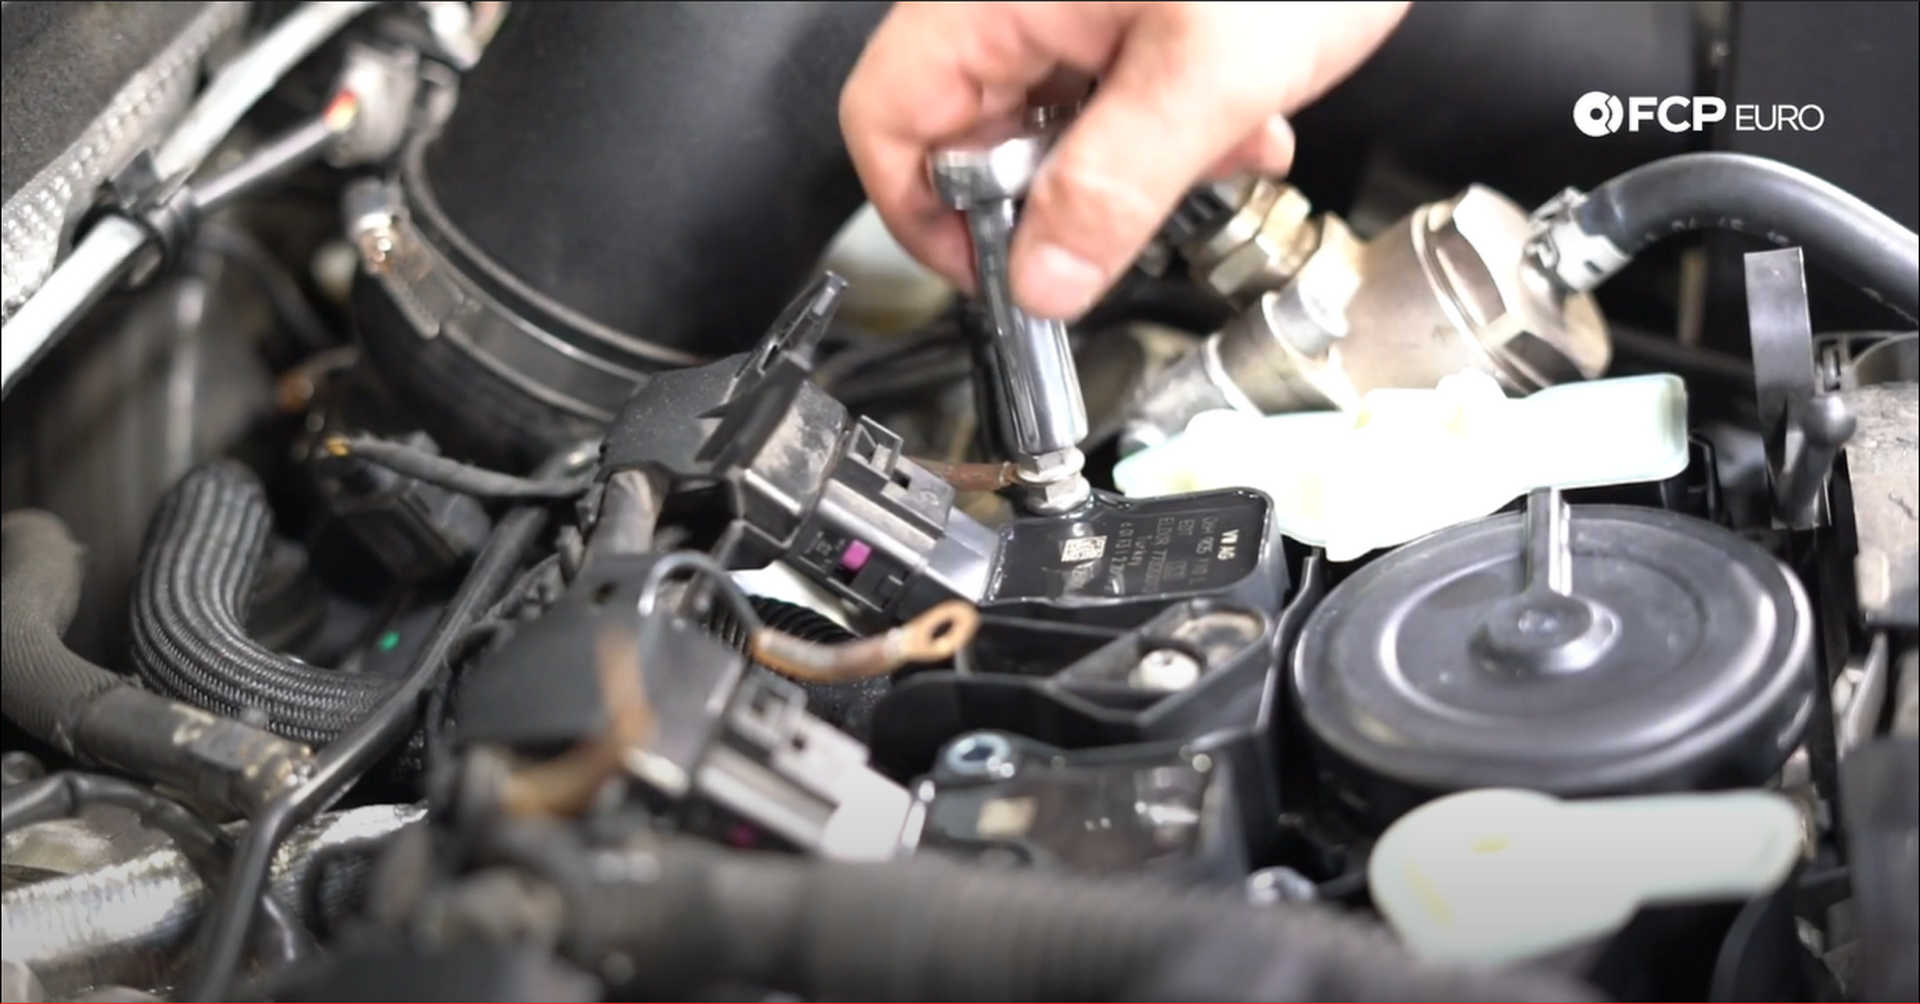
At the back of the PCV is the connection for a turbocharger breather line. Remove the screw that secures the line to the PCV housing with a T30 bit.
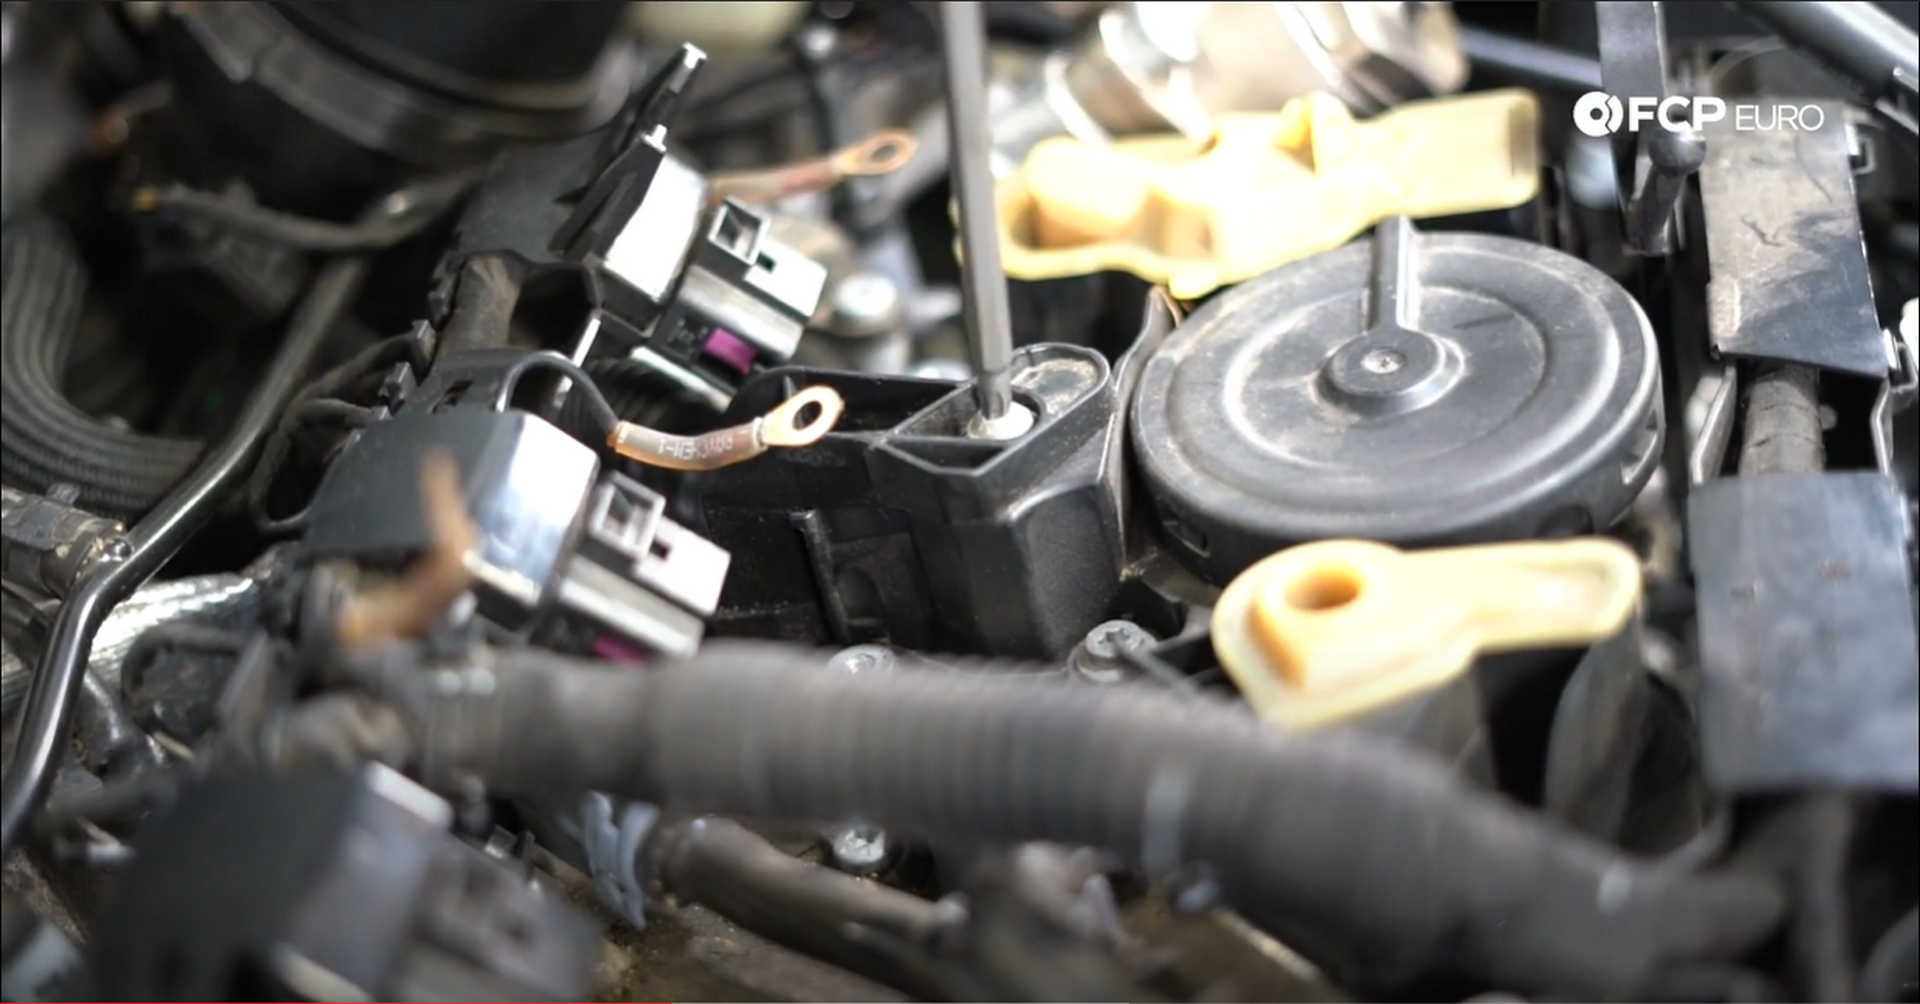
Next, remove the seven T30 fasteners securing the PCV valve housing to the cylinder head. The fasteners cannot be completely removed from the housing, so back them out as far as they’ll go.
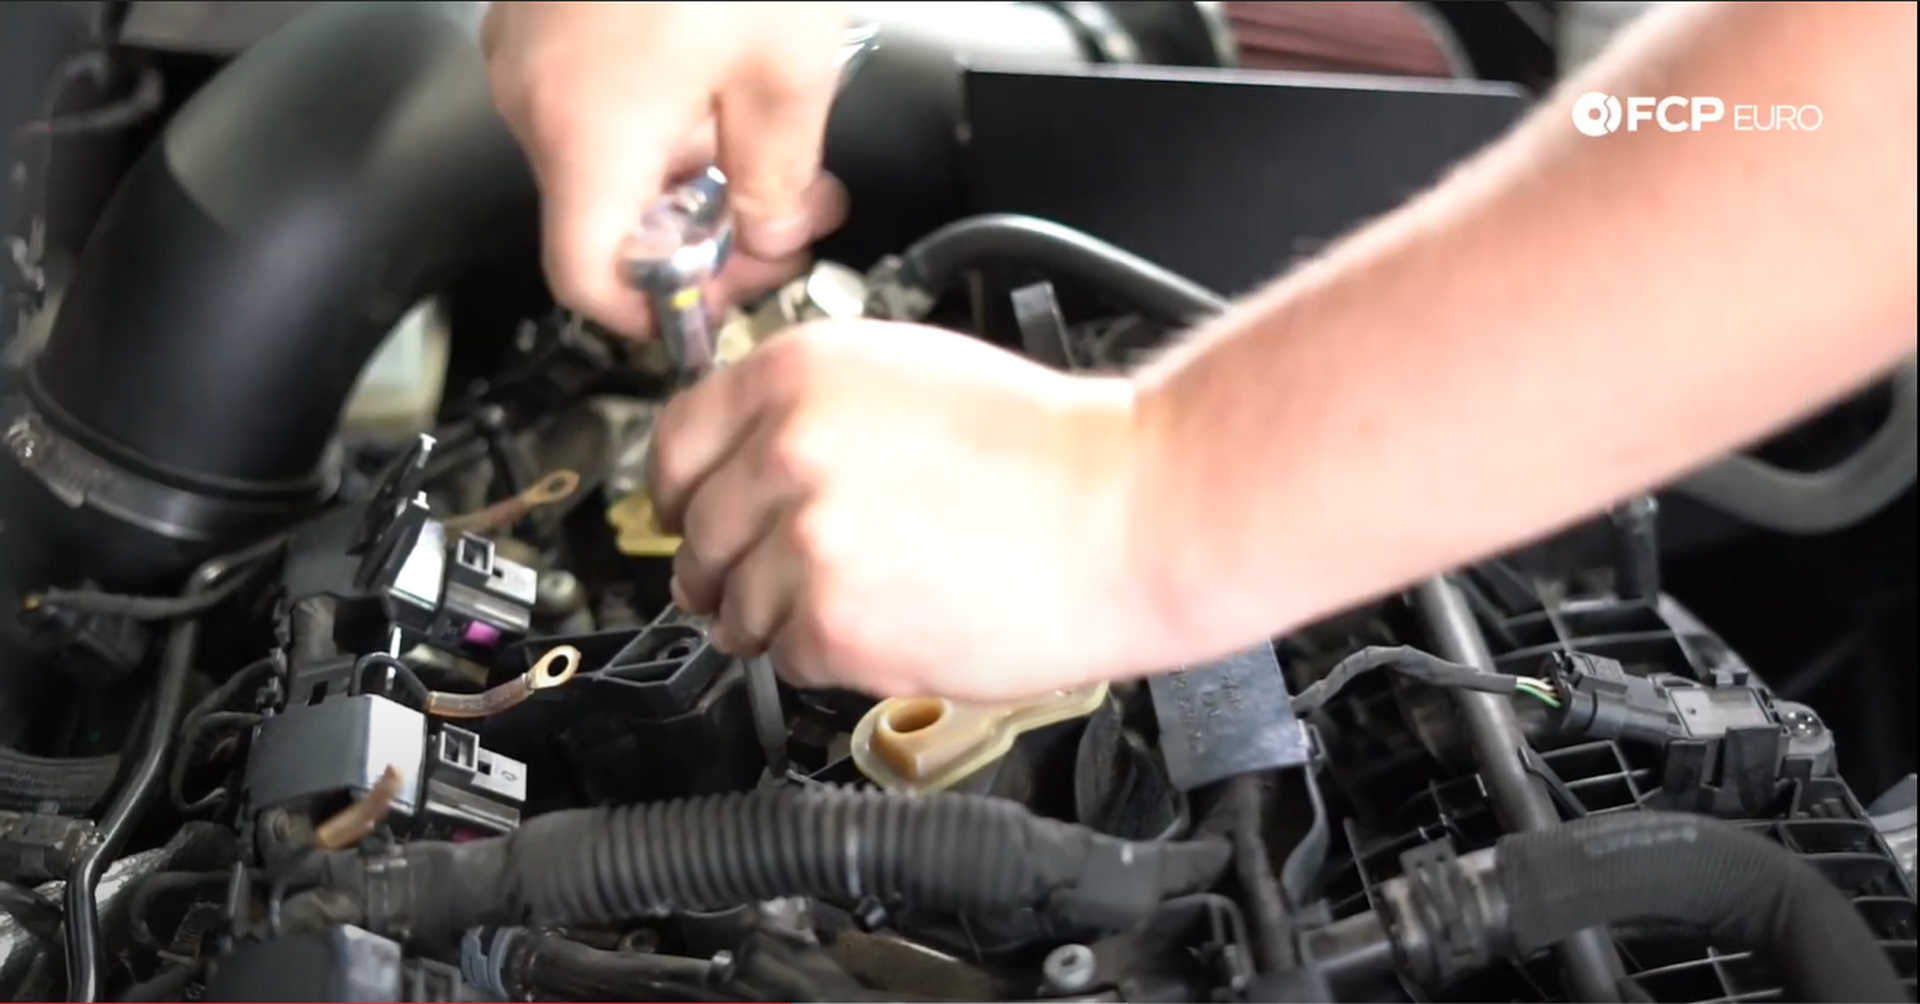
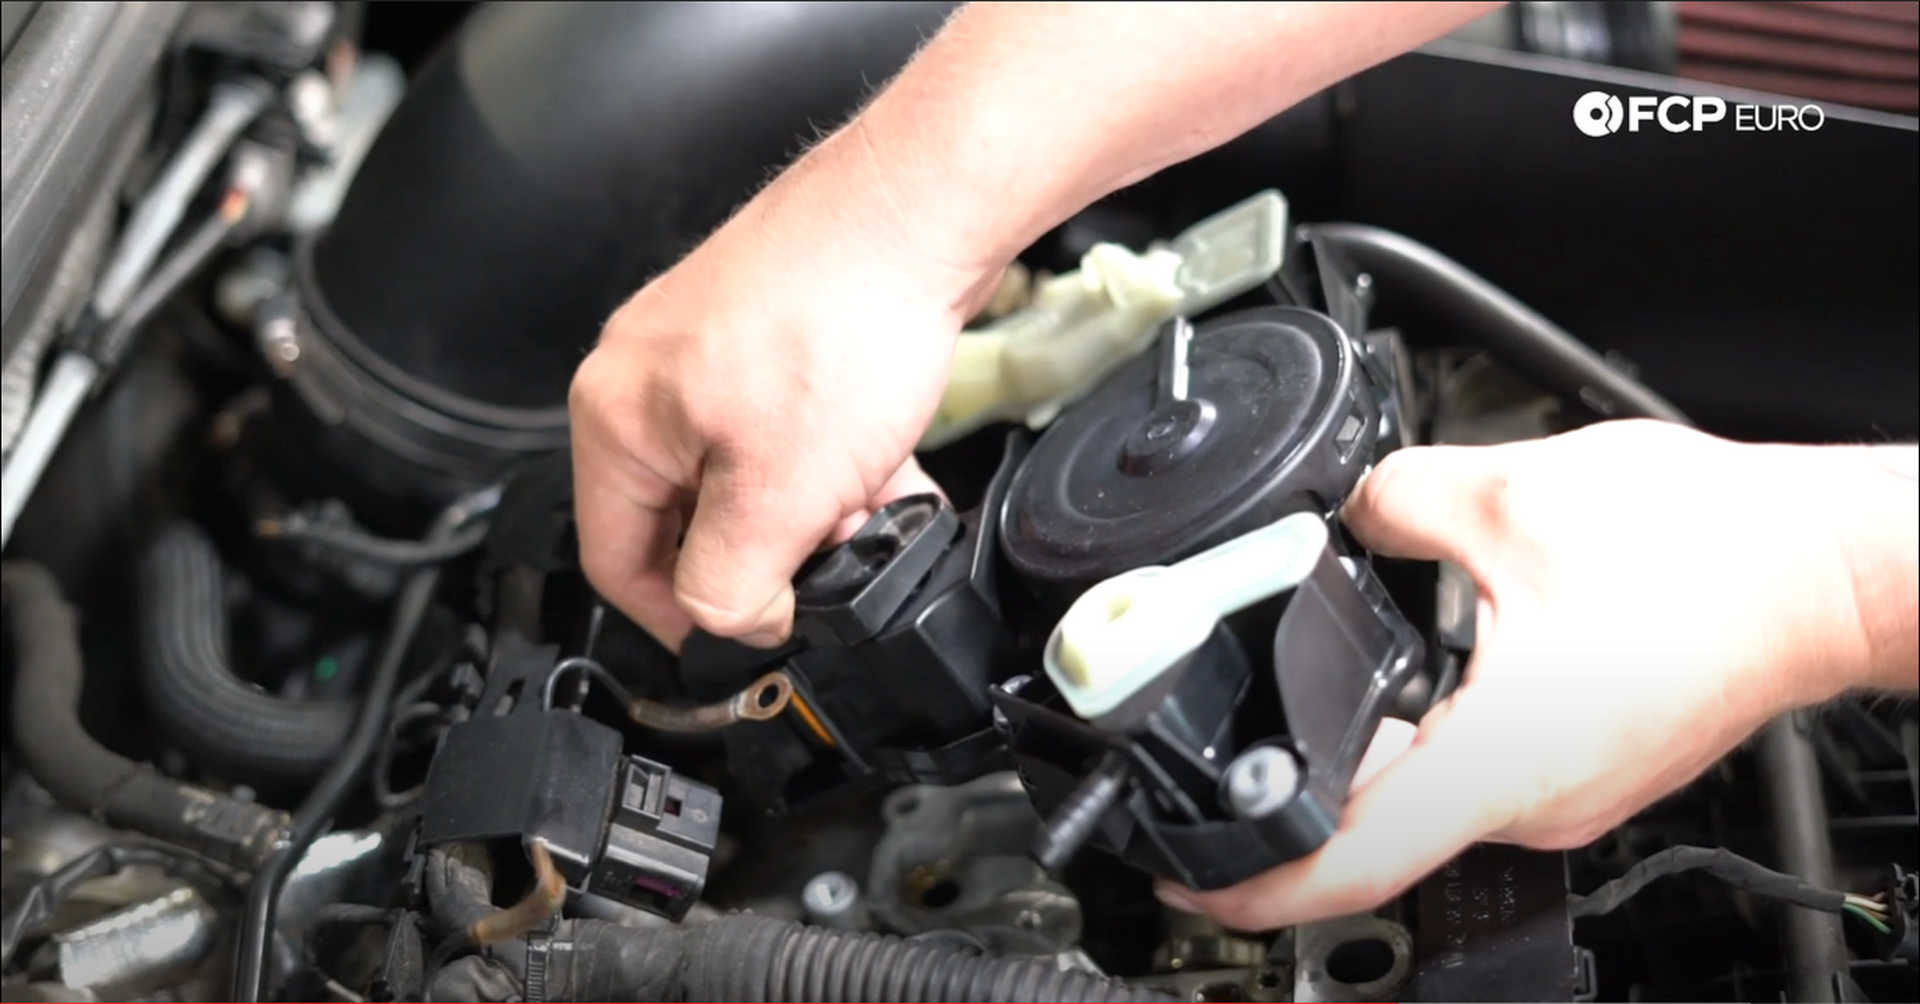
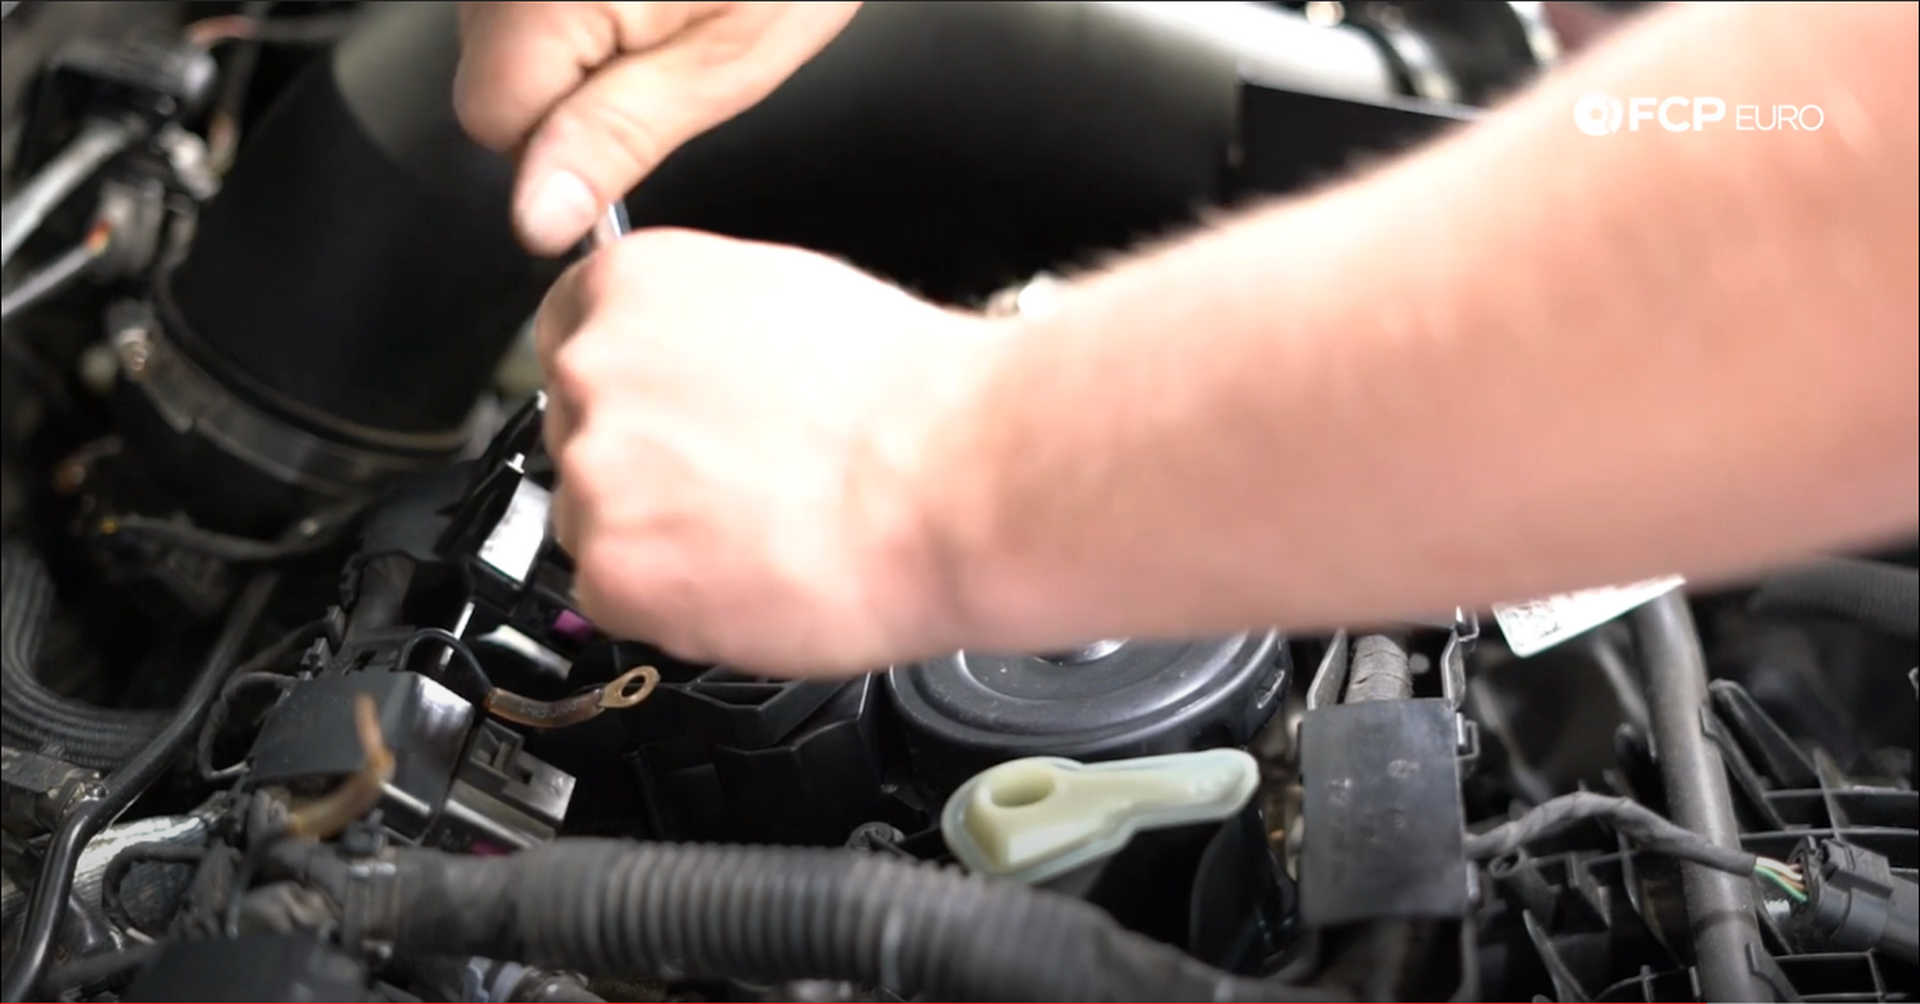
The turbocharger line is still connected to the PCV valve housing and needs to be unclipped. Use a screwdriver or the hook tool to push down on the housing to free the bottom of the line and then pry in between the two to free their connection.

Step 3: Install the new PCV valve
Use a clean rag with some brake clean and wipe the surface that the PCV valve housing seals too. Always wipe away from the inside of the cylinder head so as not to let any debris inside.
Start the installation process by attaching the new PCV valve to the turbocharger line. Make sure the o-ring isn’t visible when the line is clipped into place. Then seat the PCV valve onto the cylinder head and tighten down the seven T30 fasteners. All of the fasteners should thread in by hand. Readjust the position of the housing if they don’t.
Next, secure the turbocharger line to the PCV valve housing with its T30 fastener.
Step 4: Reinstall the coil packs
Place the coil packs back into the cylinder head. Orientate them how they when they were pulled out and thread in the studs securing the coil to the head. Snug the stud with a 10mm socket, place the ground wire onto the stud. Then snug the nut that secures the ground wire to the stud with a 10mm socket.
Last, plug the ignition harness back into the coil packs and refit the engine cover.
Now your Volkswagen is back to full health, and you can get back to driving without any worries. If you’re interested in more DIYs for your Volkswagen, you can visit vw.fcpeuro.com and subscribe to our YouTube channel. If you have any questions about this job, leave them in the comments section below.


