- 12/29/2020
- 2 Min Read
- By: Tim Wong
How To Fix A Volkswagen TDI Intake Flap (CEL P2015)

If you own a VW TDI, there’s one fault code that has either shown up already, or will at some point in its lifetime—that code is the infamous P2015. With nothing more than a simple bracket, you can fix this check engine light/fault code at home.
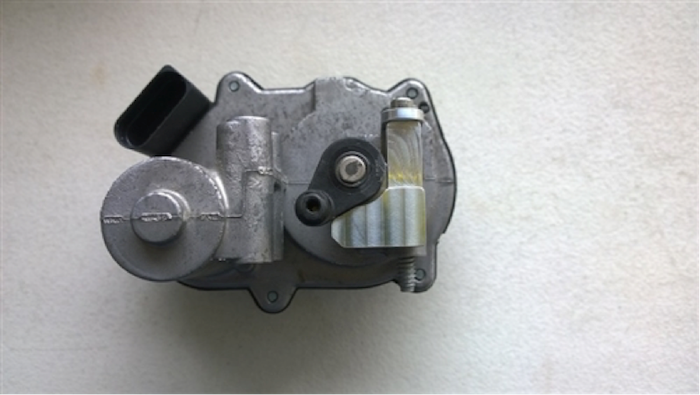
My friend who I helped do this fix was initially quoted $900+ for parts and labor. Presumably, that meant replacing the intake manifold and the subsequent sensor as well. We both did not think it was necessary, so a quick internet search brought up an ingenious fix by Dieselgeek.com. Basically, the problem boils down to a sensor issue, in this case, it’s a P2015 fault code. In OBD speak, this translates directly to “Intake manifold flap position sensor – implausible signal”. This sensor tells the engine computer what angle the throttle plate is registering at. Over time, wear occurs, changing the readings that the sensor can give. If for example, the sensor was designed to read from 0 to 100 any reading between this range would be considered normal. Over time, the sensor will wear, and the actual reading might be registering below 0, or above 100. Any time this reading is outside its normal operating range, the engine computer will throw a code and light up the check engine light on your dash.
The Dieselgeek sensor bracket is designed to limit the motion of the sensor so that it is physically impossible to register an incorrect value. By most accounts, and my friend’s experience, this was not only an easy and simple fix, but an economical one as well. Let’s show you how to install it.
VW models and years applicable:
This fix applies to all Volkswagen TDIs between 2009 and 2014 with an aluminum intake manifold. It does not apply to cars with the black plastic intake manifold.
|
|
|
|
|
How much will it cost to fix a VW TDI intake flap?
If you were to go to a shop or dealer to have the intake flap replaced to fix a P2015 code, it could easily run you north of $900 for parts and labor. Dieselgeek makes an affordable bracket that fixes the problem for under $70.
How long will it take to fix a VW TDI intake flap?
If you're following this guide, the fix should only take you around 15 minutes to complete. You can do this job at home in a garage or driveway with a minimum of tools.
Parts required to fix a VW TDI intake flap:
Tools required to fix a VW TDI intake flap:
Steps required to fix a VW TDI intake flap:
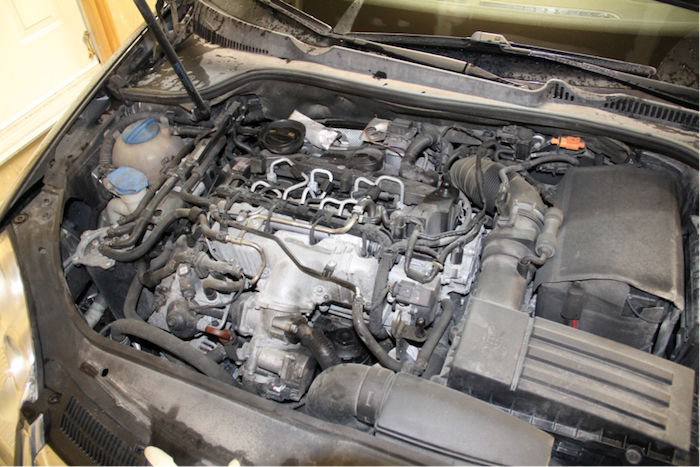
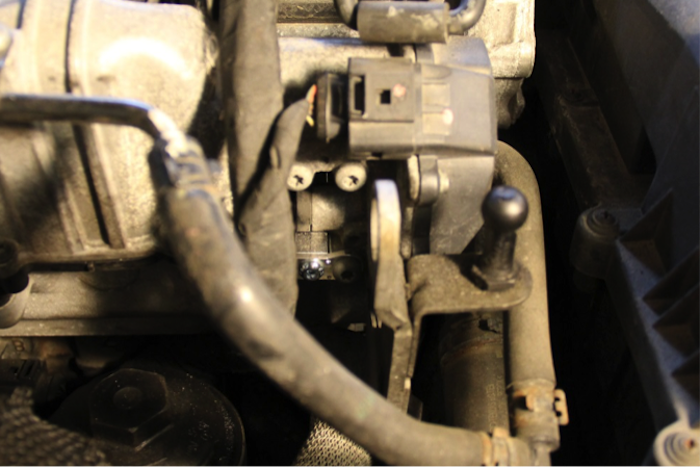
Step 1: Gain access to the intake flap
Remove the engine cover. Lift vertically from each of the four corners of the engine cover and remove the piece. Place it in a safe place.
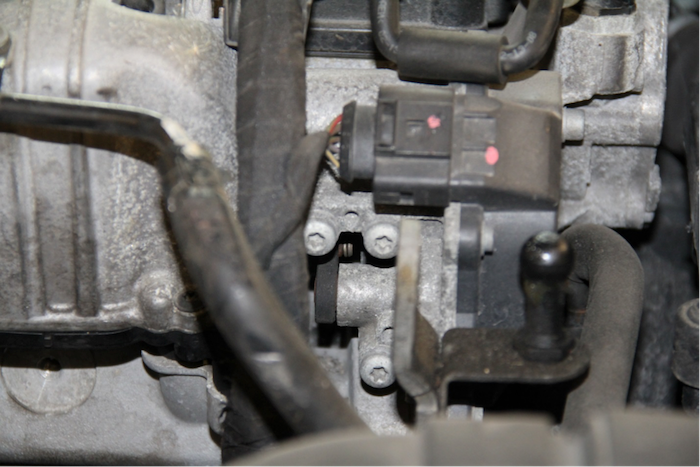
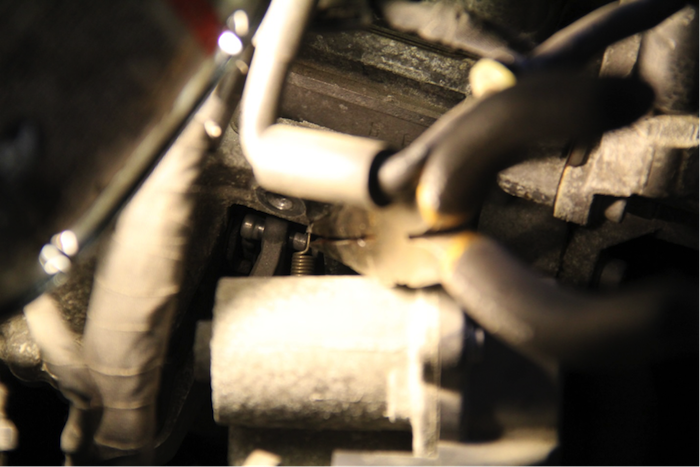
Remove the bracket’s three screws using a T30 Torx bit. They should be easy to remove with the help of a wobble extension. Unclip the retaining spring using a set of needle-nose pliers, being very careful not to lose the spring in the engine compartment. Rotate the sensor up and out, making sure to remove it from the ball linkage.
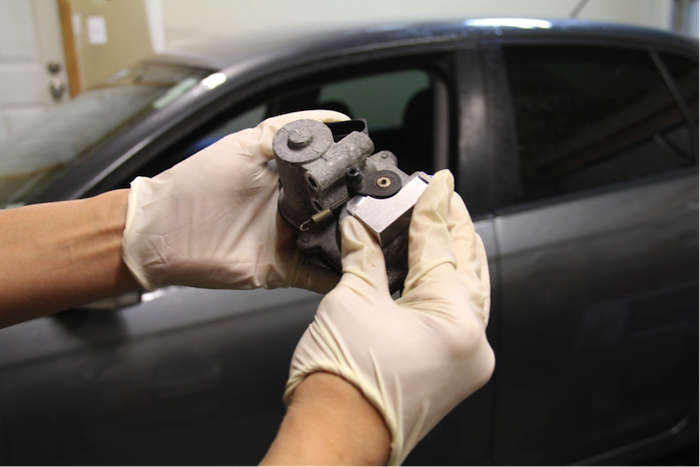
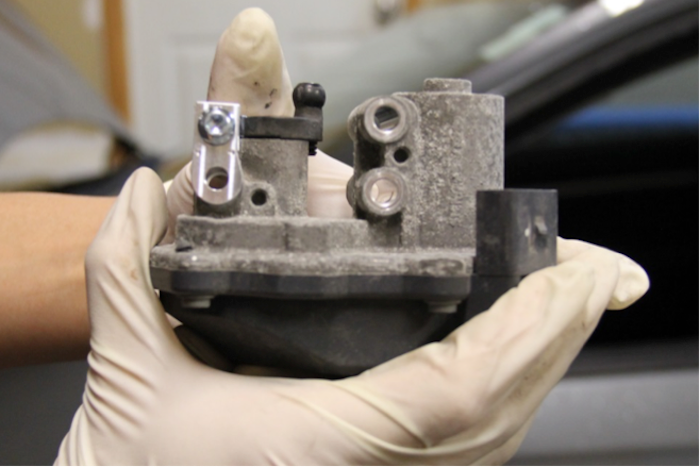
Step 2: Install the Dieselgeek bracket
There is only one way to install the bracket. Place it below the sensor arm, rotating the retaining piece into place. Once it is in place, tighten the one screw on the assembly so that the bracket cannot move. Only hand-tighten it, and make sure that the hole for the remaining screw is not blocked.
Step 3: Reinstall sensor assembly
Using the same three screws and bolt hole locations, reinstall your sensor. Make sure you hook the spring back onto the sensor and the shaft on the manifold, as well as snapping in the ball joint. Be careful to not lose the retaining spring in the doldrums of your engine compartment!
It may take a few start-ups, but in most cases, the engine light should disappear on its own. If not, use an ODBII scanner like these from Autel to scan and check for additional codes.
If you'd like to read more Volkswagen guides, DIYs, and news, be sure to check our our VW hub at vw.fcpeuro.com. And, if you have any questions or comments, leave them in the comments section below.