- 02/02/2017
- 3 Min Read
- By: Nicolas Siemsen
How to Change Engine Oil and Filter in a Diesel Mercedes-Benz

The OM616, OM617, and OM617a inline diesel engines came equipped in a variety of Mercedes platforms starting in the mid-1970's on through the mid-1980's, at least in the U.S. marketplace. With over a decade of production you can imagine the sheer number of these engines that were produced, but what is even more amazing is how many of them are still running around on the streets. This is especially the case in the renowned Mercedes W123 chassis. Combine the reliability of the OM61X engines with the durability of that chassis and you have a combination that has stood the test of time.
That said, despite frequent suggestions to the contrary by owners and fans of these cars, they are not indestructible! They do need frequent service to live up to their reputation.
Many new owners of these cars fall victim to the mentality that they will just run and run forever without any help and so things get neglected - one being oil and filter changes. I wrote an article on this a month ago. Plan to change the oil every 3,000 miles when using conventional oil, or 5,000 miles if using synthetic.
Read on to learn how to properly change the oil on your W123 diesel, including a few important steps most DIY'ers, and even professional mechanics, often miss!
Parts you will need:
- One Mercedes oil filter kit
- Two o-rings, which are used on the end of the oil filter housing lid shaft
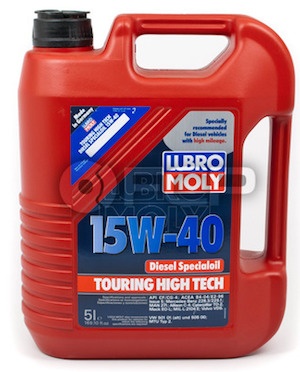
Mercedes Oil Filter Canister Bolt Seal - CRP 0159979448 - Two 5L bottles of oil 15W-40 Diesel Motor Oil (5 Liters) - Liqui Moly LM2044 (you will use about 7.5 quarts leaving a bit left over for top-offs down the road)
Or just buy the Mercedes Diesel Oil Change kit - one handy item that covers all of your needs!
Mercedes Diesel Oil Change Kit 15W40 - Liqui Moly OM1
Step 1
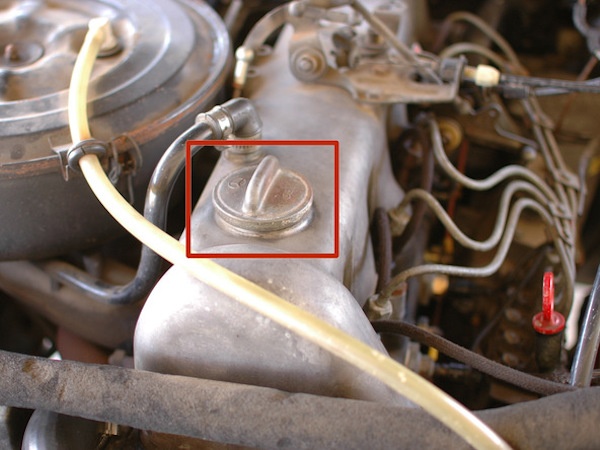
Start by removing the oil cap. This will help the oil drain faster in the next step.
Step 2
With the front of the car safely elevated, either on ramps or on jack stands, crawl underneath and find the drain bolt on the engine oil pan.
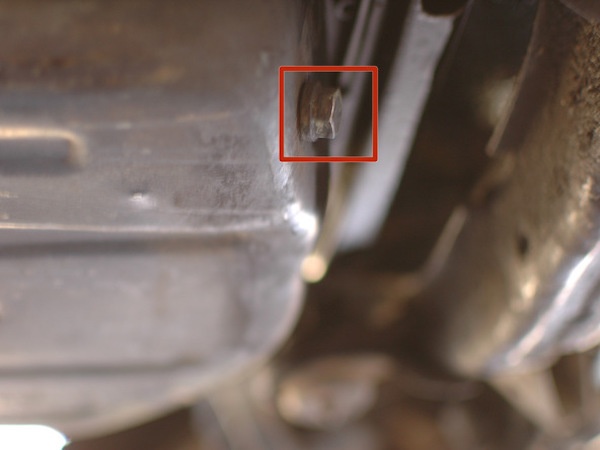
Remove this bolt using a 13mm wrench or socket. Allow the oil to drain in to an appropriate container.
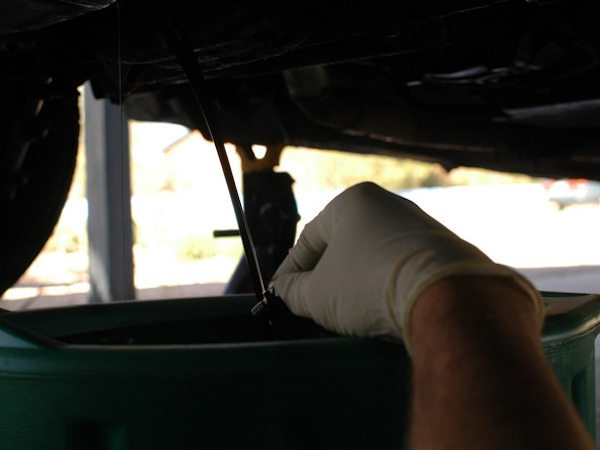
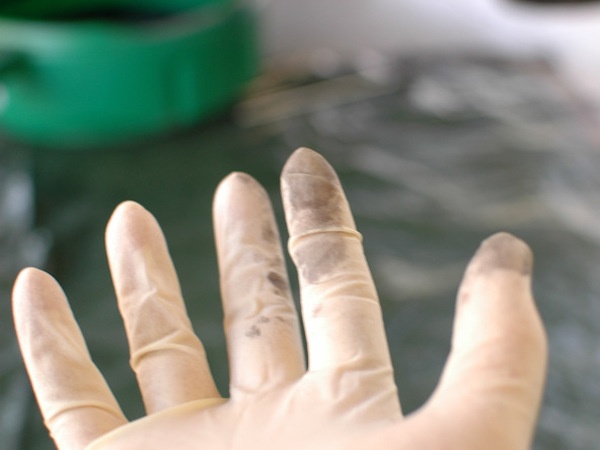
Author's note: this is a great time to talk about wearing latex or nitrile gloves when working on these old Diesels. When changing the oil on any car, wearing gloves to keep the oil off of your skin is a good idea as used engine oil contains many carcinogens. In addition, diesel oil, by design, suspends the soot produced by the engine in the oil itself to keep it from building up on cylinder walls or plugging small oil passages. This soot stains! Look at the stains on my gloves which were exposed to just a bit of contact with used engine oil and imagine how much worse your skin would be.
Step 3
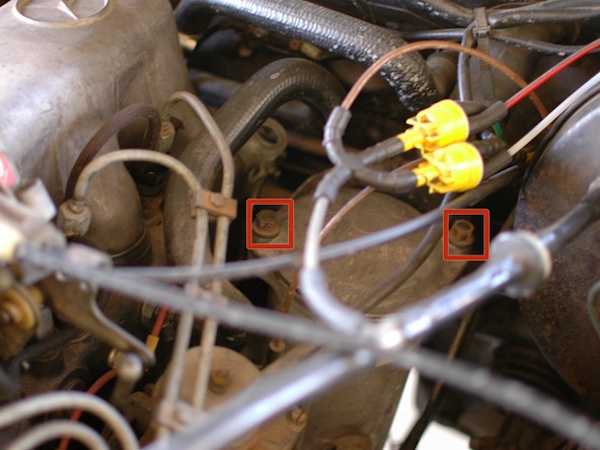
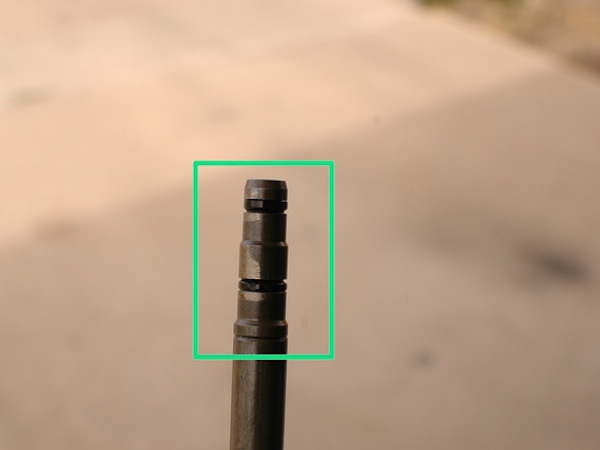
With the engine oil drained next you will need to remove the two 13mm nuts that hold the cover on the oil filter housing (located next to the brake booster).
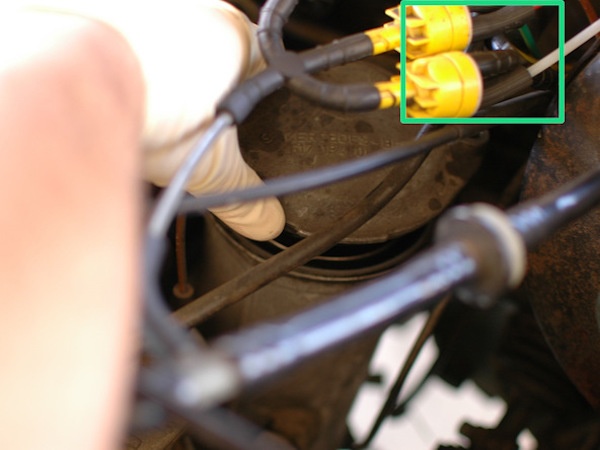
Then you will lift the lid off of the housing. As you lift it, be careful not to dislodge any of the vacuum lines that pass over the housing. Many a DIY'er has changed their oil only to find then that their engine wont shut down or their door locks stop working - if that happens to you, don't panic, just check these connections! You likely knocked one loose.
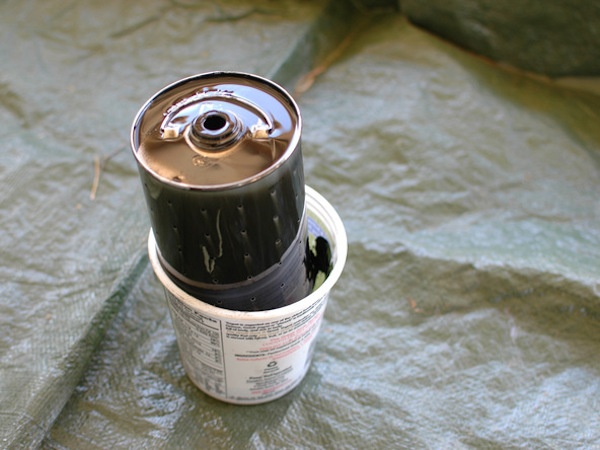
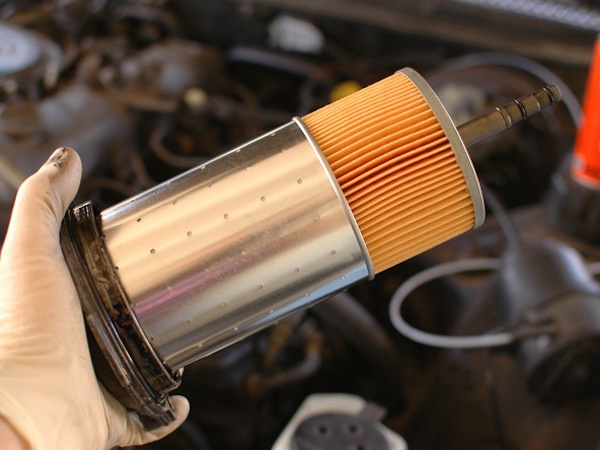
As you pull the cover off the oil filter should come with it. If it doesn't, fish it out of the housing and set it aside in a suitable container to drain.
Step 4
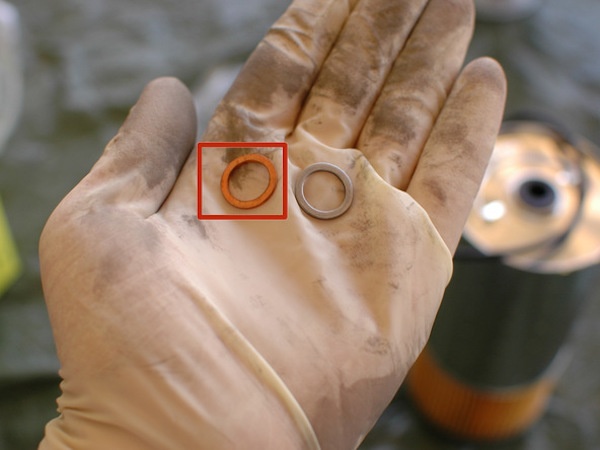
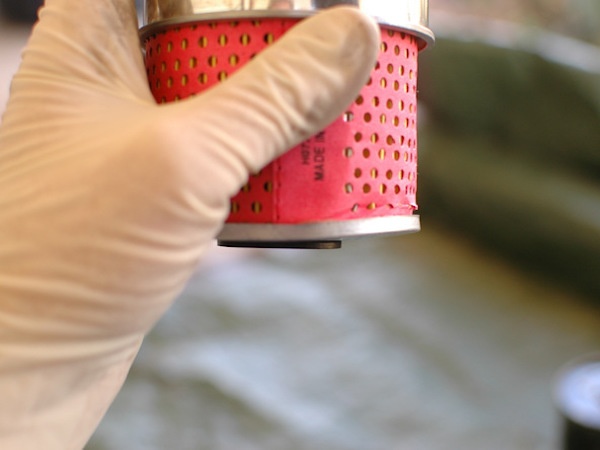
This is where many mechanics, DIY and professional alike, would stop - they would simply put in the new filter, bolt everything back up, and fill the engine with oil. However, there is a key step they are missing which is to inspect and, if need be, replace the two small o-rings at the end of the shaft on the housing cover. They are important to the function of the bypass function of the filter housing. Note in the picture below that the o-rings are very flat, indicating they need to be replaced as they have hardened. That said, if you want to be proactive you can simply replace these o-rings at each change - together they cost less than $1.
Step 5
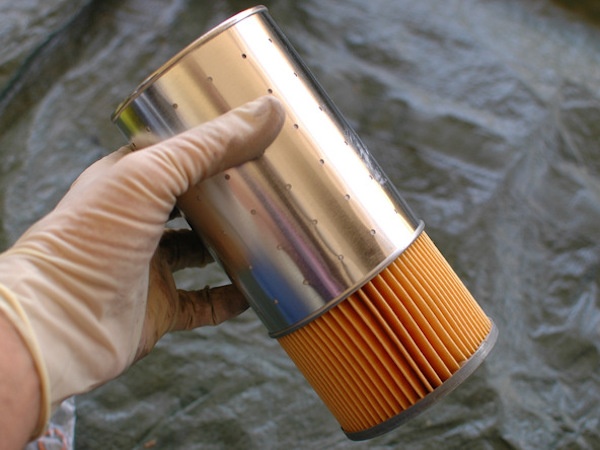
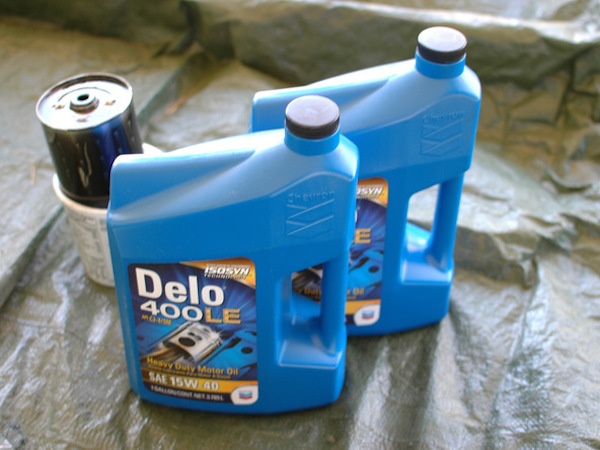
It is now time to install the new oil filter. Let's start by reviewing what comes in an oil filter kit for these old diesels. First, an oil filter!
You also get two or more crush washers, usually of different types, to replace the washer on your drain plug bolt. My personal preference is to use the copper one.
And finally you get a new large o-ring for the lid on the housing cover.
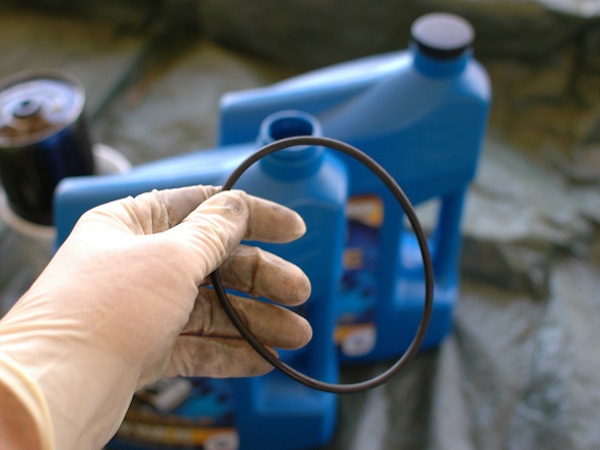
Start by putting the new o-ring on the lid. Use a pair of needle nose pliers to remove the old one. Then apply a small amount of fresh engine oil on to the new o-ring to help it seal before setting it in the channel on the underside of the lid.

Then install the new filter on the shaft of the cover, with the paper part facing down, away from the lid.
Finally, install the filter and cover back in the housing. Install and tighten the two 13mm nuts at 15-20 lb-ft of torque. If you don't have a torque wrench, get them snug but be careful not to over tighten them. Err on the side of being a bit loose, checking for leaks and tightening if needed. If you over tighten these nuts you can strip the threaded shaft that the nut screws on to right out of the housing!
At this point, be sure that you also re-install the drain plug in the oil pan! Use the new crush washer and tighten to about 15-20 lb-ft. Again, if you do not have a torque wrench get this bolt nice and snug but stop before it takes a lot of effort. You can strip the threads in the pan, which is softer metal than the bolt.
Author's note: let's talk briefly about checking replacement parts before installing them. As I was performing this oil change I inspected an oil filter I had stashed on my shelf and found that it had been damaged, either during shipping or while I had it stored. Too much time had passed to request a replacement from the online retailer I bought it from (not FCP Euro, unfortunately, who has a 365 day return policy!) so I was out the money, but it is better to notice and not install it! The lesson here is to always look over your parts to make sure they match what you removed, and that they are in good condition, before you install them.
Step 6
With the oil filter installed and all the nuts and bolts torqued down it is time to fill the engine with oil! When doing an oil change a bit of oil remains in the oil cooler. That is normal. So while the engine's capacity when fully empty is approximately 8 quarts you will find that it will only take 7 to 7.5 quarts after an oil change. The general recommendation is to use a diesel rated 15w40, though if you live in an extremely cold climate you might find that another viscosity is necessary. Consult the owners manual or an online forum for some advice on that.
Fill the engine slowly with new oil and plan to pour in 5-6 quarts at first. Run the engine then for a minute or two to allow oil to circulate and fill the filter housing. Then let it sit for a few minutes, check the level, and add more oil as needed until you reach the full mark on the dipstick.
Never overfill a diesel engine with oil! Doing so can lead to a runaway diesel - a topic for another day, but something you want to avoid at all costs.
Now that your engine has a fresh filter and new oil, get out there and enjoy the drive! But make note of the mileage when you performed the change. Keep on top of it and your OM engine will truly run forever.


