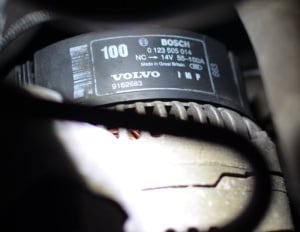
Replacing an alternator on a P2 chassis Volvo is a moderate level repair which usually takes no longer than 3 hours to replace. Before ordering your alternator from FCP Euro, be sure to check the amperage rating which is listed on a tag on the back of the alternator.
Tools You'll Need:
- Sockets and a ratchet
- Wrenches
- Torx bit set
- Volvo belt tensioner tool (or a short Torx T-60 bit)
Parts You'll Need:
Let's Get to Work:
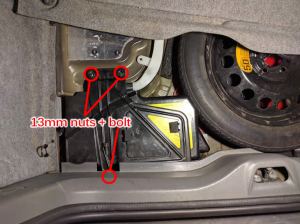
- Open the trunk and disconnect the battery by lifting up the spare tire cover and locating the battery compartment on the left. Now, remove the 2 nuts and 1 bolt with a 13mm socket and remove the battery hold down bracket.
- Now remove the black battery cover and disconnect the negative battery terminal and place it off to the side.
- Now open the hood so you can remove the serpentine belt. First unhook the power steering hose so you can work around it as needed.
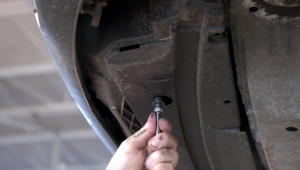
- Now, reach under the car with a 13mm socket and an extension on the drivers side to loosed the petcock for the coolant and drain into a bucket.
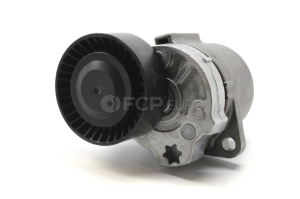
- Then locate the belt tensioner and attach the belt tensioner tool. Rotate the tensioner clockwise to relieve tension and remove the belt from the car. Don't forget to note the routing of the belt first so you remember how it goes back on. Also, note that earlier tensioners use a 14mm wrench to relive the tension while the newer updated version requires a T-60.
- As a precaution, remove the oil dipstick so you don't accidentally hit it with your hand and break off the handle.
- Remove the charge air pipe above the engine by removing 2 T-25 Torx bolts and loosen the two clamps at both ends. Also don't forget to unhook the routed wire in the back near the firewall.
- Now remove the lower boost hose by loosening the 7mm hose clamp on the intercooler side.
- Next disconnect the fan connections, cut off the zip ties and remove the two bolts. Carefully pull out the fan shroud
- Now loosen the power steering pressure line from the pump, then remove the 3 bolts that secure the power steering pump to its mounting bracket by accessing them through the pulley. Move the pump off to the side.
- Next, disconnect the 13mm nut for the power terminal and pull off the spade connector from the back of the alternator. Remove the 3 alternator bolts and loosen the lower a/c compressor bolts
- Loosen the upper radiator hose on the radiator side with a 7mm socket. Move the hose out of the way.
- Now carefully route the alternator out of place and try to avoid hitting the radiator upper hose neck.
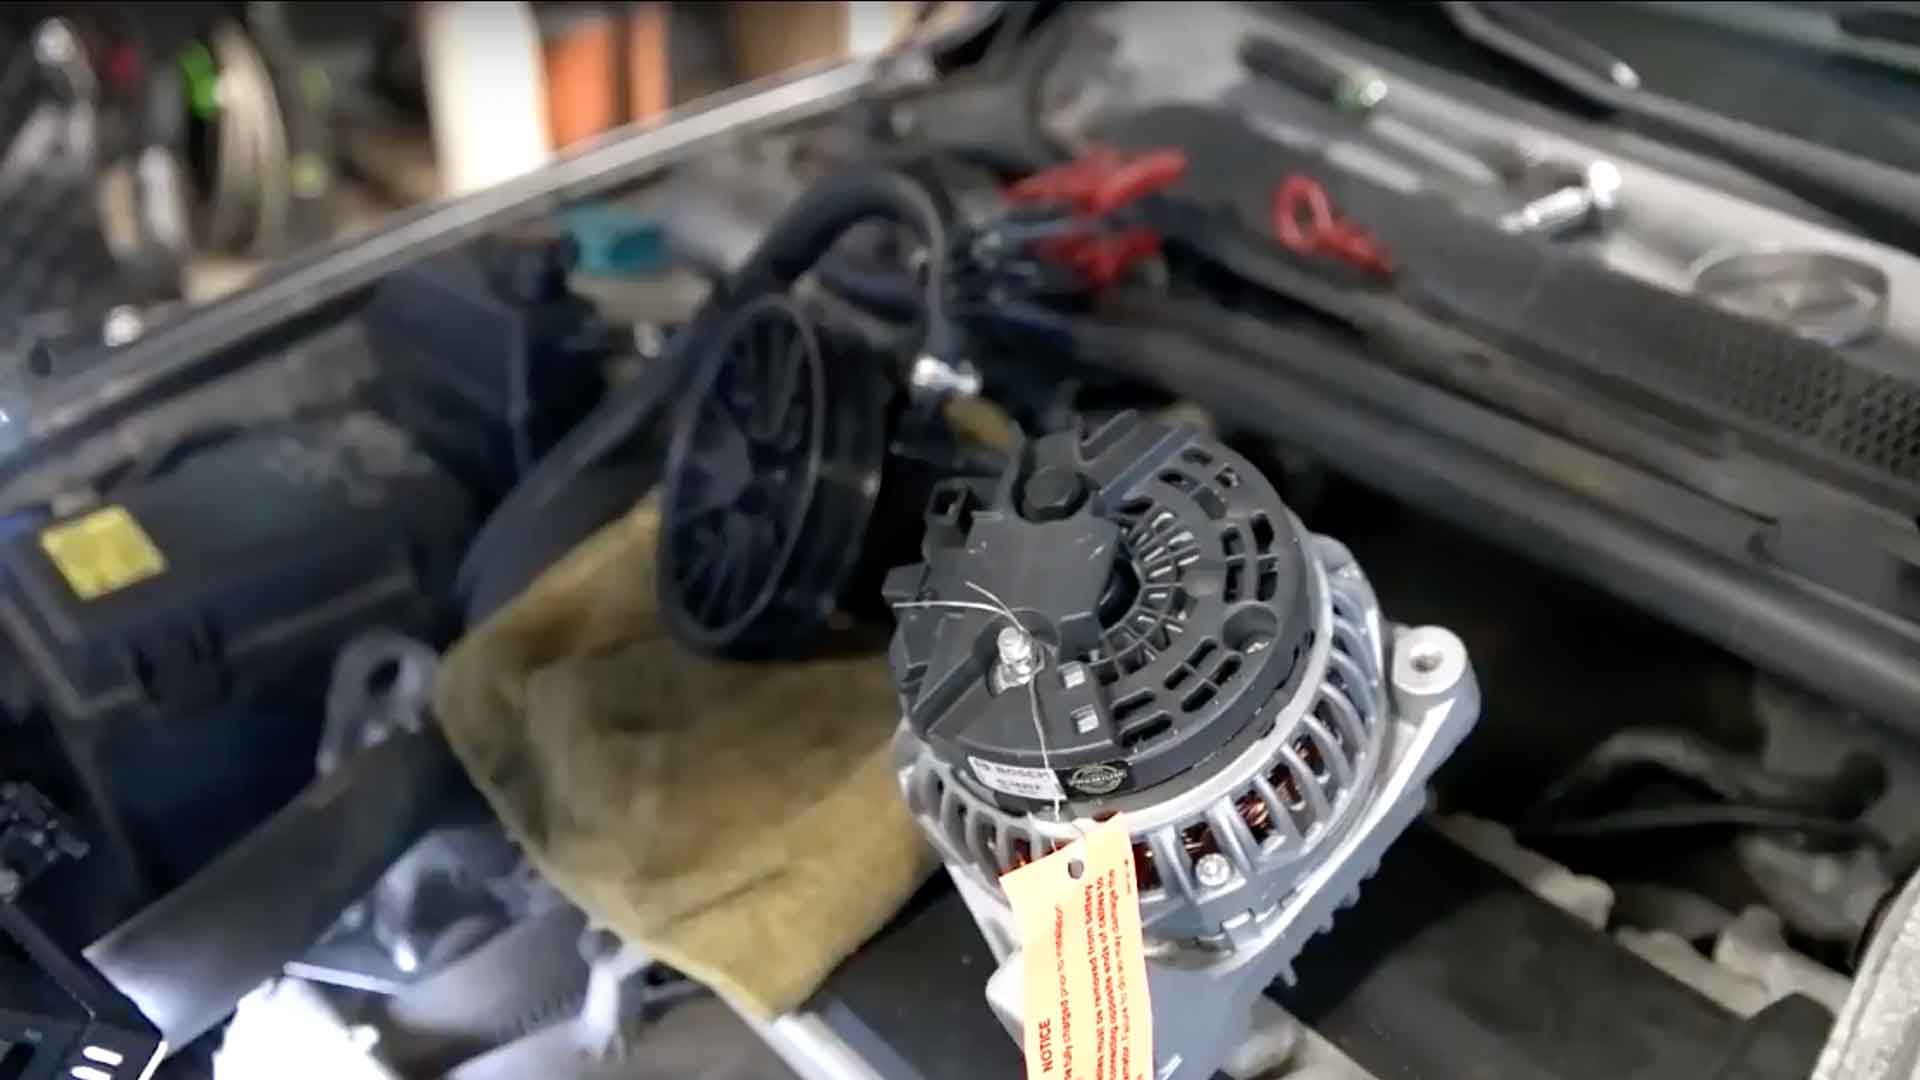
- Last, compare the old alternator with the new one.
- Installation Is In Reverse Of Removal
- Last, fill up your coolant system with a diluted 50/50 water/coolant mixture.
Be sure to check out our repair video here: