Whether you are replacing your hood (bonnet), correcting panel alignment after an accident, or simply desire to drive around with an exposed engine bay, hood removal and alignment is a straight forward task which any novice mechanic can perform.
Necessary Tools:
- Small flat head screw driver
- 12mm socket wrench
Hood Removal:
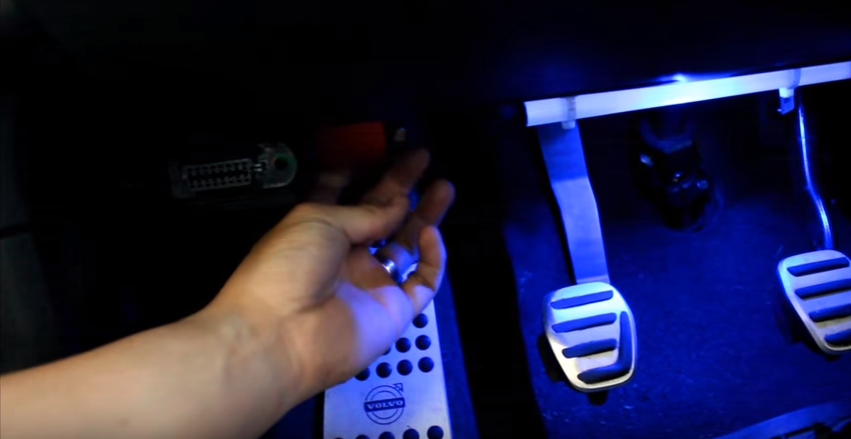
Step 1: Open the hood by pulling the release from the driver's foot well.
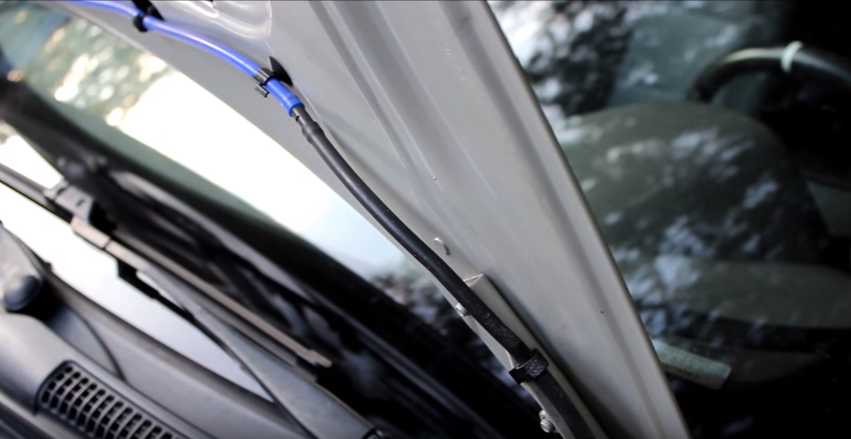
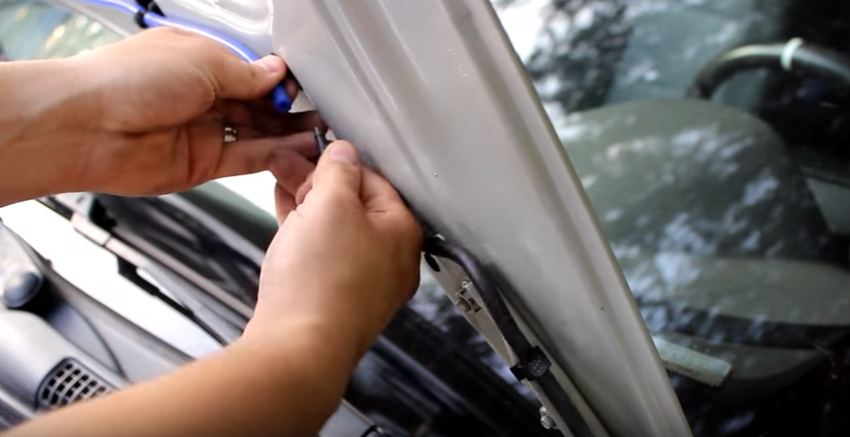
Step 2: Disconnect the washer sprayer line by pulling the two hoses apart, removing one end from the hose connector.
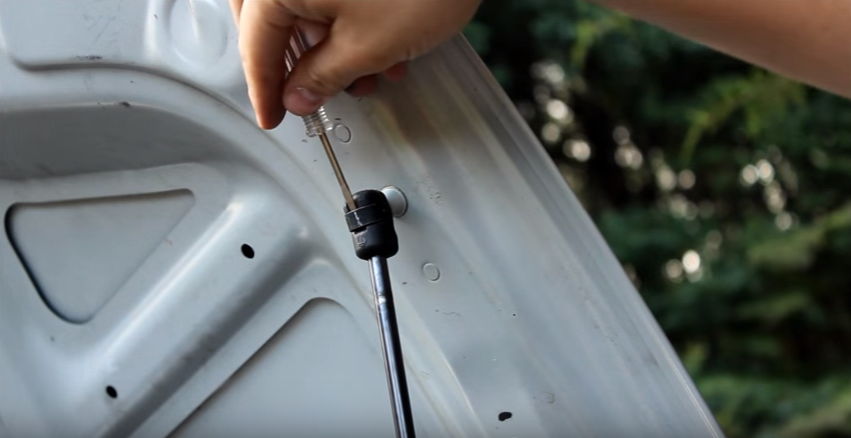
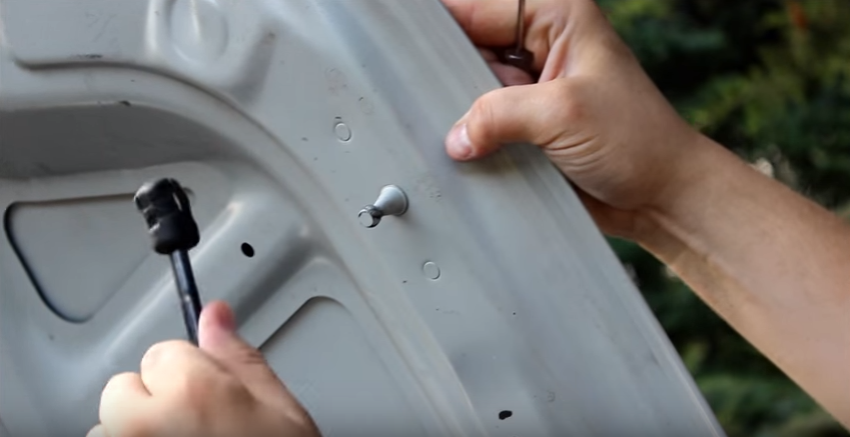
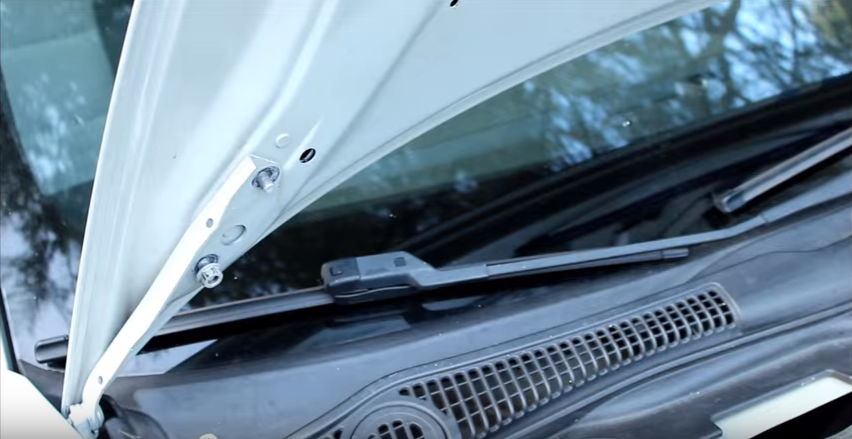
Step 3: Using a flat head screw driver, pry off the retainer clip which holds the hood strut to the pin. Once this is removed, the hood will no longer be self supported, so be prepared to catch it before it slams shut.
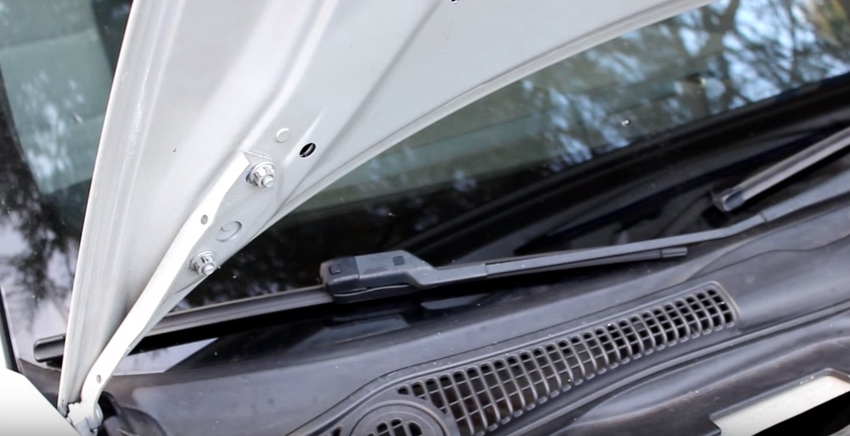
Step 4:There are four nuts which hold the hood to the hinges, two on each side. Using a 12mm socket, remove the upper nuts.

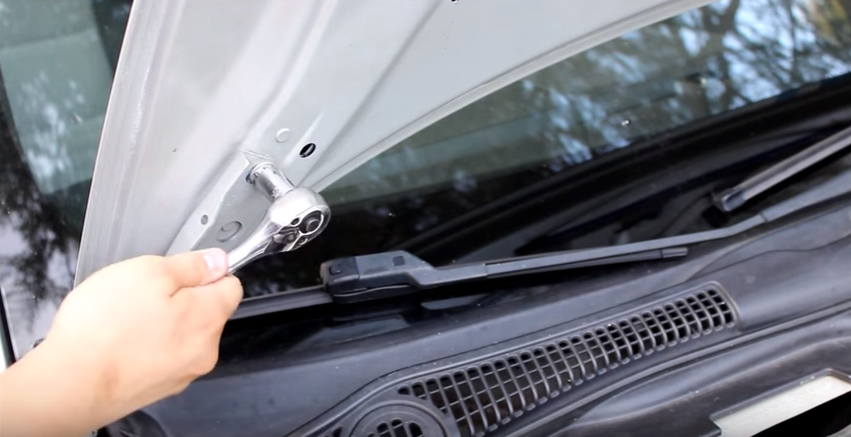
Loosen the lower nuts, but do not remove these until you are ready to remove the hood. With all four nuts removed, the hood is free to come off. If unattended, you risk the hood falling off and potentially causing damage.
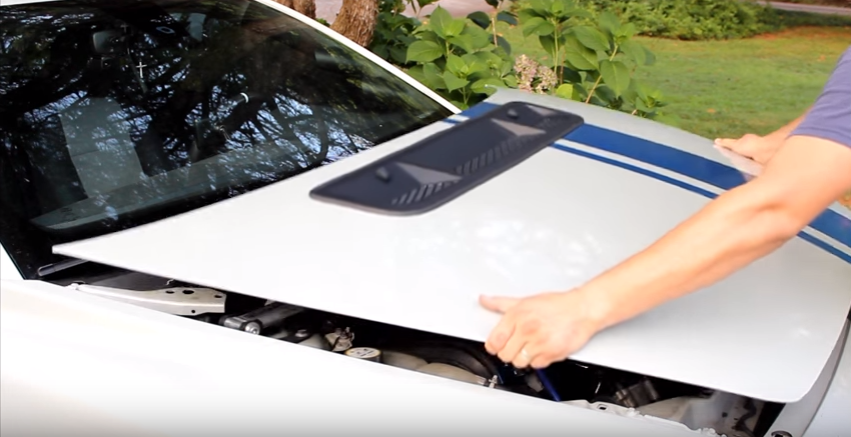
Step 5: With all nuts removed, simply lift the hood straight off.
Hood alignment:
When reinstalling the hood, the four hinge nuts provide a few millimeters of play to get the hood perfectly centered and aligned.
Loosely tighten the nuts by hand while tweaking side to side and front to back alignment. Assuming the hood and fenders are not damaged, you should be able to created an evenly spaced gap on all three sides of the hood. This is the most tedious part of the job; once you acquire a trained eye for panel gap, an offset of even 1mm will become noticeable to you.