When you replace shocks + struts on a car like this Saab 9-3 you really should be replacing them as a set around the same time to ensure consistent suspension performance. A few months earlier I replaced the front struts, but held off on the rears as I didn’t have enough time to do it all in one shot. I noticed that the rear would sound a bit rough during road bumps so this job should fix that right up.
Fortunately this is an easy job for practically all DIYers!
Tools you’ll need:
- Floor jack + jack stands
- Wheel chocks
- Wrenches, sockets + ratchets
- Torque wrench
- Impact wrench (recommended but optional)
- About 1 hour of free time
Ready to replace your rear shocks?
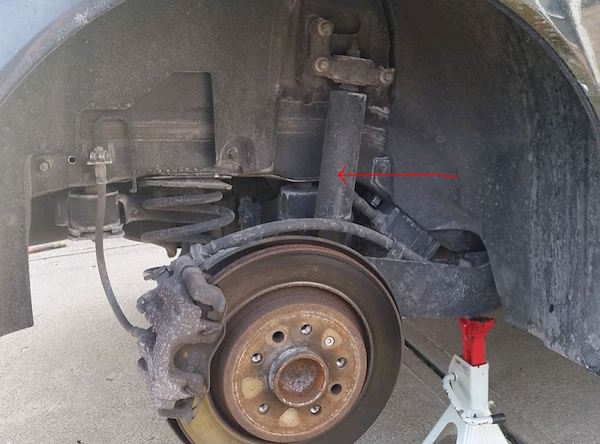
- There’s a rear shock in each of the rear wheel wells.
- Head over to your parked car and apply wheel chocks to the front wheels.
- Loosen but do not remove the rear wheel bolts.
- Jack up both rear wheels, position your jack stands, lower the floor jack and remove it so it’s out of your way
- Remove the wheel bolts and set aside the rear wheels. An impact wrench will speed this up!
- The rear shock is connected by a nut at the top and a bolt at the bottom.
Let’s start by removing the lower bolt.
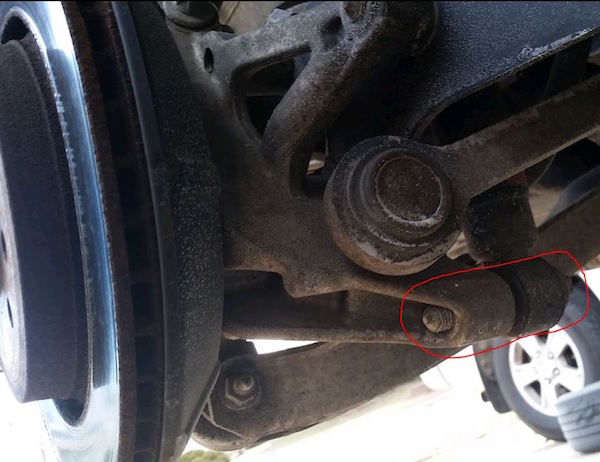
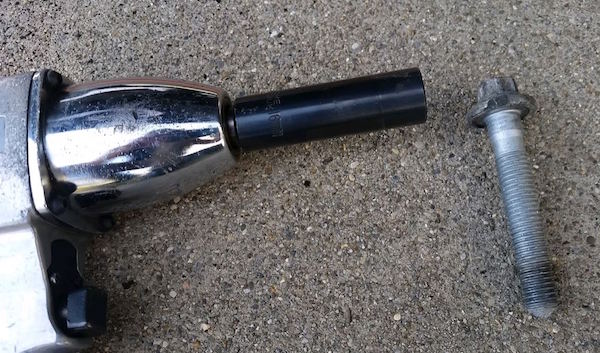
The lower bolt requires an e-socket but I was able to successfully use a 16mm impact socket with an impact wrench:
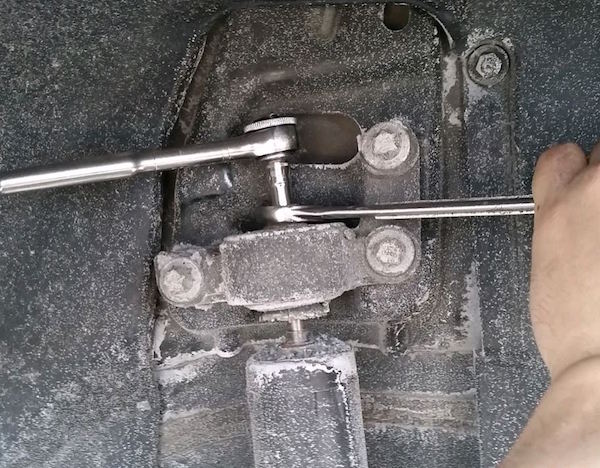
Remove the nut at the top of the rear shock using an adjustable wrench as a counter hold.
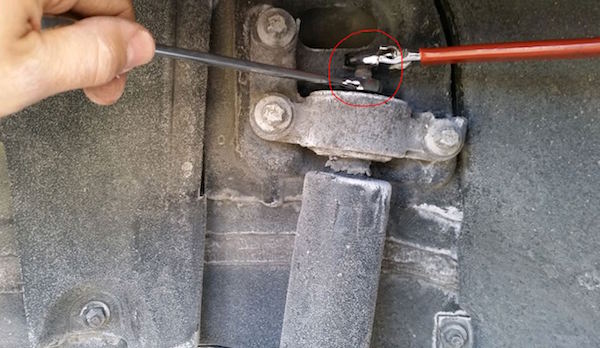
If the adjustable wrench slips (like it did for me on the other side) you can also use a ratchet + socket:
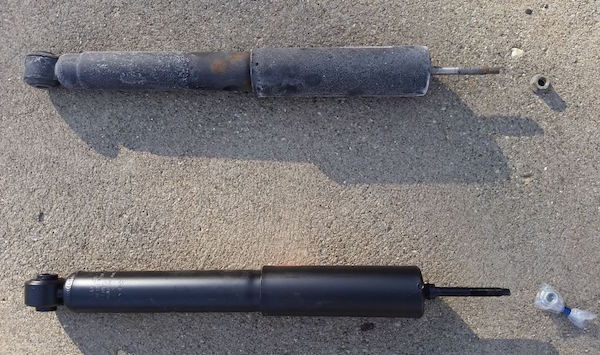
Compare the old shock (top) against the new shock (bottom). The old one felt and sounded rough when compressed. It was time to go!
Reassembly!
Installation is essentially the reverse of removal. Use new nuts if your rear shocks included them. I didn’t torque down the top as I couldn’t while having a counter hold so I just tightened them down reasonably well without over tightening.
Tighten the lower bolt with the impact wrench without overdoing it. I didn’t bother to torque this down to spec as I’ve never had a problem with this method. If you decide to do it, the torque is 111 ft-lb.
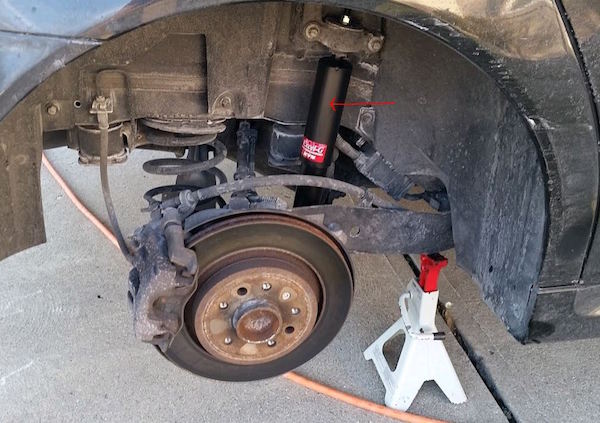
Assuming the top damper bracket is still good, the new rear shock should feel solid after securing the top and bottom:
Reinstall the wheels and hand tighten the wheel bolts.
Raise the car using a floor jack to remove the jack stands and lower the car so the car is back on the ground. Torque the wheel bolts to 80 ft-lbs.
Remove your tools, remove the wheel chocks from the front wheels and test drive the car.
Enjoy years of restored shock performance with smoother driving over bumps on the road!