- 01/31/2017
- 1 Min Read
- By: Tim Wong
How to Replace a Radiator Cooling Fan Switch Seal on a RWD Volvo

Be it oil, transmission fluid, power steering fluid, or coolant, leaks are the worst. You could argue which of these leaks cause you the most grief, but at least for today, the answer has to be coolant leaks. Unless you buy a tracer dye and a UV light, it can be impossible to figure out where your coolant is disappearing from. Like the proverbial perfect crime, my car would leak coolant, without a trace.
From my previous blog on analysing my engine oil from Blackstone labs, I confirmed my suspicions of a head gasket leak. This led me to believe that my source of disappearing coolant was simply the engine itself. As the leak got worse, I surmised it was simply a case of the head gasket leak getting worse in combination with excess pressure in the cooling system causing coolant to escape through the radiator cap. After filling my coolant, not a day later, the expansion bottle was empty, along with my hopes that I could wait until spring to fix the car.
In my process of burping the cooling system, I heard small hiss coming from the cooling fan switch. Although I couldn’t see it, there was definitely a leak. A few years ago, I had changed the radiator, but reused the seal. Over the course of a few years, the seal must have given up, and sprung a leak. Lucky for me, FCP, with their extremely reasonably priced parts and fast shipping were here to save the day. It is a simple fix, but small pointers along the way will make a big difference.
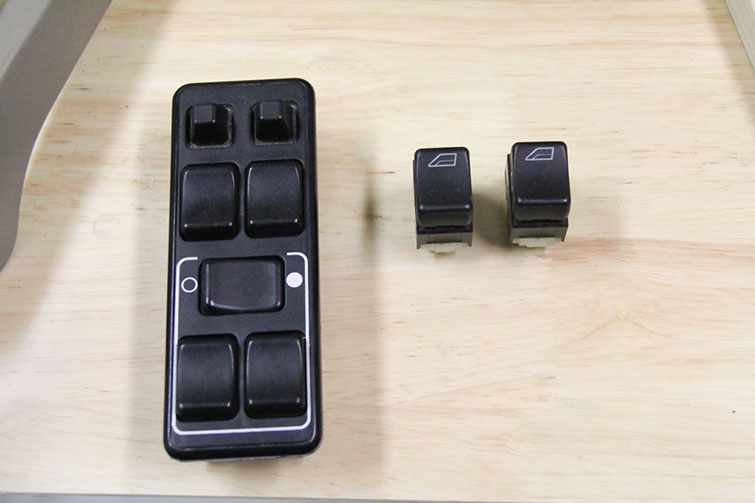
Step 1: Find the right seal. If you’re doubtful your switch is in operating condition, pick up a seal/switch combo. Otherwise, just grab the seal. At less than $2.00, its not a bad idea to pick up a spare.
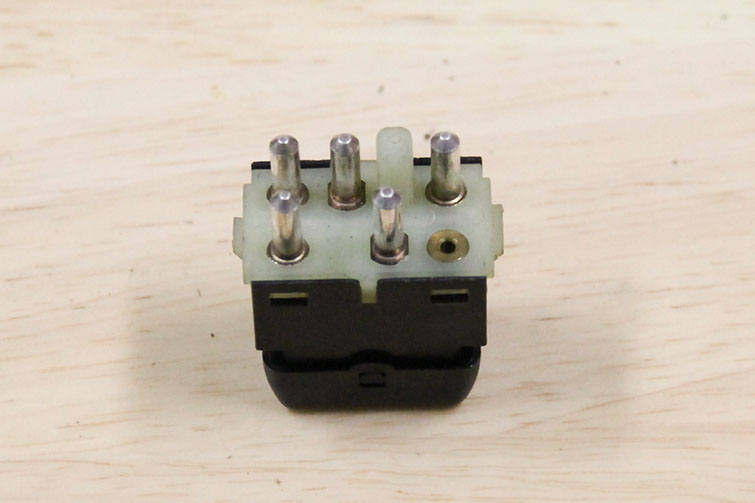
Step 2: Clean the switch. Use some isopropyl alcohol to clean the switch. If you really want, you can even use some fine sandpaper to polish up the sealing surface. Remember, although you are only pushing in the seal, it is not a friction fit. The switch itself has a lip which will prevent it from coming out.
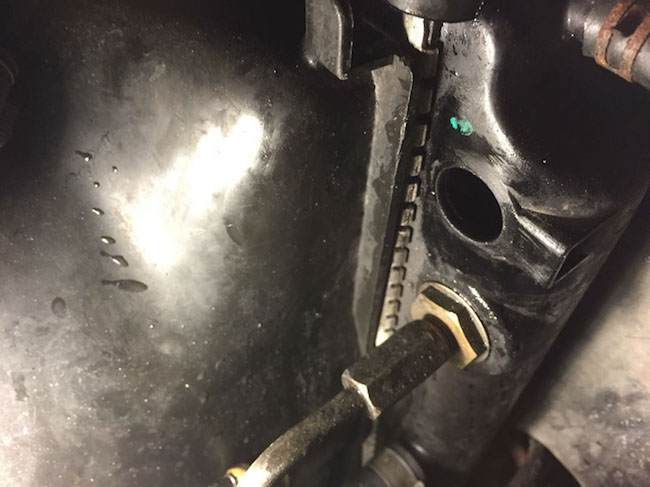
Step 3: Clean the hole. Using a cloth, make sure the sealing surface of the hole in the radiator is free of any debris. In my radiator, I also noticed that the edges of the hole were very sharp, probably causing my seal to split prematurely. I took some fine sandpaper and smoothed the edges, making sure to remove as little material as possible and thus potentially altering the fit.
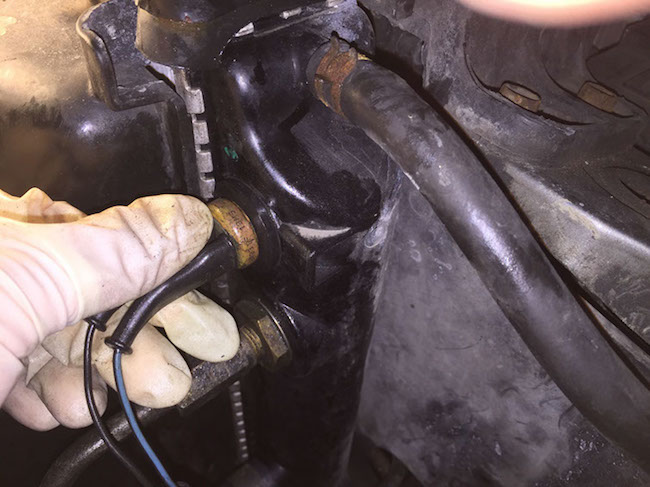
Step 4: Install the switch Using some dish soap, coat the seal and insert it into the radiator. Press down all around the seal to make sure the seal is sitting flat.
With a firm push of the switch directly into the hole, insert the switch fully. It will feel like the switch is the wrong size, and not want to go in, but trust me when I say, it will fit! When in doubt, add a bit more soap to the seal. Once the switch is in, there’s little chance of it coming out.
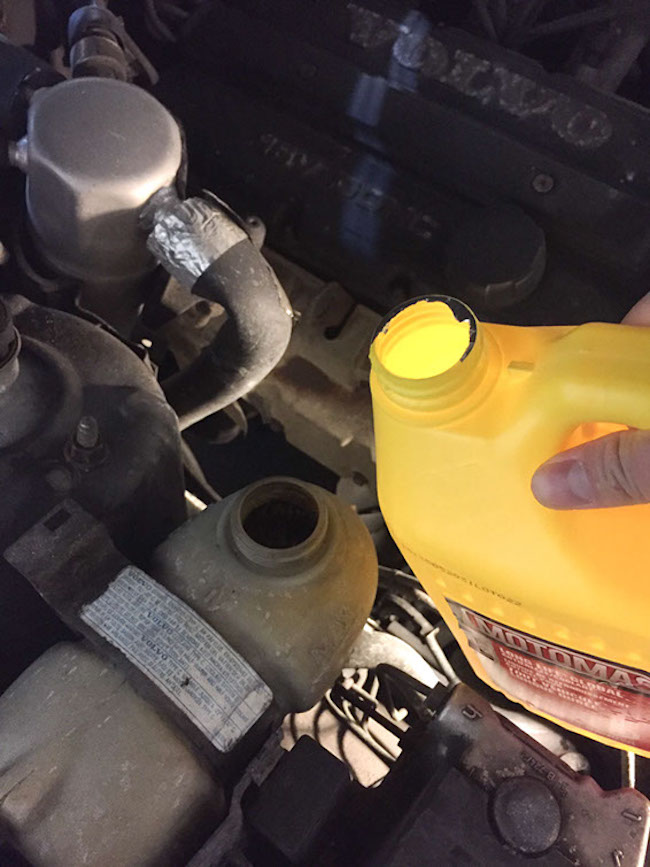
Step 5: Refill with coolant. To wrap things up, refill your system to the appropriate coolant level and tighten the cap. Call it a day, and get ready to hunt down the next leak on your car.
Shop The Radiator Cooling Fan Switch Seal