- 10/08/2020
- 10 Min Read
- By: Christian Schaefer
How To Overhaul The BMW E46 M3 Rear Subframe (Part 3)

This is the final part of our 3 part BMW E46 M3 rear subframe overhaul DIY. Part one of the DIY covered the entire removal/teardown process, part two covered installation of the new components, and part three covers the re-installation process once the bushings and mounts are replaced.
BMW E46 M3 Rear Subframe Overhaul Part 1
BMW E46 M3 Rear Subframe Overhaul Part 2
BMW models and years applicable:
- 2001-2006 BMW M3
- 2006-2008 BMW Z4M
Why should you overhaul your BMW E46 M3 rear subframe?
Since the chassis' debut in 2000, the rear subframe issues have been a constant source of worry from owners. The subframe mounting points in the chassis are prone to cracking and have failed in some cases. BMW and aftermarket companies have all come out with weld-in reinforcement plating to help prevent this issue.
Along with the subframe mounting points, the rear trailing arm bushing mounts are prone to the same kind of cracking and failure. Reinforcement plating for these mounting areas will come with the subframe reinforcement kits.
Beyond the cracking issues, worn bushings and mounts will create problems of their own. The OEM rear trailing arm bushings are rubber and degrade quickly from use. As they get softer, the back end becomes more unpredictable under braking and through the corners. Aftermarket companies produce polyurethane bushings and press-in Heim joints to replace the OEM softness. The differential mount bushings can also be changed to aftermarket polyurethane to remove the sloppy acceleration feeling that worn OEM rubber mounts will give you.
How long will it take to overhaul a BMW E46 M3 rear subframe?
This DIY is not for the faint of heart, and its complexity is reflected in the time required to complete the job. Even with all of the proper tools, lots of space, and help, this job can take several days. The youngest chassis is now 16 years old, and corrosion is relatively standard. Fighting with seized or stripped bolts is a real possibility and a time killer.
If you can, gain access to a lift. Having a shop with air tools and a press can speed the process up, but won't guarantee anything. A good torch will help with removing any corroded fasteners. Put aside at least a full weekend if you intend to take on this project in your garage or driveway.
What will it cost to overhaul a BMW E46 M3 rear subframe?
Beyond fixing any possible cracks in the chassis, the bushings in the subframe should be replaced. Factory bushings are fine, but there are several upgraded choices that we recommend. In this DIY, we use Synchro Design's rear trailing arm bushings. Their monoball kit eliminates the twitchy back end that develops when the factory bushings start to wear. Their bushings cost $265.
The differential mounts that we install in the DIY come from Revshift. They are made from polyurethane and are a slightly higher durometer than the factory rubber pieces. The kit costs $109. Additionally, we install Eibach rear camber arms. These eliminate the need for the eccentric bolt that BMW uses for the camber adjustment in the rear of the car. The new arms are adjustable, making up for the lack of eccentric bolt. The Eibach arms cost roughly $200.
In total, the upgraded parts cost roughly $580.
Parts required to overhaul a BMW E46 M3 rear subframe:
Tools required to overhaul a BMW E46 M3 rear subframe:
- Floor Jacks
- Jack Stands
- Pry Bars
- 24oz mallet
- 32oz ball peen hammer
- 24oz ball peen hammer
- Metal file
- Brass punch
- 1/2" torque wrench
- Ratchets
- Ratchet Extensions
- Large & small channel lock pliers
- Pliers
- Side cutters
- Needle nose pliers
- Various picks
- Screwdrivers
- 16mm stubby ratcheting wrench
- 13mm stubby ratcheting wrench
- 12mm stubby ratcheting wrench
- 17mm stubby ratcheting wrench
- 19mm stubby ratcheting wrench
- 12mm box end ratcheting wrench
- 11mm box end ratcheting wrench
- 10mm box end ratcheting wrench
- 13mm box end ratcheting wrench
- 16mm box end ratcheting wrench
- 18mm box end ratcheting wrench
- 19mm box end ratcheting wrench
- 21mm box end ratcheting wrench
- 14mm wrench
- 16mm wrench
- 17mm wrench
- 18mm wrench
- 19mm wrench
- 24mm wrench
- 27mm wrench
- E12 socket
- E14 socket
- E16 socket
- 8mm socket
- 10mm socket
- 13mm socket
- 16mm socket
- 17mm socket
- 19mm socket
- 22mm socket
- 6mm six-point
- 7mm six-point
- 8mm impact socket
- 9mm impact socket
- 12mm impact socket
- 13mm impact socket
- 16mm impact socket
- 17mm impact socket
- 18mm impact socket
- 19mm impact socket
- 21mm impact socket
- 22mm impact socket
- 30mm impact socket
Steps required to overhaul a BMW E46 M3 rear subframe:
Step 1: Reinstall the subframe
First up, reinstall the upper control arms onto the subframe. Use an 18mm socket and wrench to tighten each bolt. When installing the arms, make sure the extended portion of the bushing that sticks out of the control arm is facing the rear of the subframe.
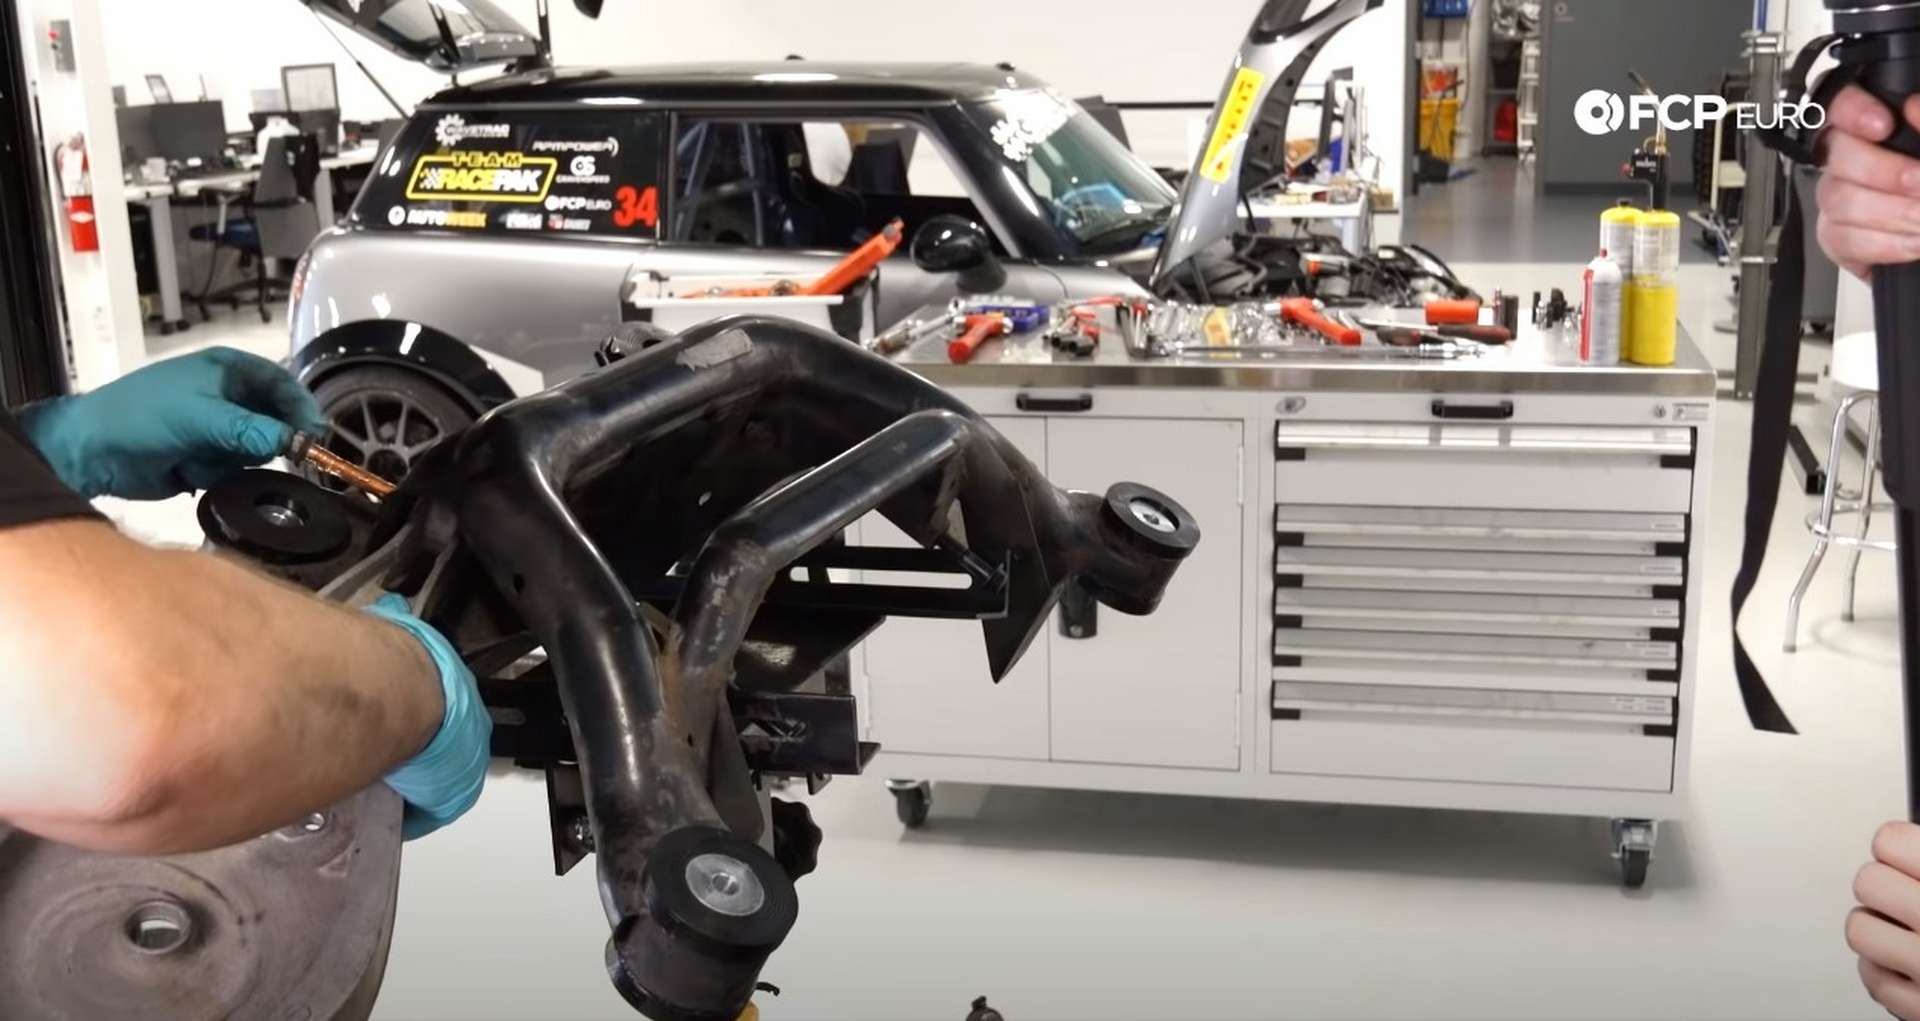
Use an anti-seize lubricant on the bolts before installing them. Next, install the lower camber arms. Before the installation, apply anti-seize to the adjustable threaded portion of the arms. Then, use an 18mm socket to install the bolts that secure the camber arm to the subframe.
Use a floor jack and blocks of wood to raise the subframe against the bottom of the chassis. Line up the forward stud holes before lining up the rearward bolt holes. Next, install the two subframe bolts. Use an 18mm socket for the bolts.
The upper control arms need to be torqued at ride height. To simulate this, place the spring into the arm and compress the arm with the floor jack. Raise the jack until you find about what the ride height would be.
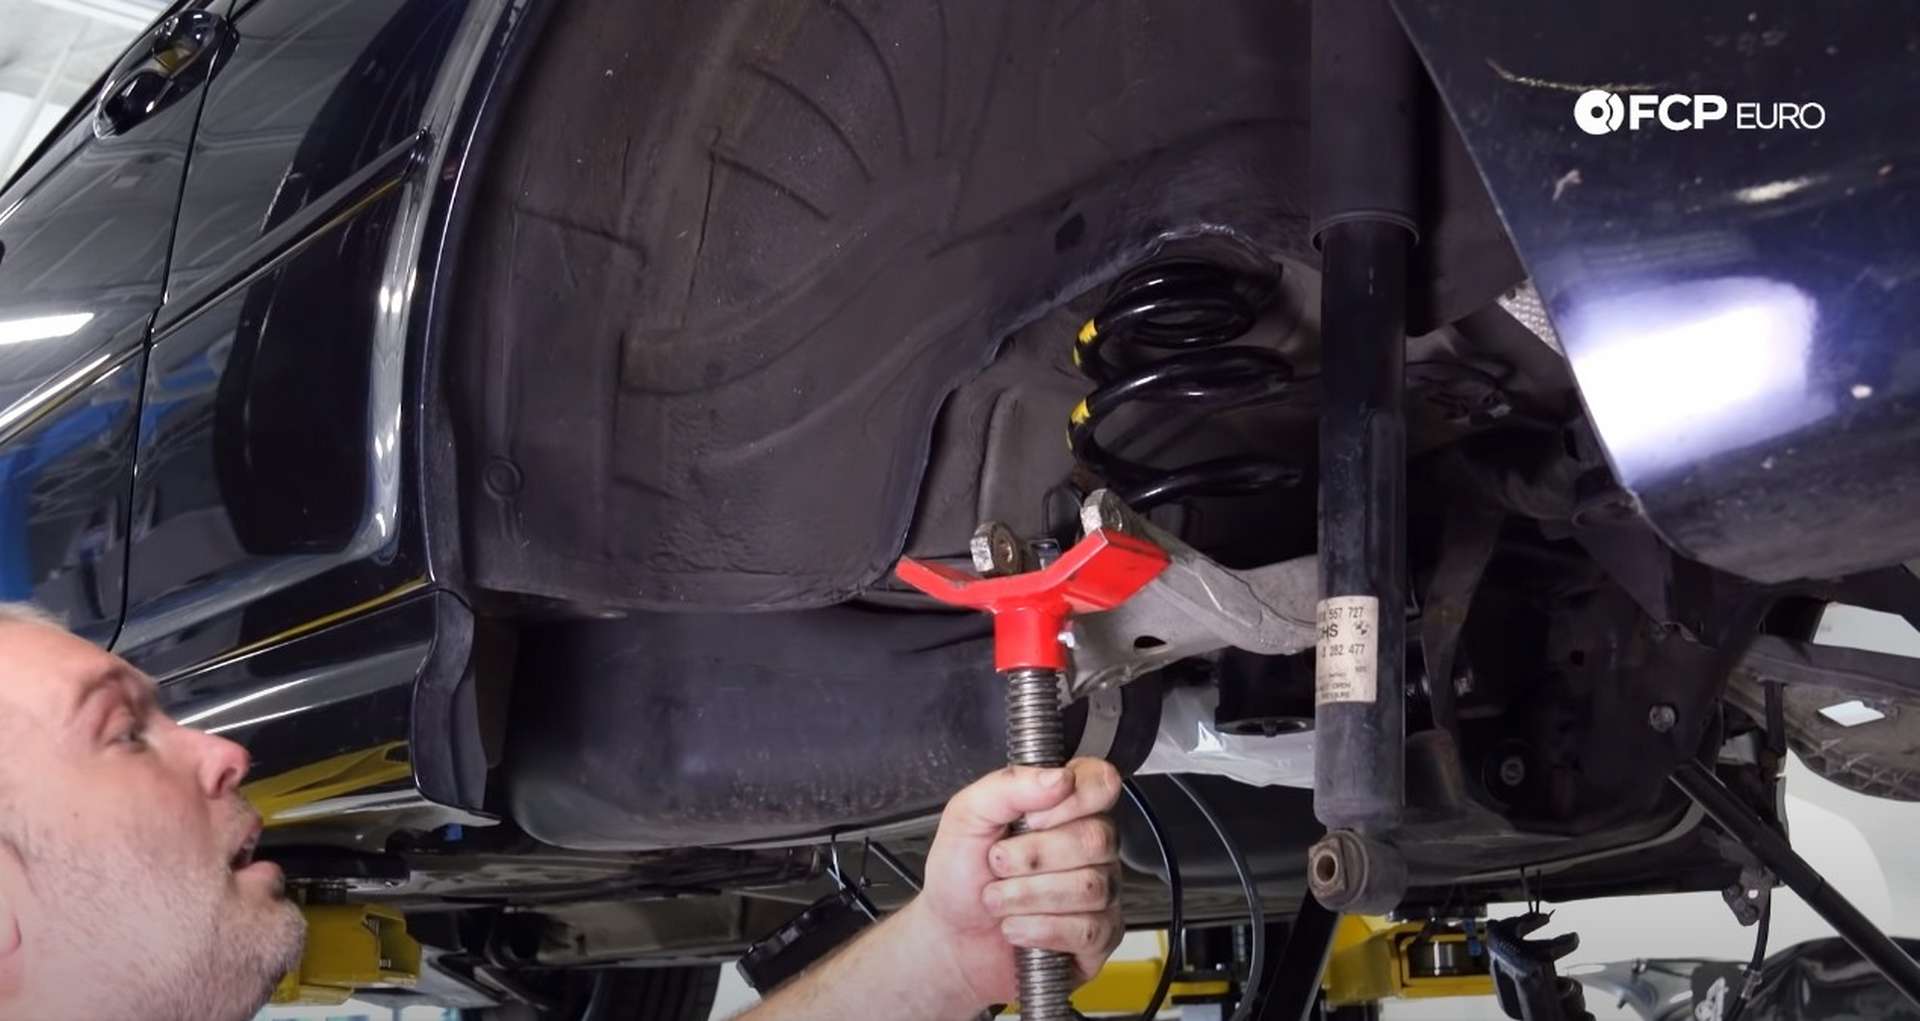
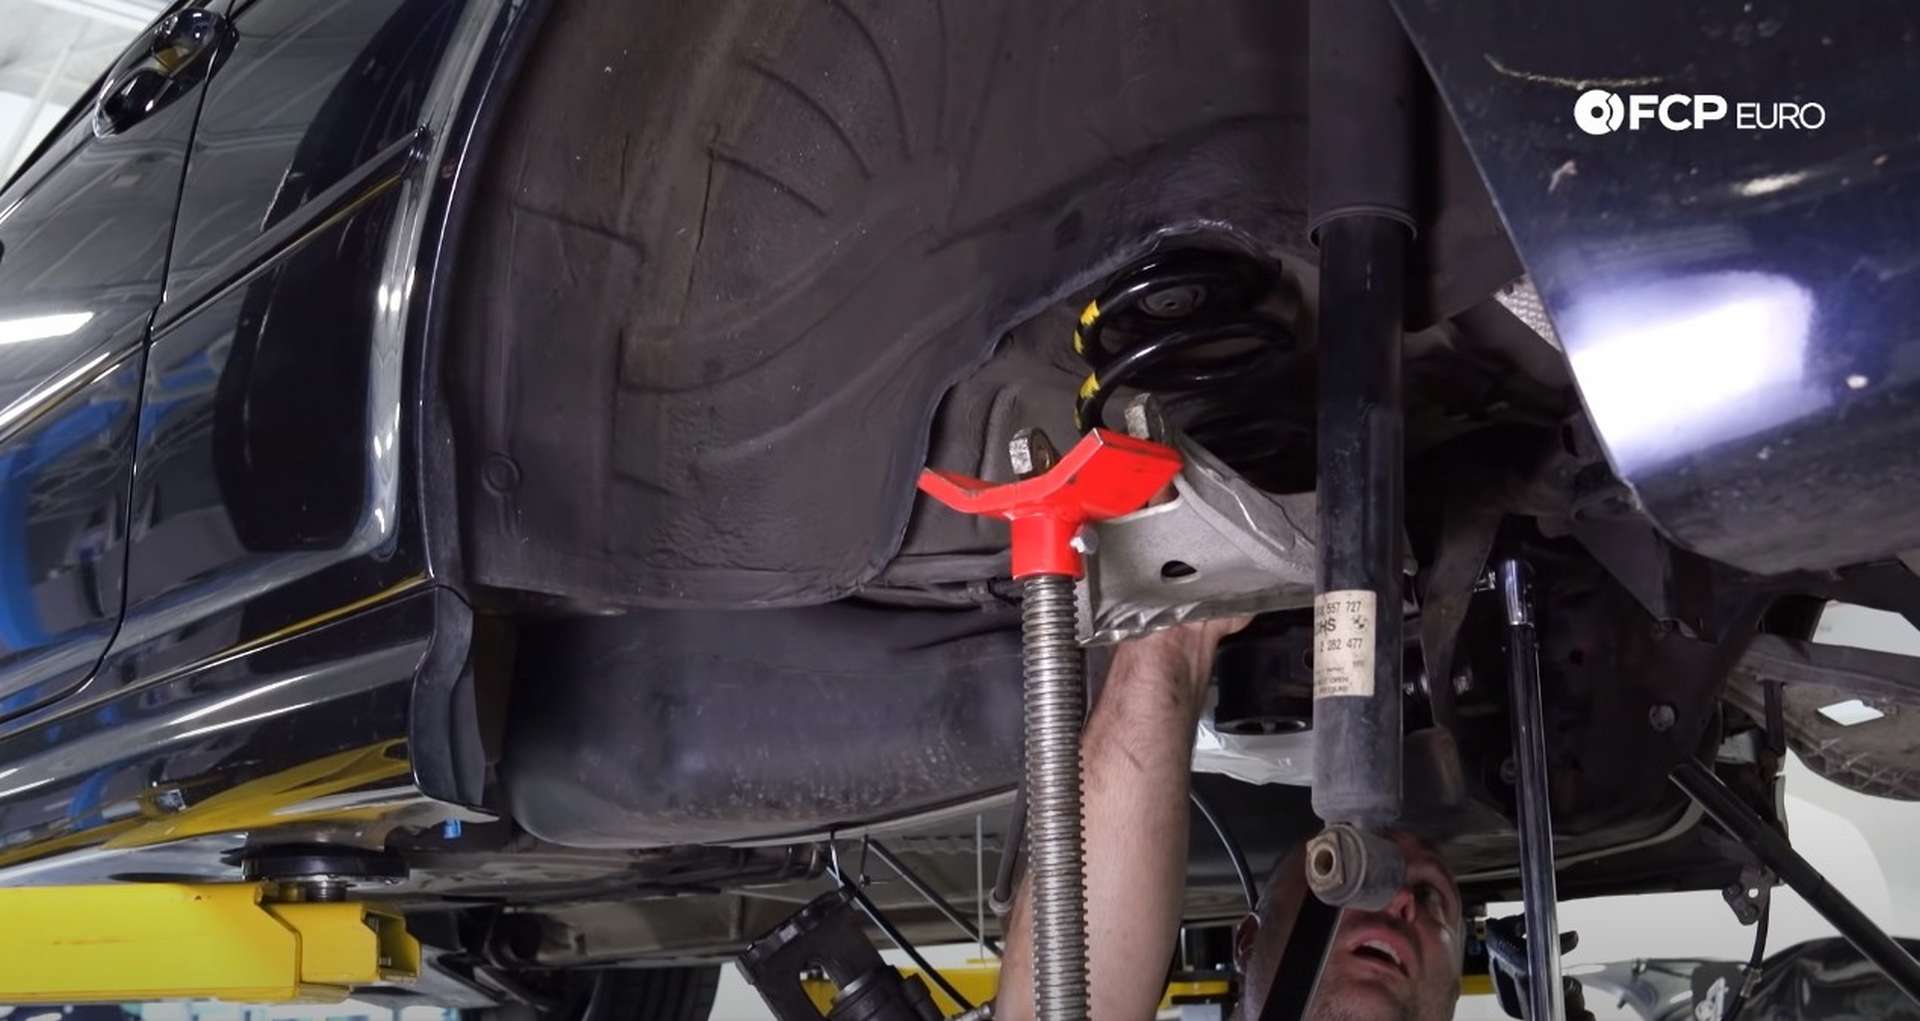
Counter-hold the bolt with an 18mm wrench while using an 18mm socket to torque the bolt to 77Nm. Lower the jack and remove the spring after torquing the bolt. Install the headlight level sensor, too, using a 10mm socket.
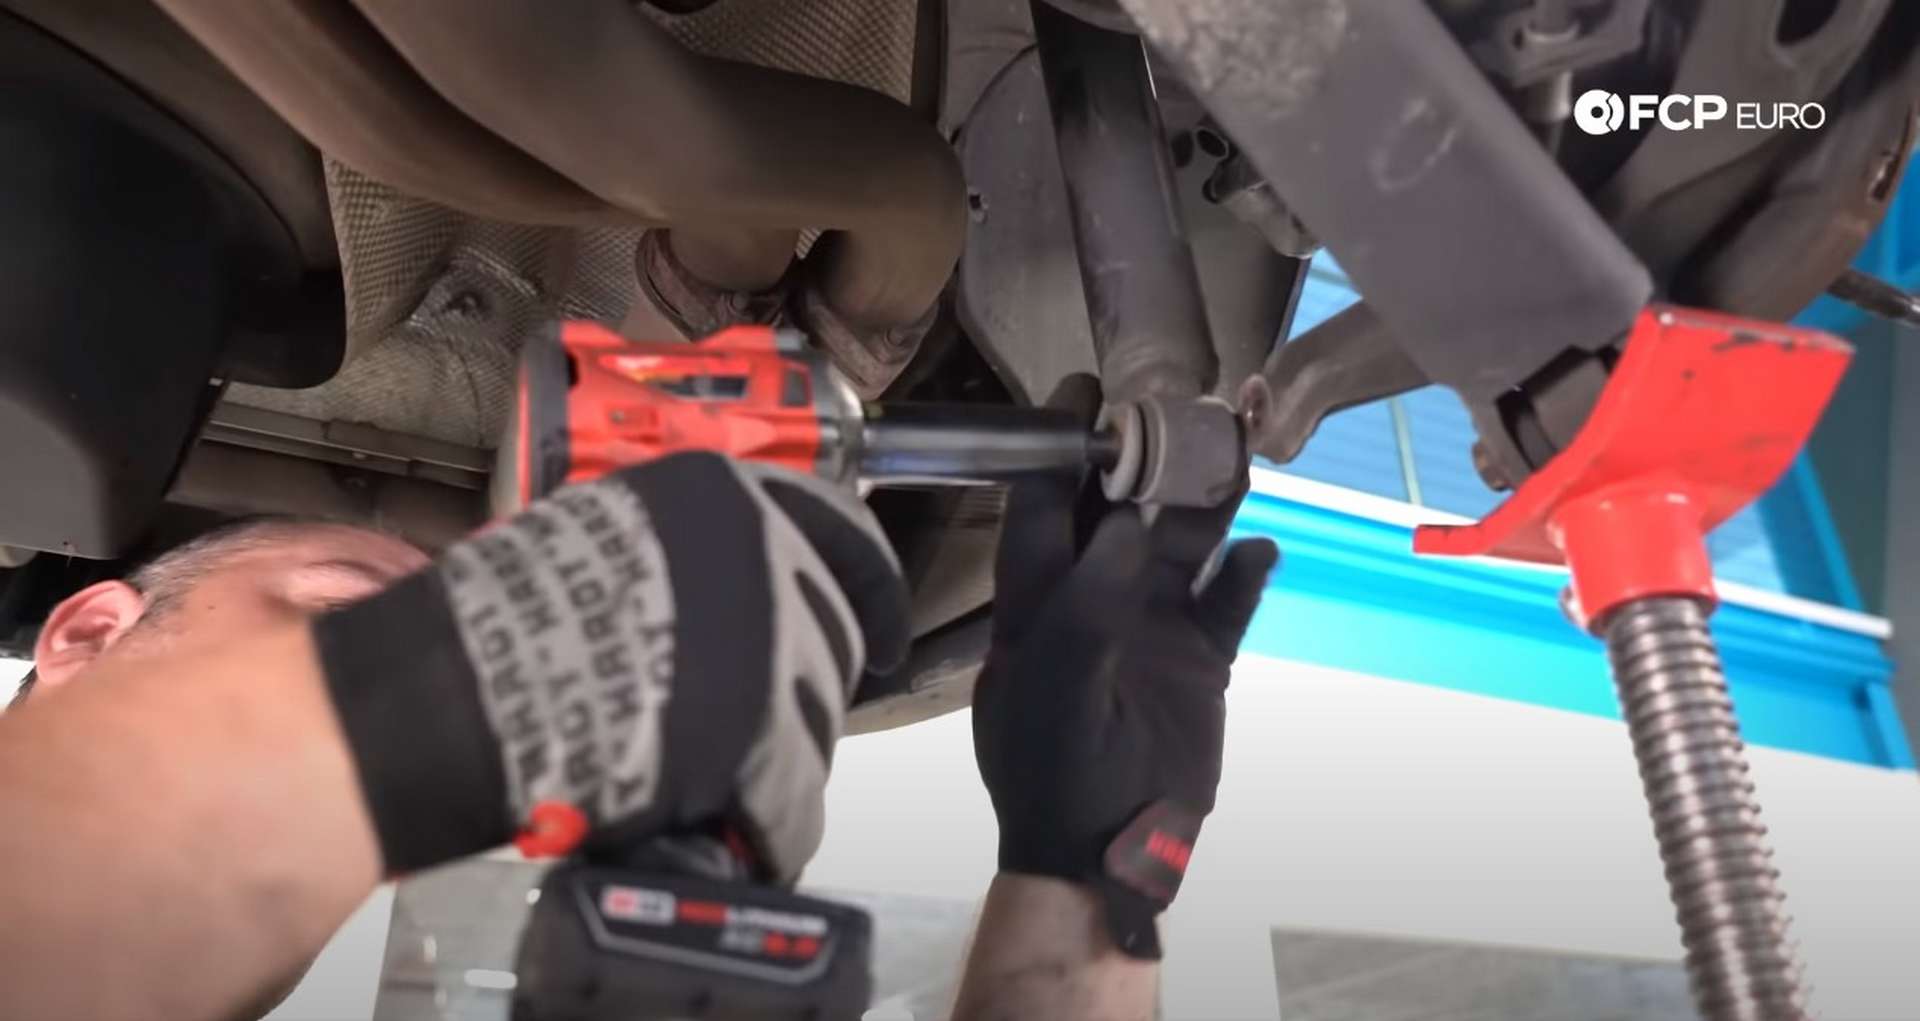
Next, install the knuckle/trailing arm assembly onto the upper control arm. You can use the jack to support the assembly as you raise it into position. Use an 18mm wrench and socket to tighten down the bolt. Then, swing the trailing arm bushing bracket into place and thread in its three bolts.
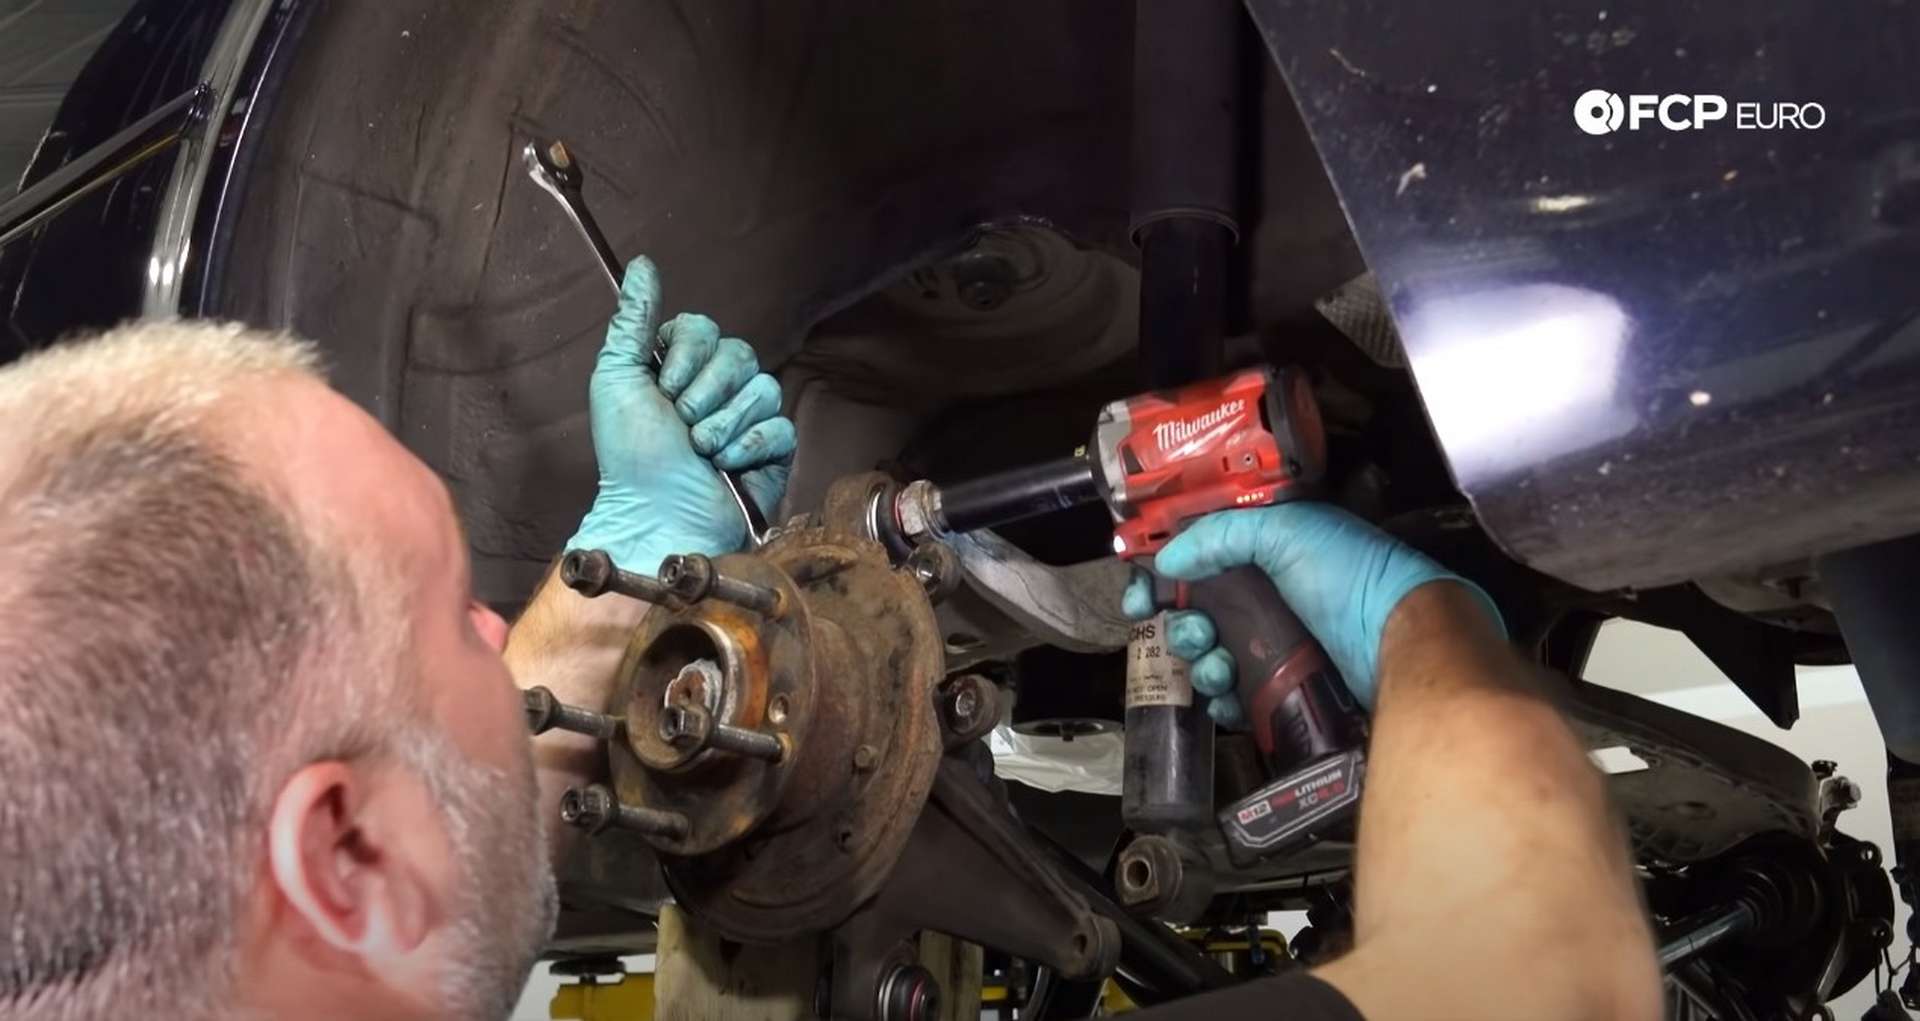
Next, Connect the camber arm to the knuckle. Use a dead-blow mallet to persuade the end of the camber arm over the bushing. The original camber arm used an eccentric bolt to secure the arm to the knuckle. Since the new arm is adjustable, use a standard bolt and nut.
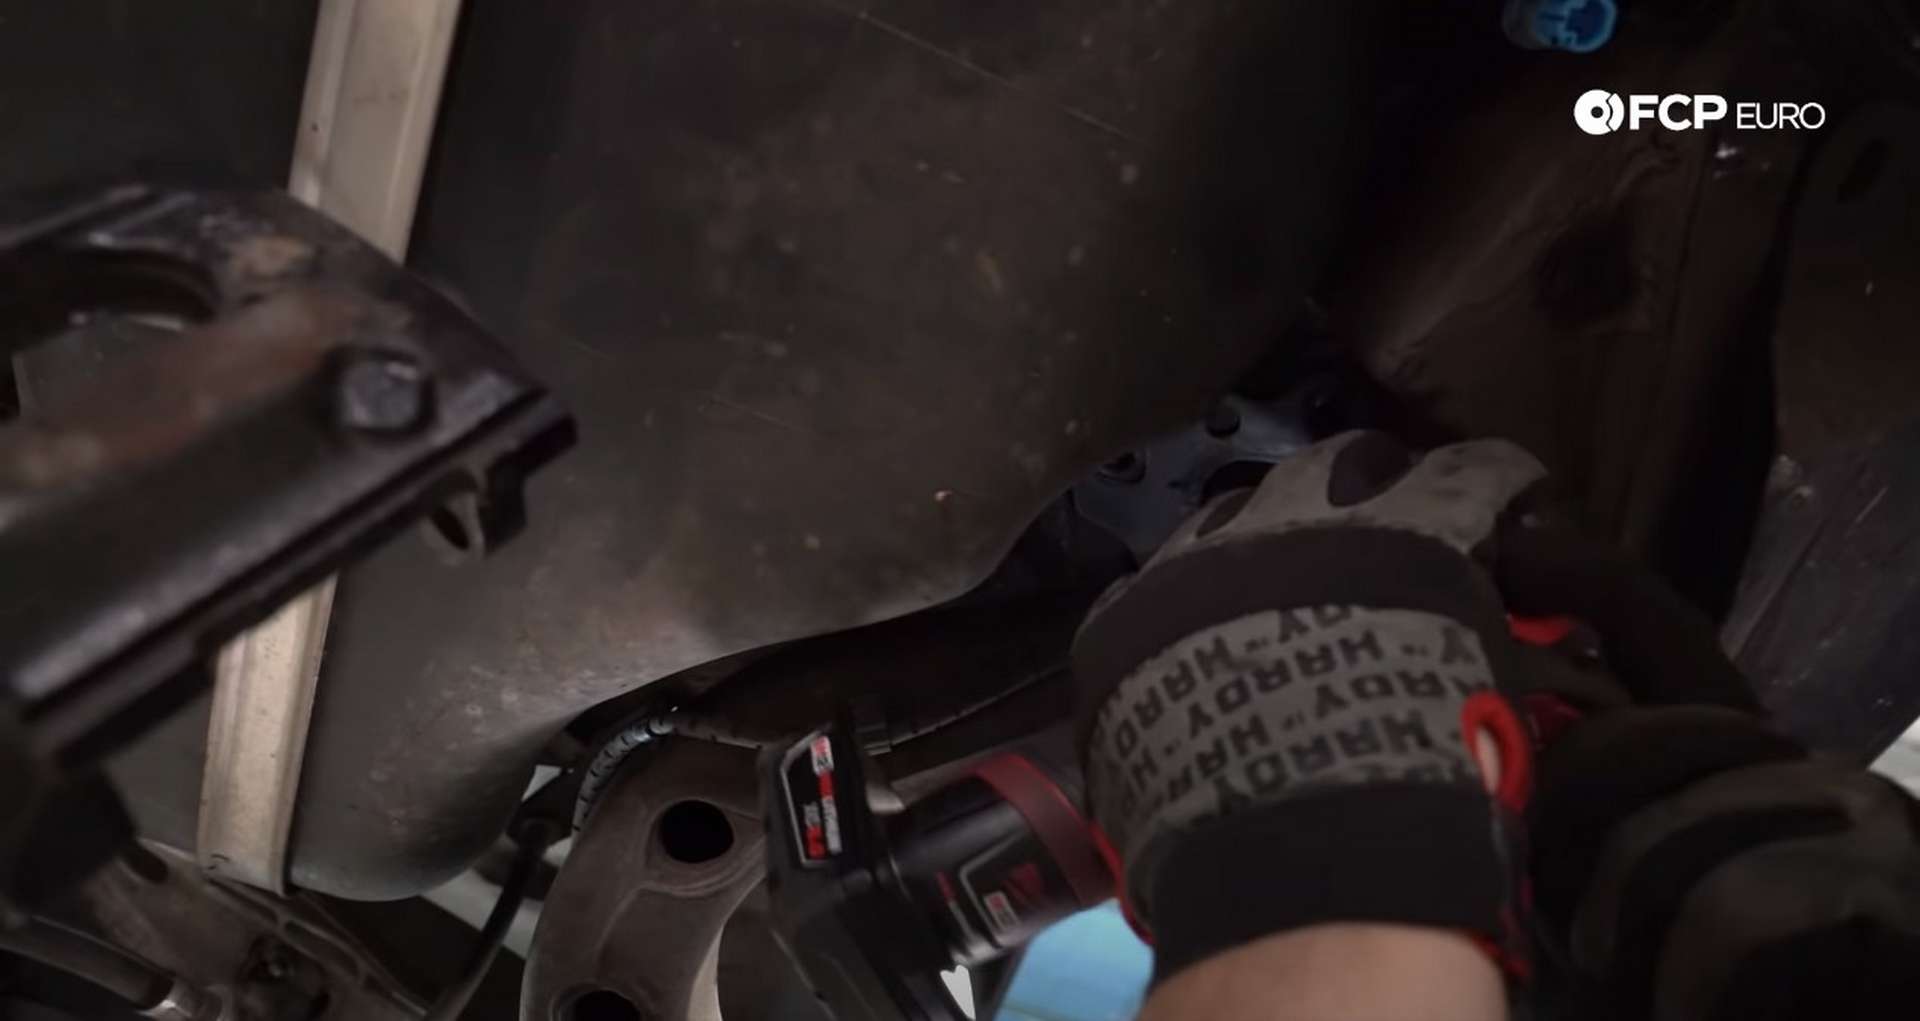
Lastly, install the front subframe brace. The brace gets fitted over the front subframe studs before the nut is installed. Use an 18mm socket to install the two nuts and two bolts for the brace.
Step 2: Refit the shocks and springs
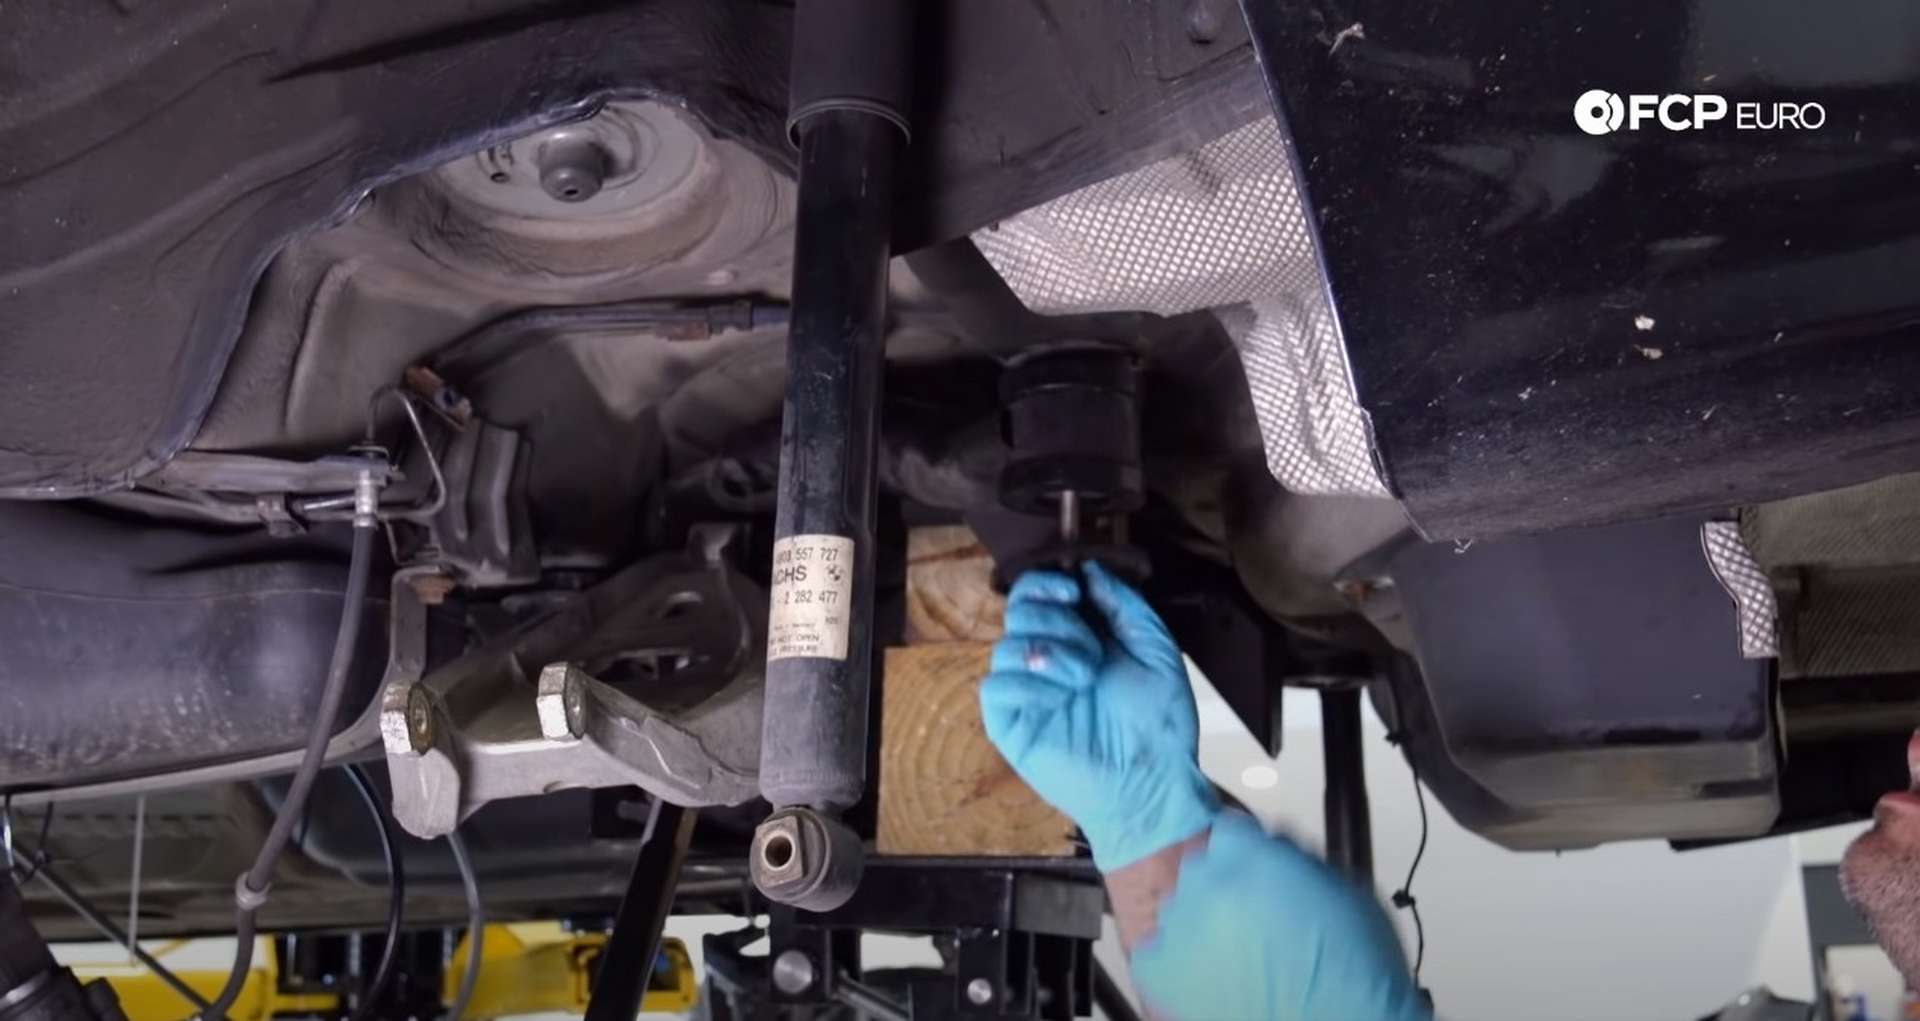
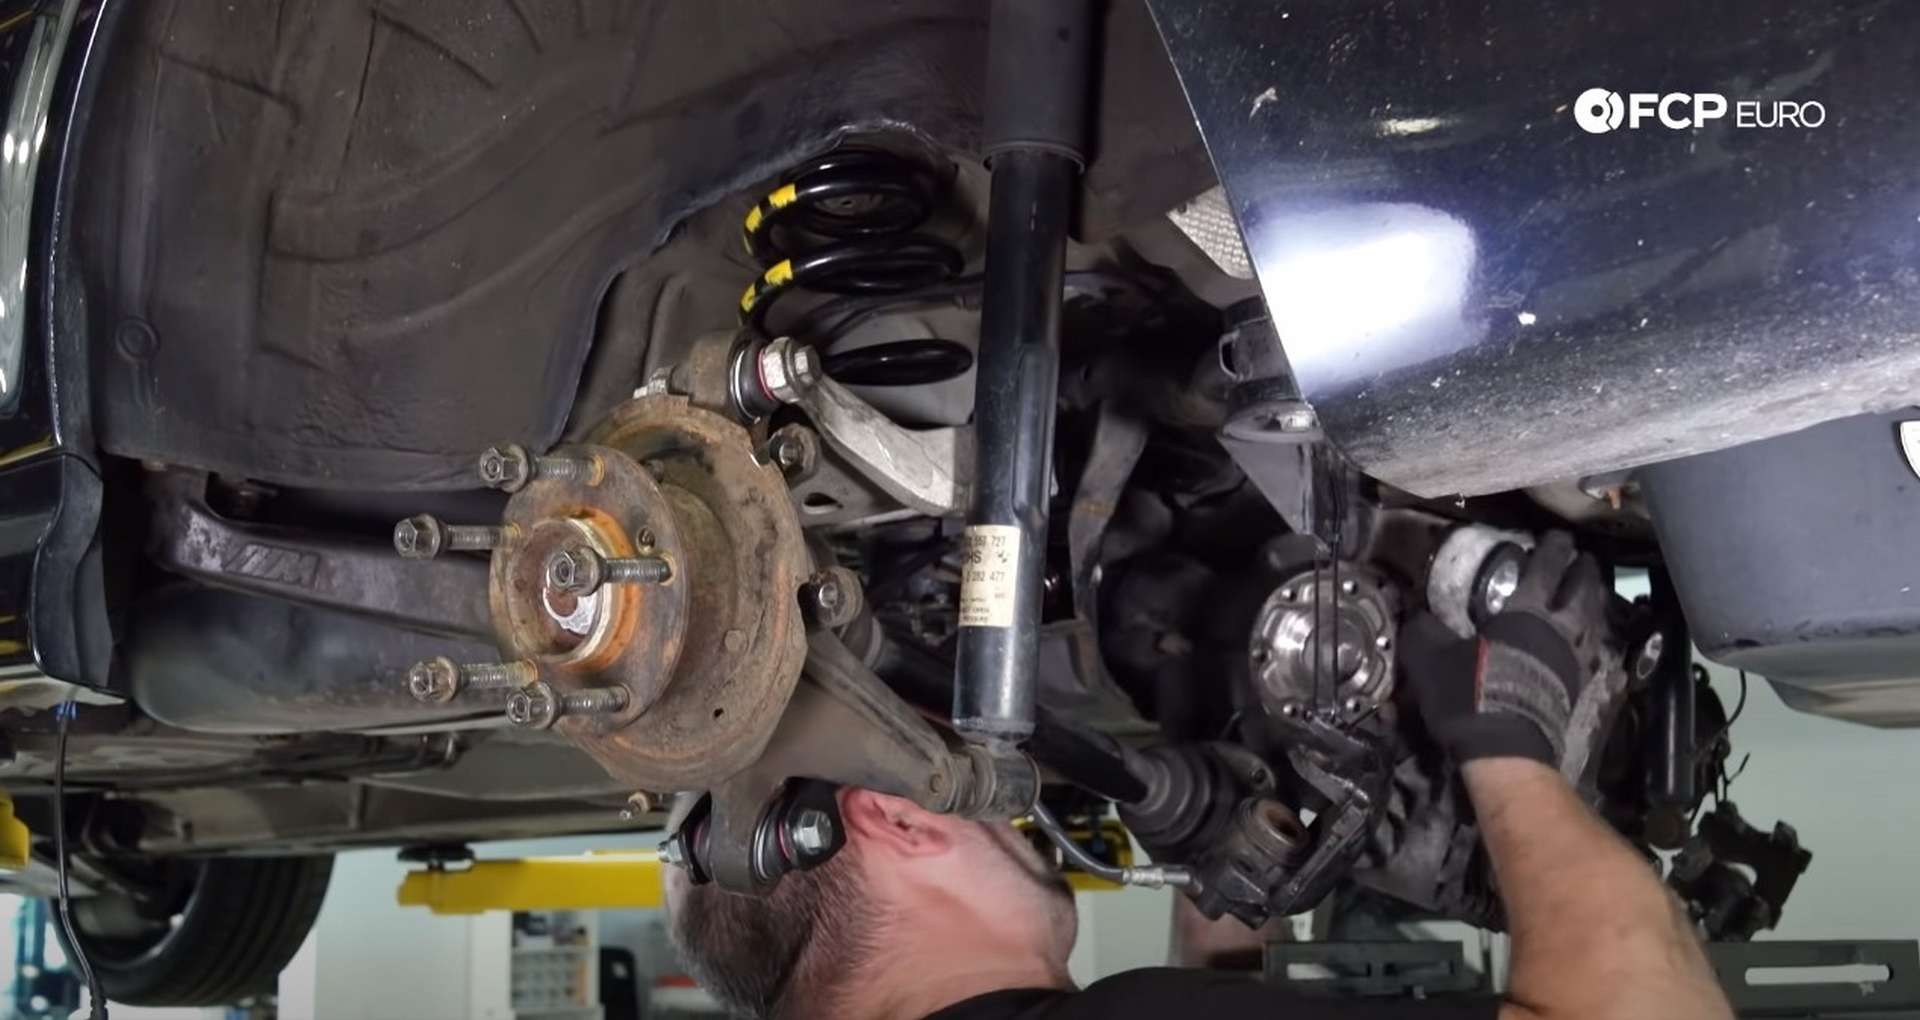
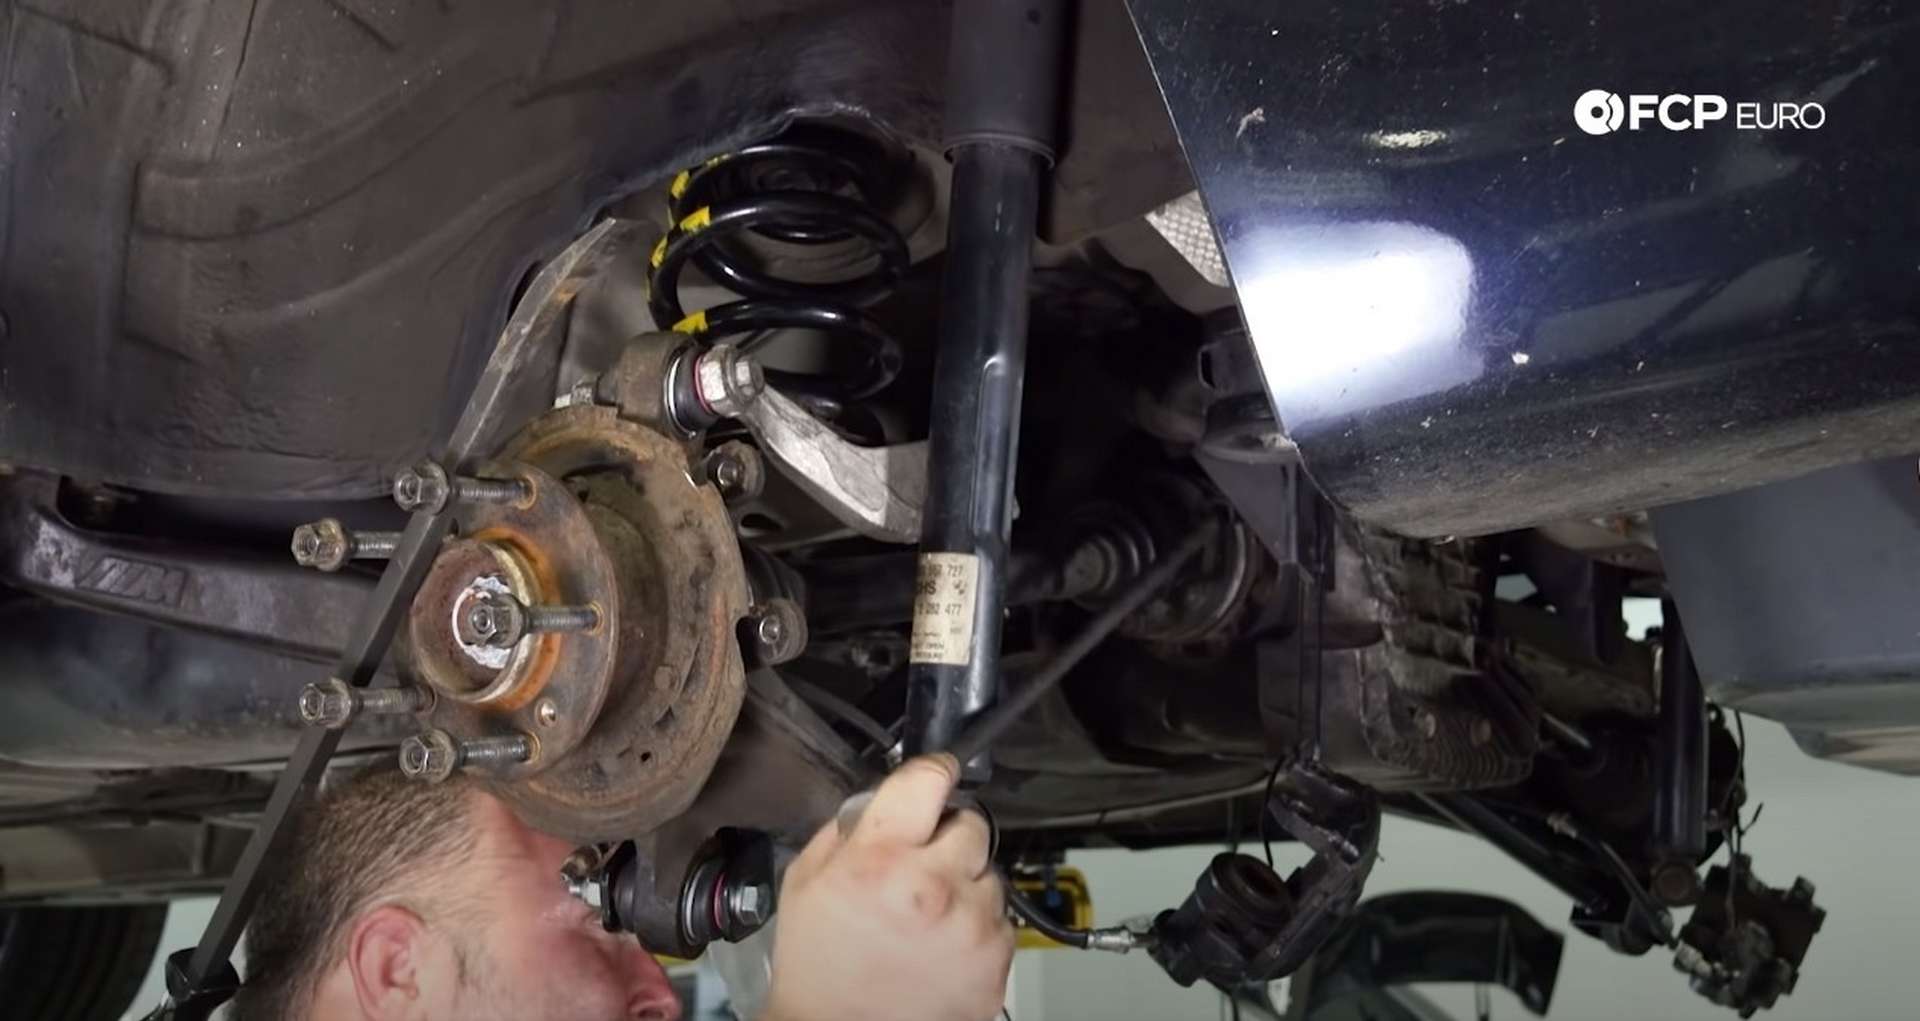
Pull the upper control arm down and fit the spring into place. Then, use a jack to compress the spring to line up the shock absorber’s mounting hole.
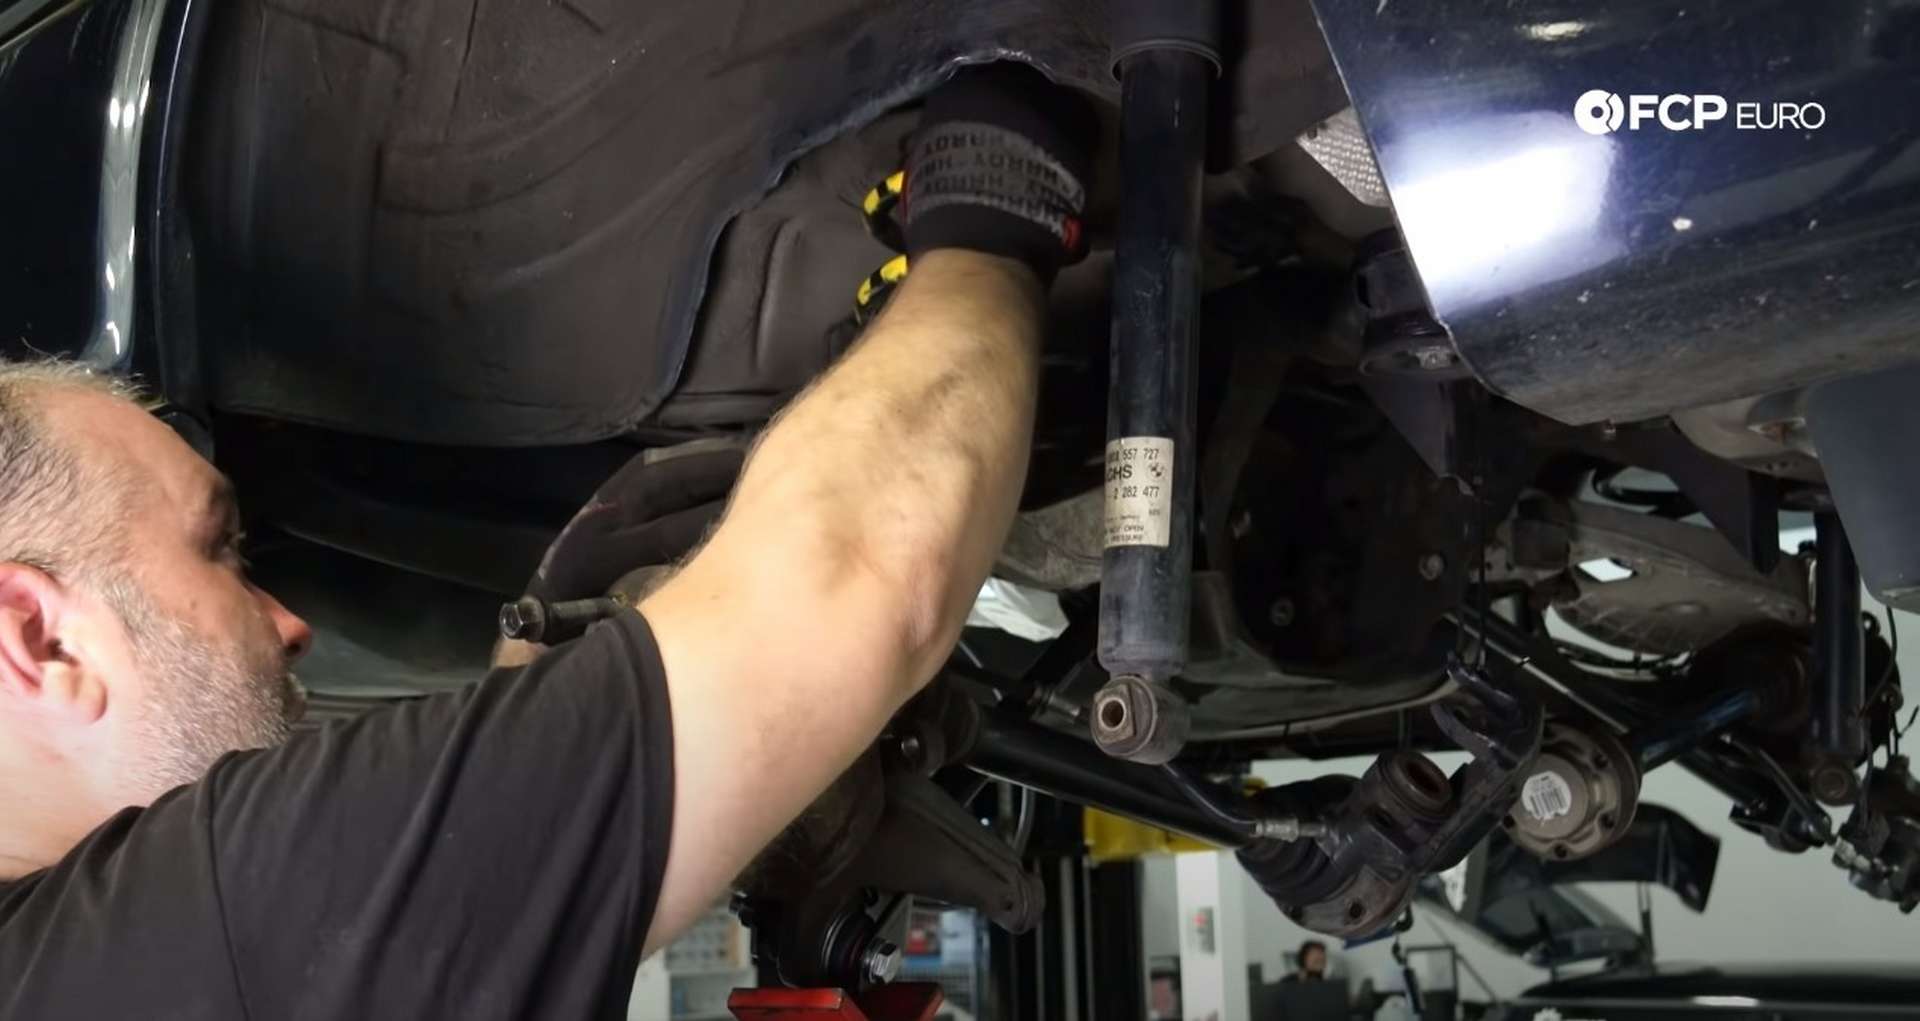
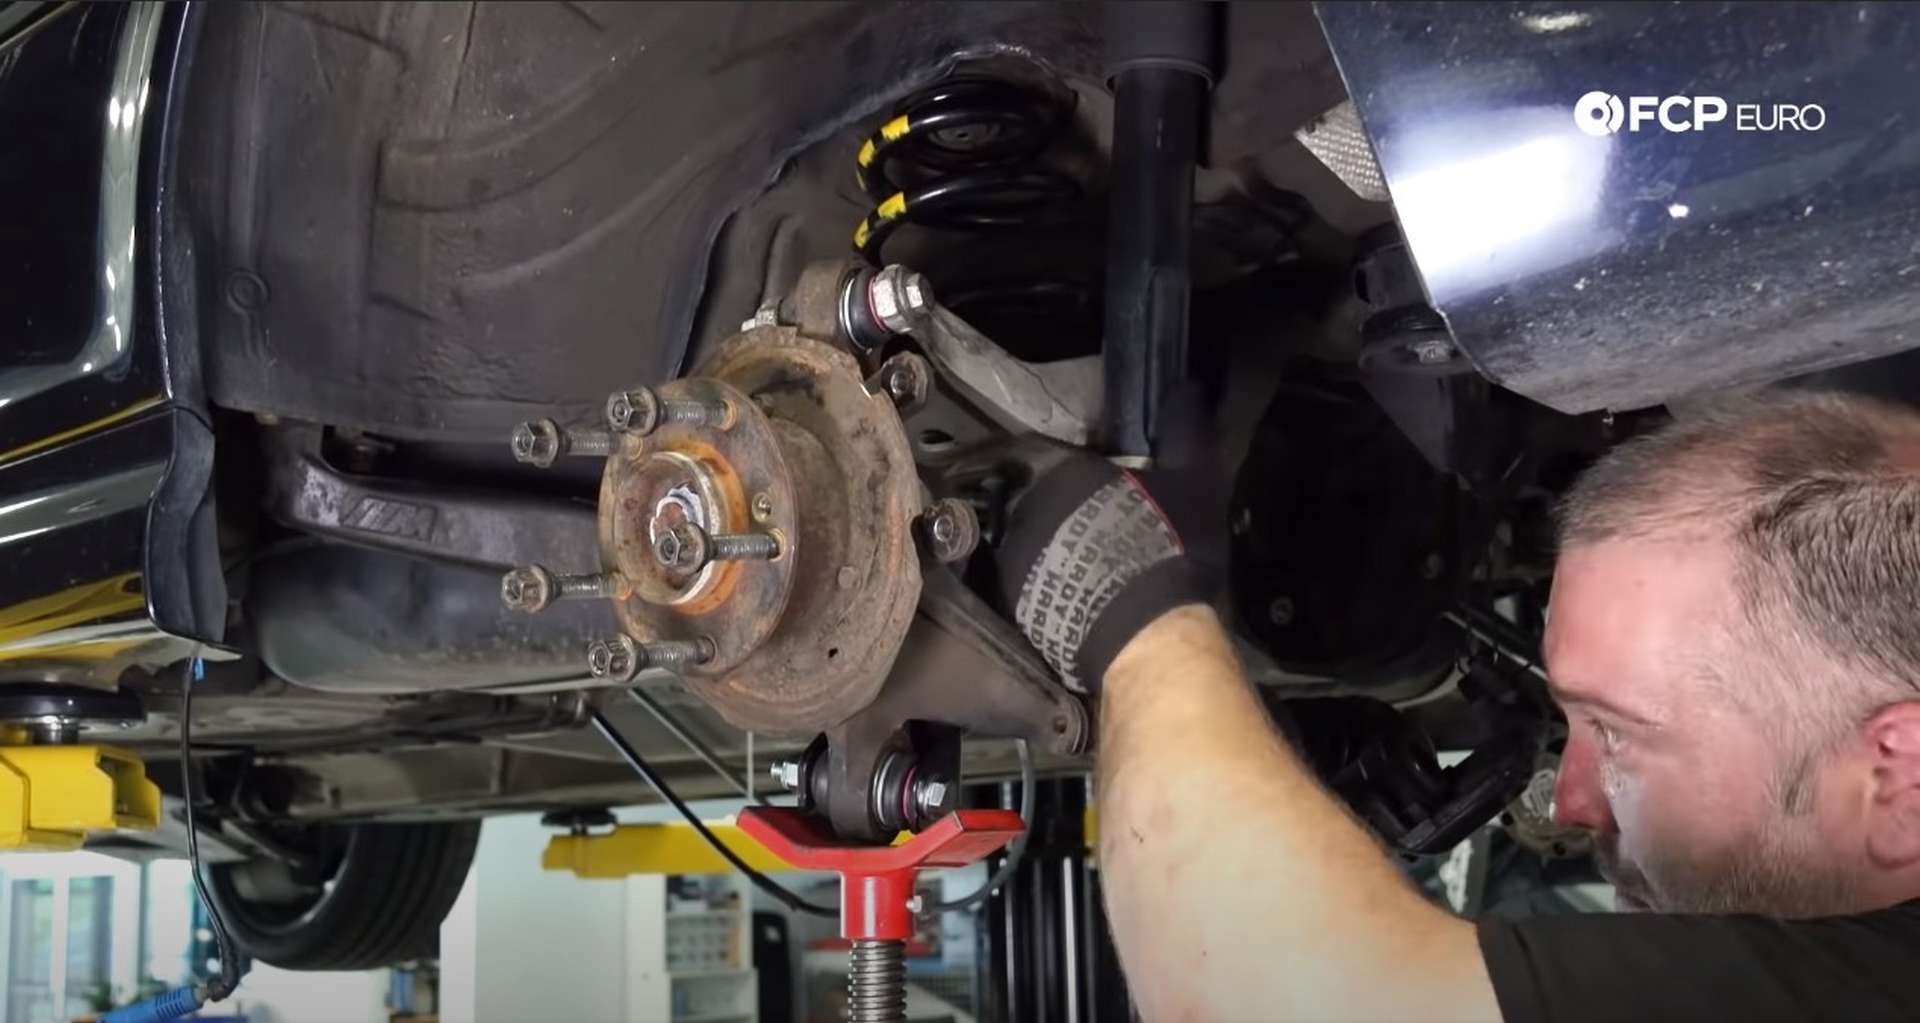
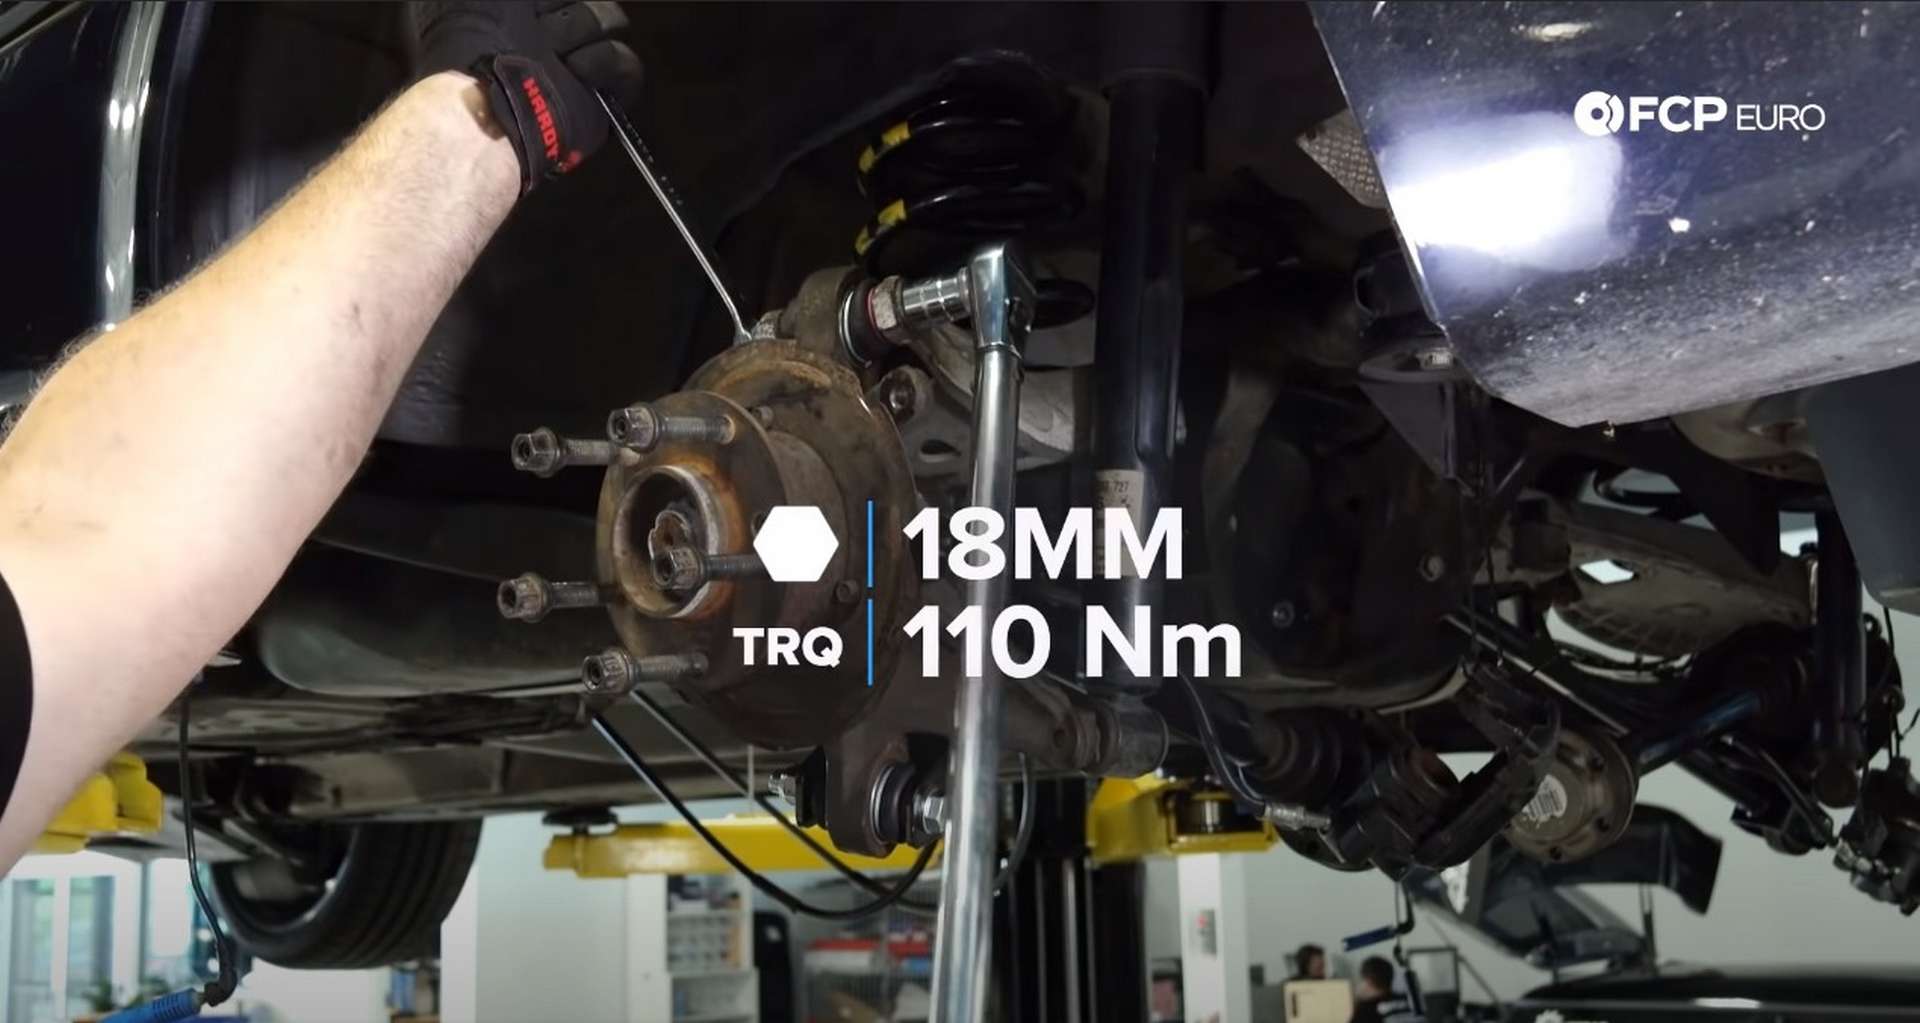
Use an 18mm socket to torque the shock bolt to 82Nm. Raise the suspension back to ride height and use the 18mm socket to torque the inner camber arm bolt to 77Nm. With the suspension raised or lowered, use the 18mm socket to torque the outer camber arm and upper control arm bolts to 110Nm.
Before putting the differential back into the subframe, reroute the parking brake cables through the subframe and pull the brake calipers through the two suspension arms. Rehang the calipers on the back of the suspension or loosely mount them to the knuckle.
Step 4: Reinstall the differential
Lift the differential into the subframe with a jack. Slide the snout forward into the cradle and then lift the back of it to line up the two bolt holes on the differential cover. Make sure that all three bolts thread in by hand before you tighten them.
The Revshift bushing kit comes with new hardware. The front differential bolt now uses a 22mm socket, and the rear bolts use a 16mm socket.
Next, thread in all of the axle bolts and use an E12 socket to torque them to 100Nm. Use a pry bar through the wheel studs to prevent the axle from rotating.
To bolt the driveshaft up to the differential, you may need to unbolt the center driveshaft support. Unbolting the center will give you enough space to get the driveshaft flange seated in the differential flange. Use an E14 socket to install the driveshaft to differential flange bolts. Torque the bolts to 70Nm.
Next, use an 18mm socket to torque the subframe nuts and bolts to 77Nm.
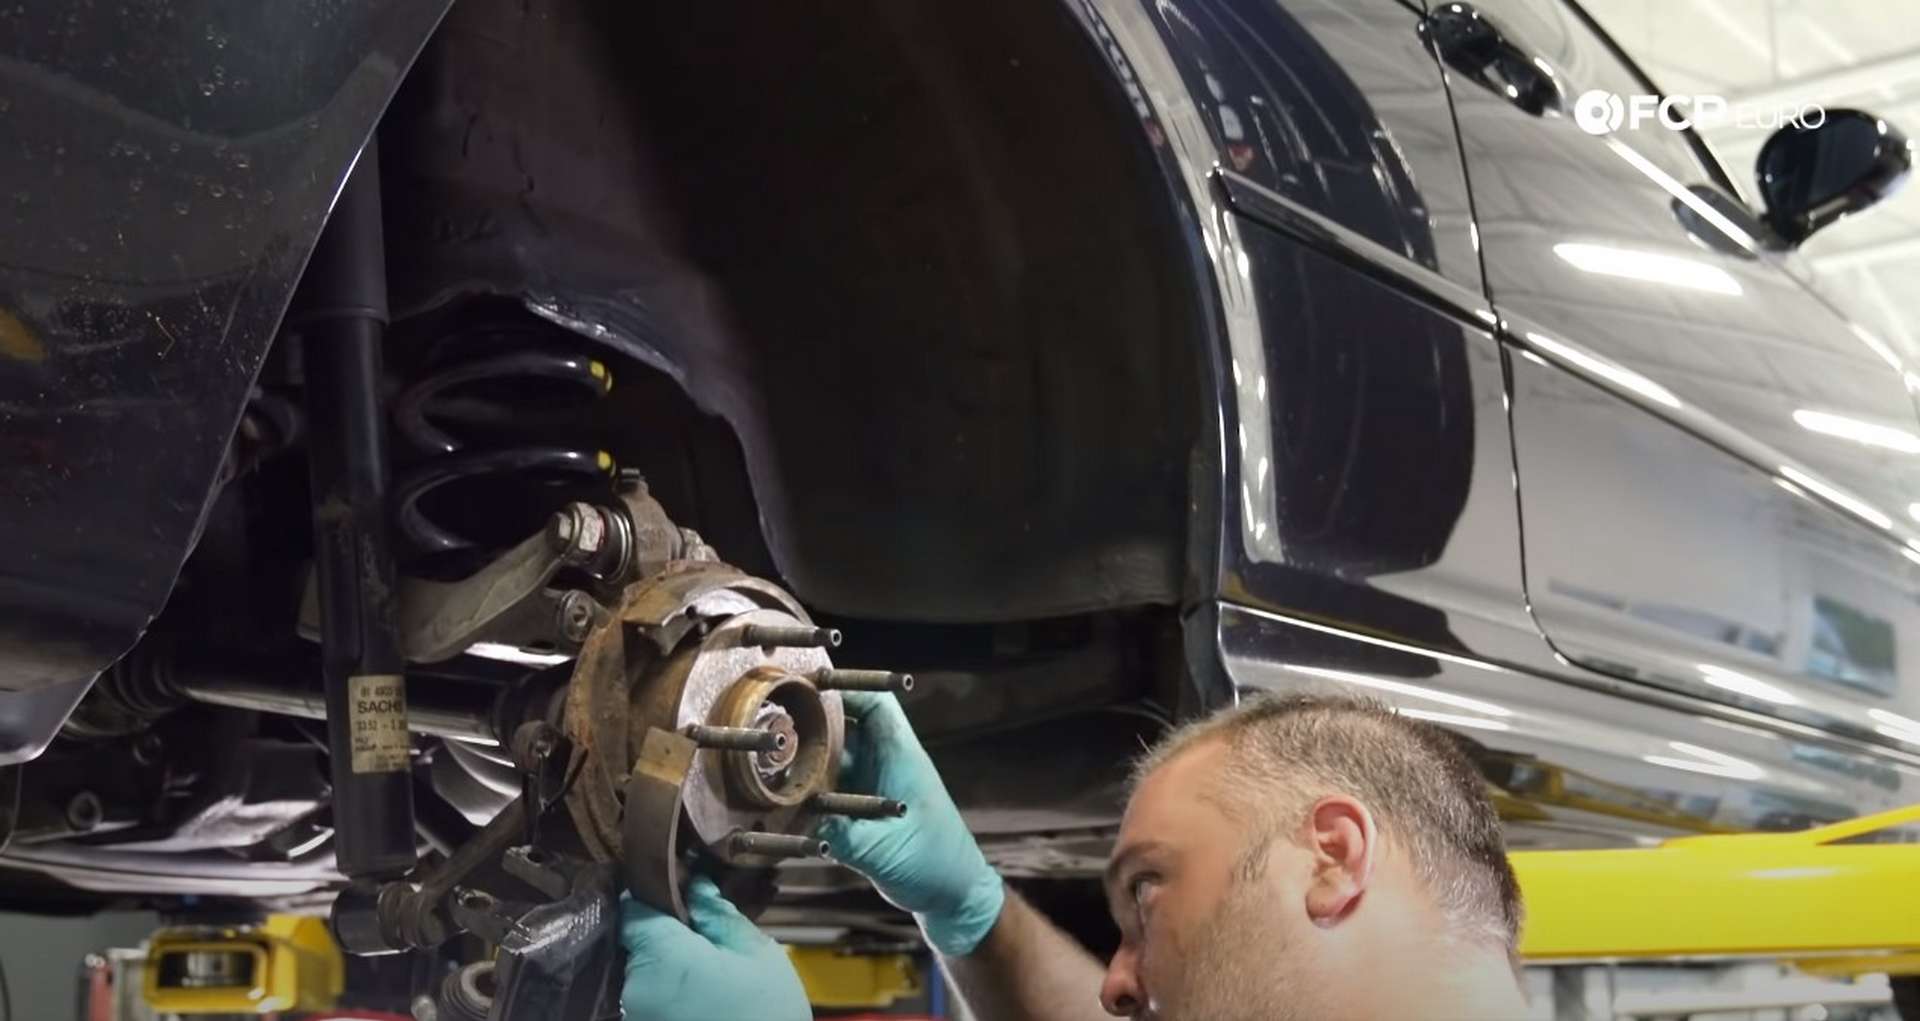
Step 5: Reinstall the brakes
If you haven’t done so already, pull the parking brake cable through the backing plate. Then, hook the expander onto the cable’s end and then push it down over the cable to lock it down.

Then, Take the parking brake shoes and fit them onto the expander. Have the shoe locks ready as you install the shoes onto the expander. Compress the locks with an Allen key and then rotate them 90° once they go through the backing plate.
Place the parking brake adjuster between the two shoes, opposite of the expander. Then, hook the spring onto the shoes, over the adjuster.
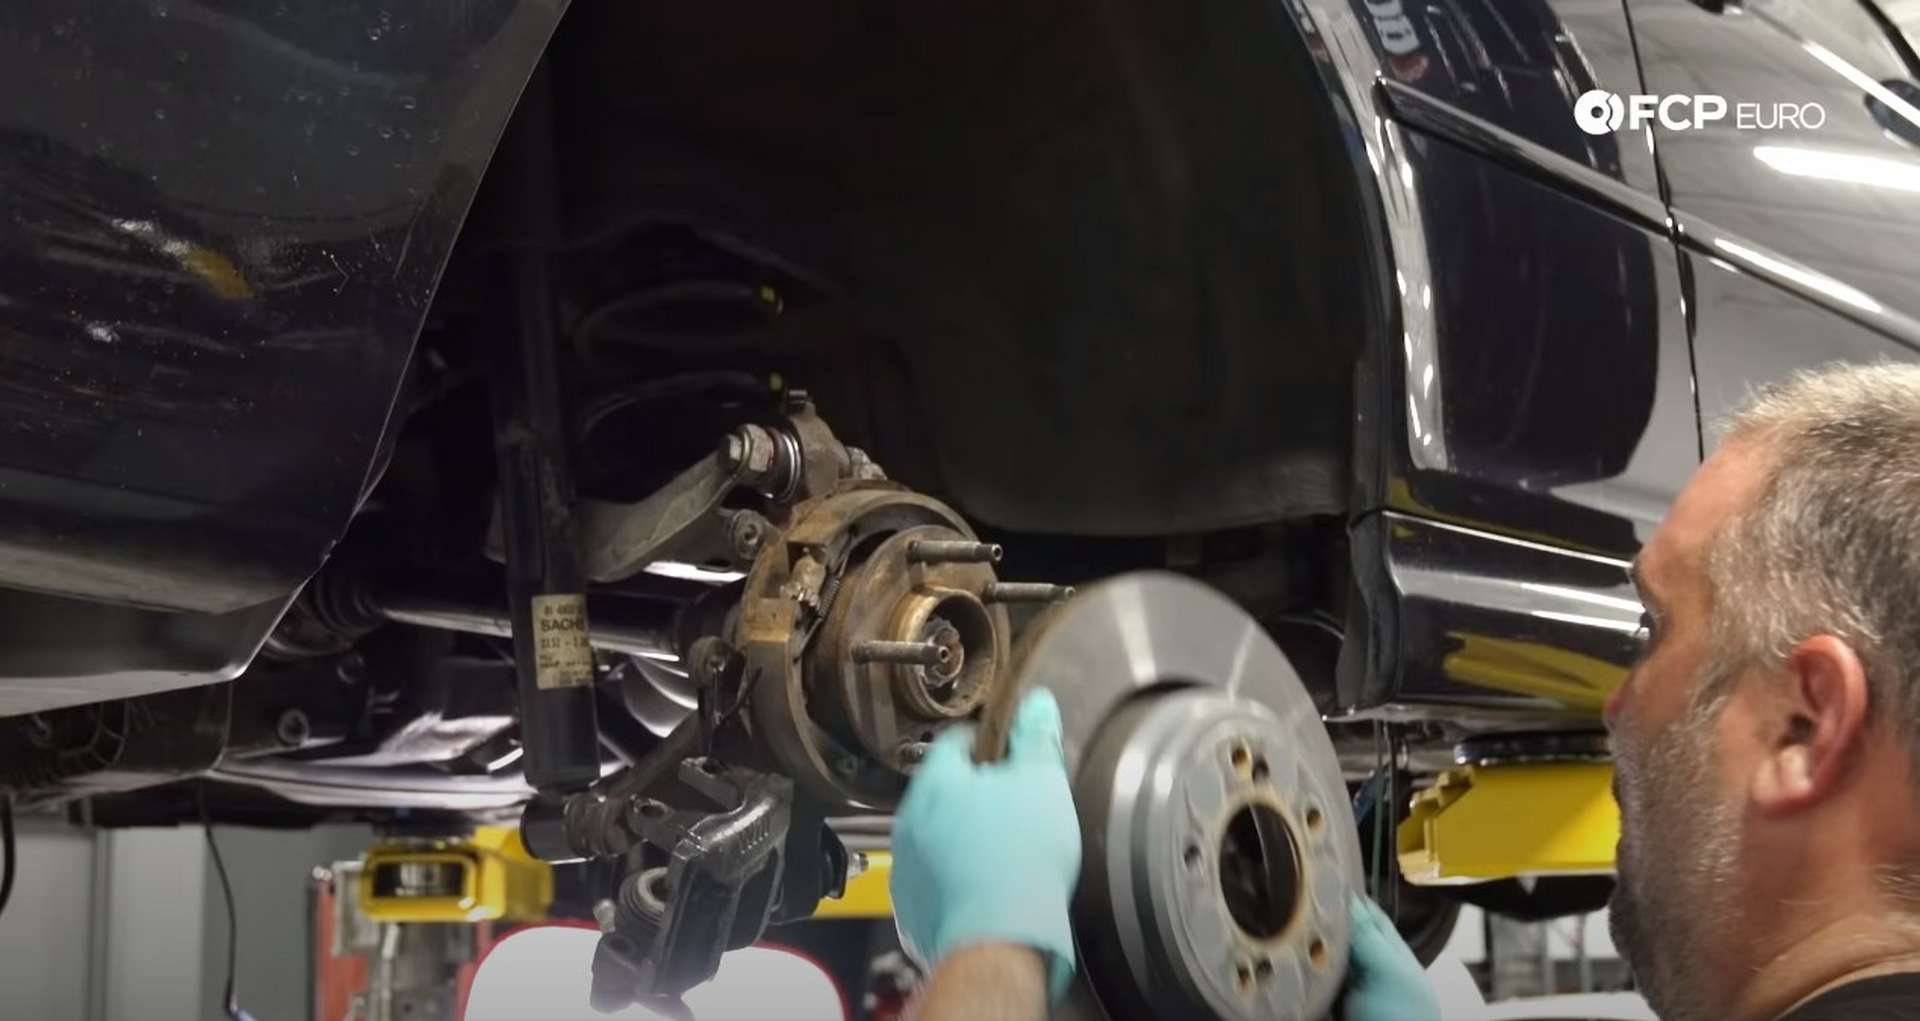
Next, slide the rotor onto the hub and install the set screws with a 6mm hex bit socket. After that, use a 16mm wrench or socket to bolt the caliper bracket onto the hub. Install the front pad into the caliper bracket and the rear pad into the caliper piston. Slide the caliper over the rotor and onto the bracket. Use a 7mm hex socket to install the caliper guide pins, mounting the caliper to the bracket.
Step 6: Reinstall the exhaust
Lift the exhaust heat shield into place and secure it to the chassis with its four 8mm bolts. Then use a jack or a partner to lift the exhaust into place.
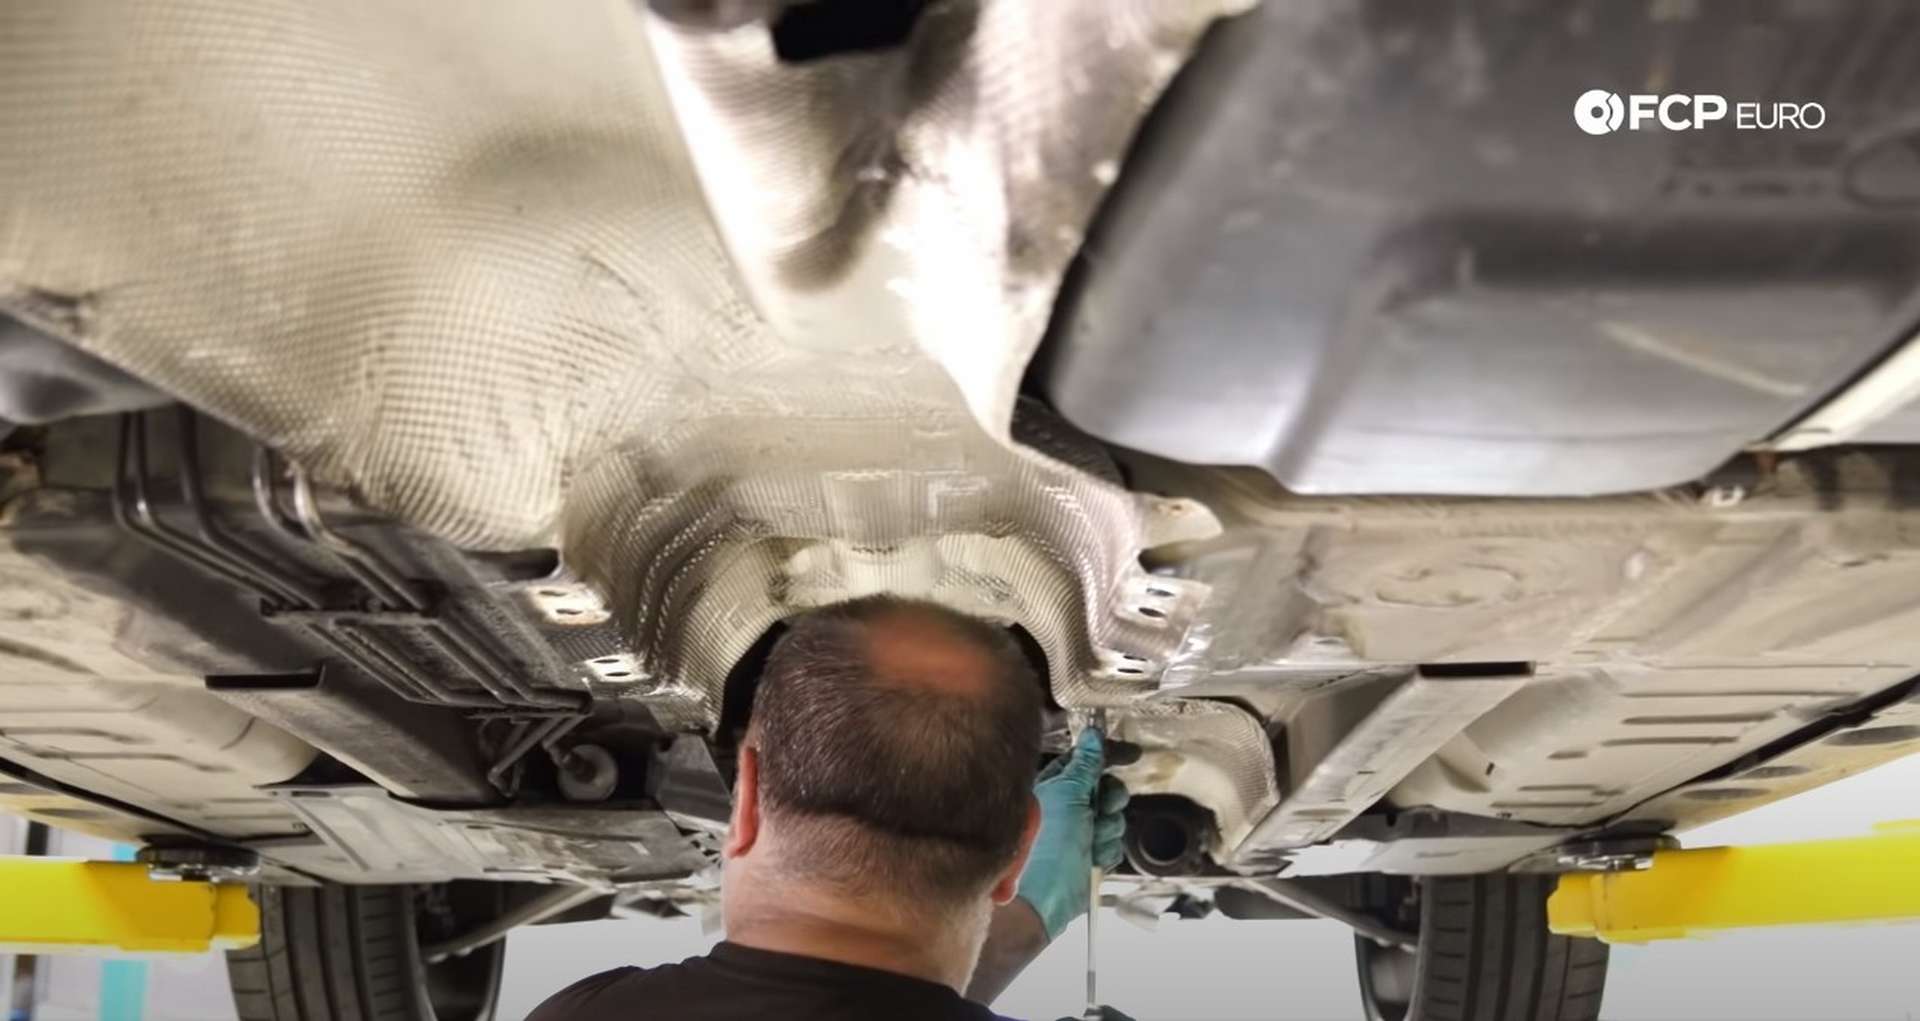
Support the exhaust with some jack stands while you bolt it to the rest of the exhaust and reconnect the exhaust hangars. Use an E12 socket for the exhaust nuts while counterholding the bolt with a 14mm wrench.
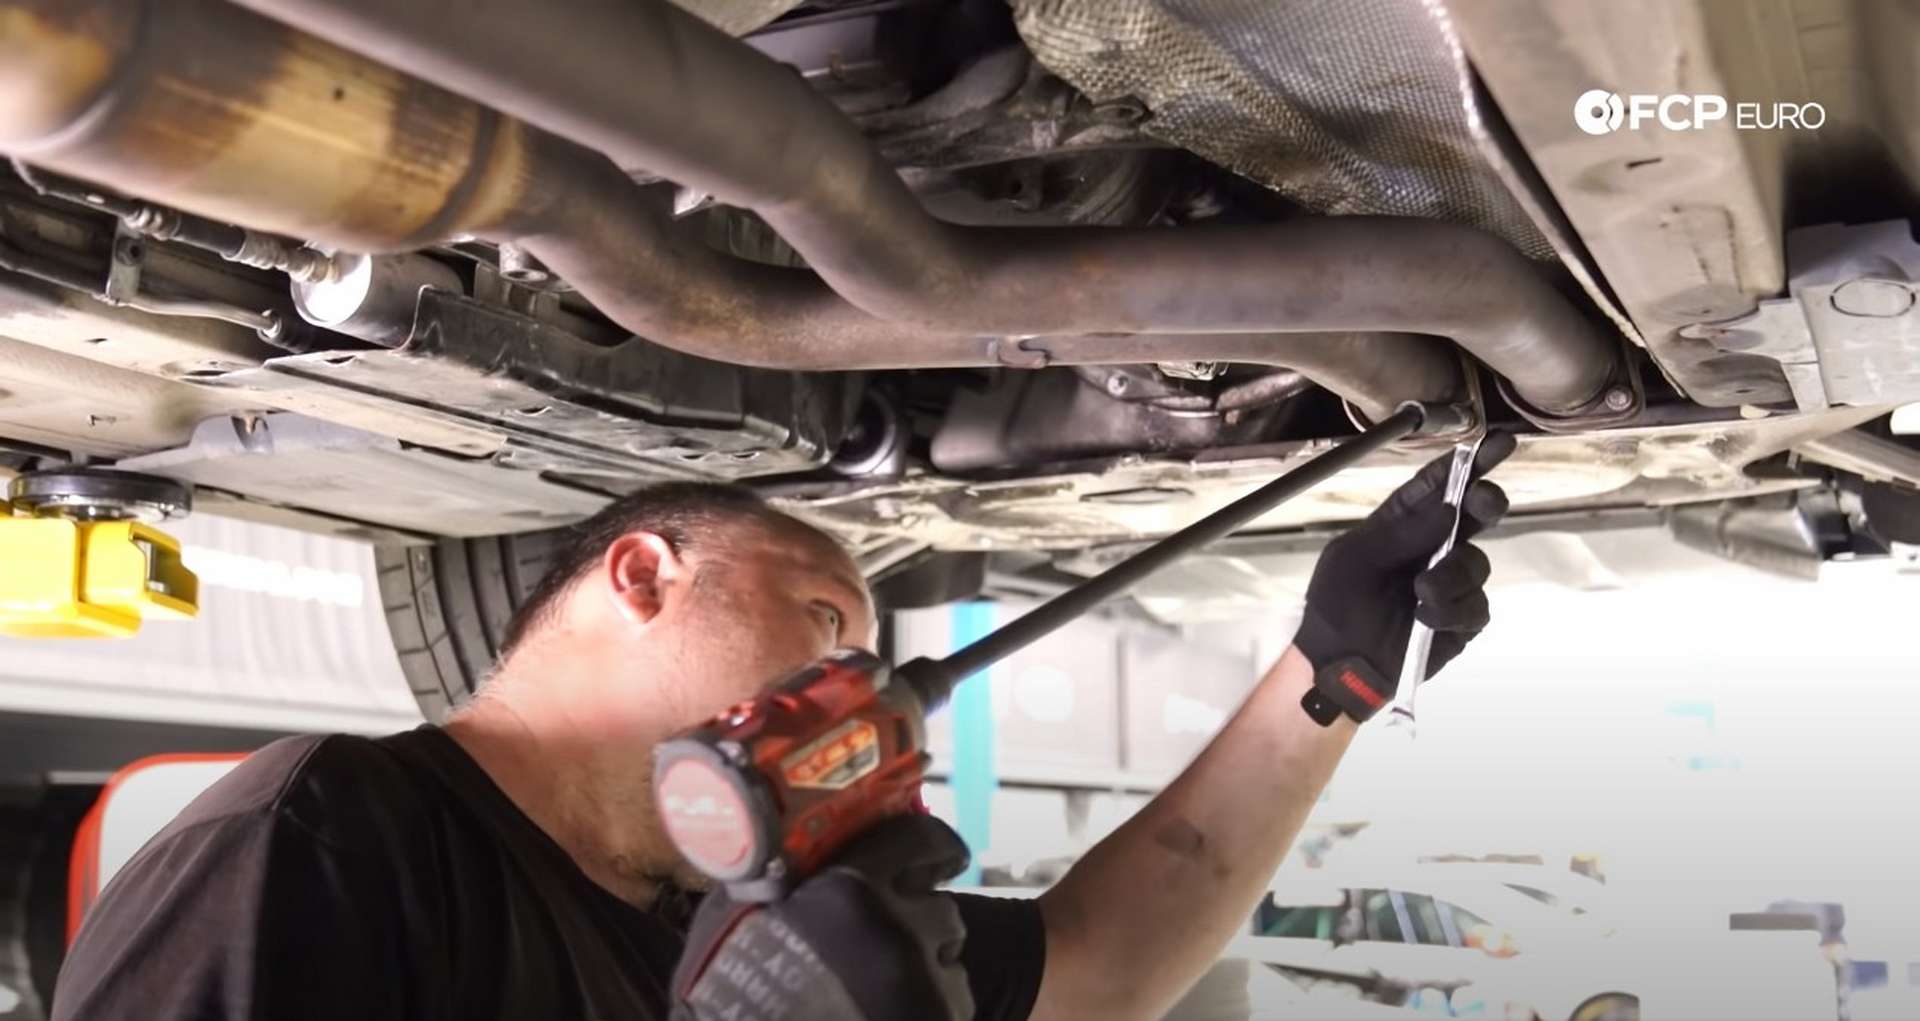
Use a 12mm socket to install the six bolts for the three exhaust hangars. Then, refit the small heat shield that covers the subframe mount that sits above the exhaust. Tighten the two heat shield bolts with a 10mm socket.
Two chassis braces sit at the back of the floor pan. Use a 13mm socket to tighten the four bolts per brace. The rear brace also has two 13mm nuts for the exhaust hangar located above it.
Step 7: Refit the last few braces and plastics
Take the rear sway bar and reinstall it. Use a 17mm socket for the four endlink bracket bolts and a 13mm socket for the four bushing mount bolts.
Next, plug in the wheel speed sensors and the brake pad wear indicator. Be sure to put the wires back into their retaining clips. Then, reinstall the two splash shields that sit over the gas tank. Use an 8mm socket for the four splash shield bolts. Fit the v-shped chassis brace over the splash shields and use a 16mm socket for the three bolts that mount it to the chassis.
BMW E46 M3 Rear Suspension Torque Specs
- BMW Rear Trailing Arm Brackets = 110Nm or 81.1 ft-lbs of torque
- BMW Upper Control Arm Inner Bolts = 77Nm or 56.8 ft-lbs of torque
- BMW Lower Shock Bolt = 82Nm or 60.5 ft-lbs of torque
- BMW Inner Camber Arm Bolts = 77Nm or 56.8 ft-lbs of torque
- BMW Upper Control Arm Outer Bolts = 110Nm or 81.1 ft-lbs of torque
- BMW Outer Camber Arm Bolts = 110Nm or 81.1 ft-lbs of torque
- BMW Axle Bolt Torque = 100Nm or 74 ft-lbs of torque
- BMW Driveshaft Bolts = 70Nm or 51.6 ft-lbs of torque
- BMW Subframe Bolts and Nuts = 77Nm or 56.8 ft-lbs of torque
If you’ve gotten to this point, the car should be back together and on the ground. While the heavy lifting is done, the job isn’t over. Next up, an alignment needs to be done on the rear of the car. I wouldn’t recommend driving the car to a shop with the alignment so out of range because you could damage the fresh suspension components. After the alignment, go and tear up the roads with your fresh rear suspension assembly. If you're interested in more DIYs for your BMW, you can visit bmw.fcpeuro.com and subscribe to our YouTube channel.


