- 03/24/2015
- 2 Min Read
- By: Tim Wong
How to Install a Lower Steering Column U-Joint in a RWD Volvo

A lower steering column joint in a RWD Volvo can be a major contributor to odd noises from the steering, as well as an indirect feeling between your steering wheel and the road. I was tired of hearing a clunk every time I turned the wheel, and also feeling like there was more slop in the steering than was normal. I had already replaced the ball joints, outer tie rod, and steering rack, so there was really only one component left in the system. Okay, fine, there's still the inner tie rods, but that will be changed another day.
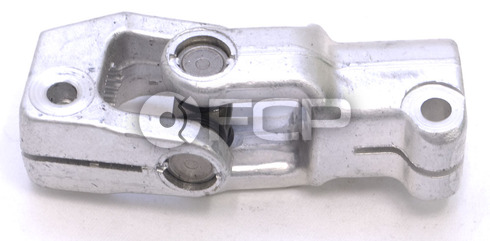
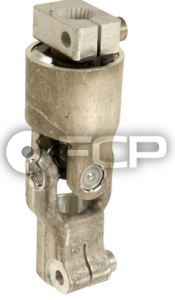 The u-joint is a pretty basic component, and you only need basic hand tools to remove. There are two types of U-joint for 7/9 Series RWD Volvos, but they both install the same way.
Later Style: Volvo Steering Coupling (740 760 940 960 S90 V90) Genuine Volvo - 9191466
Early Style: Volvo Steering Coupling (740 760 780 940) - Pro Parts 1359712
Step 1: Center your steering wheel. This step is only for your own convenience. You may find the need to lock/unlock your column so that you can spin the U-joint around to access bolts and remove them. It is not overly necessary to make sure the column is in the same place as when you left it since there is only one way that the U-joint can be installed. It’s not physically possible to install the U-joint in any other position. For other vehicles, this step may be more necessary than I make it out to be.
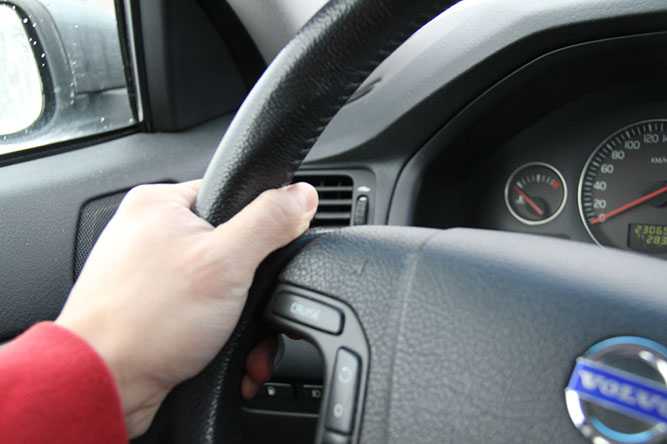 Center your Steering Wheel
Step 2: Remove the belly pan and remove the safety pins on the nuts.Take a look at your U-joint and remove the safety pins. You just need a set of needle nose pliers to remove them. There will be one at the top nut and one at the bottom. Don’t lose them!
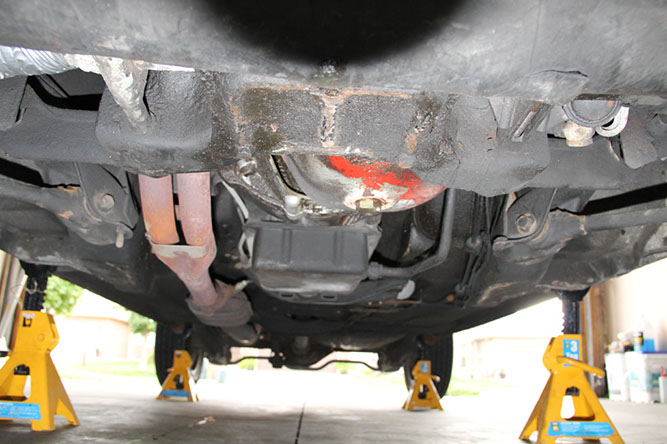 Remove Belly Pan
Step 3: Remove the nuts. A simple step, yet it can be frustrating. You may find it easier to lock the steering column in a way that you can access the bolts. Otherwise, you can always get a helper to hold the wheel steady while you undo them. Loosen the nuts while holding the bolt with a wrench.
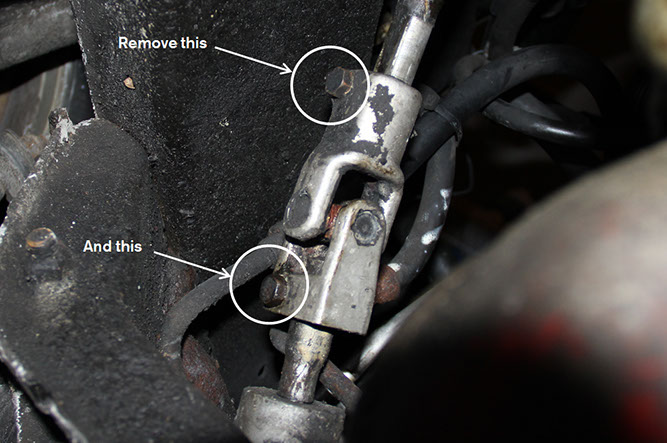 Remove bolts on U-joint
Step 4: Remove the U-joint. What you’ll want to do is take a flathead screwdriver or a chisel and hammer it into the grooves along the length of the U-joint. This is to widen the joint and help yourself in removal.
Once you feel you’ve been able to separate it a little bit, it doesn’t take much to remove it. Take a long flathead screwdriver, place it into the lower grove from the bottom, and hammer up until the u-joint is off of the steering rack. All that’s left is to slide the joint down, and off the steering column. If your joint is still stuck, hammer into the grooves more, and also lubricate the column with some lithium grease.
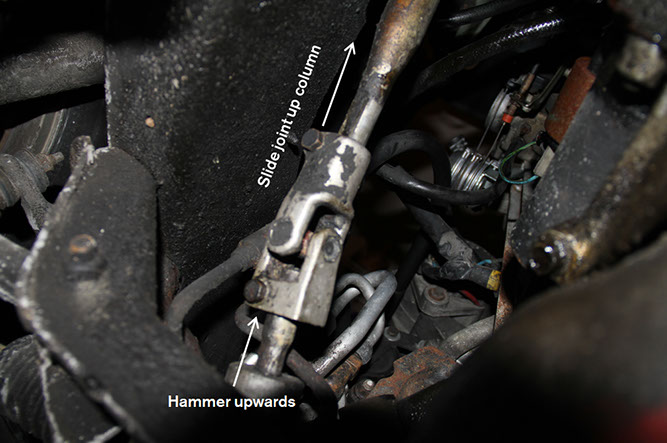
Remove joint by hammering upwards along the steering column until joint is off the rack.
Step 4: Reinstallation. Apart from a few small notes, installation really is the reverse of removal. Reinstall the joint, the bolts, and don’t forget to reinstall the safety pins! The most important part is when tightening the bolts. As you're tightening, you will feel it getting progressively more difficult to tighten until a certain point. This point will feel much harder to tighten. Once you're at this point, tighten the bolts slightly more, and you should be good to go. Enjoy your new found joy of another step towards a properly functioning steering system.