First off, let me explain that my experience as documented below was an extremely rare occurrence. A perfect storm of weather, new parts, and regular maintenance mixed to create a headache which was only resolved when I dug a proverbial hole to the crux of the issue. Although you may not run into the exact issue that I encountered, each step I took could be a good lesson for the common DIYer.
The problem
At the start of the winter season, I installed a new set of winter tires. As the only size available that would fit on my rims, as well as being within specification for my car, I picked up a set of 195/65/15 tires. Previously I had 195/60/15 tires. I drove on these tires for a day or two with nothing amiss until I had to brake harder than normal when coming to a stop. If you’ve driven a Volvo, you’ll know that they have some of the best brakes in the business. To a guy who has always had perfectly functioning brakes, it was disconcerting to say the least. It wasn't a major issue, but the fact that my car wasn't slowing me down as quickly as I had expected made me wonder about whether something was amiss.
Stepping on my brake pedal, my foot would sink, then it would seemingly hit the floor. At this point, it felt like I had about ½ the braking performance it normally would. To get back my other half, my car was constantly testing the strength in my right leg, making push much harder to get more performance from my brakes.
For the next day or two, I stomped on the brakes occasionally to test out my car. Sometimes it would feel fine, but others not. Logically thinking, if you just made a change to your car and then something goes wrong, you would chalk it up to that change being the problem. So in my mind, I theorized that the increased 5mm sidewall profile of the tires in combination with the softer rubber of winter treads would reduce the braking performance of my car.
But like many theories, the engineer in me came knocking on my door and told me that something wasn’t right. How could a 5mm increase in diameter cause such a drastic reduction in braking performance? It wasn’t long before I started searching for other answers.
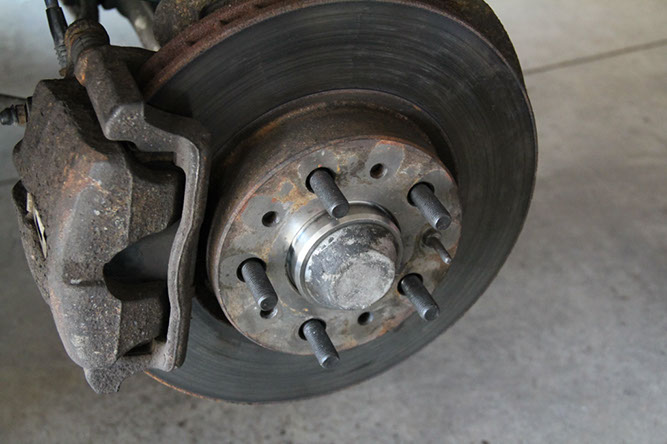
 Ceramic brakes work great.
Lesson # 1: Ceramic brake pads don’t work extremely well in the cold (but they’re generally fine if your braking system works well)
Cost: $22.00
Chalk this up to both a truth and an exaggerated truth. The previous summer, I had installed ceramic brake pads. I was extremely happy with the upgrade as this led to much cleaner wheels and quieter braking from my previous pads. If you’re wondering, ceramic brake pads are definitely worth the increased cost.
Fast forward to the winter and my mind wandered over to the compounds of my brake pads after ruling out my tires as a culprit. As I had been reading, ceramic brake pads were lousy in the winter. With temperatures far below zero, when I needed to stomp on the brakes after cruising the highway, the brakes would be stone cold and the pads would do nothing more than slide along like skates on an ice rink. Or so I thought.
I convinced myself that I needed to replace my pads with a more winter-ready material, good ol’ fashioned semi-metallic brakes. Sure enough, although I could feel a small increase in initial bite when braking, there was not a big difference between compounds. In a double blind test, I'm sure only a racecar driver would be able to tell the difference.
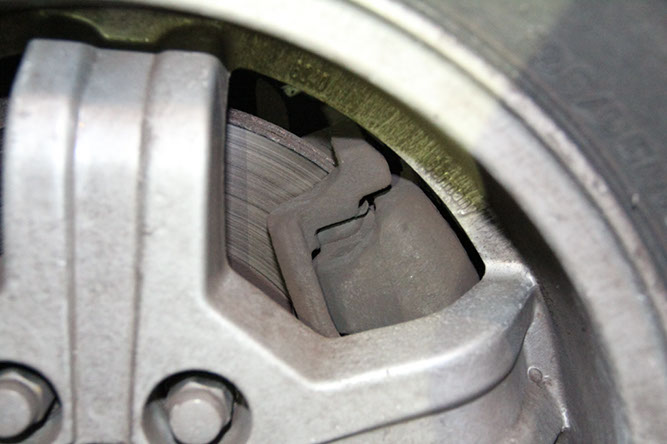
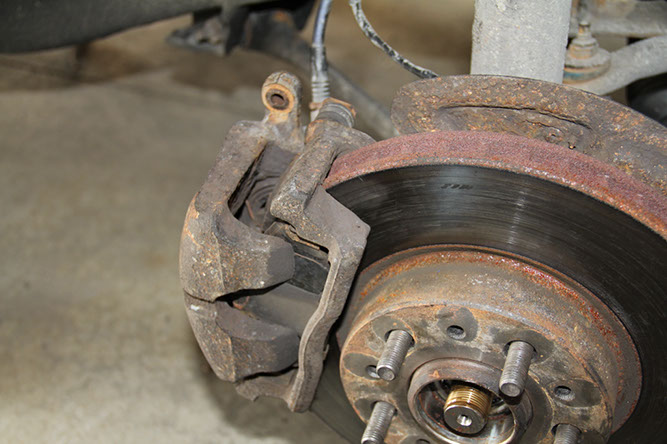 Removing brake pads for caliper rebuild.
Lesson #2: Rebuilding a brake caliper will not cause a reduction in braking performance (if performed correctly).
Cost: $20.00
A week earlier, I had replaced the seals on my front driver's side brake caliper. One of my brake pads had uneven wear from a sticky caliper piston, so I made sure to take care of the issue before it got any worse. I’ll admit, it was my first time rebuilding calipers so after finishing, although my brakes felt fine, I had a feeling that I might have done something wrong. No, it is not a good feeling to think that you messed up your brakes.
Ruling out the tires and my brake pads, my caliper rebuild was the next suspect to be interrogated. I pulled apart my front caliper once again, triple checking every step, and put it all back together. Using a power brake bleeder, I bled the brakes enough times that if it were a human, they would have had a full blood transfusion. I was sure I had fixed it this time, at least until I got back behind the wheel and stepped on the brakes. No good.
A trip to the dealer started to look more and more likely.
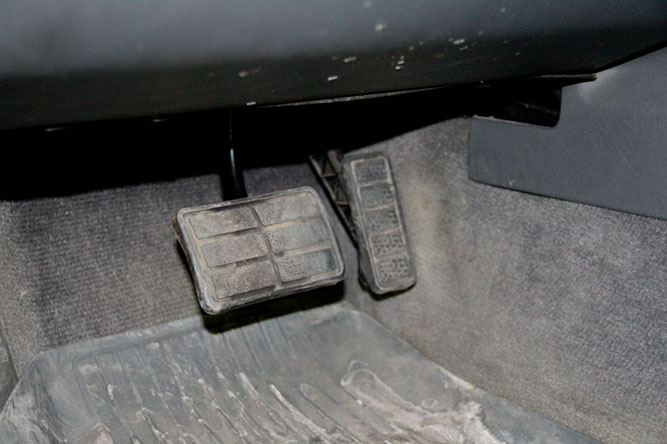 Check your brake pedal!
Lesson #3: If your brakes become hard to depress, check your vacuum system for leaks.
Cost: $25.00
One warmer than average winter day, my brakes magically fixed themselves. It wasn’t a gradual change, but a sudden, “Look at me!” difference. Sure enough, the next cold day, my brakes went on vacation. I guess this should have been my first suspect considering I did my own writeup on finding and fixing vacuum leaks a while ago, but I had myself a big vacuum leak. The smoking gun was my own little test that I would encourage readers to perform if they suspect something is amiss with their brakes.
While at a stop, step on the brakes just enough to hold the car still. If your brakes feel significantly harder at a certain point, hold your brakes there. Shift into neutral which will raise the RPM slightly. If something is off, your brake pedal will drop significantly farther to the floor, as if braking assist had just activated. What this indicated to me was a vacuum leak somewhere which did not allow the proper pressure to be accumulated inside the braking system. Note: in a properly functioning vehicle, it may be normal for a brake pedal to drop slightly lower with an increase in RPM.
 Synthetic oil really can wreak havoc on older cars.
Lesson #4: Synthentic oil really can cause havoc on older engines (in combination with cold weather)
Cost: None
The internet still doesn’t have a definitive answer about what oil to use in older cars. Even I still don’t have an answer, but what I can say is that high mileage oil makes a difference. Oils specified for vehicles with high miles generally have more cleaning agents as well as other more advanced fluids in it that causes some rubber seals to swell. Switching to a synthetic oil which is missing these additives will allow the seals to reduce to their normal size, and many times, cause oil leaks.
In my case, the switch to synthetic, as well as the cold winter weather allowed my previously happy vacuum system to spring leaks around every 25 year old o-ring.
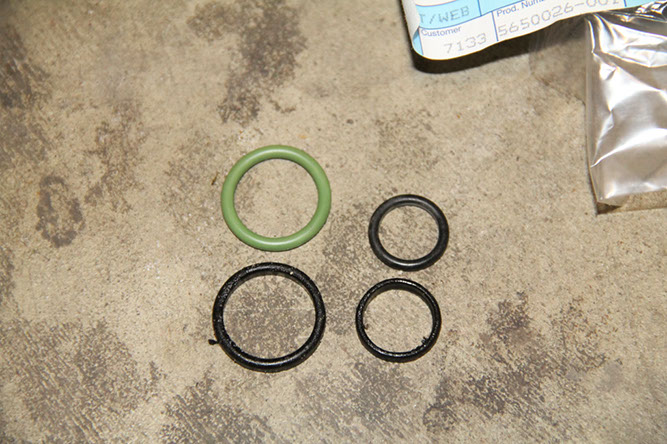 PCV Oil seals. New on top, old on bottom.
Lesson #5: A loud exhaust may be an indicator of vacuum leaks
Cost: $250
This is where I found out that vacuum leaks are a leading factor in unknown problems in older vehicles. I knew I had a leaky exhaust. It was evidenced by multiple pinhole leaks with a pressurized exhaust system and a bottle of soapy water. I figured all these leaks would certainly contribute to the loud exhaust. Soon enough, out went the old and in with the new. Imagine my surprise when the new exhaust didn't really quiet things down. If you closed your eyes and imagined it being quieter, it would be. But to anyone else it was the same old loud leaky exhaust.
The final culprit was the PCV oil trap. over the years, the o-rings had become hard as rock and couldn't seal a single drop of oil, let alone the vacuum of the engine. After replacing the seals, my car quieted down to a point that it was eerily quiet. My theory is that the engine was now operating with a proper air/fuel mixture and the combustion was much closer to stoichiometric rather than lean. This mixture allowed the engine to operate with proper timing instead of needing to advance or retard the timing, increasing the exhaust noise. Of course, with a fixed vacuum system, my car's brakes worked properly once again, going to show that sometimes the first culprit isn't always the guilty one.
About the Author: Tim Wong

Tim is a Canadian from Windsor, which means he has plans to use his Volvo as an emergency space heater. He is a mechanical engineer by day and backyard mechanic by night. His mantra in life is to never break another bolt.