Blower motor acting strange in your P2? Is your Volvo S60 staying on after you remove the key? Or what if it's not coming on at all? The resistor could be at fault and FCP Euro is here to help.
Now if this is the case we need to verify that a function called "Afterblow" is disabled before replacement, as this is a feature programmed into the climate control module to keep the blower motor running for a period of time once the vehicle's ignition has been switched off. Why? The extra airflow will remove any condensation left on the evaporator thus eliminating any type of mold smell or moisture buildup. If the afterblow is disabled then see below for the replacement procedure. Let's get this party started.
Procedure
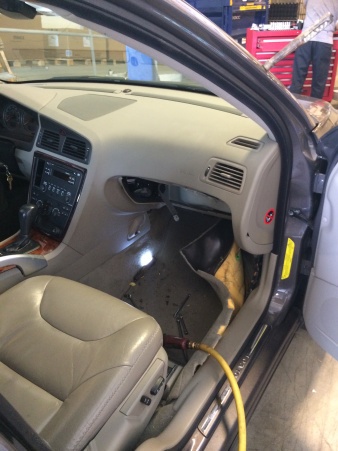
Make some room and move the passenger seat back as far as it'll go. You'll need the extra space.
Remove the under dash panel on the passenger side by removing the two T-25 torx screws and pulling down on the panel to remove.
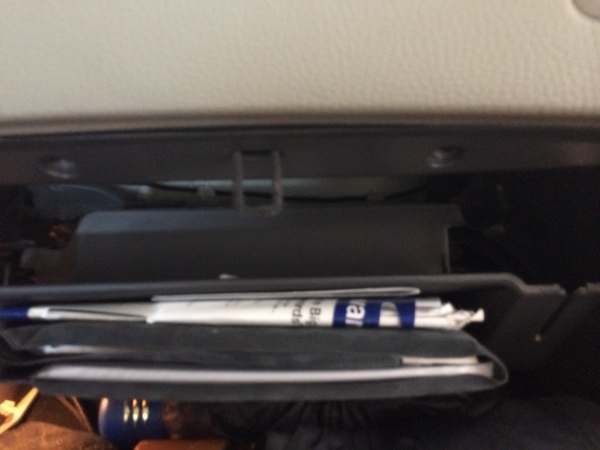
Next, open the glove box door. You'll need to drop this down as far as it'll go to remove it's mounting torx screws too. Notice once it's opened that there is small clip on the right side of the box that's inserted into a groove with a string attached. Pull / slide this clip up and out.
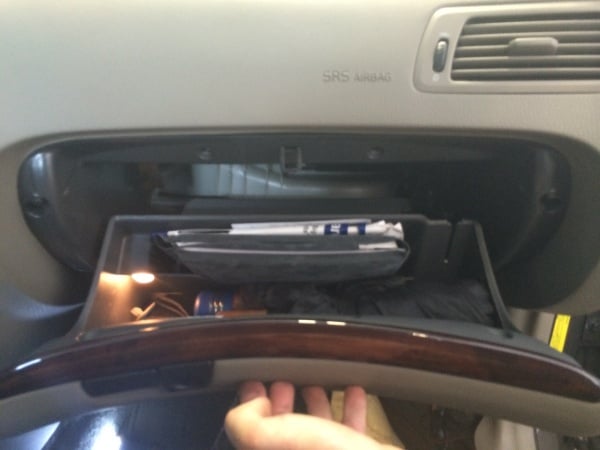
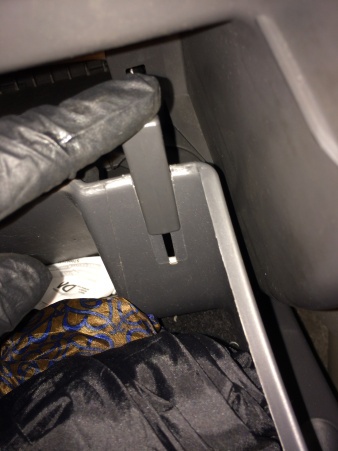
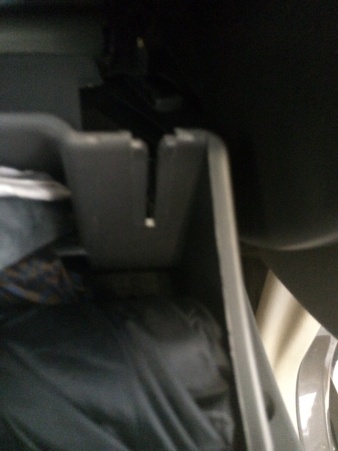
Next, reach your hand behind the box and you'll feel two plastic tabs which are there to prevent the box from dropping down. Bend each tab one side at a time so they no longer keep the box held up.
Once the box is dropped down, remove all of the T-25 torx screws and remove the entire glove box and door assembly from the vehicle. There should be about 8 screws. *NOTE* remove the two electrical connectors on the back of the glove box.
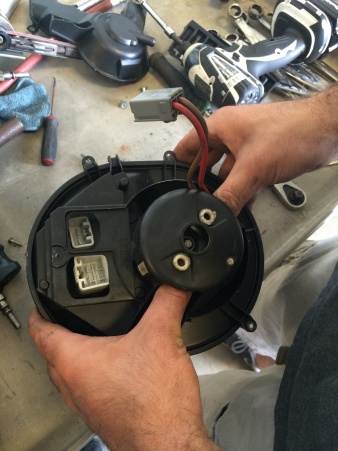
Now you should have enough room to access the 5 T-25 torx screws to drop down the blower motor. Remove the rubber drain hose, the one connector and drop the motor assembly down like it's hot.
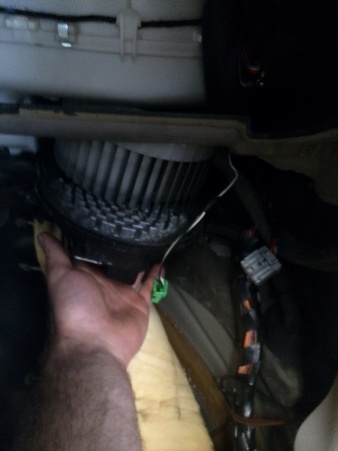
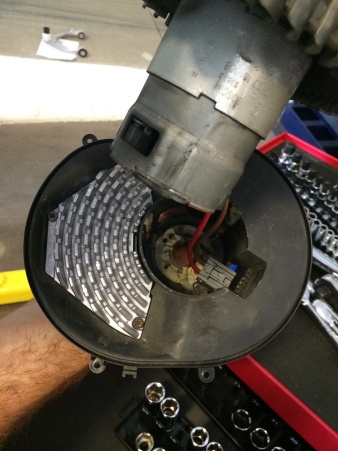
Next remove the top cover simply by prying it off with a screw driver. This will give you access to the motor and resistor mounting.
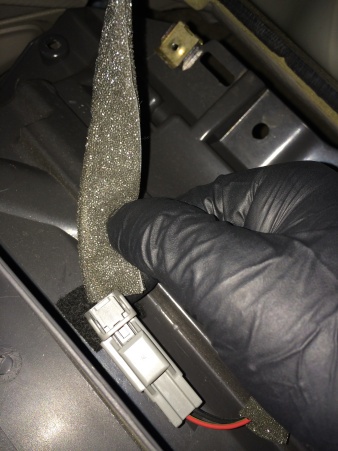
Remove the two torx screws for the blower motor and remove the motor and cage from the housing. This will give you access to the resistor mounting bolts. *Note* pay attention to the orientation of the wiring harness and where it's routed. The resistor is the silver aluminum finned object in the housing.
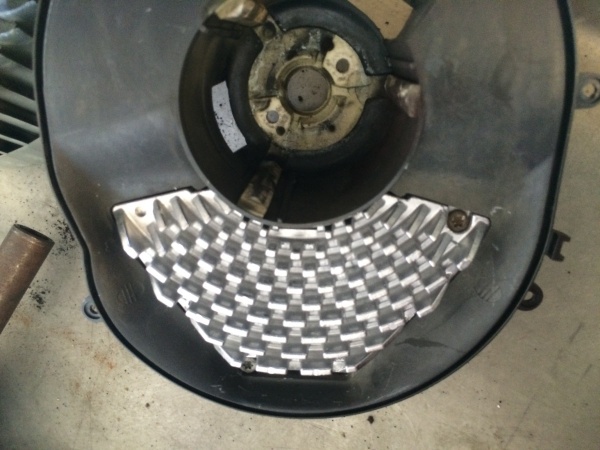
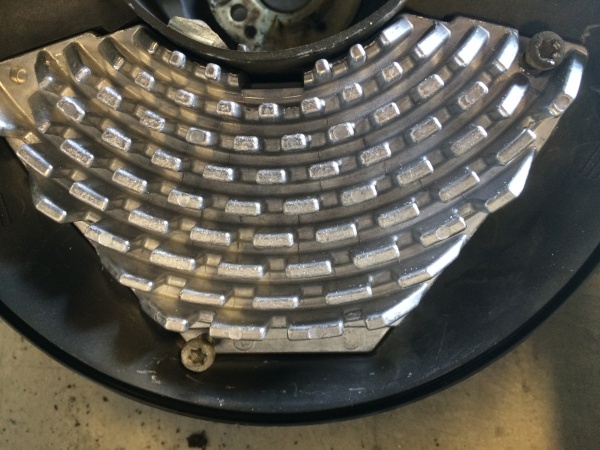
Remove the resistor mounting screws and replace.
Install in reverse order.