- 02/06/2015
- 2 Min Read
- By: Chris Stovall
How to Upgrade a Volkswagen/Audi Valve Cover Gasket (Mk1/Mk2/4000)

A very common oil leak on any older VW is the valve cover gasket, but using the original parts is not always the best course of action. The factory gasket, used on pretty much all 4 cylinder VW/Audis from the early 70s to early 90s, is a three piece set, with rubber and cork, that leaves much to be desired. A simple upgrade is the rubber gasket, which came in later engines, and is able to be retrofitted for less than twenty dollars. The entire process is simple, straightforward, and can be completed in about an hour, but will last for years and years.
You'll only need a few tools for this procedure. You'll need a basic socket set, a stud extractor or 10 mm wrench, some sandpaper, a screwdriver, and a pick. In addition to your parts, you'll also need a good sealant.
Parts needed:
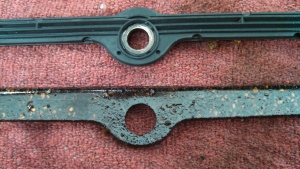
- Audi VW Valve Cover Gasket Set - Reinz 026198025C
- Audi VW Valve Cover Gasket Set - Reinz 056198025A (Old style cork)
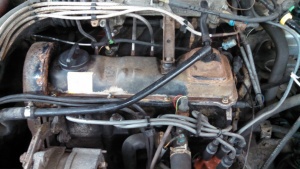
First, remove the valve cover. This is very straightforward; just remove all the 10 mm nuts and anything attached to the valve cover, including the upper timing cover. Make note of where all the vacuum lines and things are mounted, and replace the lines if they look terrible when you put it back together.
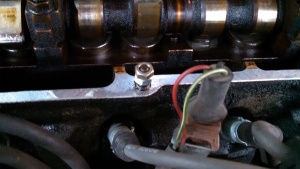
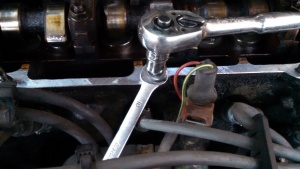
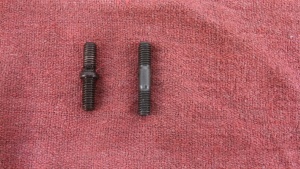
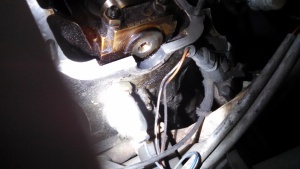
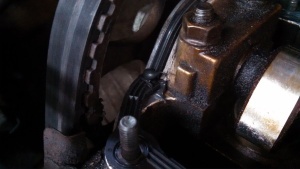
Next, remove the studs. You can use either the stud extractor for this or a double nut maneuver, as shown here. The reason for replacing the studs is because of the shoulder on the old stud (seen on the picture) won't fit in the metal piece on the new gasket.
With all the studs out, clean very thoroughly. Make sure to get the channel in the cam cap very clean. If your paint is peeling inside the valve cover, sand it all off or it won't seal. Yes, this is tedious, but do it right or you'll do it twice!
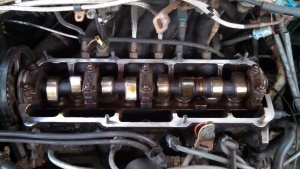
With everything clean, sand the surface of the head a little. The idea here is to scuff up the surface to help it seal, not to take off any material from the head, so do it by hand and be gentle. Make sure to sand lengthwise, along the edge of the head.
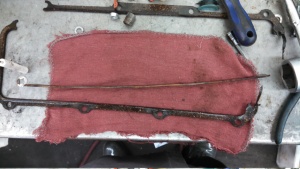
Metal bar on the valve cover. It should look like it's cracking a slight smile at you.
Next, put the studs back in, and do a final wipe of the surface. Get everything ready to go back together, and take a look at the bars that go on top of the valve cover. These should have a slight upward bend to them, not be flat. Bend them as needed, but don't overdo it.
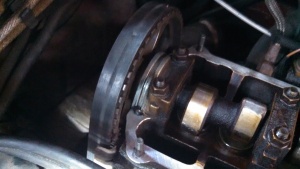
Put a small dab of sealant on the corners of the cam cap and in the half moon seal hole. A small amount is all that's needed, and only in those spots. Don't smear the entire tube all over; it'll just make a mess and waste your sealant.
Put the gasket on top and put another two dabs on top of the gasket in the same spot.
All back together with new nuts
The valve cover goes on next, followed by everything else. Replace the 10 mm nuts, tighten them down (torque is 87 inch-pounds), reconnect the vacuum lines, and you're done!