- 03/08/2021
- 6 Min Read
- By: Gareth Foley
How To Set Timing On A BMW E36 M50TU, M52, S50, Or S52 Engine (325i, 328i, & M3)

Maybe you just rebuilt your BMW E36 engine's bottom end, or you're looking to do some basic engine work. If you touch the timing at any level, you will need to reset the engine's timing. In this article, I talk about how to time a single VANOS M50TU, M52, S50 or S52 BMW engine. Some of these will also apply to early non-VANOS BMW M50 engines as well.
Setting the camshaft/crankshaft timing as well as VANOS timing on your single VANOS BMW engine is critical to the performance of the engine, in extreme circumstances, critical to its safety.
If you're wondering why you would be setting the timing on an engine, there are many reasons. Perhaps you replaced timing components, swapped camshafts, did cylinder head work, or maybe you built an entirely new engine. If you have done any of the aforementioned jobs you will definitely want to make sure that you time your engine correctly. This article will give you the step-by-step information you need to perform this job on an BMW E36 M50TU, S50, M52 or S52 engine.
Tools needed to set timing on a BMW E36:
- Socket Set
- 10mm socket with deep broaching
- 32mm socket
- External Torx Set
- Wrench Set
- 14mm spark plug socket
- Long ratchet
- Short ratchet
- Torque wrench
- Cam lock set
- VANOS wrench
Parts needed to set timing on a BMW E36:
Steps to set timing on a BMW E36:
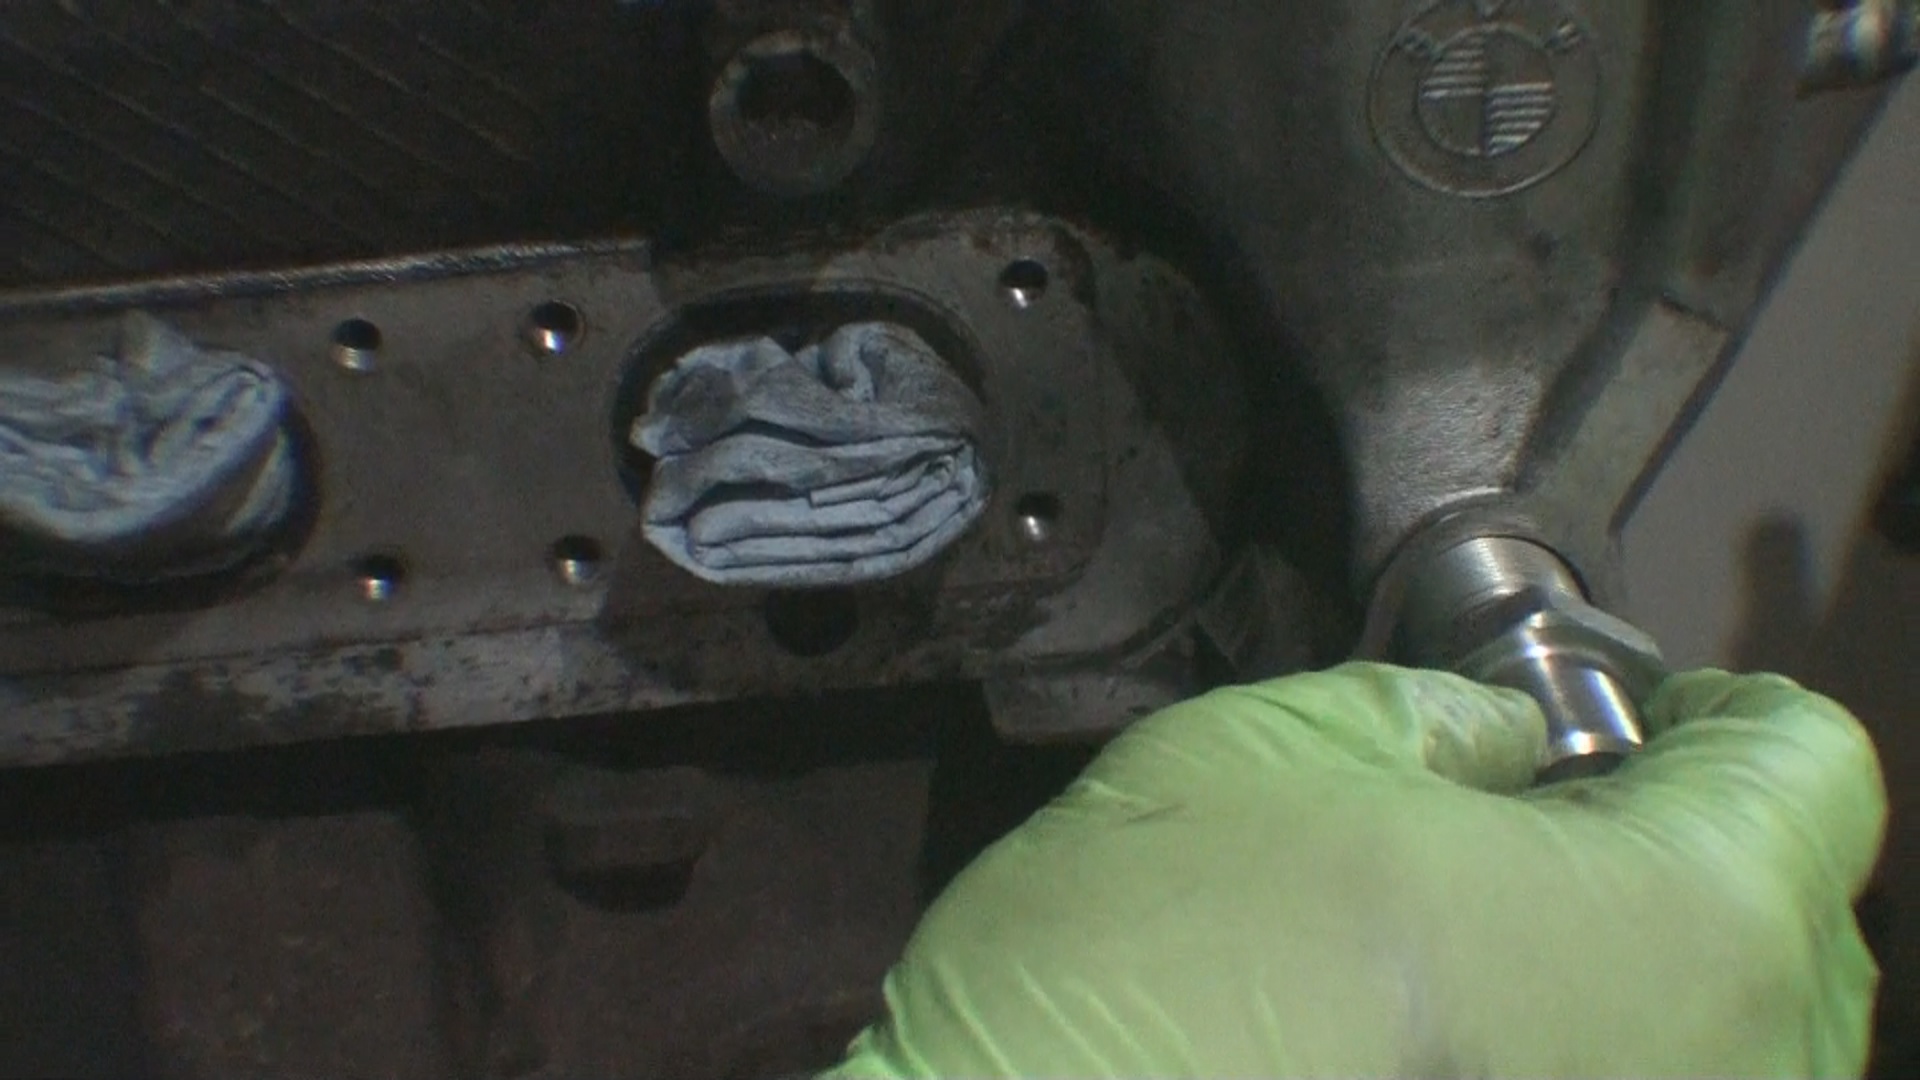
Step 1: Set crankshaft timing to TDC
The easiest way to set the crankshaft to TDC (top dead center) is to line up the mark on the timing cover with the mark on the harmonic balancer. Both of these marks, when lined up, will indicate that cylinder #1 is in the TDC location. You do not have to have the harmonic balancer completely installed for this as the woodruff key will align the harmonic balancer in the correct position on the crankshaft regardless. Once the crank is in the correct TDC position, you can remove the harmonic balancer if need be. Also, to make identifying everything easier, I use a paint marker to mark the notch on the timing cover and the alignment notch on the harmonic balancer.

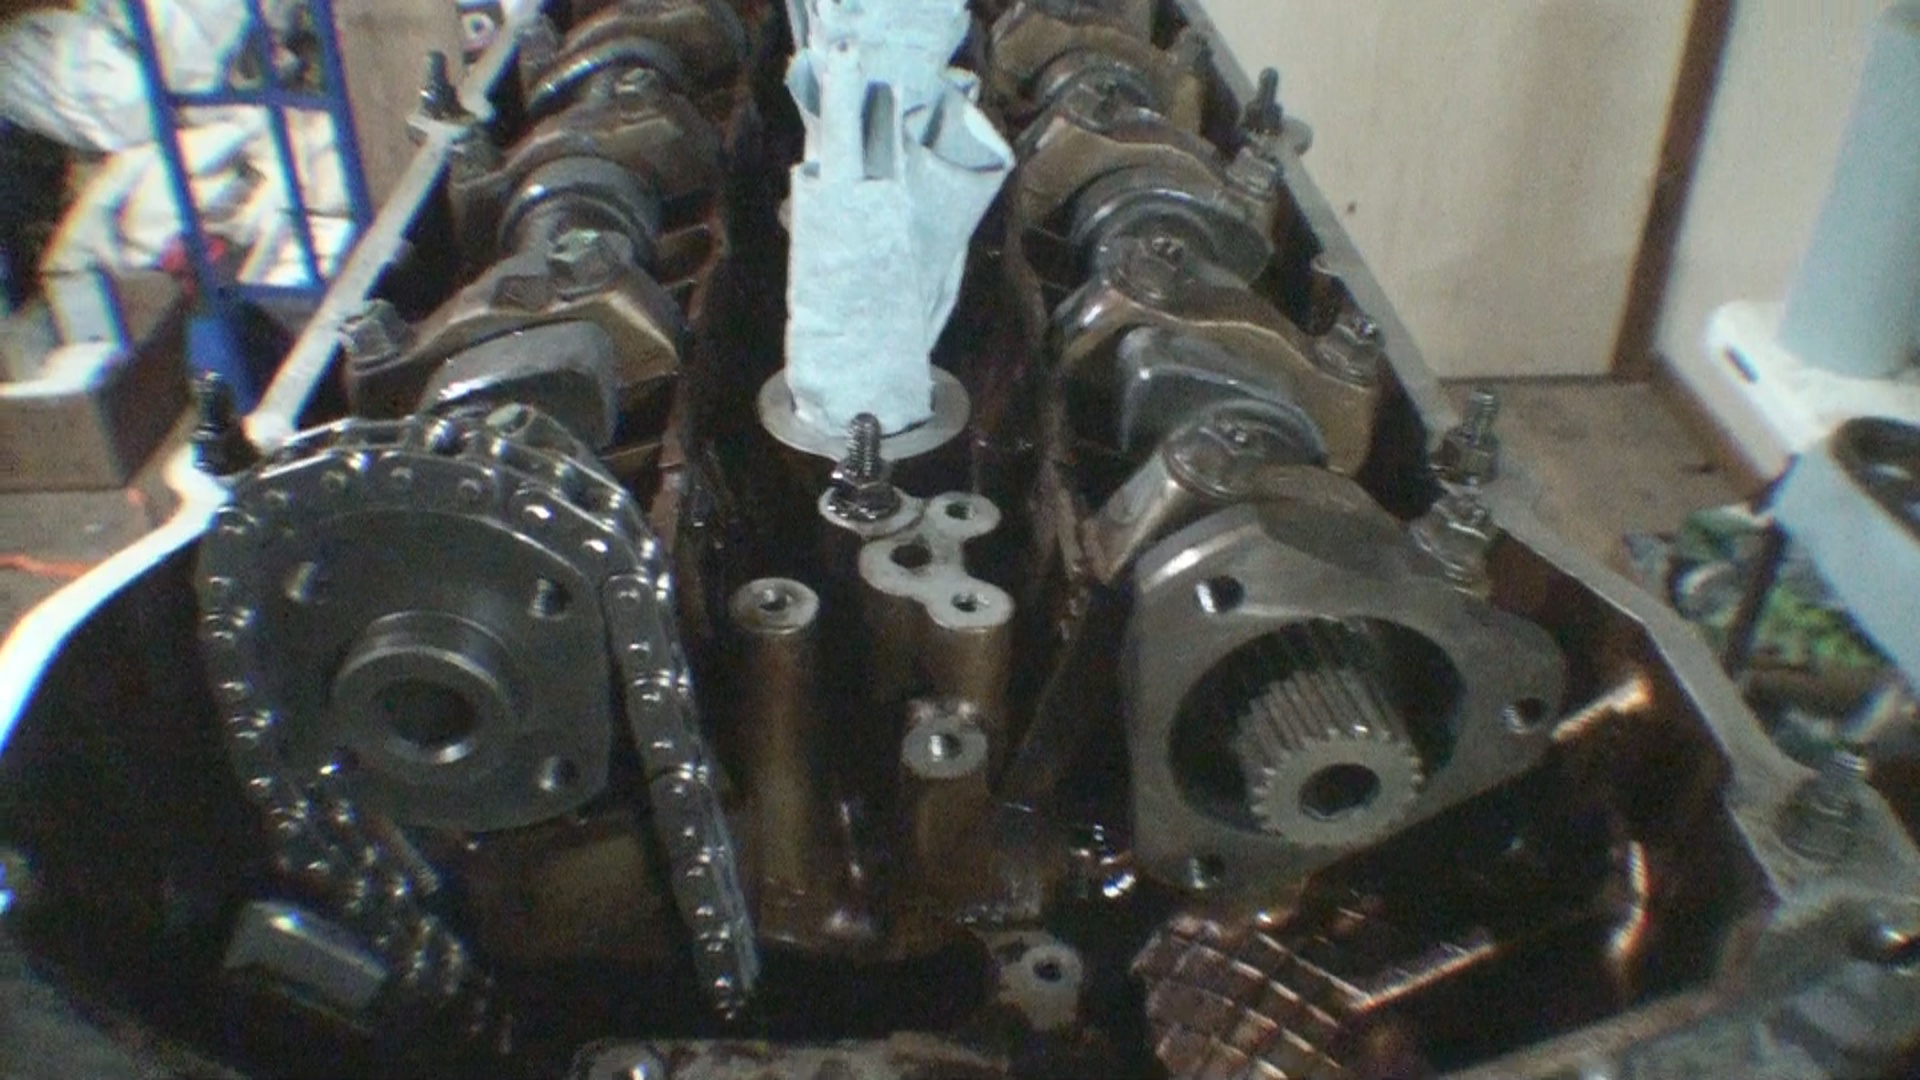
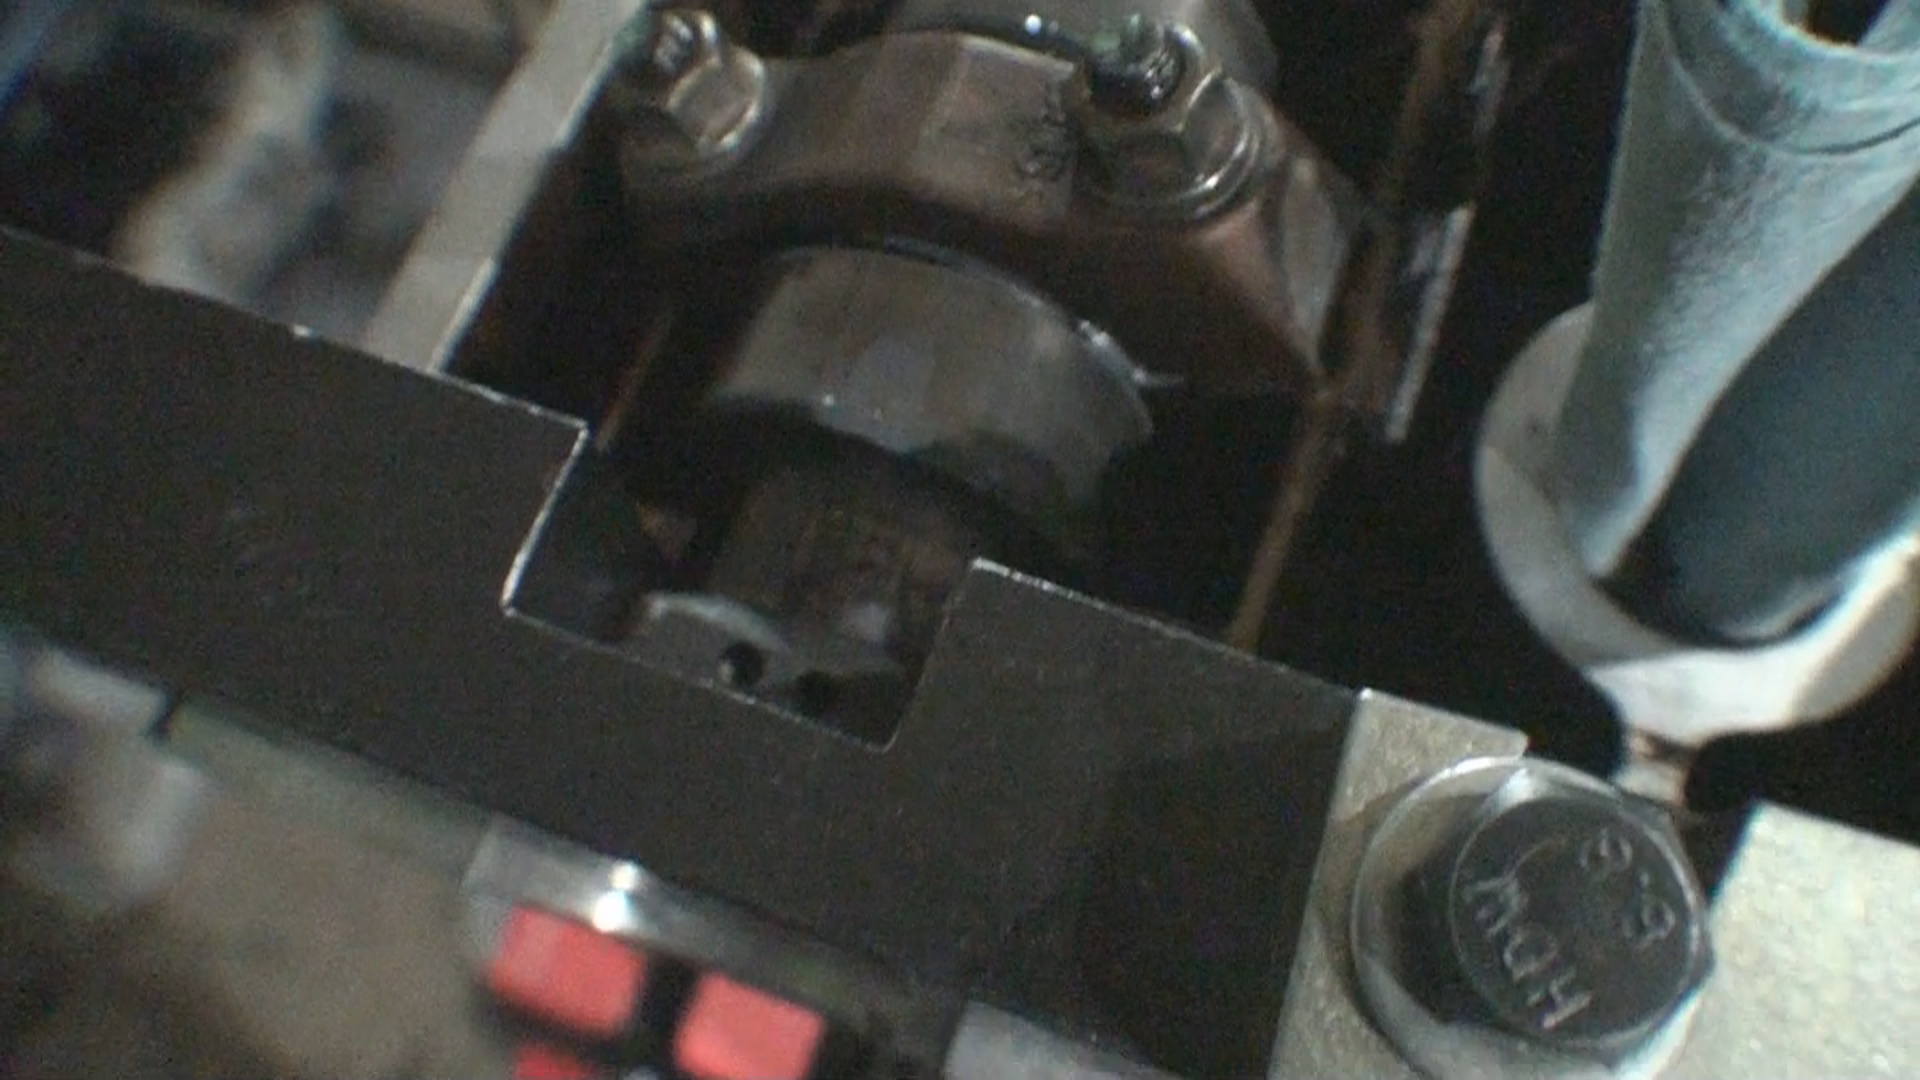
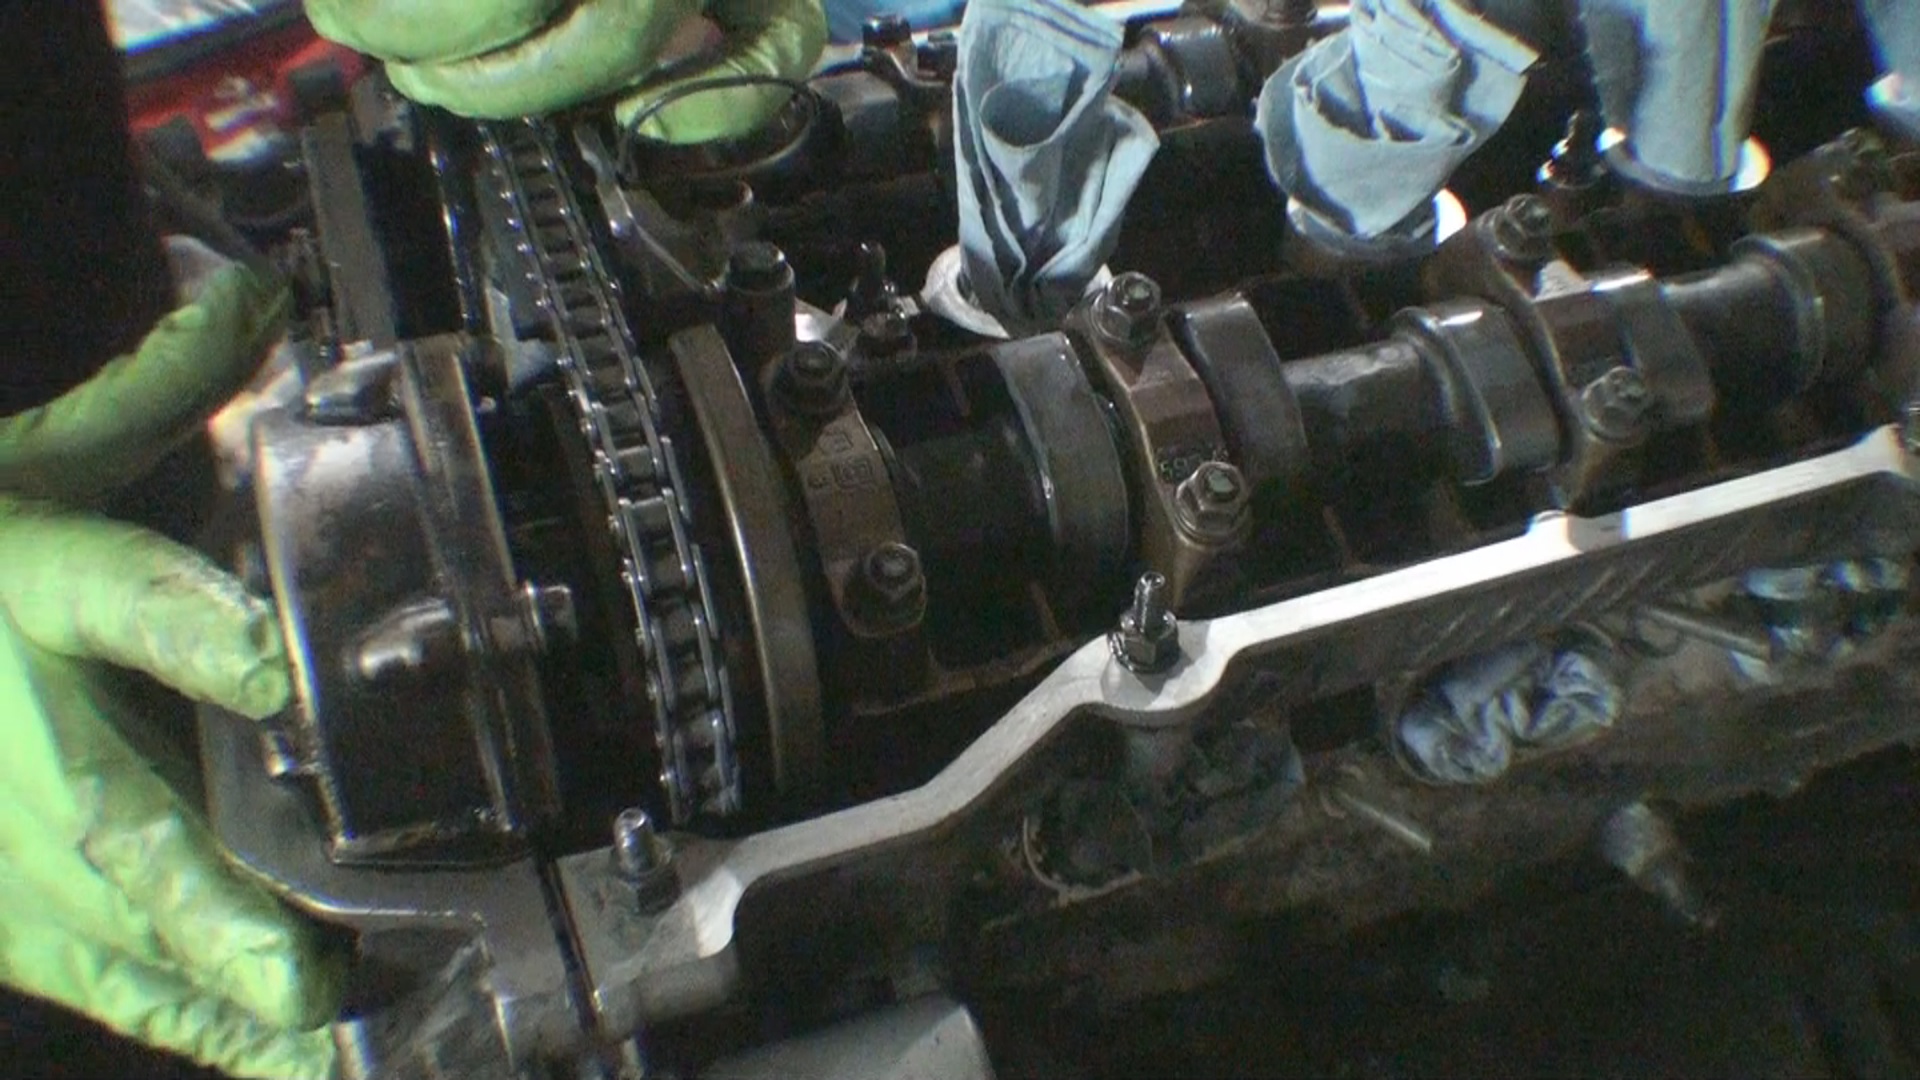
Step 2: Set camshafts to TDC and lock in position with cam lock tool
At this point, the camshafts can move freely from one another (since they are not connected by the upper timing chain). You will want to make sure that the camshafts lobes on cylinder 1 are pointing each other and are completely off of the lifters. You will also note on the back side of the cams there are holes on the flat portion. These should also be facing upward. Now you will install the cam locks. The cam lock blocks should slip onto the back of the cams with ease and sit flush with the cylinder head. If for some reason they don't, you will need to slightly move the camshafts until they drop into place (making sure to keep the holes on the back of the cam pointing upward). You can use a 24mm wrench on the camshafts to wiggle them if you need to. Once the cam blocks are in place, lock them together.
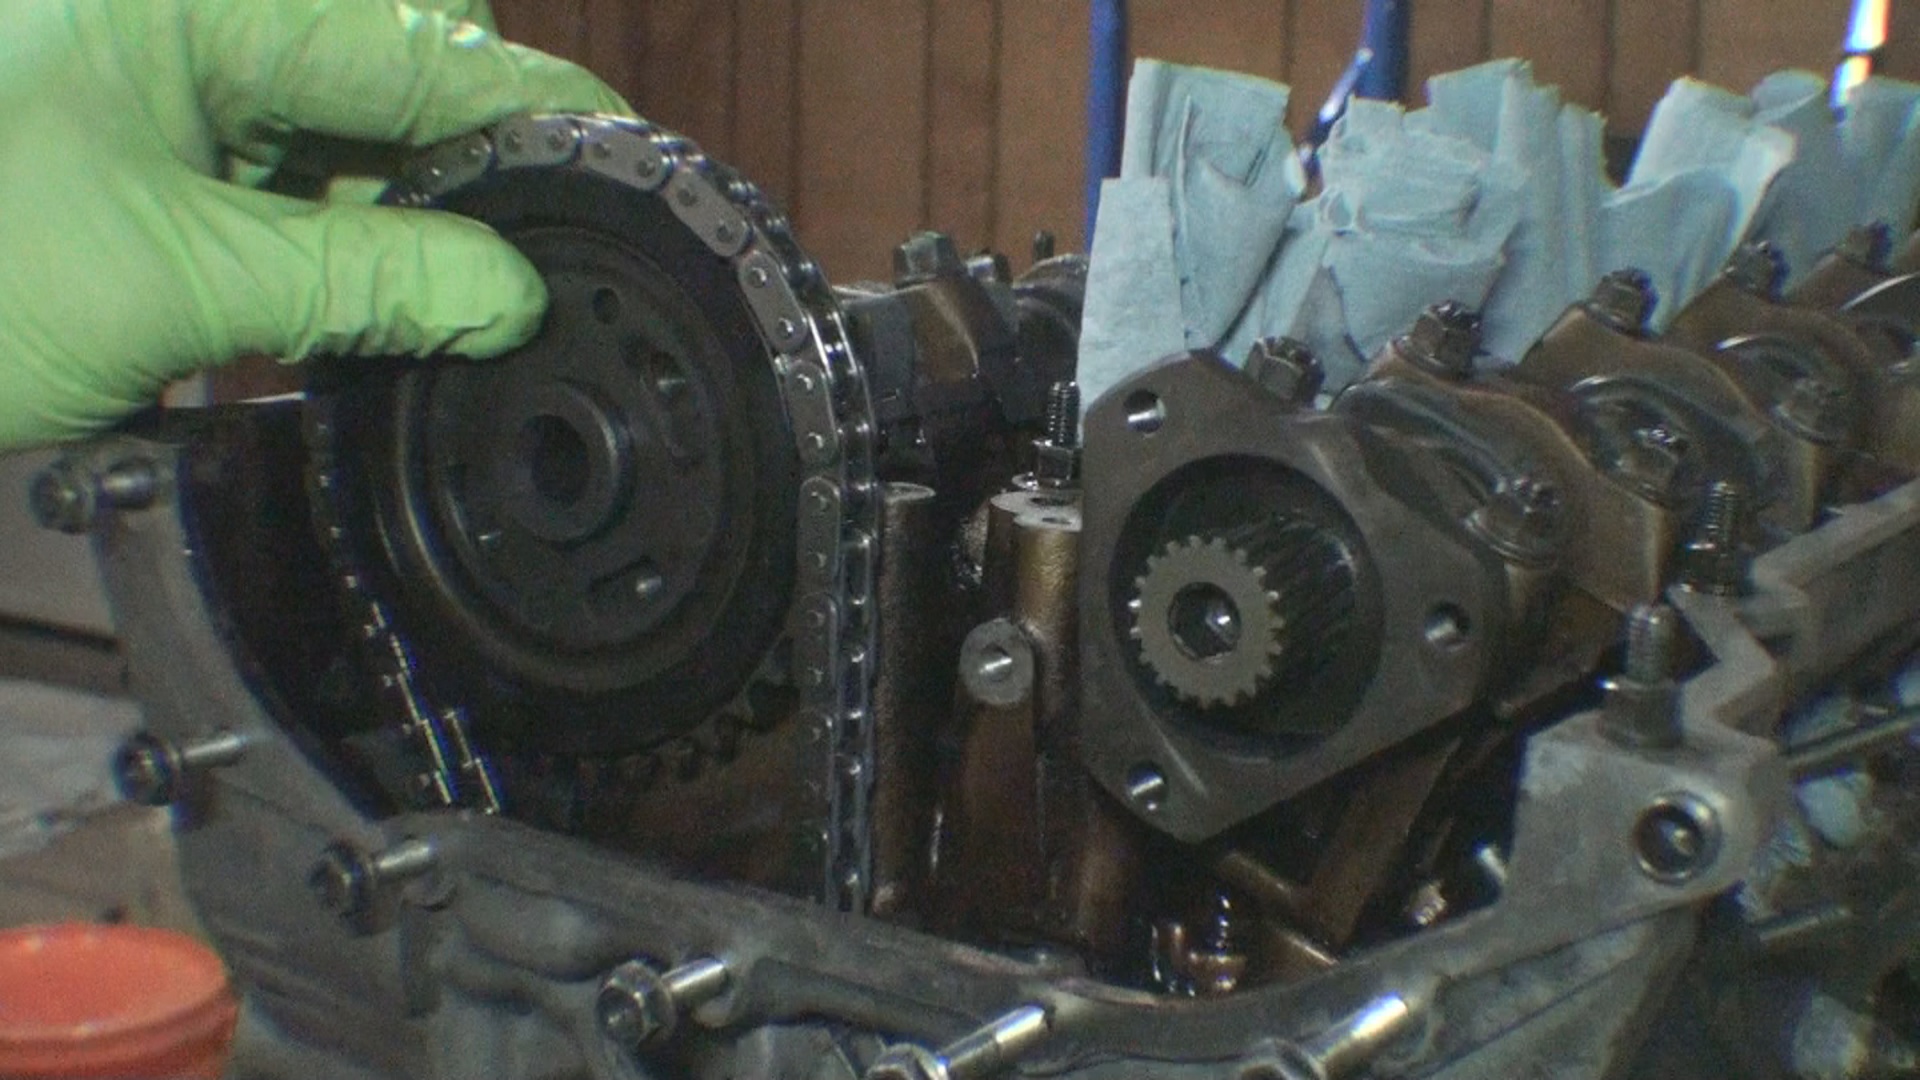
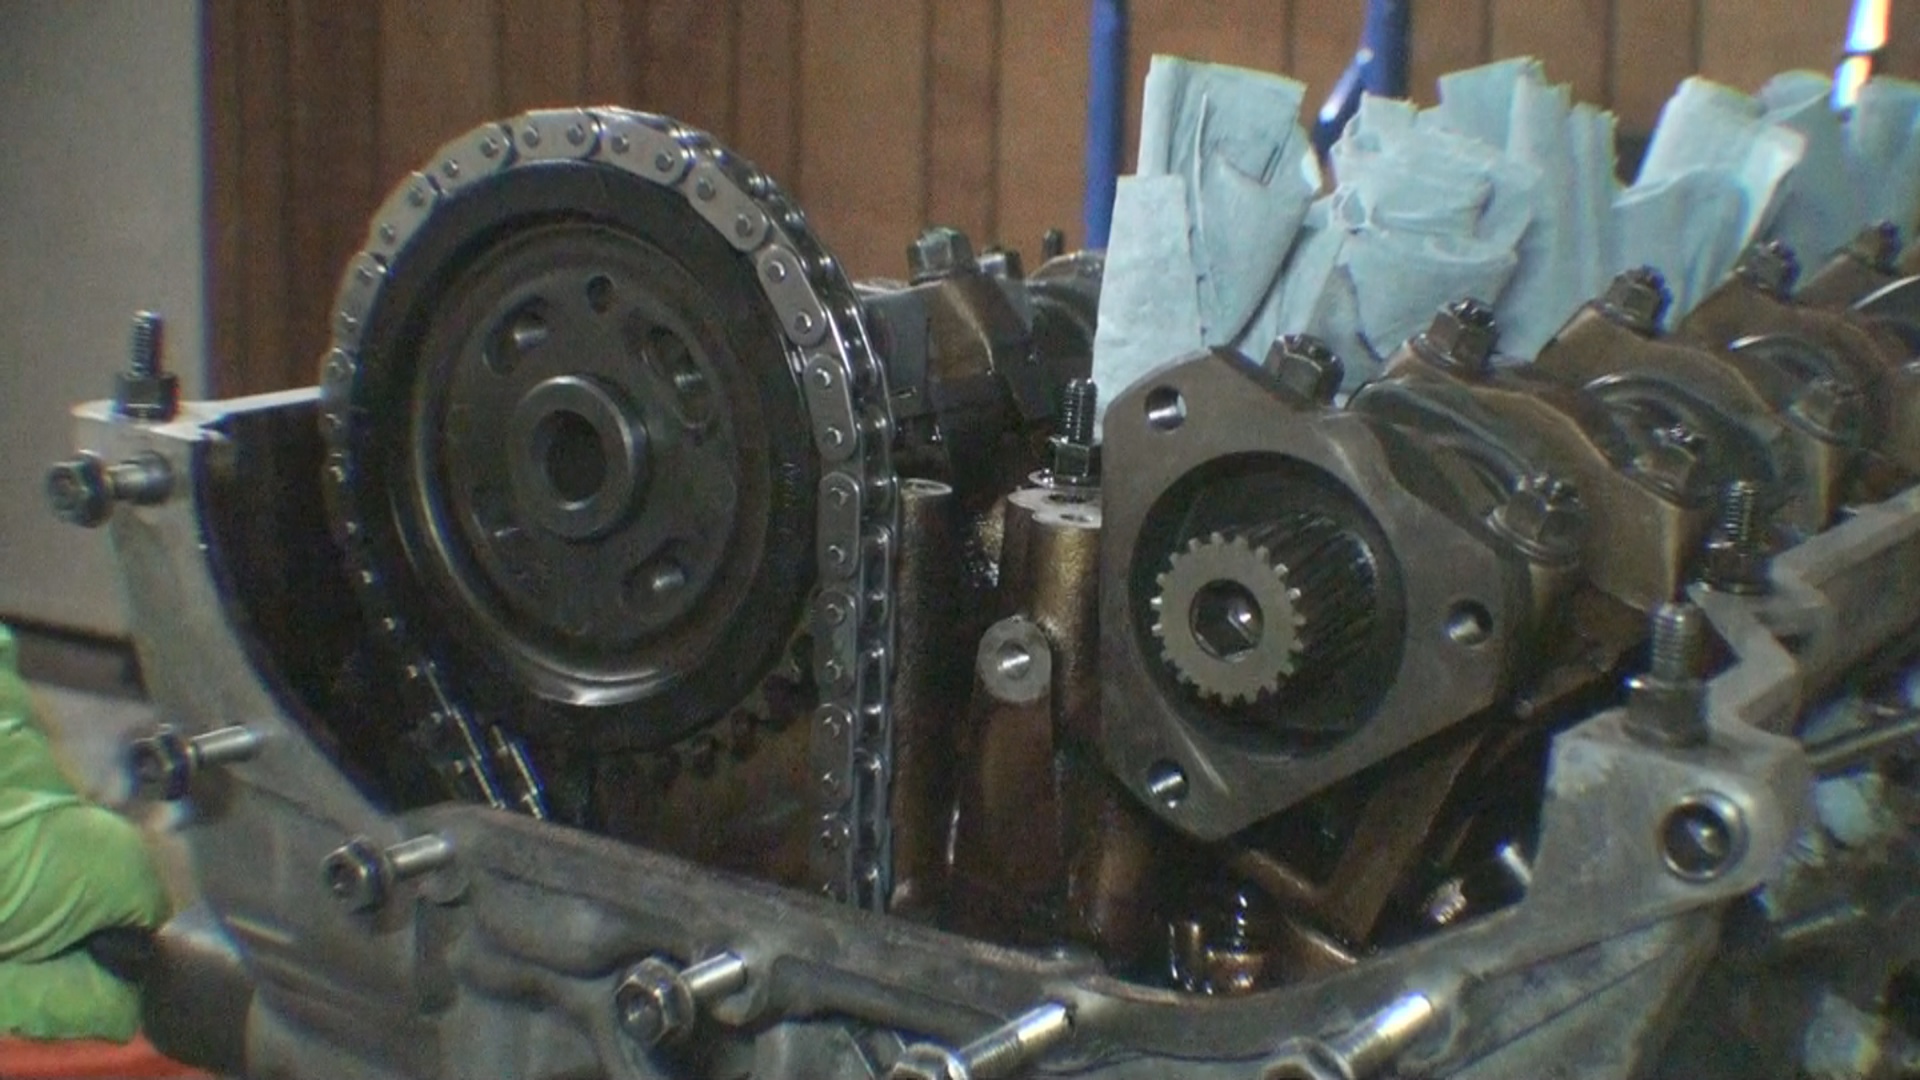
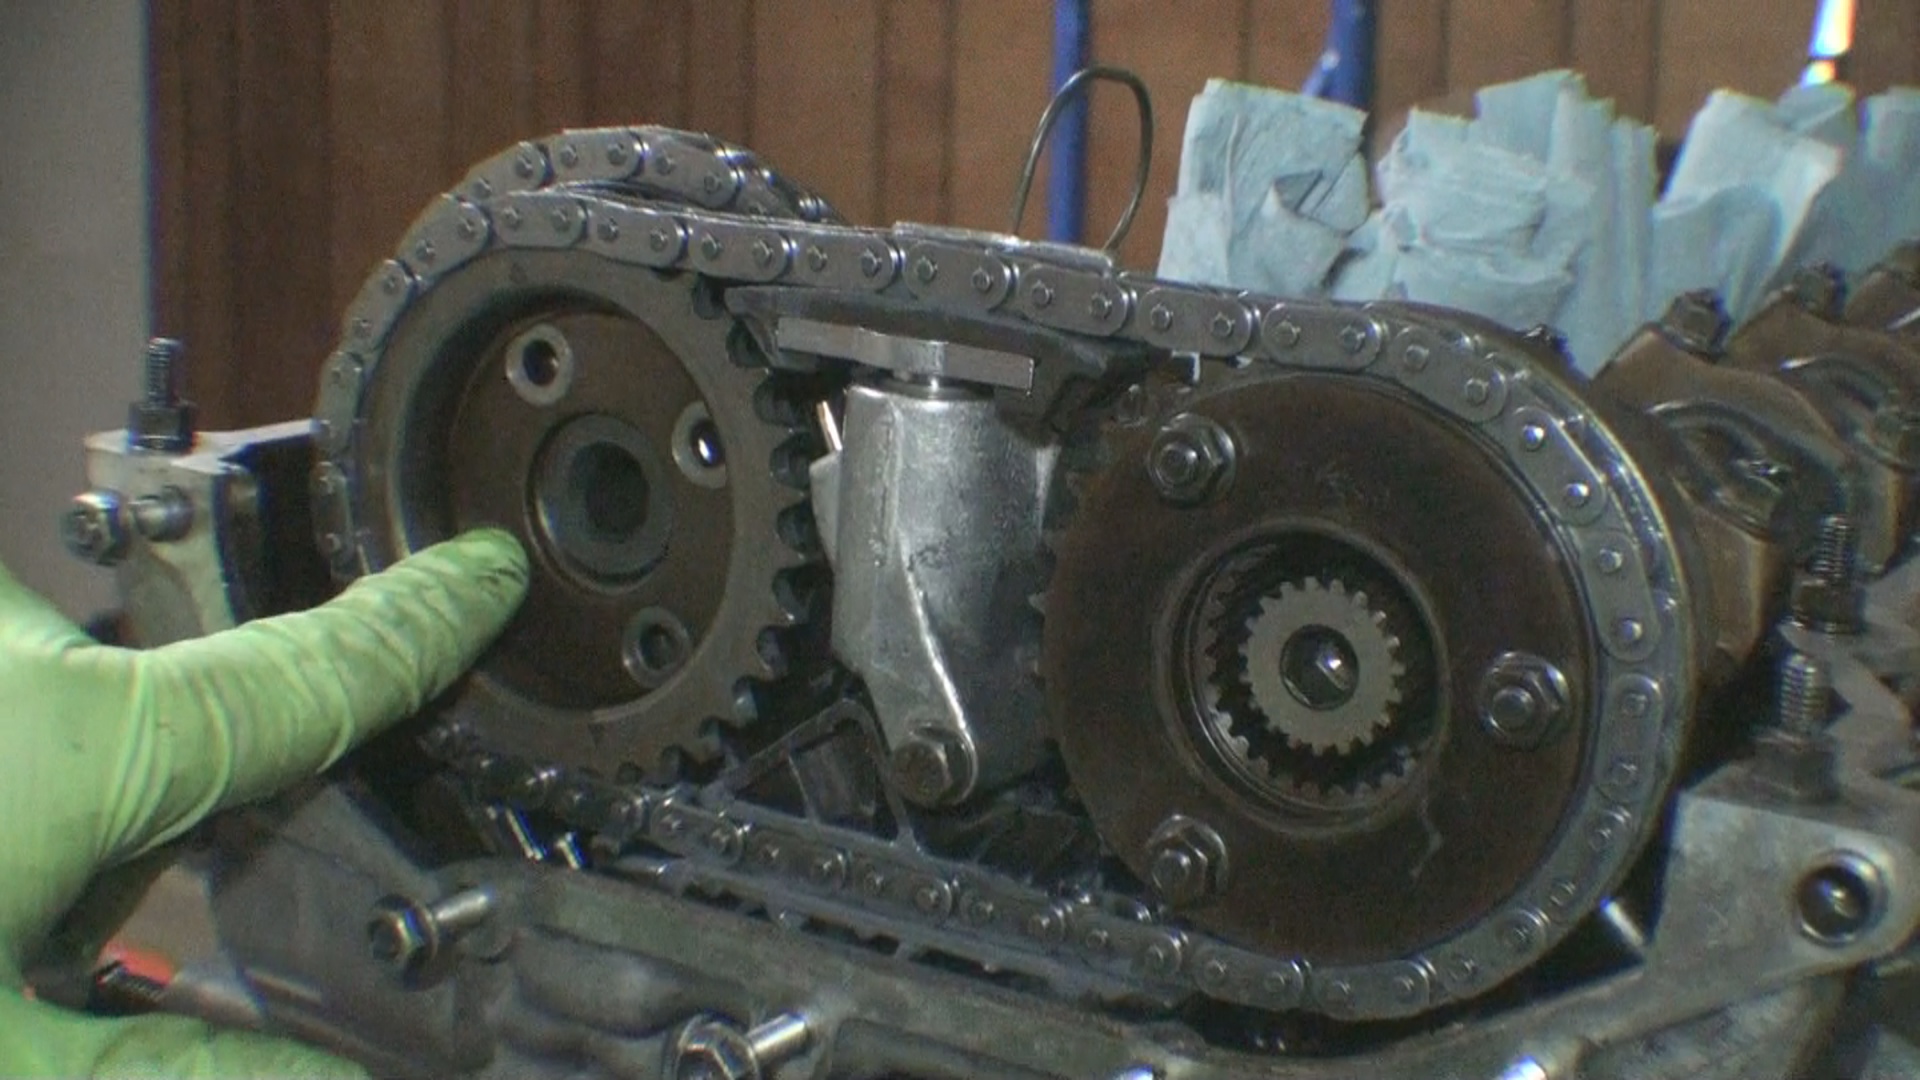
Step 3: Install exhaust cam sprocket and dummy timing chain tensioner
Now that the crankshaft and camshaft are at TDC, you can install the exhaust camshaft sprocket. Before placing it onto the cam, take a minute to note that the bolt holes are more like a window vs a bolt hole. You will also see there are two arrows on the sprocket; those arrows on the sprocket point up and down when installed. Those arrows do not indicate a specific installation location but they should be facing vertically. Grab the timing chain and place it onto the sprocket as you put the sprocket on the camshaft.
If you're reusing timing chain:
You will want to line up the holes on the camshaft to the "windows" on the camshaft sprocket so that the holes align to the left. You can move the sprocket on the chain by simply lifting a link and shifting the whole thing over one tooth at a time. There shouldn't be any slack on the timing chain on the right side at this point.
If you're using a new timing chain:
You will want to line up the holes on the camshaft to the "windows" on the camshaft sprocket so that the holes are centered. You can move the sprocket on the chain by simply lifting a link and shifting the whole thing over one tooth at a time. There should be no slack on the timing chain on the right side at this point.
Once the exhaust camshaft sprocket is correctly oriented, install the timing chain dummy tensioner so that tension is applied to the tensioner guide rail. There shouldn't be any slack on the timing chain. The holes on the camshaft and the holes on the camshaft sprocket should be perfectly centered.
Step 4: Install upper timing chain guide
Now it's time to install the upper timing chain guide. I used LIQUI MOLY MoS2 assembly lube to lubricate the guide surfaces of this chain guide before installation. This way when the engine first starts up it will have some lubrication. There are two E8 torx bolts that hold this guide in place. Note that there are two different lengths. The longer of the two bolts goes on the intake side and the shorter bolt drops into the exhaust side. Both bolts are torqued to 10Nm.
Step 5: Install intake cam reluctor plate (if removed)
The intake camshaft has a reluctor plate which the camshaft position sensor uses as a reference point. This must be installed if removed. It can only fit onto the intake camshaft one way. Next, there is a 4mm shim plate that sits over the top of it. If reusing the original parts it's very likely the original imprint of this reluctor plate will be tarnished onto the 4mm shim. My recommendation is to install it in the same orientation.
Once the reluctor plate and the 4mm shim is in place, install the three intake cam stud bolts. Torque the stud bolts to 20Nm. Note that you will need an 11mm socket with deep broaching or a crowsfoot wrench to torque these stud bolts.
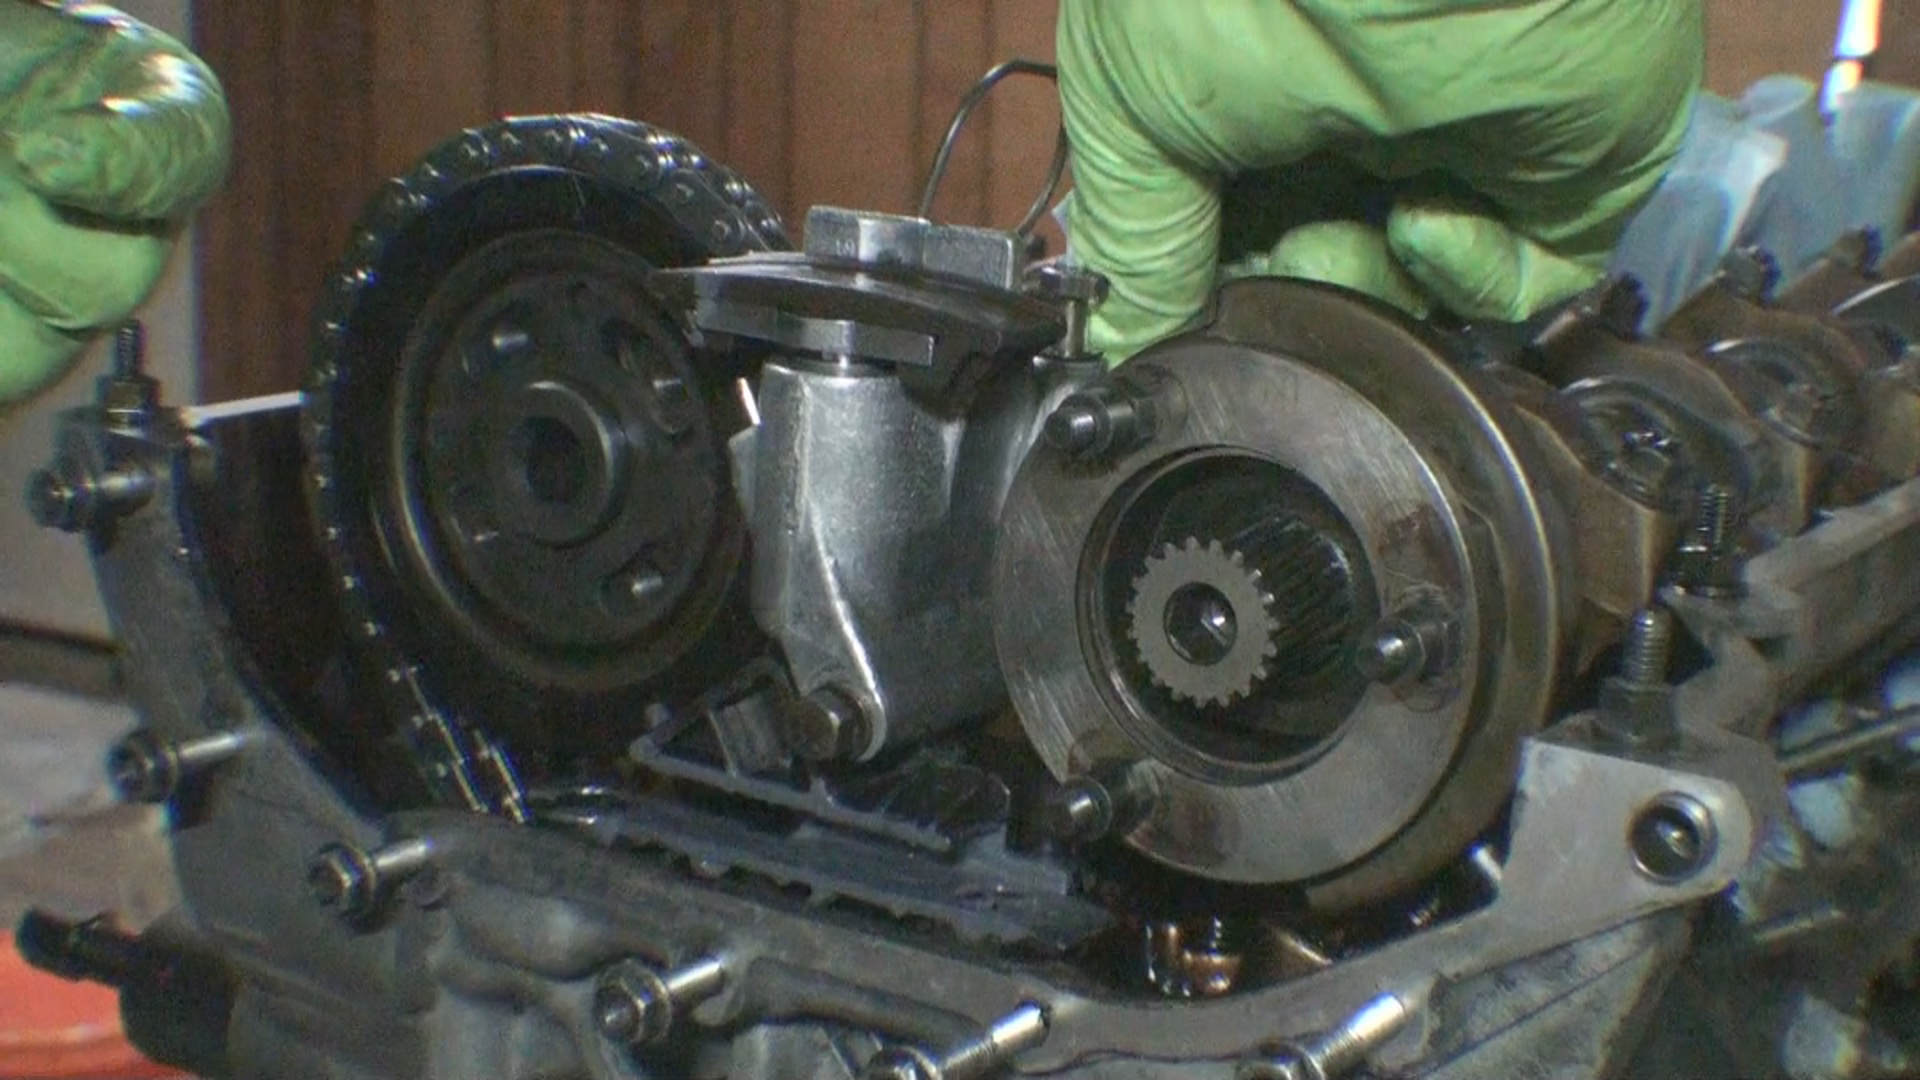
Step 6: Install upper timing chain tensioner
The upper timing chain tensioner sits on top of the cylinder head and is held in with for bolts which are three different lengths. It's important to install these in the correct position. The M6x55 bolt goes in through the front and sits horizontally. The two M6x40 bolts drop down through a pedestal on top of the tensioner. The M6x16 bolt sits all the way in the back.
When installing these bolts, make sure they are positioned correctly. When installing the tensioner make sure you leave the lock pin in. All bolts are torqued to 10Nm
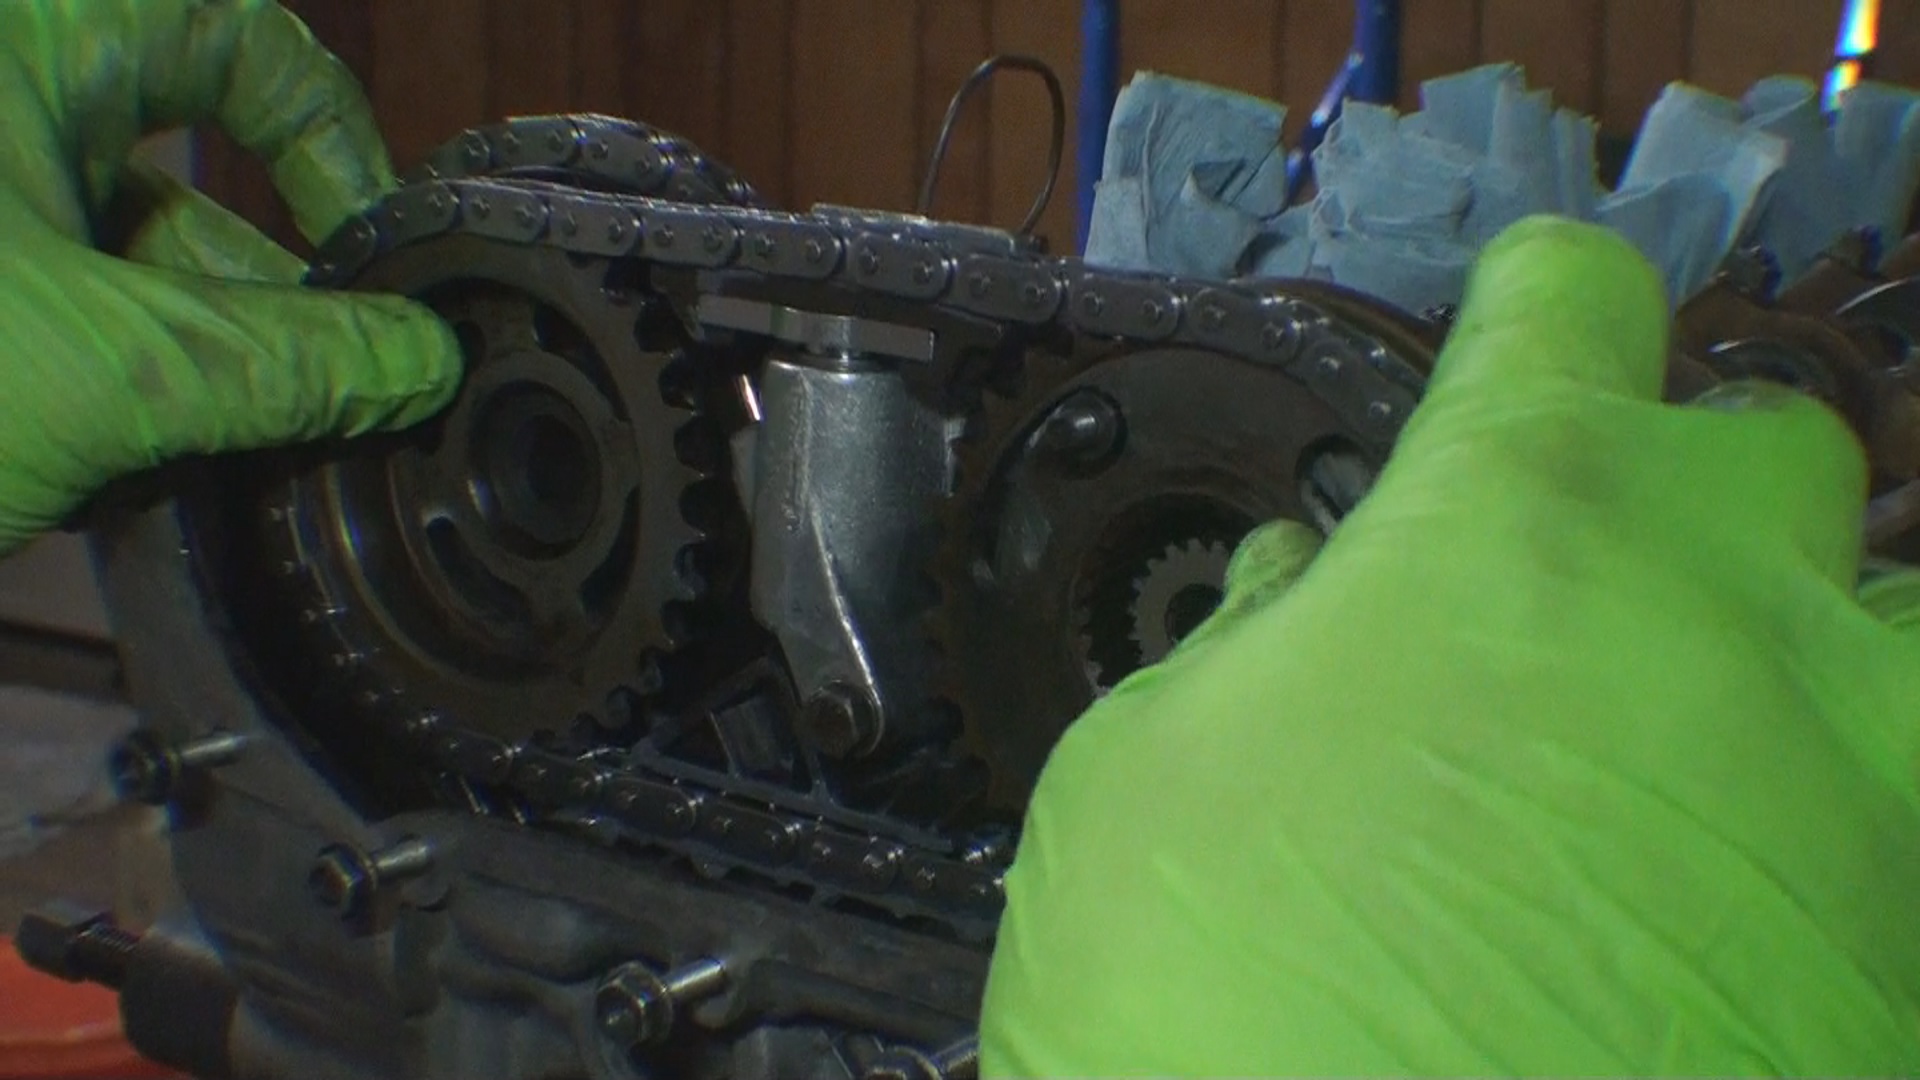
Step 7: Install the upper timing chain
The upper timing chain is what links the exhaust camshaft to the intake camshaft. Make sure the intake cam sprocket flat side is facing outward. When installing the additional sprockets and the upper timing chain, you will want to make sure that the bolt holes on the exhaust camshaft and the stud bolts on the intake camshaft line up perfectly in the middle. It will be extremely obvious if they are not lined up as being one tooth off on any sprocket will drastically alter it's relative position to the camshaft. An easy way to check to see how well lined up the sprockets are with the cams is to check the stop limits of the intake cam sprocket relative to the exhaust camshaft.
Rotate the intake cam sprocket all the way clockwise until it stops on the stud bolt. You should see that the bolt holes on the exhaust camshaft are now perfectly lined up all the way to the left side of the window on the secondary exhaust cam sprocket. Rotating the intake cam sprocket all the way clockwise will yield the opposite result.
Step 8: Install VANOS shims on intake camshaft sprocket
There are two versions of the shim stack setup out there. One version uses a spring plate and one version does not use a spring plate. The engine in this guide had the version which uses the spring plate so it's a few extra steps.
First, install the 2mm shim. Next, install the spring washer with the outer edge touching the 2mm shim. Last install the 4mm shim. Once the shims and spring washer have been installed, thread the 10mm nuts onto the stud bolts. Torque to 10Nm.
Step 9: Install shim and cam bolts onto exhaust camshaft sprocket
Install the shim for the secondary exhaust camshaft sprocket. Then install the sprocket bolts but do not torque to spec as this will need to be completed after the VANOS is installed. You want to install these bolts so there is zero backlash and the sprocket can still move.
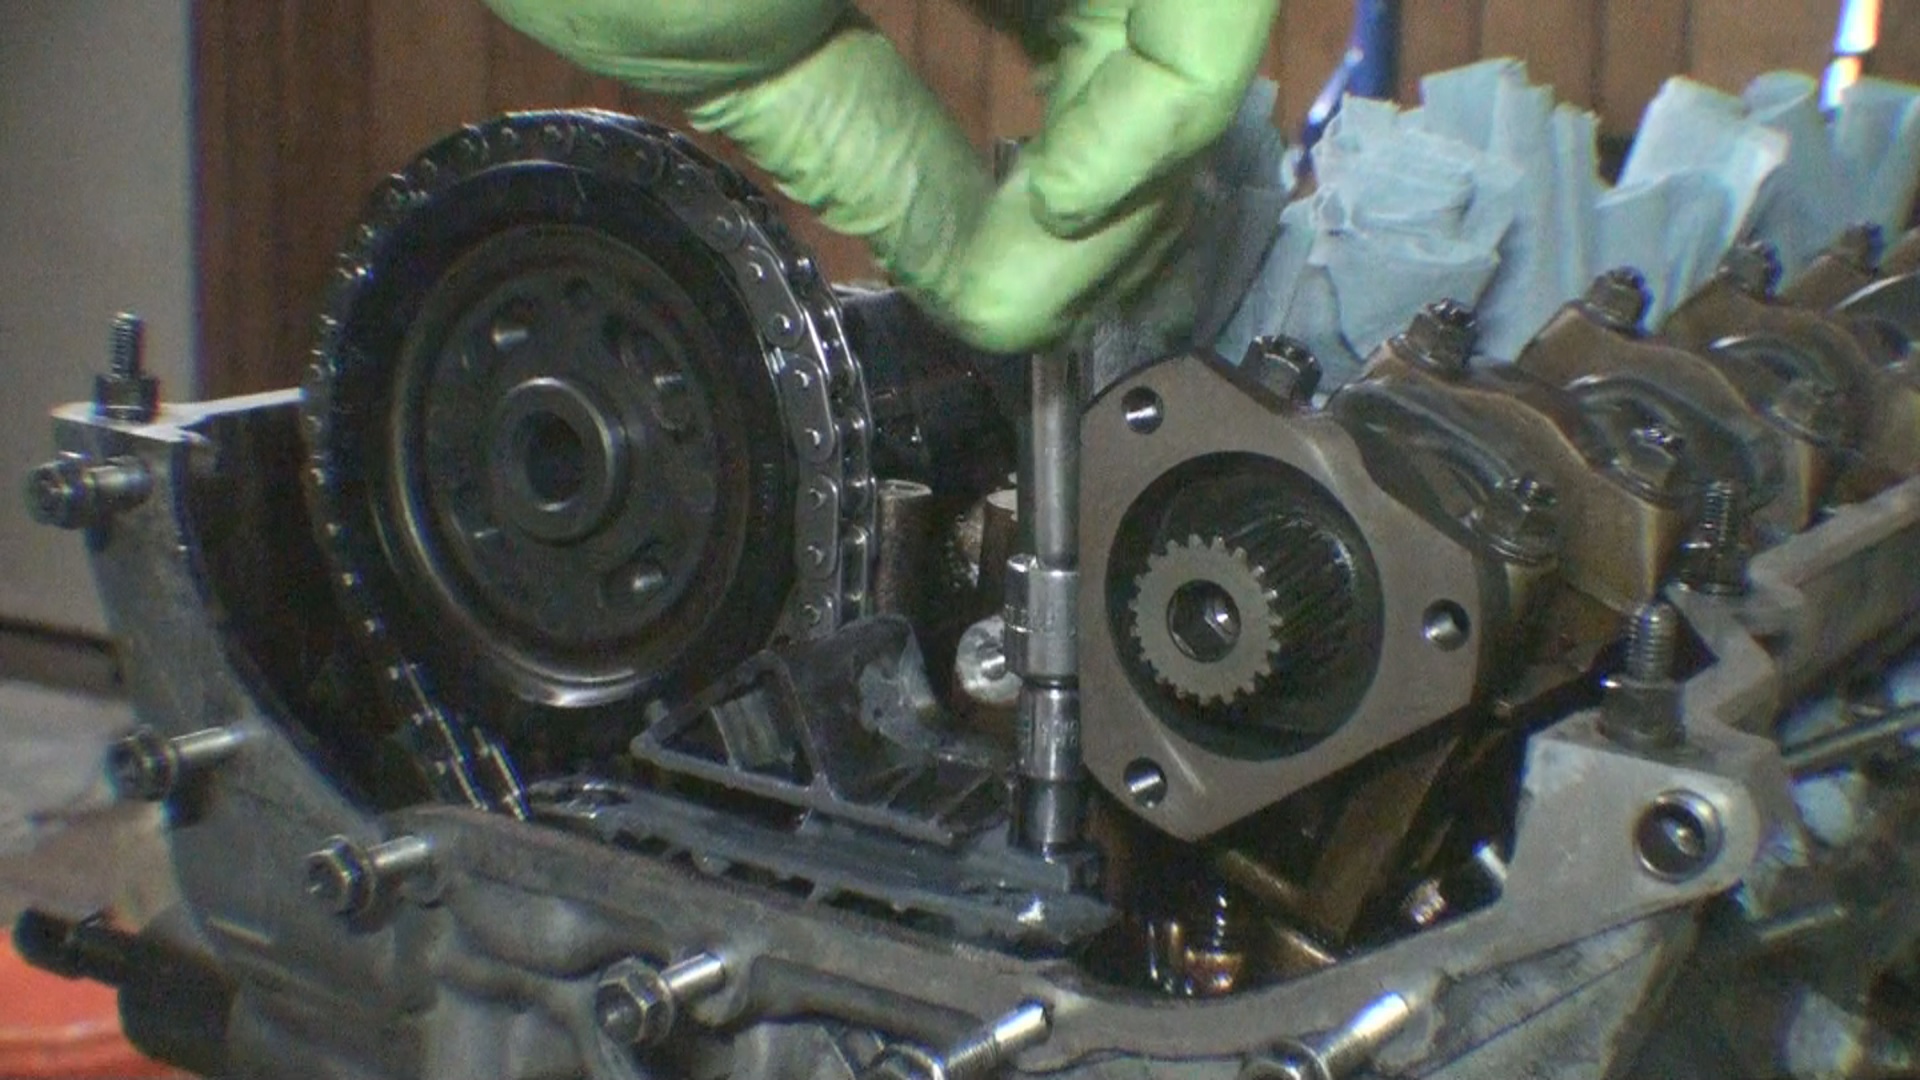
Step 10: Install VANOS unit
For single VANOS engines that have the spring washer arrangement, you will need to use the special VANOS wrench in order to pull the VANOS hub into place and move the upper timing chain/sprockets as needed.
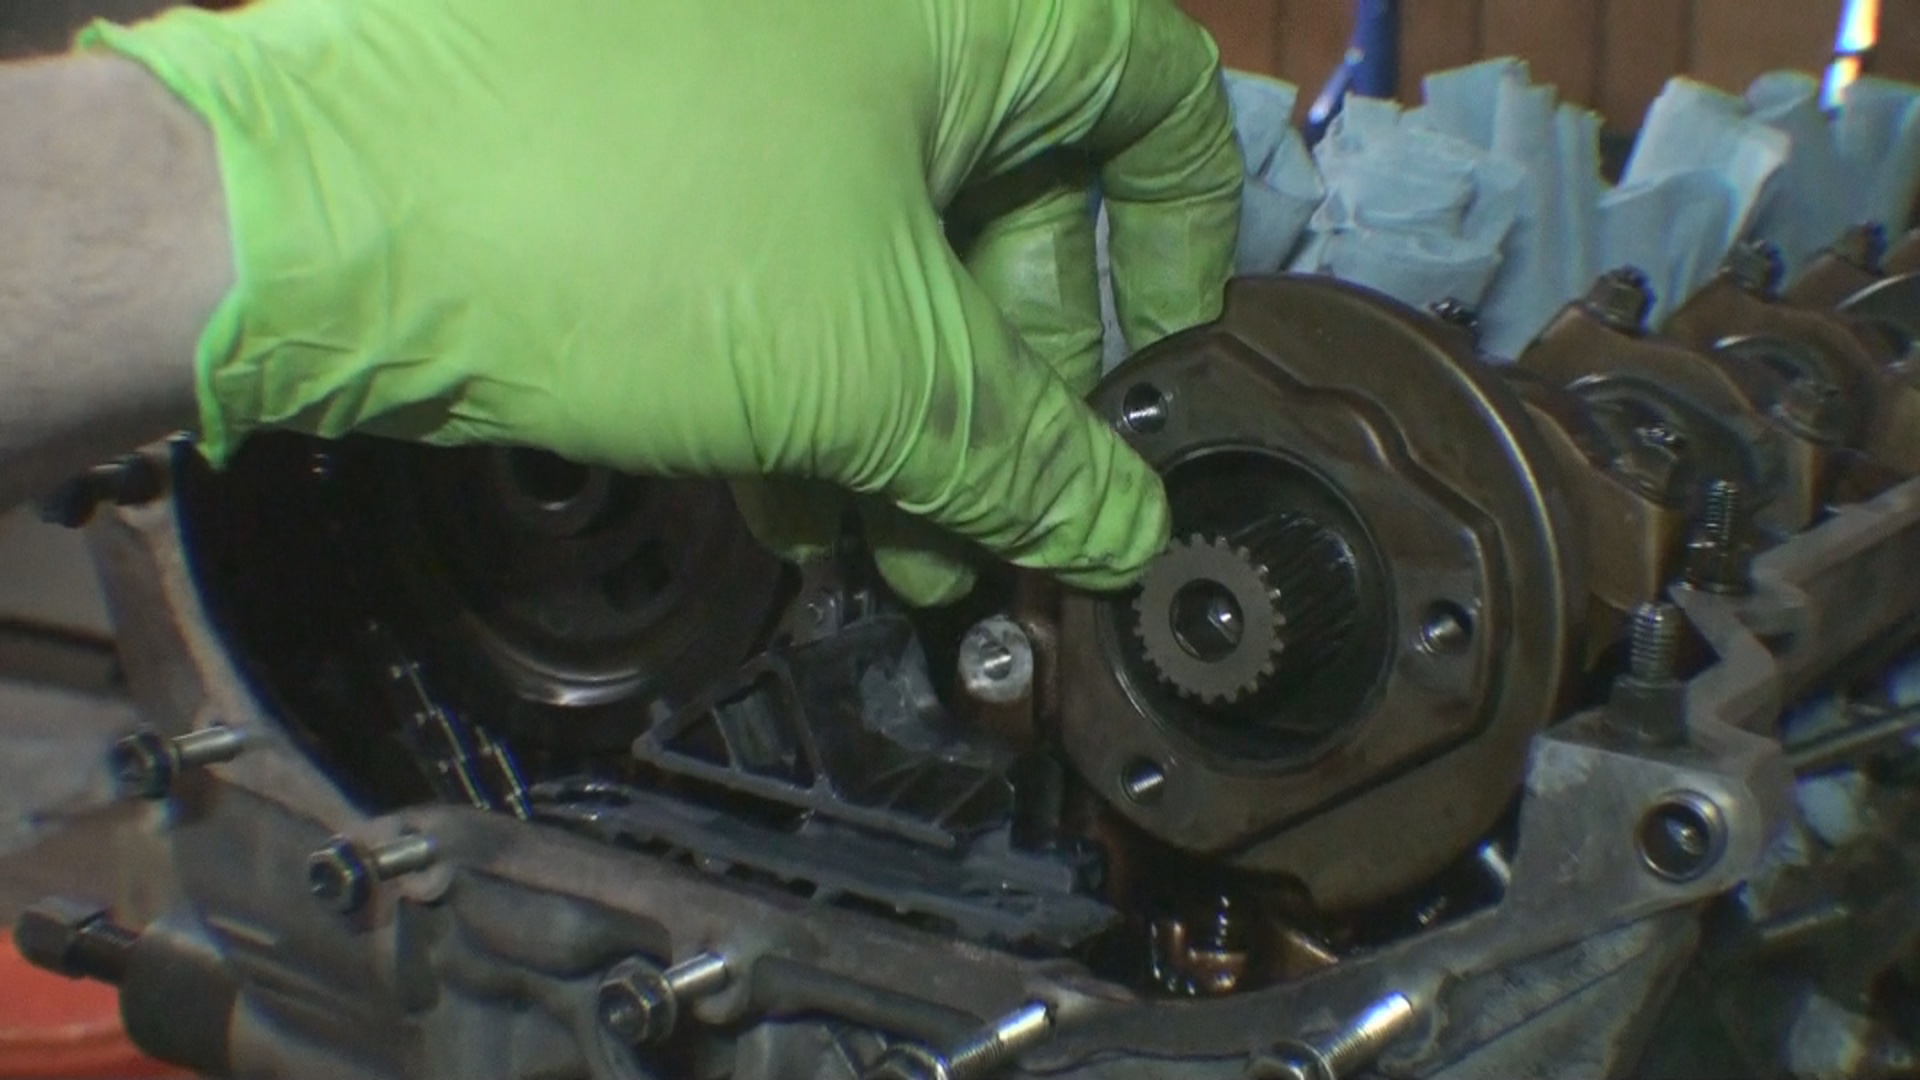
First, use the VANOS wrench on the exhaust cam sprocket to rotate the upper timing chain clockwise until the stop limit is hit on the intake camshaft. Make sure the VANOS hub is bottomed out in VANOS housing before installing. Place the VANOS gasket onto the studs on the cylinder head and then move the VANOS unit into position. Line up the hub on the VANOS unit with the splines on the camshaft and camshaft sprocket. Use the VANOS wrench on the exhaust sprocket to rotate the chain off the stop limit in a counterclockwise direction of travel. Watch to see that the intake camshaft sprocket grabs the VANOS hub immediately. If it does not engage, you will need to start over. Move the VANOS hub to a different position and try again. When this works correctly the VANOS hub will catch immediately and get pulled in place by the intake cam sprocket and intake hub gear. Turn the exhaust cam sprocket counterclockwise until the stop limit is hit.
At this point you can push the VANOS unit flush to the cylinder head. You will also see that the lower exhaust camshaft sprocket bolts are lined up to the access holes on the VANOS unit. Next tighten down the VANOS unit to the cylinder head by reinstalling the nuts onto the studs. The 10mm nuts will be torqued to 10Nm. Torque the exhaust camshaft E10 torx bolts to 15Nm in a crisscross pattern. Install the cover plugs back on the VANOS unit and torque to 50Nm. Remove the camshaft lock tool from the back of the engine.
Step 11: Remove dummy timing chain tensioner and install timing chain tensioner
Remove the dummy tensioner from the timing cover and install the actual timing chain tensioner. You will want to install it with a new crush washer to make sure there isn't a potential for an oil leak. You will need a 32mm socket or crowsfoot to torque the tensioner to 70Nm.
Step 12: Rotate engine manually and reassemble
At this point your BMW E36 engine is timed. To make sure there aren't any issues, rotate the engine over by hand using a 22mm socket on the center crankshaft bolt. To make life easier, remove the spark plugs from the cylinder head. There shouldn't be any resistance and the engine should rotate smoothly. Rotate the engine 720 degrees to make sure there isn't any piston to valve contact. At this point you can also test the VANOS system if you have compressed air and the adapter for the VANOS oil line fitting.
Reassembly of the engine will vary depending on the project. Make sure new gaskets are used and to use silicone on the rear halfmoons as well as where the VANOS unit meets the cylinder head.
BMW E36 M50TU, M52, S50, & S52 Torque Specs:
- Upper timing chain guide - E8 head - 10Nm
- Upper timing chain tensioner - 10mm head - 10Nm
- Stud bolt to intake camshaft - 11mm head - 20Nm
- Stud bolt nuts on intake cam - 10mm head - 10Nm
- Exhaust camshaft bolts - E10 head - 15Nm
- VANOS mounting nuts - 10mm head - 10Nm
- VANOS access plugs - 18mm head - 50Nm
- Timing chain tensioner - 32mm head - 70Nm
If you found this DIY helpful, you can follow the rest of my project by checking back here, subscribing to FCP Euro's YouTube channel, my personal YouTube channel, and my Instagram. As always, if you have any questions or comments, leave them in the comments below.