- 07/15/2020
- 3 Min Read
- By: Christian Schaefer
How To Replace/Upgrade BMW E90 Rear Trailing Arms (BMW E90, E82, E84)

The rear trailing arms on the BMW E90/E80 are made from stamped steel. These arms are fine for daily driving but can deflect under hard driving, causing dynamic changes in toe. Aluminum trailing arms, available from companies like Revshift, are made from more durable materials and are solid pieces. They will eliminate that deflection, giving the car a consistent and predictable feel through the twisties.
Each piece in the suspension system plays a vital role in how the suspension performs. Engineers spend countless hours setting vehicles to handle properly, only to have the accountants come in and cut costs. Light and robust aluminum components get replaced with cheap, stamped steel parts, all in the name of saving money. Even with their pedigree of making benchmark sport sedans, BMW is no stranger to this practice. Thankfully, the aftermarket picks up from where the manufacturers leave off.
BMW models and years applicable:
|
|
|
|
|
|
|
|
|
|
How long will it take to replace BMW E90 rear trailing arms?
With only two bolts holding it in and plenty of space to access it, this is not a time-consuming job. Set aside half an hour to swap out the rear trailing arms. Consider giving yourself more time if corroded parts are common in your area.
How much will it cost to replace BMW E90 rear trailing arms?
The Revshift kit available on our website will set you back roughly $250. No alignment is needed after this job, so any labor charges won’t cost too much. Expect a shop to charge an hour of labor to swap out the arms.
Tools required to replace BMW E90 rear trailing arms:
- 17mm Socket
- 18mm Socket
- 19mm Socket
- 18mm Wrench
- 19mm Wrench
- Small Pry Bar
- Ratchet
- Torque Wrench
- Floor Jack
- Jack Stands
Parts required to replace BMW E90 rear trailing arms:
Steps required to replace BMW E90 trailing arms:
Step 1: Jack the car up and remove the rear wheels
Position the jack under the differential or inner control arm mount and lift the car. Safely place the vehicle onto jack stands and remove the wheel bolts with a 17mm socket.
Step 2: Remove the rear trailing arm
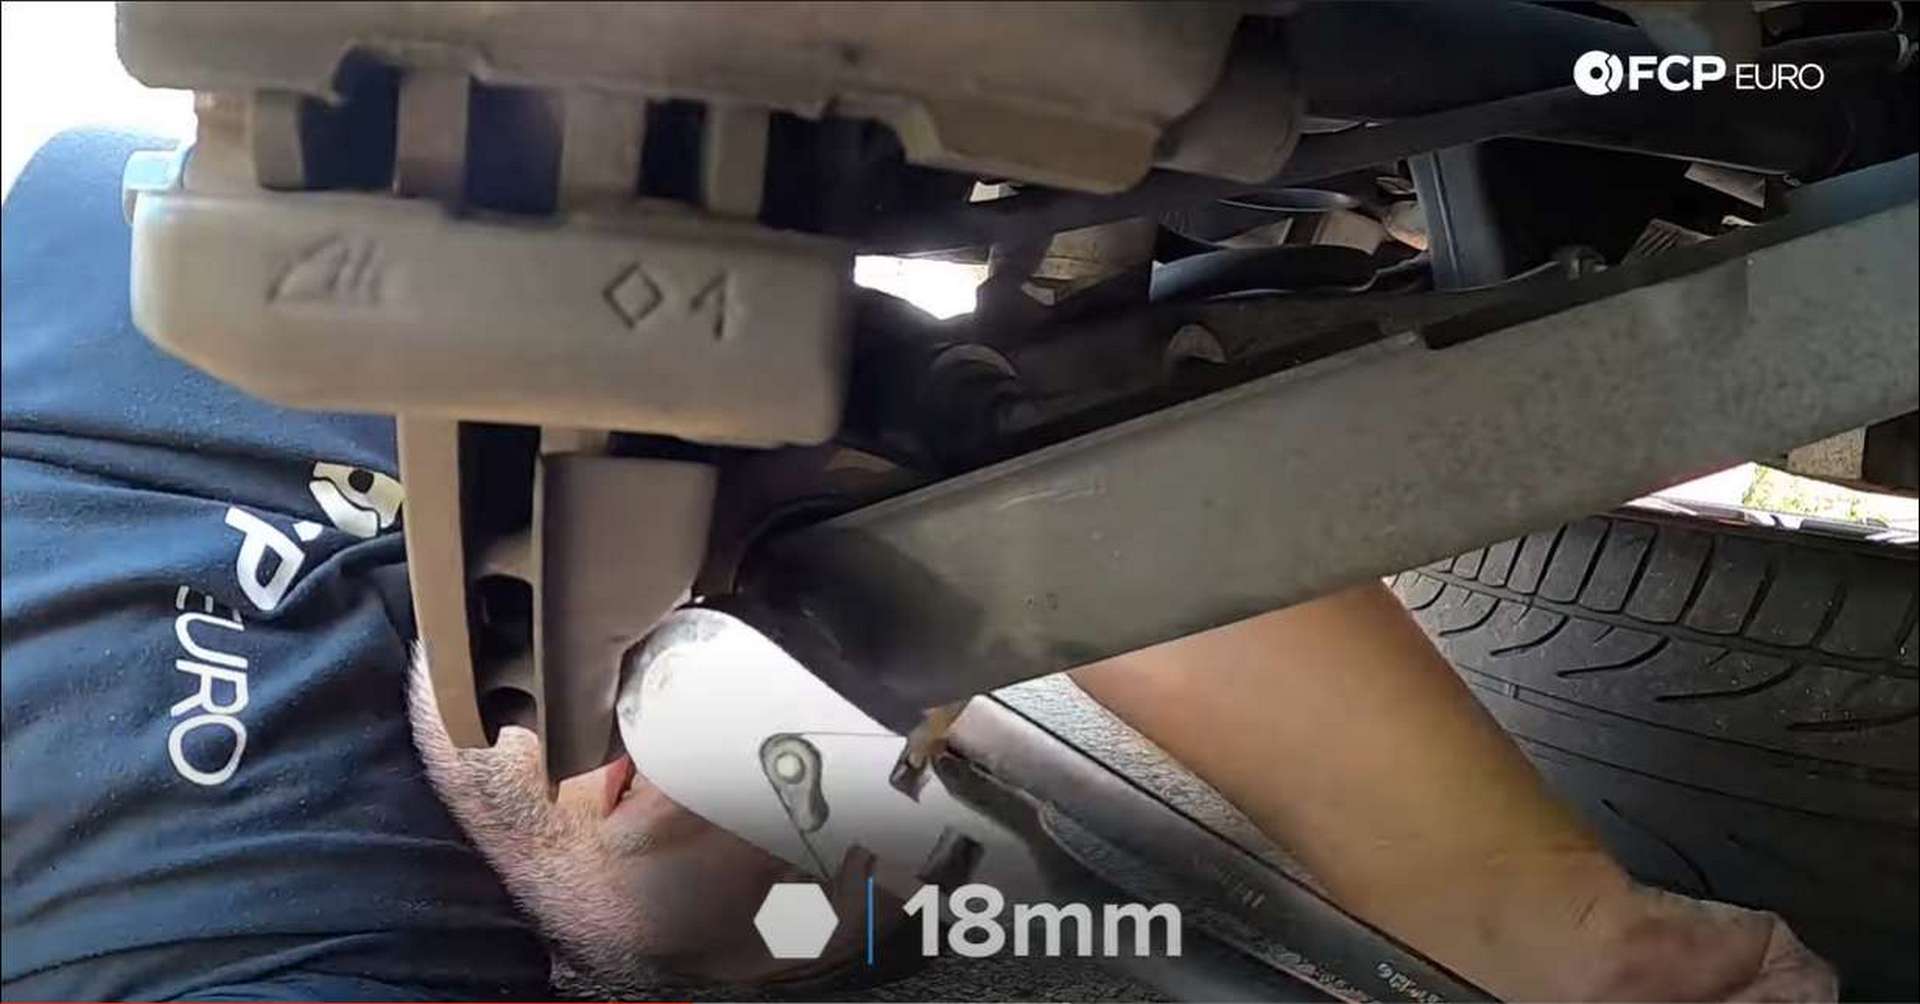
The trailing arm connects the subframe to the wheel knuckle and is secured in place with two 18mm headed bolts. Start by removing the bolt that secures the trailing arm to the knuckle. You’ll have less leverage if you remove it at the subframe first as the knuckle will move around. Use an 18mm wrench to hold the bolt and an 18mm socket to remove the nut.
The bushings will be putting tension on the bolts, so they may be tough to pull out. Next, move to the inner bolt and remove it with the same tools as the outer bolt.
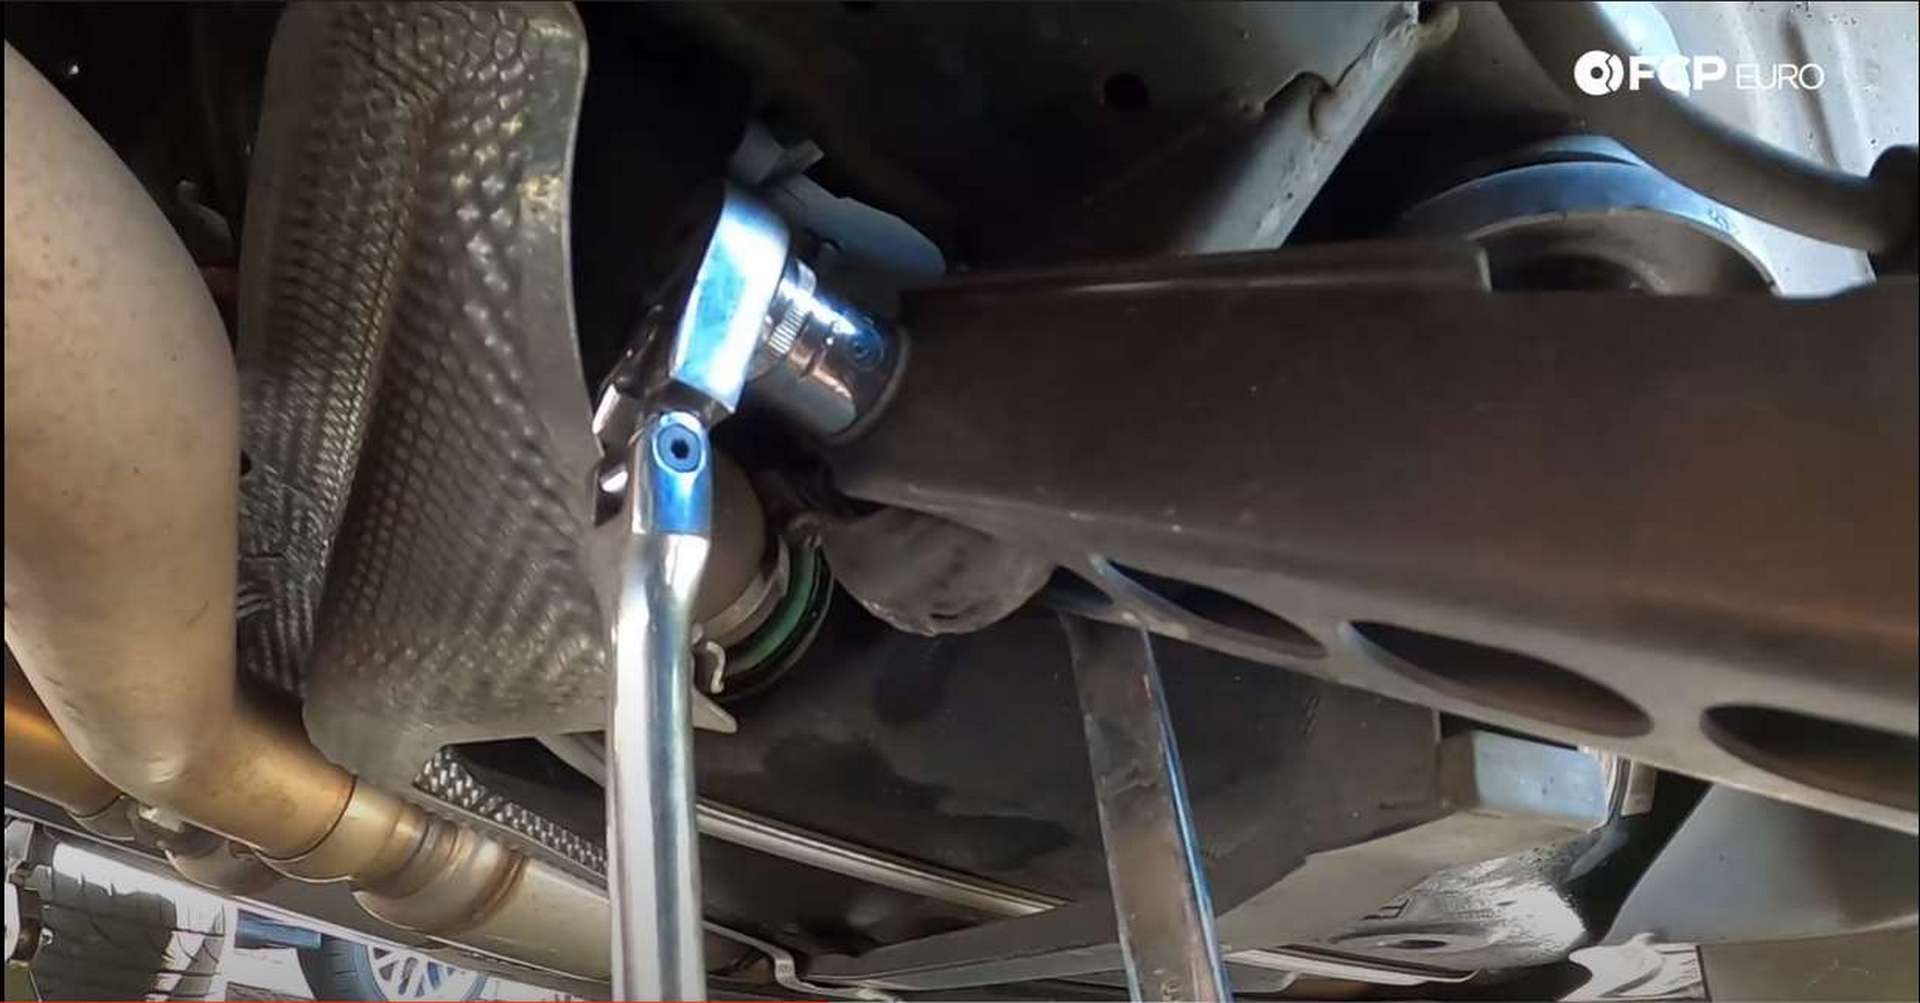
Be careful when removing the inner bolt. When the tension on the bolt is released, the arm will swing down and will hit whatever is in the way.
Step 3: Install the new rear trailing arm
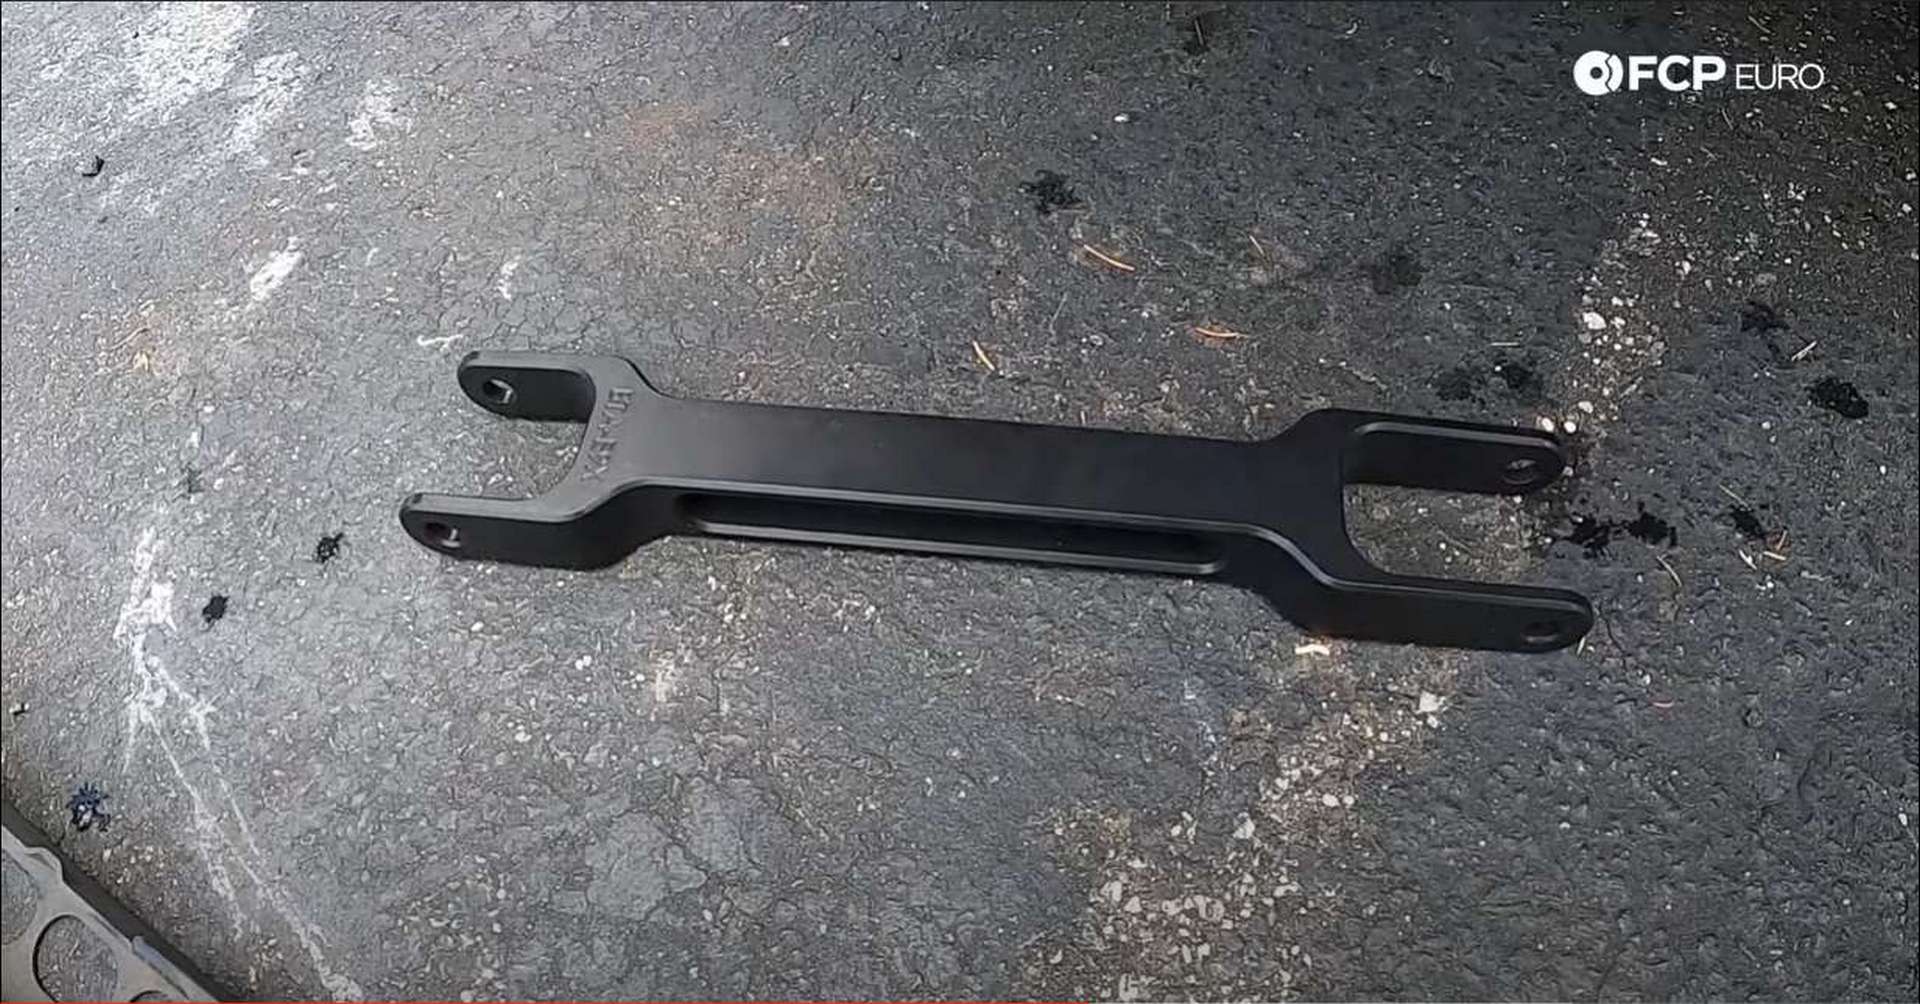
The Revshift arm has a specific orientation for installation. The ears on one side of the arm will be longer on the other. This is so that it can clear the subframe.
Using the included hardware, line up the holes of the long ear side of the arm to the subframe bushing and put the bolt through. The head and washer will need to face the rear of the car. Thread the nut on the other side, but don’t tighten it.
Next, swing the arm up to the subframe and line it up, putting the bolt through. Again, have the head of the bolt and washer face the rear of the car and thread on the nut.
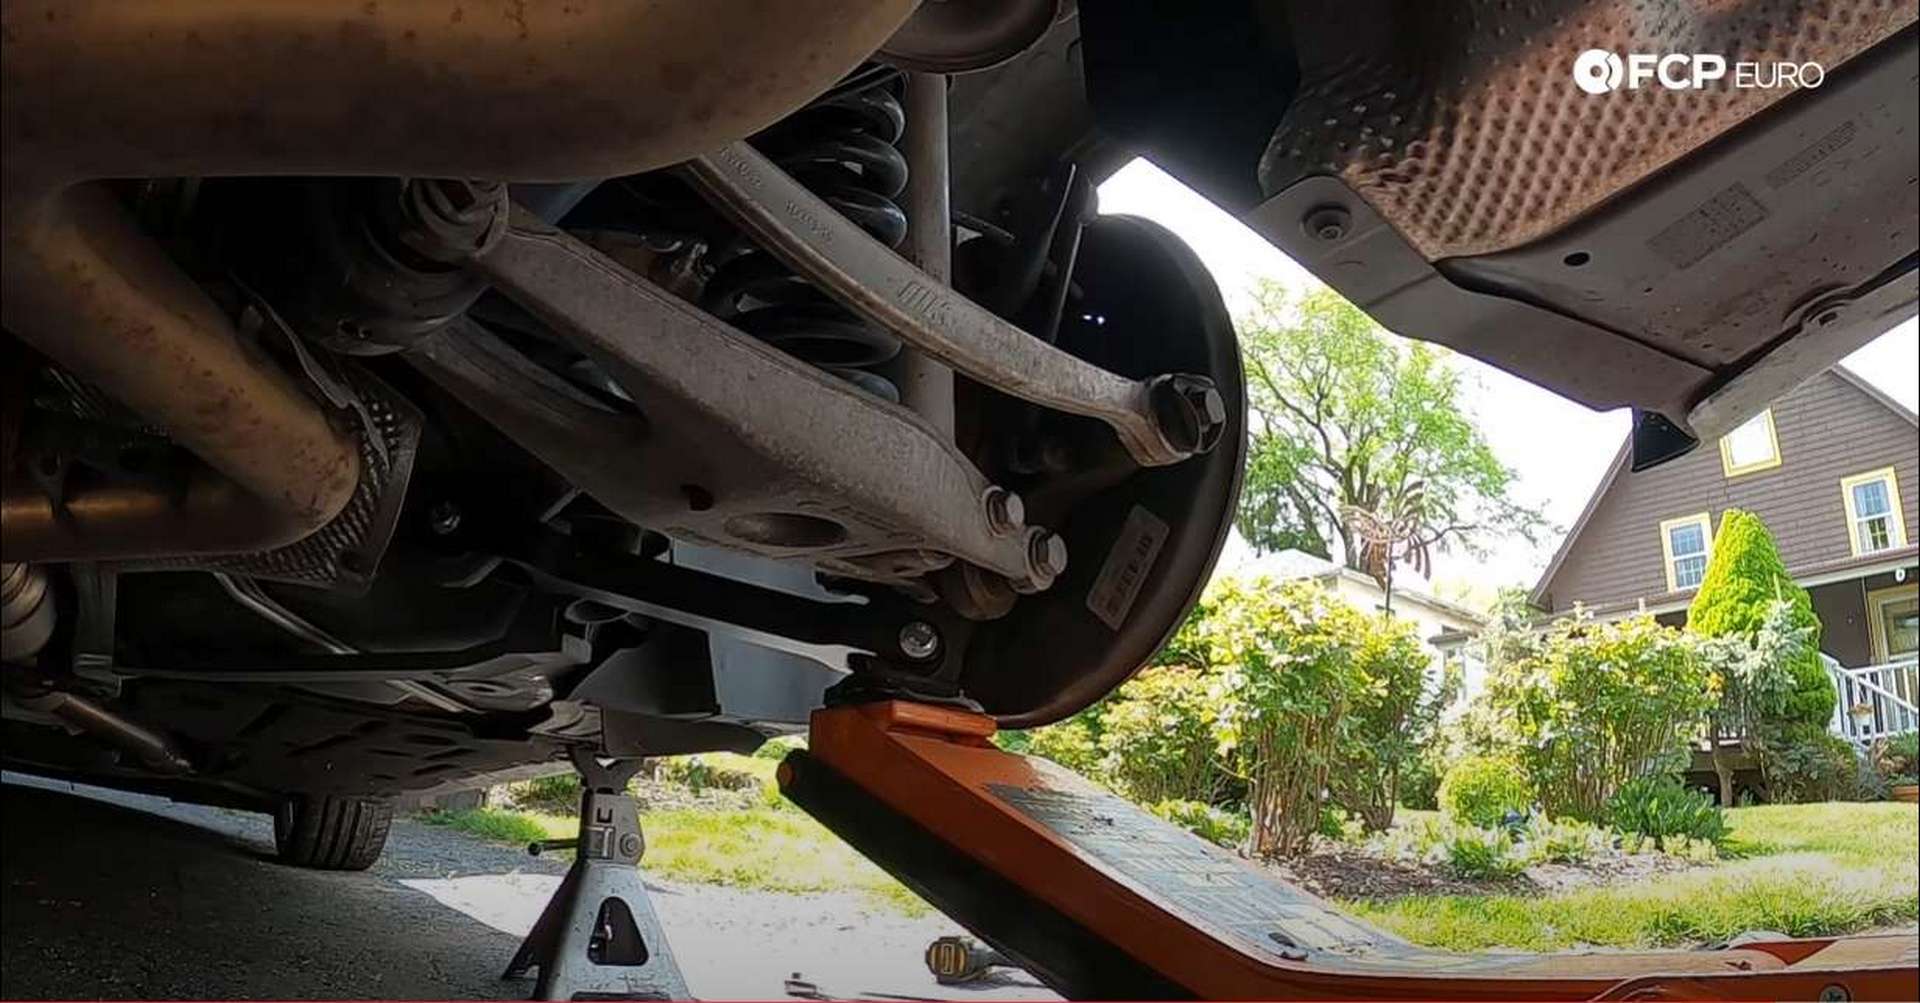
The bushings need to be tightened with the suspension at ride height. Place the jack under the knuckle and raise it until the car starts to come off of the jack stands. The suspension is now at ride height, and the bolts can be torqued to 100Nm or 74 lb-ft of torque.

With everything tightened up, put the wheels back on and set the car onto the ground.
If you’re interested in more DIYs for your BMW, you can visit bmw.fcpeuro.com and subscribe to our YouTube channel.


