- 05/11/2022
- 7 Min Read
- By: Christian Schaefer
How To Replace The Steering Rack On A BMW E90, E82, & More (335i, 330i, 128i, & More)

For decades, BMW has prided themselves on providing cars that drive better than the competition. A failing steering rack in your E9X or E8X can significantly affect the driving feel and performance, as well as your ability to keep safe control of the vehicle. If you hear and feel a loud clunk through the steering wheel as you’re driving down the road, or have noticed an excess buildup of fluid and grime on the rack itself, it is probably time for a replacement.
A steering rack replacement can be a challenging and intimidating job. Luckily our BMW catalog associate, Andrew Johnson, has put together an all-inclusive kit with everything you’ll need to complete it yourself. In the video below, Andrew takes you step-by-step through a steering rack replacement on his own 128i.
BMW models and years applicable:
This steering rack fits a wide range of BMWs. All of the models will be those without Active Steering.
|
|
|
|
|
|
|
|
What are the symptoms of a bad BMW steering rack?
- Power steering fluid (Pentosin) leaking from the rack
- Feeling like the car is wandering while the wheel is held straight
- A large and loud clunk heard and felt in the front end when turning the wheel
- Accumulation of grime and fluid around and on the rack
- Vague and inconsistent steering feel
Ignoring the signs of a failing steering rack can be extremely detrimental. As the rack deteriorates, it could have a significant and dangerous effect on the vehicle’s handling abilities.
BMW’s normal service interval for the steering rack is every two years or 30,000 miles. However, the steering racks in this generation of BMWs are a sore spot among owners everywhere. Forum posts detailing the issues listed above can be found easily, with the recommended fix being a new rack.
How long will it take to replace my BMW steering rack?
Book time to complete the job is 3 hours. If you're doing the job yourself for the first time, it would be a good idea to set aside a full day to be as careful as possible.
How much does it cost to replace my steering rack?
If you plan to take your car to the dealer to have this job done, you'd be looking at it costing north of $2500. By purchasing the parts through us and doing this job yourself, you will only pay a fraction of the cost. If the steering rack fails after replacement, you can make use of our Lifetime Replacement Guarantee.
Tools required to replace your BMW Steering Rack:
Parts required to replace your BMW E9X/E8X steering rack:
Steps required to replace your BMW E9X/E8X steering rack:
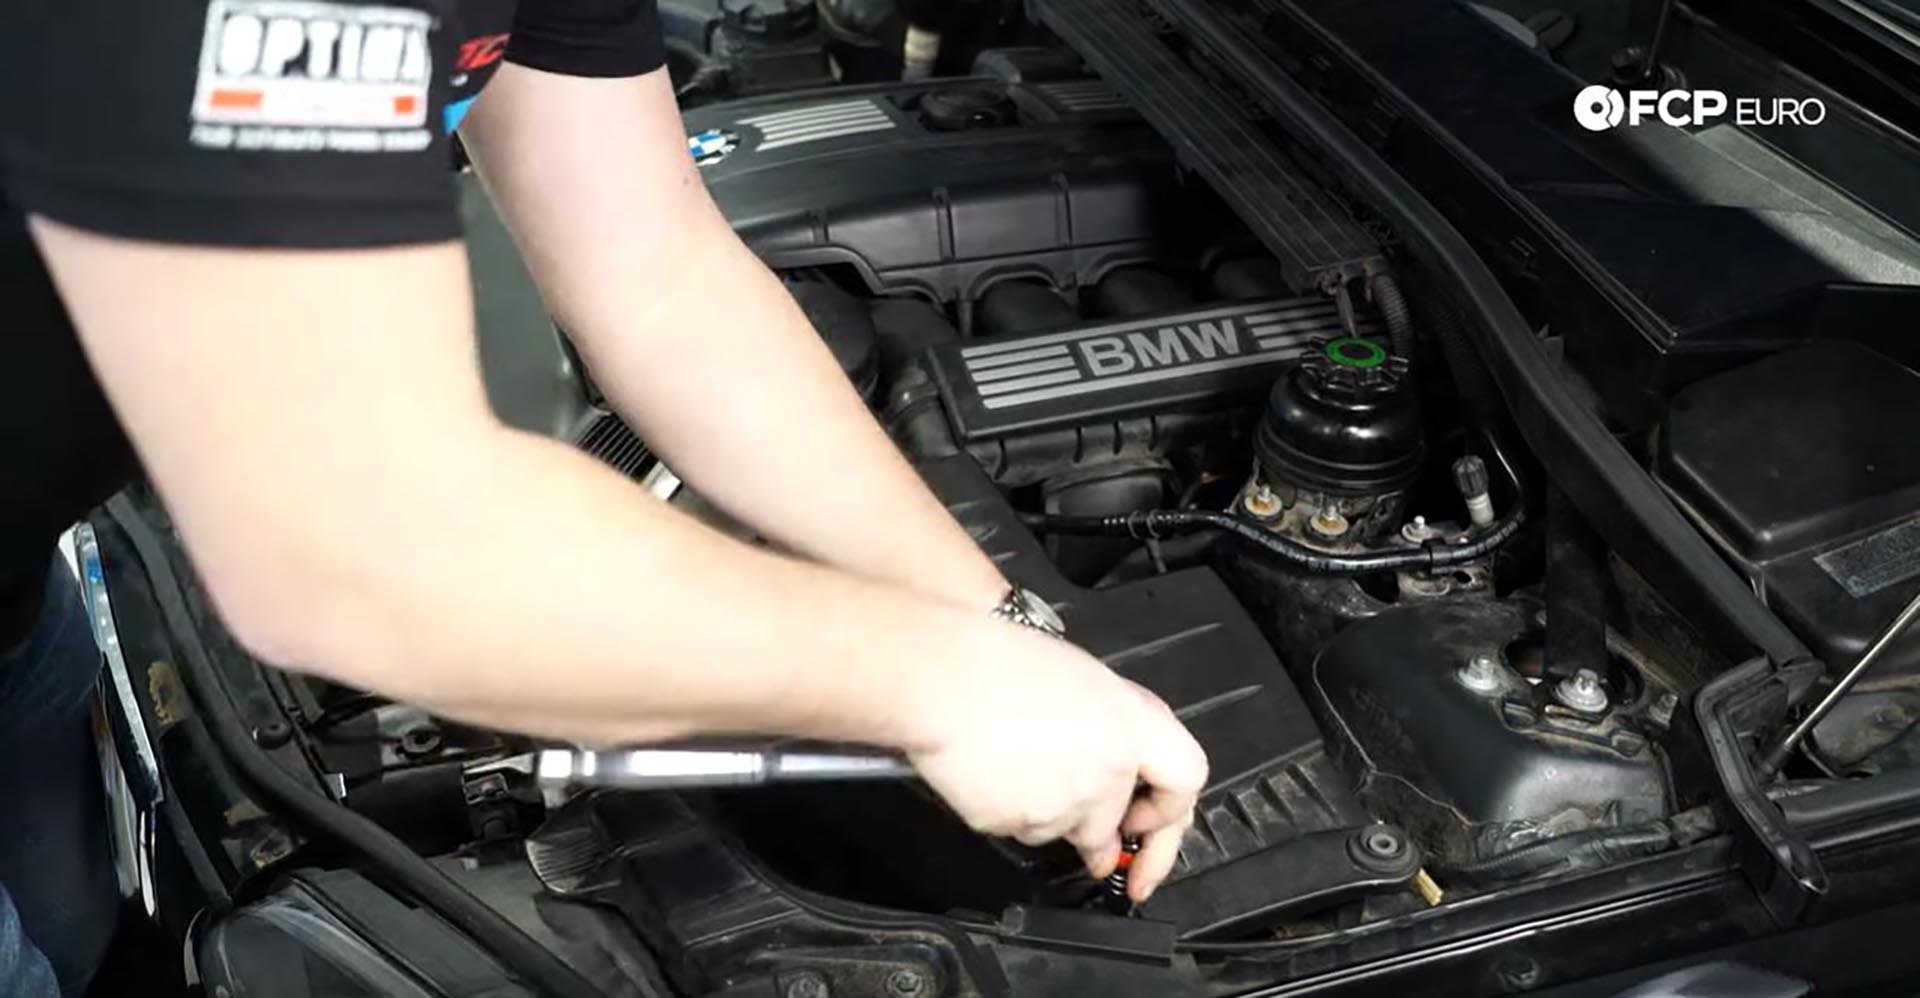
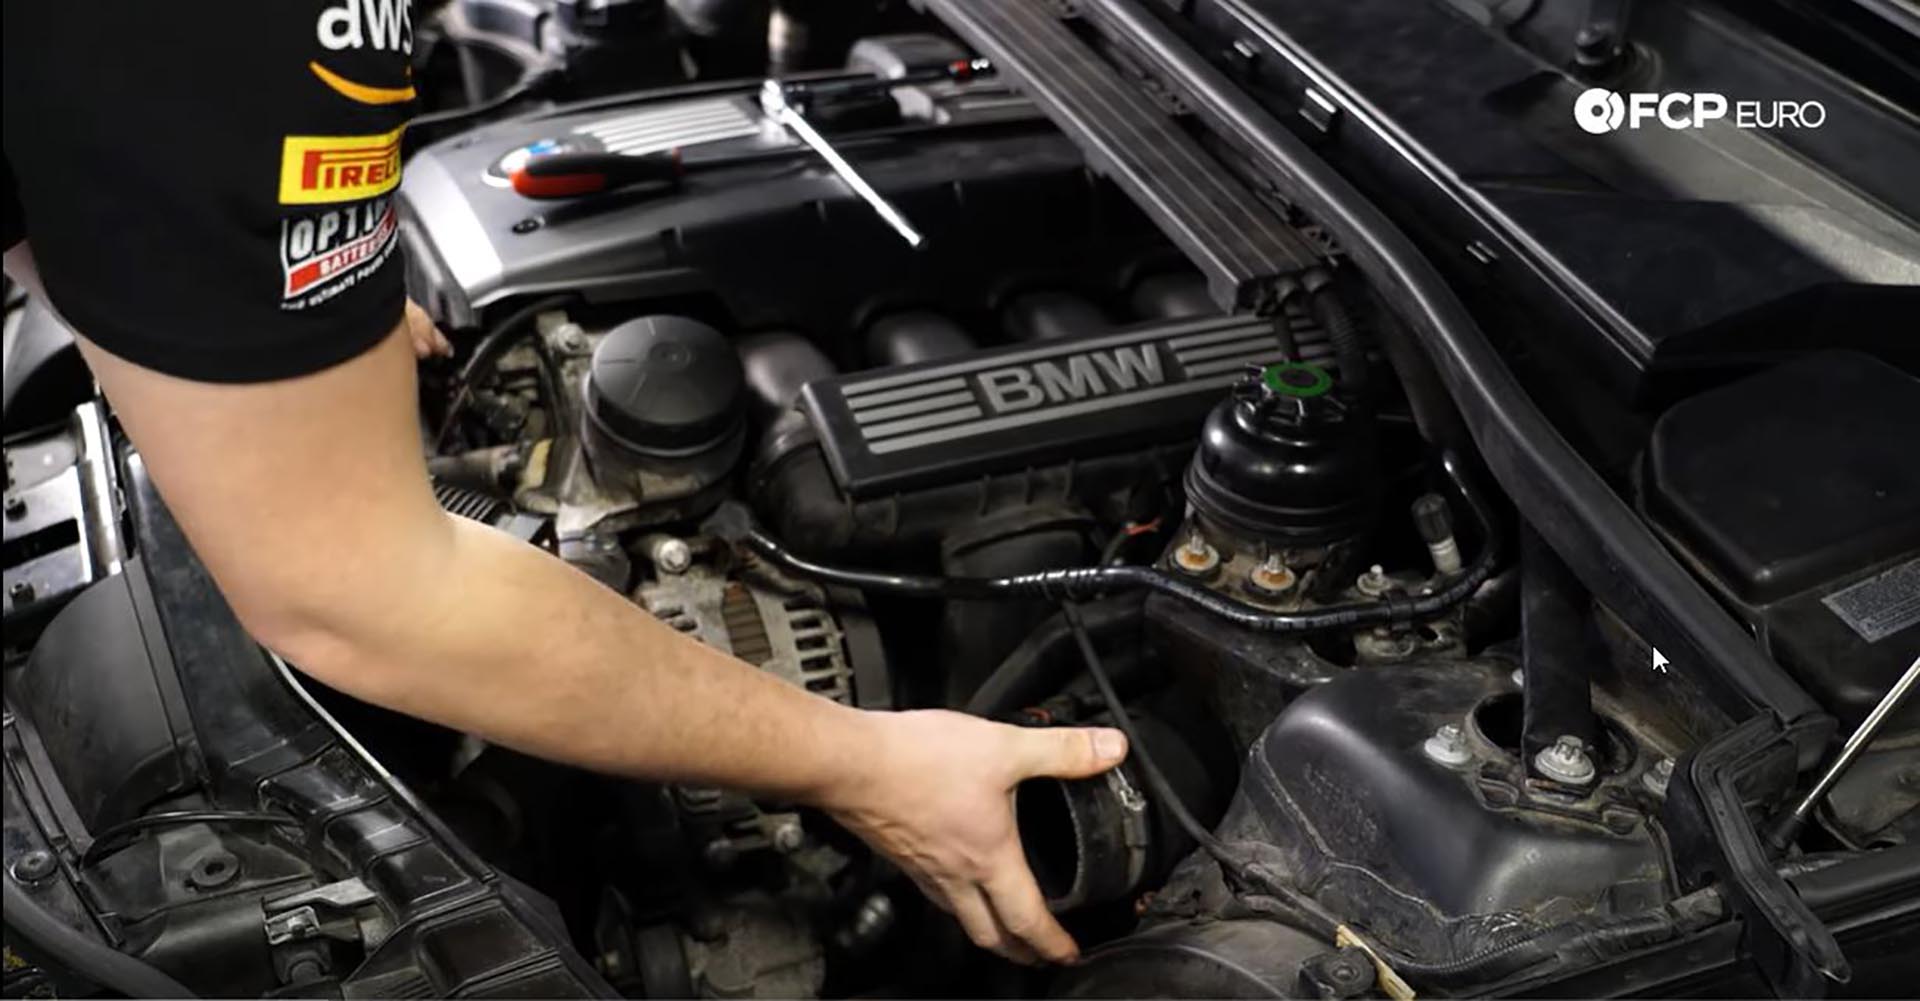
Step 1: Remove the airbox
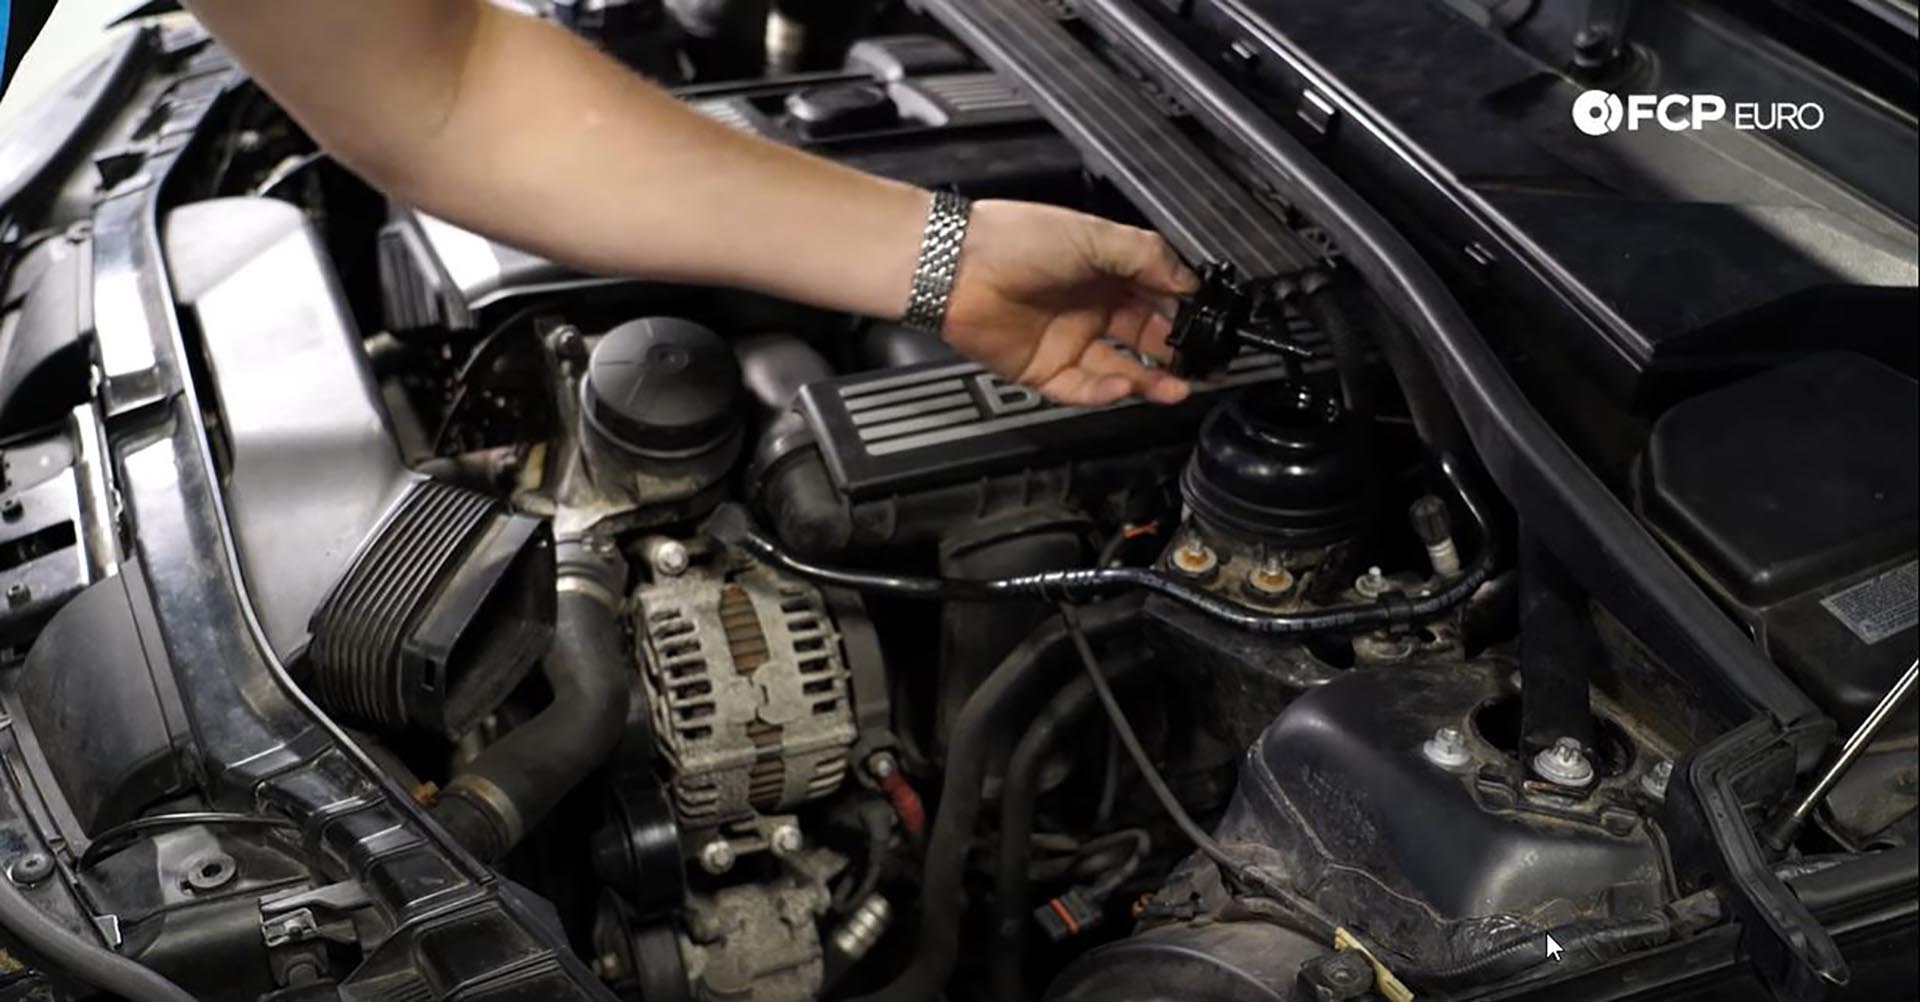
Start by removing the two 10mm bolts on the driver’s side. Then, remove the plug from the mass airflow sensor and loosen the outer hose clamp in the intake tube. Gently lift up on the tab of the mass airflow sensor plug and pull it off of the sensor. A long flat-blade screwdriver can aid in lifting the tab.
Once removed, use the same screwdriver or a 6mm socket, with an extension, to loosen the intake tube clamp. Unclip the two tabs at the front of the box using the flat-blade screwdriver and remove the airbox.
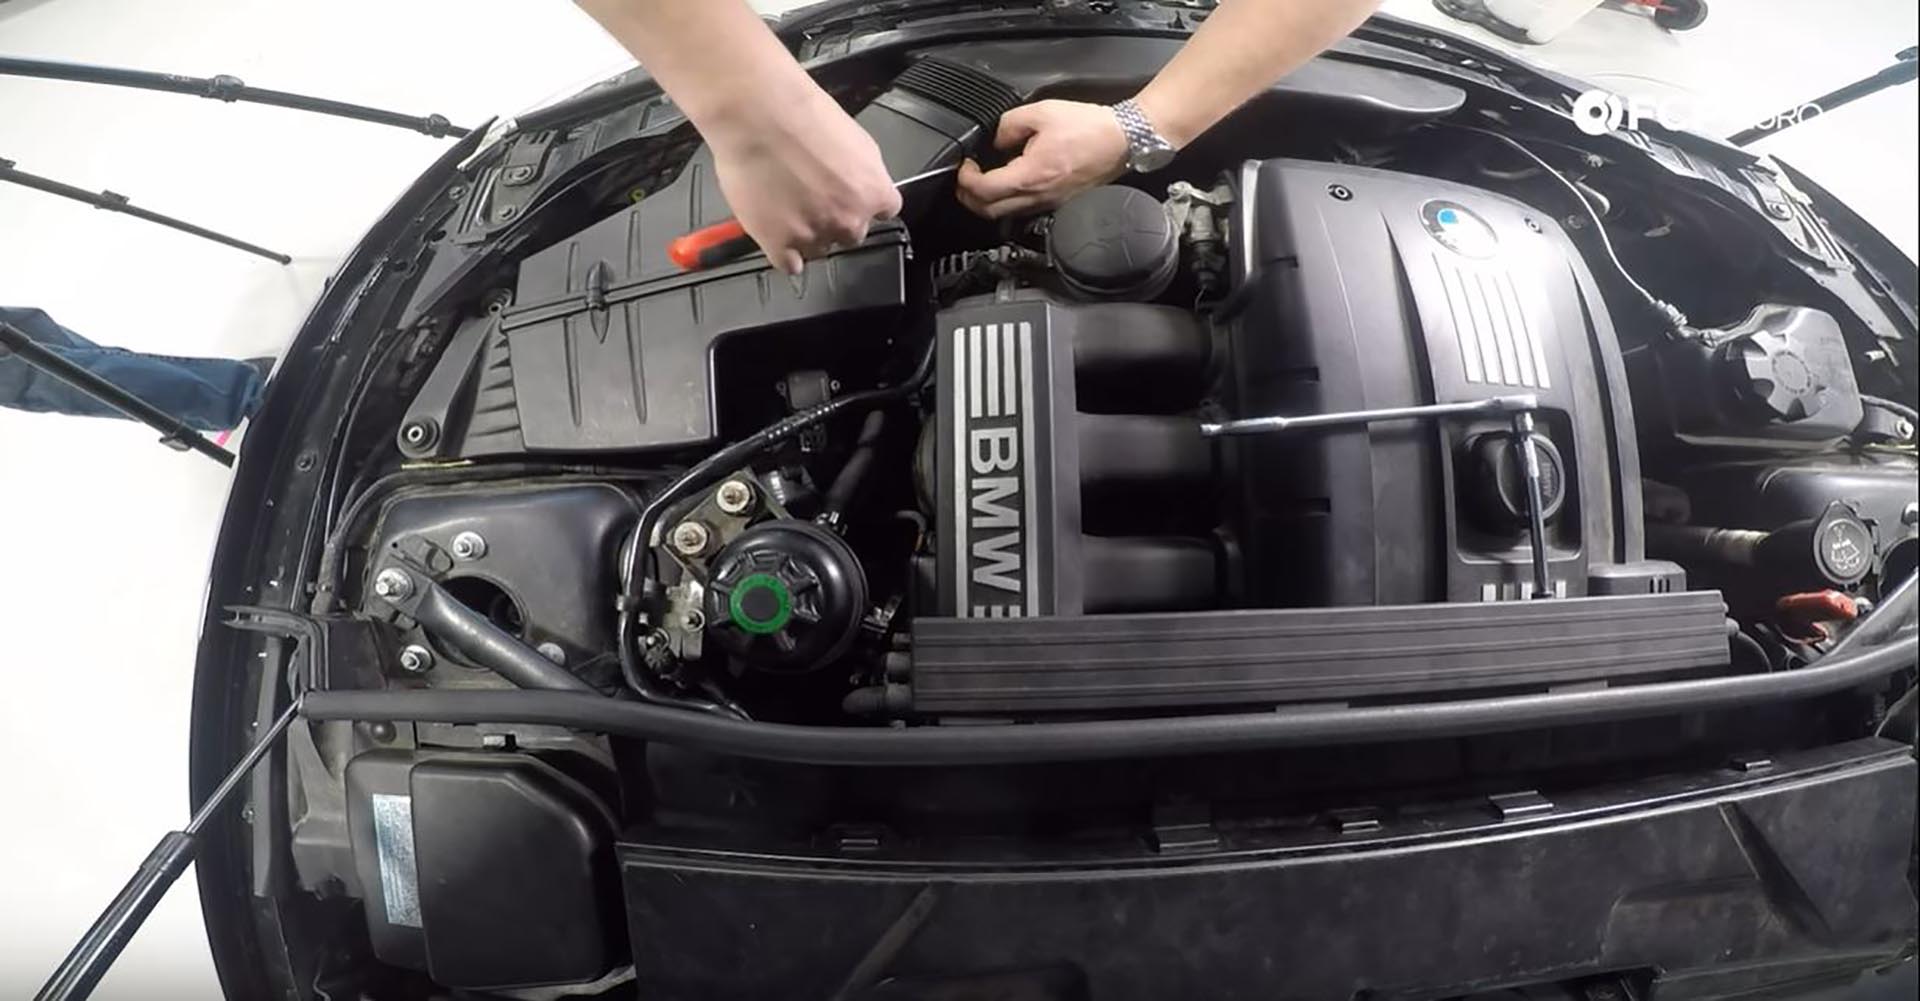
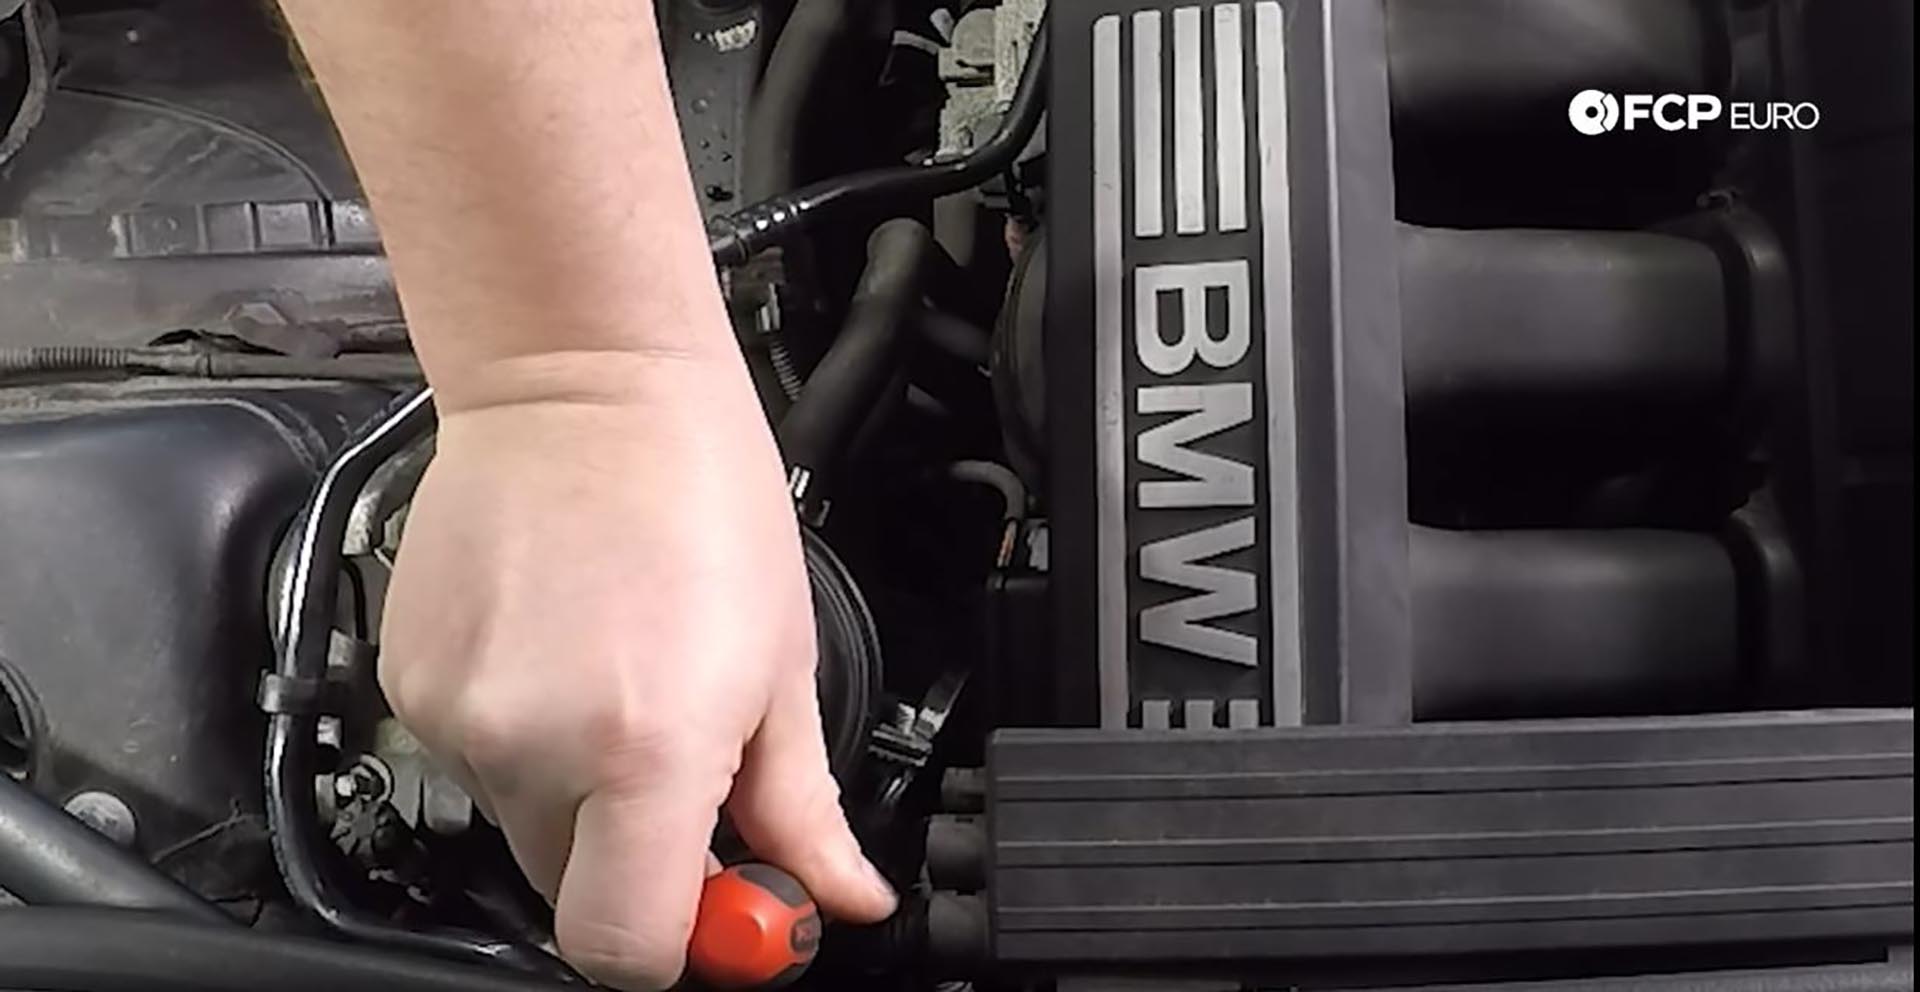
Step 2: Remove the intake tube
Using either the 6mm socket, with extension, or flat-blade screwdriver, loosen the clamp on the back of the intake tube. The clamp is positioned behind the fluid reservoir, so space will be tight. Once loosened, pull the tube away from the firewall and set it aside.
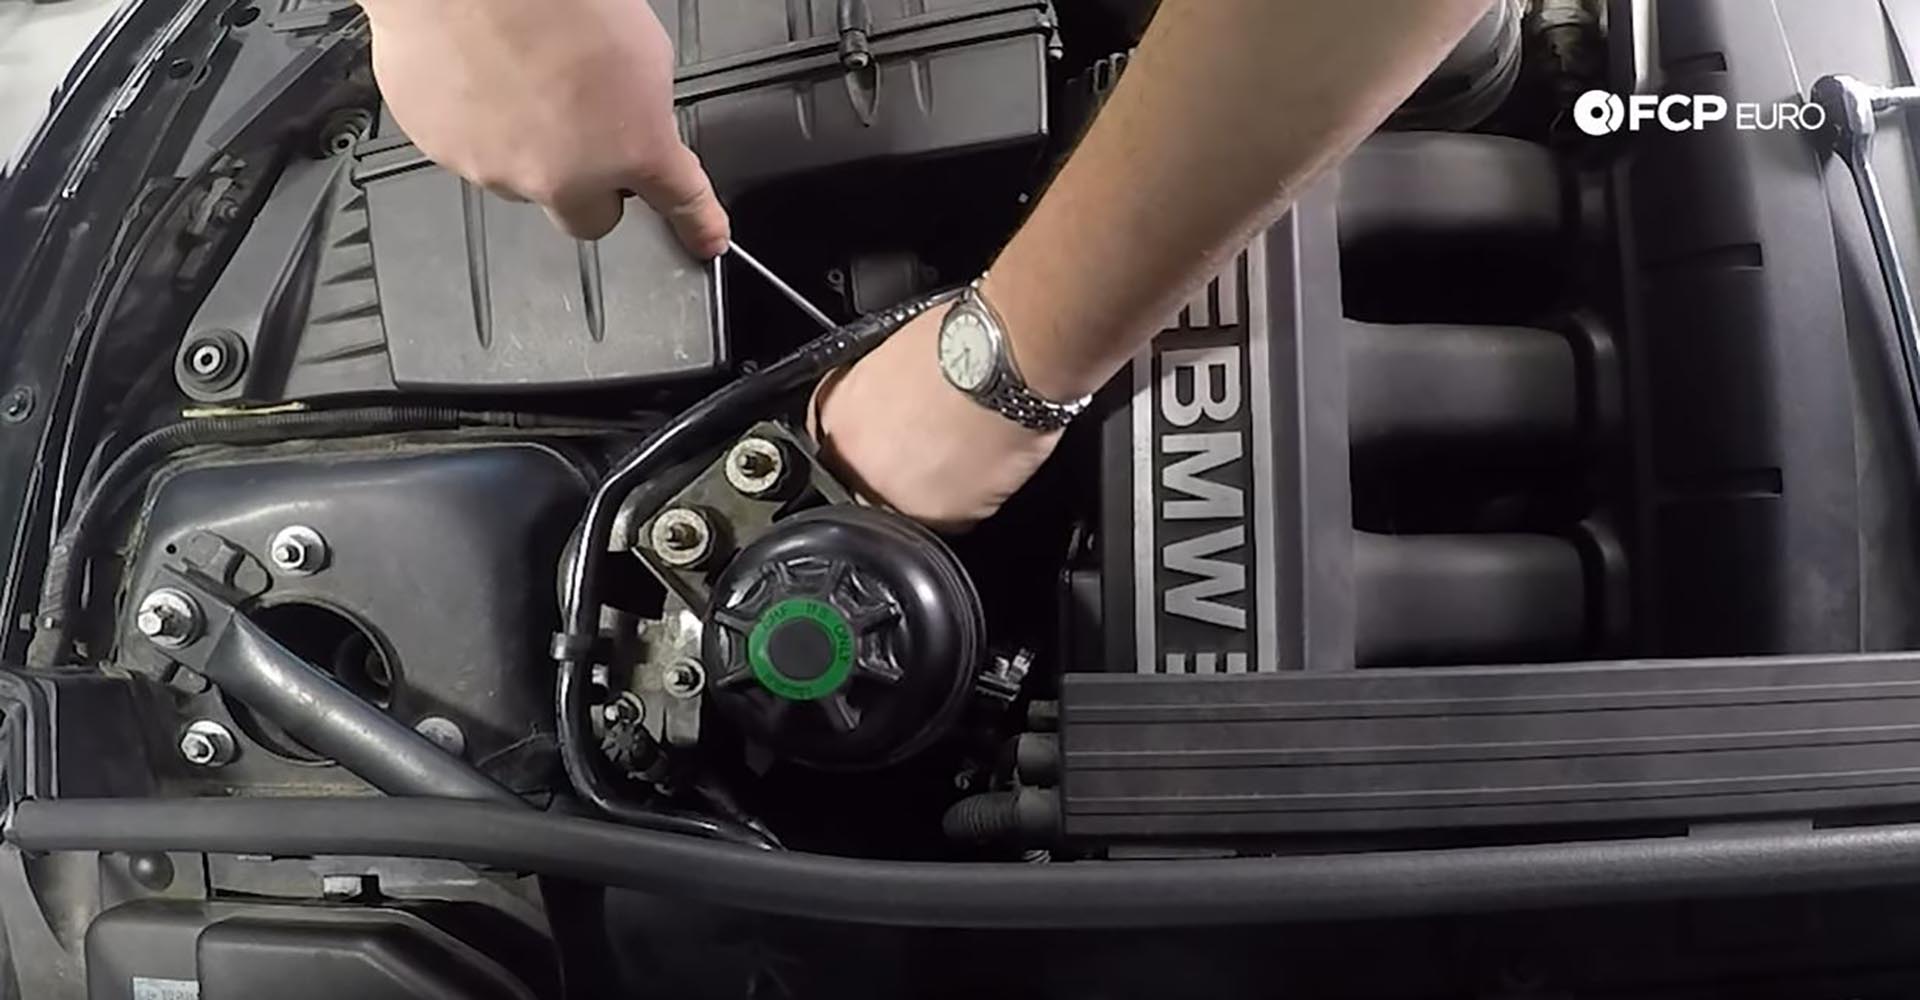
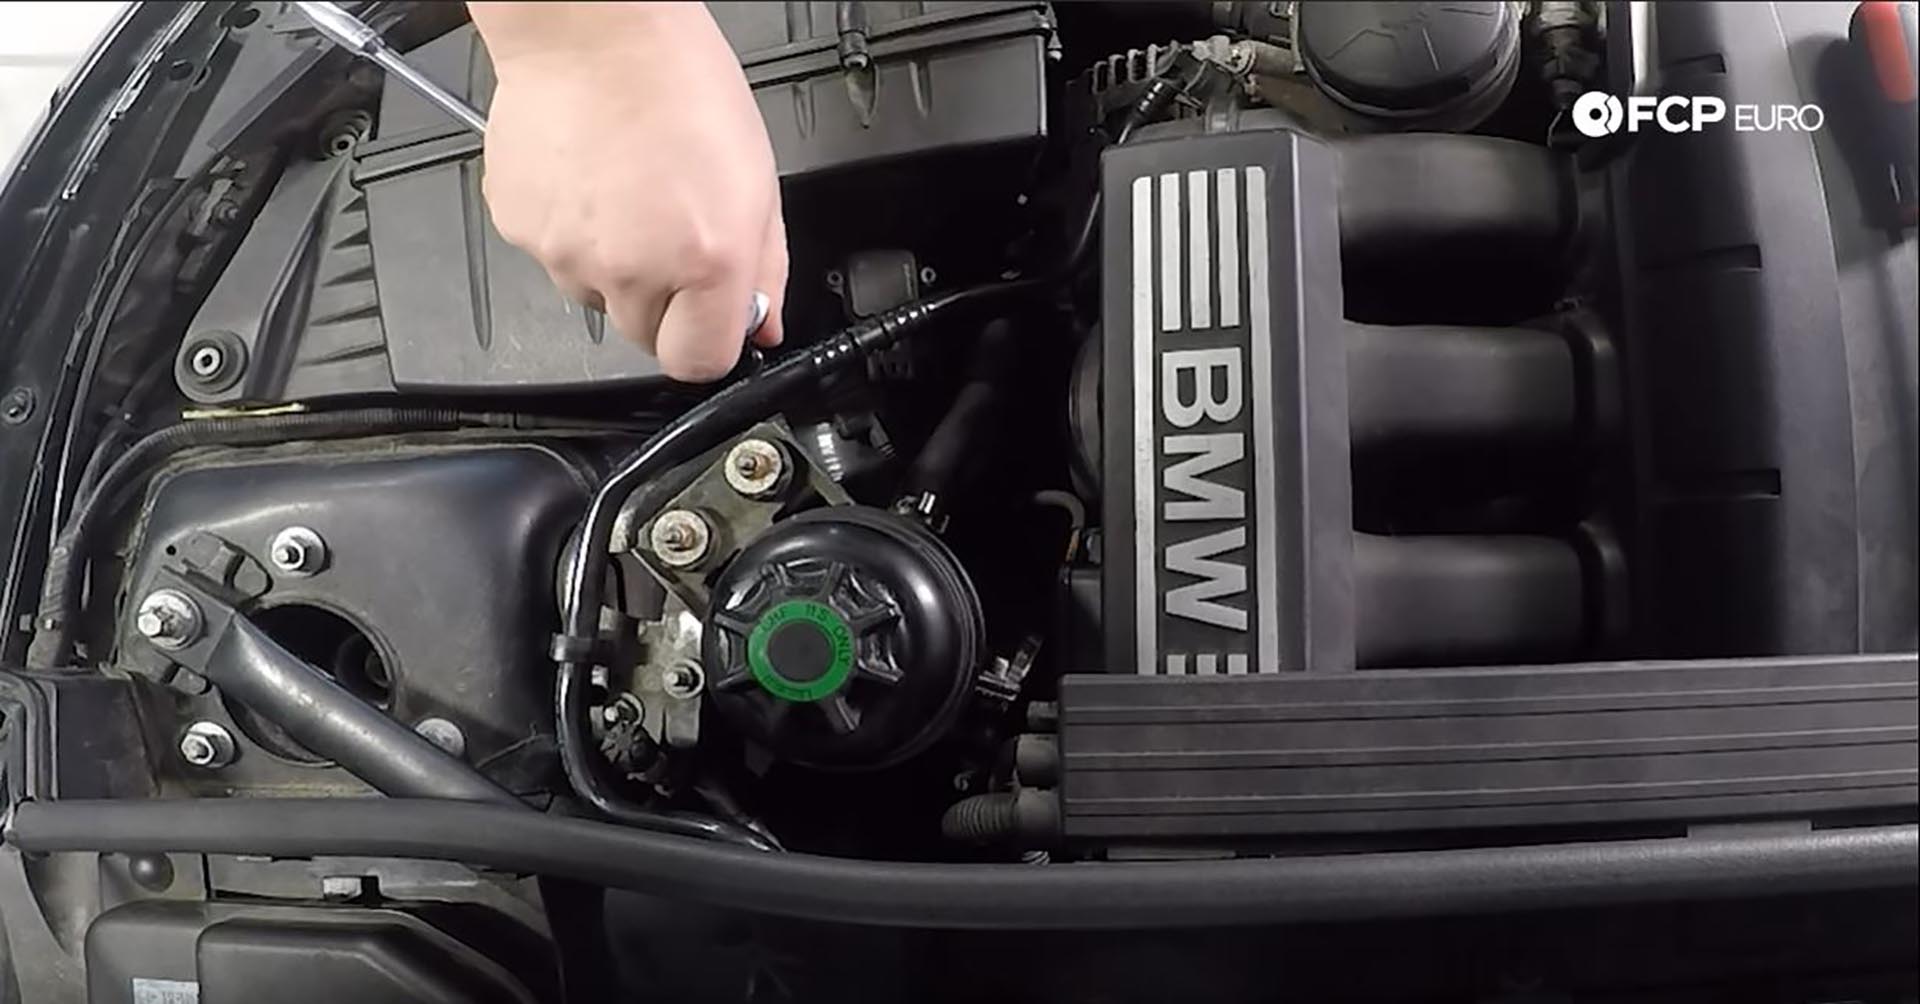
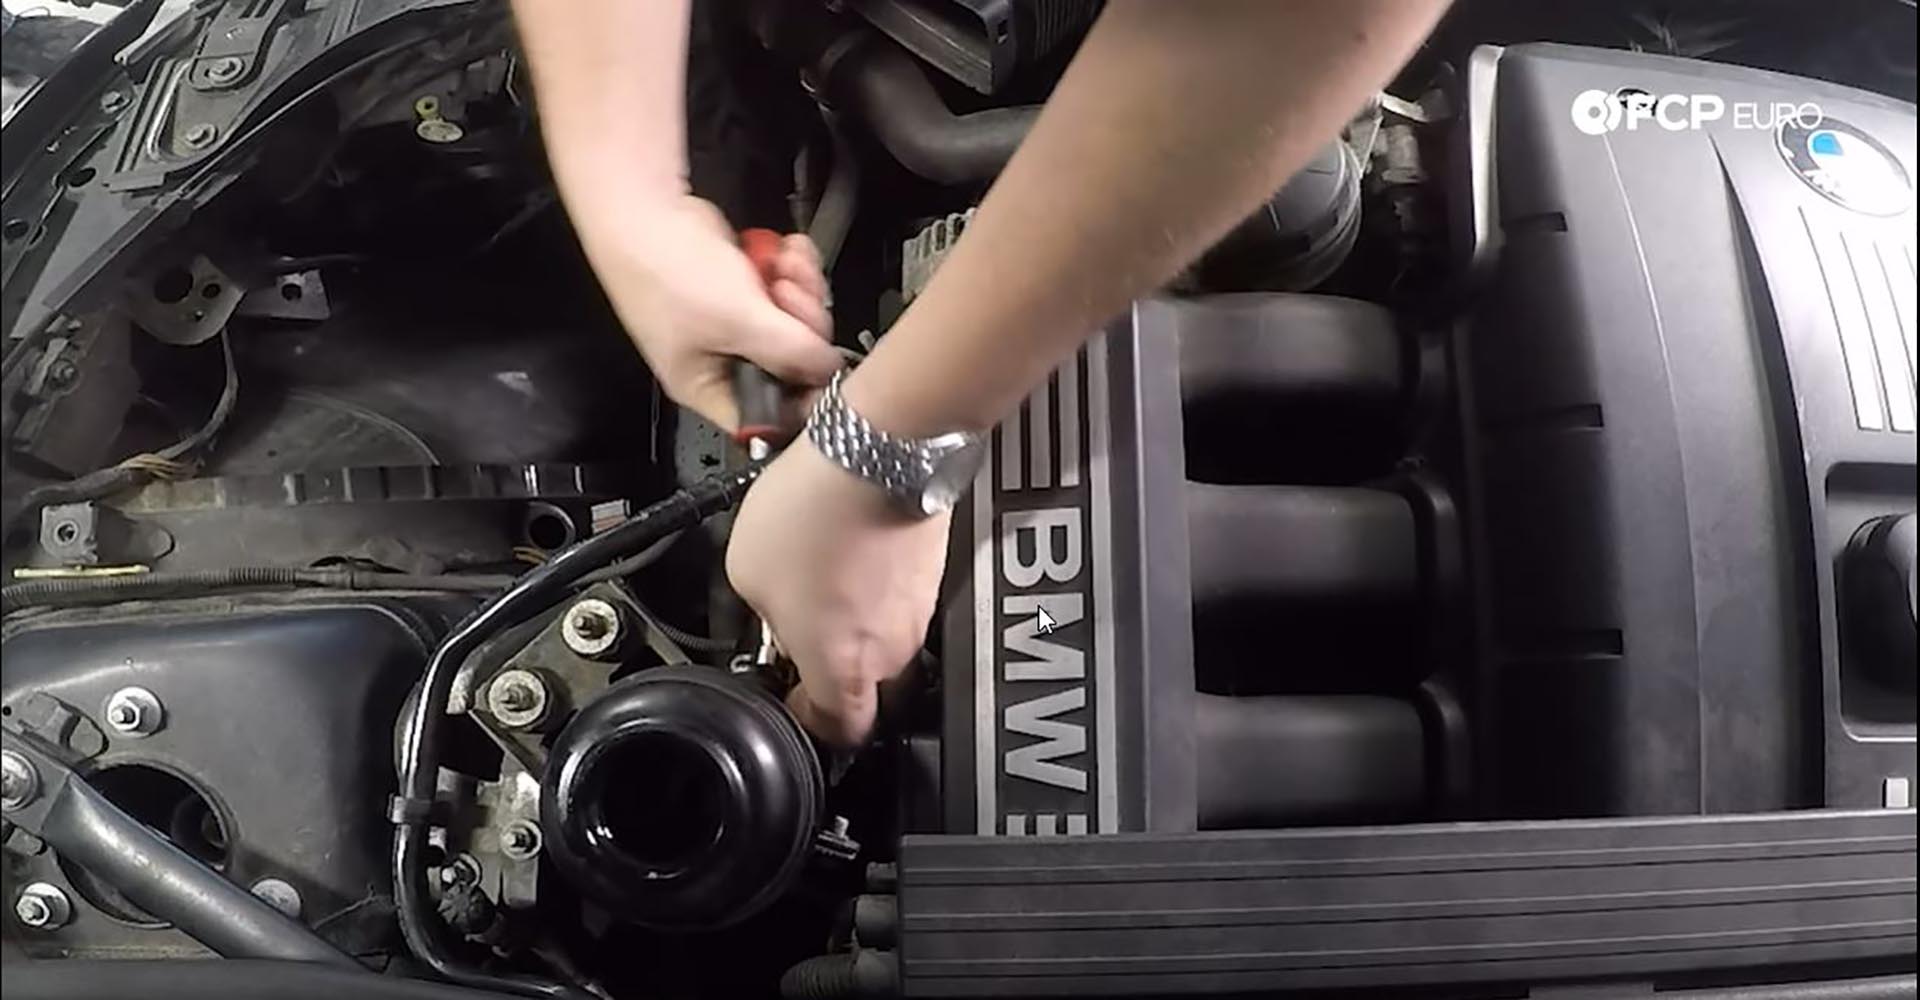
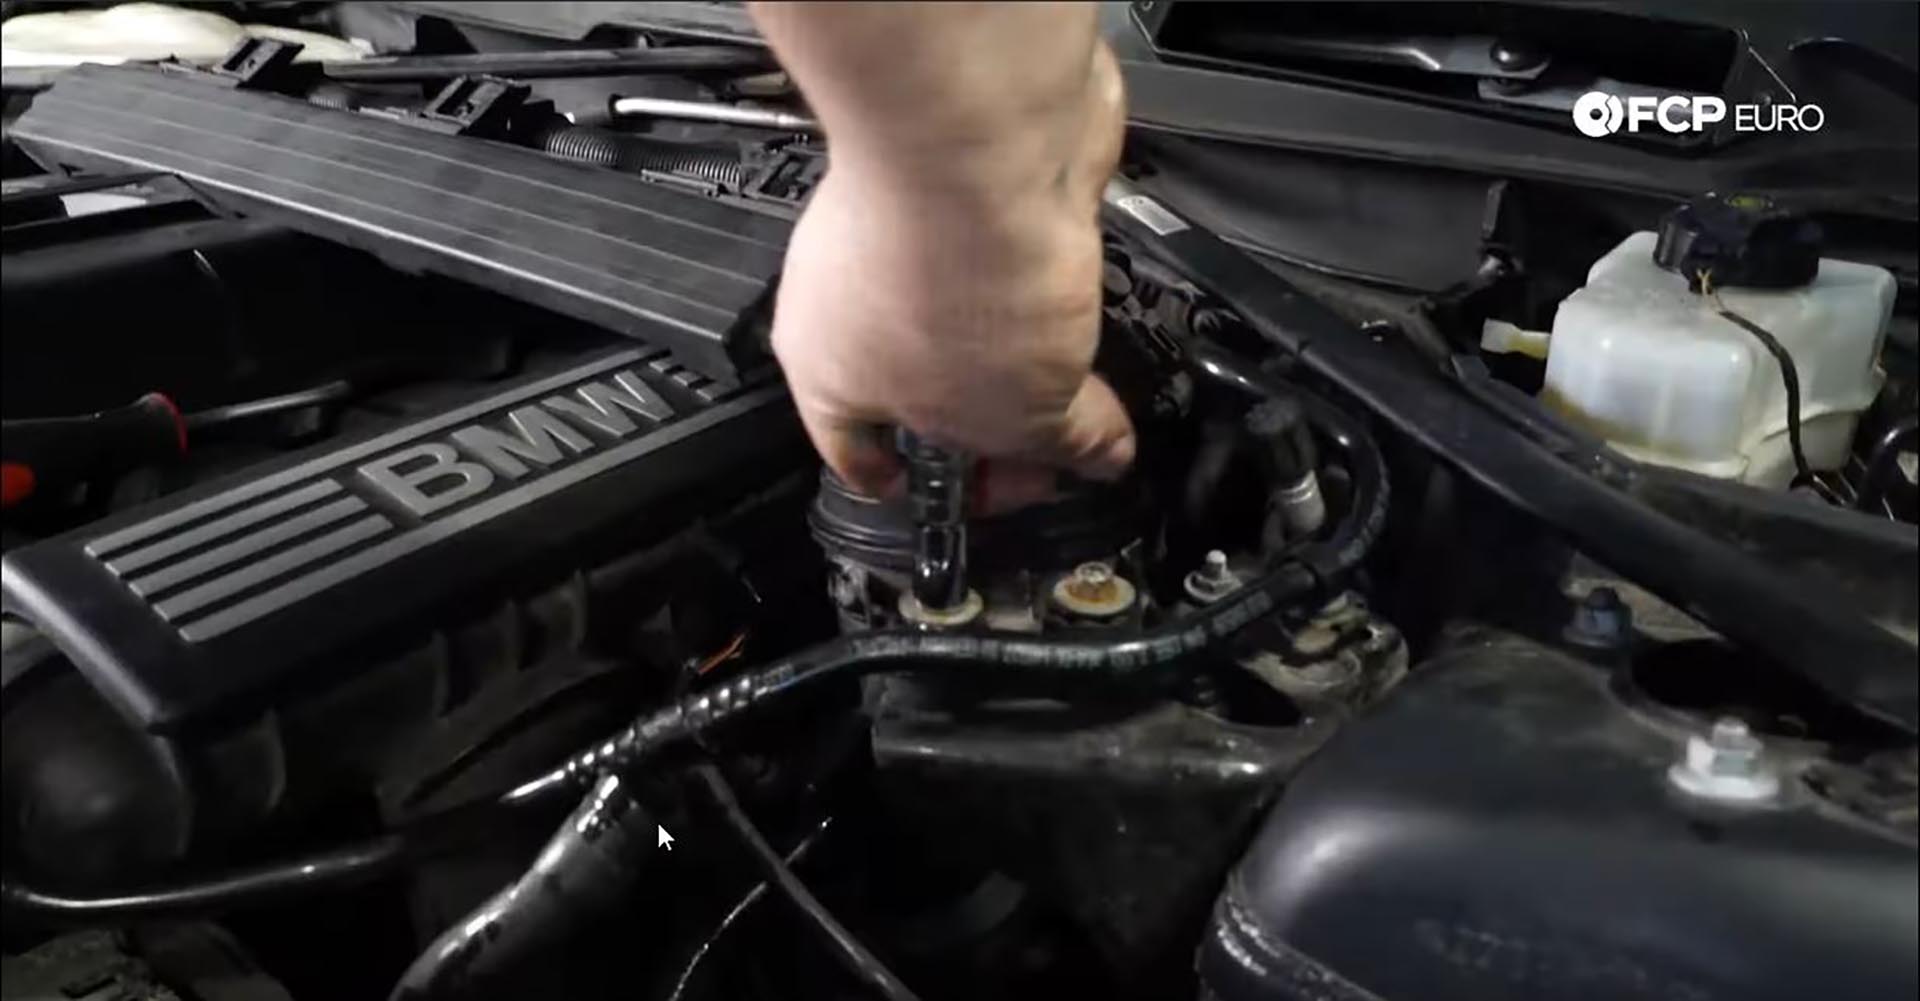
Step 3: Drain and remove reservoir
Start by unscrewing the cap from the reservoir and setting aside. Using the CTA suction tool, or something like a turkey baster if you don’t own that tool, pull the fluid out of the reservoir.
Once emptied, take your screwdriver and pry open the clamps holding on the suction and return hoses connecting to the reservoir. Maneuver the screwdriver to release the looped section on the clamp. These clamps are not meant to be reused, and new ones are included in the kit. Have a bowl or bucket handy to catch any remaining fluid from the reservoir and lines, once they are removed.
Finally, take a 10mm socket and remove the two nuts holding the reservoir in. It can now be removed.
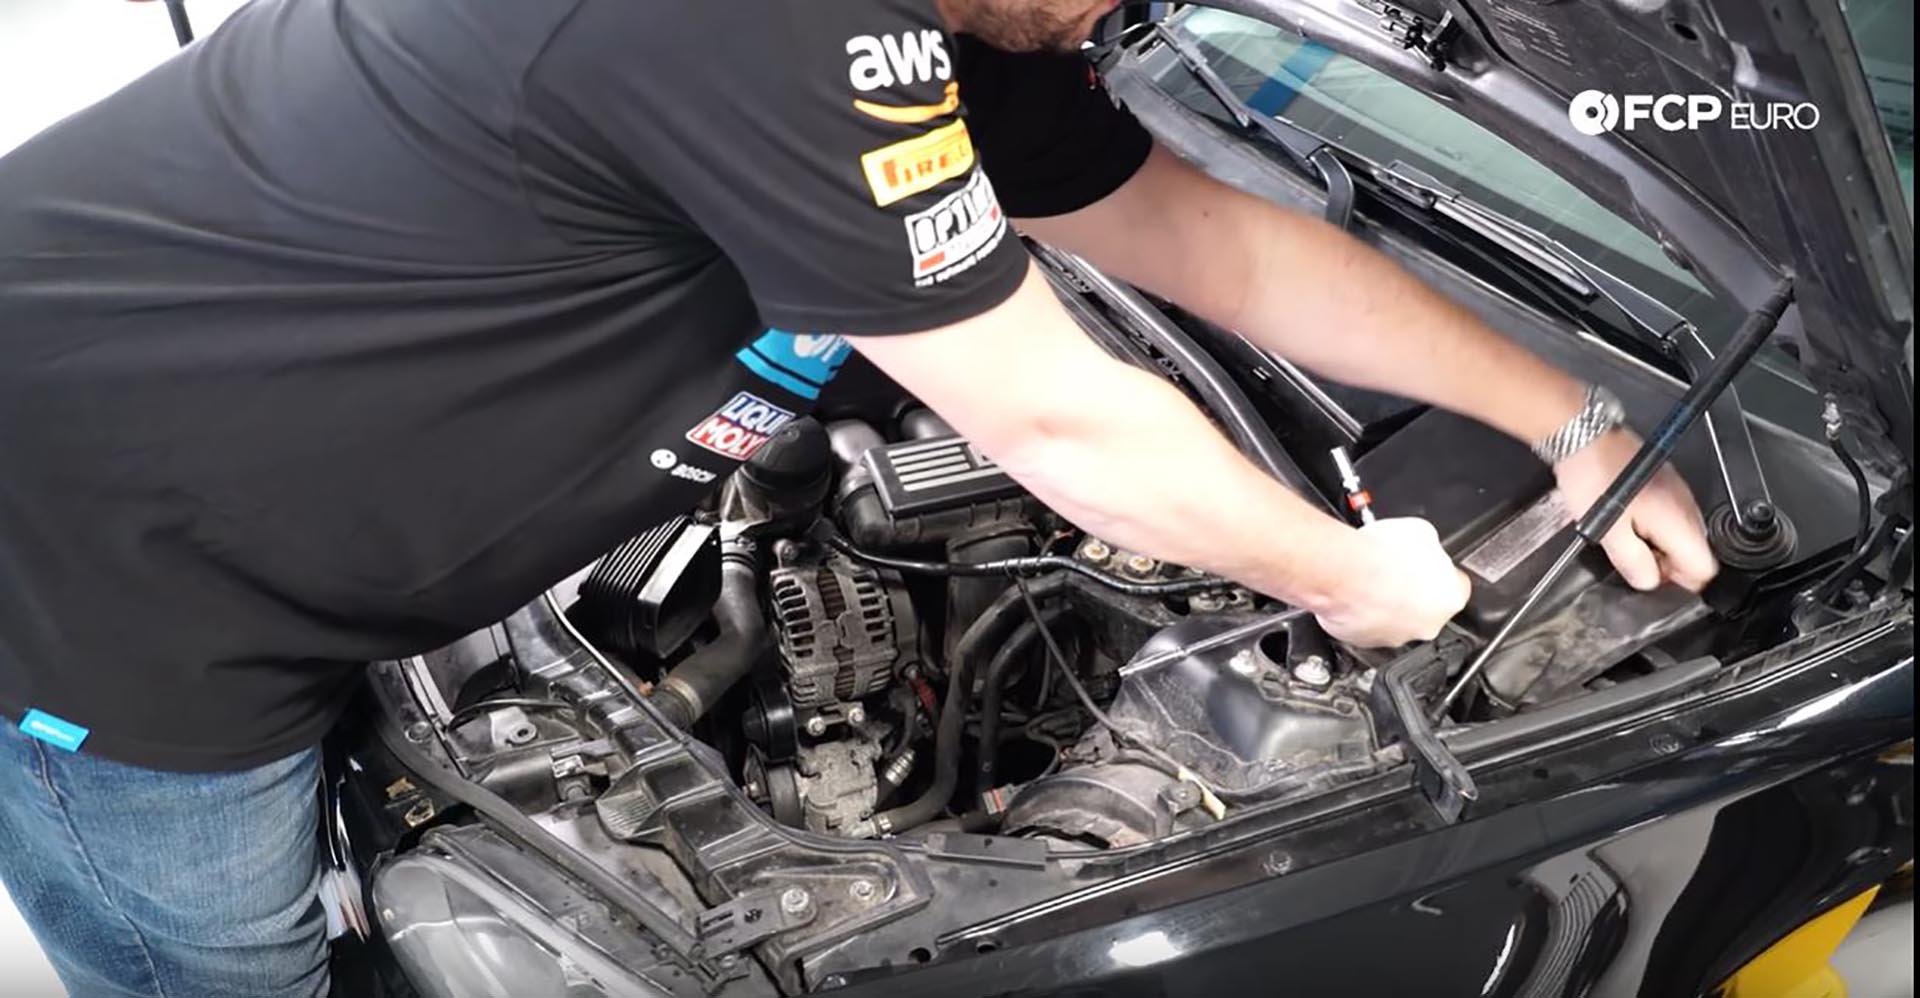
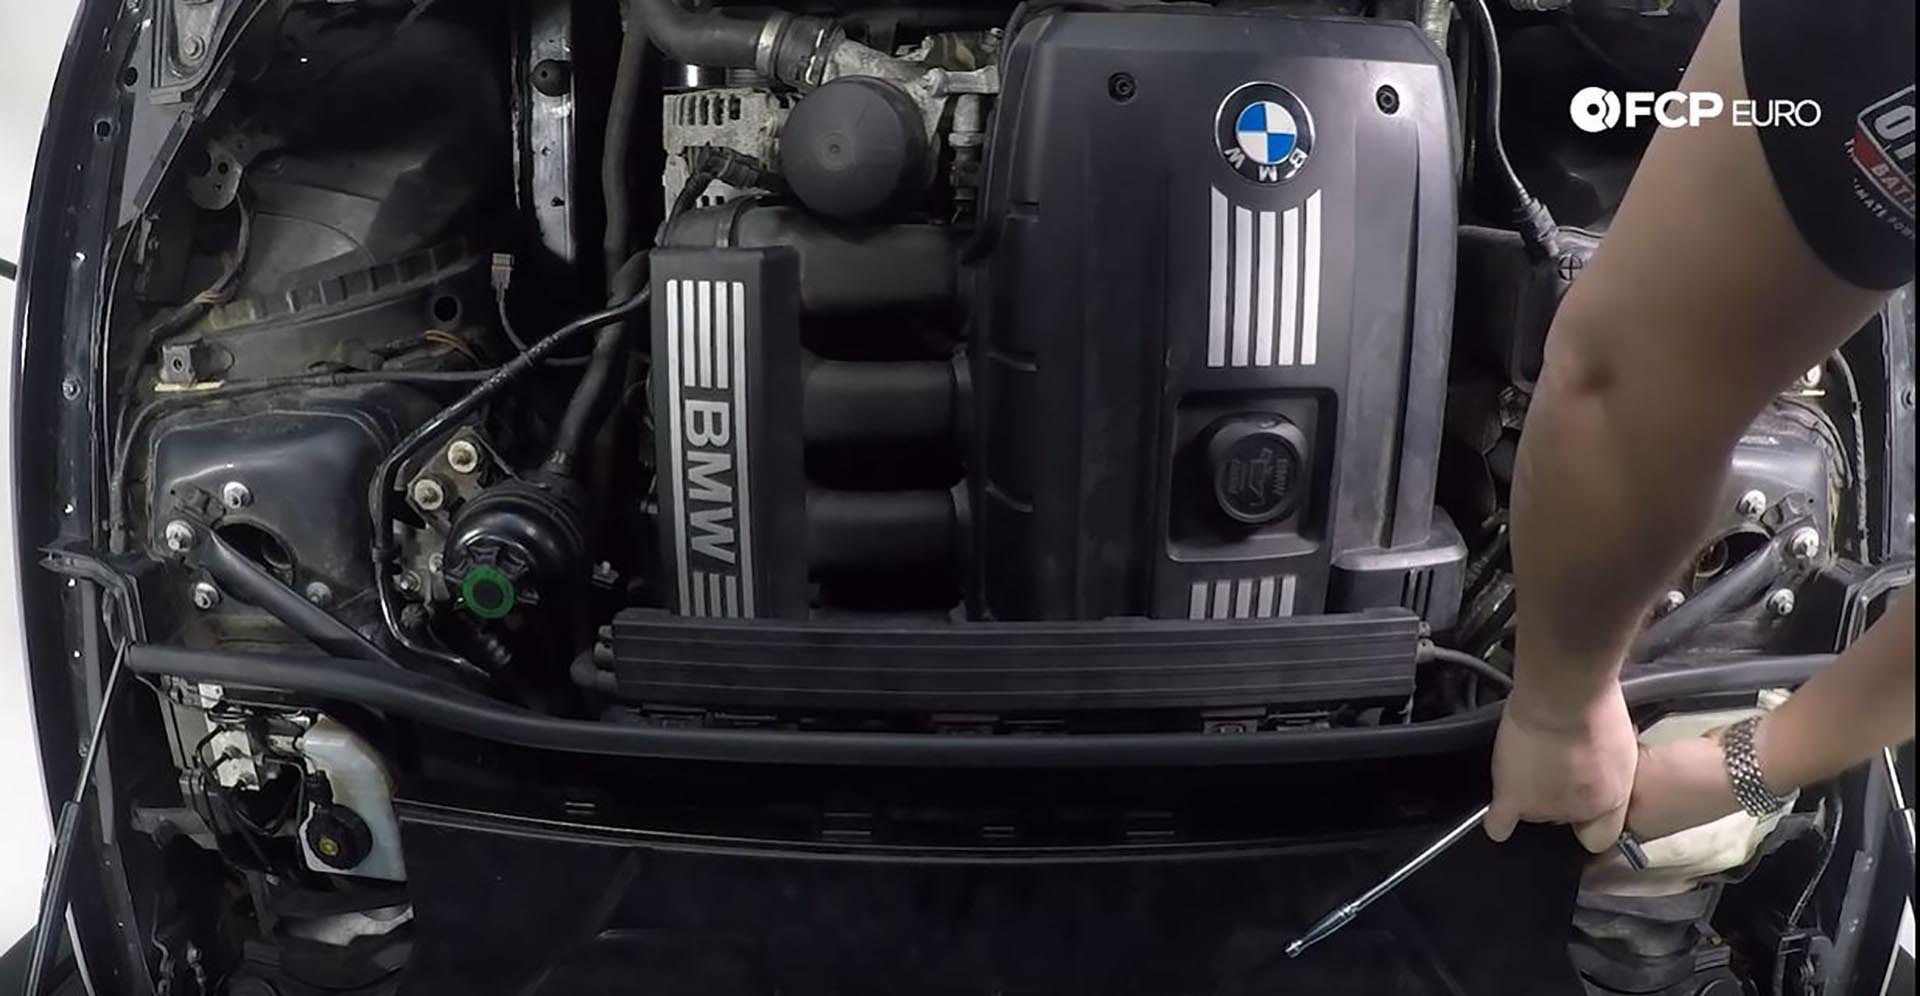
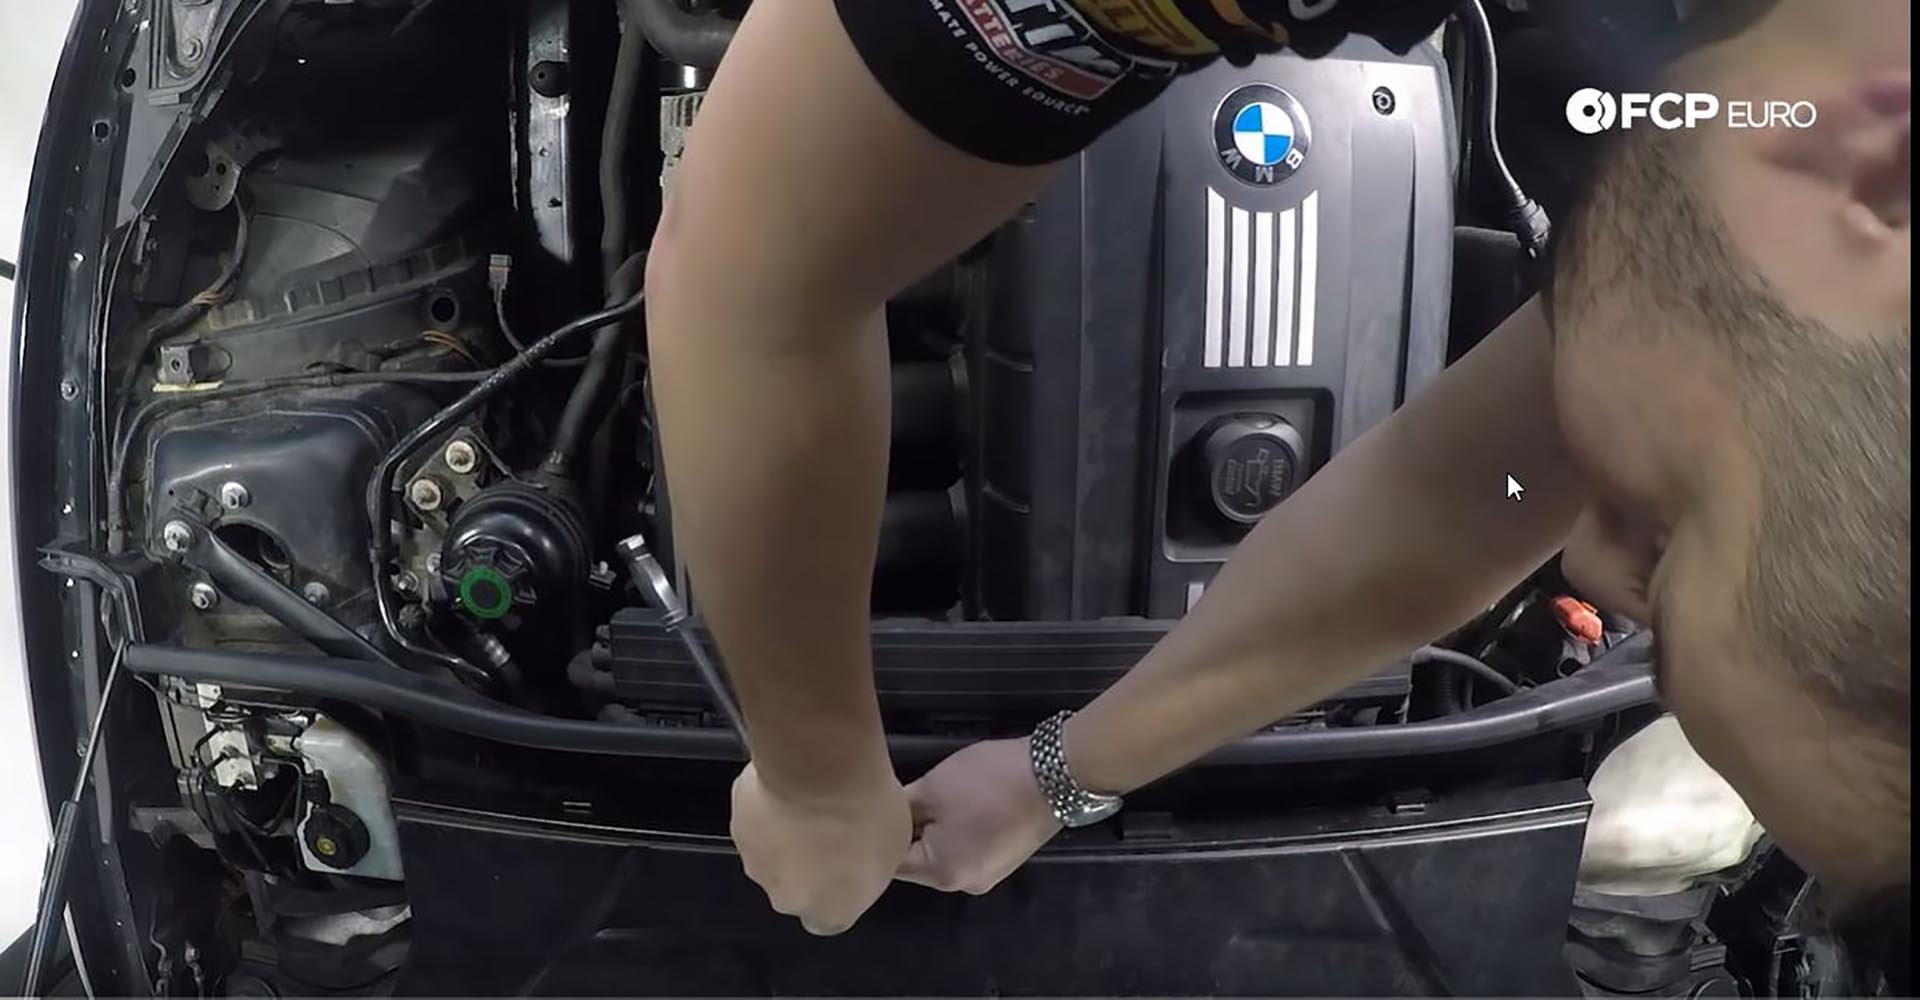
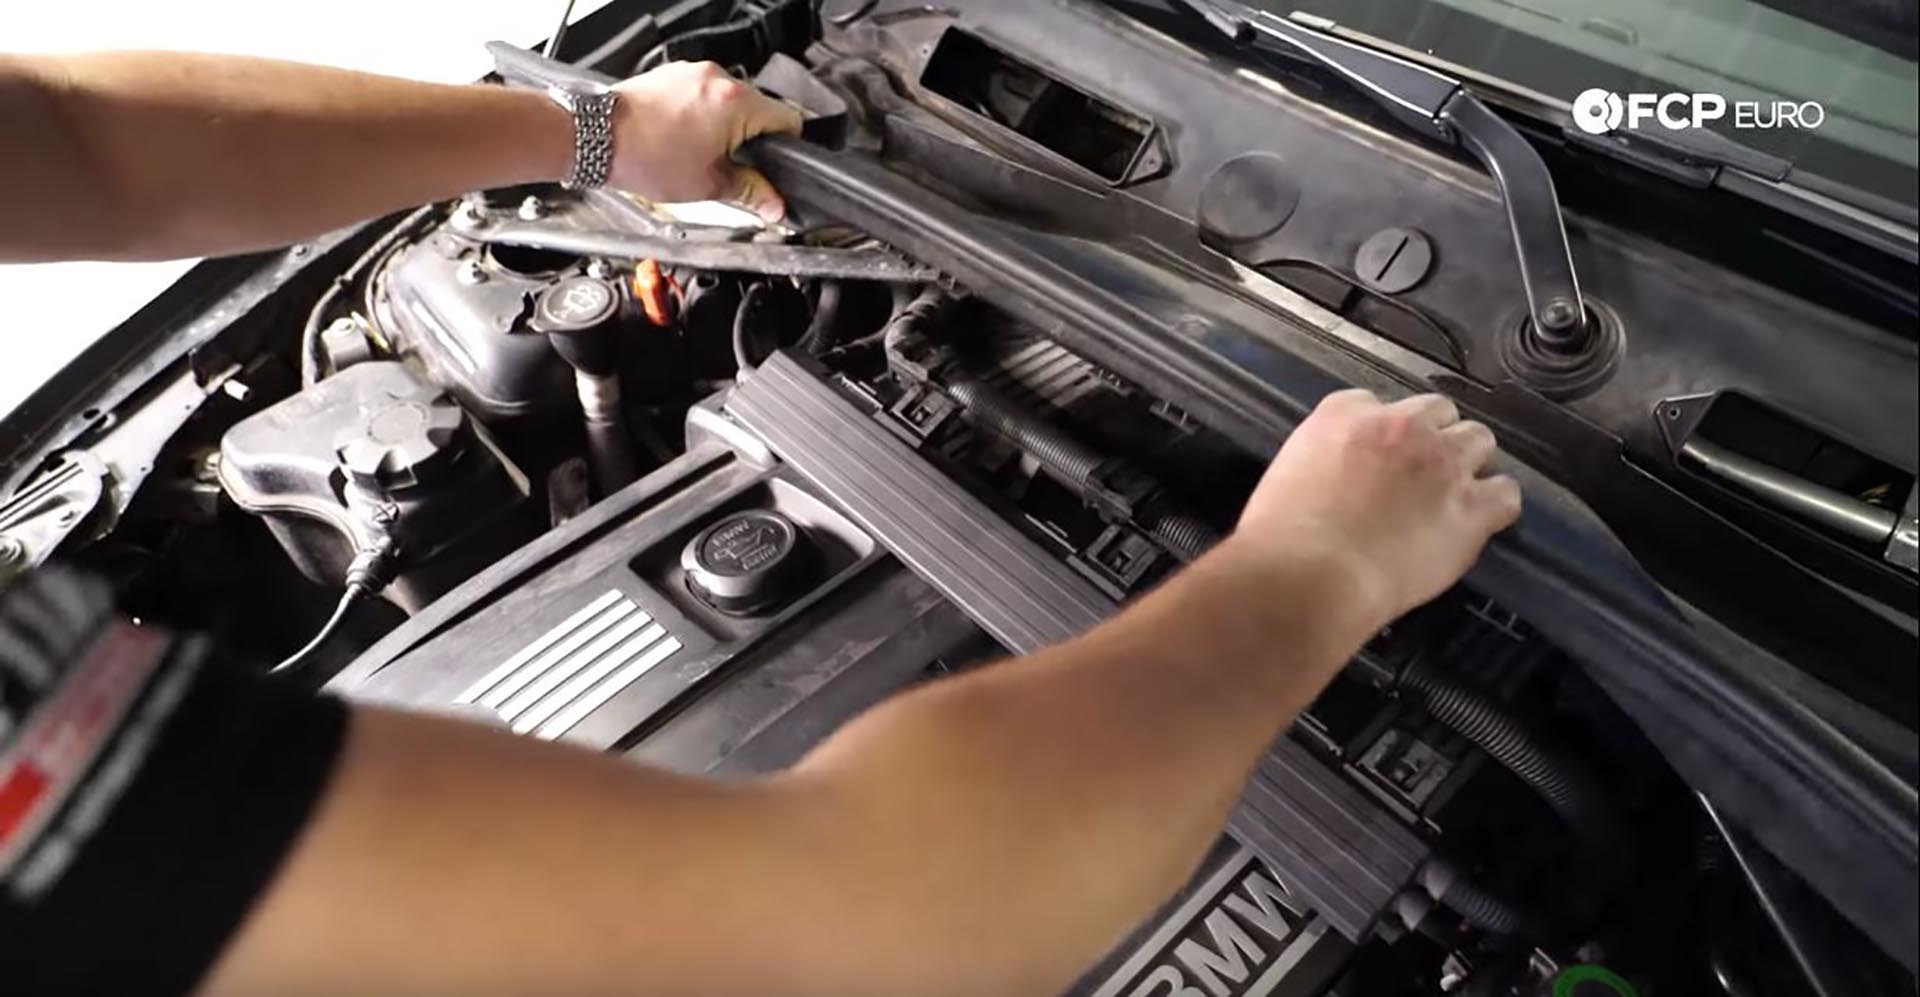
Step 4: Remove engine cowl
Start by removing the two covers on each side of the cowl. They are held in by simple push clips. Next, unclip the ambient air temp sensor under the passenger’s side of the cowl. Take an 8mm socket and remove the eight bolts holding it in; four at the back of the cowl and four in front. Once removed, pull off the two electrical harnesses from the front of the cowl and rest them on the engine. The cowl should now lift out.
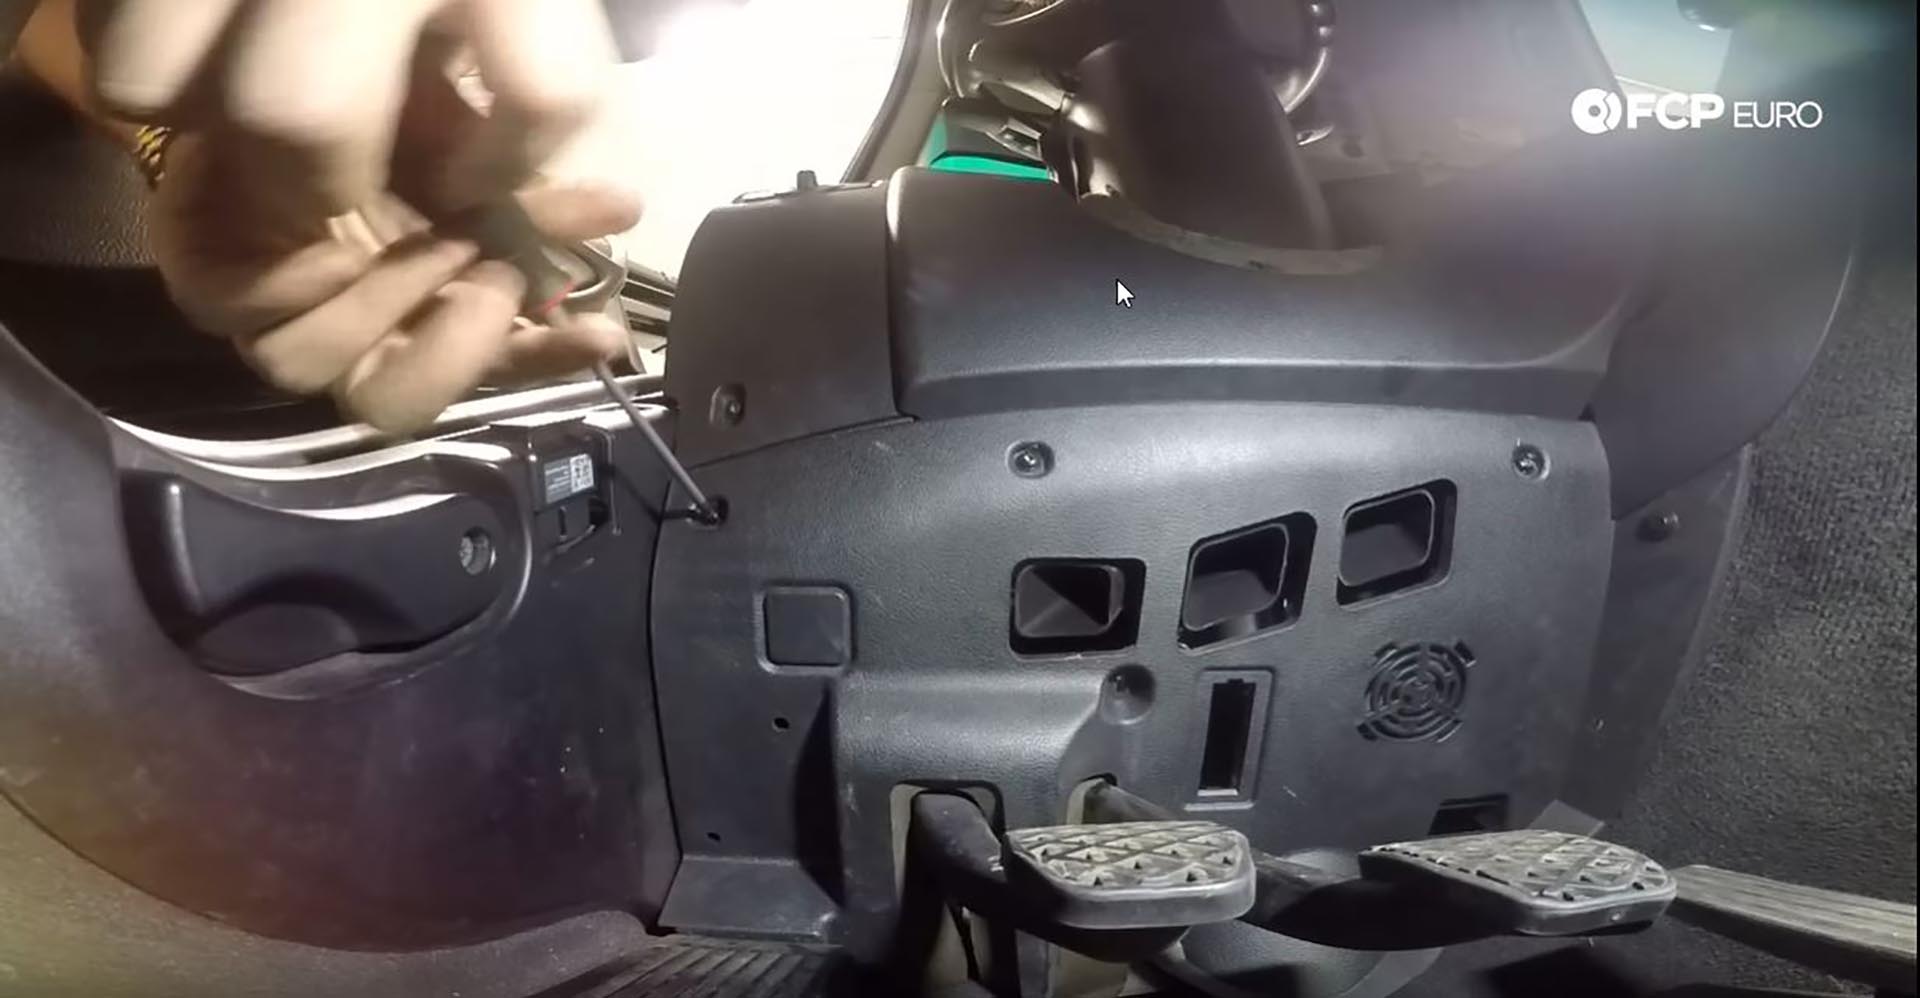
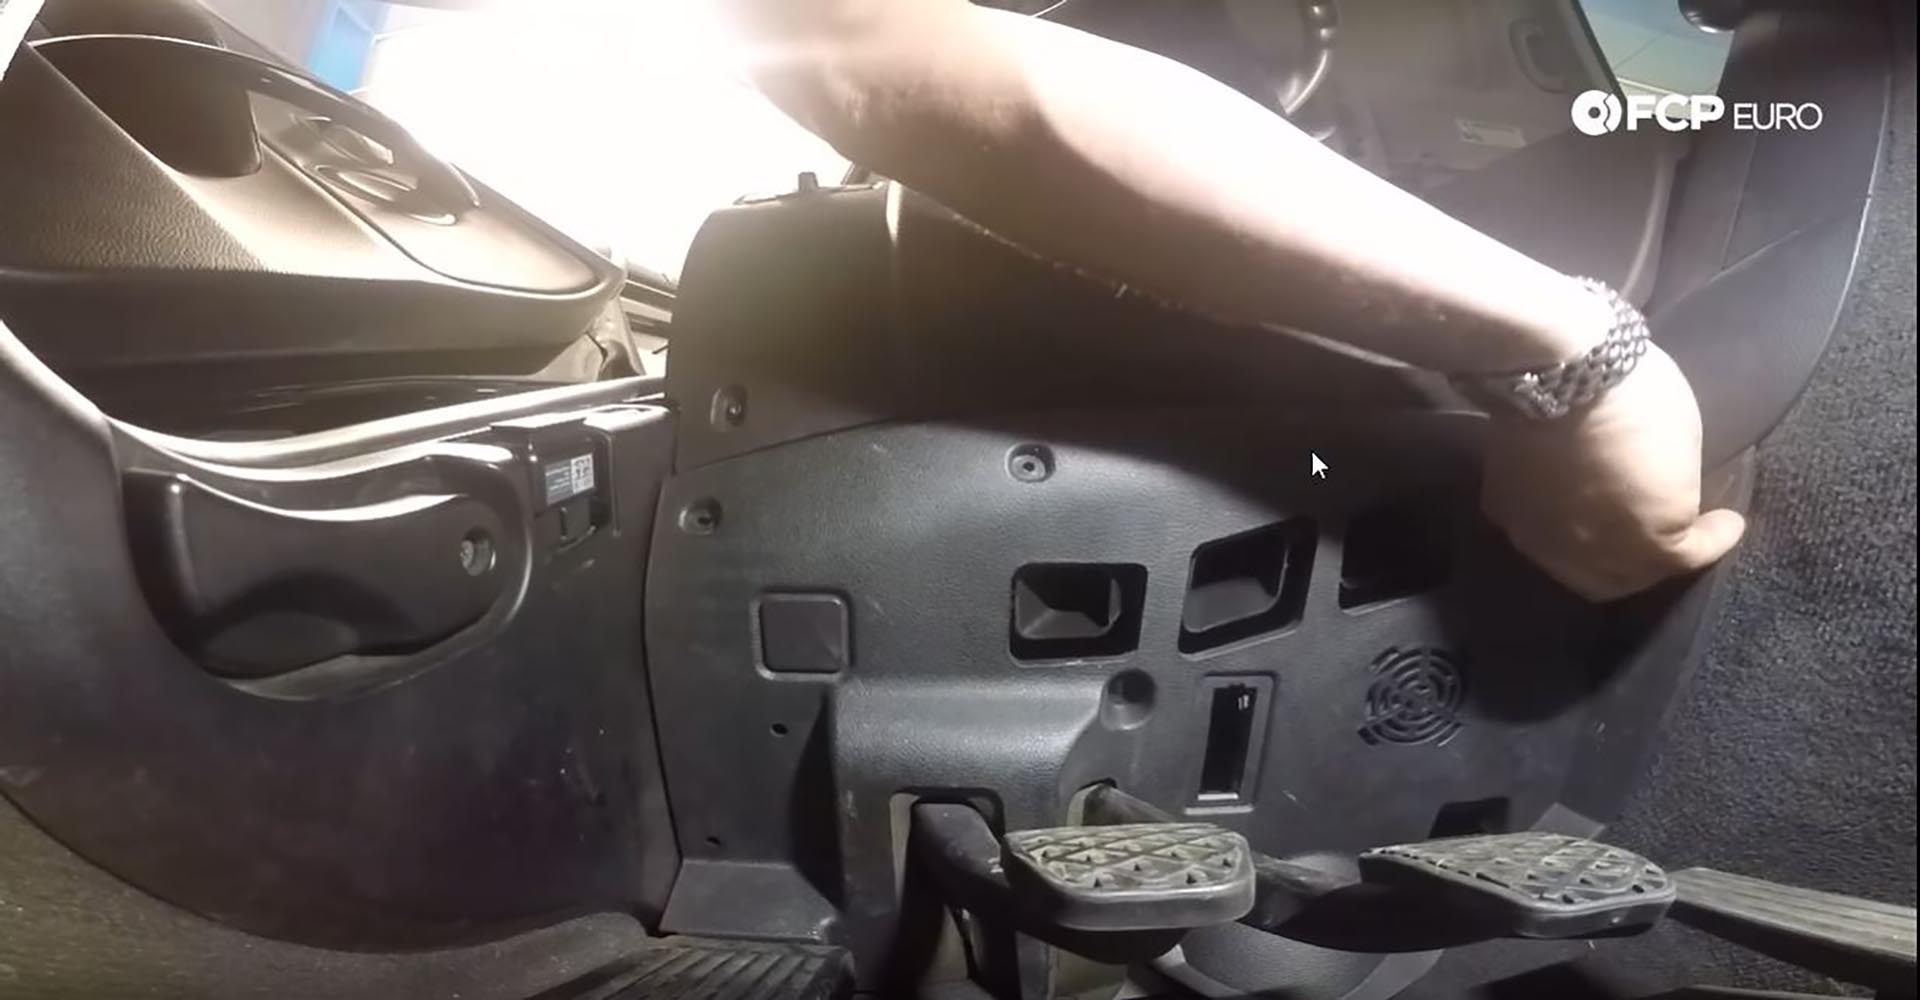
Step 5: Remove lower kick panel
To get to where the steering column attaches to the steering shaft, go underneath the dashboard on the driver’s side and remove the three T20 screws and singular clip holding the panel up. Pull down and away from the firewall on the panel, and it will come free. There is a light on the backside of the panel that needs to be disconnected, so pull on the panel carefully.

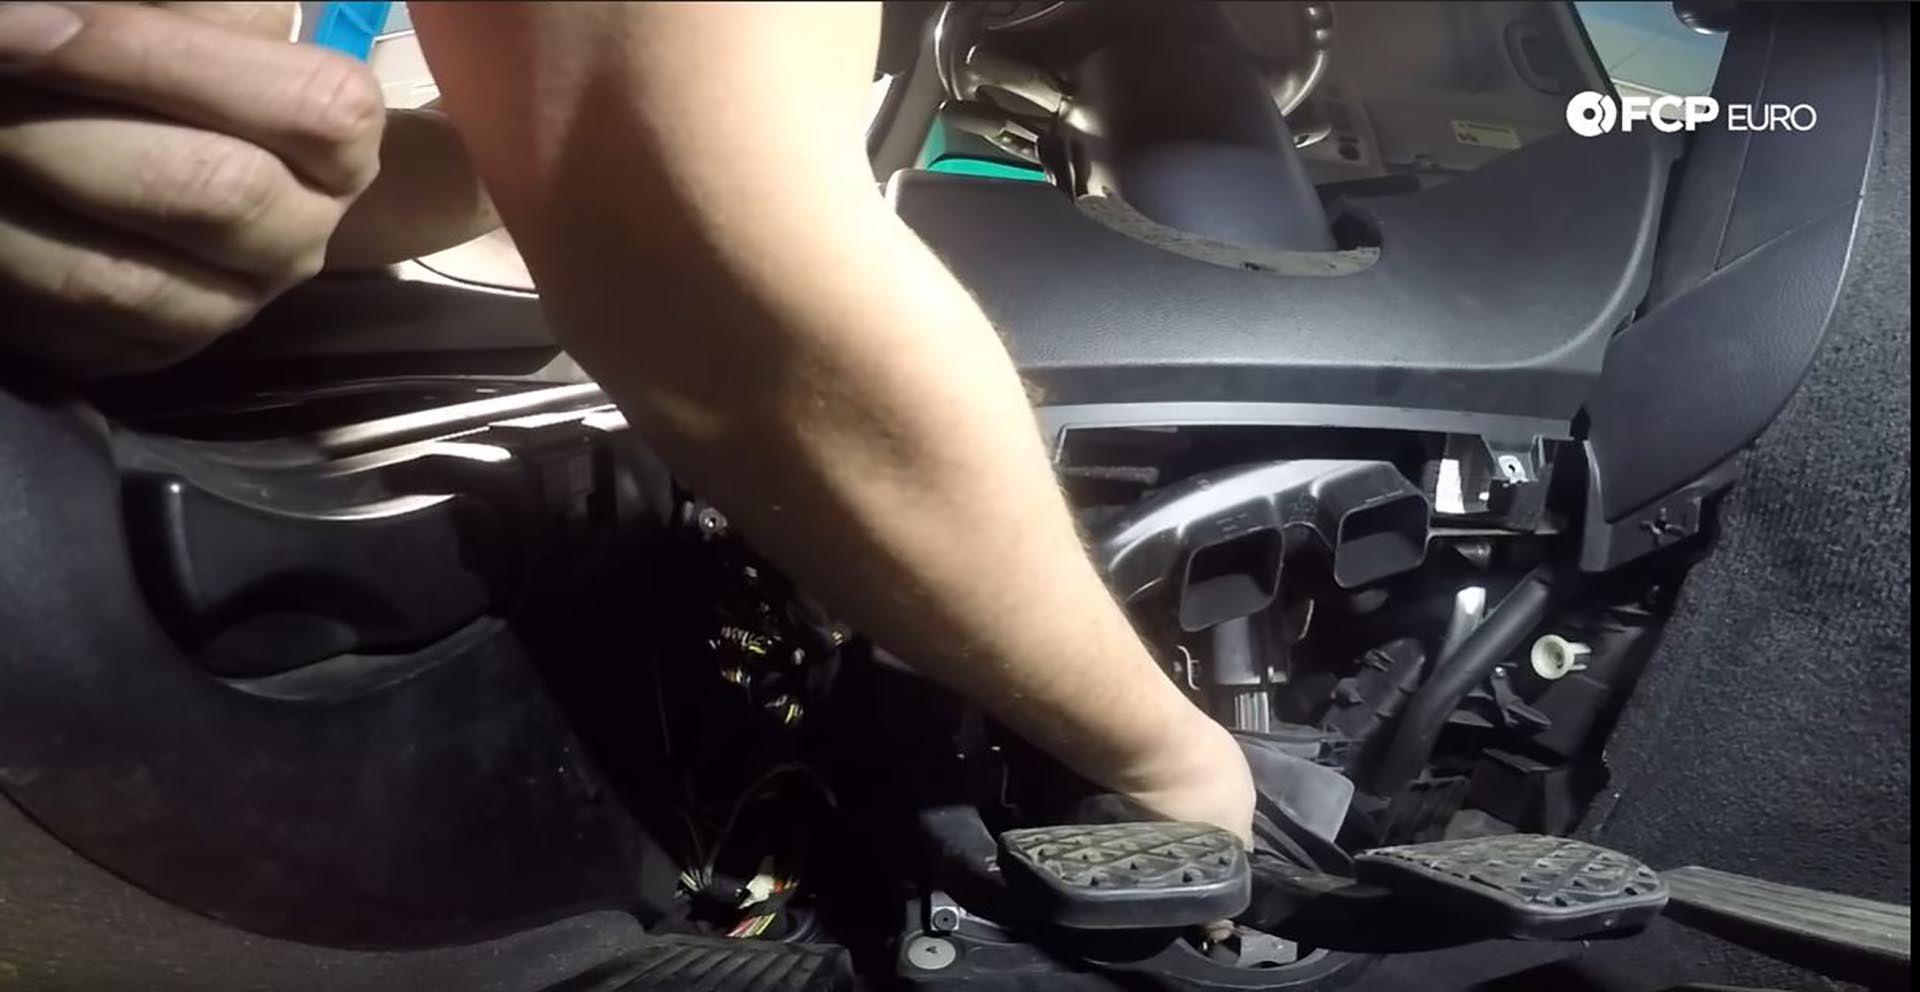
Step 6: Brace steering column
When removing the steering shaft, the column will be pulled with it. To prevent that, move the wheel to its farthest upright and pulled back position. If you have a friend handy, have them pull back on the wheel to keep it in place. If you’re alone, get a piece of wood or a tool like a pry bar and brace it against the bottom of the column where the splined shaft comes out.
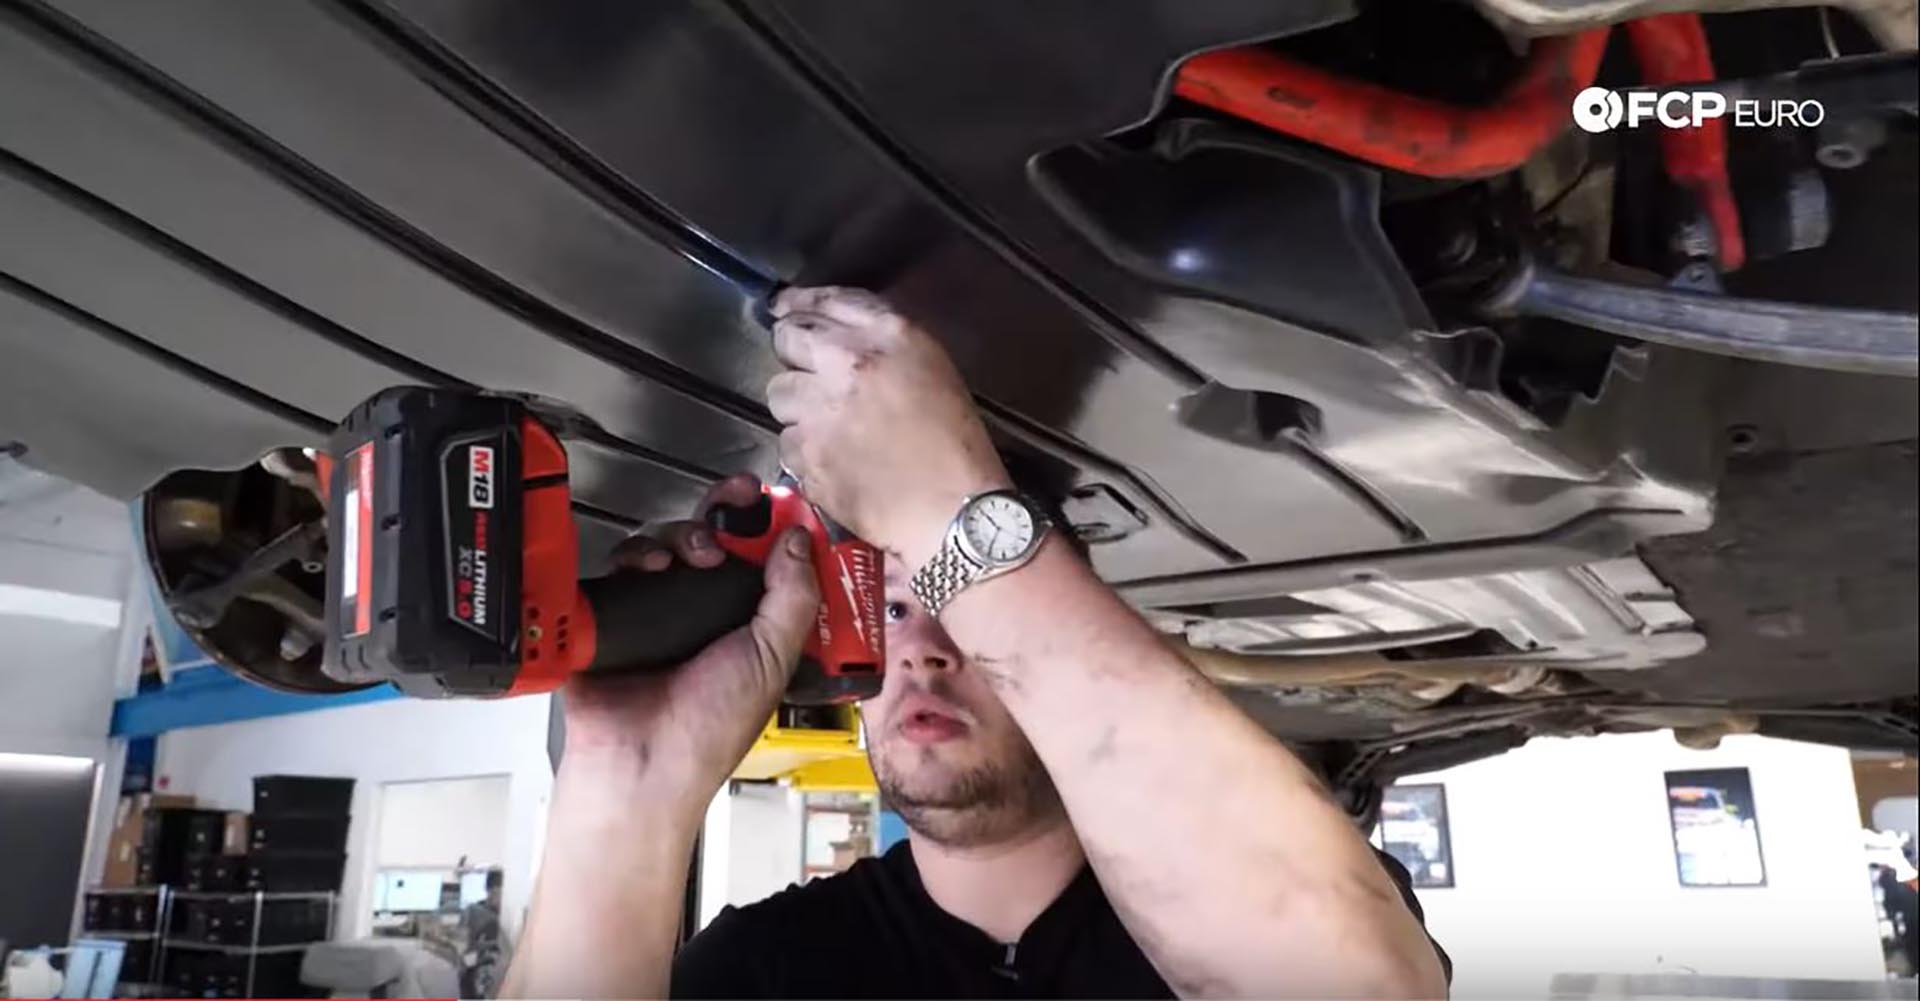
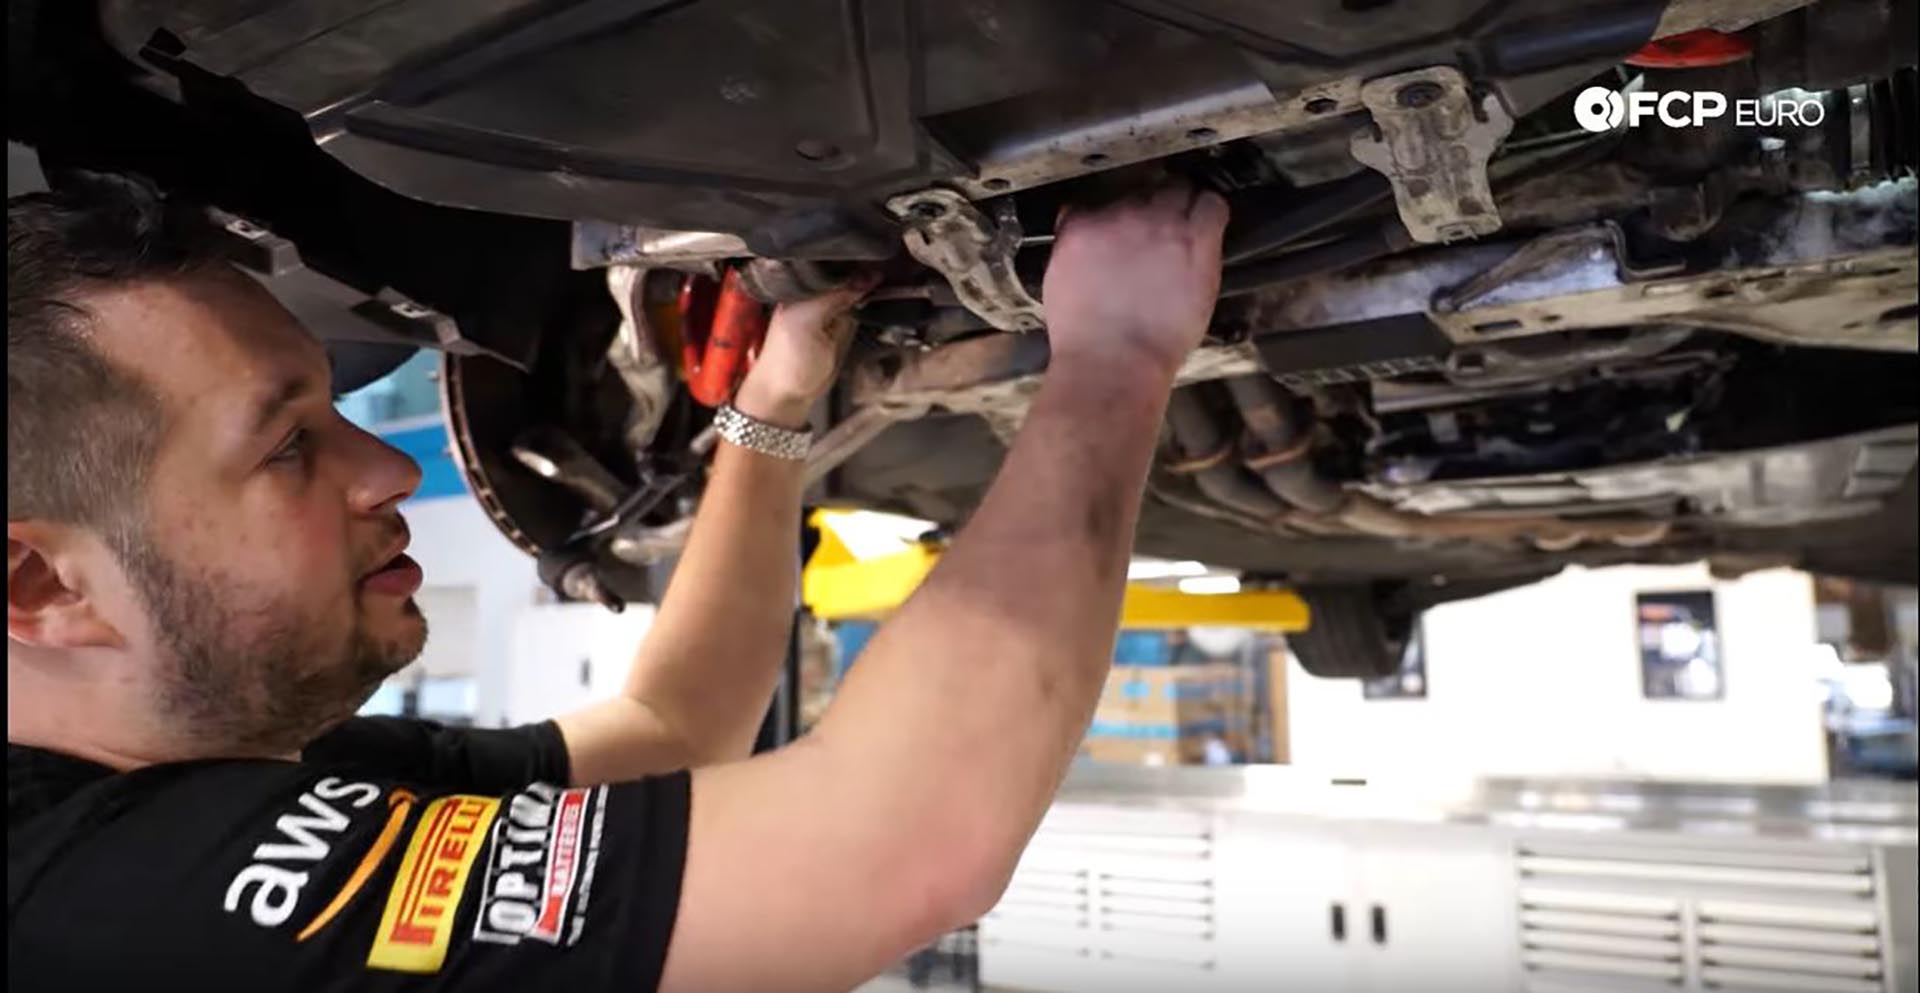
Step 7: Belly pan removal
Remove the seventeen screws holding the belly pan to the underside of the vehicle. Now would also be the time to jack up the vehicle and remove the front wheels, if you haven’t done so already.
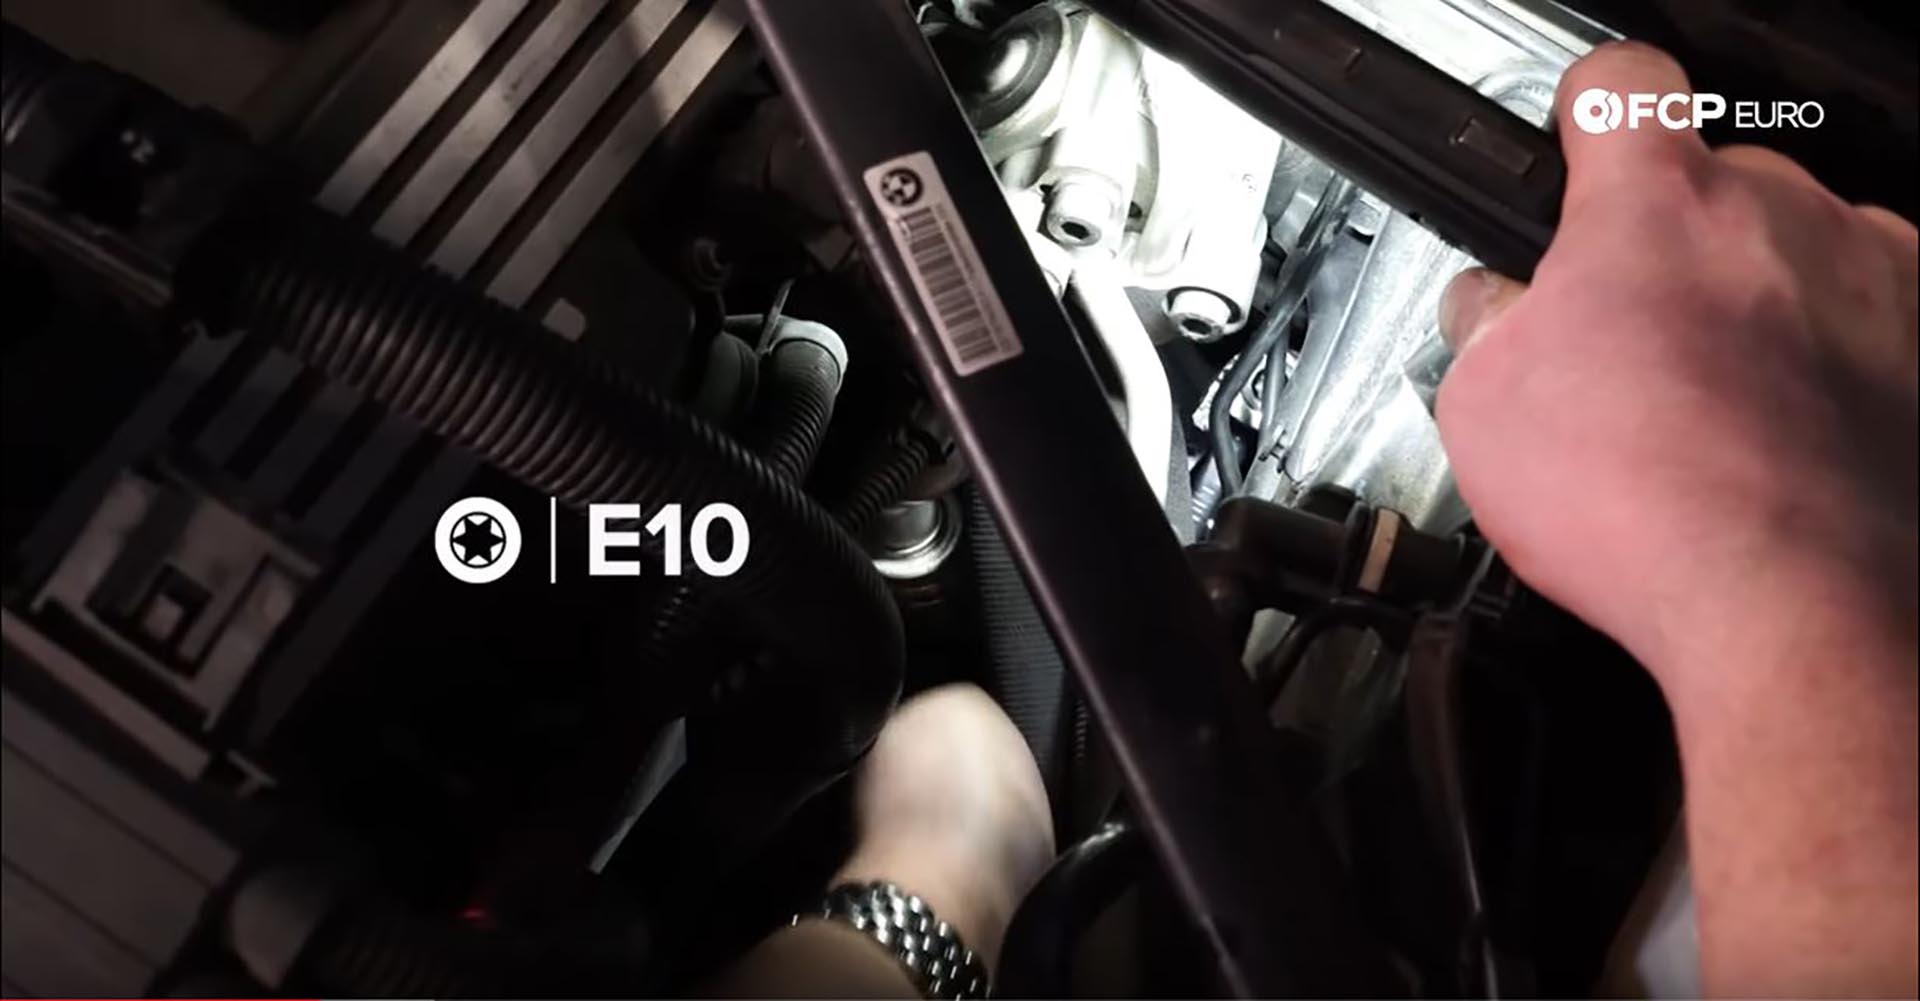
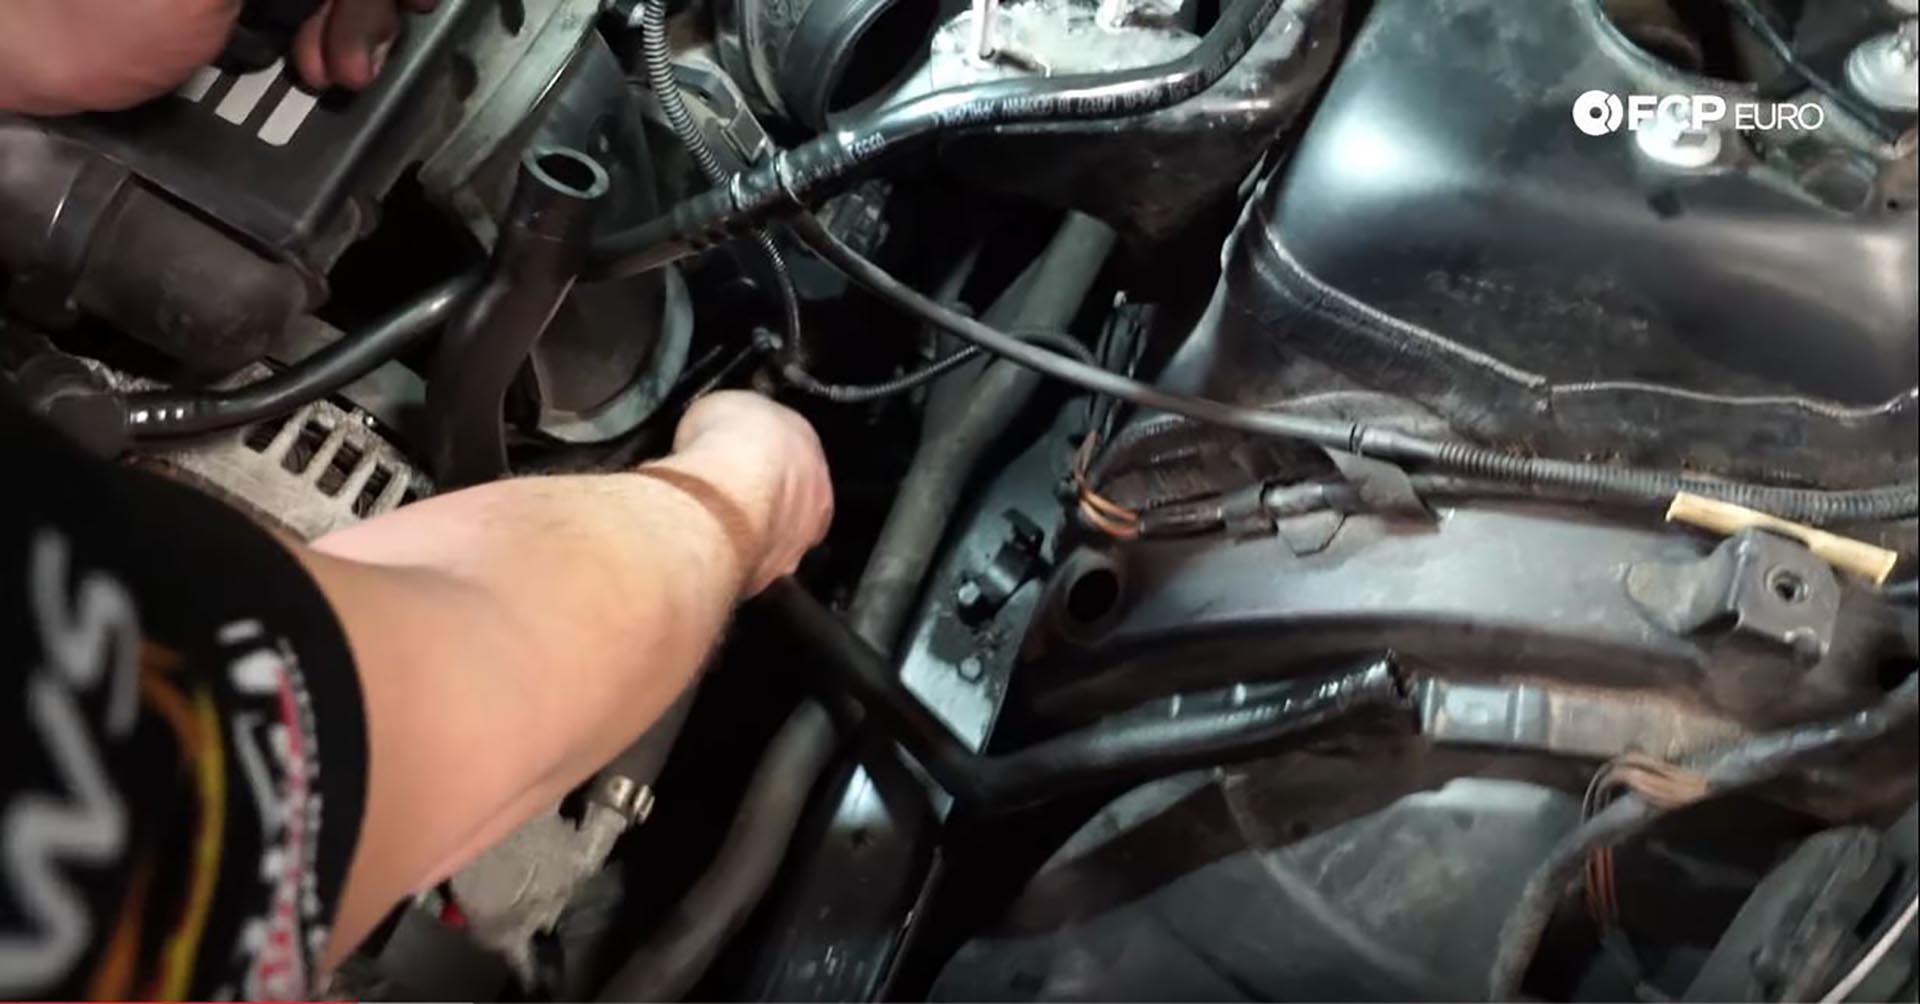
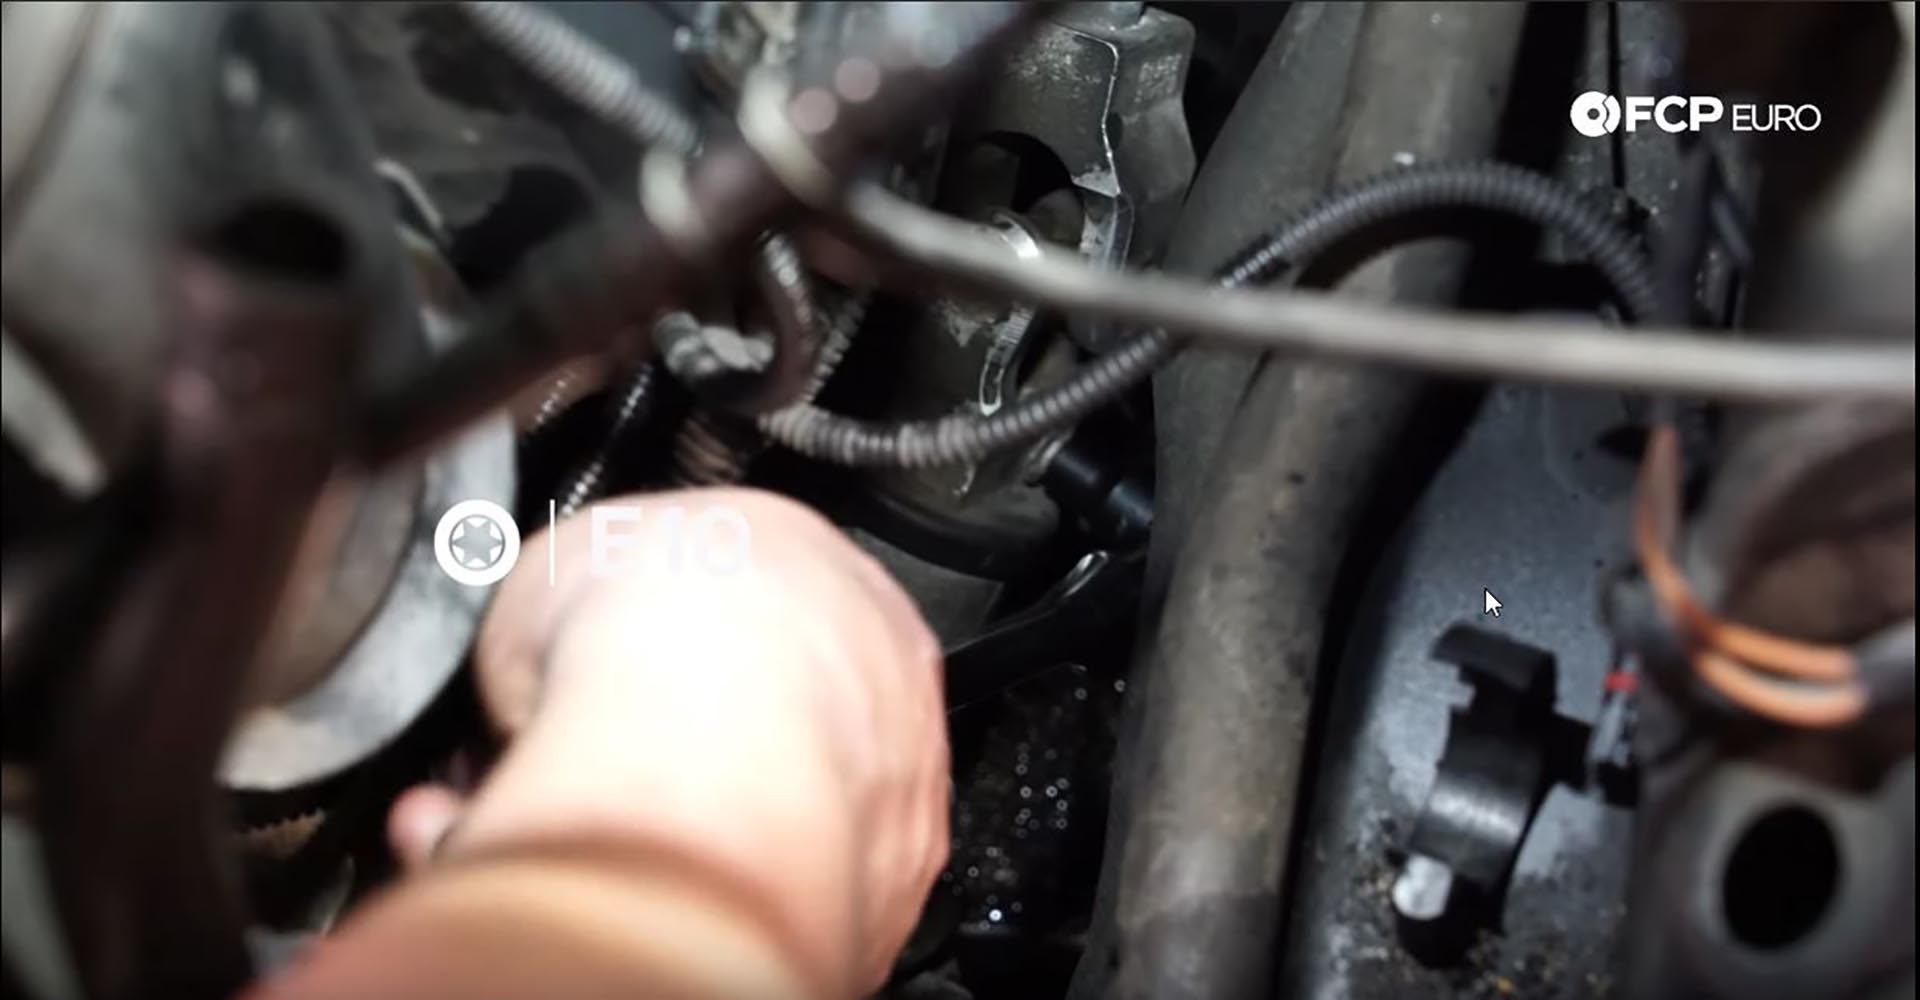
Step 8: Steering shaft removal
The E10 bolt connecting the steering shaft to the column is located at the top of the shaft, directly under the brake hardlines at the back of the engine bay, on the driver's side. The best tools for removal here are an E10 ratcheting wrench or an E10 socket on a quarter-drive ratchet because of very limited space. Extra room can be made by removing the strut tower brace. Once the top bolt is removed, remove the lower bolt that connects the shaft to the rack. After the bolt is removed, push up on the shaft to remove it from the rack and then pull on it to remove it from the column. This may require a hammer to knock it loose.
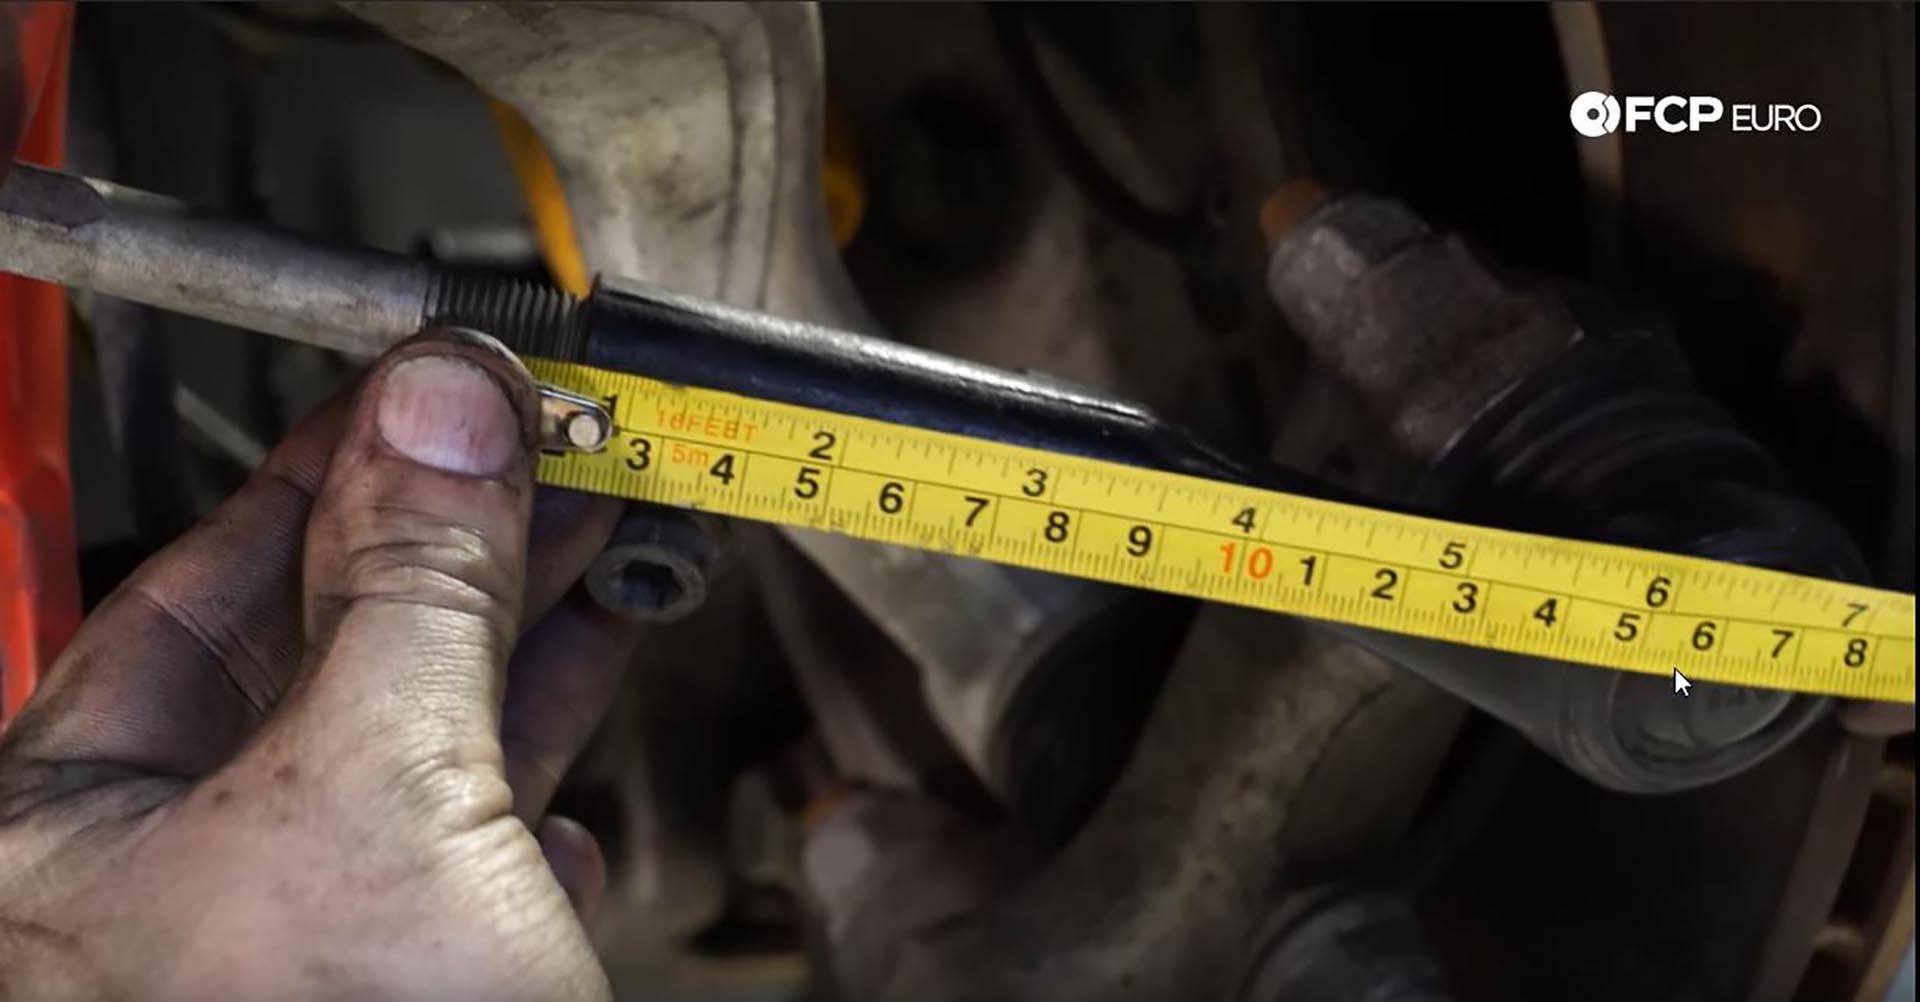
Step 9: Tie rod removal
Before loosening, measure the length of threads visible on the tie rod; this will help you set a ballpark alignment after installing the new rack.
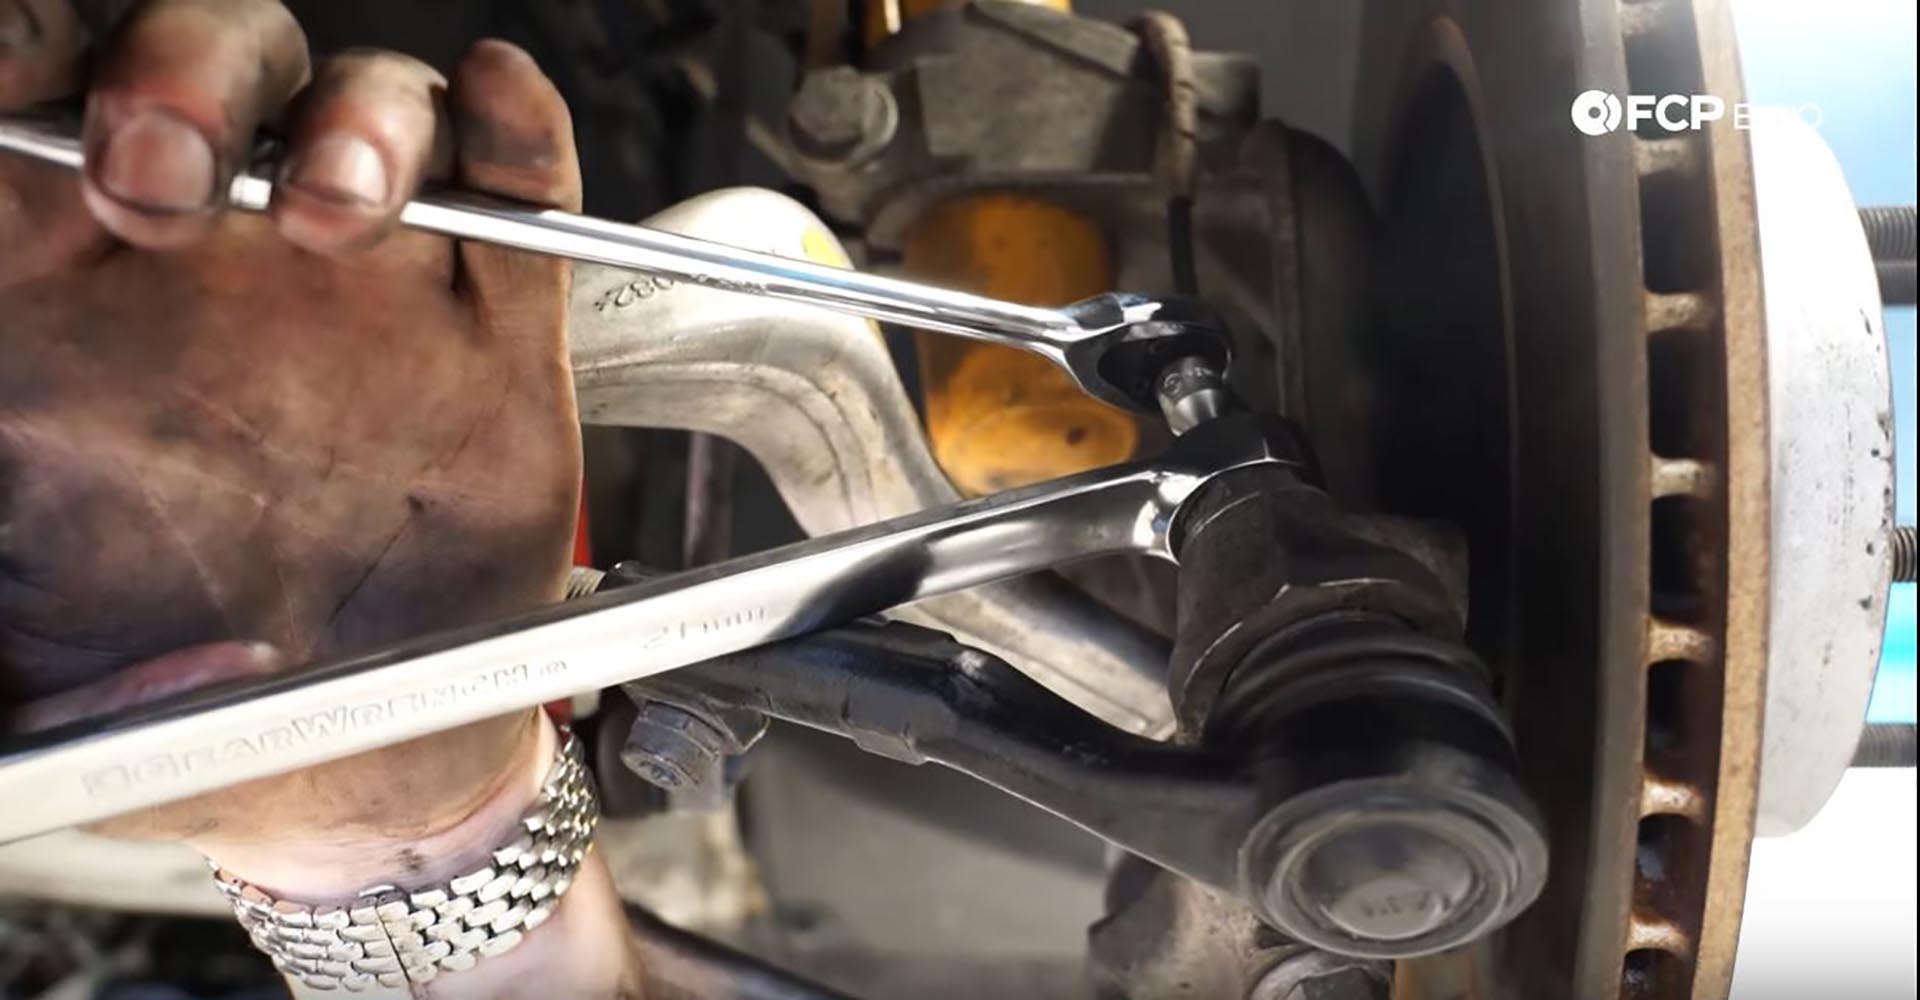
After you’ve measured, loosen the pinch bolt on the tie rod end, allowing the end to rotate on the tie rod. Next, break loose the nut holding the tie rod end into the knuckle using a 21mm wrench. Once loose, put a T40 socket into the ball joint stud to counter hold it as you remove the nut. You can now tap the ball joint out of the knuckle.

Step 10: Steering rack pressure and return line removal
Grab a ratchet, a 22mm socket for the return line, and a 19mm socket for the pressure line. Reach the ratchet over the front of the rack and remove the two banjo bolts holding in the lines. Next, remove the bolt holding the lines to the rack on the passenger’s side of the rack with a 10mm wrench.
Make sure to have a bucket or absorbent material at the ready because excess fluid will run out of the lines.
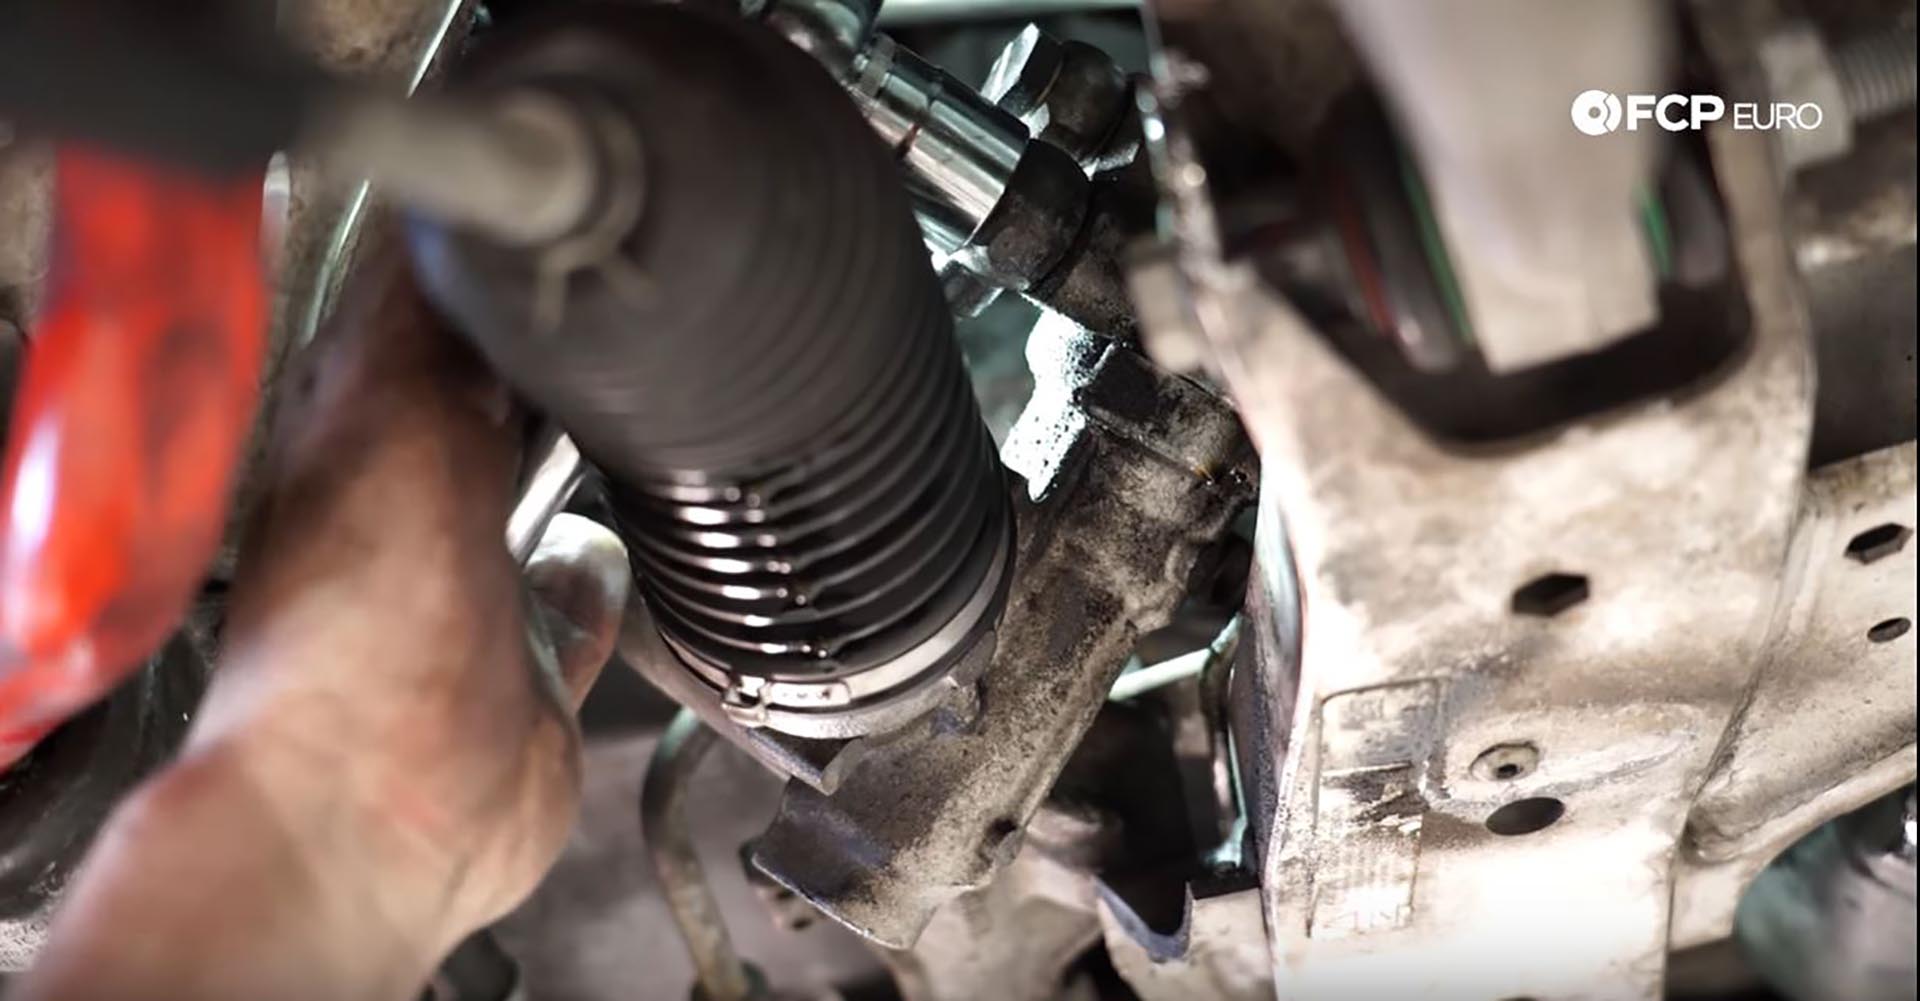
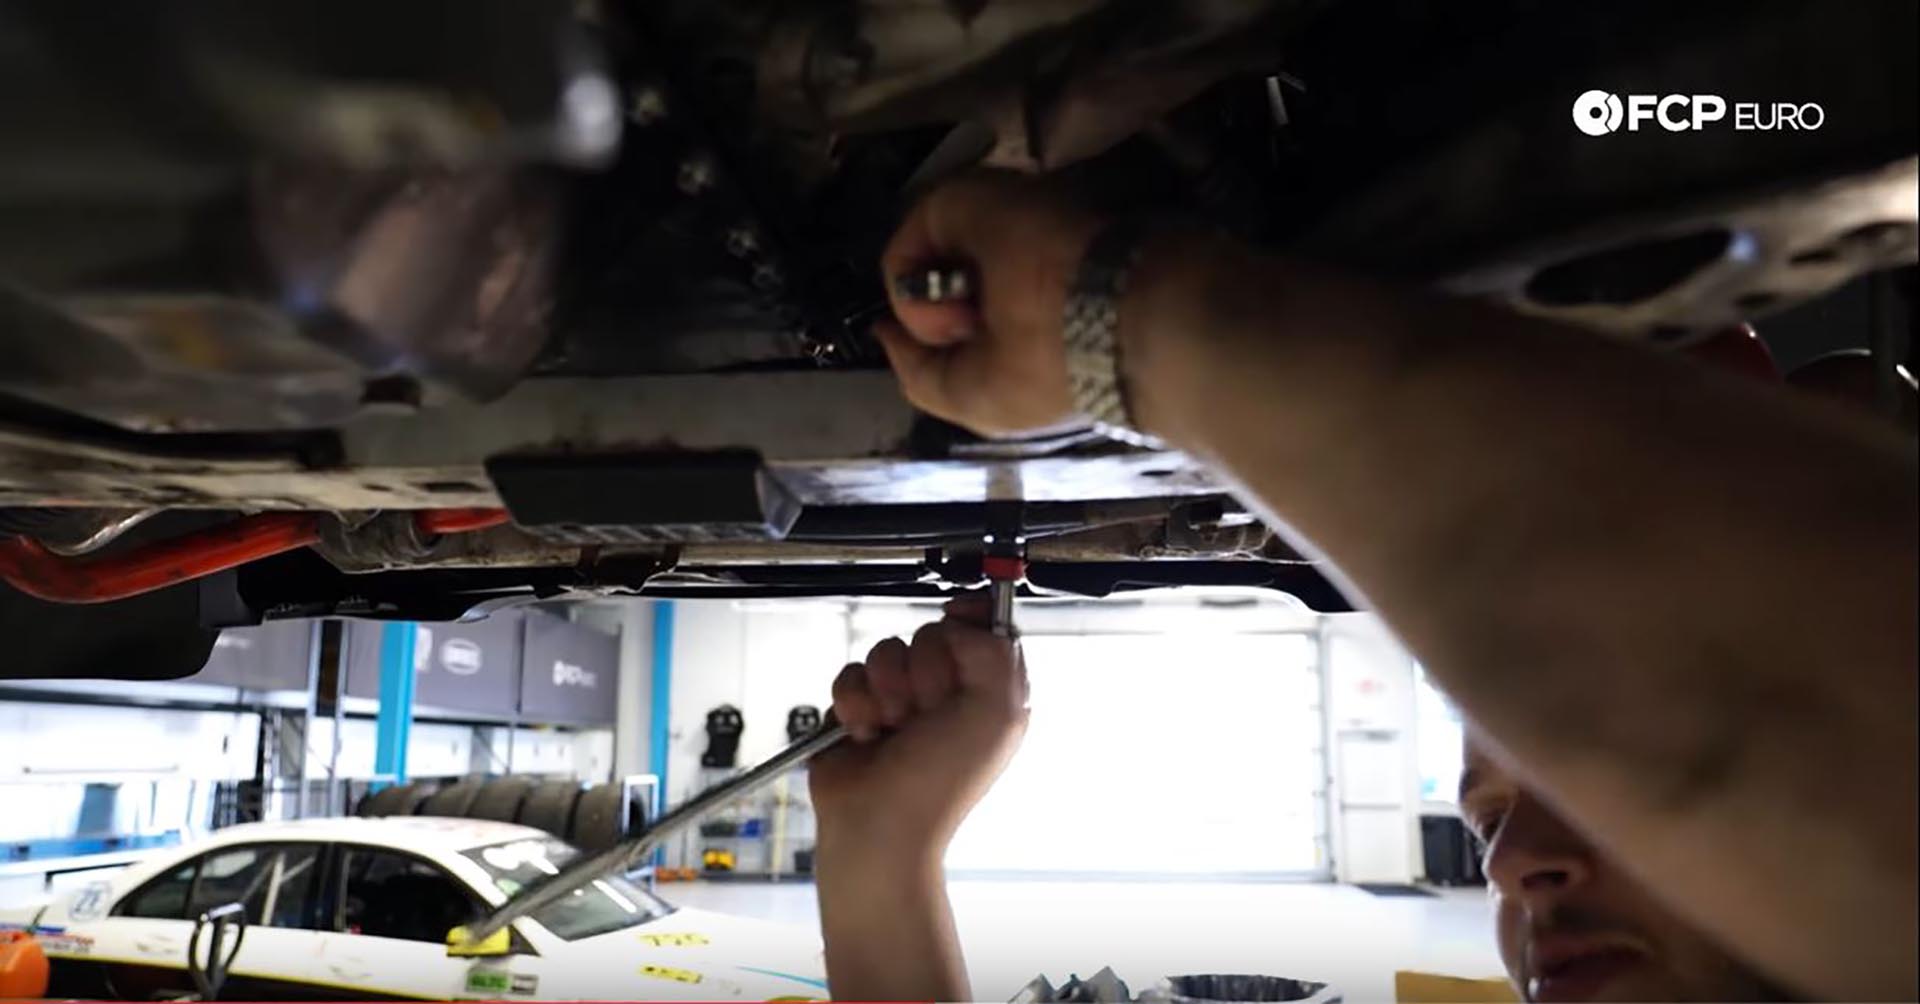
Step 11: Loosen steering rack mounting bolts
With everything else disconnected, these two aluminum stretch bolts are the only items keeping the rack in the car. Use a 16mm wrench to hold the nut on top of the subframe and an E12 socket to loosen the bolt. Loosen one side first, but don’t remove it so as not to drop the rack on yourself when loosening the second bolt.
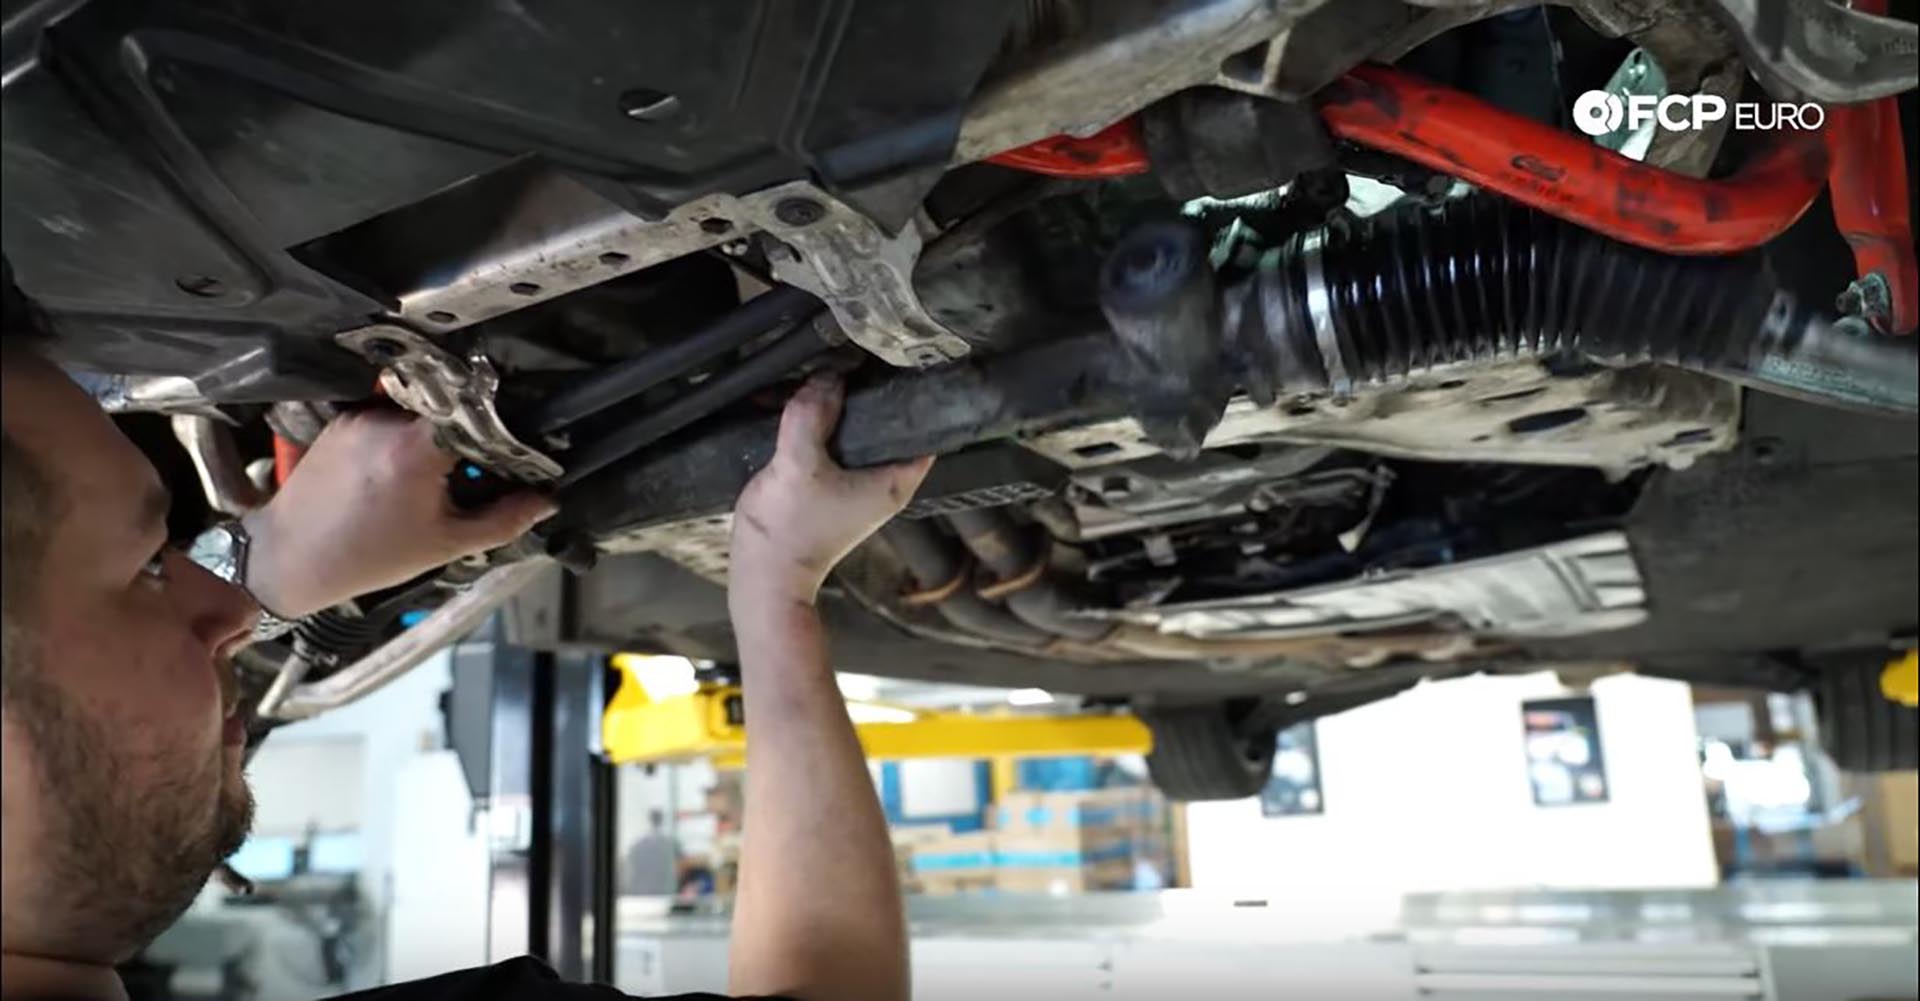
Once the bolts are carefully removed, pull the rack towards the front of the car, removing it from the subframe.
Step 12: Reverse steps and reinstall
Don’t forget to put the new copper washers on the pressure and return line banjo bolts. Hold on putting the belly pan back up until then end so that you’re able to check for any leaks.
When installing the new reservoir, use the bracket off of the old one. Loosen the 10mm bolt, and it’ll slide right off. Leave the bolt loose when reinstalling to make it easier to reinstall the lines. To crimp the clamps on the reservoir lines, you can use a pair of dikes or get the correct CTA 4210 tool.
Step 13: Bleed the power steering system
Once you’ve put everything back together, fill up your new reservoir with the CHF11S included in the kit. Turn the car on and turn the wheel lock to lock twice, then shut it back off. Check the reservoir and fill it as needed.
You’ll notice that the power steering pump is whining loudly. This is caused by air in the system. As you continue to repeat the steps above, the air will make its way out of the system, and the pump will stop whining. Once it has, make sure your reservoir is at the correct mark and tighten the cap; your system is now bled.
BMW E90/E82 Steering Rack Torque Specs
- BMW steering rack mounting bolts = 56Nm or 41.3 lb-ft of torque, plus 90°
- BMW steering rack pressure line banjo bolt = 35Nm or 25.8 lb-ft of torque
- BMW steering rack return line banjo bolt = 30Nm or 22.1 lb-ft of torque
- BMW tie rod end pinch bolt = 40Nm or 29.5 lb-ft of torque
- BMW tie rod end ball joint nut = 165Nm or 121.7 lb-ft of torque
- BMW steering shaft bolts = 24Nm or 17.7 lb-ft of torque
Congratulations, you’ve removed your old rack and replaced it! Always remember to torque the bolts to their proper specs, and if you live in an area with harsh, salty winters, it's a good idea to use anti-seize during the install.
If you're interested in more DIYs for your BMW, you can visit bmw.fcpeuro.com or subscribe to our YouTube channel.


