- 04/28/2020
- 6 Min Read
- By: Christian Schaefer
How To Replace The Shifter Detents On A BMW ZF 5-Speed Manual Transmission (E46 3-Series, E39 5-Series, Z3)

The ZF-built manual transmissions you can find in BMWs have always been praised for their feel. Unfortunately for E46 owners, the detents in the 5-speed gearboxes wear down leading to the need for replacement. When the detents wear, the shifter looses all feel and can move around freely while the car is in gear. While not crippling to the vehicle’s ability to drive, it makes selecting a gear a risky endeavor that can lead to accidentally selecting the wrong gear and over-revving the engine. Fixing these detents is a must.
Undertaking the detent replacement is not for the inexperienced. To get to the detents, the transmission must be removed from the car. Beyond that, the job requires special tools to seat sleeves in the transmission.
BMW Models and Years applicable:
|
|
|
|
|
|
|
|
|
|
|
|
What are the symptoms of bad detents in a BMW ZF 5-speed transmission?
- Vague gear selection
- Inability or trouble selecting 5th gear
- Inability or trouble selecting reverse
Over time, the springs in the detents will wear down causing a lack of feel while selecting the gears. The 5th gear and reverse detents are located separately on the transmission from the 1st-4th gear detents and can lock you out of selecting those gears if they are worn past a certain point. Having a properly performing transmission is critical to an enjoyable driving experience as well as a safe one.
How long will it take to replace the detents in a BMW ZF 5-speed transmission?
This is a very subjective question. Removing the transmission is a time-consuming process, not including the detent repair. The detent repair itself can also take quite some time depending on the condition of the parts being removed. I would personally set aside, at least, a full day for the job.
How much does it cost to replace the detents in a
BMW ZF 5-speed transmission?
For technicians who have done this repair before and use the correct tools, the detent swap itself doesn’t take very long. But having to remove and reinstall the transmission will is a fiddly job that can take a while and will tie up a lift. Expect a repair cost north of $1000.
Tools required to replace the detents in a
BMW ZF 5-speed transmission:
- BMW detent drift tools
- Punch
- Pick Set
- Hammer
- Flathead screwdriver
- Trim panel removal tool
- Snap ring pliers
- Slide Hammer
- 19mm wrench
- Pry bar
As the genuine BMW detent drift tools are sourced directly from Germany, lead times can be upwards of three weeks. We recommend this set from Thayer Motorsports.
Parts required to replace the detents in a BMW
BMW ZF 5-speed transmission:
Steps required to replace the detents in a
BMW ZF 5-speed transmission:
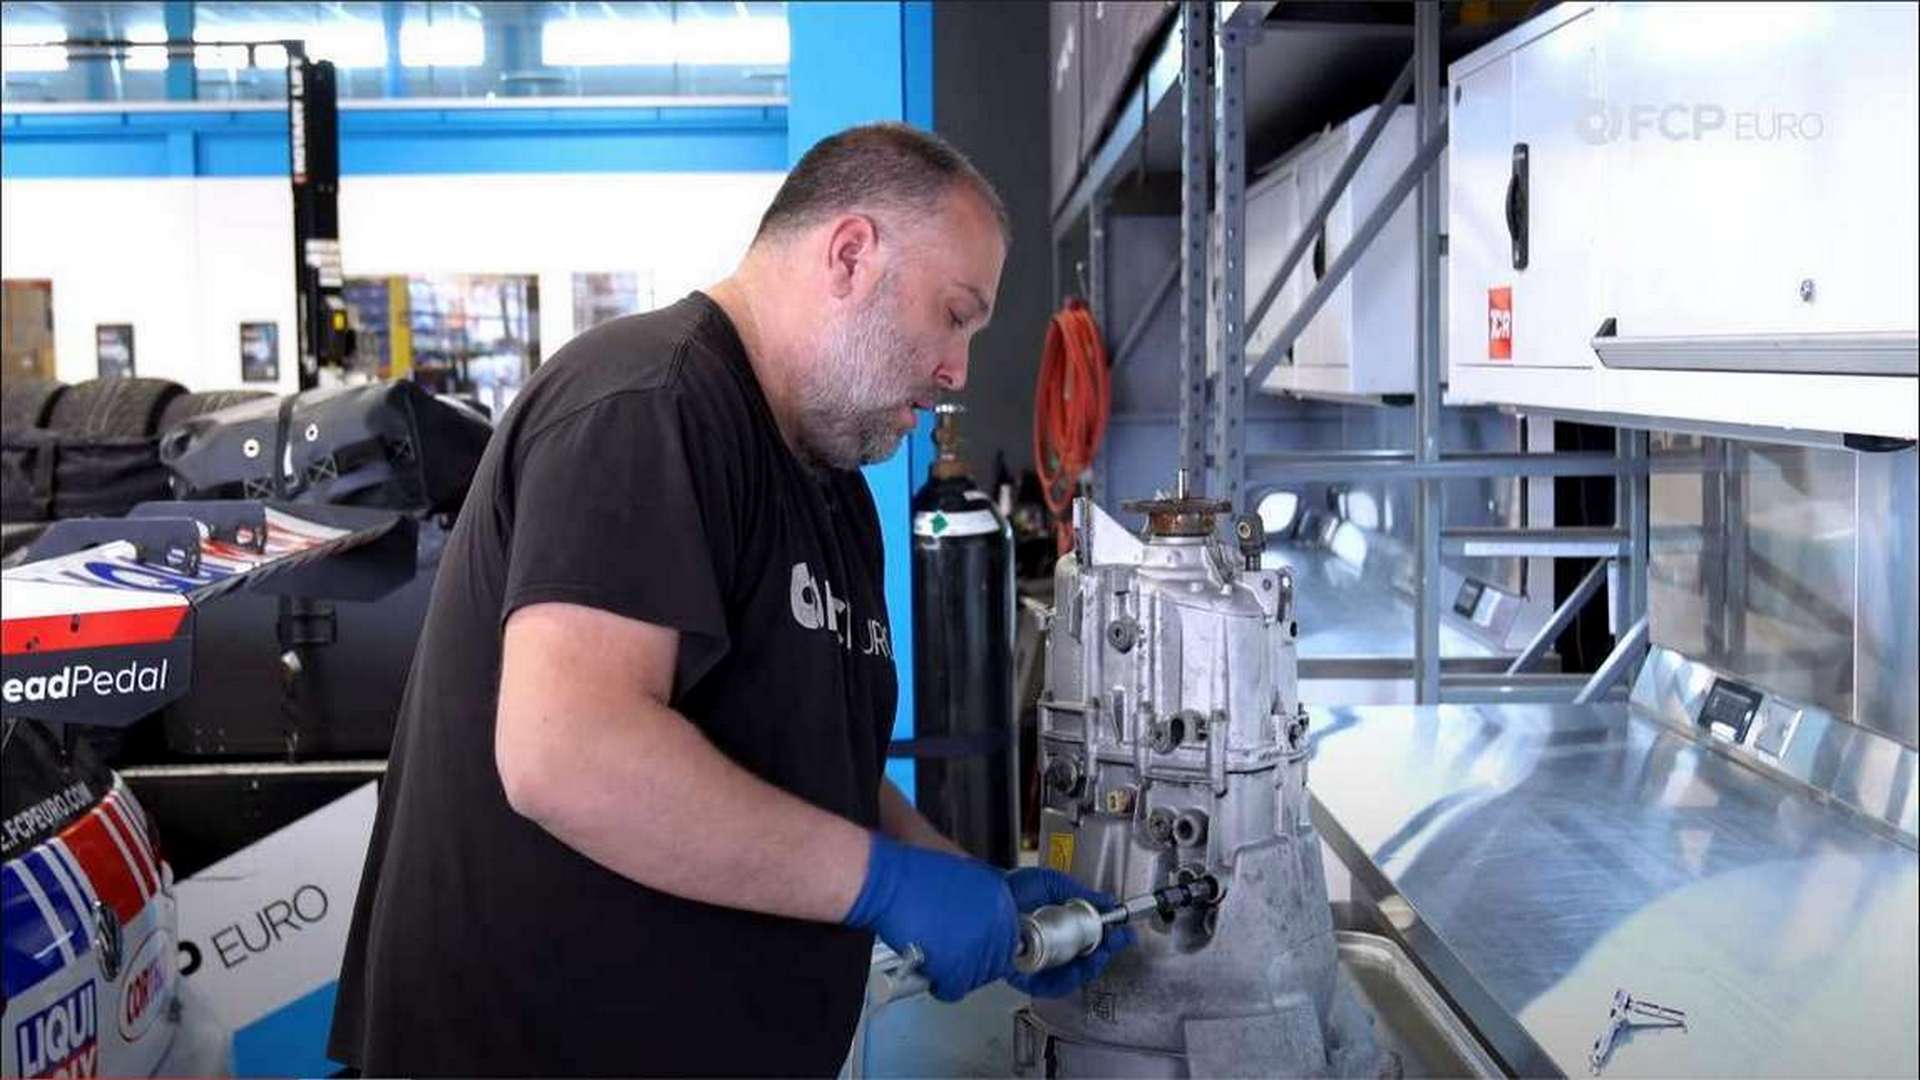
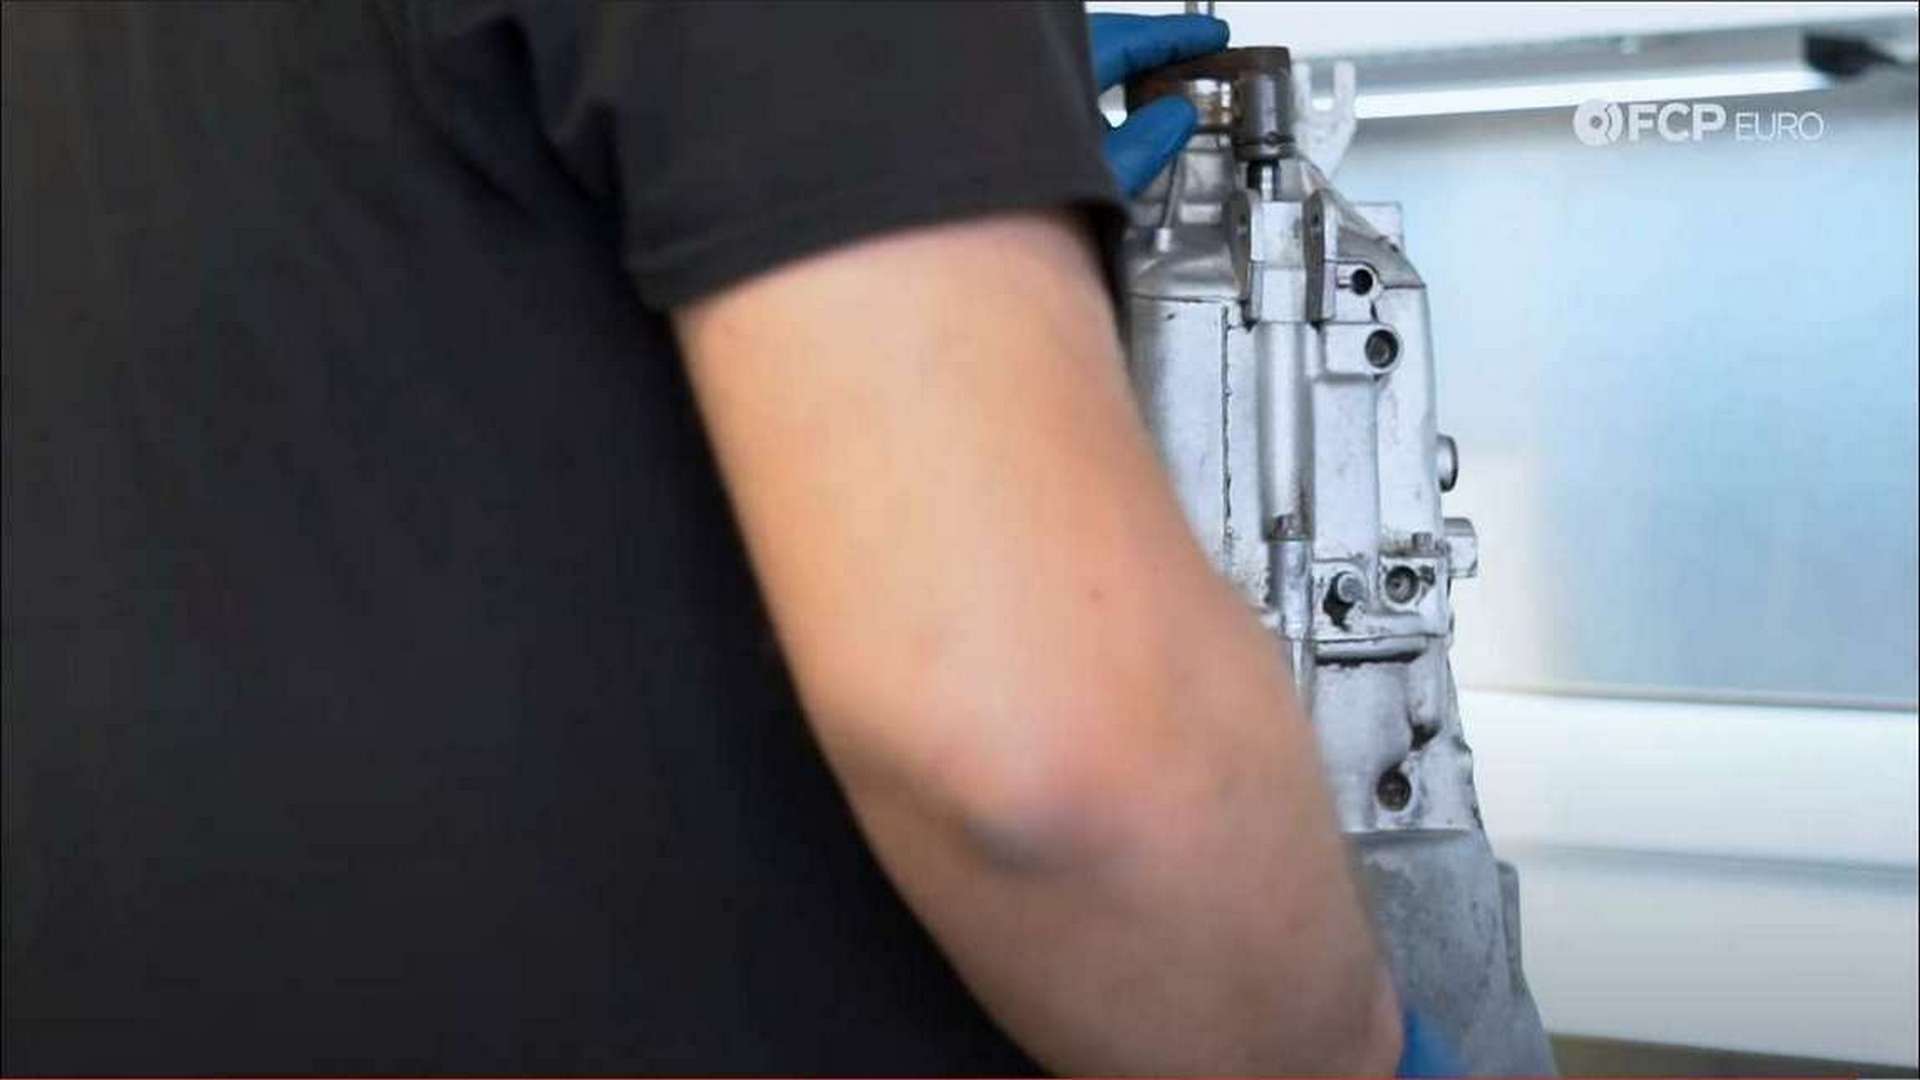
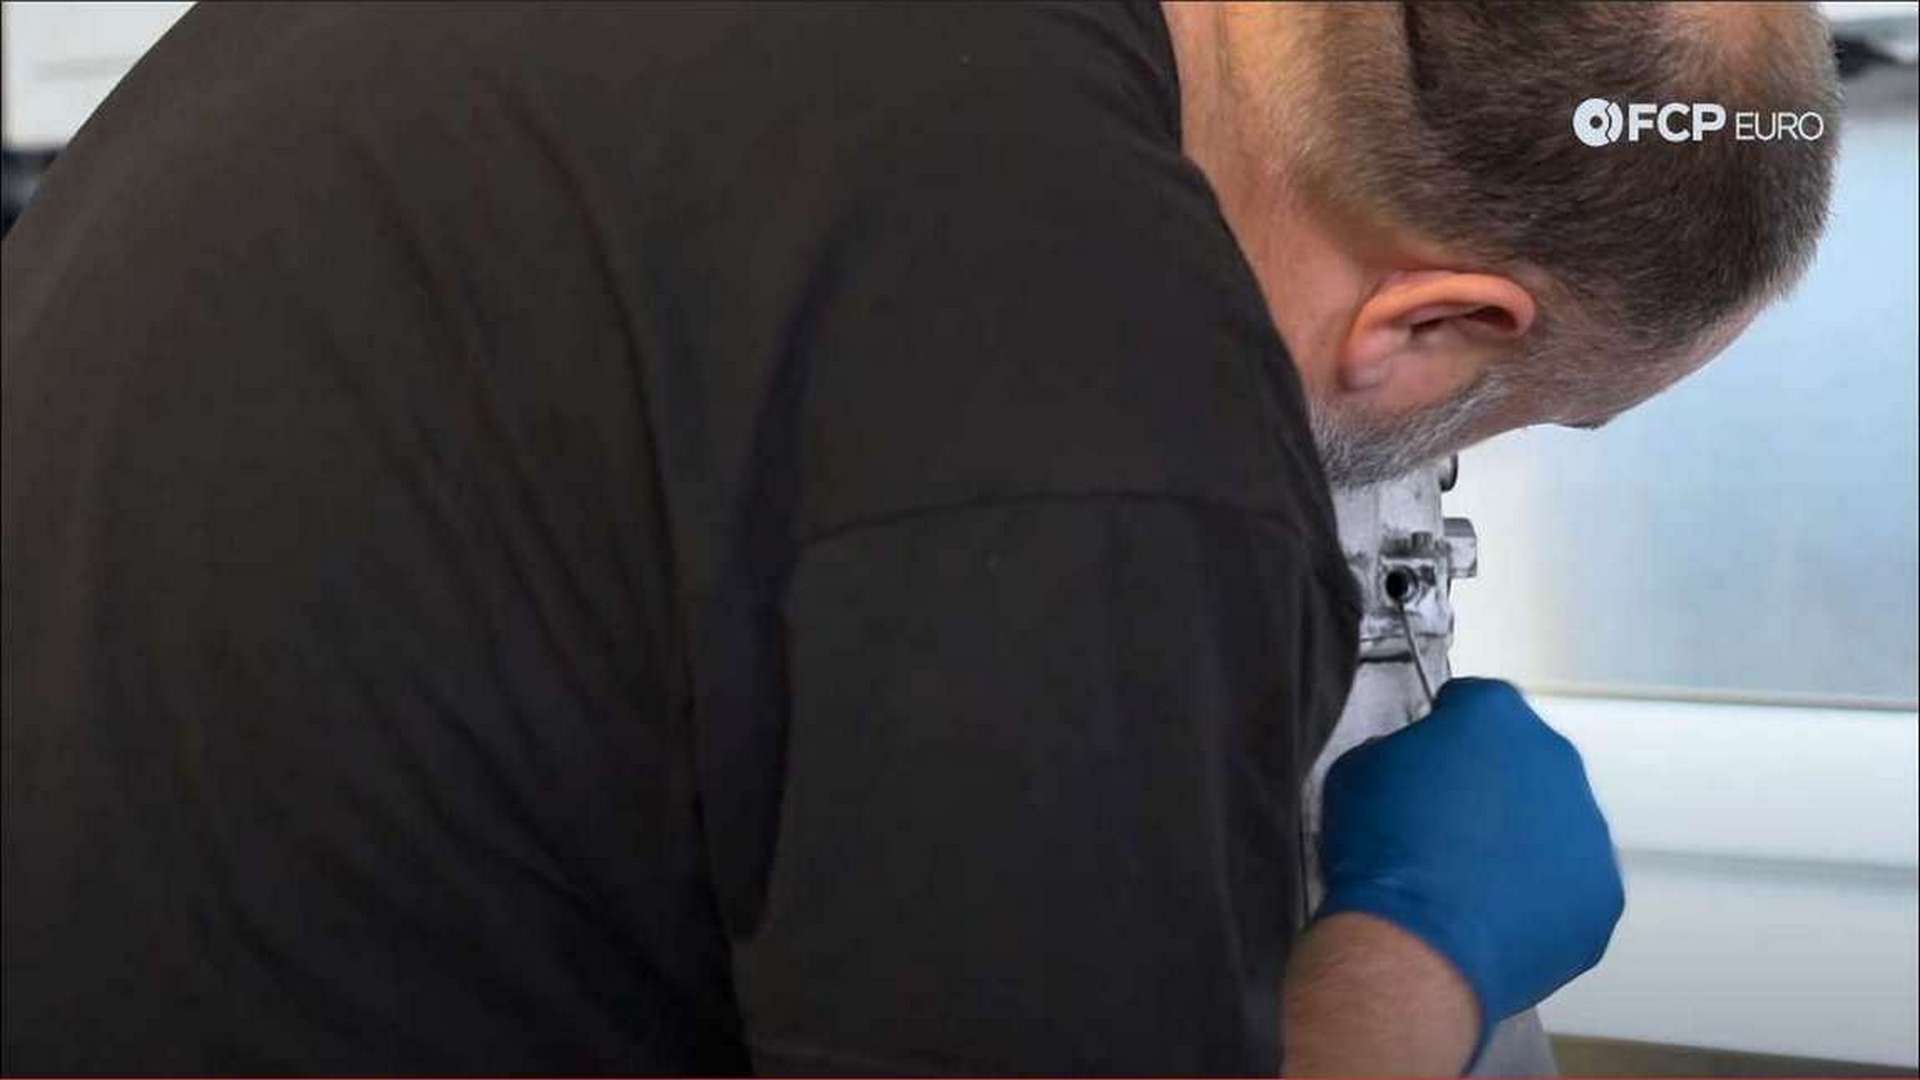
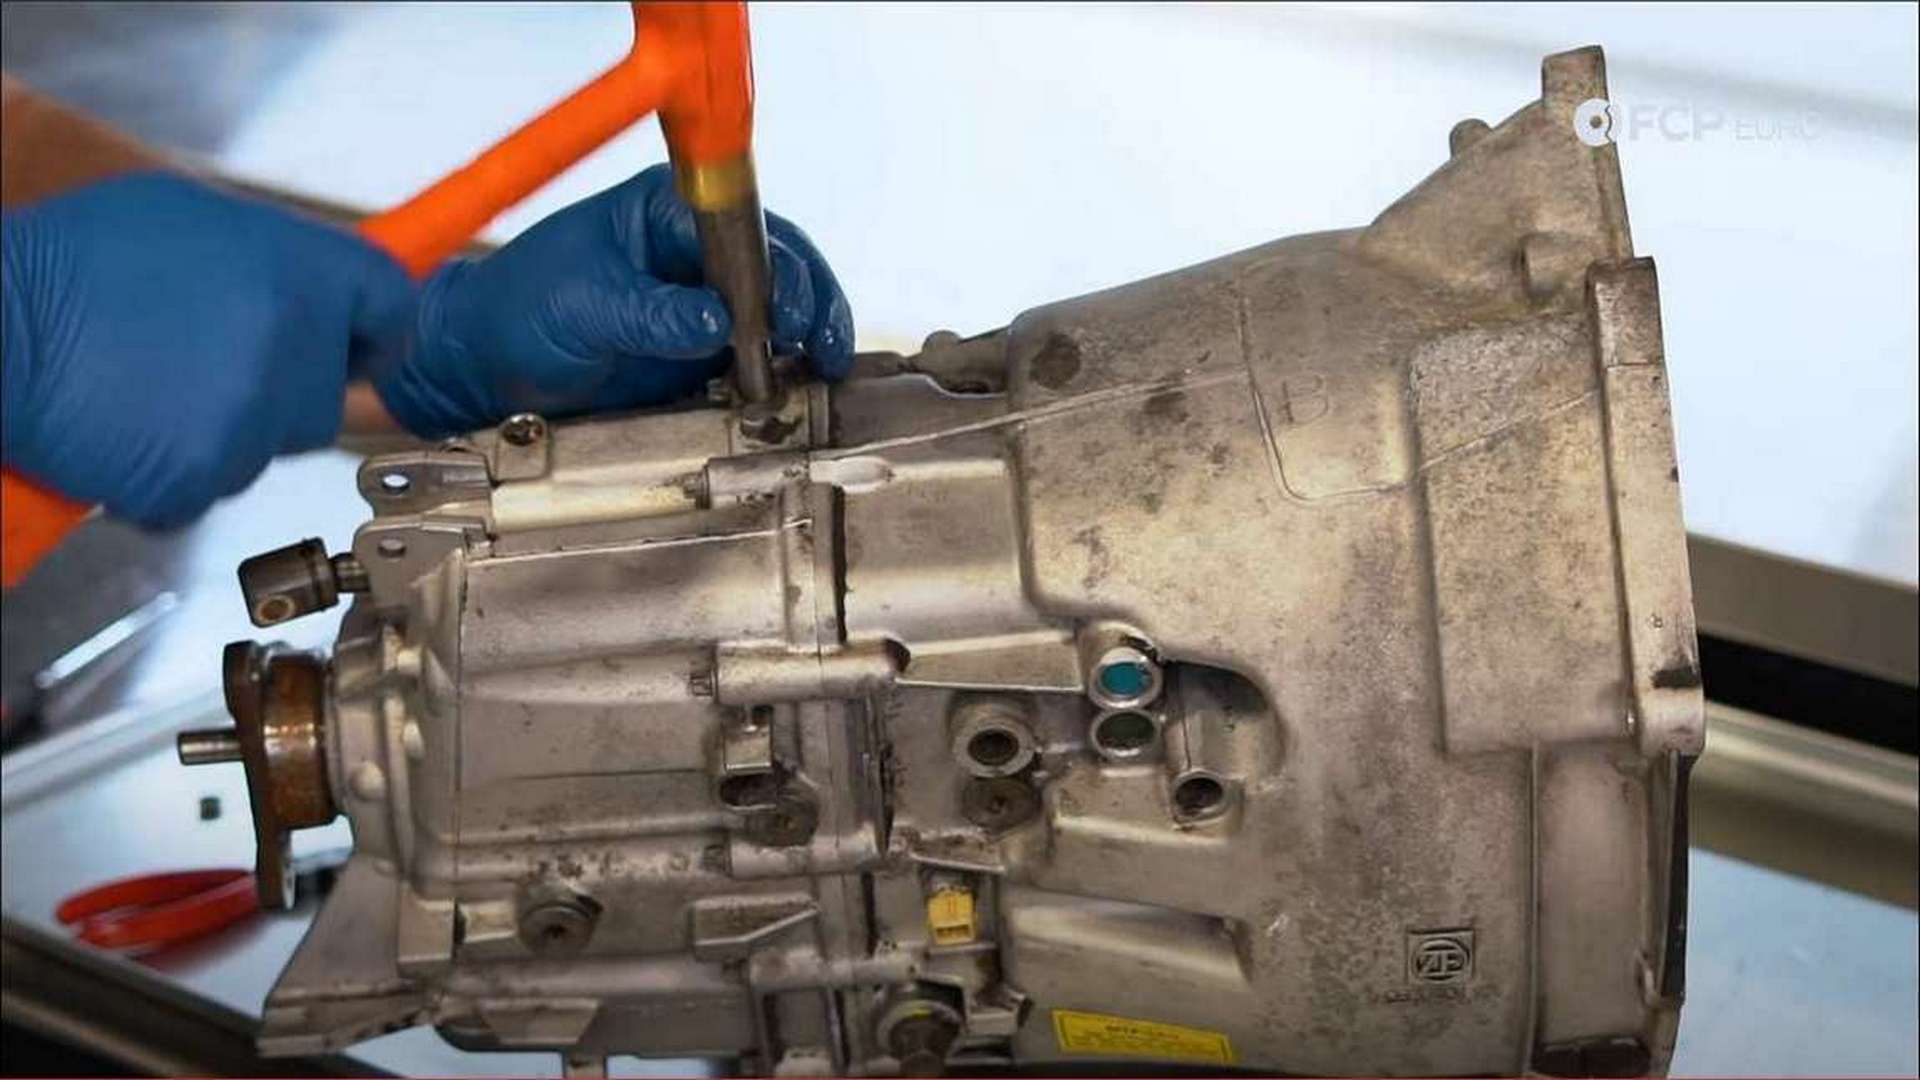
This is a how-to on just the detent replacement. The transmission must already be removed from the vehicle for this service to take place.
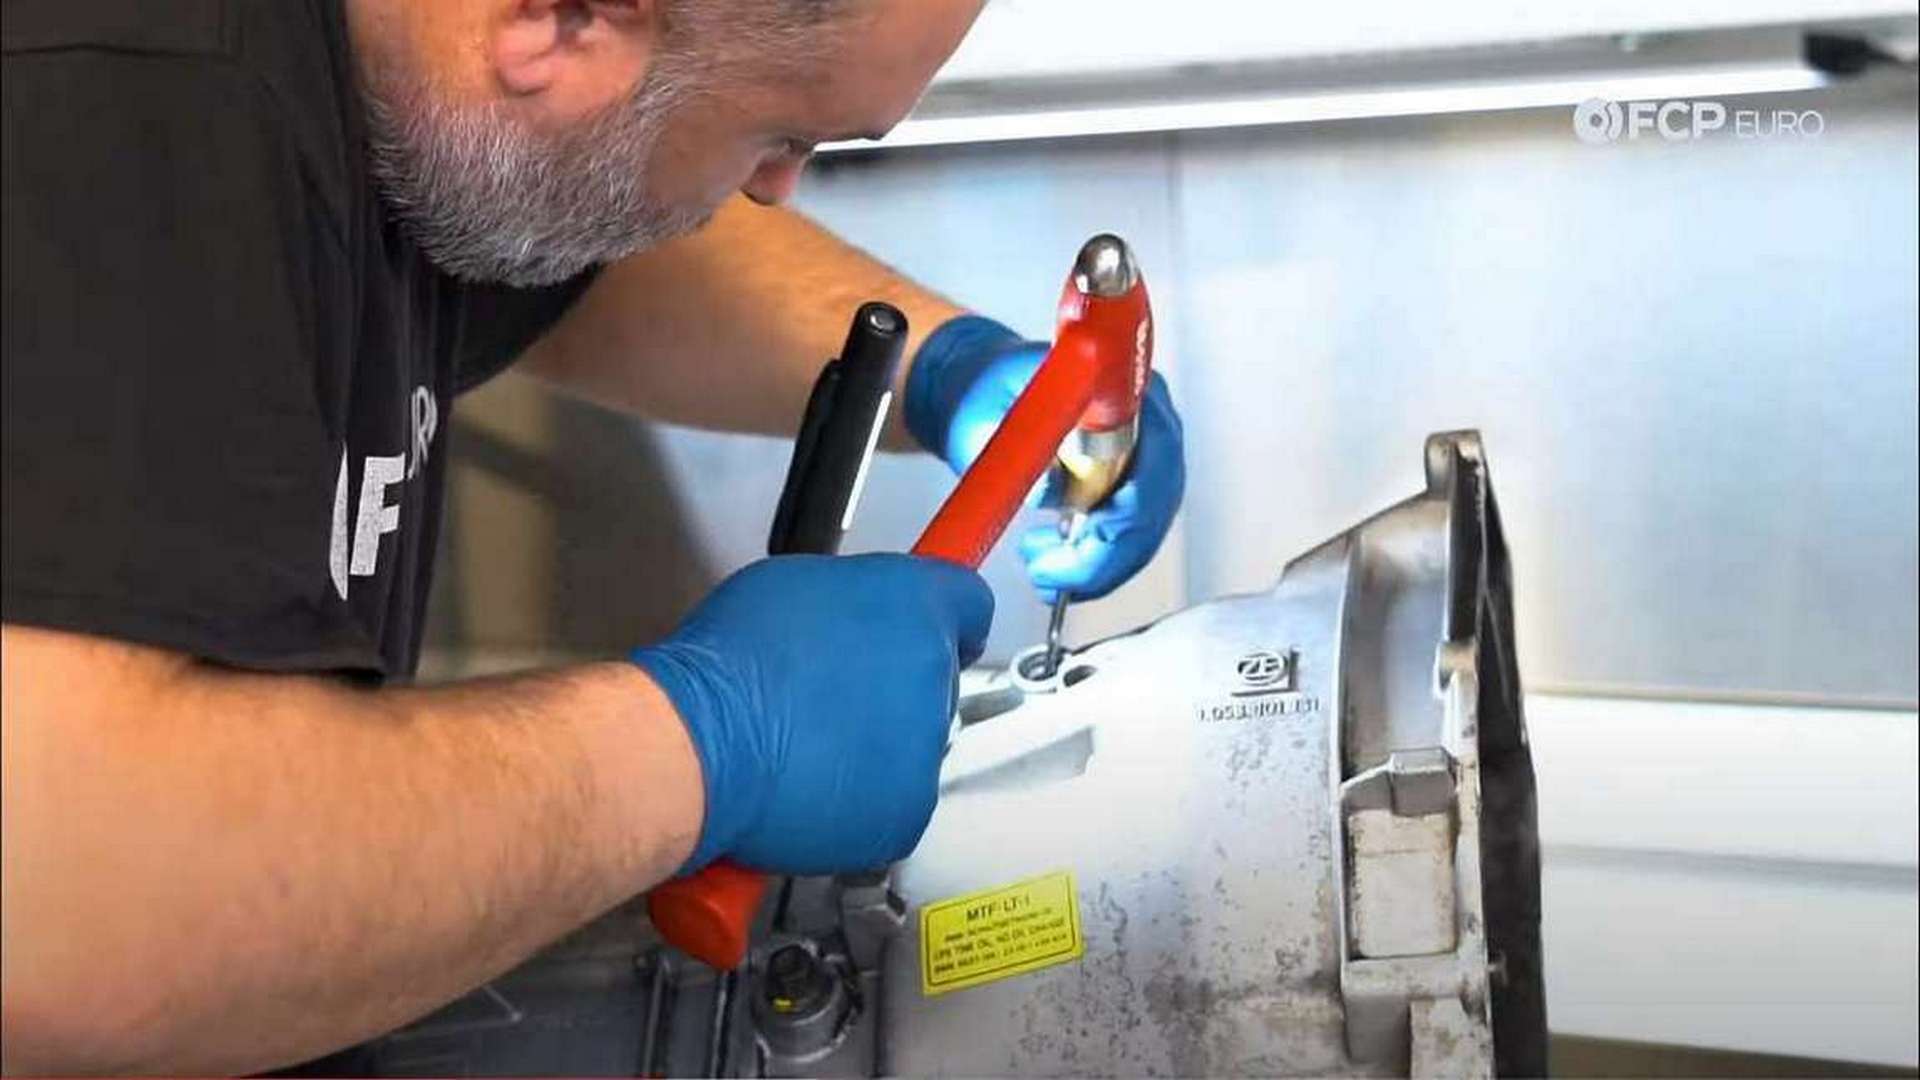
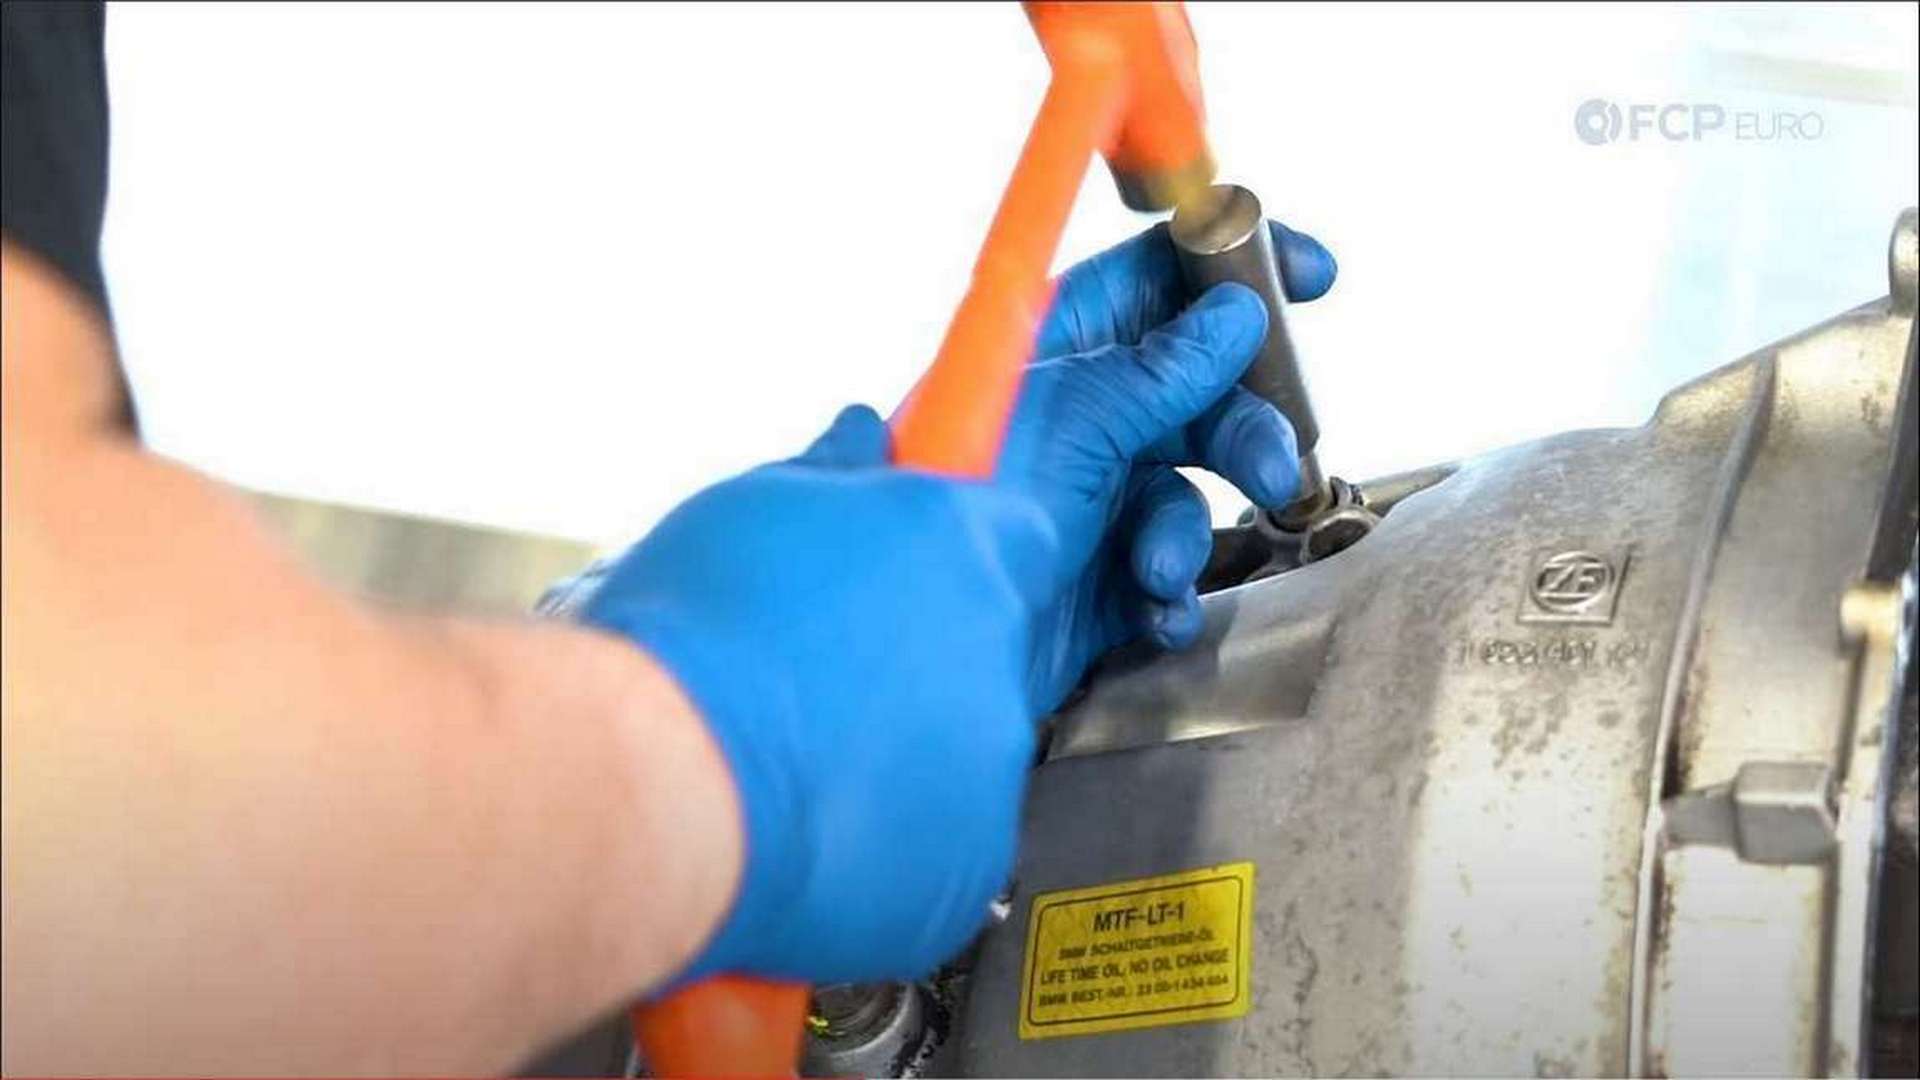
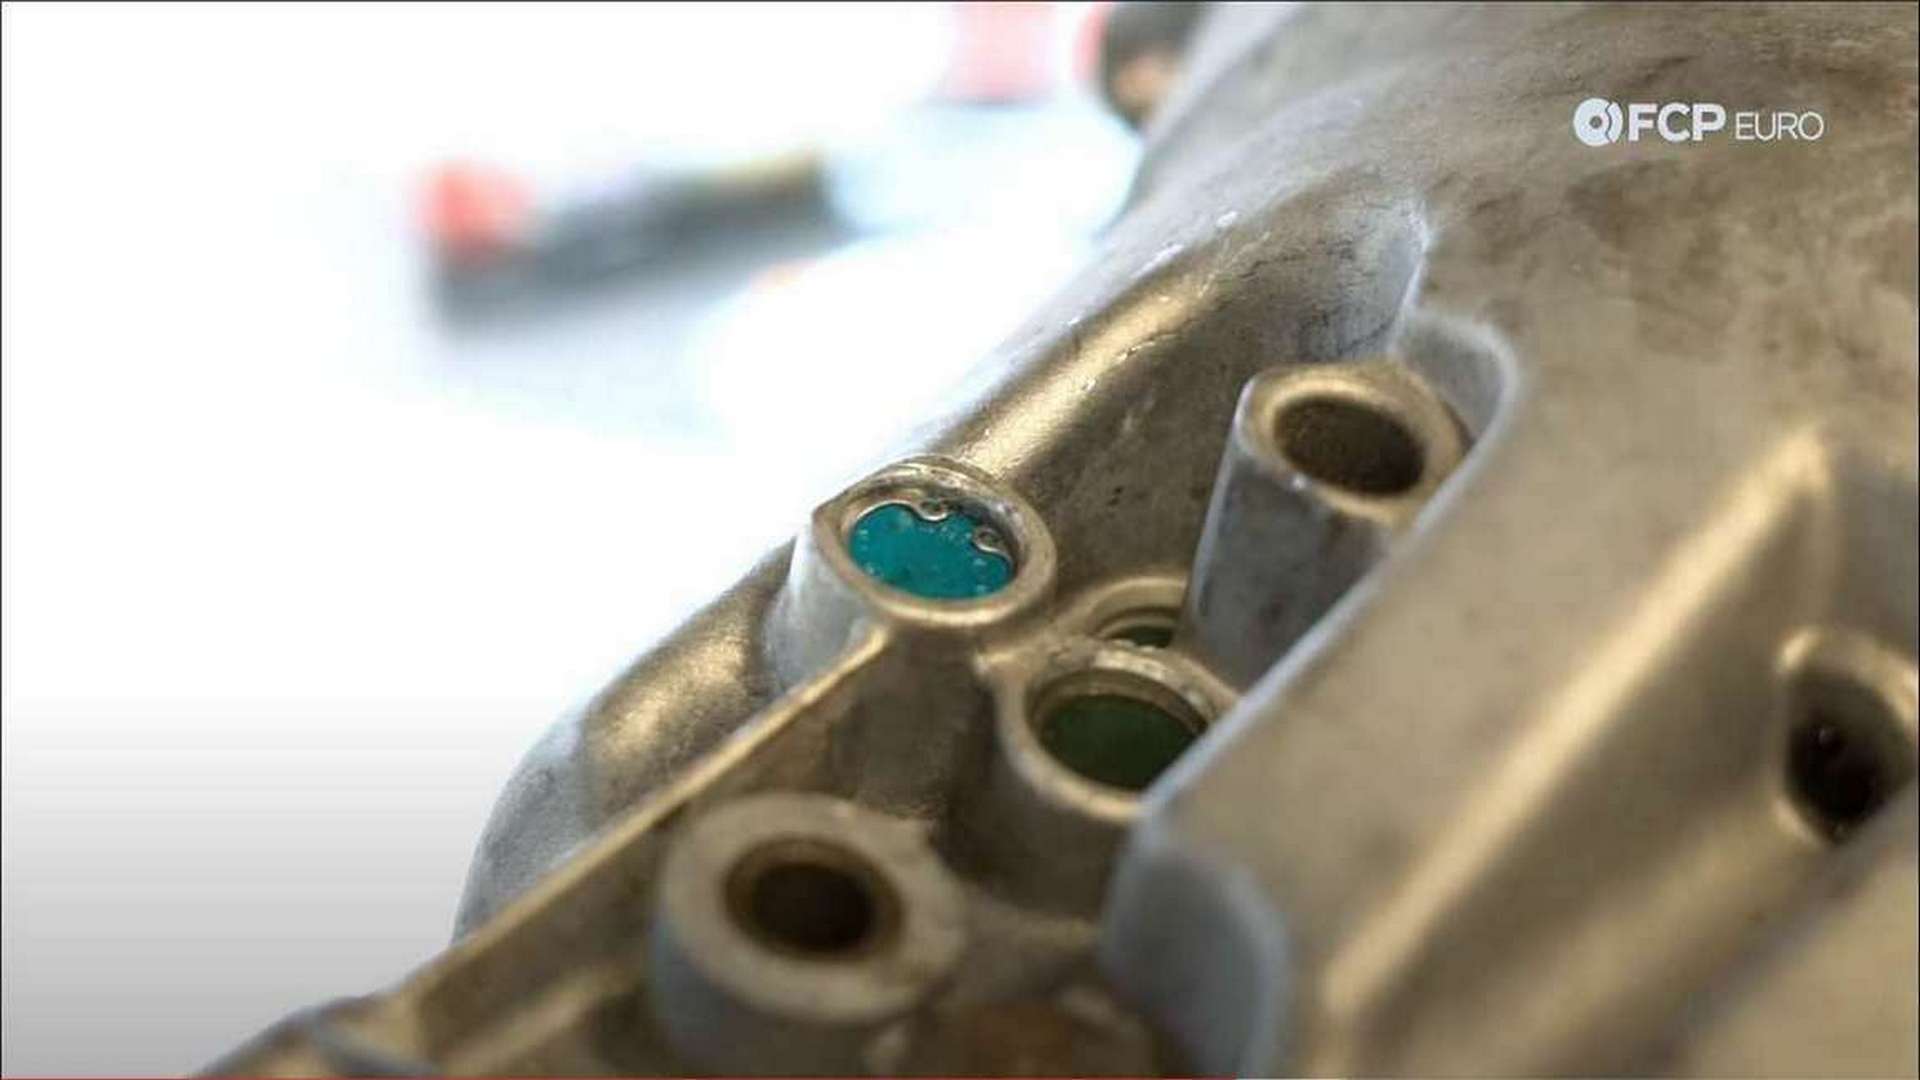
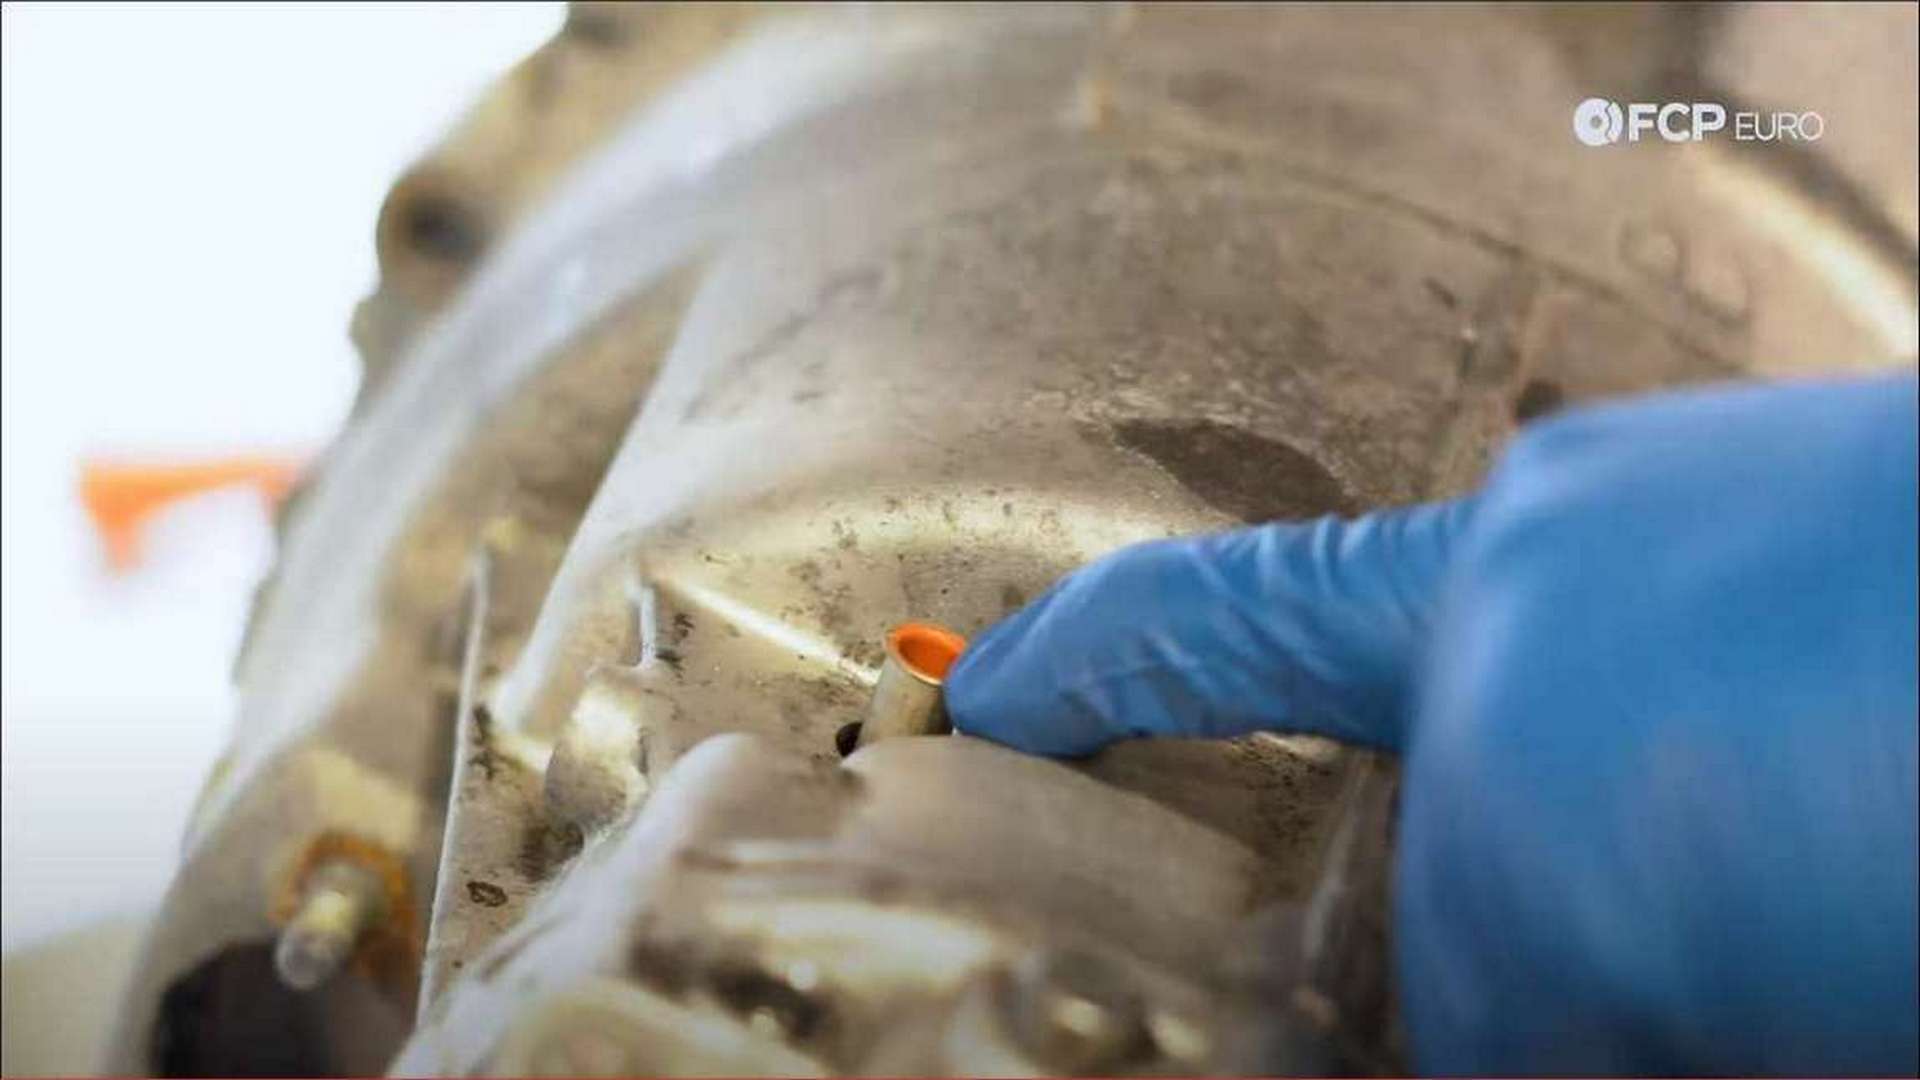
Step 1: Remove the Reverse gear detent cap
The reverse gear and 5th gear detent replacement process are nearly identical, however, due to a stiffer spring, the reverse detent will be more difficult to replace.
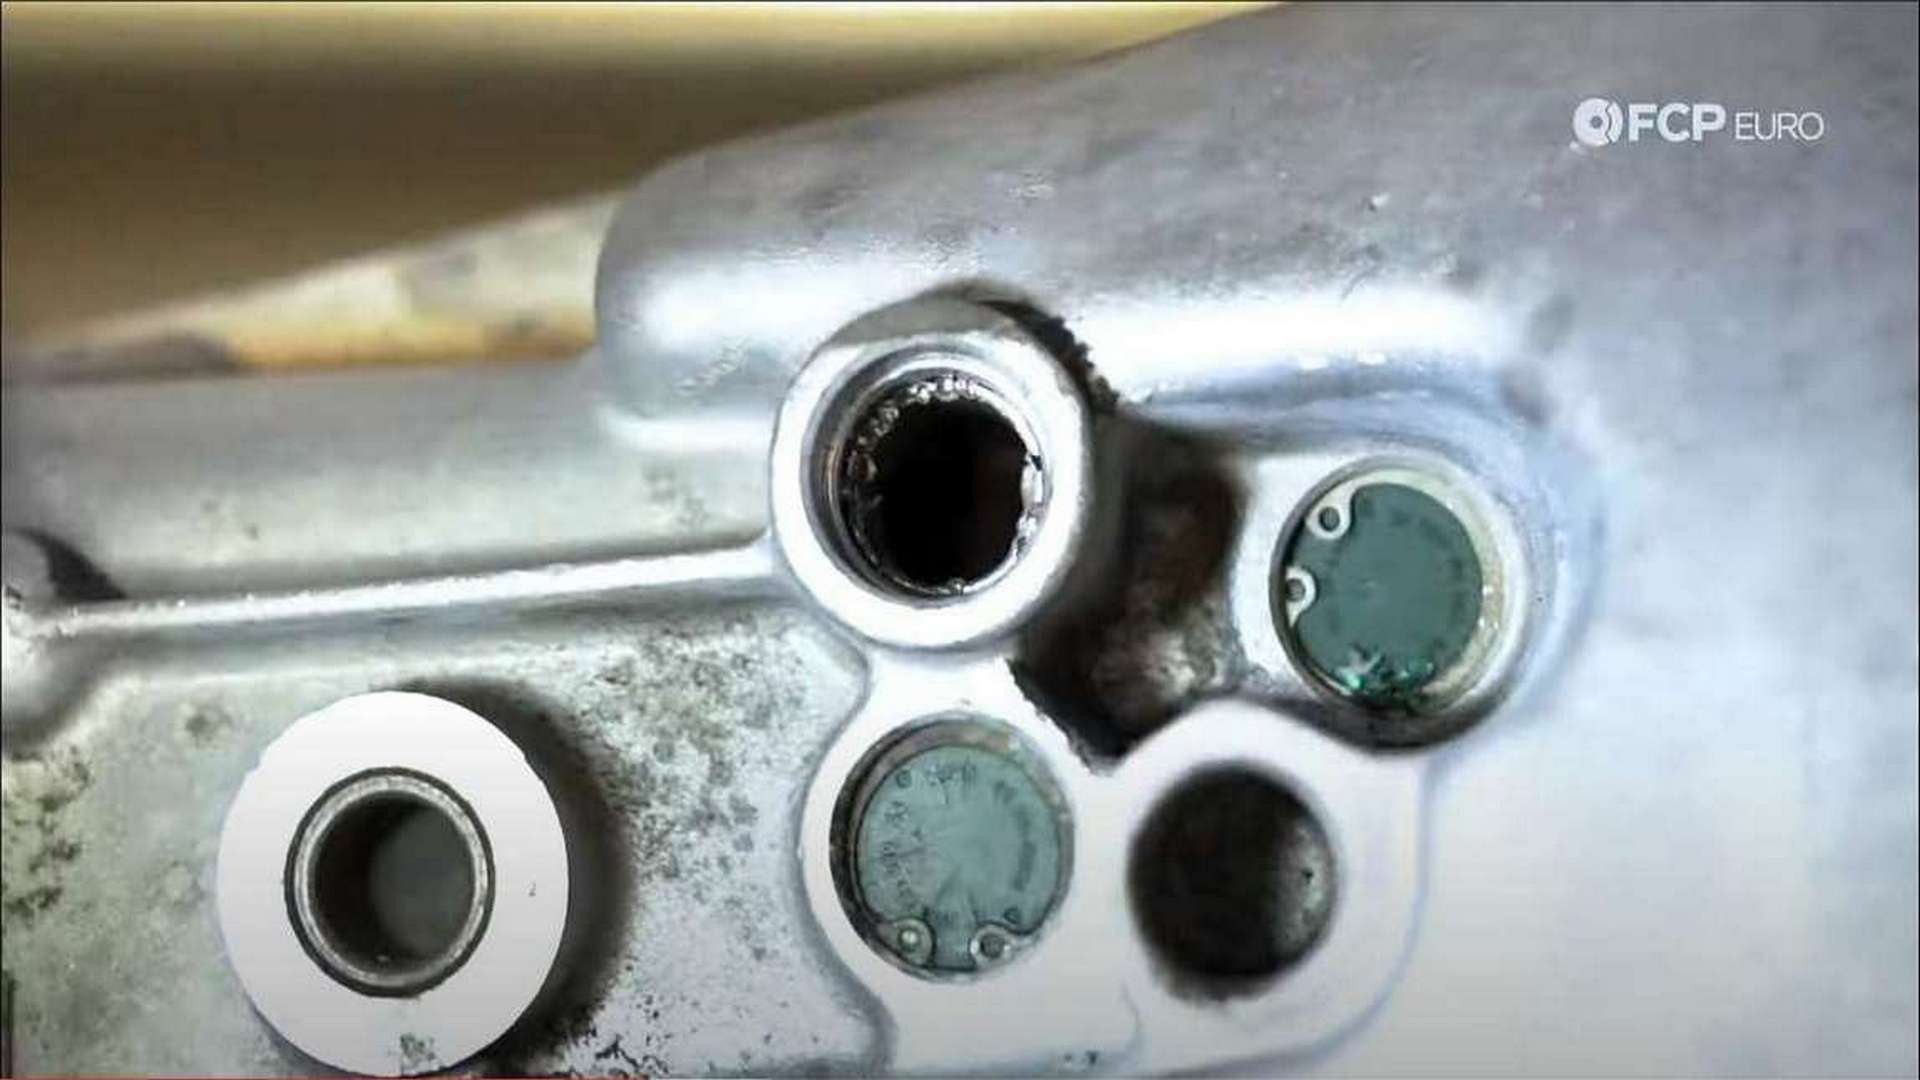
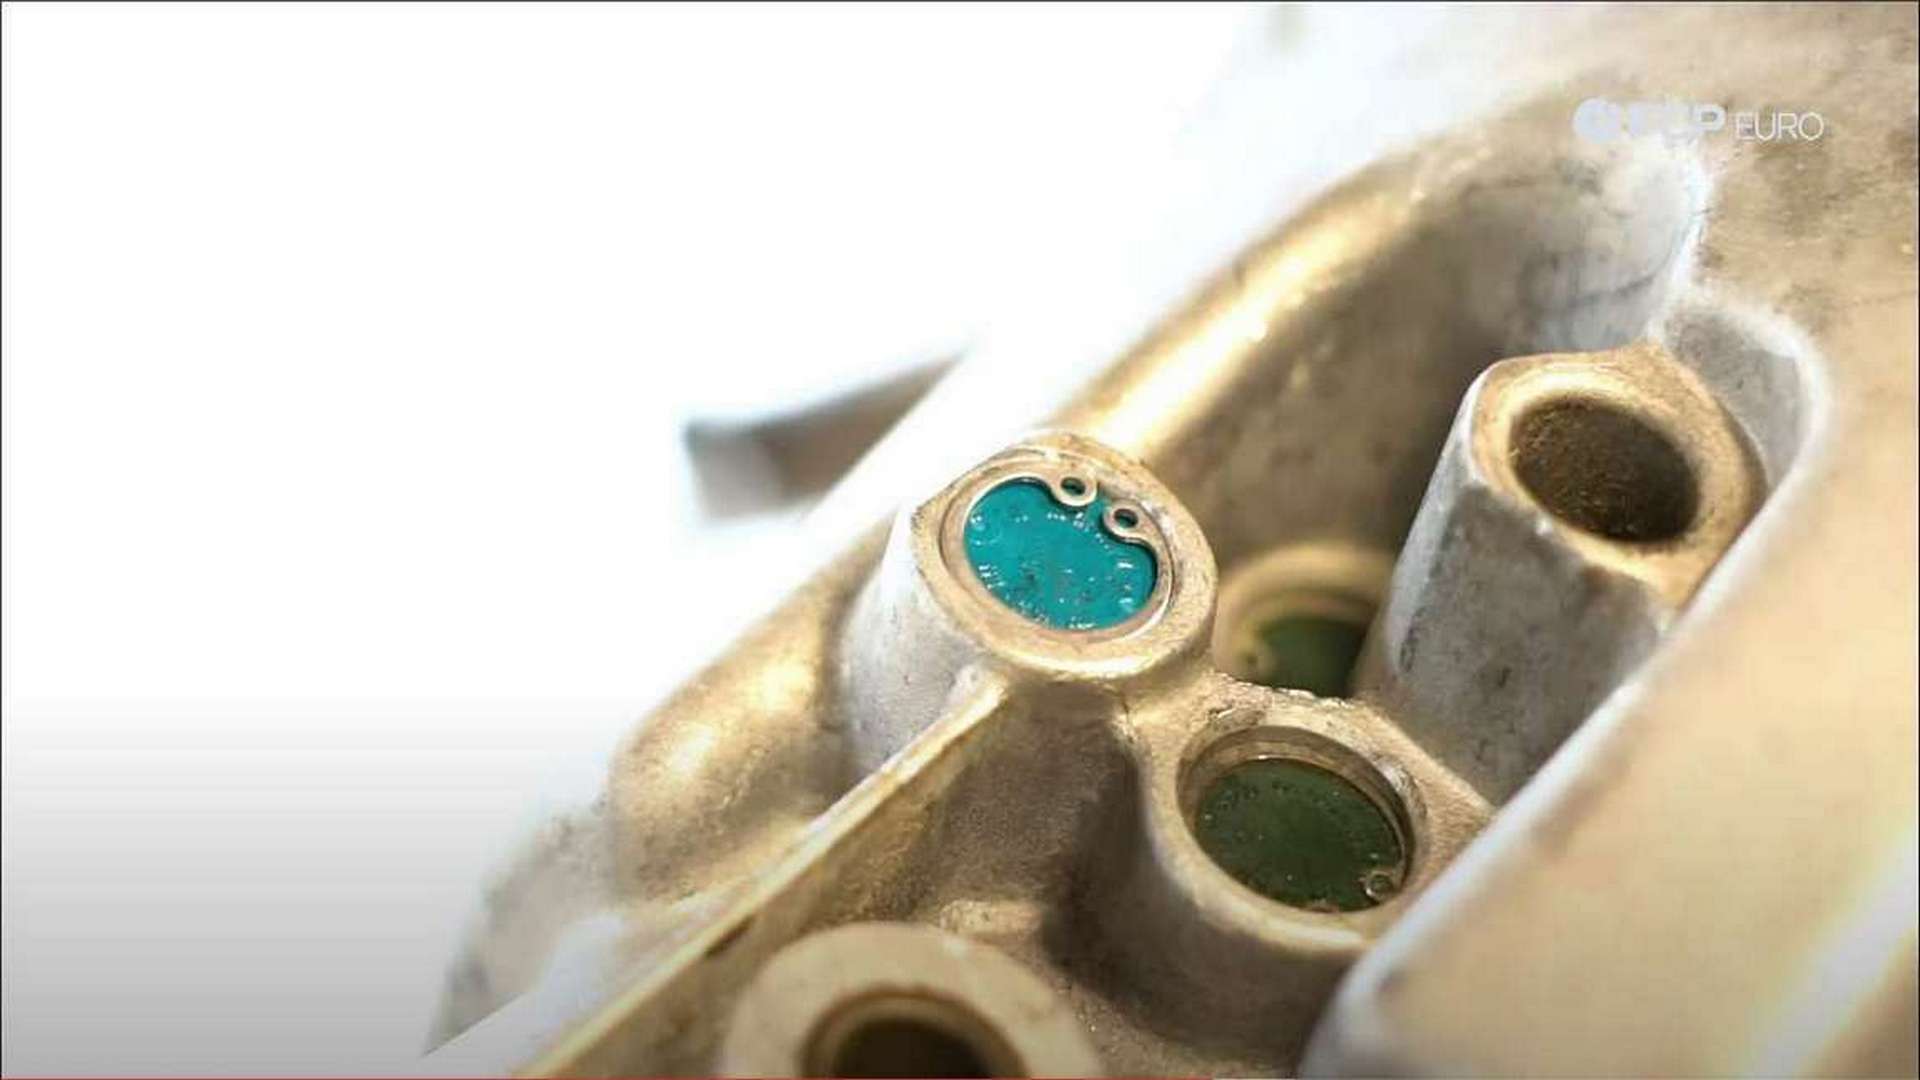
Start by locating the 5th gear and reverse detent caps on the side of the transmission. They should have a blue/green hue to them.
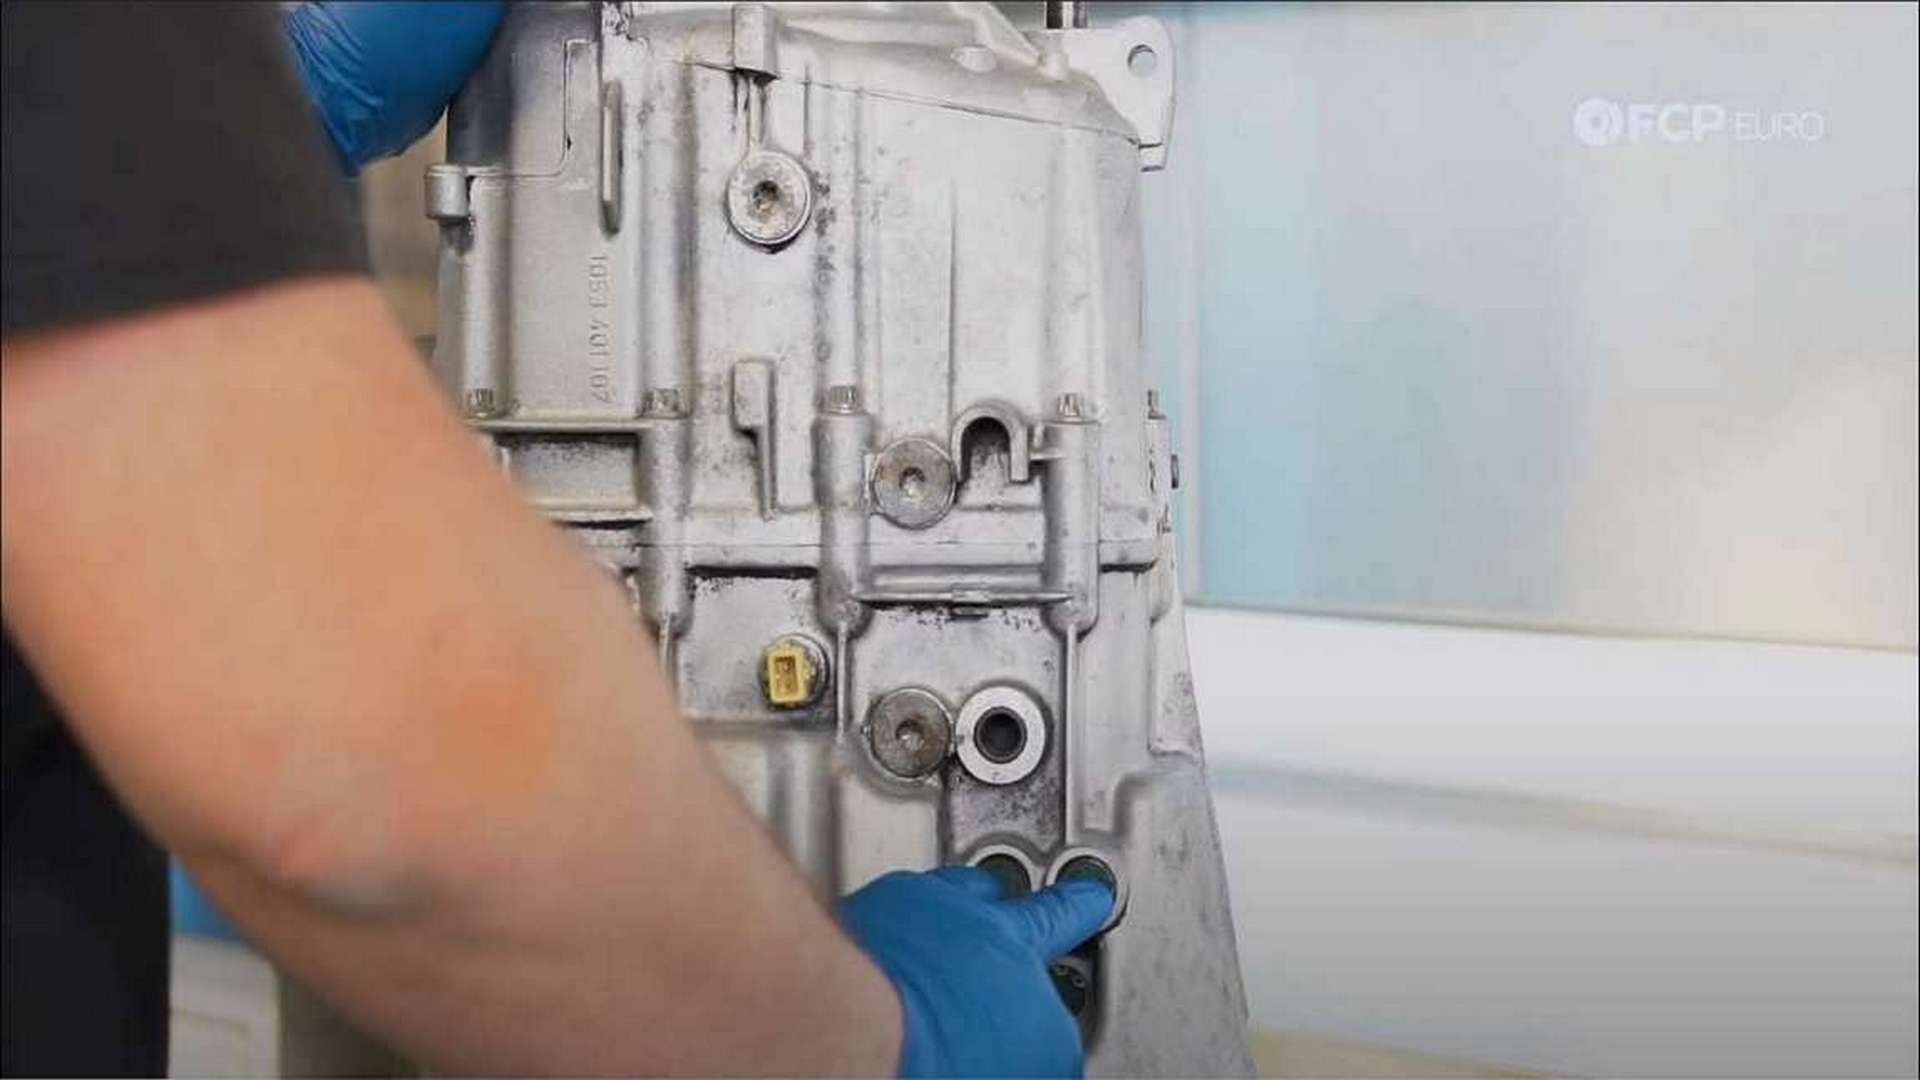
A snap ring holds the detent cap in place. If you’re lucky, the cap will not have deformed by making itself flush with the snap ring and the snap ring can be removed using the pliers. You will need to get a little barbaric if the cap has deformed.
Use a punch on the cap to create space in the snap ring holes and around the inside of the snap ring, so that it can be removed. If this doesn’t work, use a hook tool and pull on the snap ring until it comes out. Don’t worry about breaking it, new ones are supplied in the kit.

The cap can be removed once the snap ring is out of the way. Punch a hole in the center of the cap to use something like a hook to pull it out. We found that using a short, self-tapping screw with a large washer or shouldered head can be used in prying the cap out. Insert the screw into the cap, leaving a small gap between the transmission and the screw’s washer. Then, using a small prybar or interior trim removal tool, push on the head of the screw to pop the cap free.
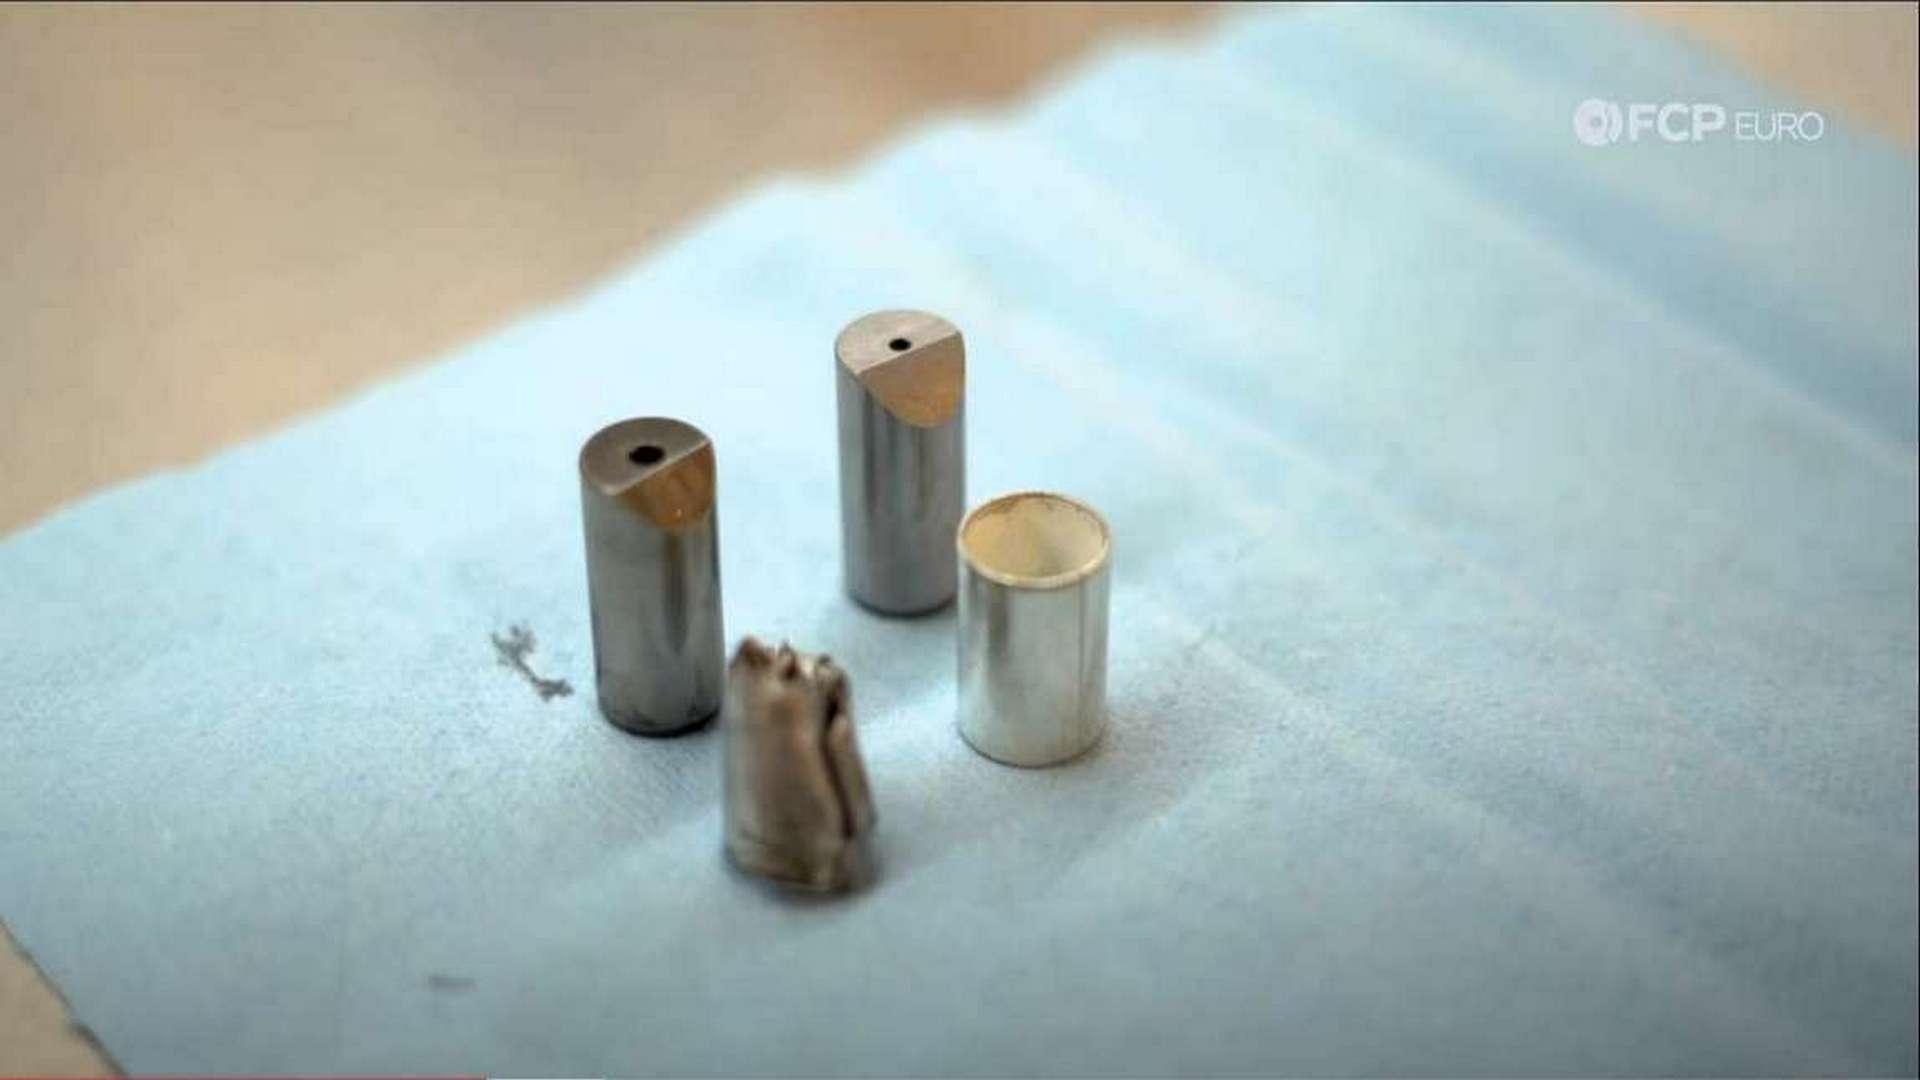
Step 2: Remove the detent
Remove the spring and set it aside as it will need to be reused. The easiest way to remove the detent is by using the slide hammer tool kit linked above. Using that kit, find the right size bearing race tool and insert it where the spring sat. Next, expand it tightly into the detent. Then attach the slide hammer to the race tool and pull out the detent.
Step 3: Remove the detent bushing
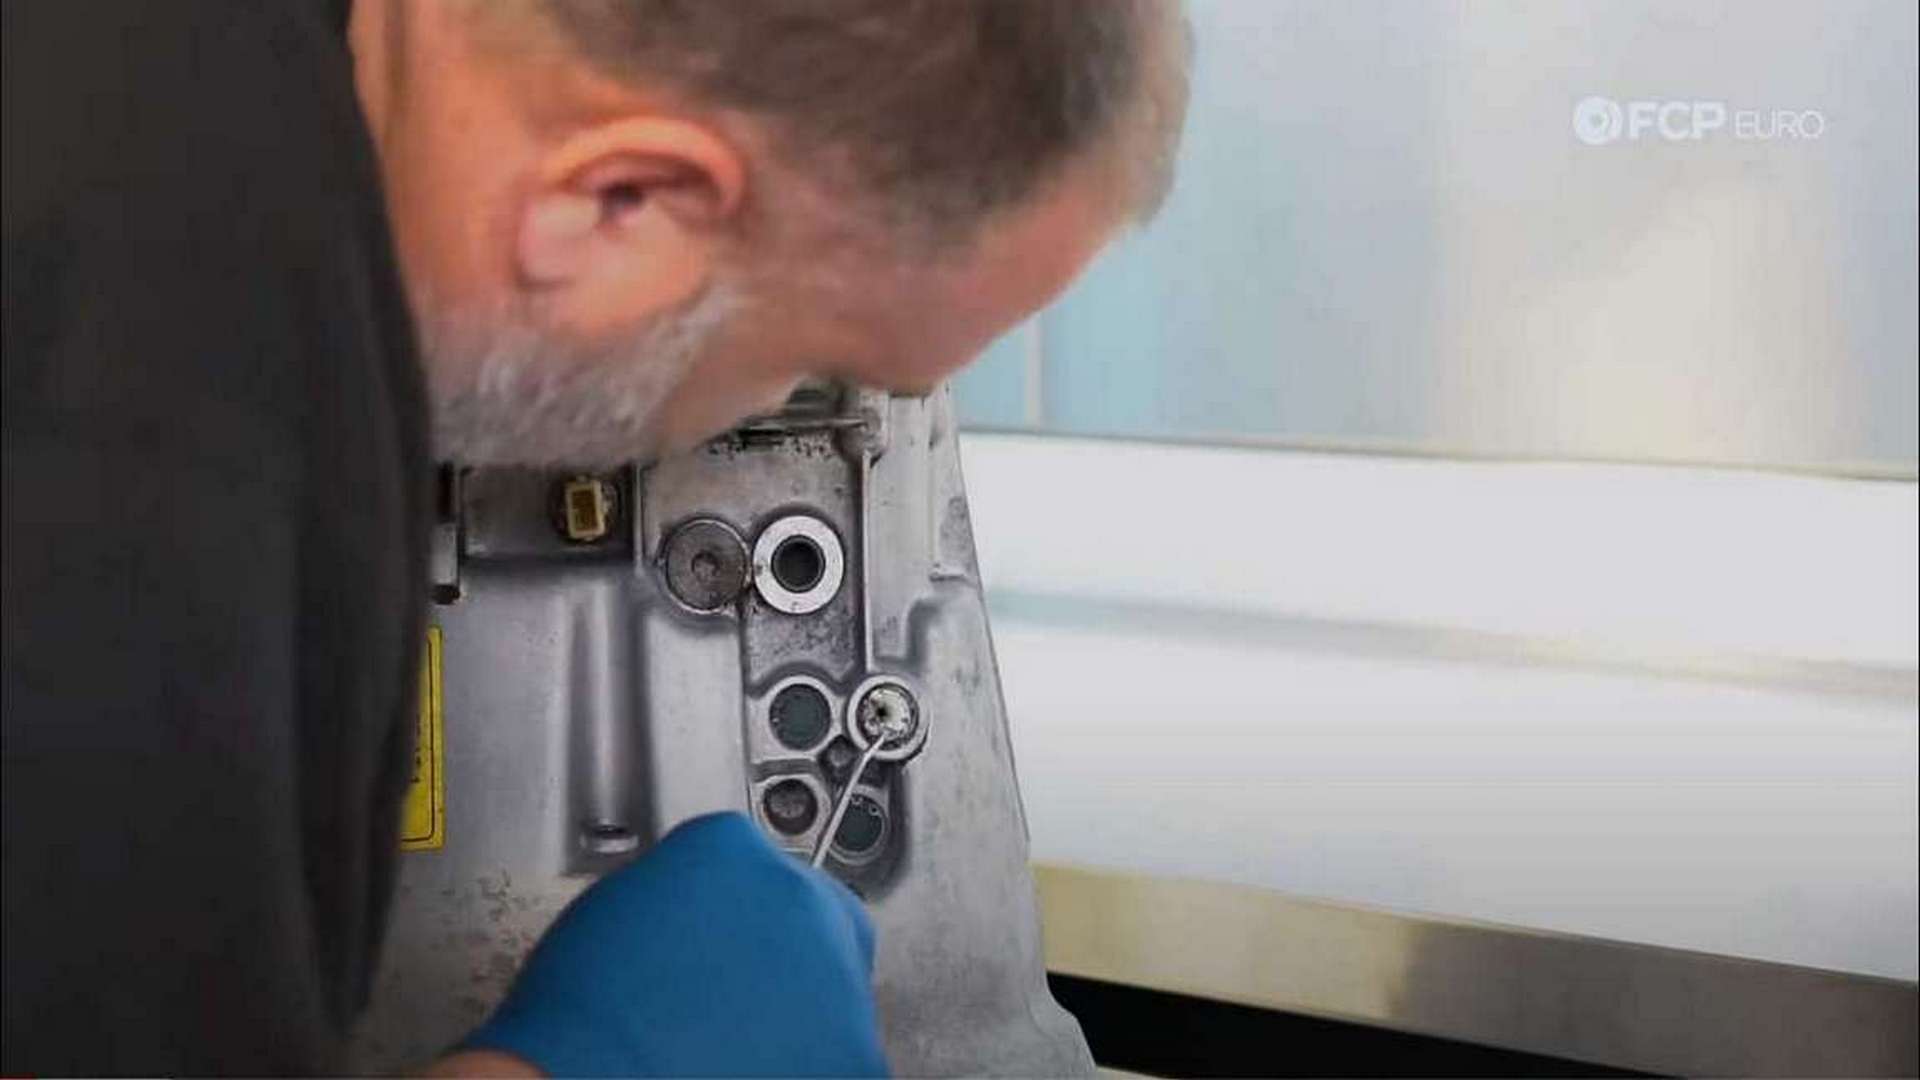
Now comes what could be the trickiest step. The detents slide and sit inside a thin bearing that is pressed into the transmission case. You will need to deform it at its seam to remove it. Use a small flat-blade screwdriver to bend the bushing down and inside of itself.
This needs to be done carefully and slowly. Being too aggressive can lead to the marring of the bore that the bushing sits in, as well as pushing the bushing too far into the transmission. They are inserted at a specific depth and can be pushed out of the bore and into the transmission. Having that happen will result in a need for a complete transmission disassembly to remove the destroyed bushing.
When deforming the bushing, tug on it with some needle nose pliers every so often to check if it has come loose. Make sure to smooth out the bore that the bushing sits in if it becomes marred during the removal process.
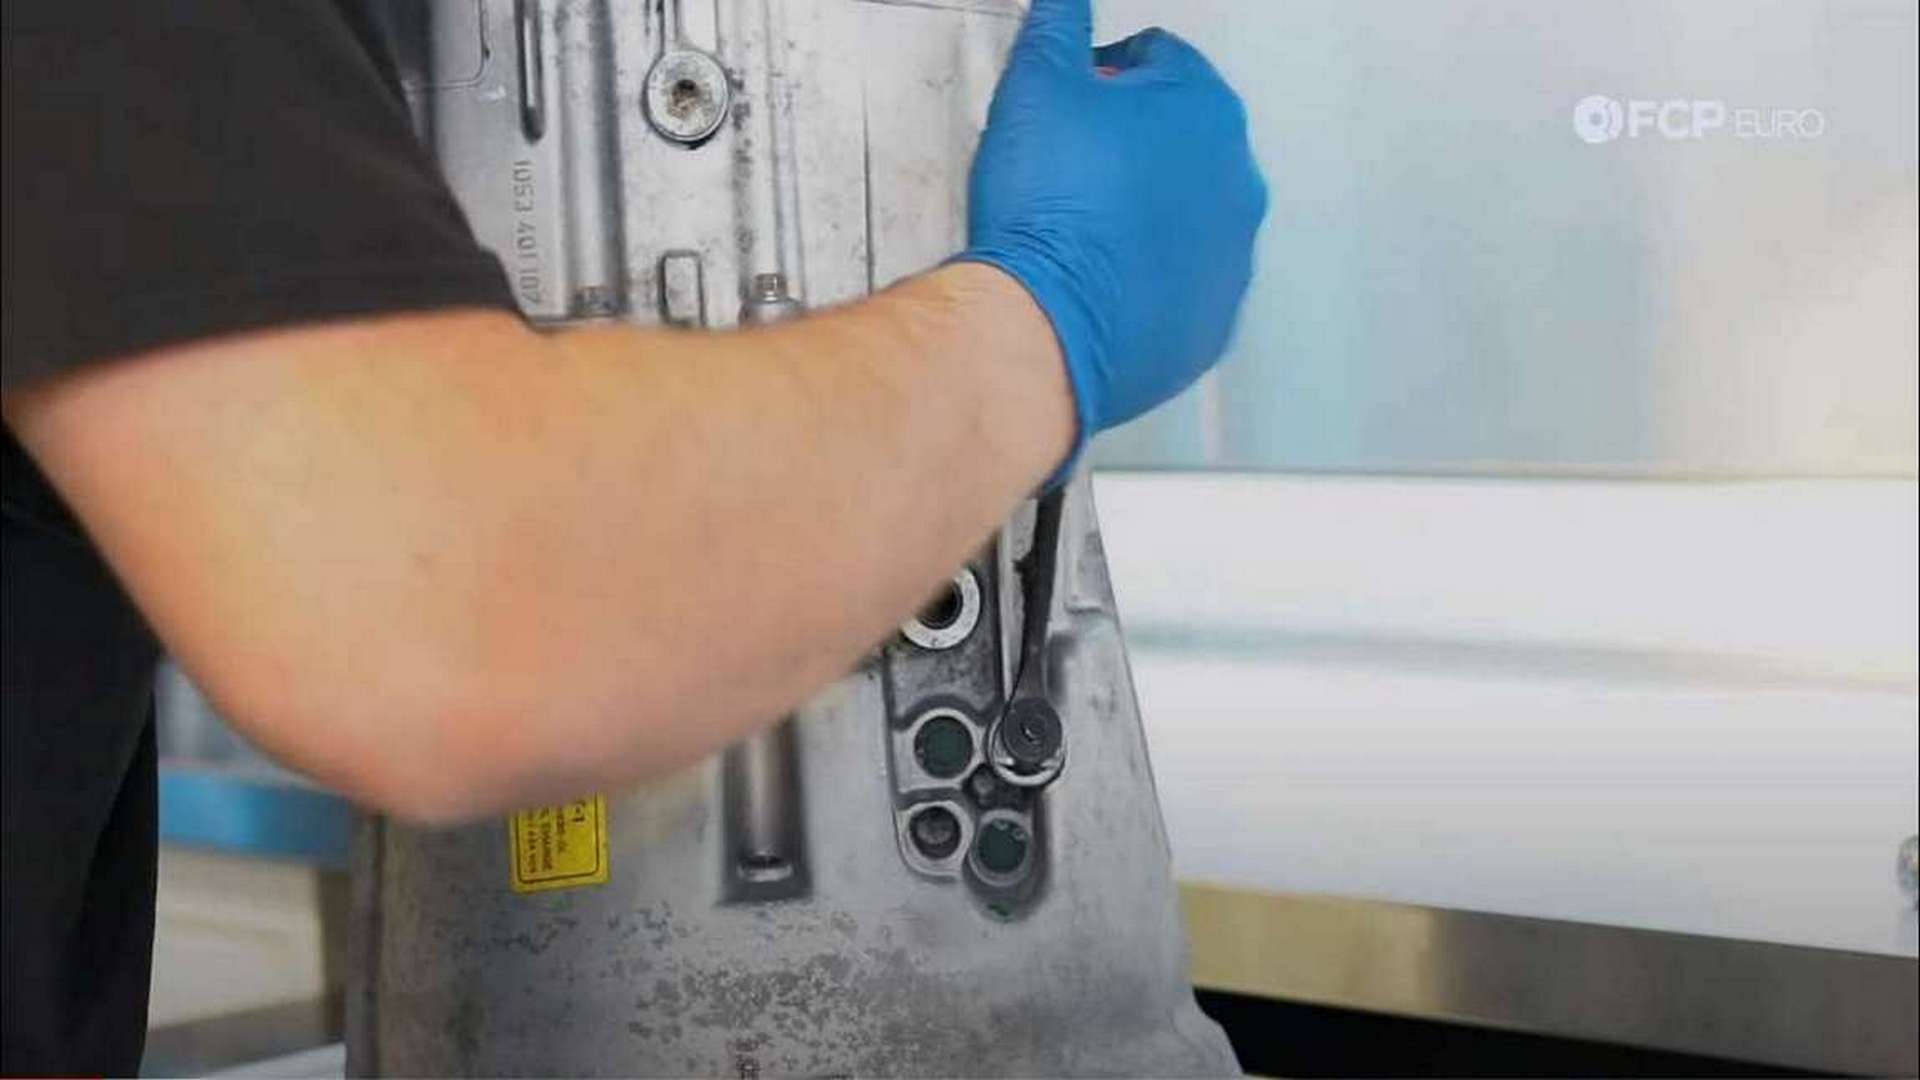
Step 4: Install the new reverse detent bushing
To install the bushing, you will need a specialized tool from BMW. The tool used for the Reverse gear detent bushing is numbered 234023. Put the bushing on the tool and then drive it into the bore using a brass or dead blow hammer.
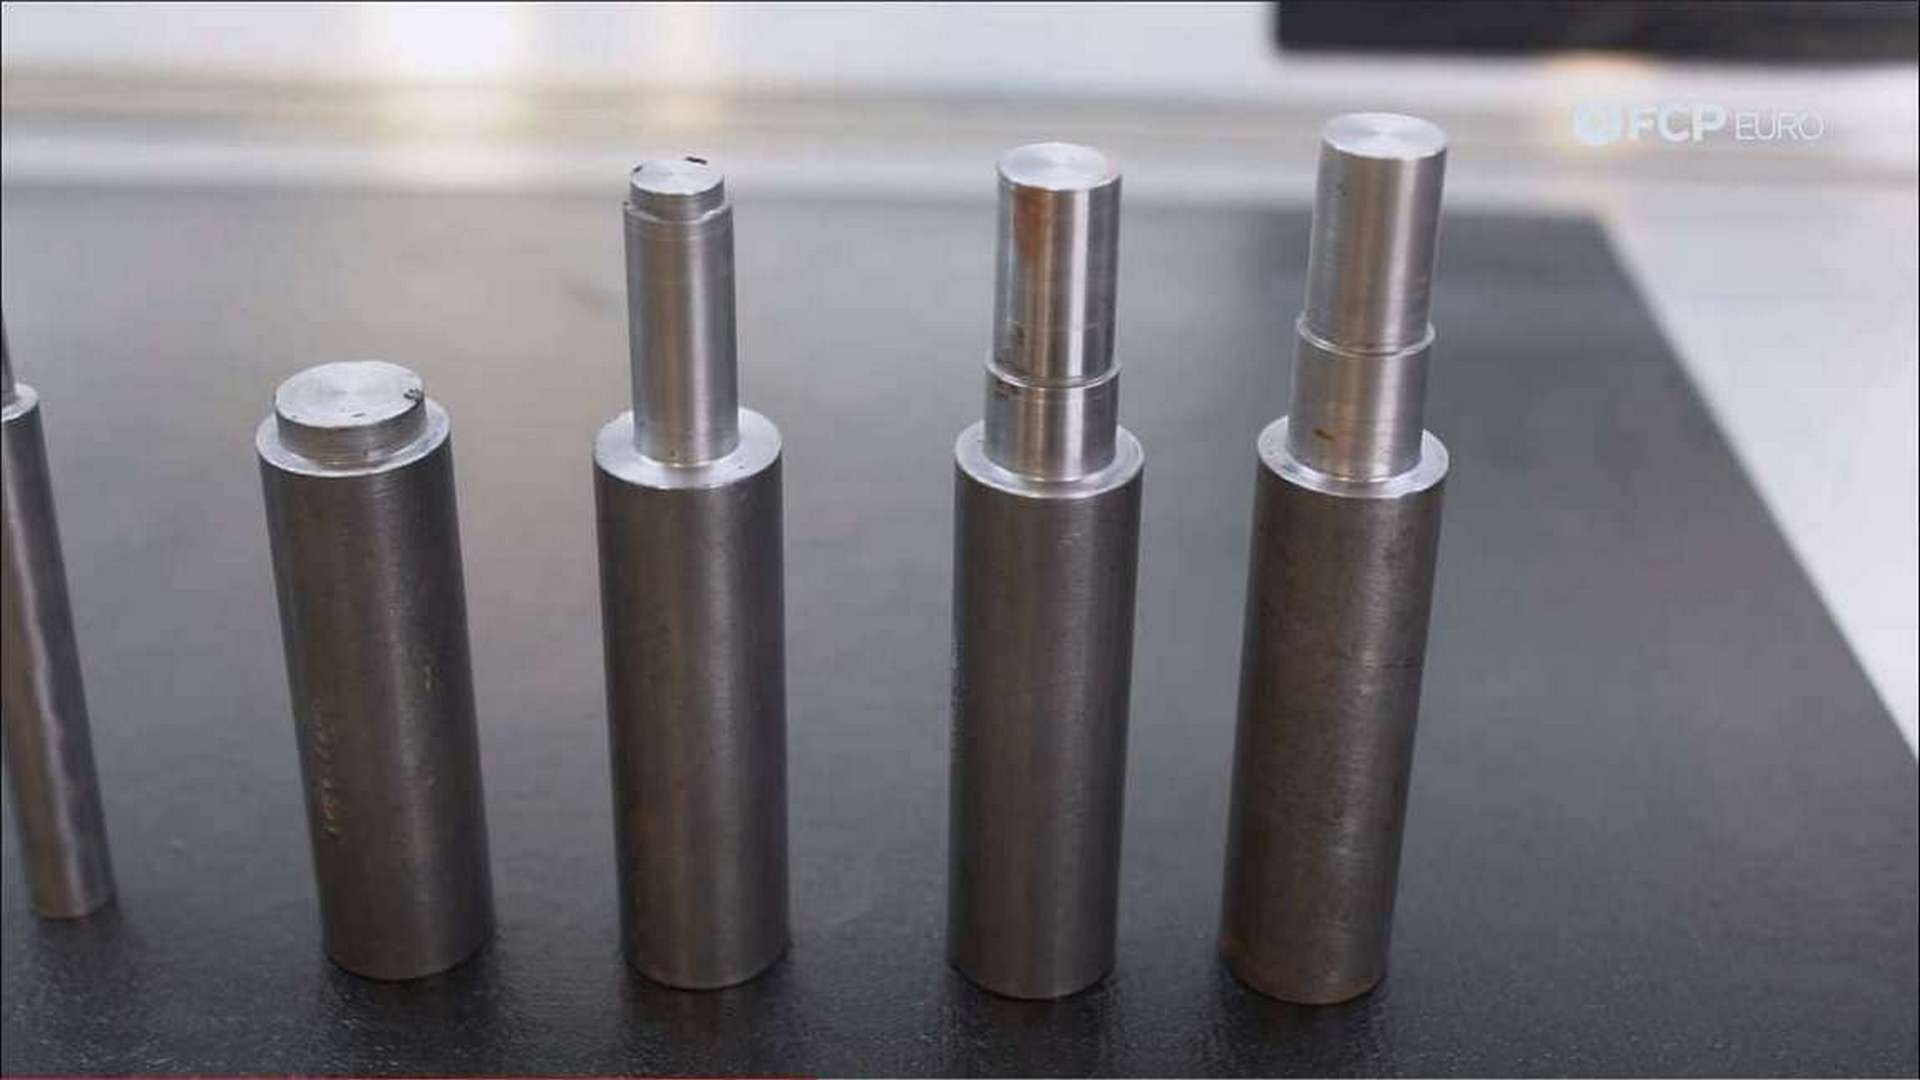
Hammer on the tool until it bottoms on the transmission case. This will set the correct depth for the bushing.
Step 5: Install the new detent
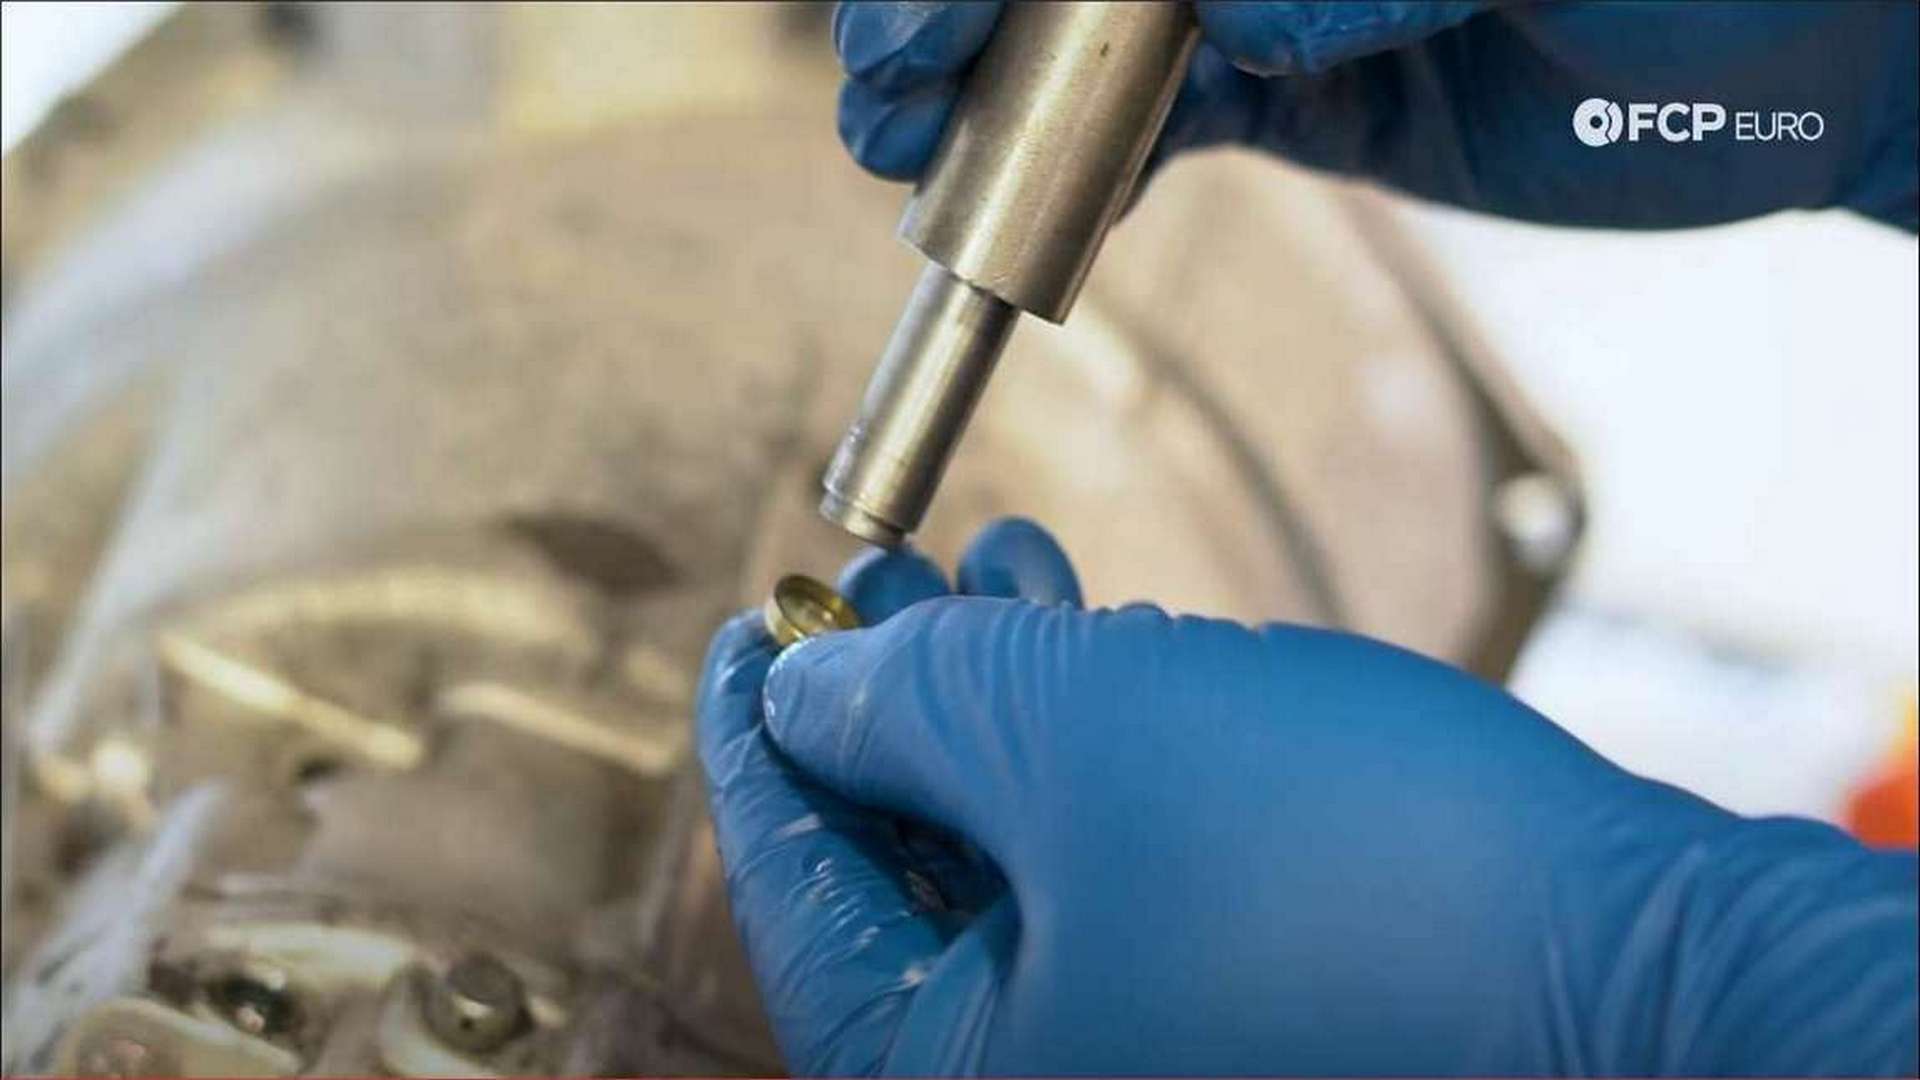
Before inserting the new detent, cover it in gear oil to lubricate, and protect the mating surface when installing. Set the detent on the bushing with the angled edge facing the bottom of the transmission. You should be able to push the detent in with your finger, though there will be some resistance as it is a tight fit. Push it in until it bottoms out and then put the spring back in.
Step 6: Install the new detent cap and snap ring
Place the new cap on top of the spring and drive it in using the BMW tool numbered 234021. When driving the cap in, the spring may push it out slightly, causing the cap to block the groove where the snap ring sits. To work around this, seat the snap ring on top of the partially driven in cap, and use the same BMW tool to drive it in. The snap ring will be driven into its groove, and the Reverse gear detent replacement will be complete.
Step 7: Replace the 5th gear detent
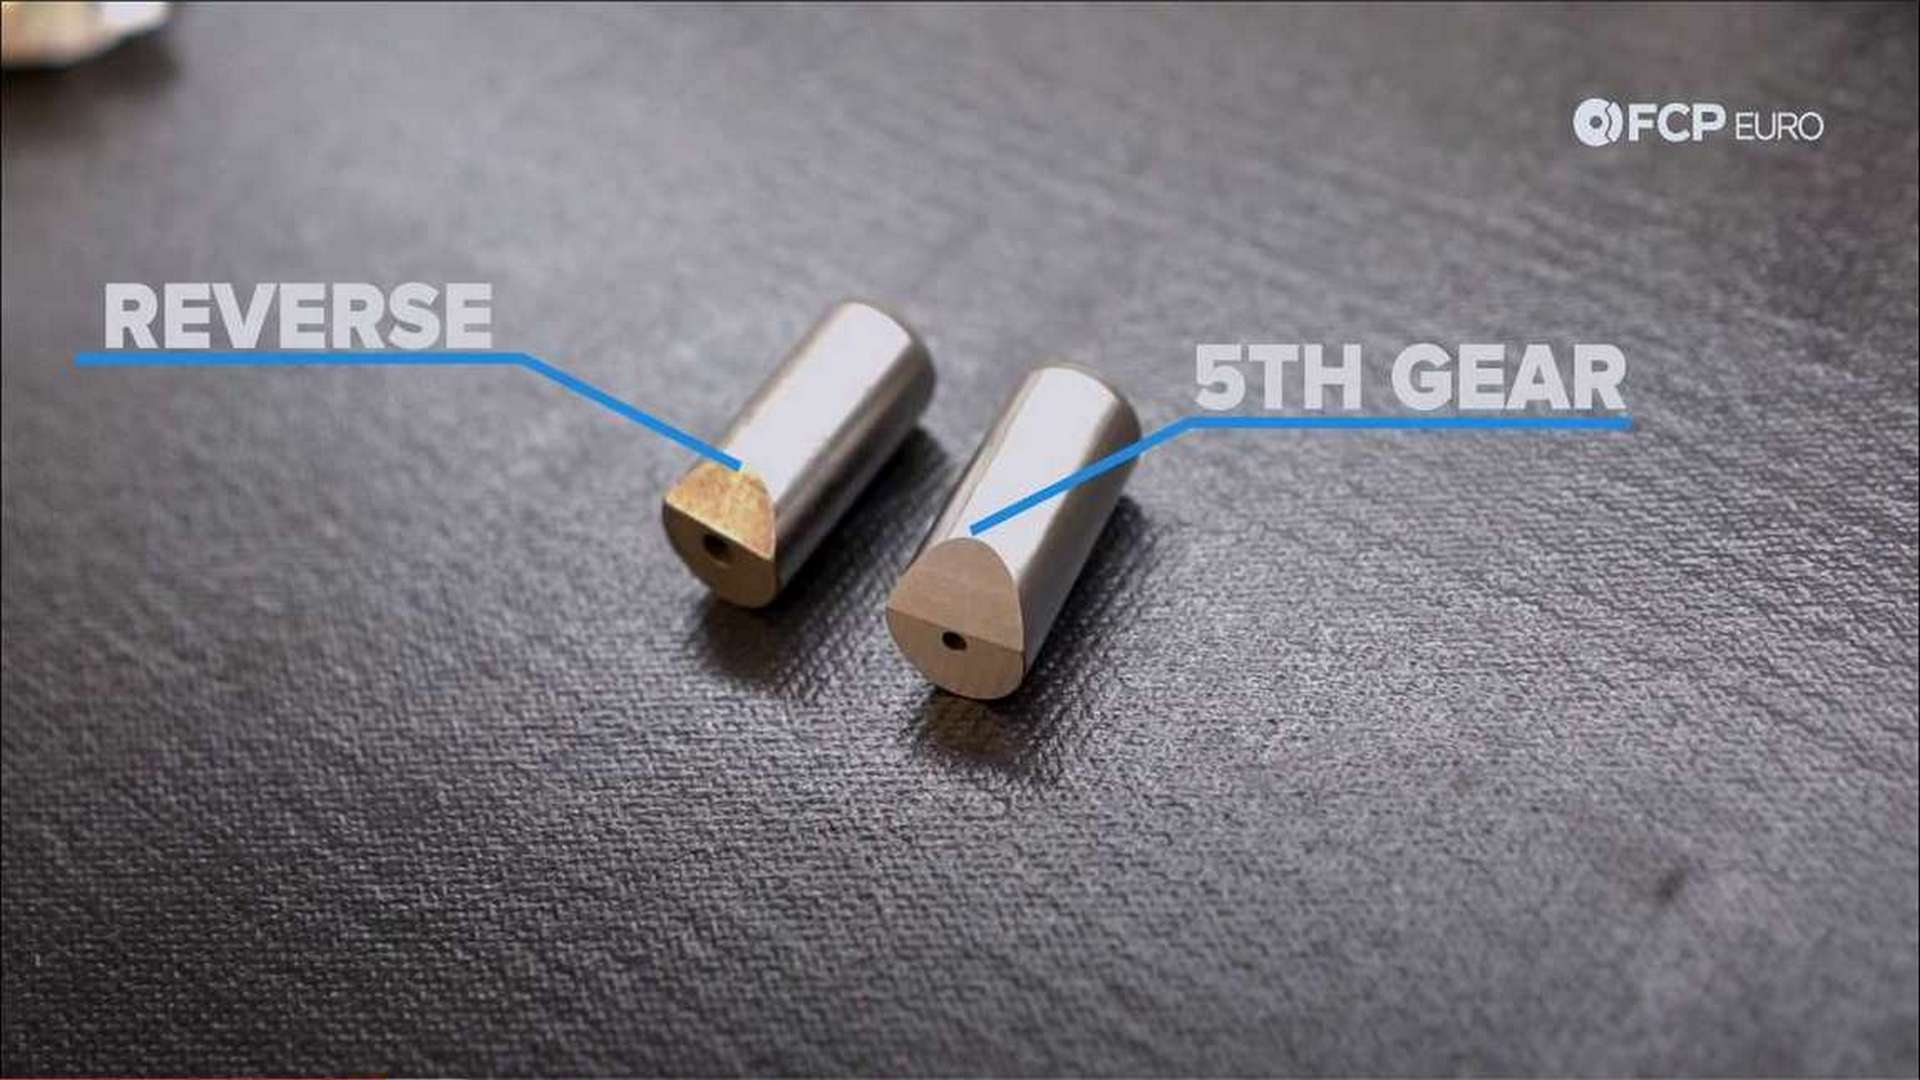
The process for replacing the 5th gear detent is nearly identical to the Reverse gear detent replacement, with some important differentiations. The 5th gear and Reverse gear detents look similar but are specific to their respective gear. The Reverse gear detent features a larger hole on the tip and a smaller angled edge.
When driving in the 5th gear detent bushing, be sure to use the BMW tool, numbered 234022, and make sure that the angled edge on the detent faces upwards when sliding it into the bushing.
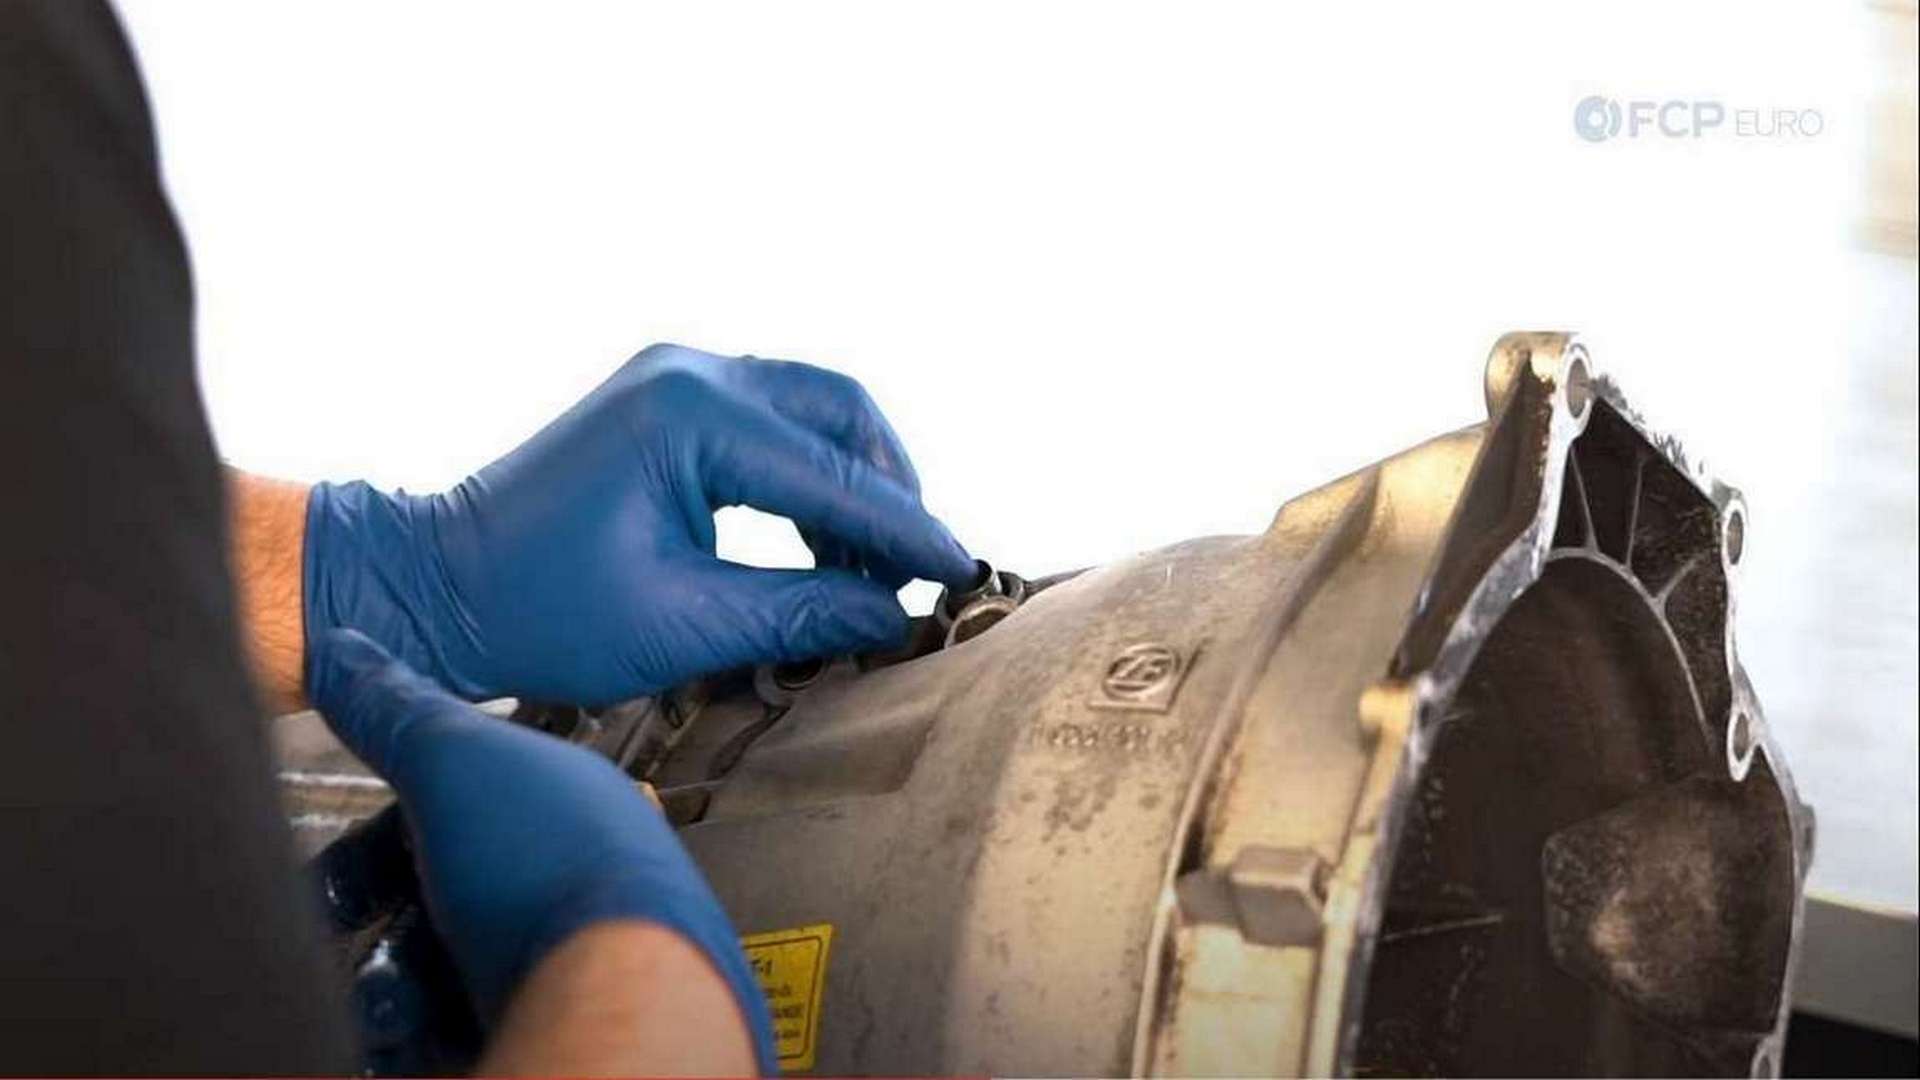
Step 8: Locate the small detent caps and remove them
The remaining three detents are smaller in diameter and are located on the top of the transmission.
Snap rings are not used to hold these caps in. Punch a hole through them and remove them with the same method that worked for the reverse gear detent cap.
Step 9: Remove the old detent and install the new bushing
With the cap out of the way, the old detent can be accessed. First, remove the spring. Next, remove the detent using needle nose pliers, or other similar tools. These detents, assuming they haven’t been replaced before, do not sit inside a bushing, making them easier to remove.
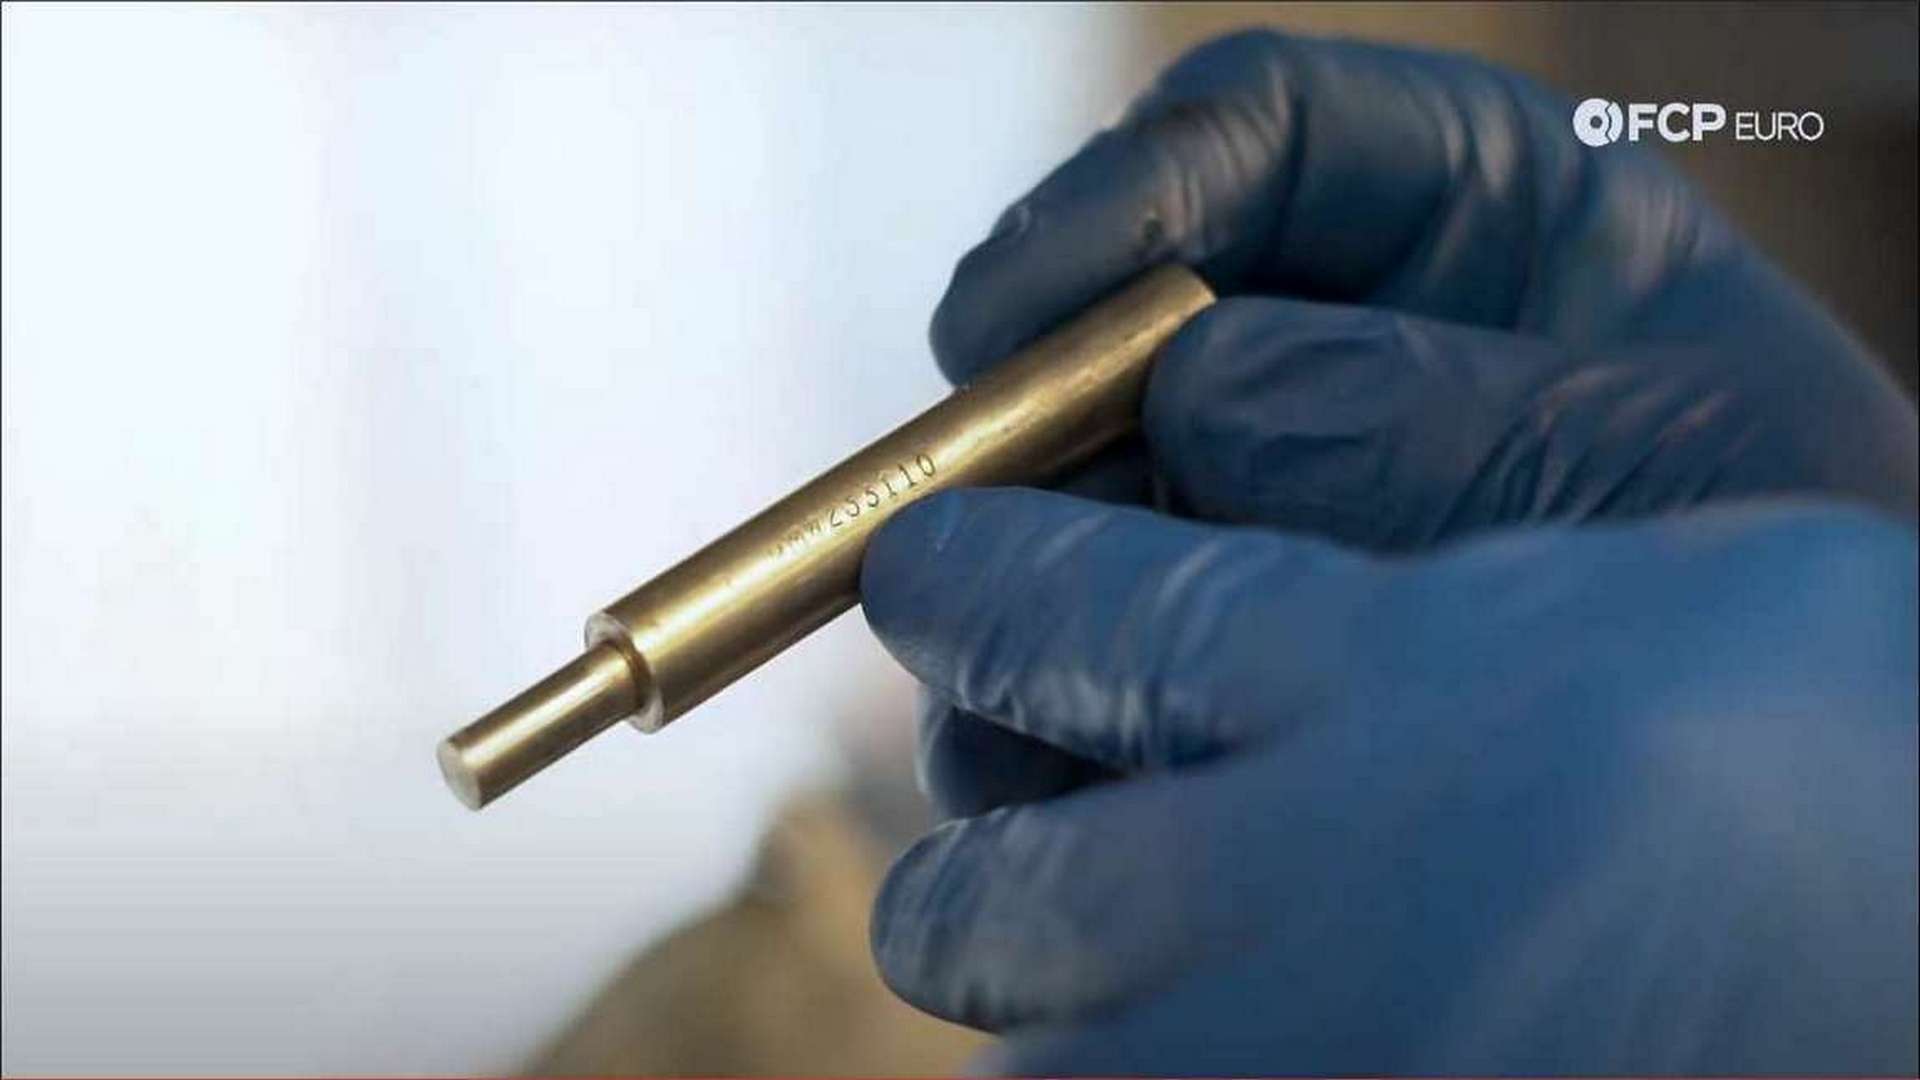
Our kit features the updated detent which uses a pressed in bushing sleeve like the larger detents. When lining these bushings up into the holes, turn the slit in the shoulder of the bushing to the side of the transmission. Use the BMW tool, numbered 233110, to drive these bushings into their bores. Driving them in will be the same process as the other bushing sleeves.
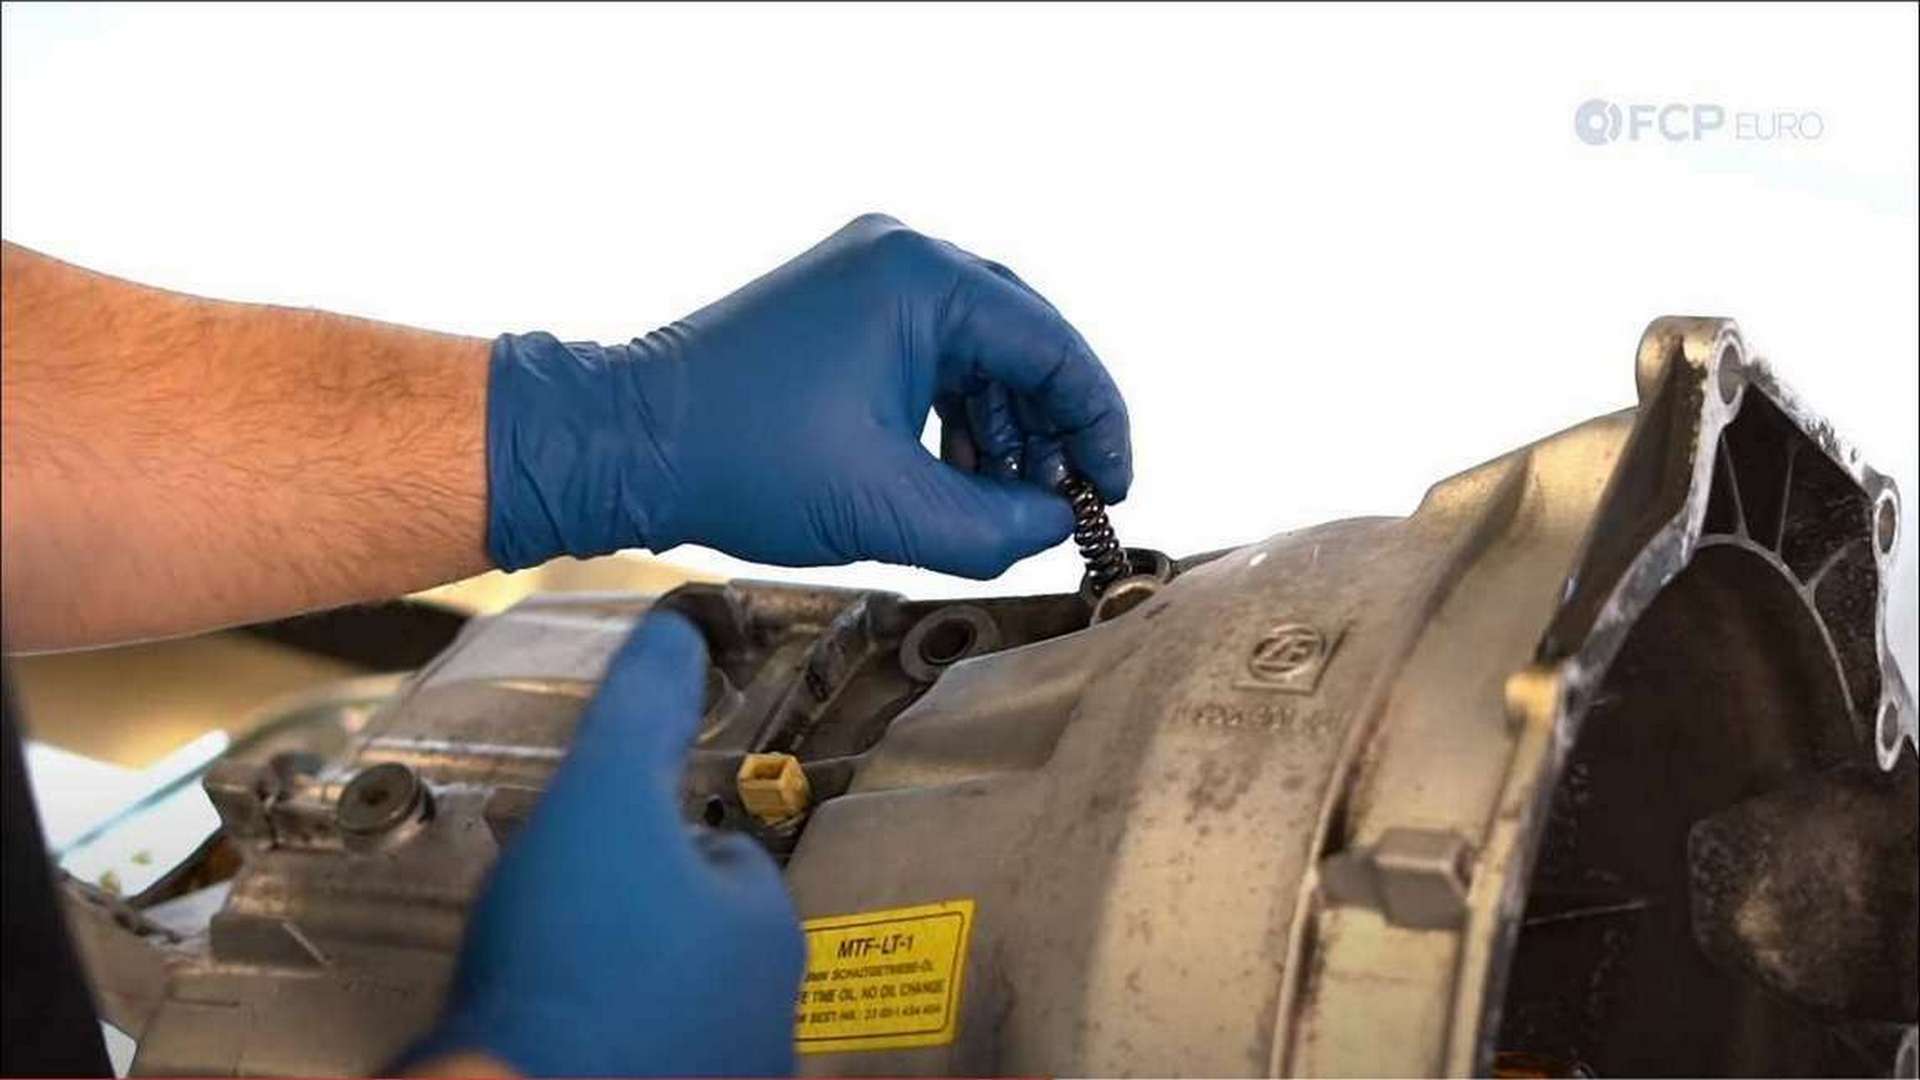
Step 10: Install detent and cap
Now that the sleeve has been driven into the bore, you can drop in the detent and its spring. Soak the detents in gear oil to lubricate them when installing. Use the BMW tool, numbered 232380. These caps will bottom out when driven in all the way, so listen for the change in tone when hitting the tool to know when that has happened.
Step 11: Repeat process for additional detents
Repeat this process for the other two detents on the top of the transmission.
The detents have now all been replaced and the transmission is ready to go back into the vehicle. If you're interested in more DIYs for your BMW, you can visit bmw.fcpeuro.com or subscribe to our YouTube channel.


