- 12/14/2020
- 12 Min Read
- By: Christian Schaefer
How To Replace The Oil Filter Housing Gasket & VANOS Line On A BMW E46 (M54 Engine)

The oil filter housing is a common spot for an oil leak on the BMW E46 chassis. Along with the housing, the VANOS line connected to it is also a common leak point. As you drive with these leaks, they'll only get worse. Both the housing and line are under high pressure from the oil system, so they can be catastrophic when they worsen.
In this video, Gareth Foley takes you through the steps required to get the job done, from removing the required components to reach the oil filter housing to installing the new gasket & VANOS line. During the video, you'll watch Gareth use a kit that we put together to tackle these leaks.
BMW models and years applicable:
Symptoms of a leaking BMW E46 oil filter housing gasket or VANOS line:
The most common symptom is an oil leak around the front of the engine. The oil filter housing is a common leak point on this series of BMW engines. The old gasket dries up and shrinks, allowing oil to weep past. The VANOS line that runs from the housing to the VANOS unit in the cylinder head is another common oil leak point on these engines. Since they are so closely connected, it makes sense to change them at the same time.
An oil leak from either one of these places is a high-pressure oil leak that will negatively affect your engine's performance. If you have detected this oil leak, repair it as soon as you can.
How much will it cost to replace the oil filter housing gasket and VANOS line on a BMW E46?
The BMW Engine Oil Filter Housing Gasket Kit linked below comes with all of the parts you need to complete this job for $82. During the DIY, you will need to remove the mechanical fan from the front of the engine, which requires a set of special wrenches. You can buy the pair of wrenches on our website for $32. Additionally, we recommend that you do an oil change during this job.
In total, budget around $130 for the entire cost of the job, or $200 with the oil change kit. The larger budget will allow you to buy extra cans of brake clean and rags.
How long will it take to replace the oil filter housing gasket and VANOS line on a BMW E46?
With the right tools, the job should only take a couple of hours. It will pay off to take extra time ensuring that all of the gasket surfaces are as clean as they can be and that the bolts all thread in nicely before being tightened.
Parts required to replace the oil filter housing gasket and VANOS line on a BMW E46:
- BMW Engine Oil Filter Housing Gasket Kit
- BMW Oil Change Kit (Recommended)
Tools required to replace the oil filter housing gasket and VANOS line on a BMW E46:
- BMW Fan Clutch Wrenches
- 36mm Oil Cap Socket
- 13mm Wrench
- 16mm Wrench
- 17mm Wrench
- 19mm Wrench
- 22mm Wrench
- 24mm Wrench
- 16mm Socket
- 18mm Socket
- 19mm Socket
- T25 Bit Socket
- T50 Bit Socket
- Brake Clean
Steps required to replace the oil filter housing gasket and VANOS line on a BMW E46:
Step 1: Drain the oil
Open the hood and loosen the oil filler cap and the oil filter cap. Use the 36mm socket to loosen the oil filter cap.
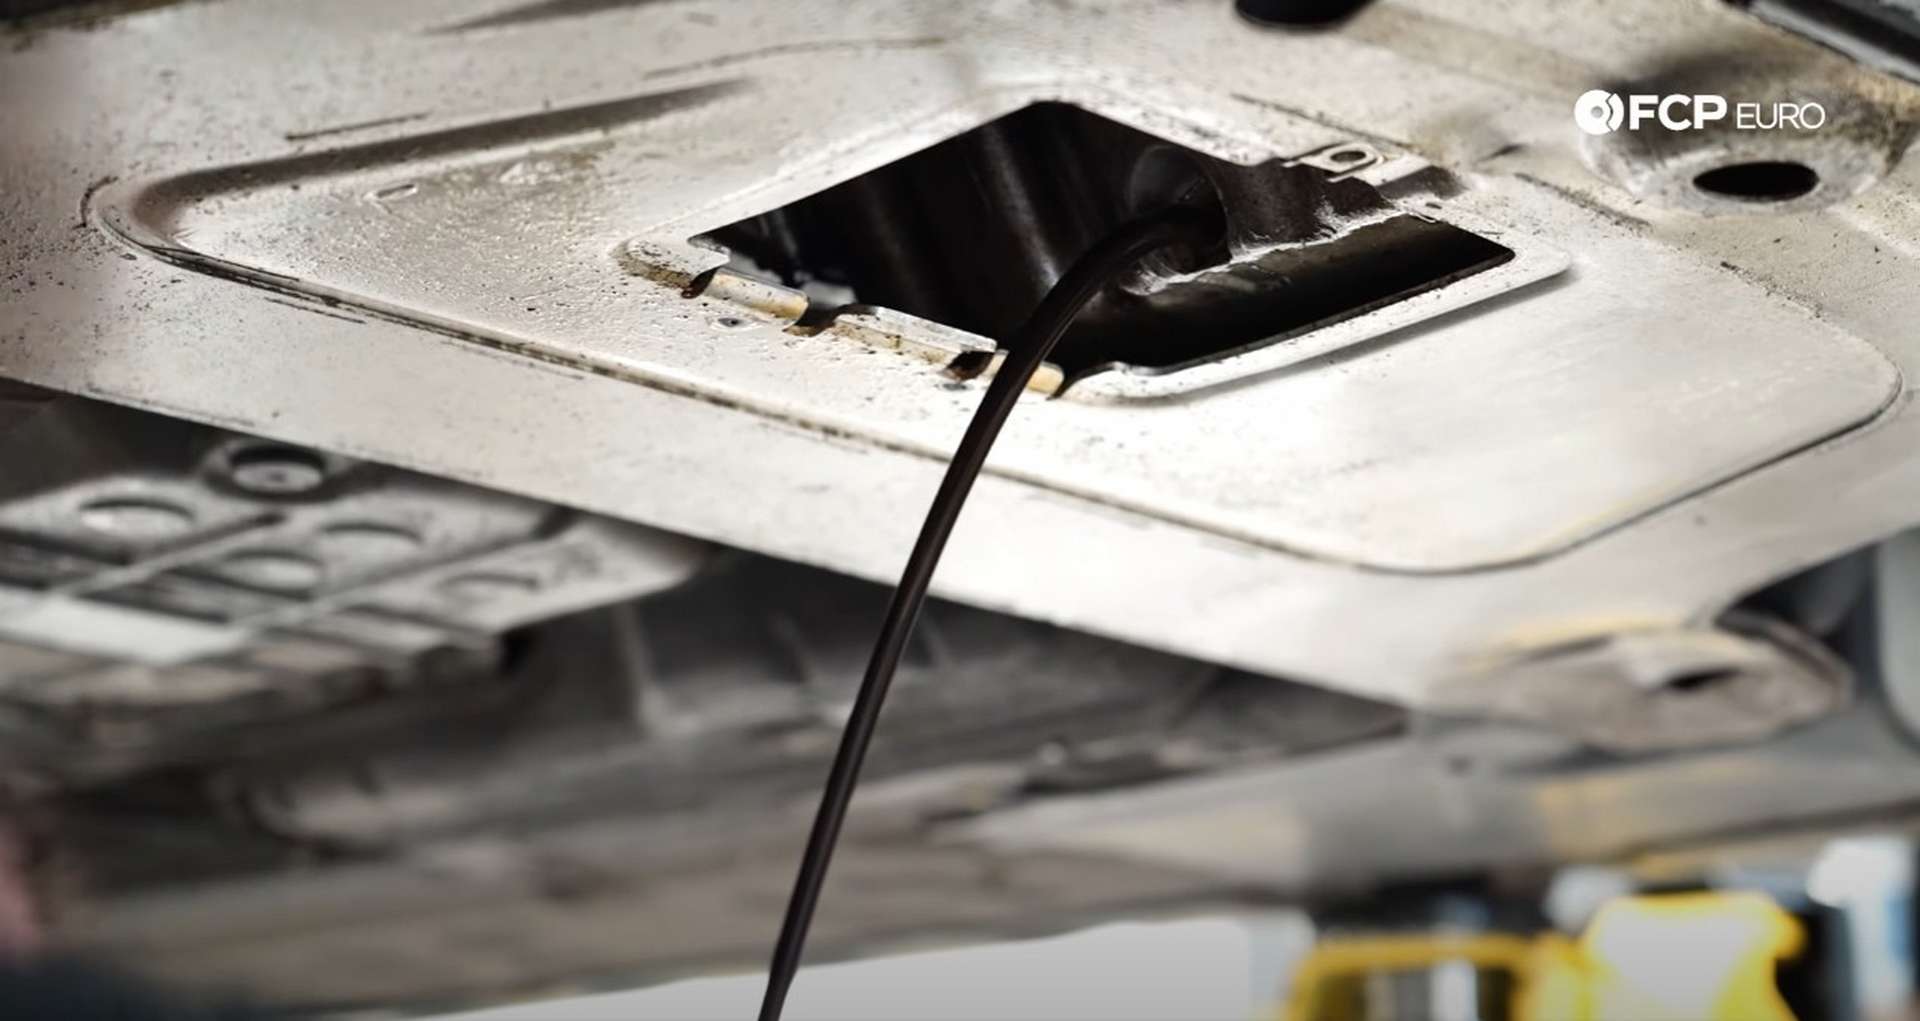
Then, jack up the front of the car. There is an oil drain cover in the middle of the reinforcement plate underneath the car. Use a Phillips-head screwdriver to remove the fastener, and then remove the cover.
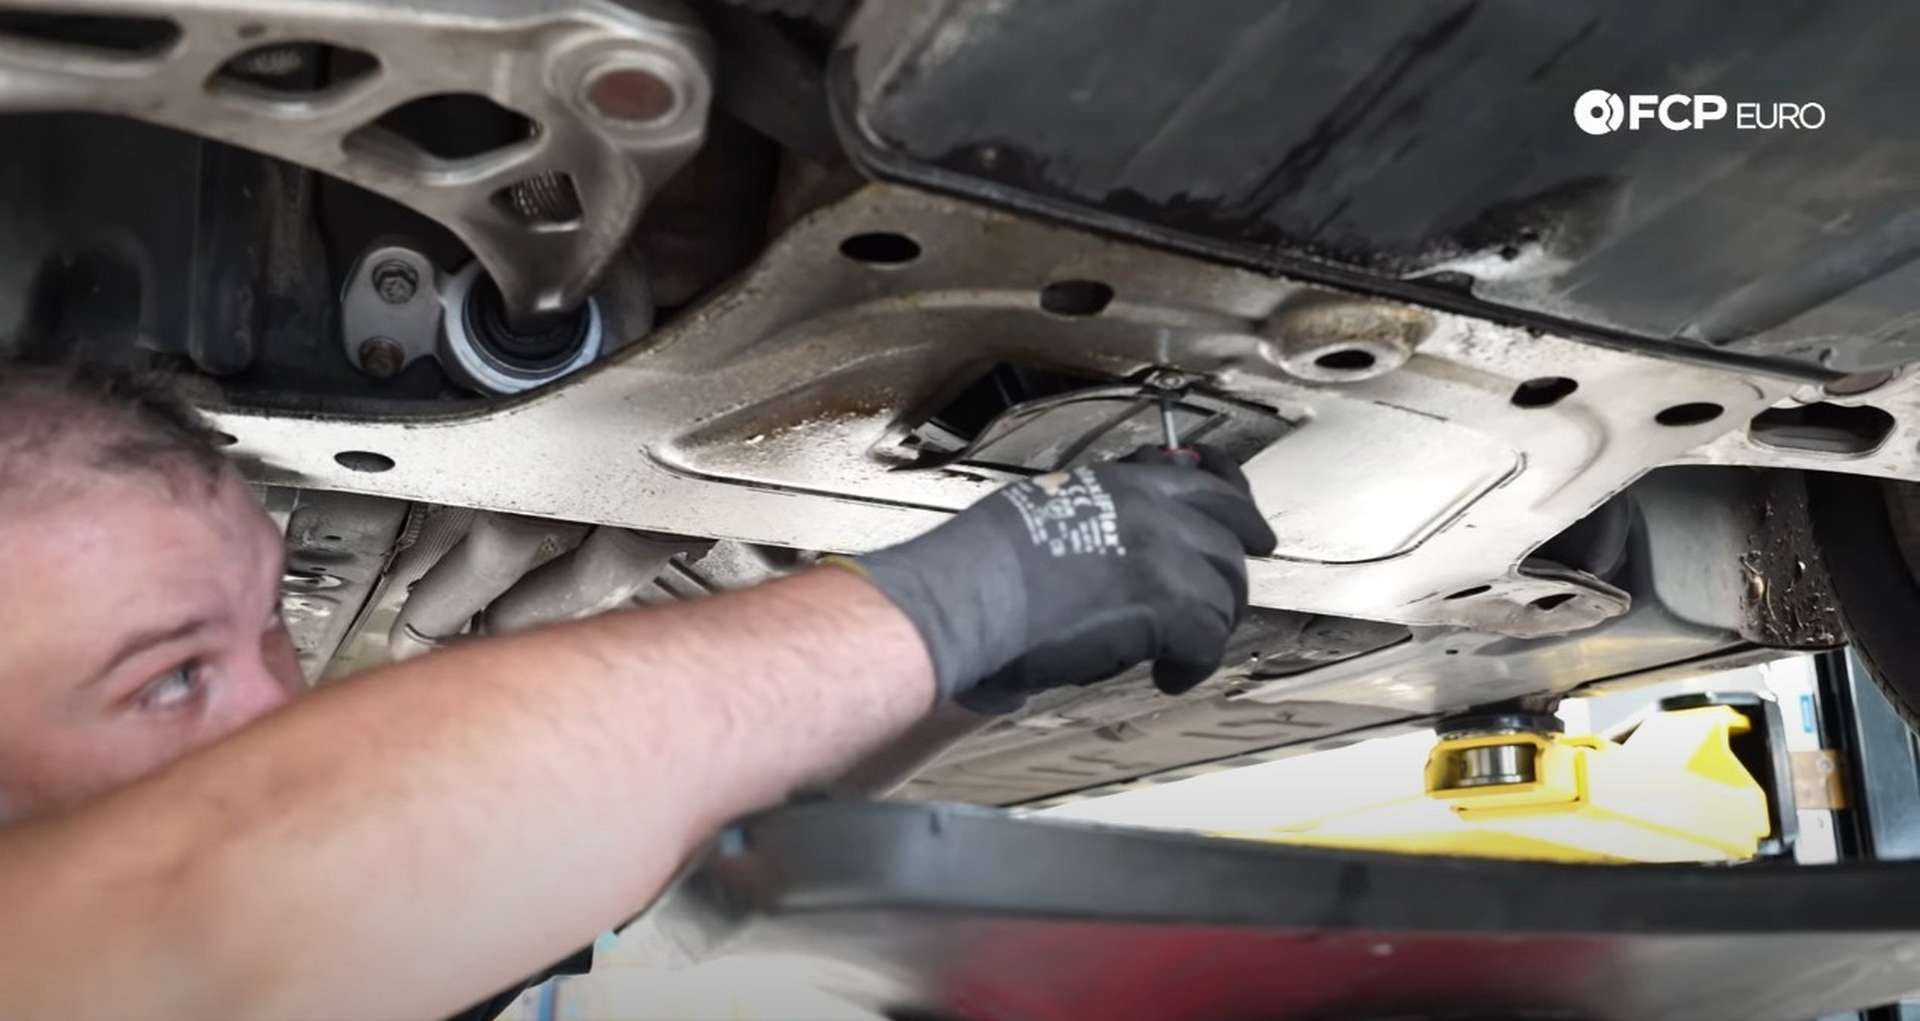
The drain plug is mounted horizontally on the oil pan, causing the oil to drain slightly sideways. Position the drain pan accordingly. Use a 17mm socket to remove the oil drain plug.
In front of the reinforcement plate is the plastic splash shield. Use a Phillips-head screwdriver to remove the fasteners on the shield's back and sides while using pliers to remove the push clips at the front of the shield.

Step 2: Remove the fan
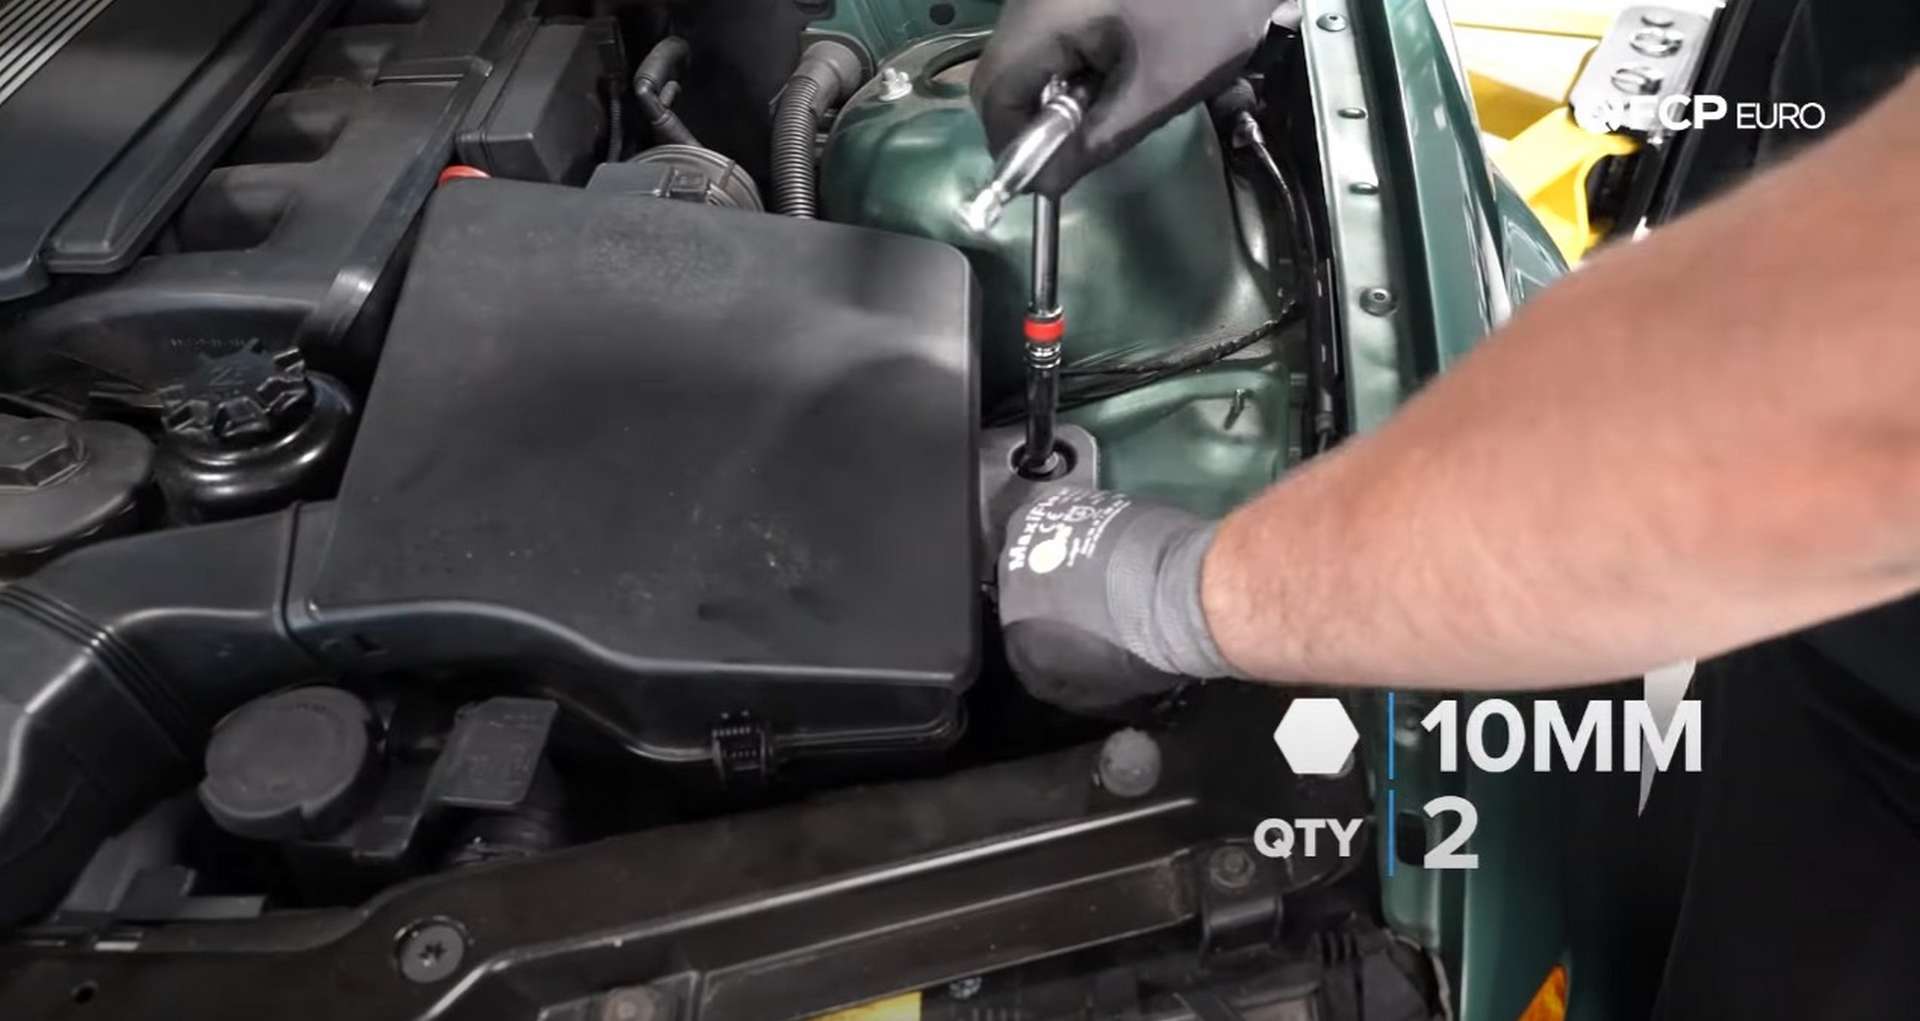
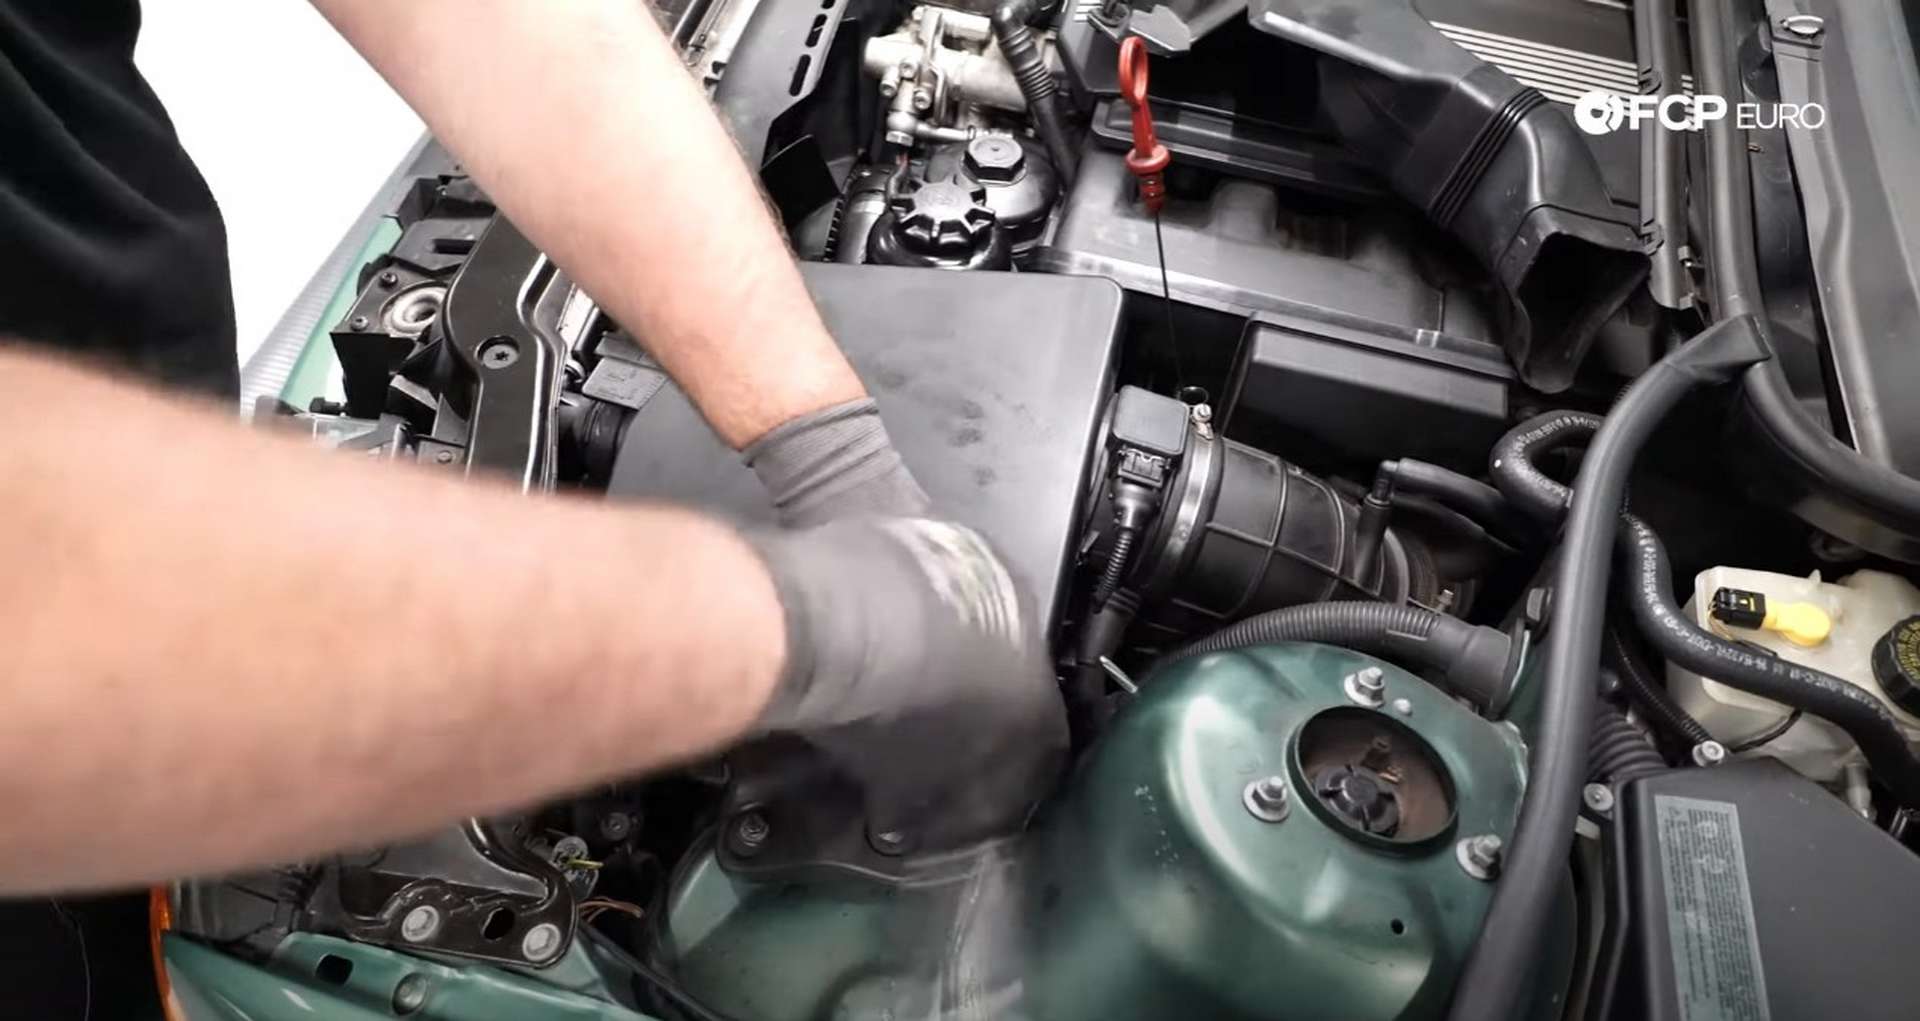
Head back into the engine bay to remove the intake box and snorkel. Disconnect the mass airflow sensor at the back of the intake box, then use a 10mm socket to remove the two airbox mounting bolts.
Then loosen the intake tube hose clamp on the back of the airbox. Wiggle the airbox back and forth while pulling up to remove it from the engine bay. Next, remove the pop rivets mounting the snorkel to the radiator shroud.
Take the fan clutch wrenches and position them on the fan. The fan uses a reverse thread, so rotate it to the driver's side of the car to break it loose.
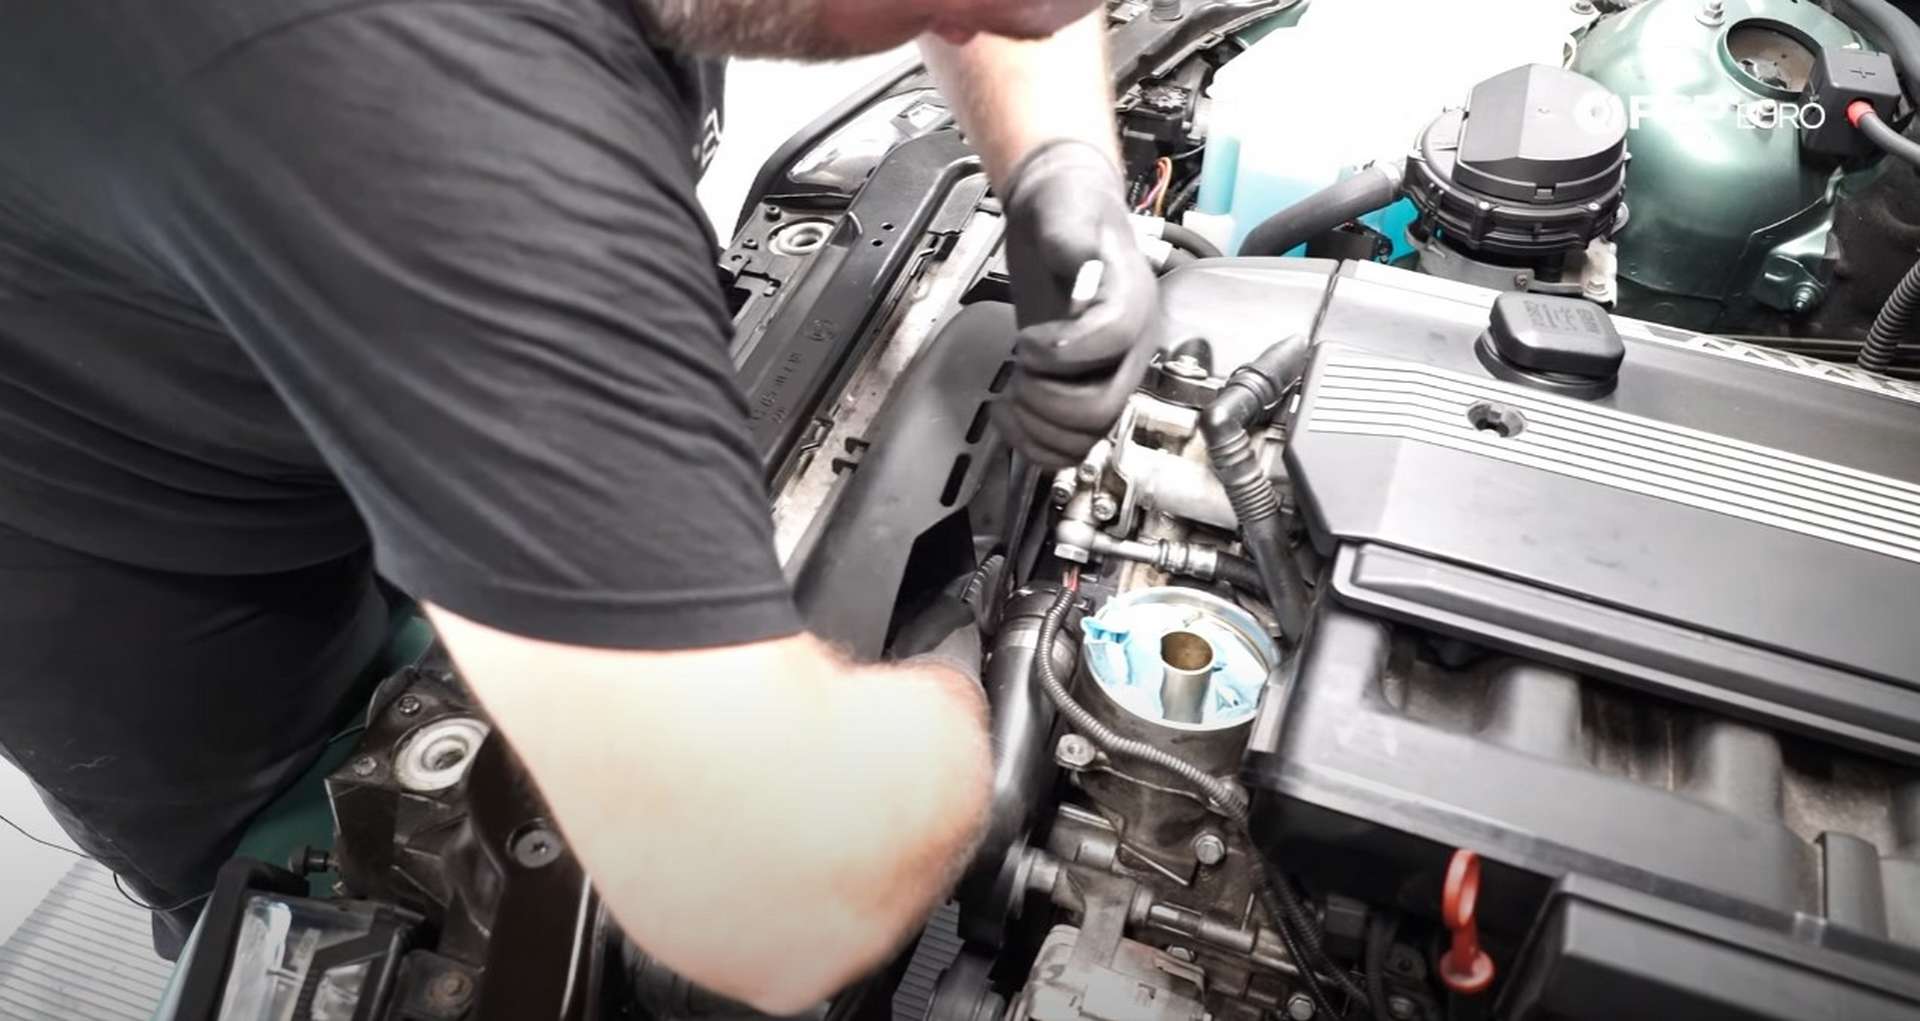
Next, move over to the passenger's side of the fan shroud. Disconnect the sensor sitting on the shroud and move the large connection below the sensor out of its bracket. Tuck the wiring away from the shroud.
![DIY BMW E46 Oil Filter Housing Gasket and VANOS Line Replacement moving the shroud wiring]](https://images.contentstack.io/v3/assets/blta5fd5c563cb3dbc3/blta6f17c6b7421b5d2/65cb4d5d4101f385be88186c/08-DIY-E46-Oil-Filter-Housing-Gasket-Vanos-Line-Replacement_Removing-Fan.jpg)
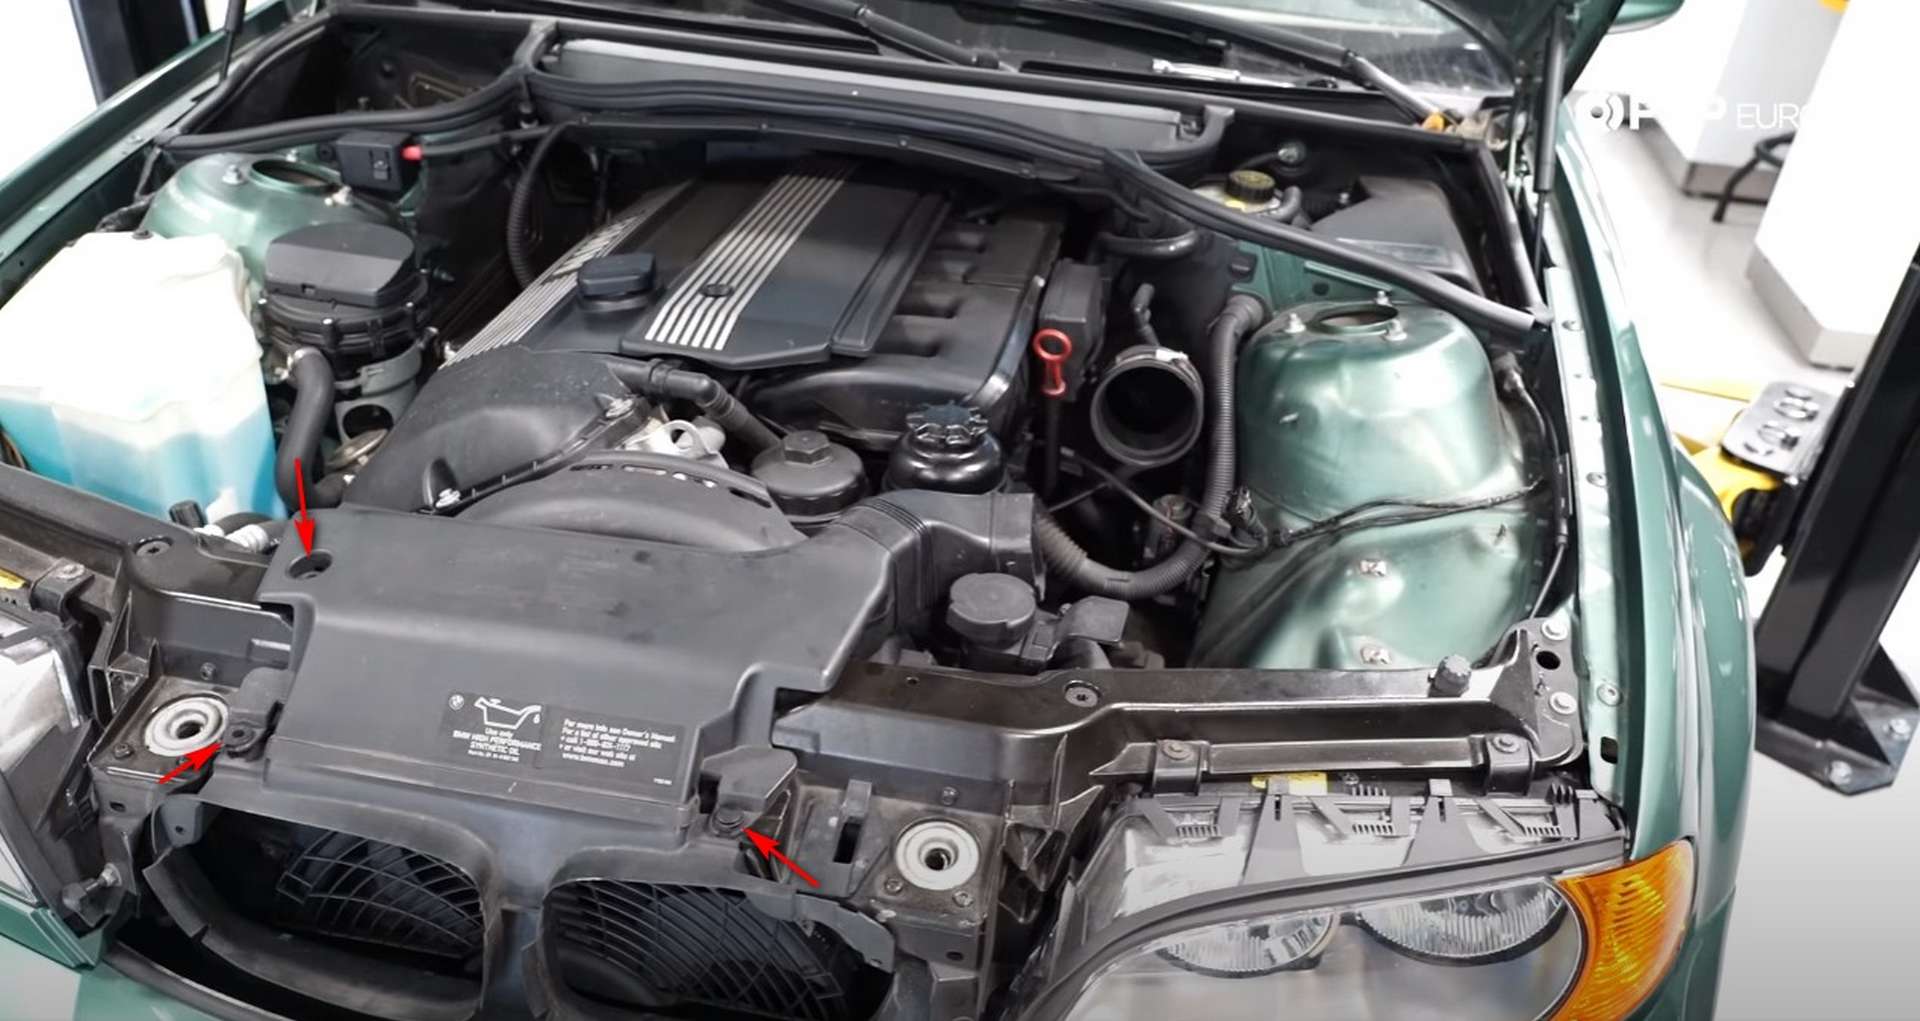
Just above the wiring is the shroud's mounting fastener. Use a T25 bit to remove it, and then head to the other upper corner of the shroud and remove the pop rivet. Now that the shroud is loose hold it while spinning the fan off of the threads. Go slowly as the fan will eventually fall off and can damage the radiator.
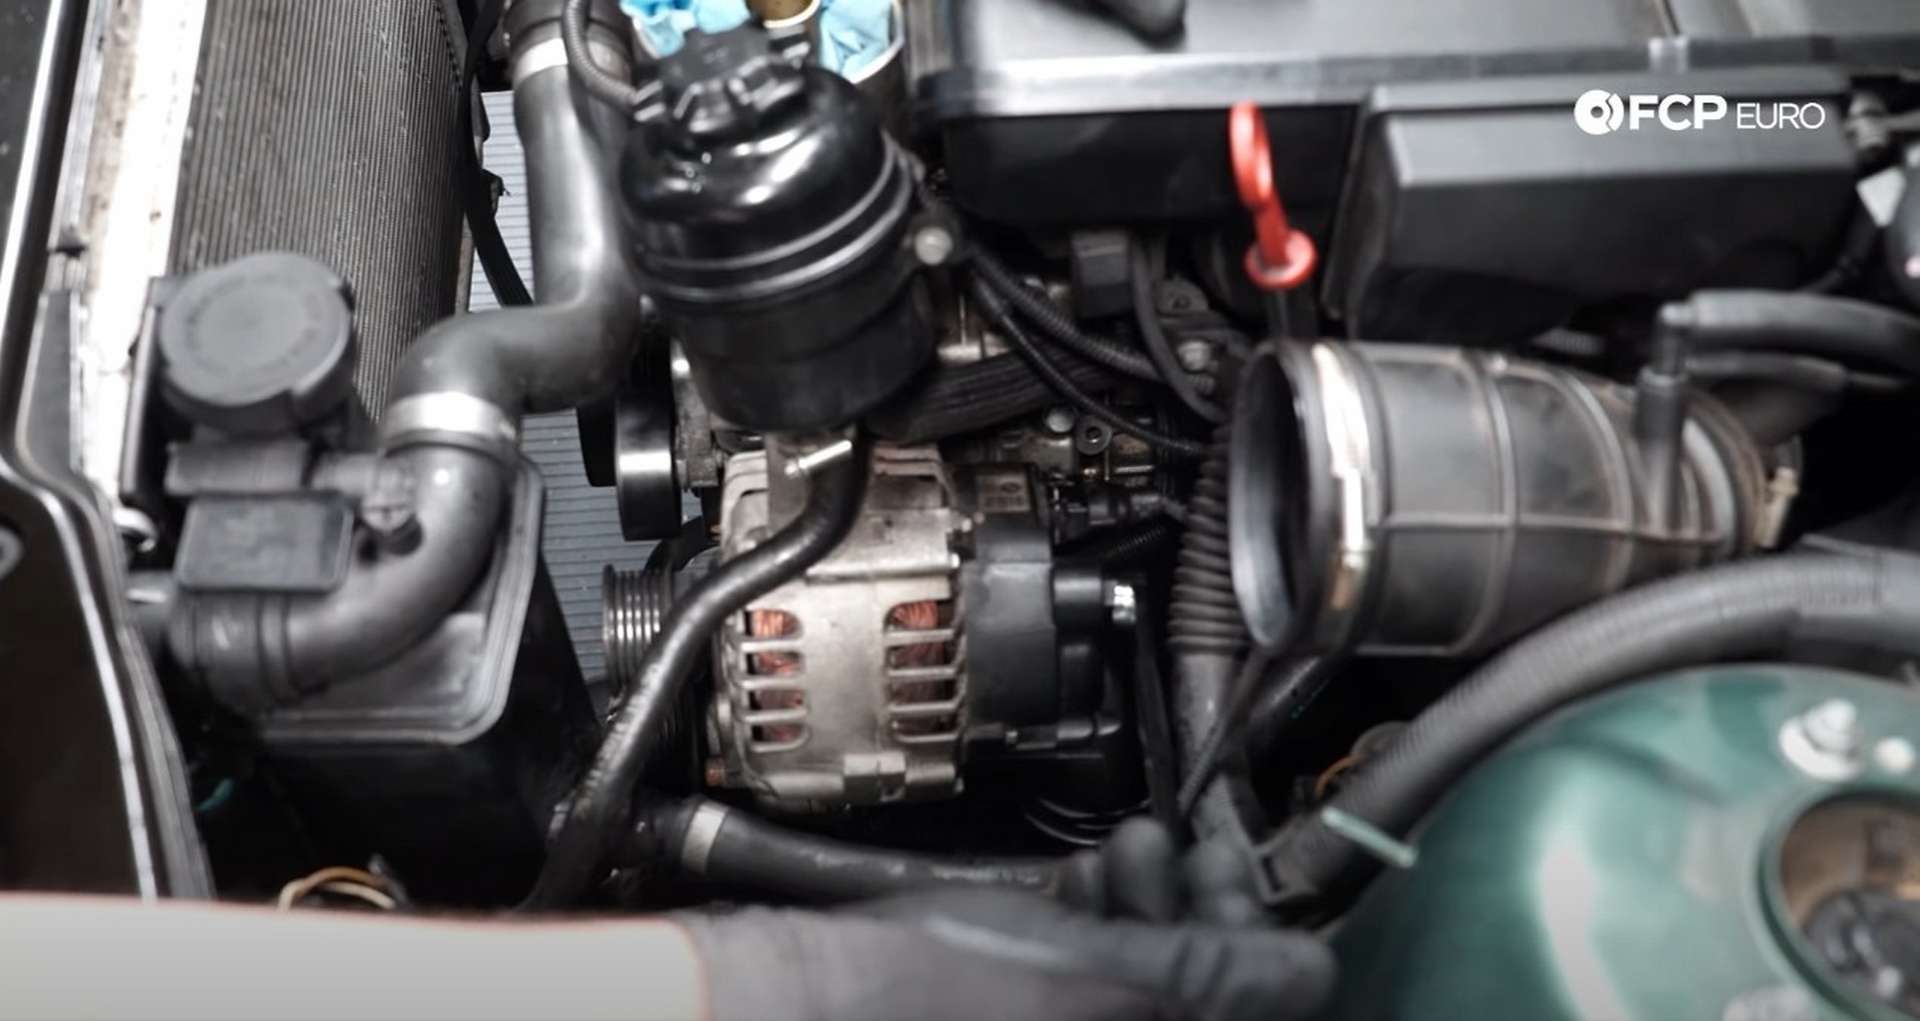
Step 3: Remove the ancillaries
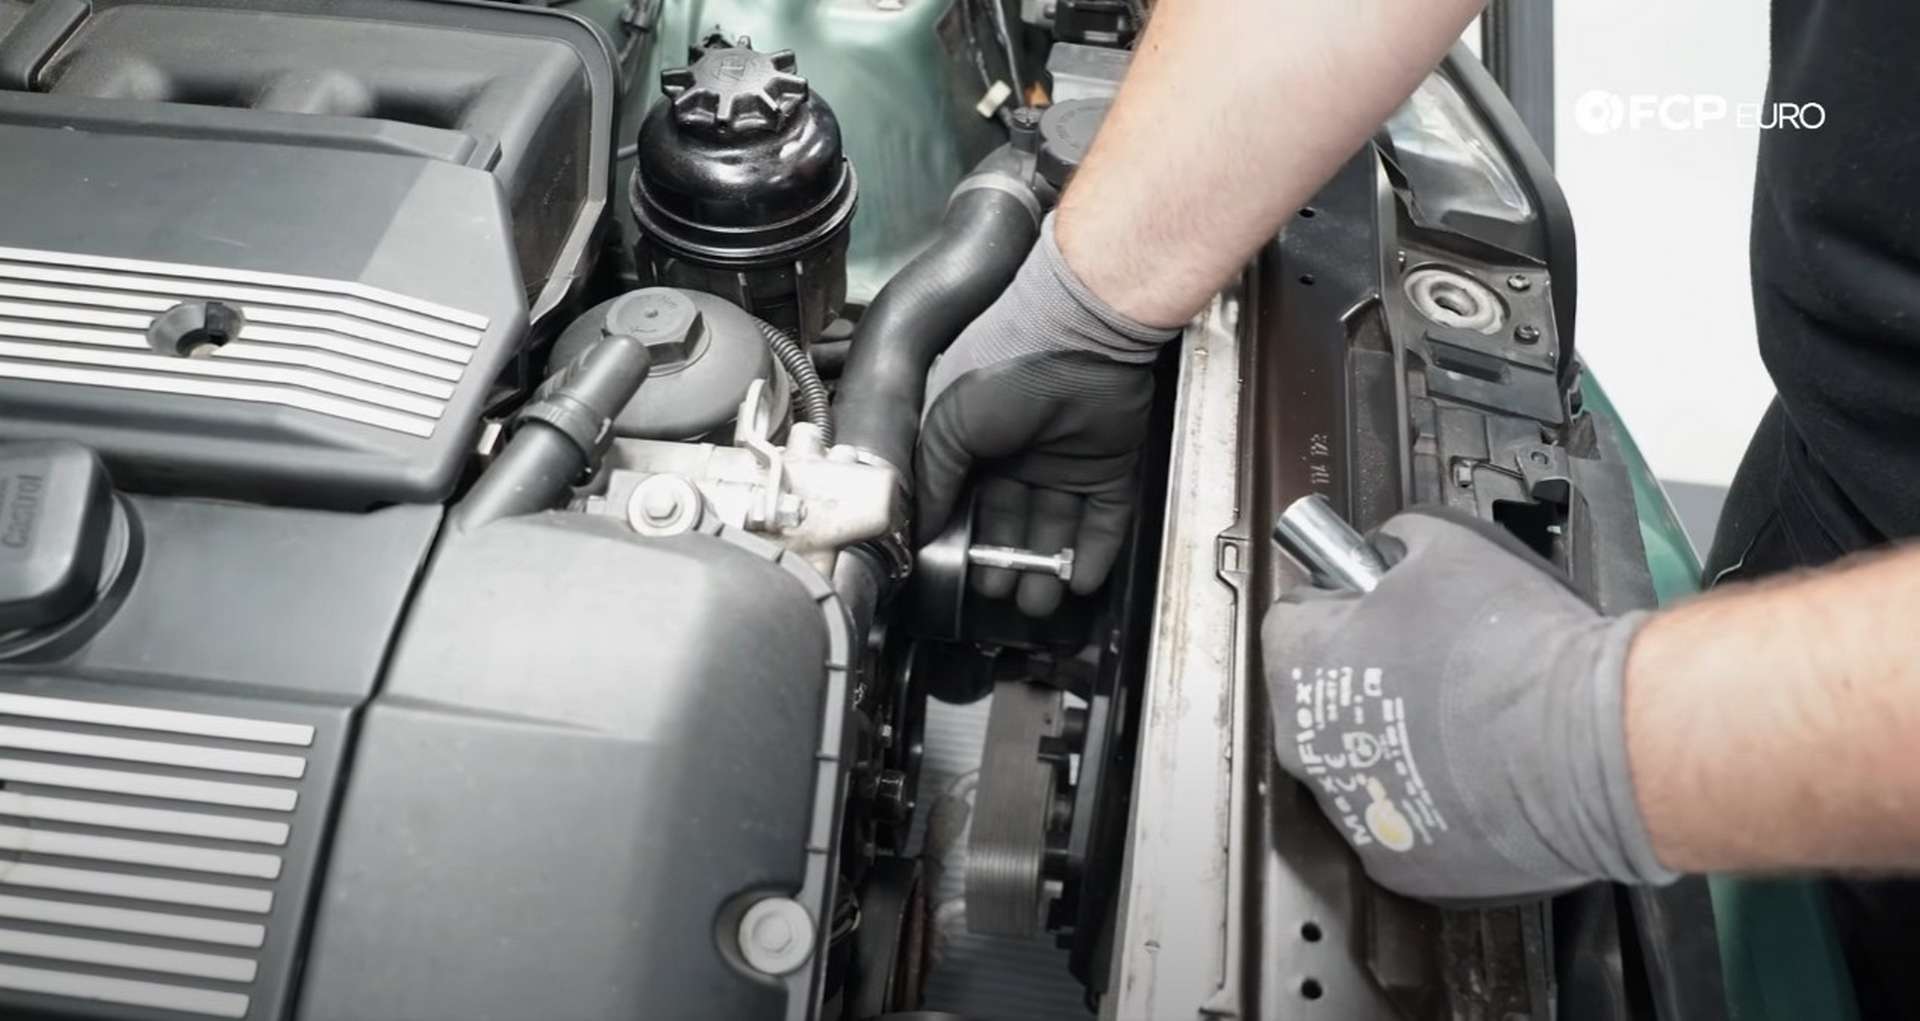
Use a flathead screwdriver to remove the two idlers' caps in front of the oil filter housing. Then, use a T50 bit socket to rotate the tensioner to the driver's side, removing the tension. Then, while holding the tensioner to the right, slip the belt off of the idlers.
Next, use a 16mm socket to remove the idler bolt.
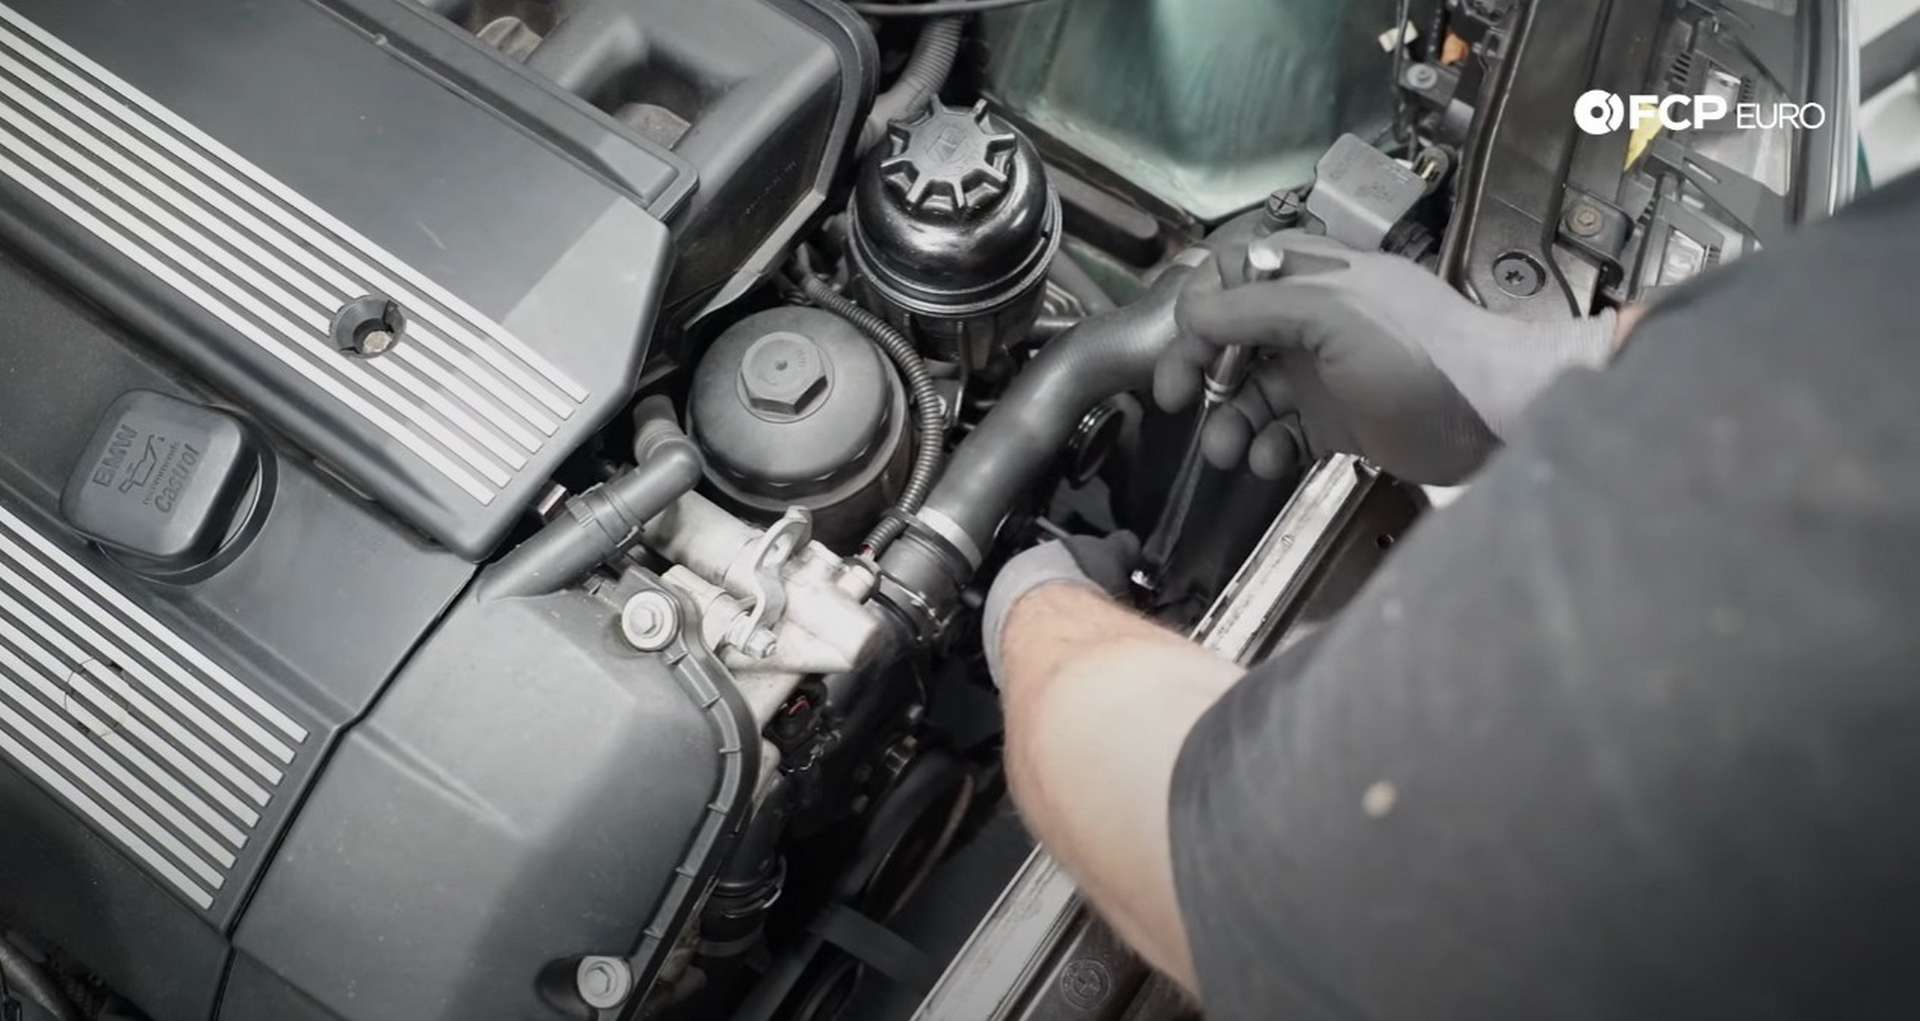
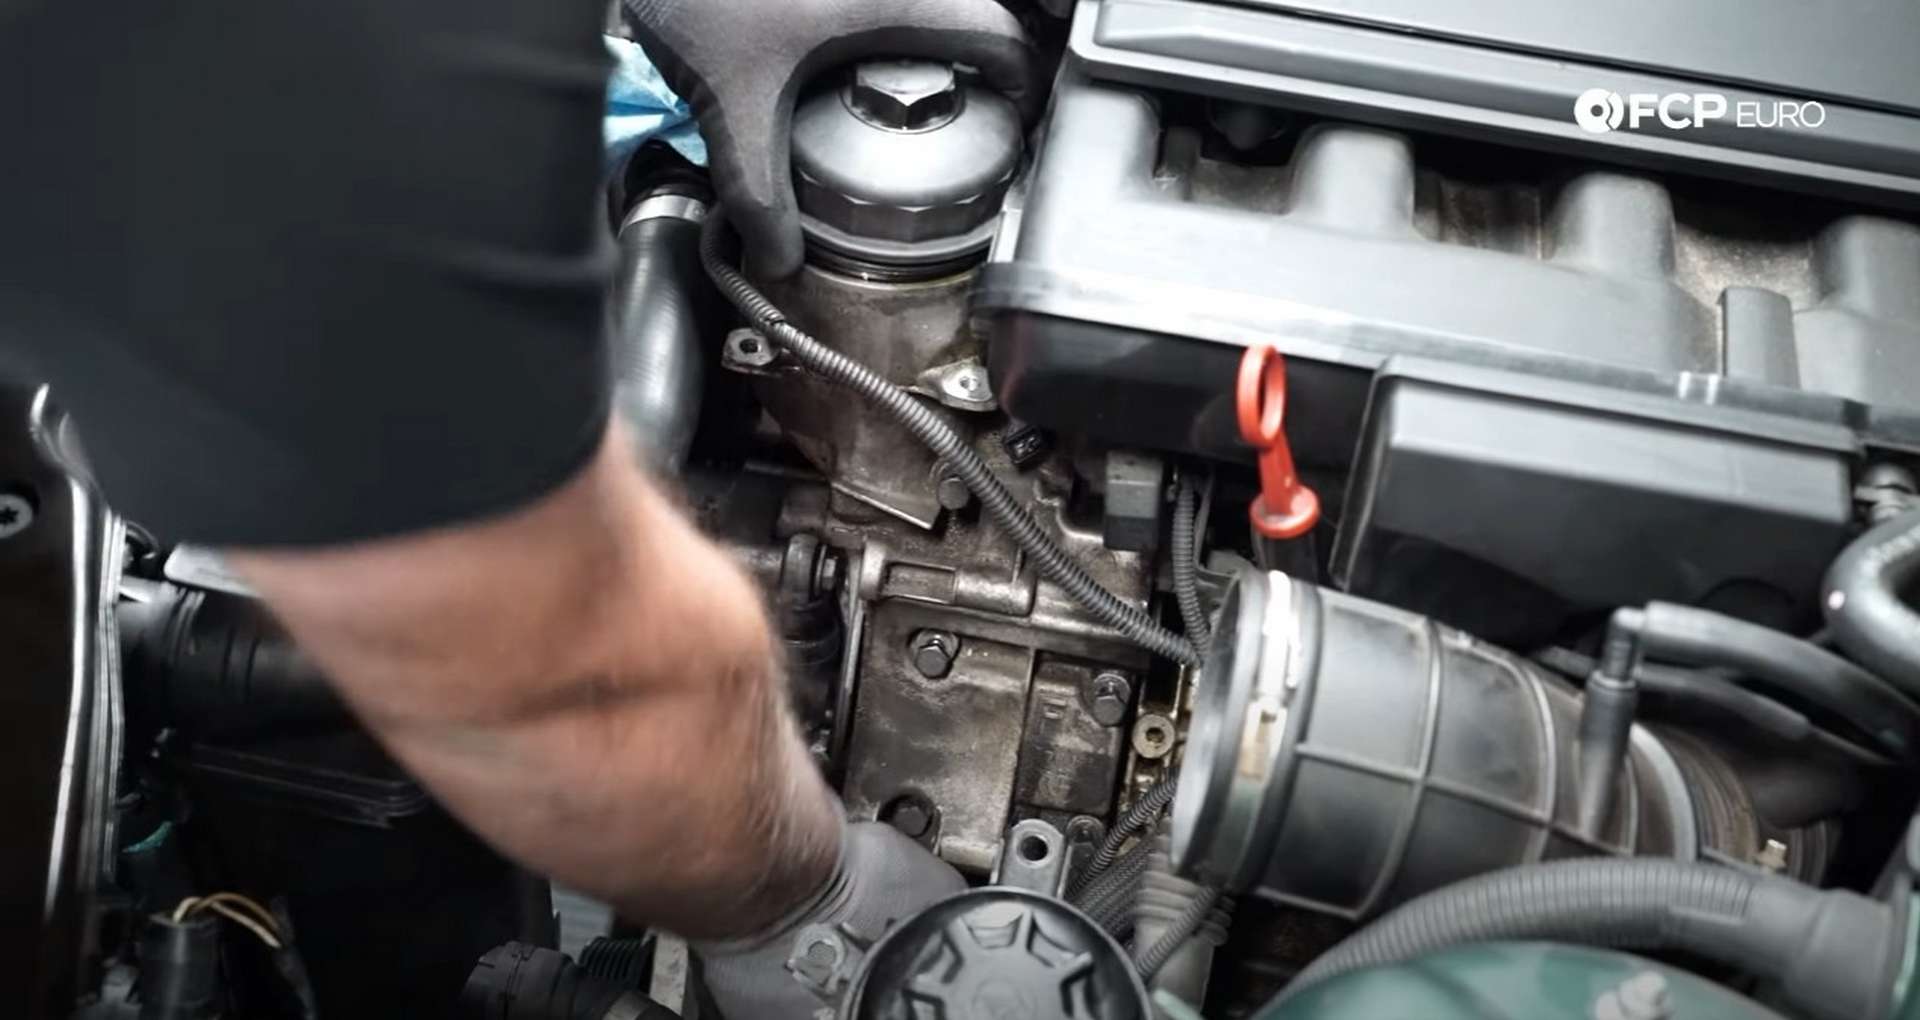
Next, clip the zip tie holding the VANOS wiring to the coolant hose. Then, move the wiring behind the oil filter housing to give you better access to the power steering reservoir bolts.
Use a 13mm socket to remove the two power steering reservoir bolts, then push it to the side.
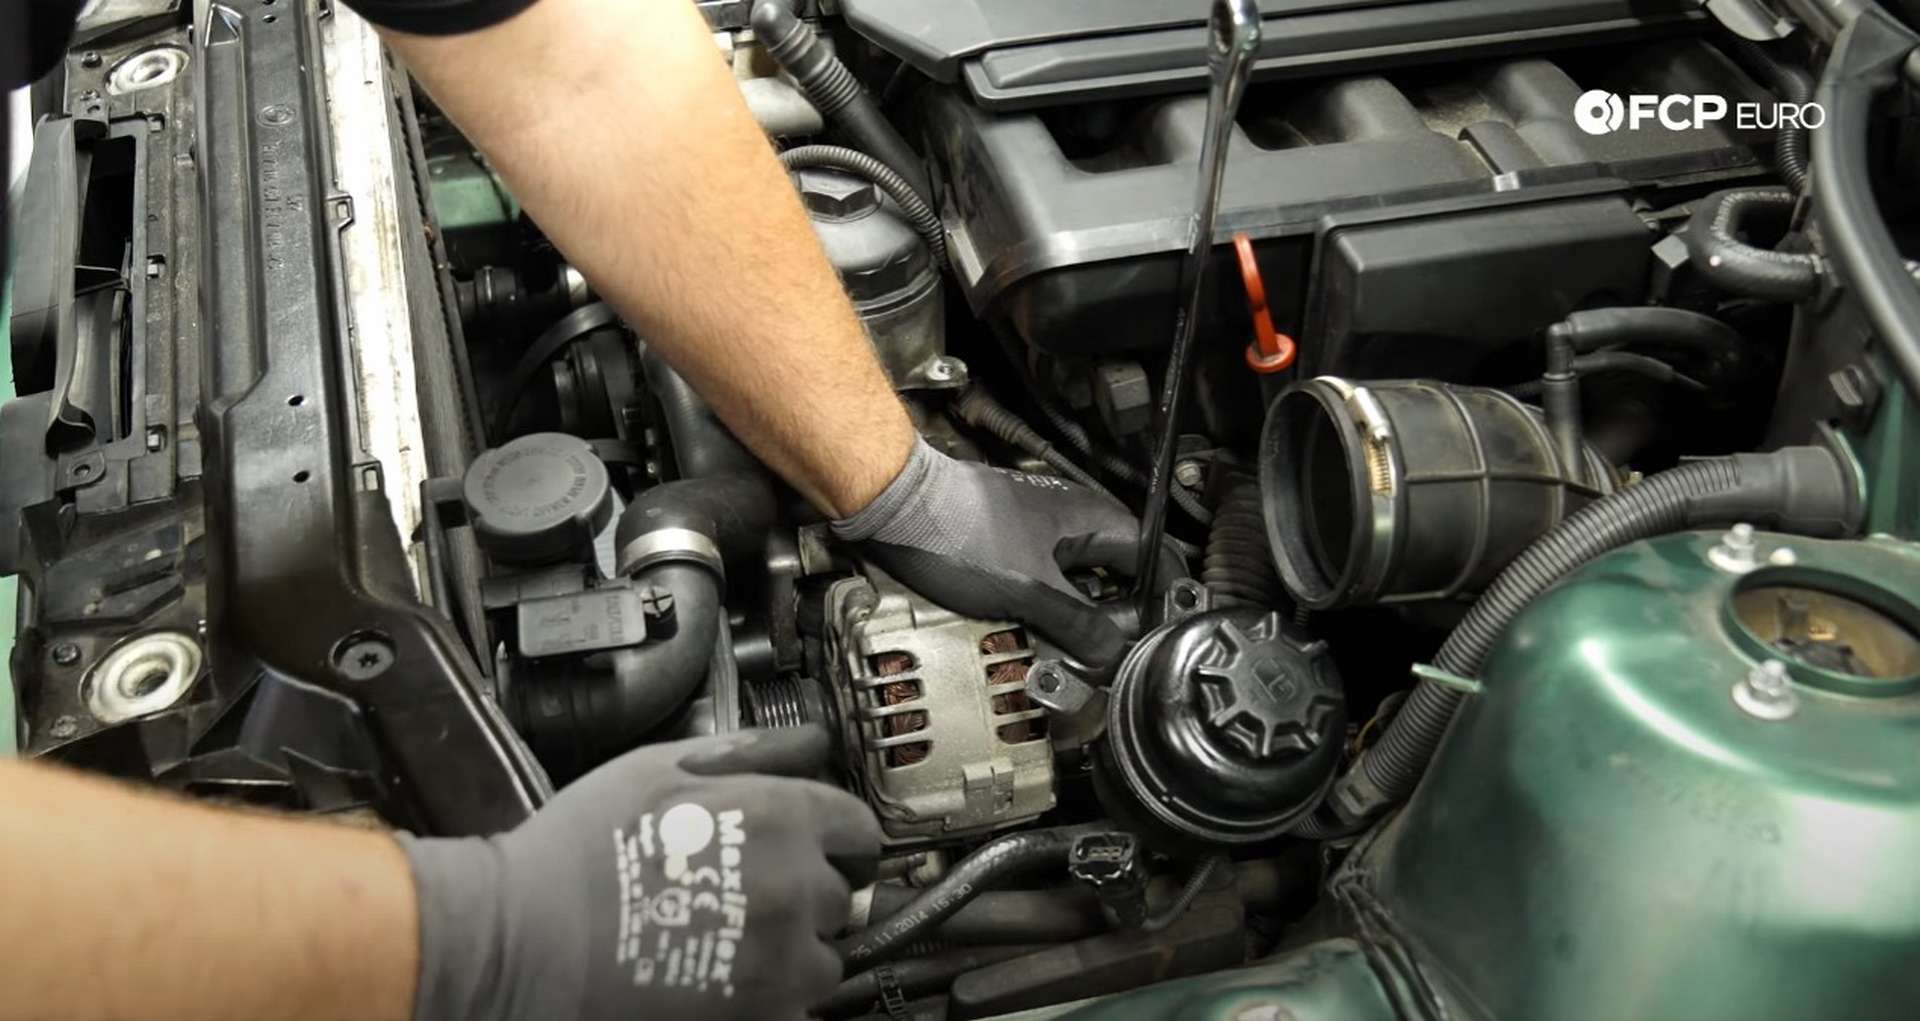
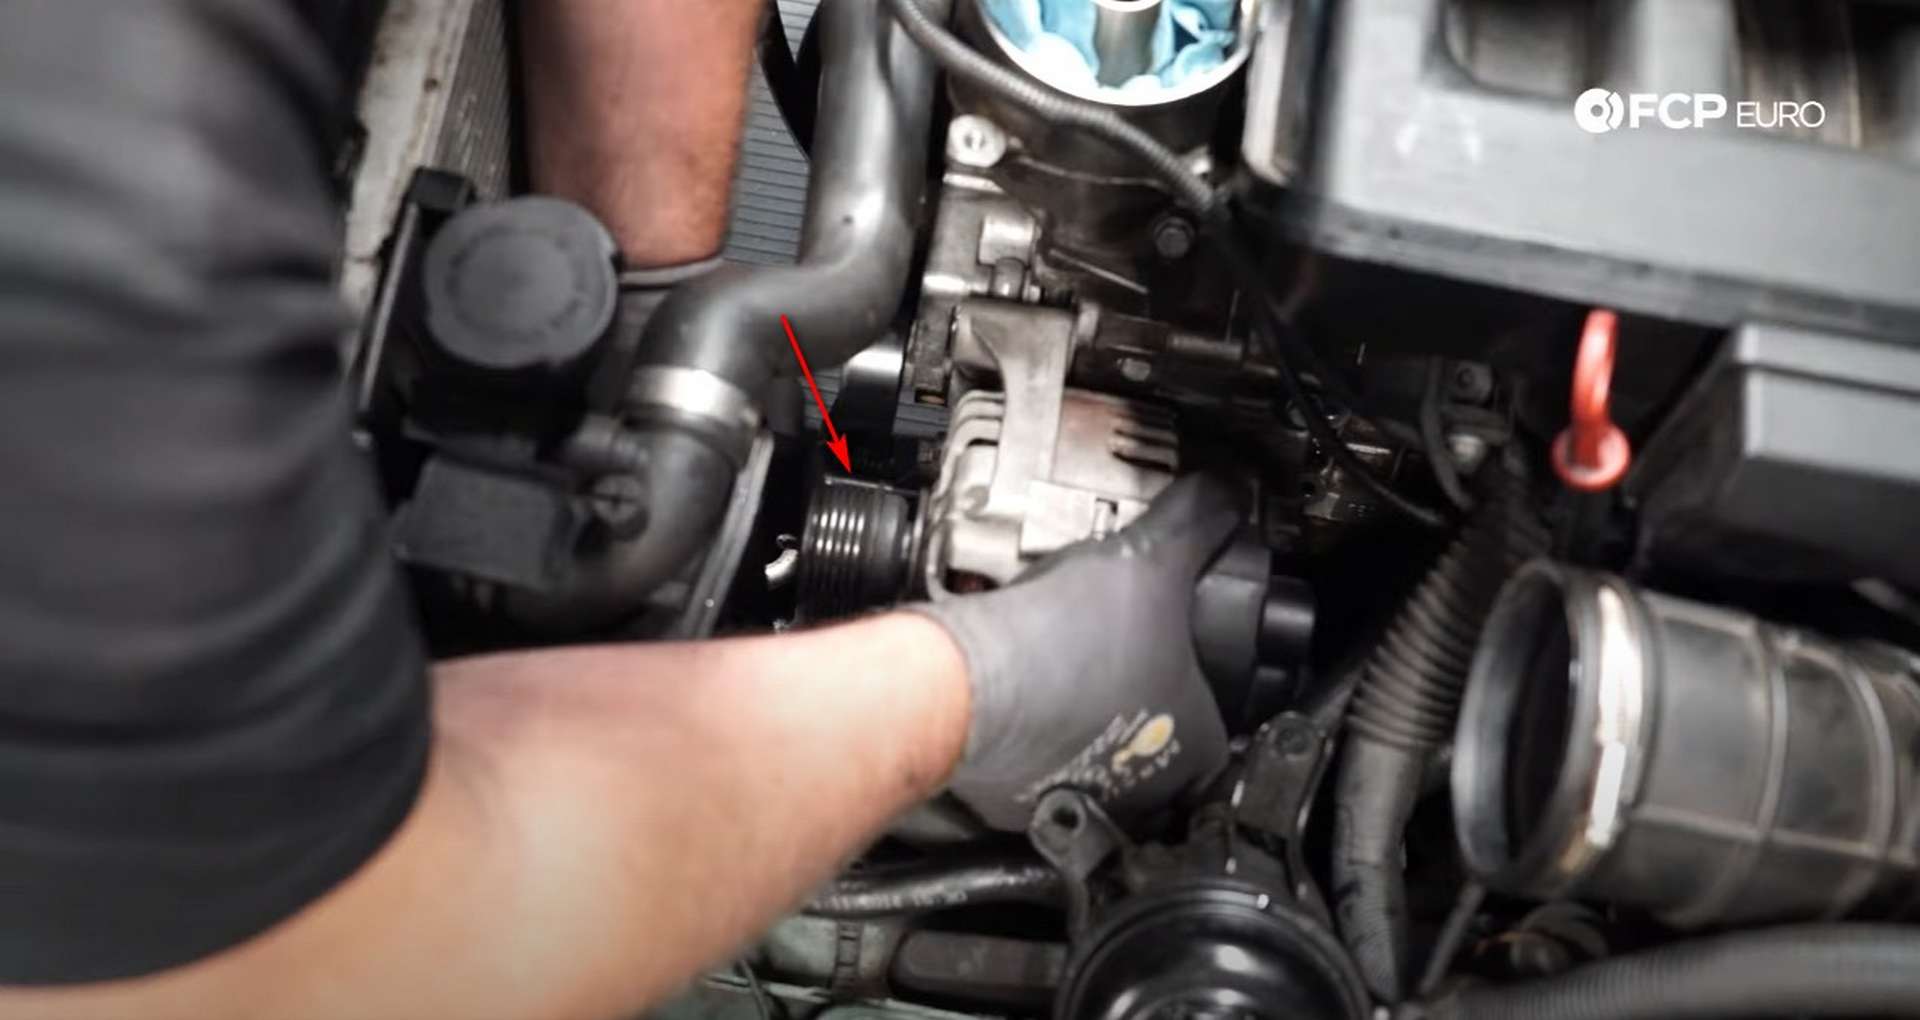
Reach around to the back of the alternator and disconnect the voltage regulator. Then, use a 17mm wrench to remove the plastic nut that secures the power lead to the alternator. Put some tape around the positive battery lead as it will arc if it gets close to metal.
Next, use a 16mm socket to remove the remaining alternator mounting bolt. Once the bolt is out, remove the alternator from the engine bay.
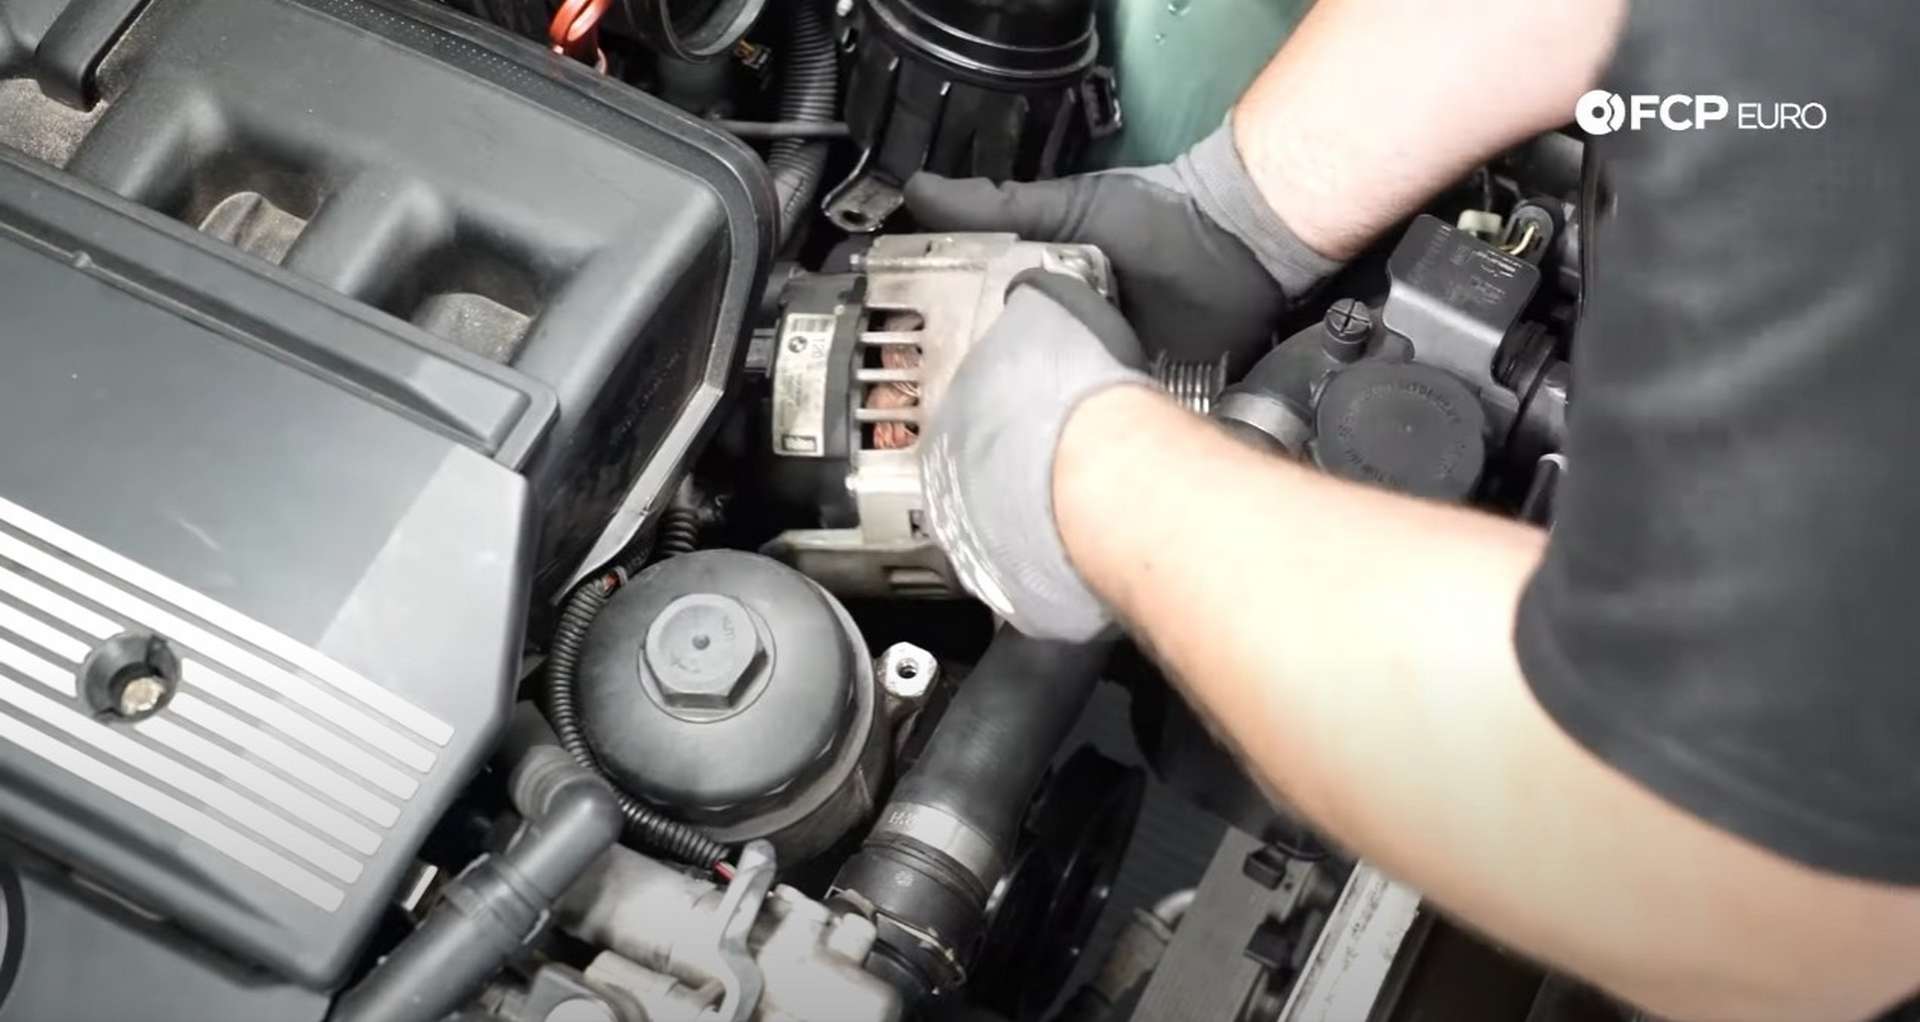
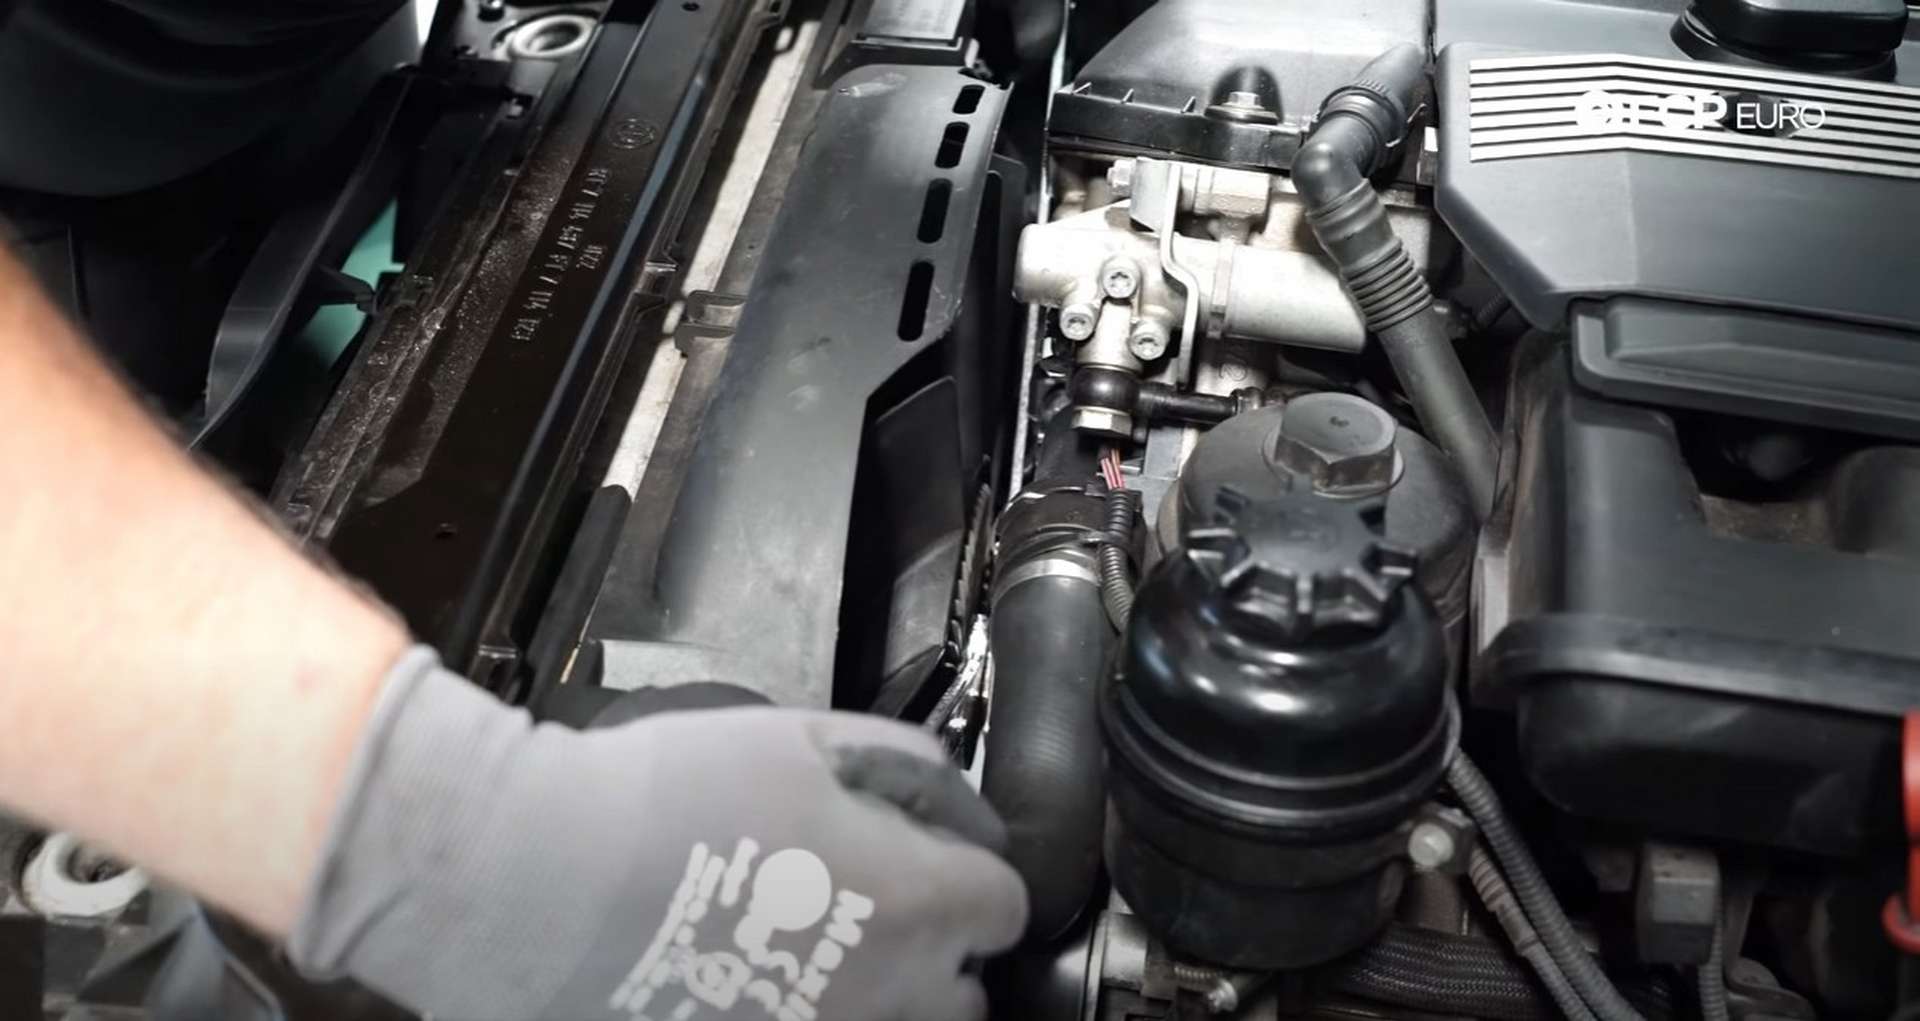
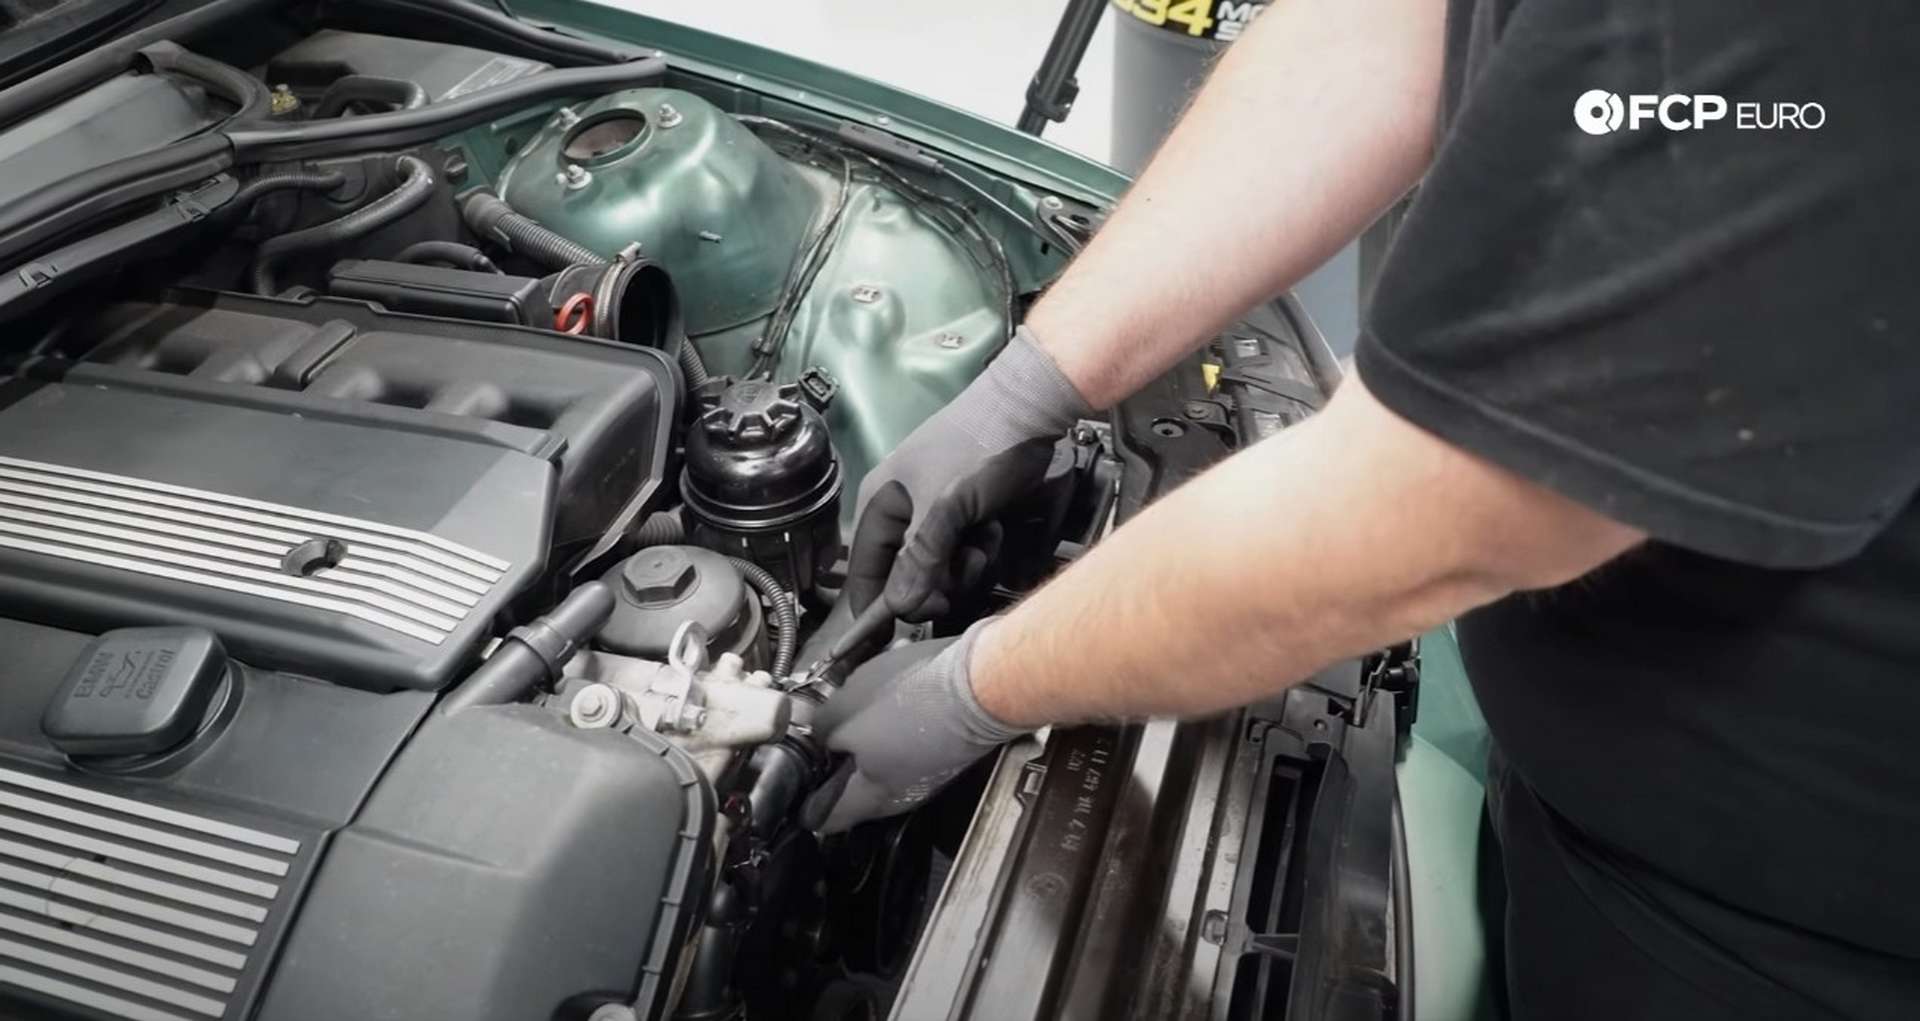
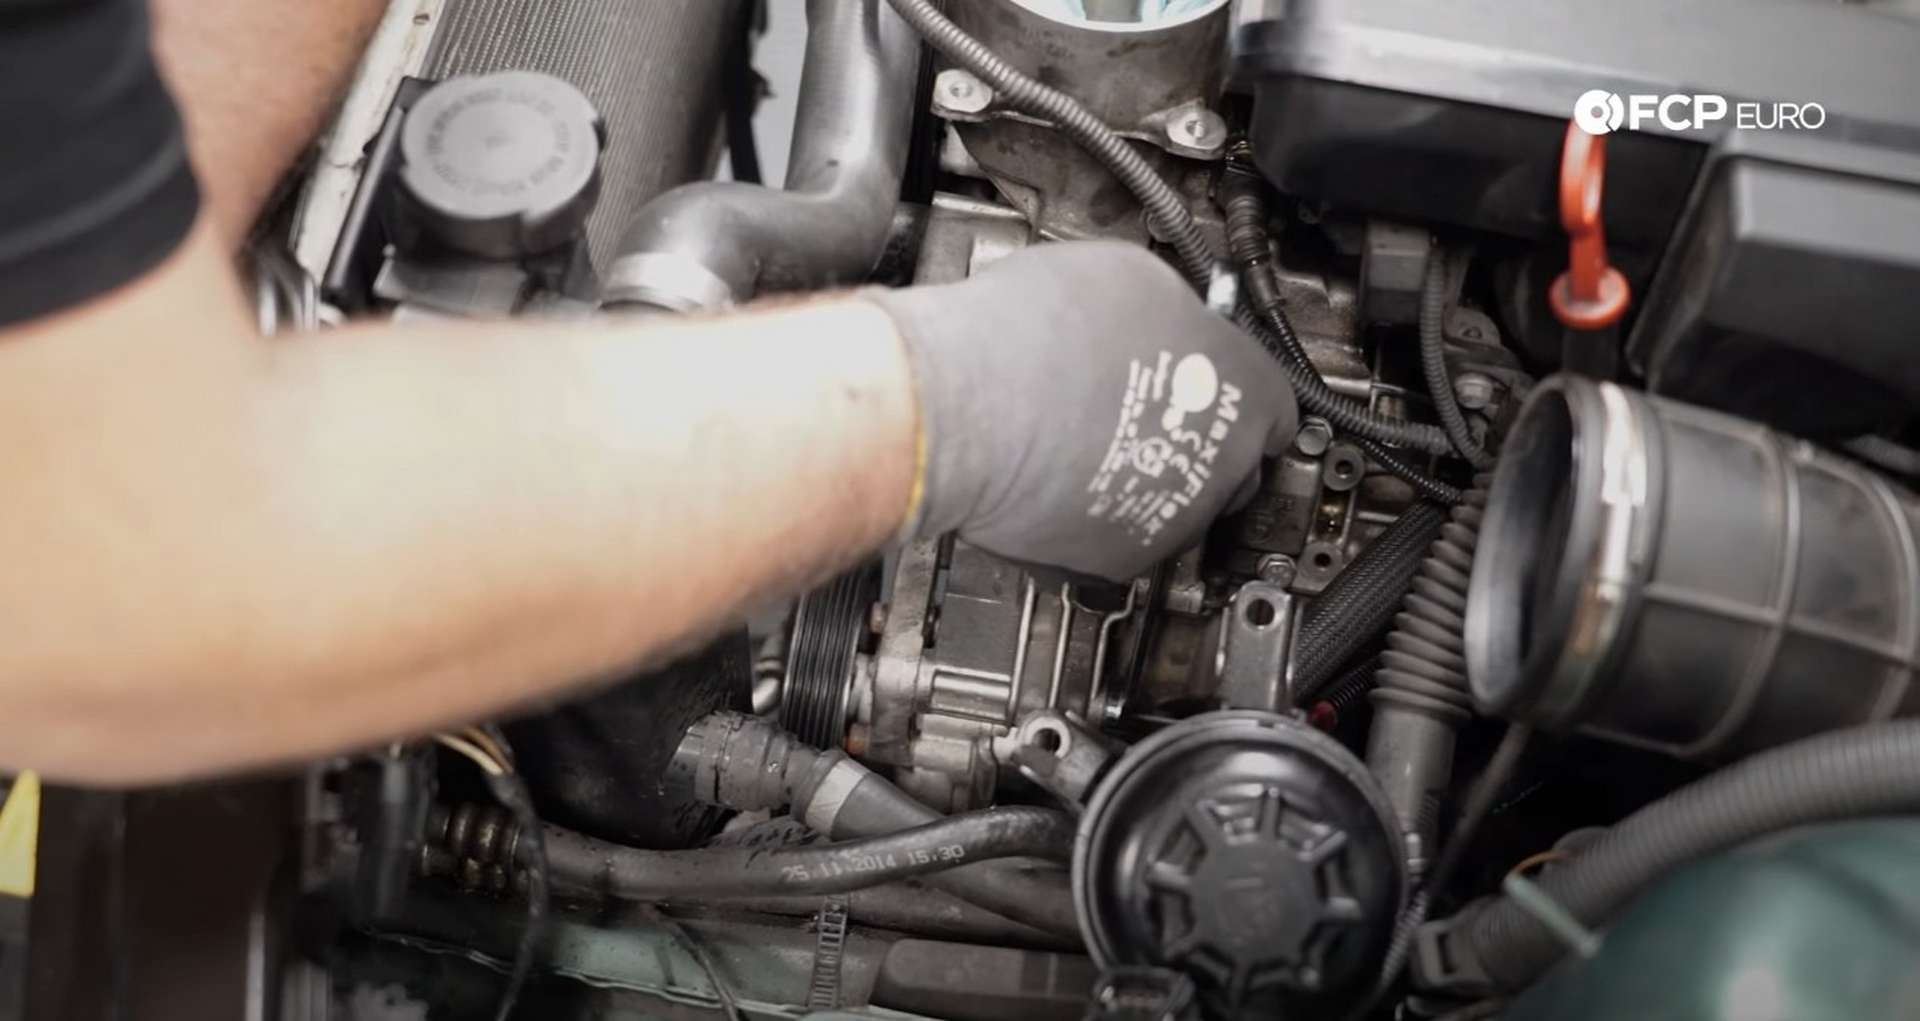
Reach around to the back of the oil filter housing and disconnect the oil pressure switch and oil temperature sensor. Push down on the tabs on the plugs to release them from the sensors and then pull them off. Then, use a 13mm socket to remove the bolts that mount the power steering pump to the oil filter housing.
The amount and location of the bolts will vary depending on which power steering pump BMW used. Our car had one bolt through the front of the pump and two through the back. Once the bolts are removed, the pump will drop off the bracket but hang in the engine bay on its power steering lines.
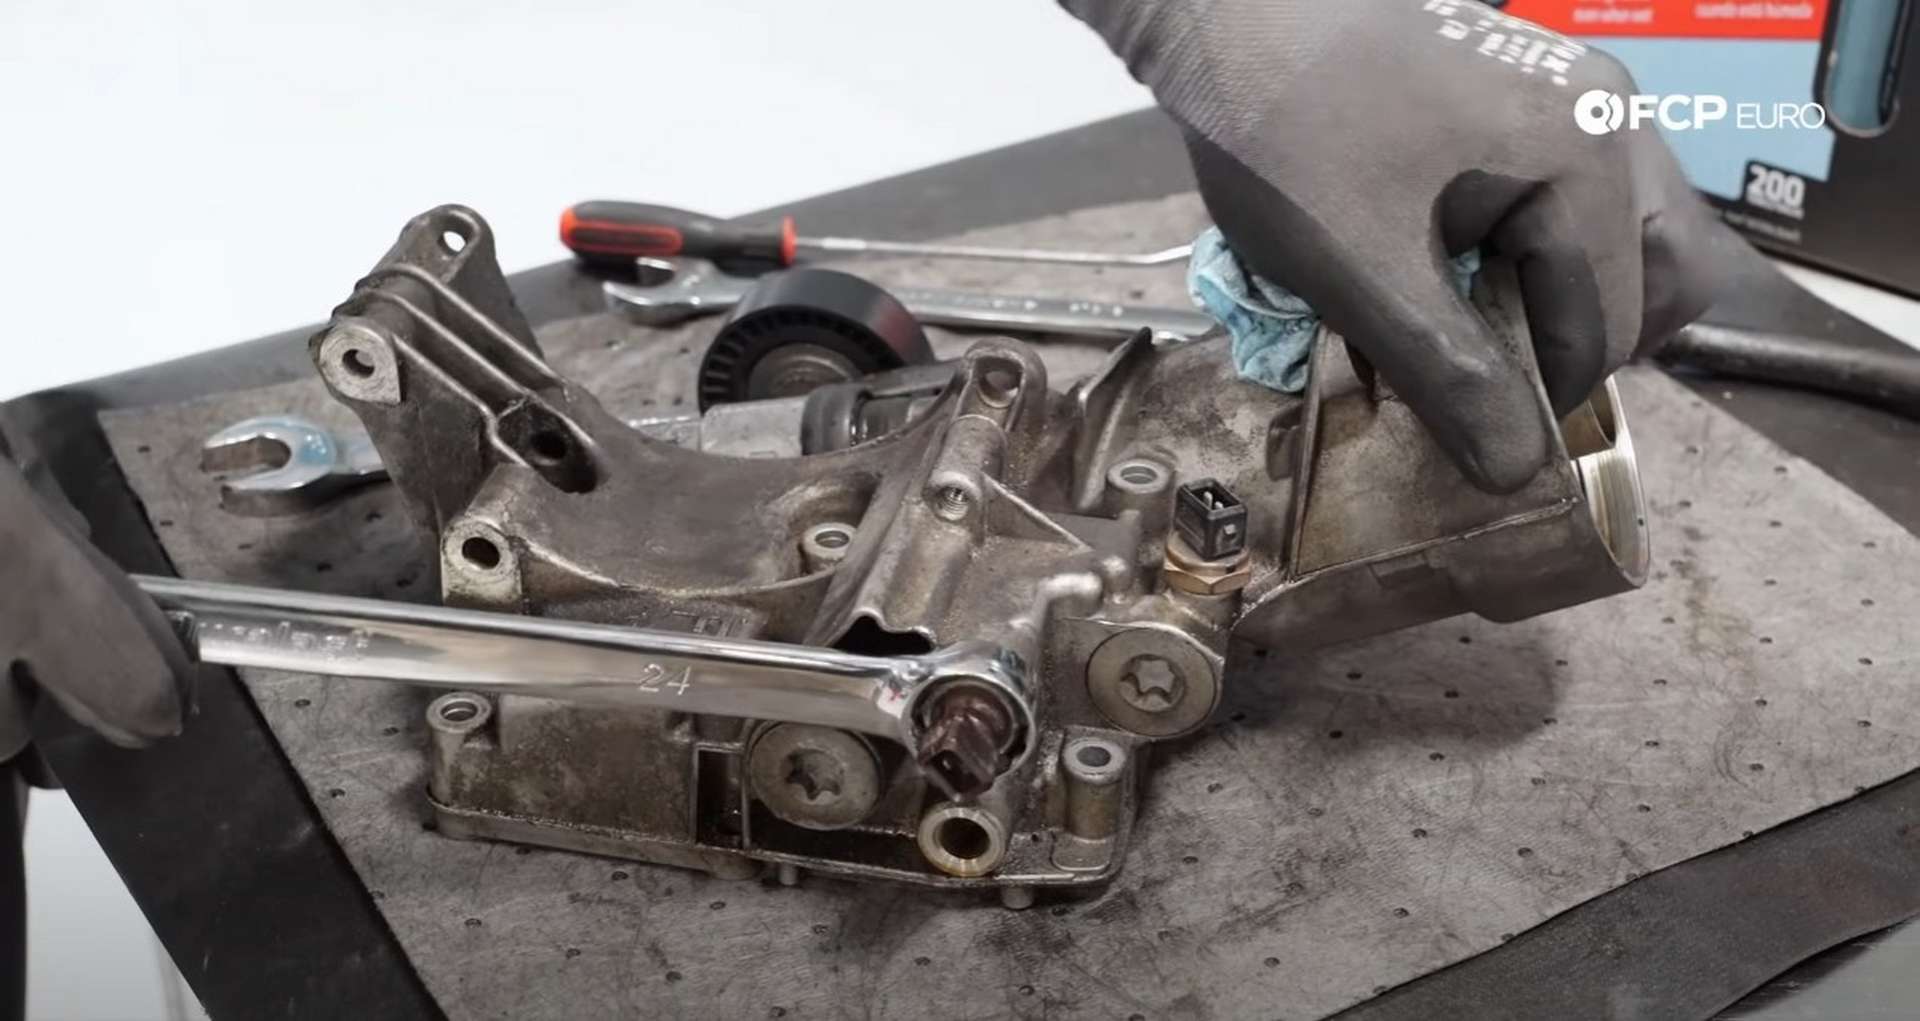
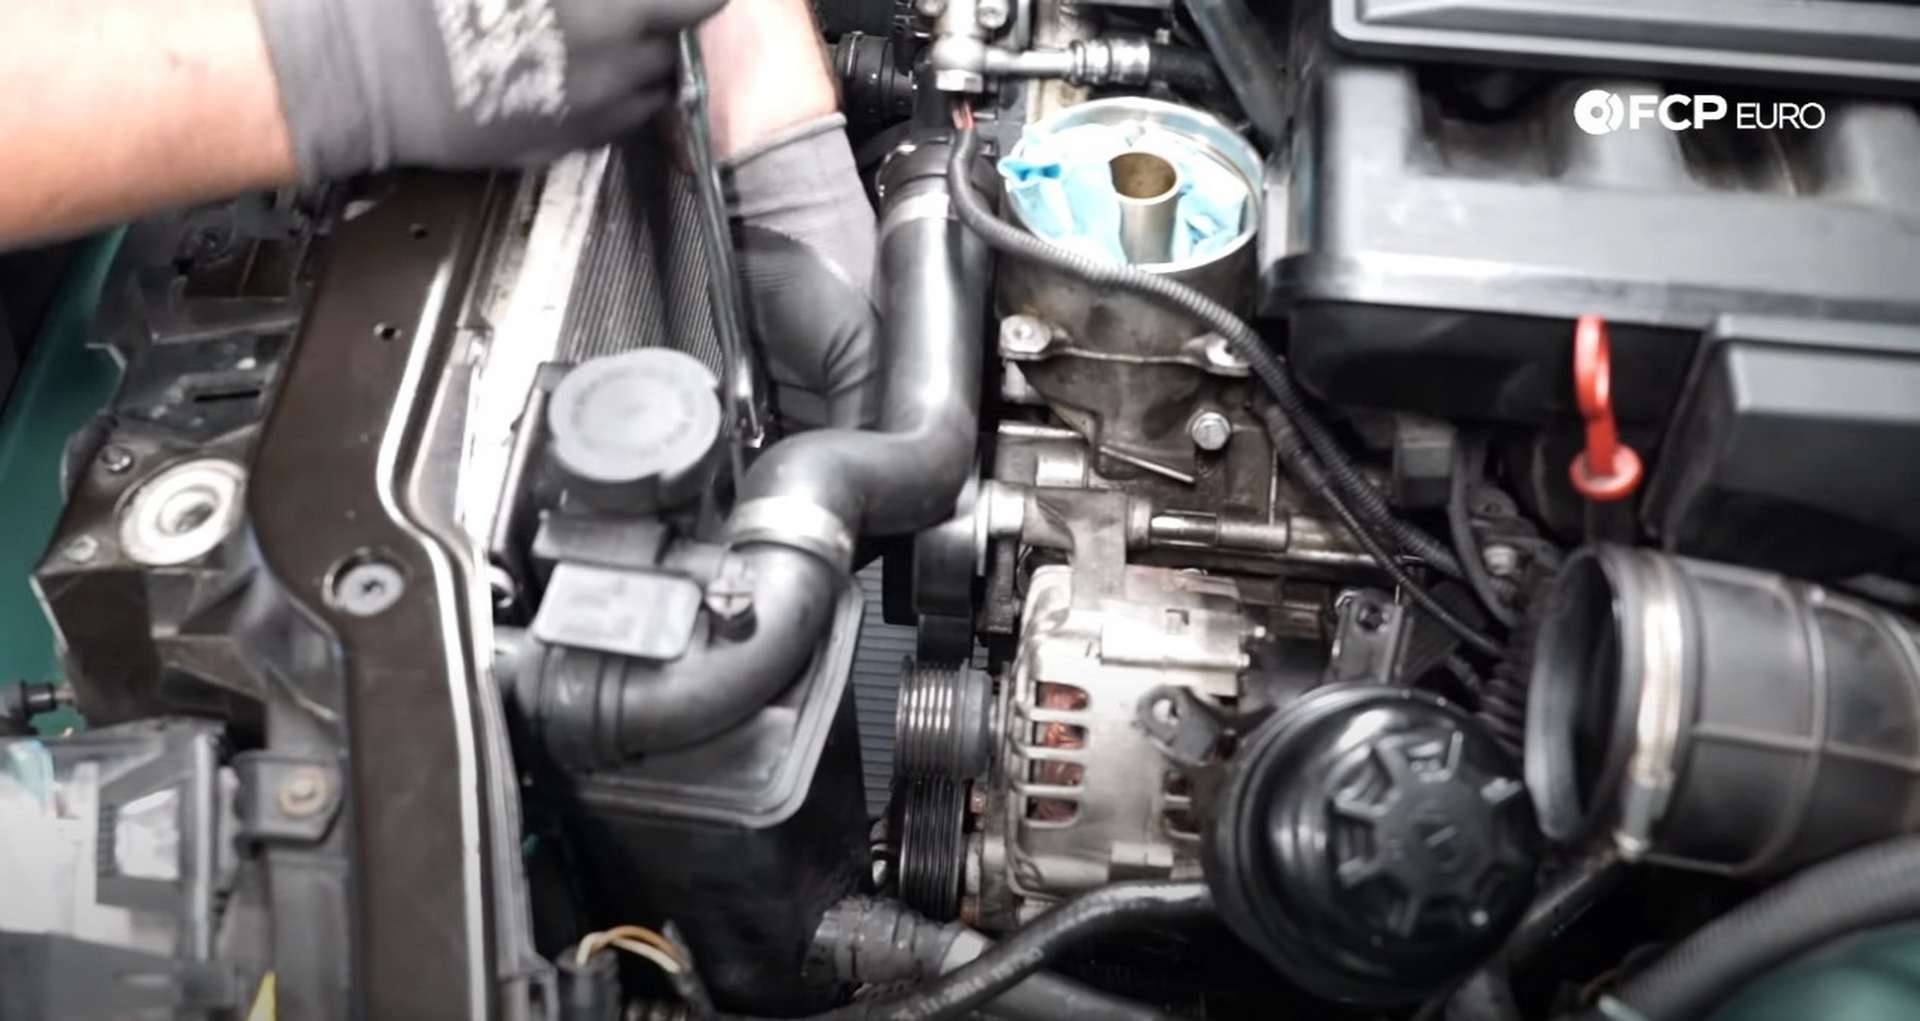
Step 4: Remove the oil filter housing
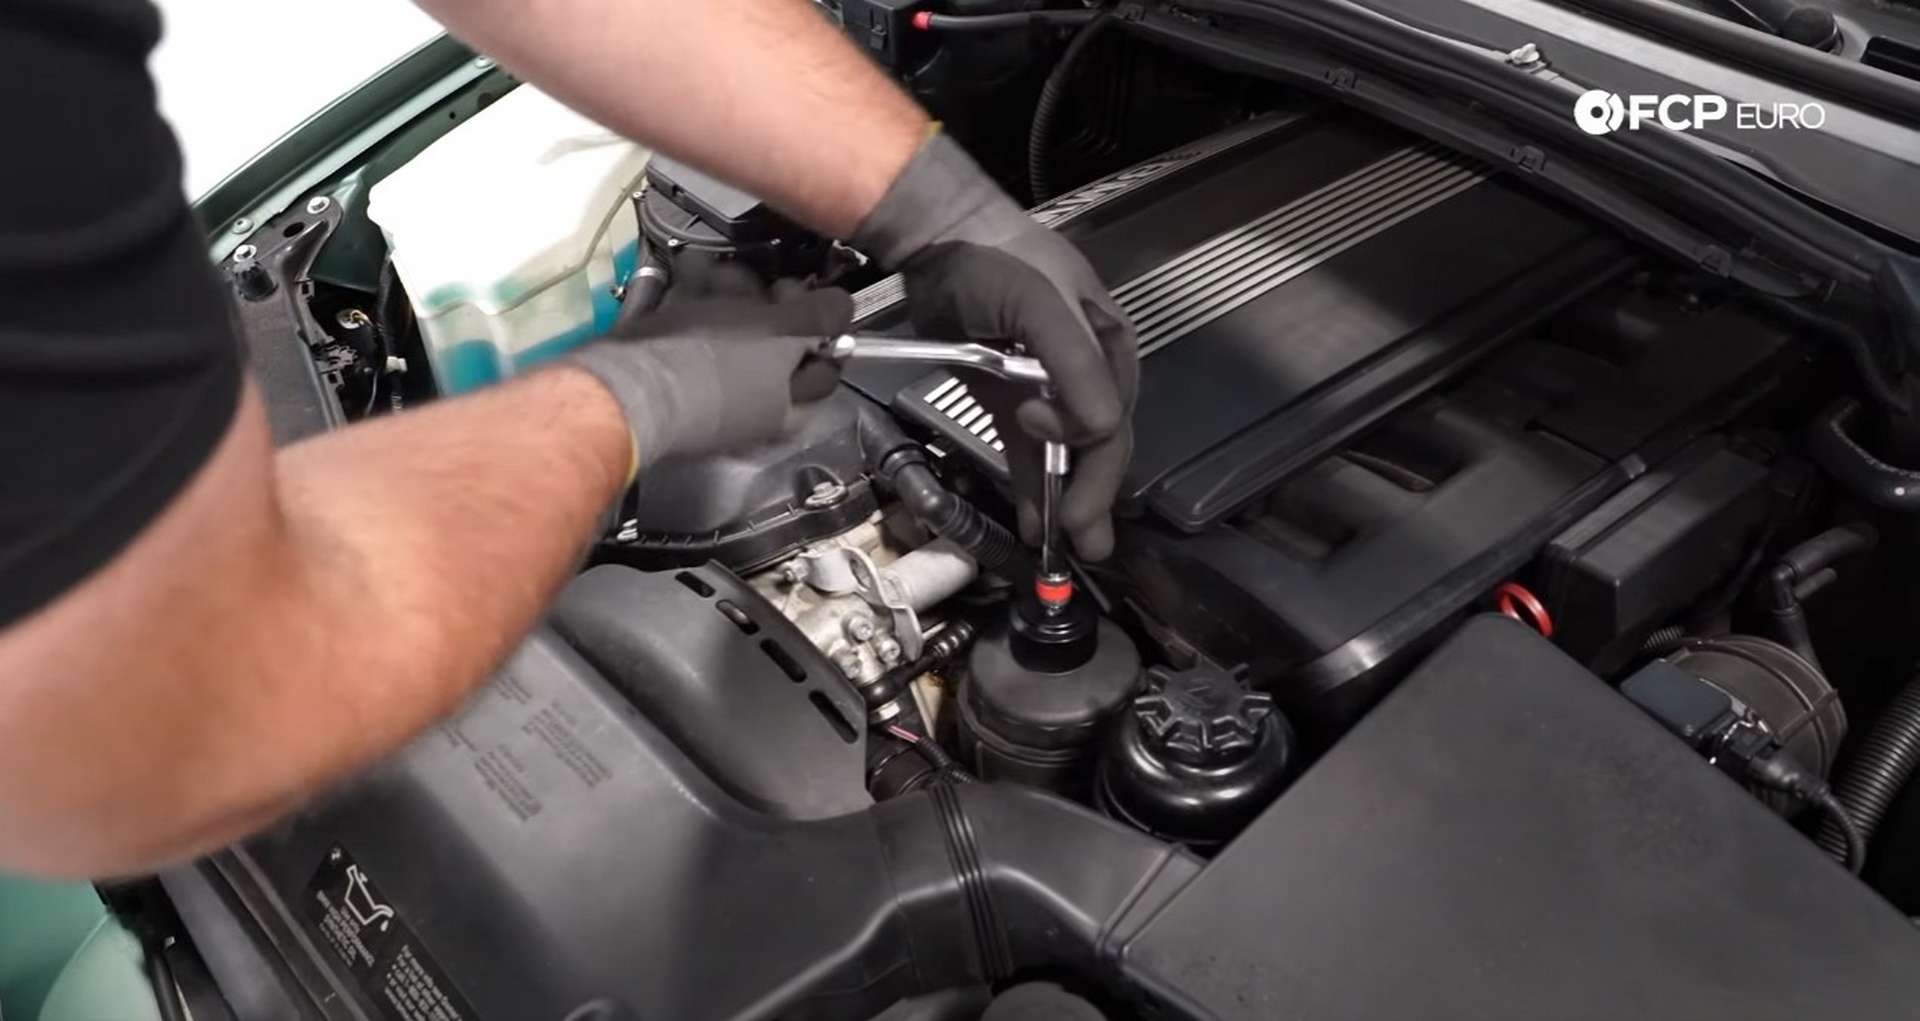
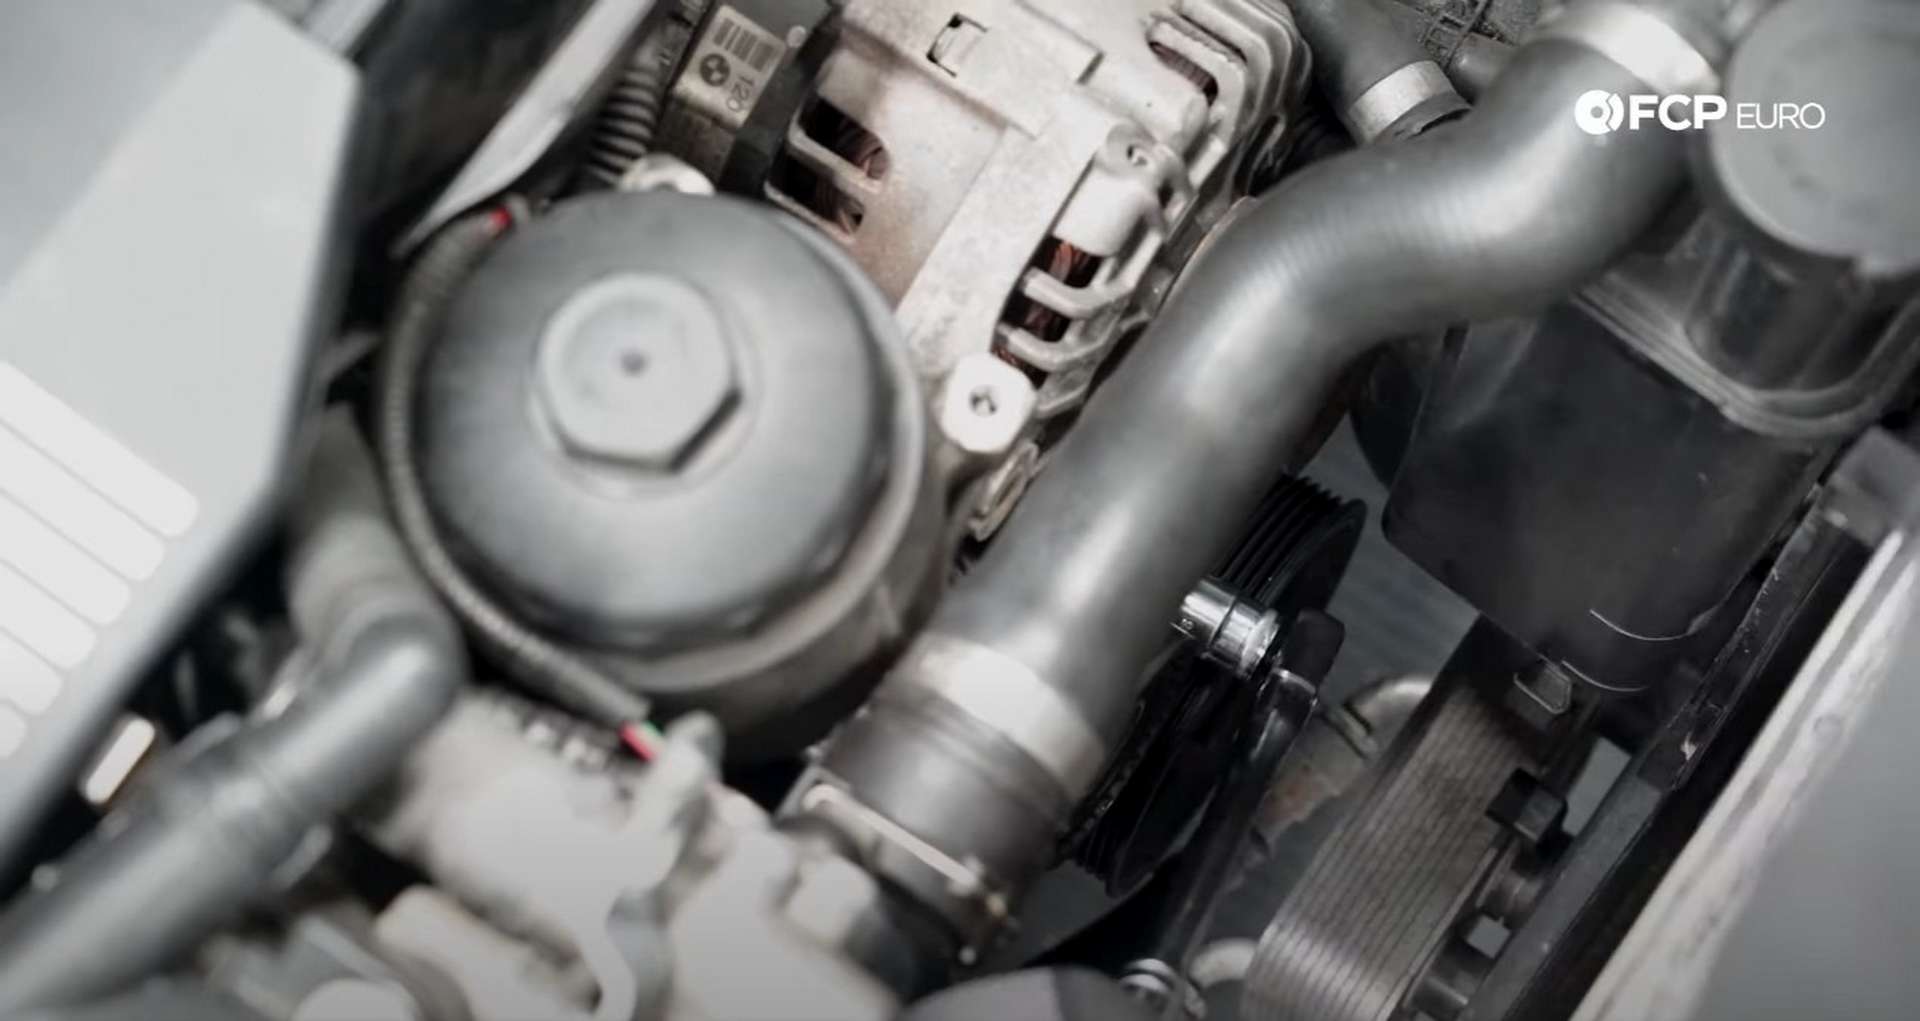
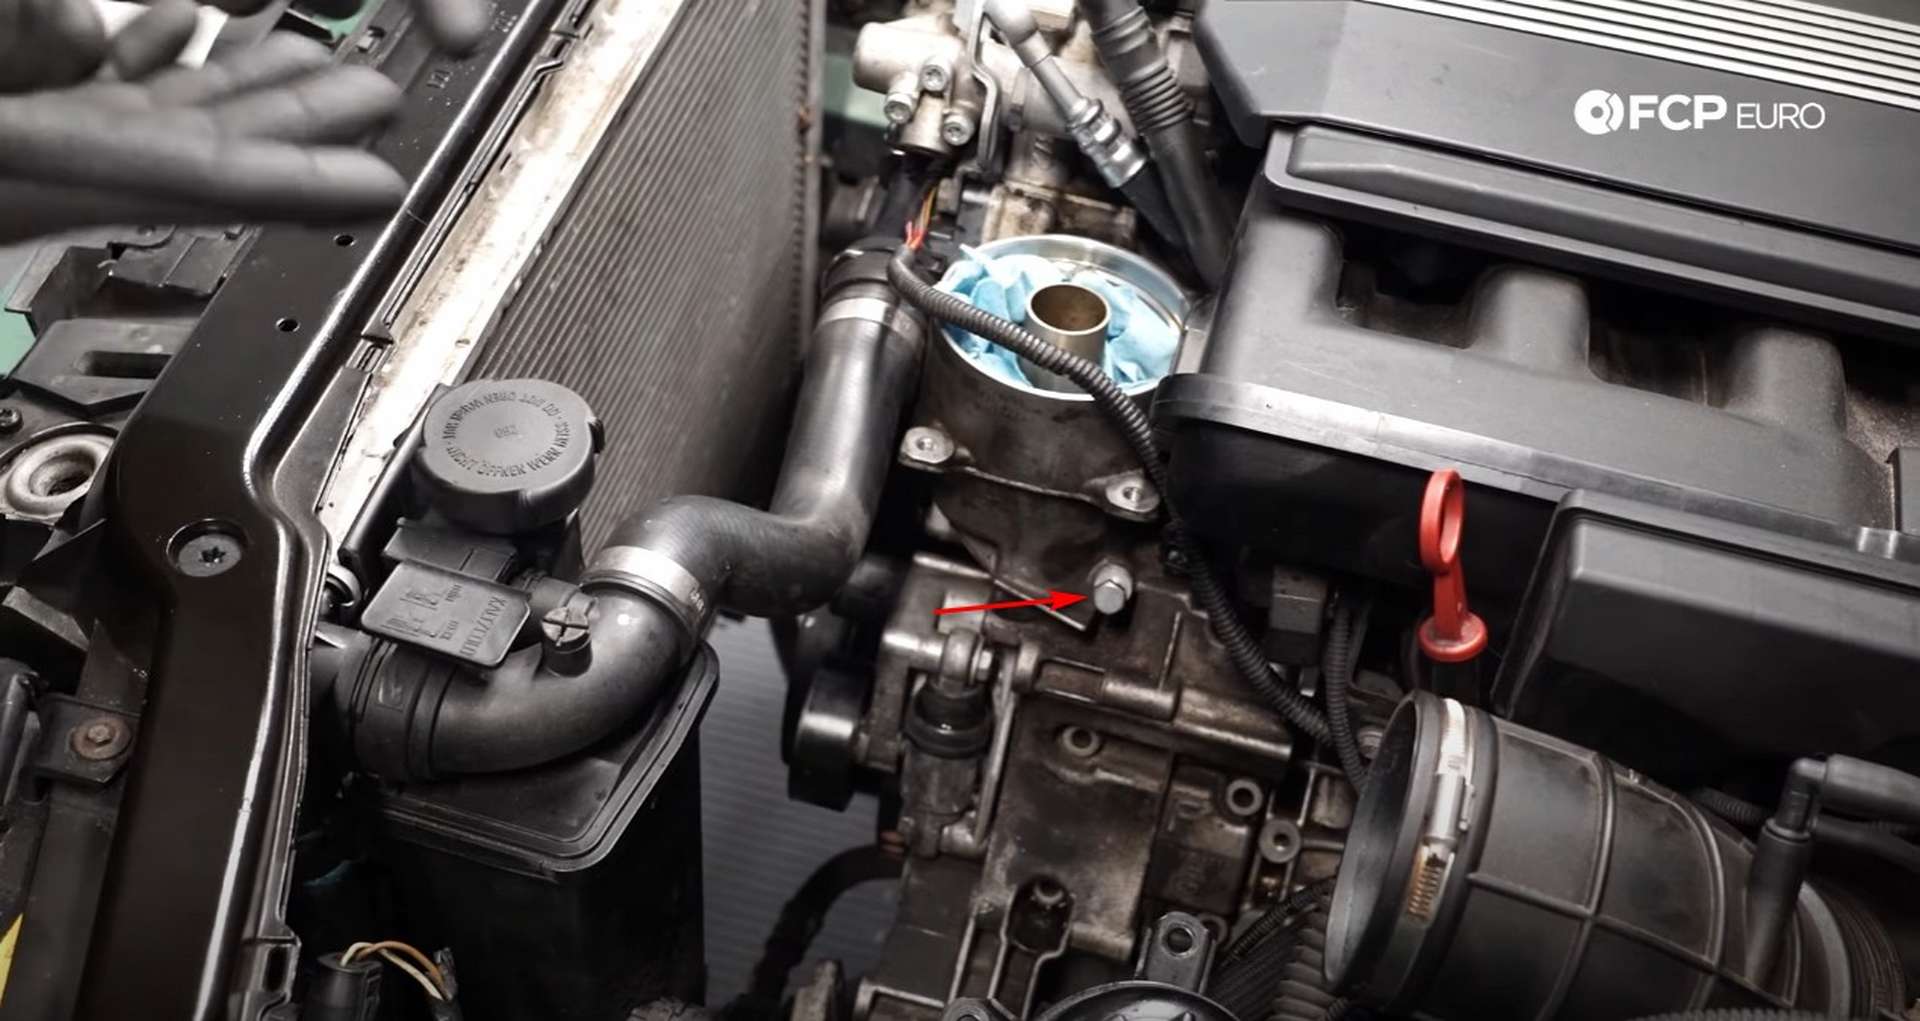
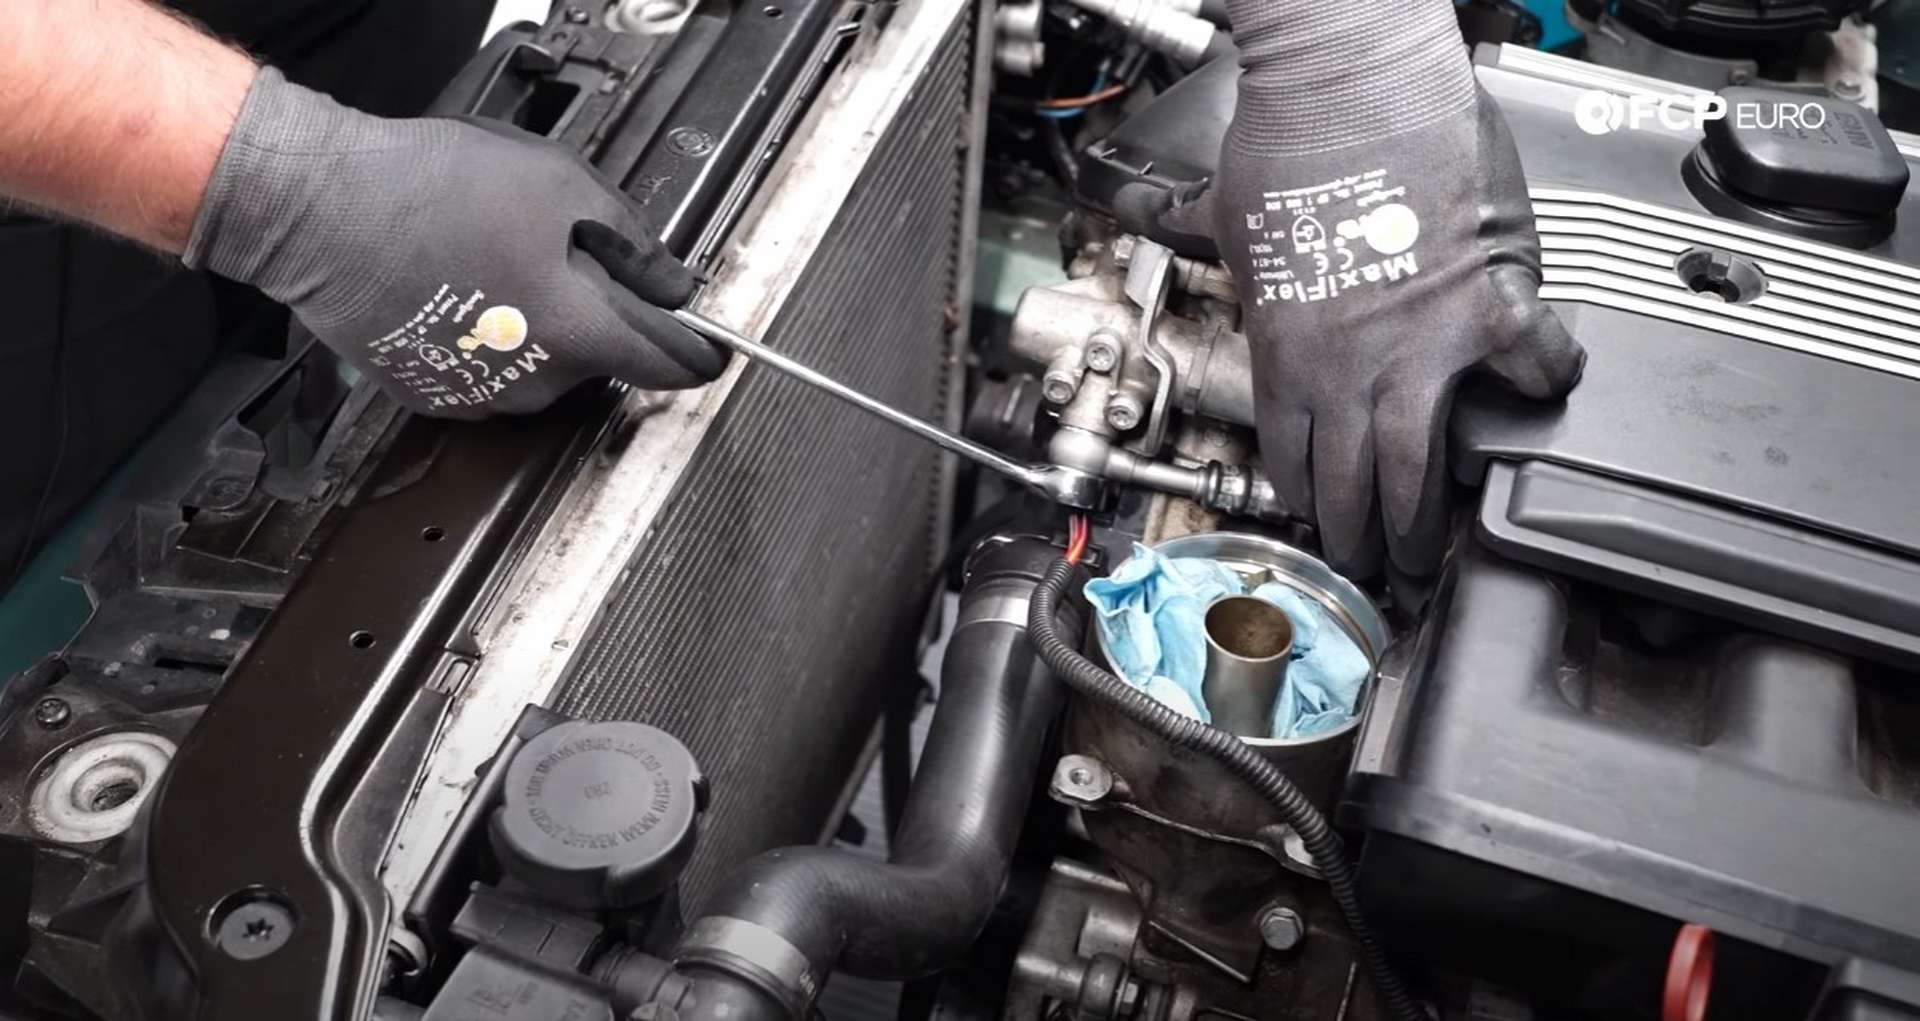
First, use a 19mm wrench to remove the banjo bolt from the VANOS line. Place a rag beneath the line to absorb any oil that may leak out.
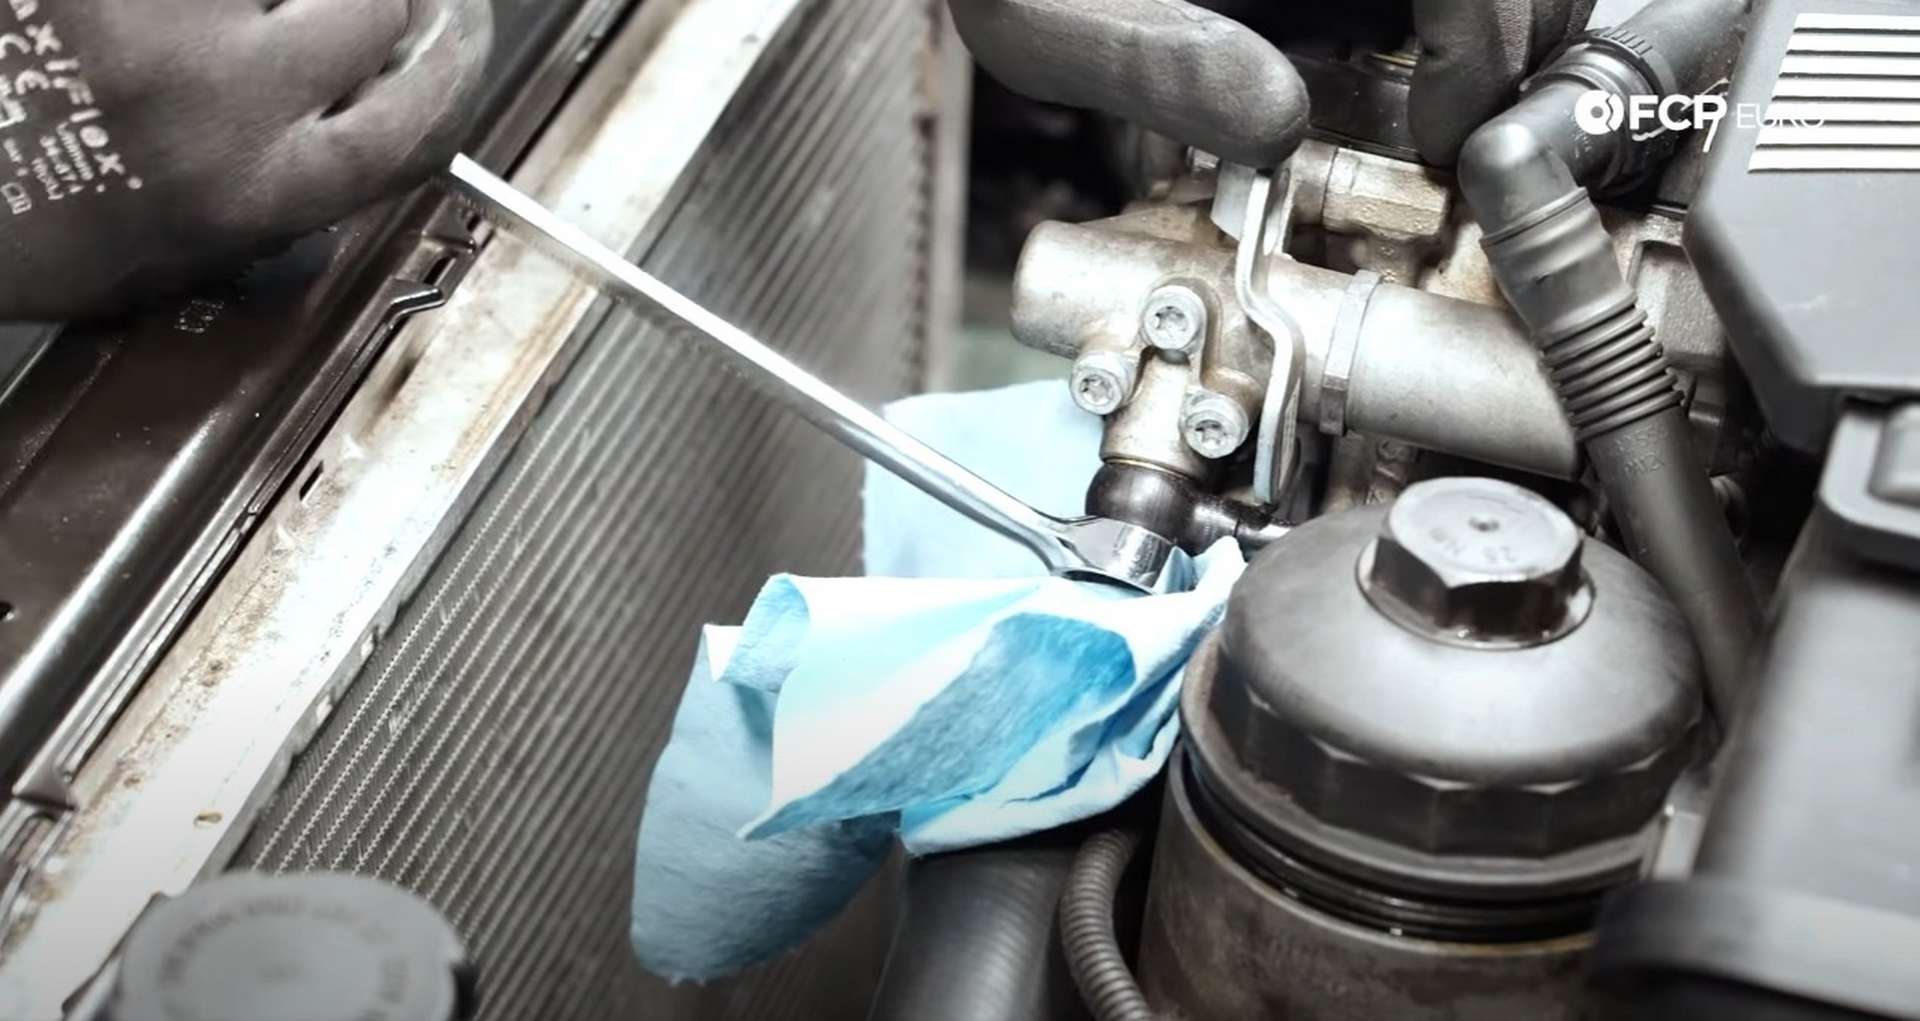
Then, use a 13mm socket to remove the six 13mm mounting bolts for the oil filter housing.
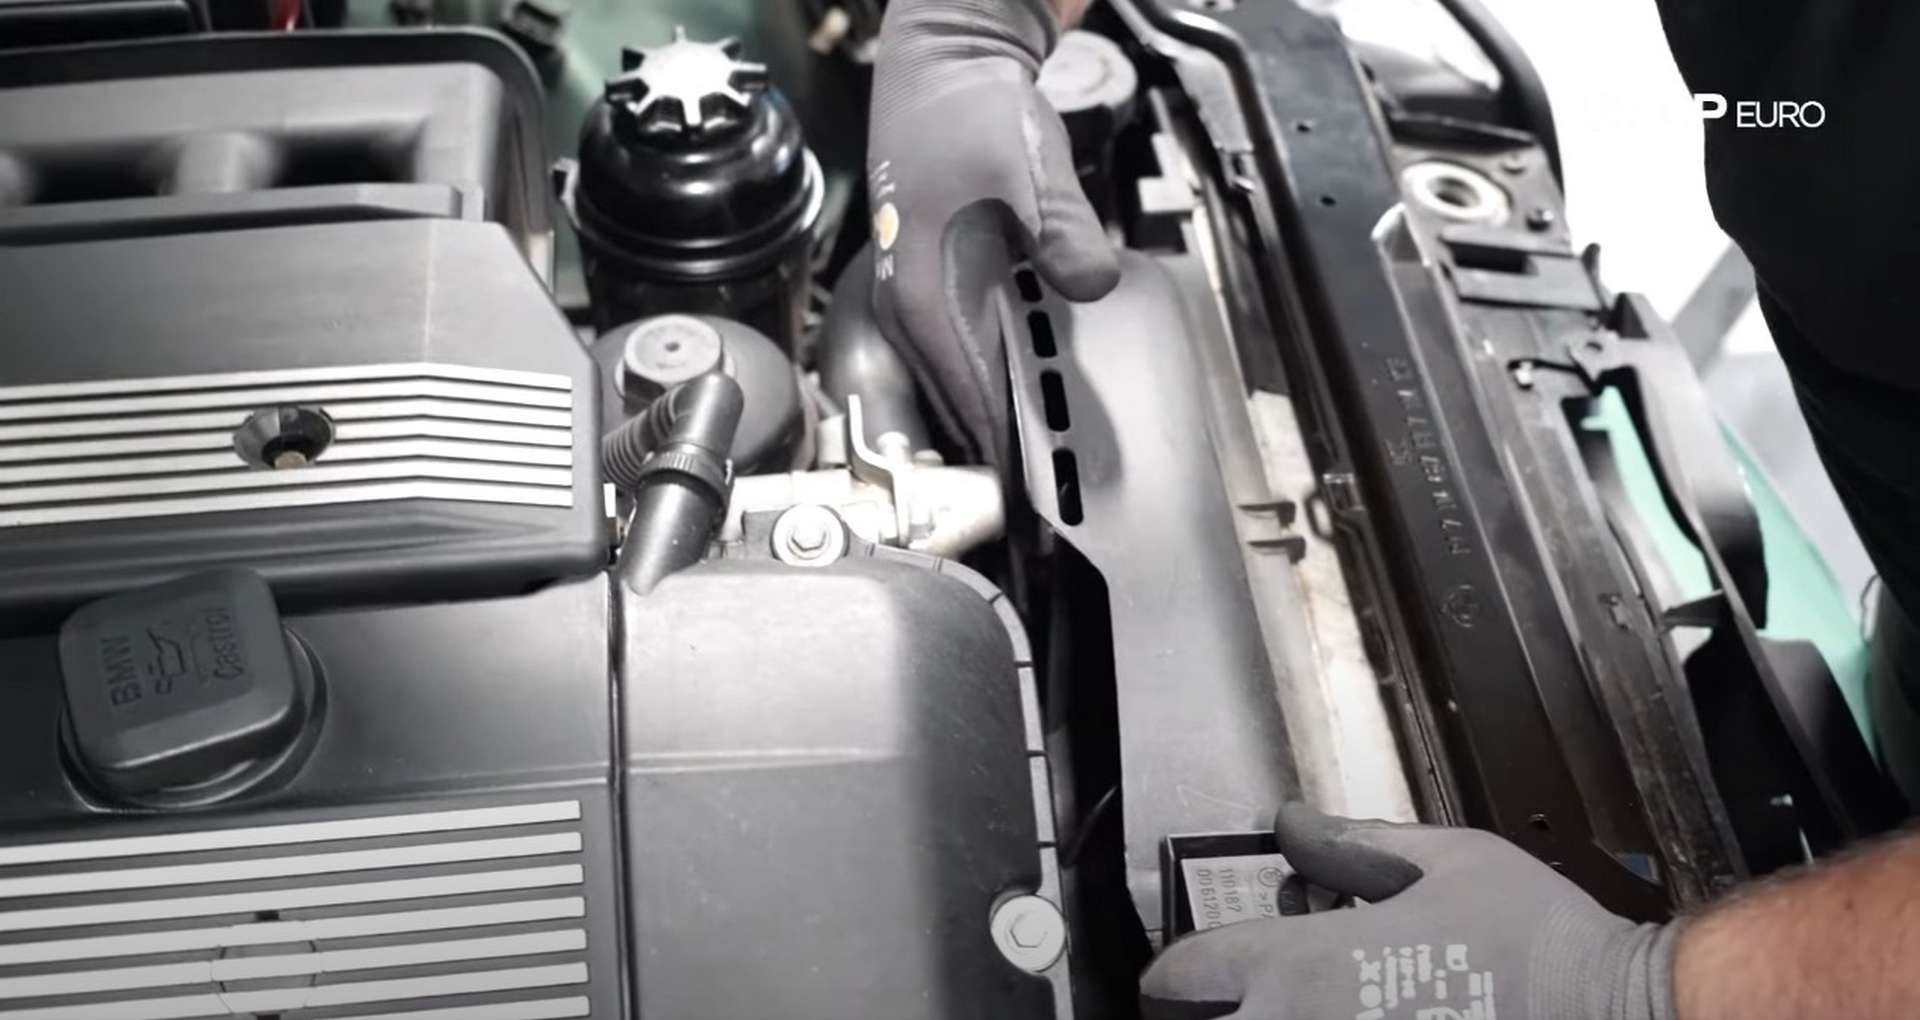
With the bolts lose, Wiggle the housing to free it from the engine block. Give it a few taps with a dead-blow mallet to loosen it from the dowels that locate the housing on the block.
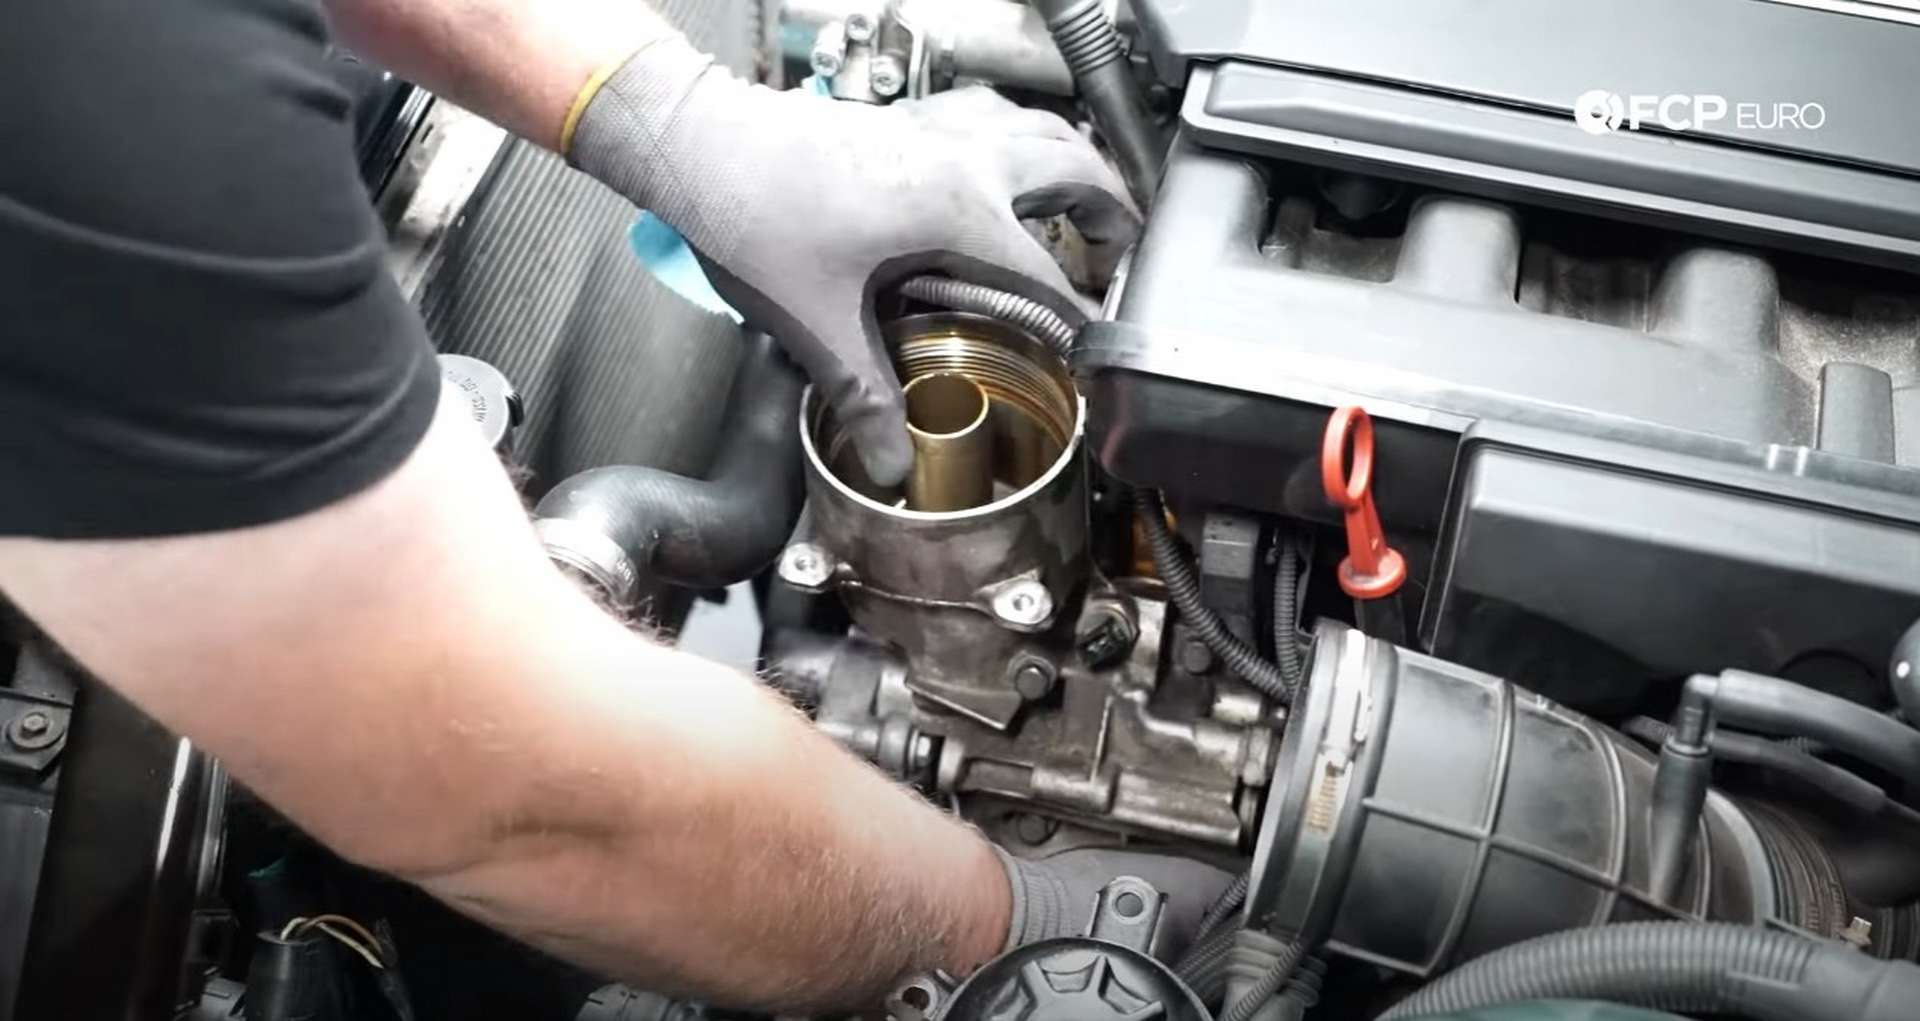
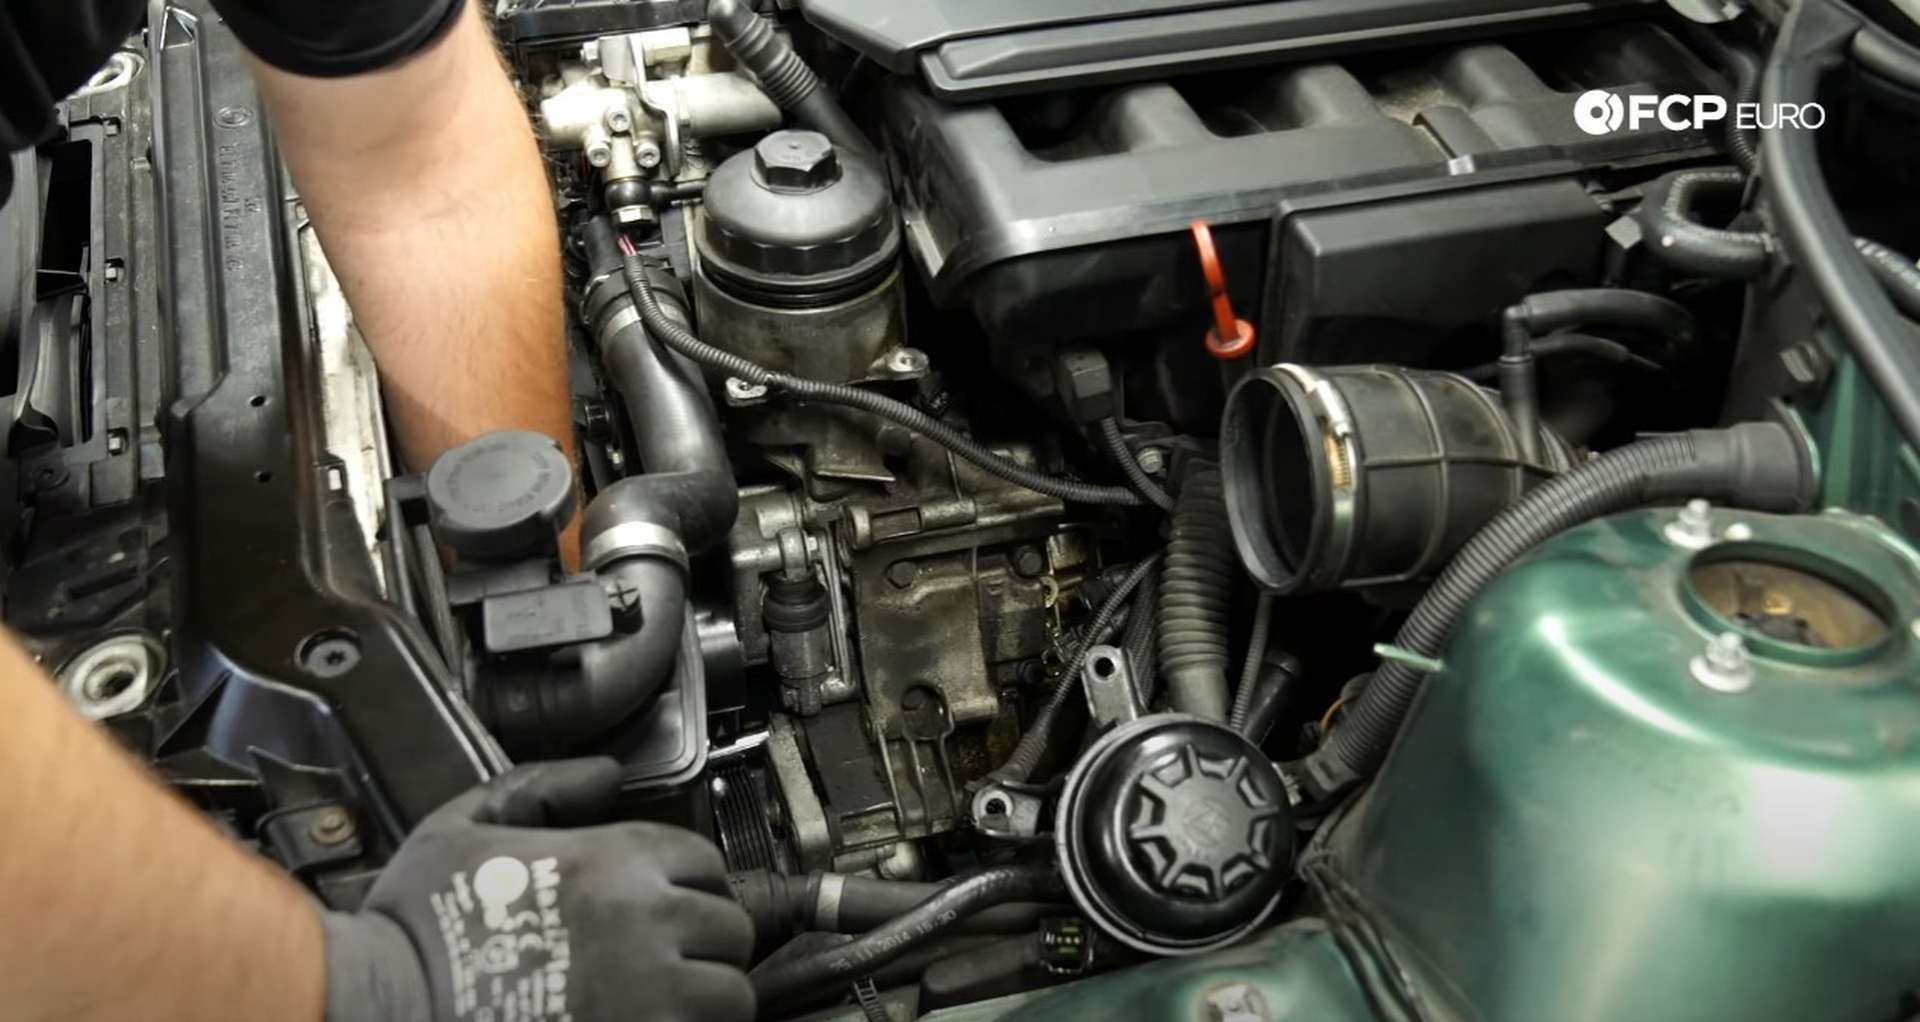
Use brake clean to spray the engine around the housing and wash off any oil residue. Also, use rags to wipe off any debris from the engine and the housings sealing surface.
Step 5: Prepare and reinstall the oil filter housing
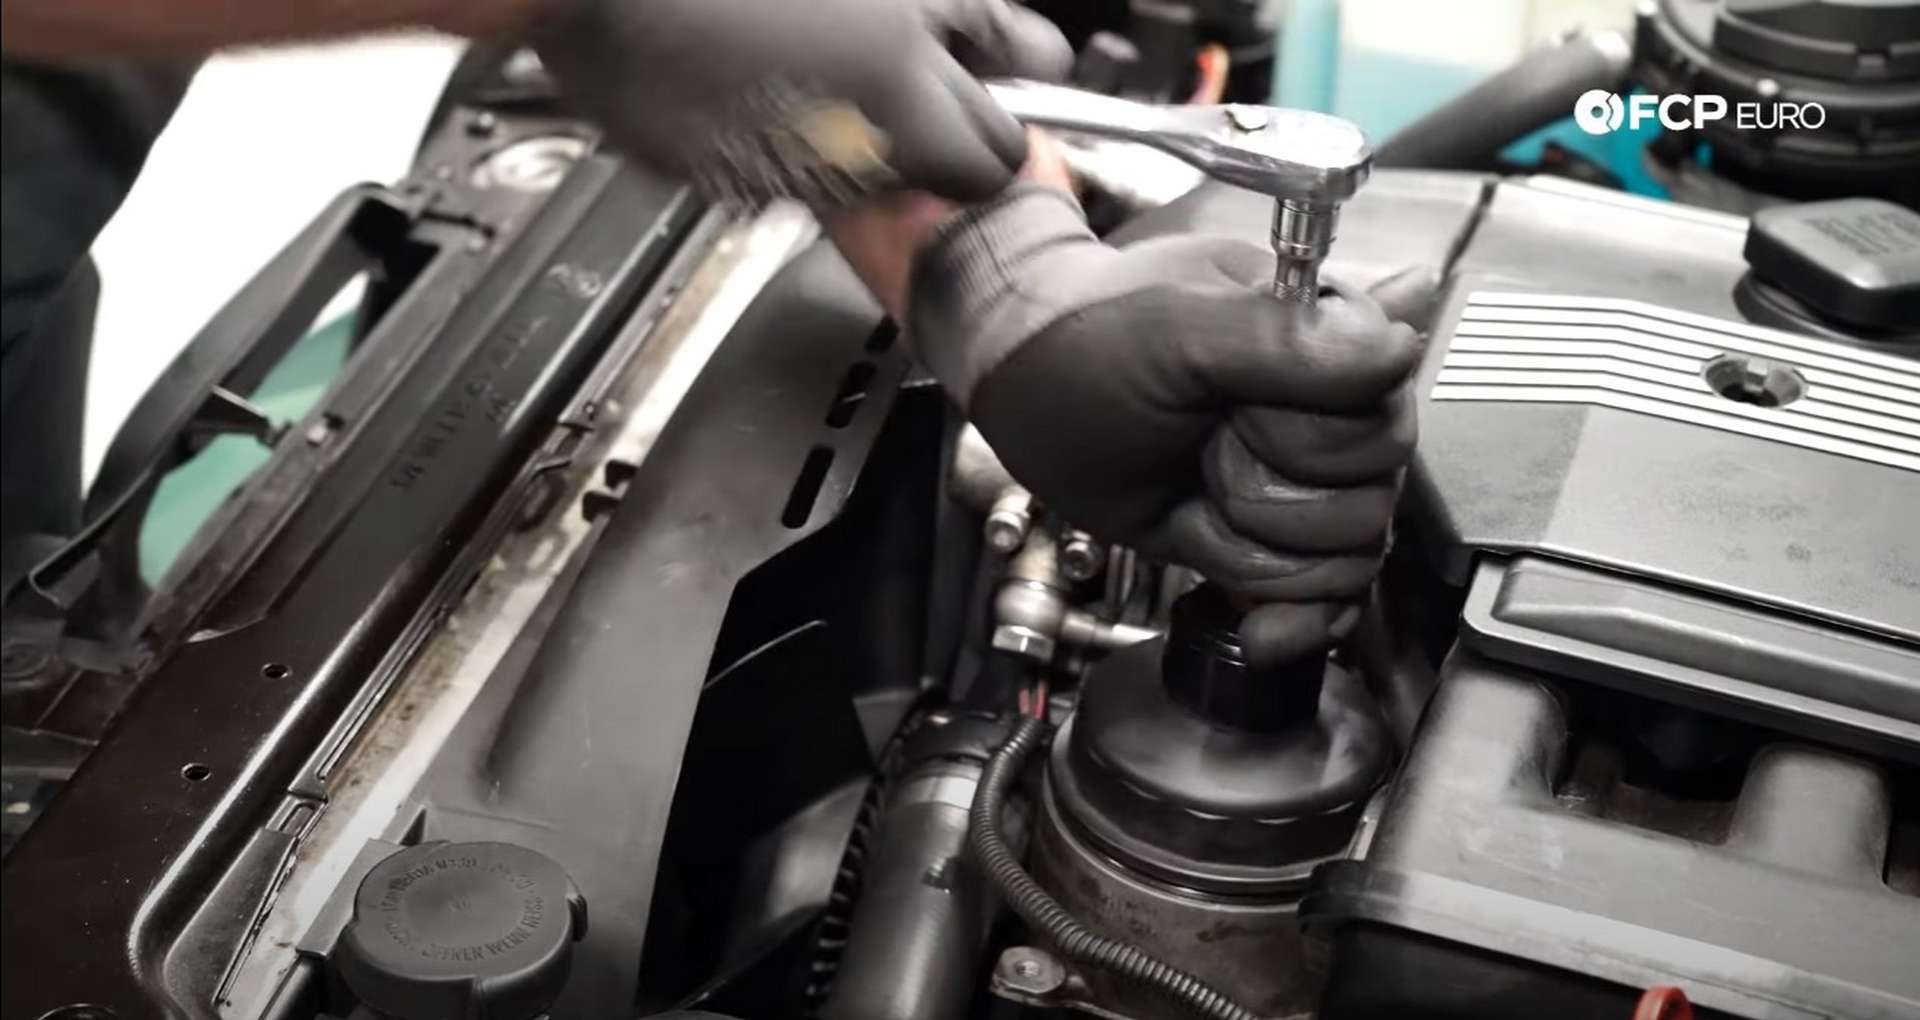
Set the housing down onto a work table. Then, use a 19mm wrench or socket to remove the banjo bolt for the VANOS line.
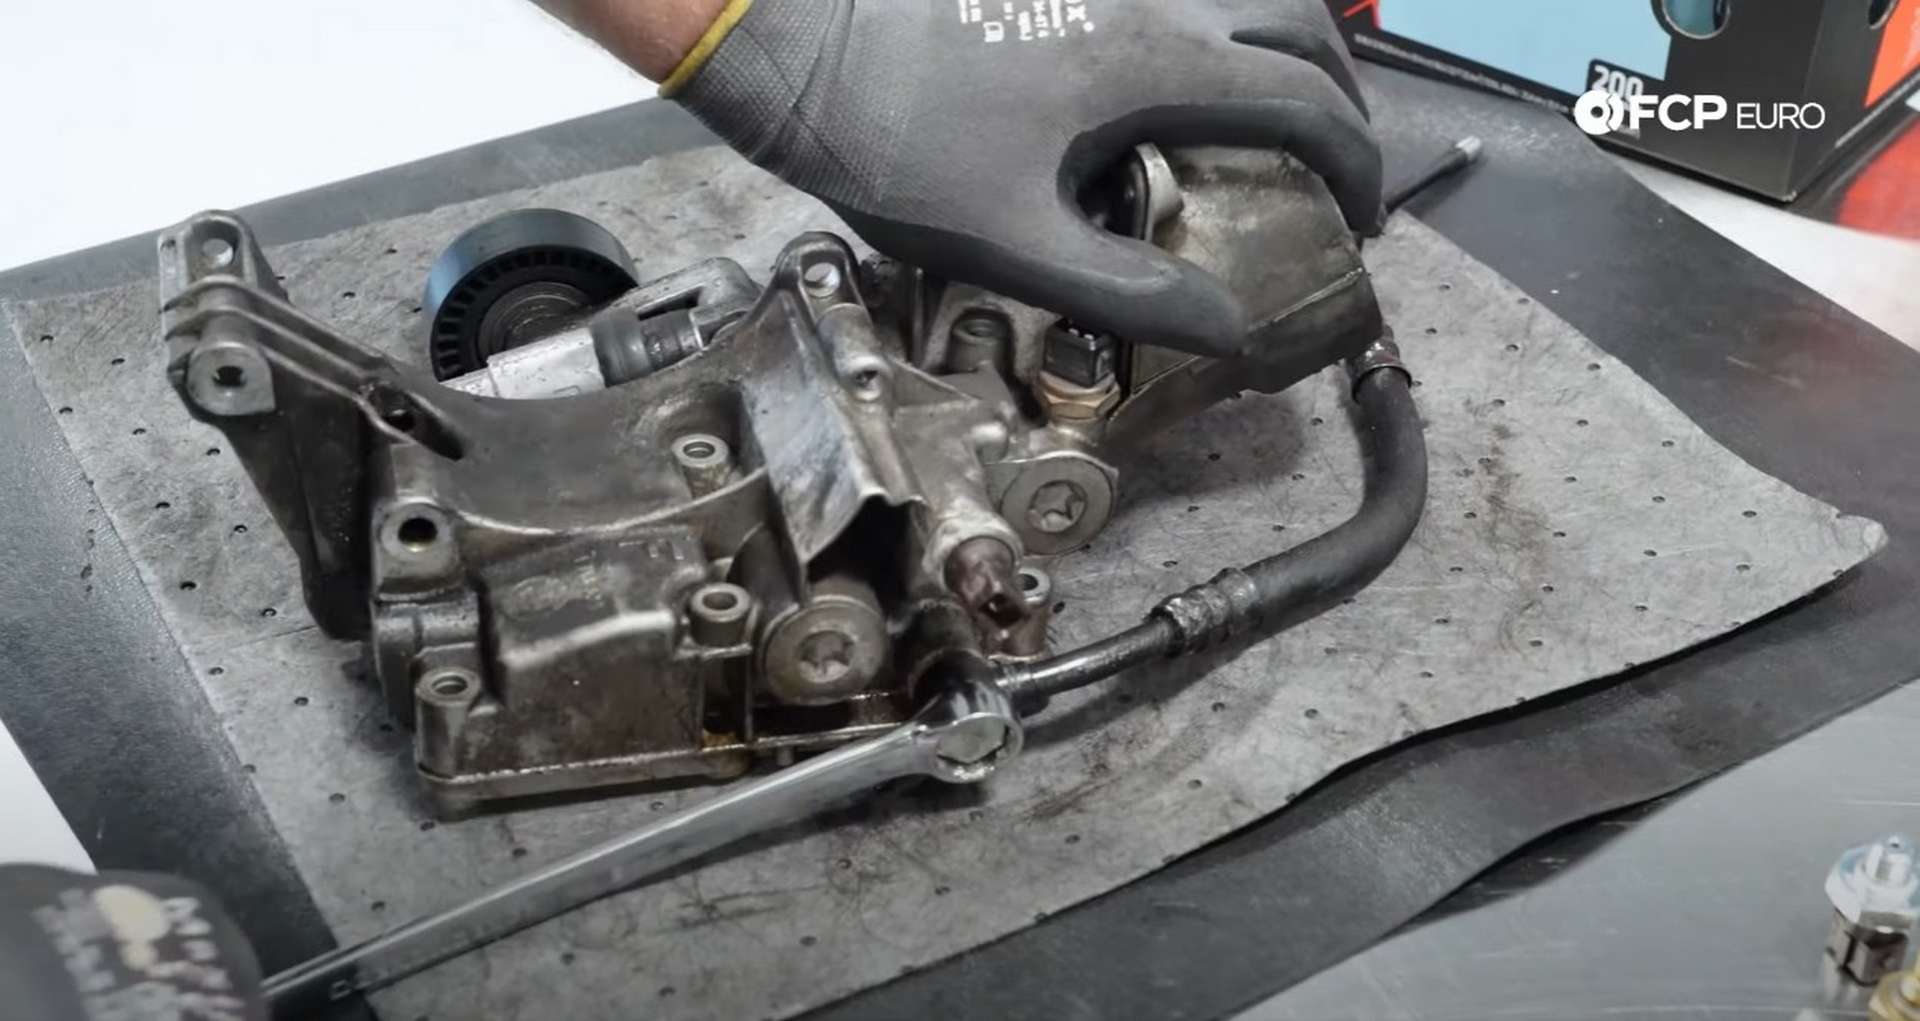
Next, use a 22mm wrench to remove the oil temp sensor and a 24mm wrench to remove the oil pressure switch.
Thread in the new sensors by hand to prevent cross-threading. Then, use their respective wrenches to snug them down. After that, prepare the new VANOS line.
![DIY BMW E46 Oil Filter Housing Gasket and VANOS Line Replacement installing the new VANOS line onto the housing]](https://images.contentstack.io/v3/assets/blta5fd5c563cb3dbc3/blteb66f7c00bc7fc01/65cb4d82454a0b81ee103be7/24-DIY-E46-Oil-Filter-Housing-Gasket-Vanos-Line-Replacement_Reinstall-Filter-Housing.jpg)
The housing side of the line is the more bent end. Place a new washer onto the new banjo bolt and slide it into the VANOS line. Then, place another washer onto the bolt so that it'll sit between the line and the housing. Thread the bolt into the housing but leave it loose to allow for movement when you connect the other side of the line.

Next, use a pick to remove the old oil filter housing gasket. It has likely hardened into a plastic-like substance, so it won't want to come out in one piece. Ensure that you remove all of the old gasket from the housing's channel; otherwise, the new gasket won't seal properly.
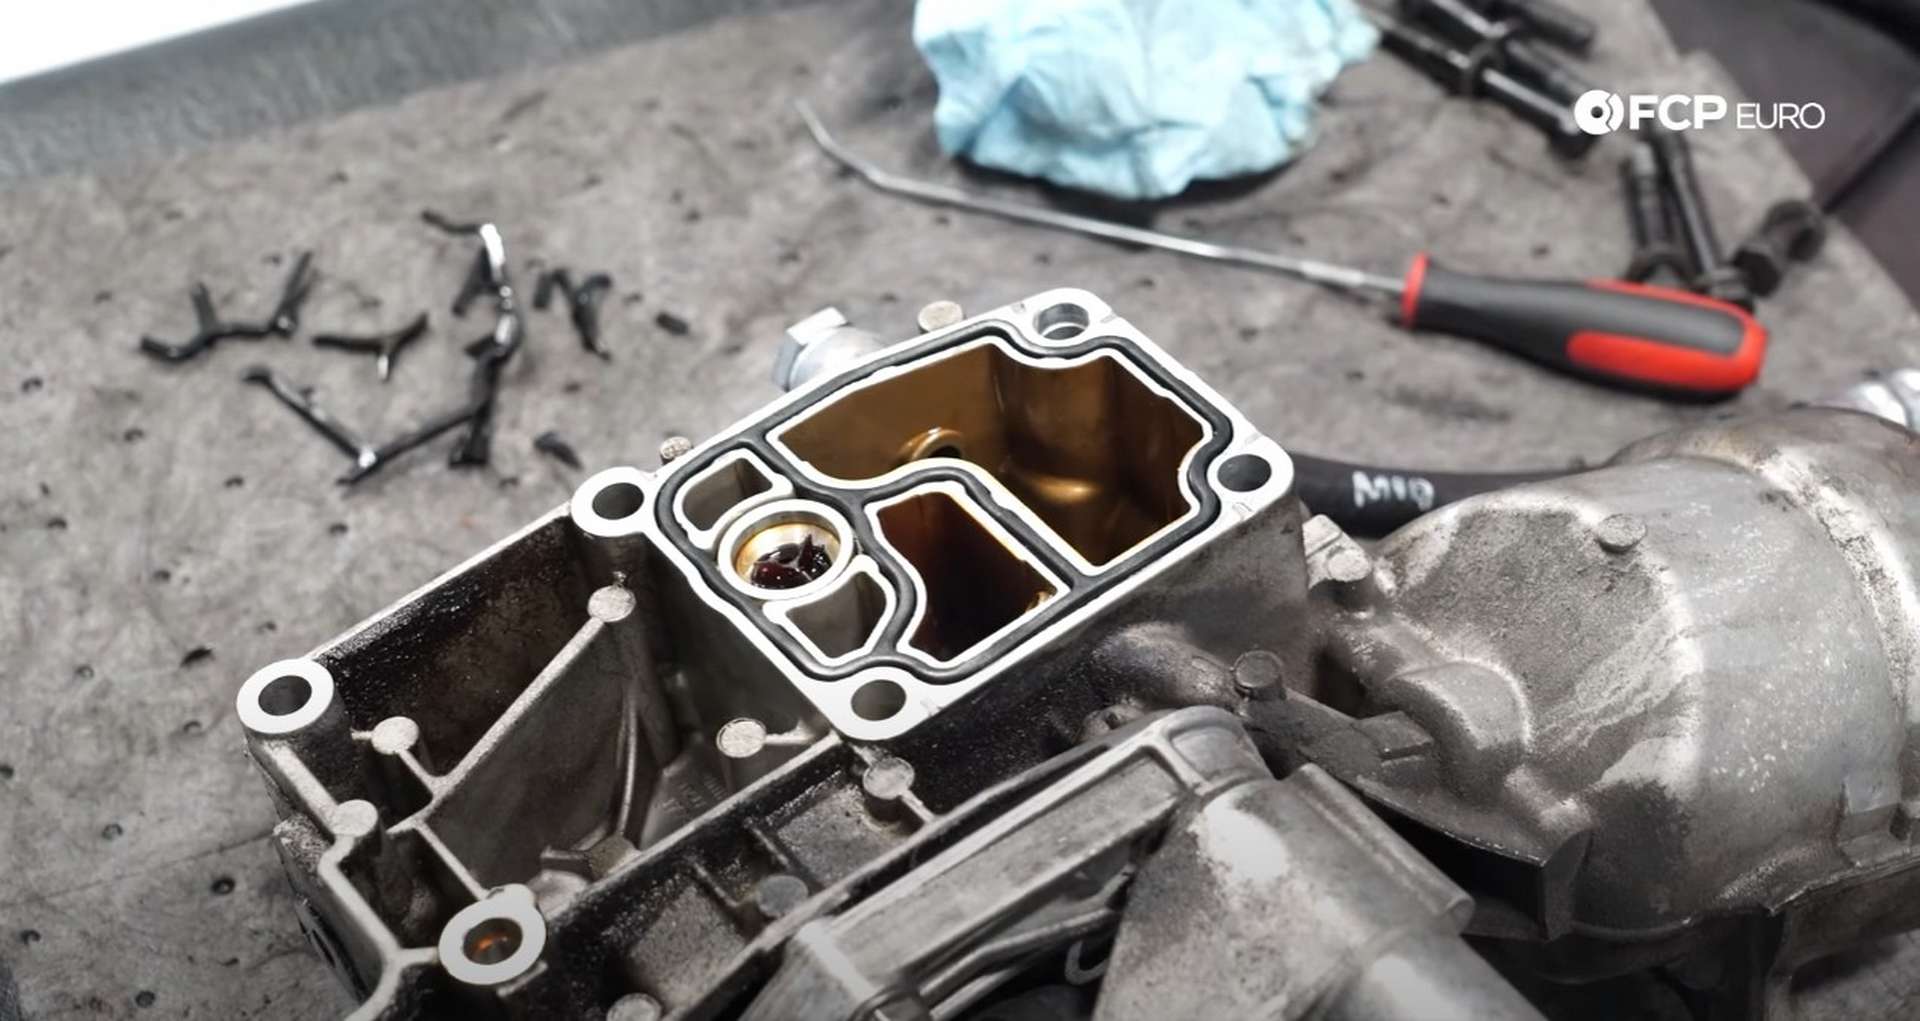
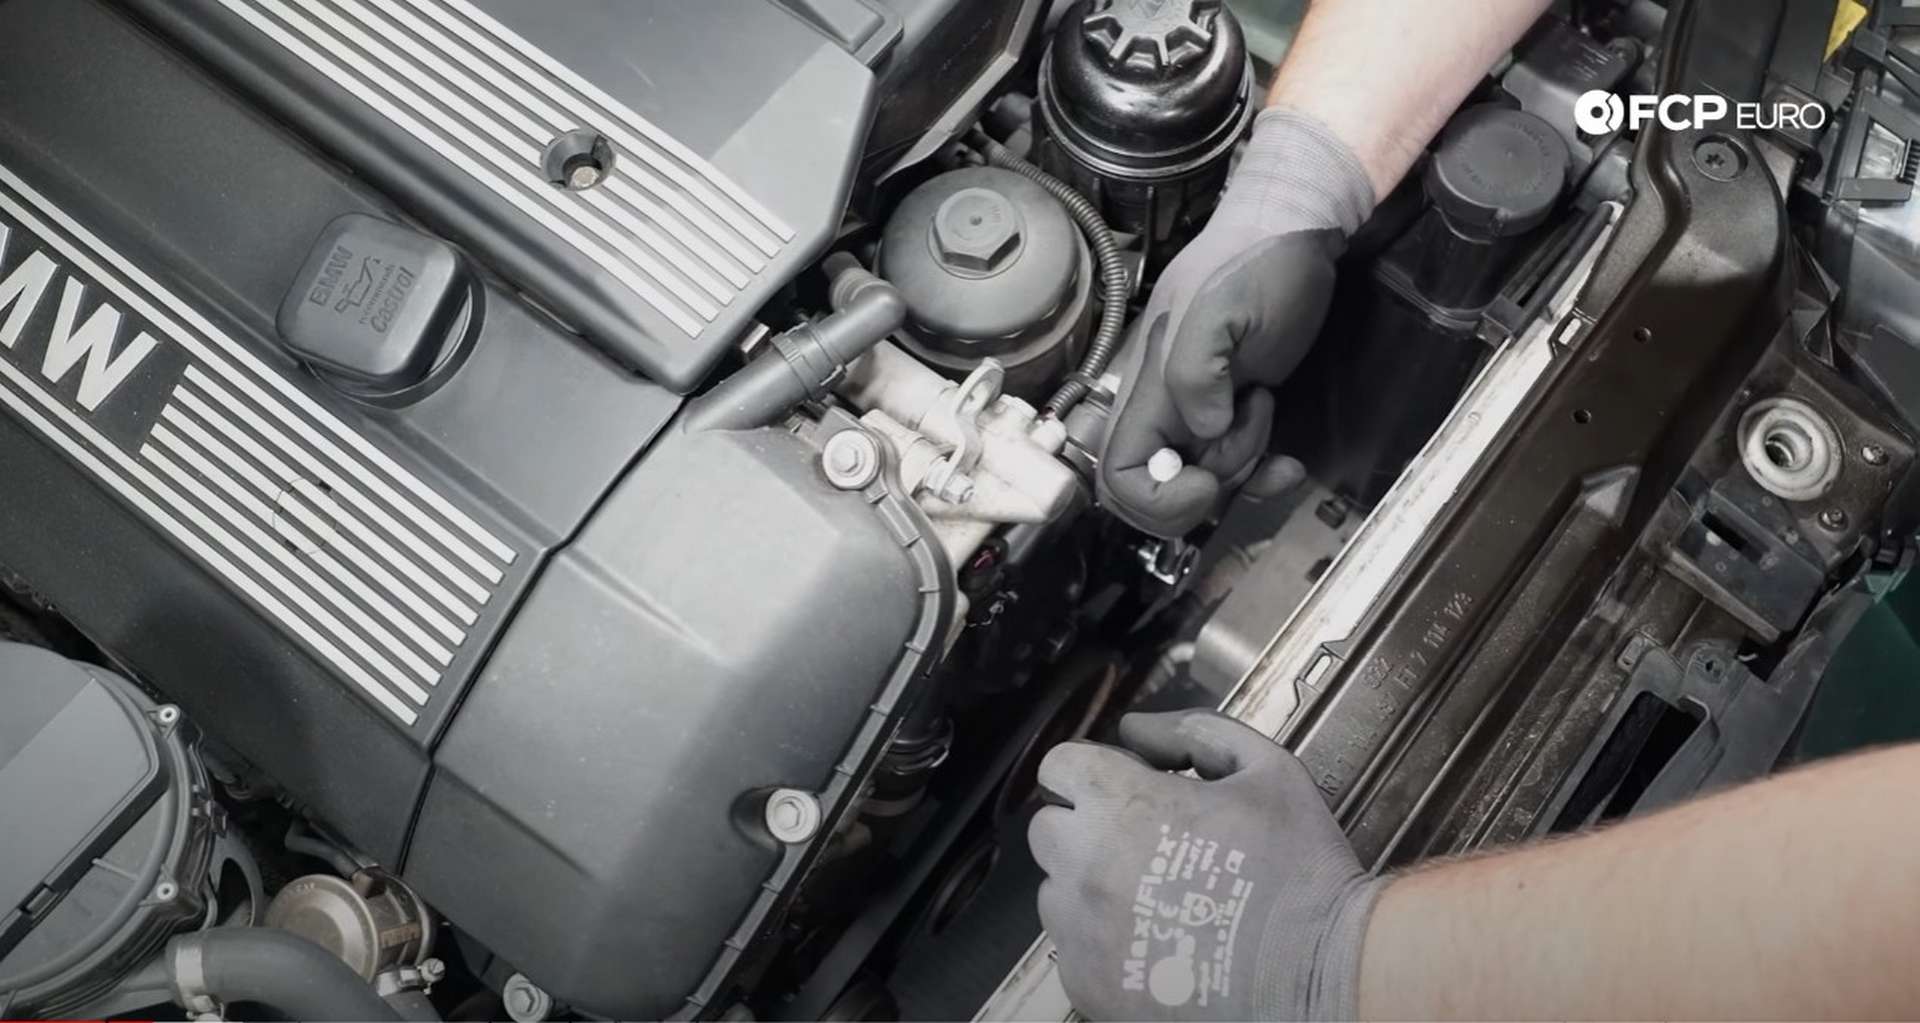
Then, fit the new gasket into the housing. With a clean sealing surface on the engine block, you can reinstall the housing. Guide the housing back into place. Use the dowels to align the housing and get it sitting in place.
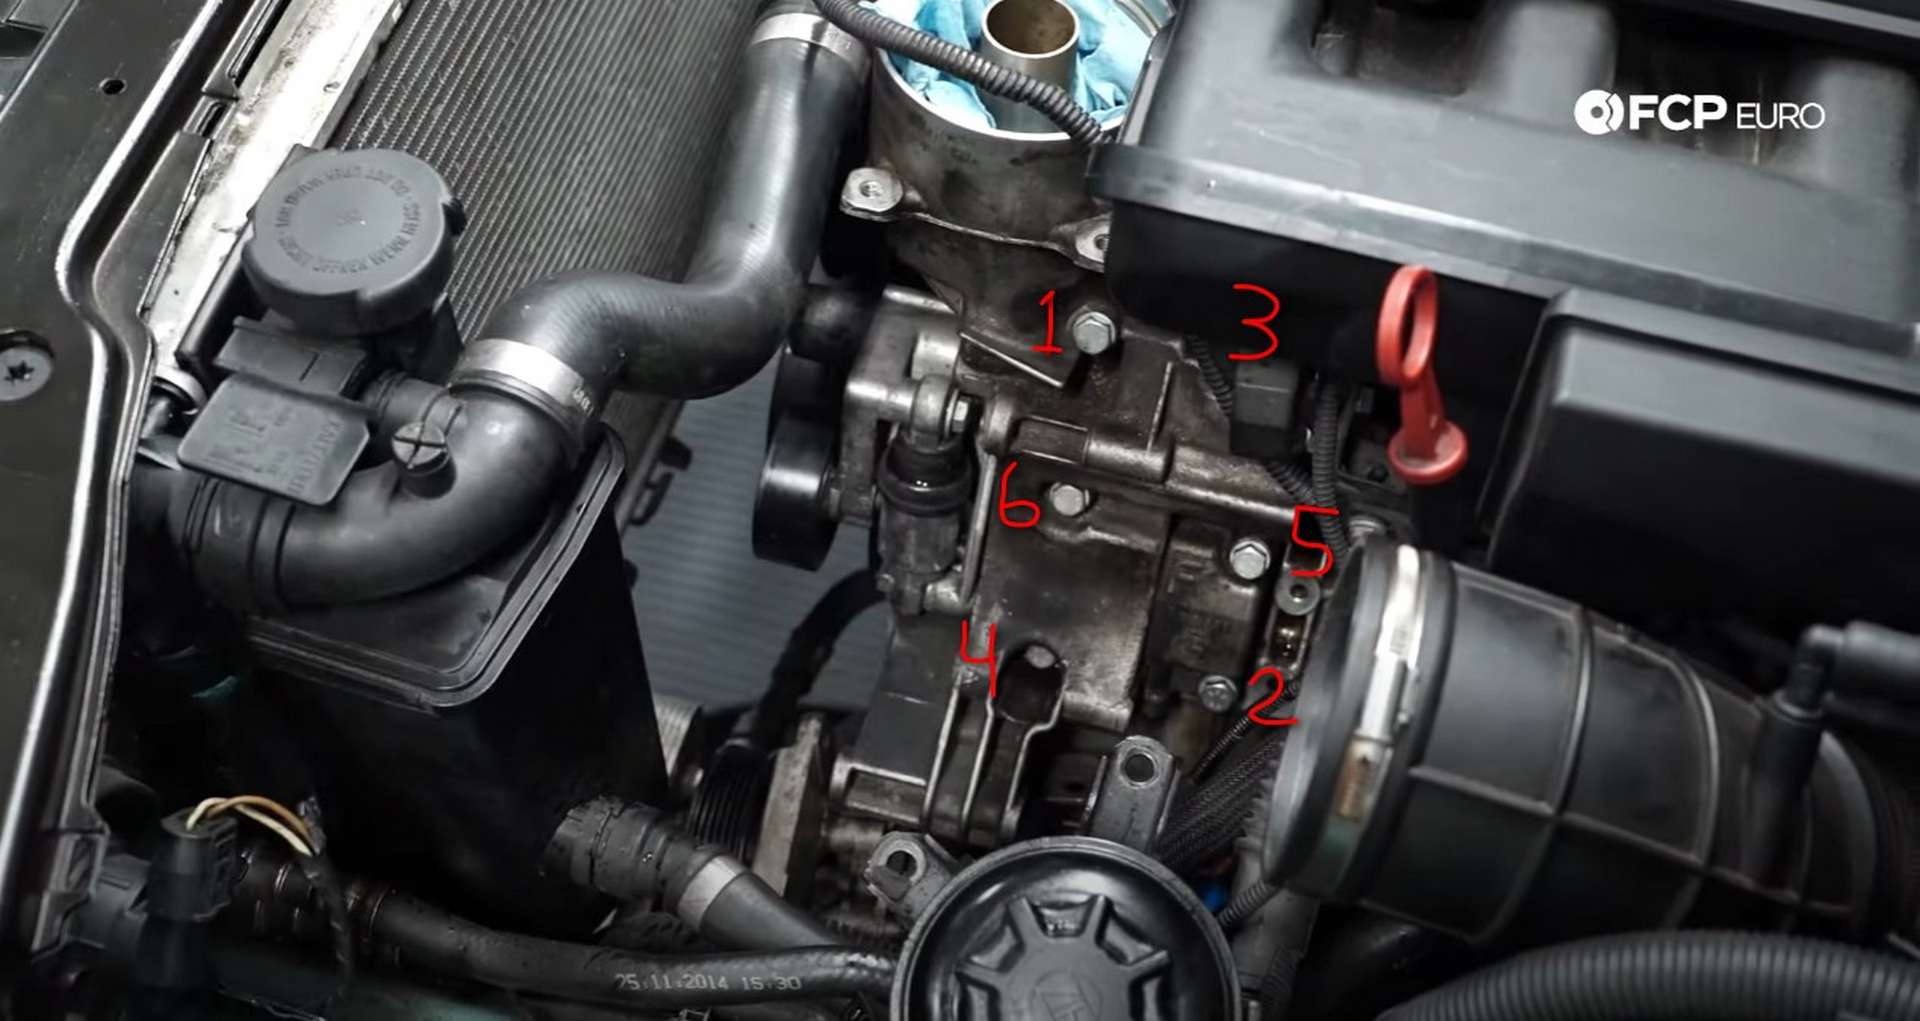
The gasket kit comes with new zinc-plated bolts to use for the oil filter housing. These are an upgrade as the zinc will prevent galvanic corrosion from occurring. There are three different length bolts used for the housing with specific locations. The longest bolt goes into the top left hole.
The two medium length bolts sit in the housing's two middle holes, and the three small bolts go into the other three holes.
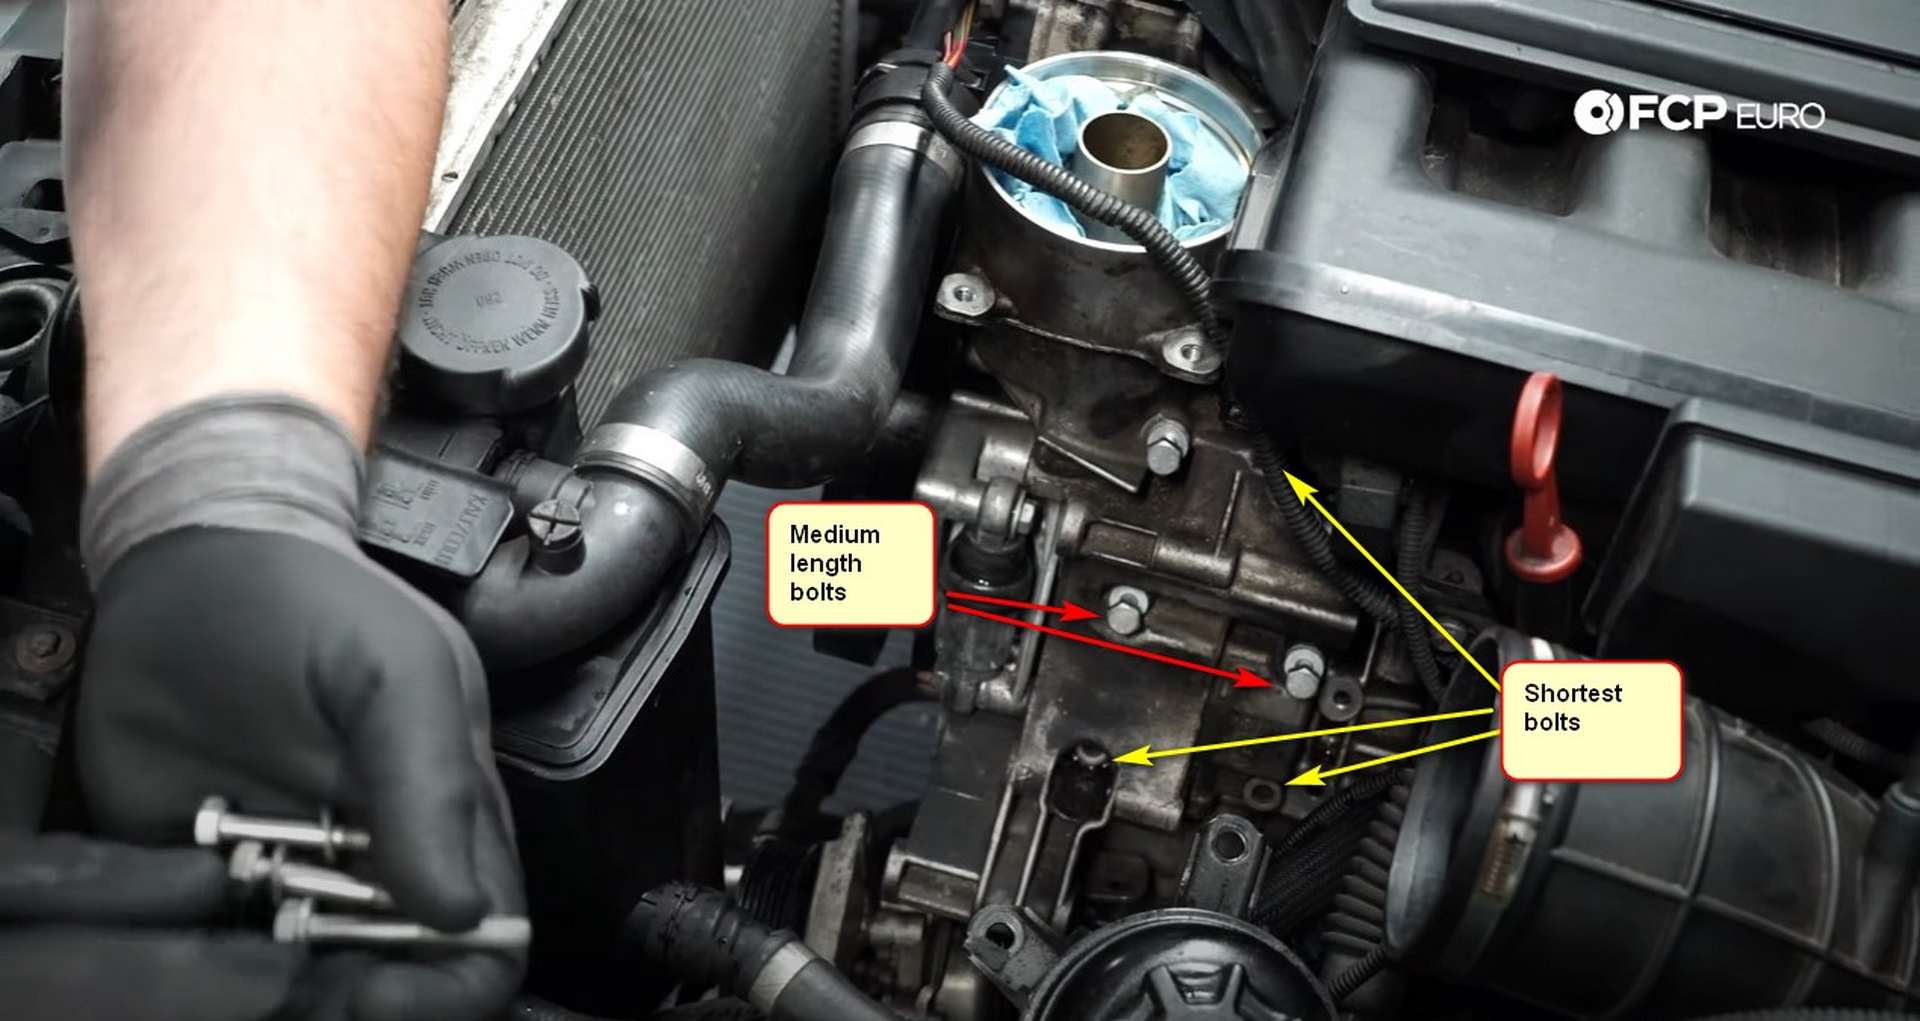
Use your fingers or a small, quarter-drive ratchet to thread in the bolts to prevent cross-threading them. Then, step up to a bigger ratchet to tighten them down. There is no torque spec for these bolts, so just make them tight. Tighten them in the sequence below to ensure a proper seal from the gasket.
After that, install the banjo bolt and crush washers for the VANOS line's upper fitting. Thread the bolt in by hand before tightening it with a 19mm wrench. Then, reach around behind the housing and tighten the other banjo bolt with the 19mm wrench.
Lastly, reconnect the wiring harness to the oil pressure switch and the oil pressure sensor.
Step 6: Reinstall the ancillaries
Reach down and reinstall the power steering pump. Make sure all three bolts thread in easily before tightening any of them down with a 13mm wrench or ratchet.
Next, refit the alternator into the engine bay. Getting the alternator to sit in place is a tedious and cramped task. Use the lower mounting bolt to align the alternator and allow it to pivot in place.
Thread it in by hand to prevent cross-threading and then drive it in 95% with a 16mm socket. Then, move to the back of the alternator and align the cooling duct. After that, reattach the power lead and connect the wiring harness to the voltage regulator. Use a 17mm wrench to snug the plastic nut for the power lead.
Next, reinstall the idler pulley, whose bolt also acts as the top mounting bolt for the alternator. Use a 16mm socket to tighten this bolt and finish tightening the lower alternator bolt.
Use a T50 socket to rotate the tensioner and release its tension so you can refit the belt. Then refit the caps to the pulleys. Lastly, move the power steering reservoir back into place and tighten its two mounting bolts with a 13mm socket.
Step 7: Reinstall the fan assembly and intake
Refitting the fan is one of the trickier parts of this job. You need to slide the fan and the shroud into the engine bay together. Then, push the fan up against the threaded stud on the water pump while using the wrench to start the threads.
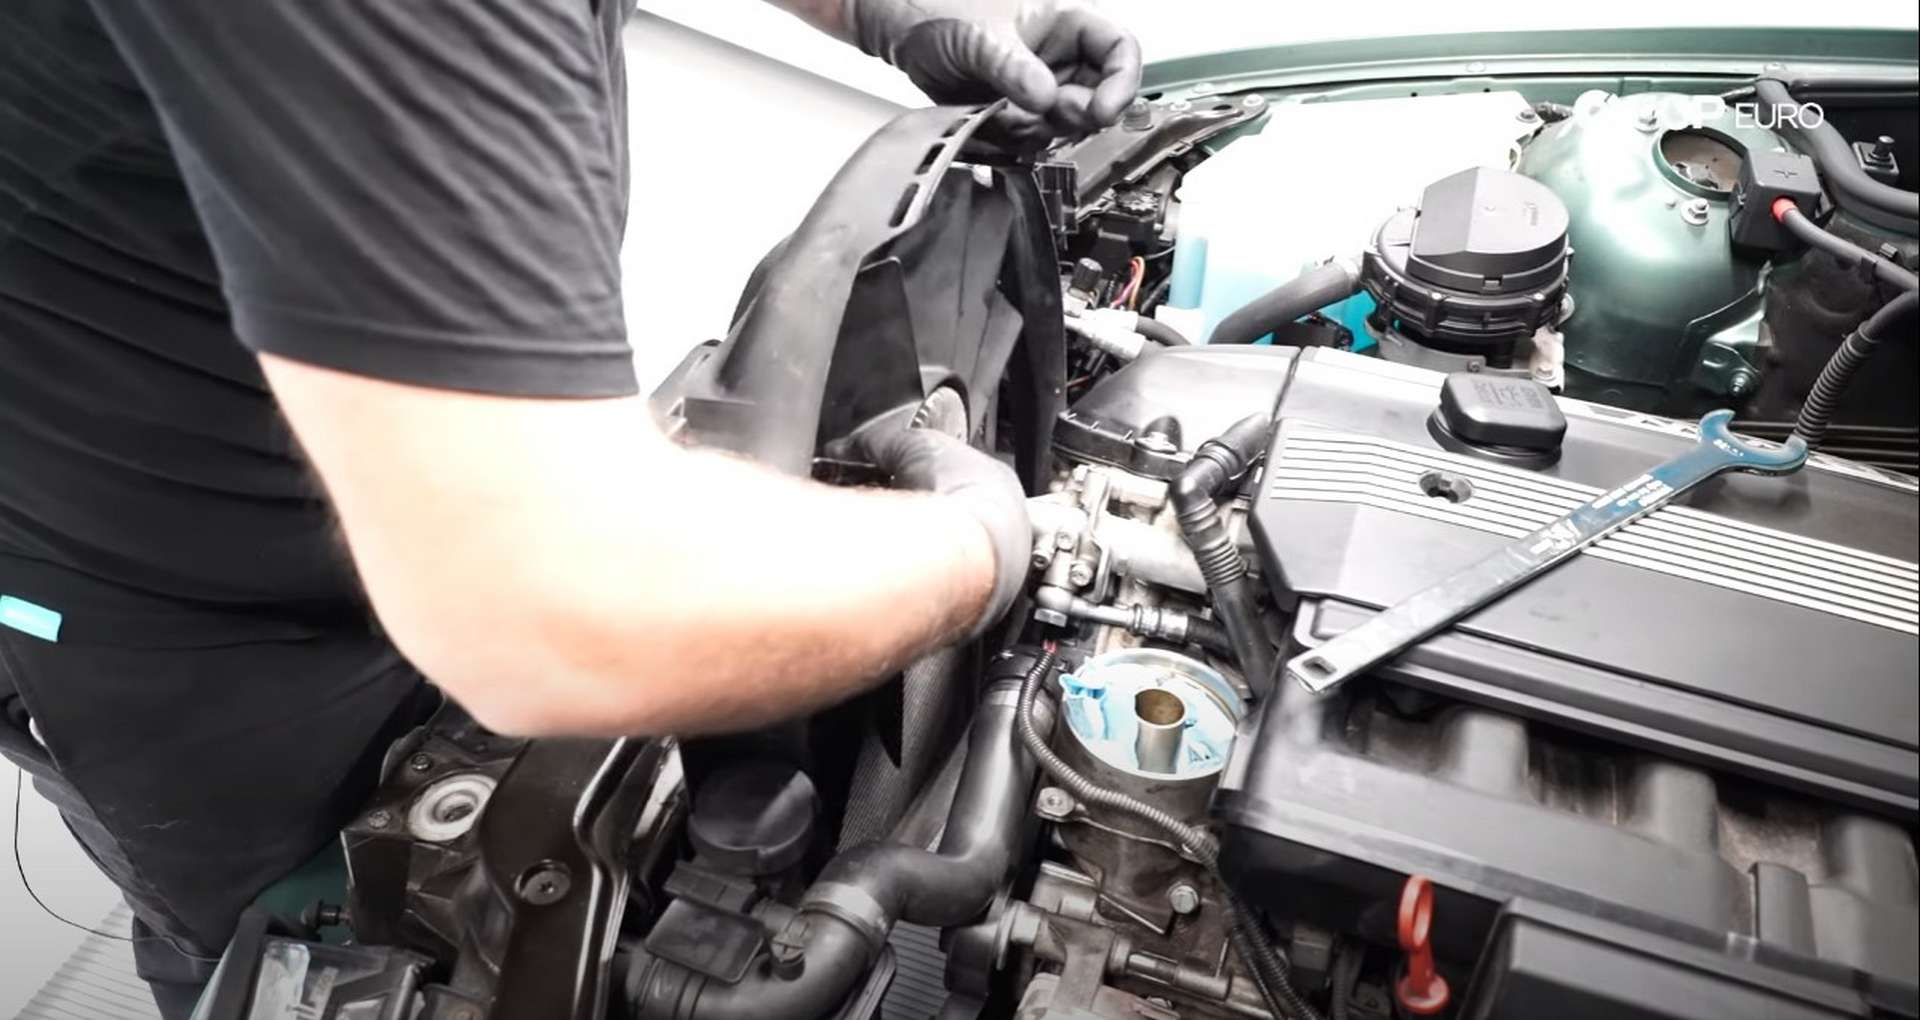
Once the threads are started, the fan will thread on easily. Remember, the fan uses reverse threads. With the fan on the water pump, install the pop rivet and fastener that mount the fan shroud to the radiator support. After that, reconnect and refit the wiring at the top of the passenger's side of the shroud.
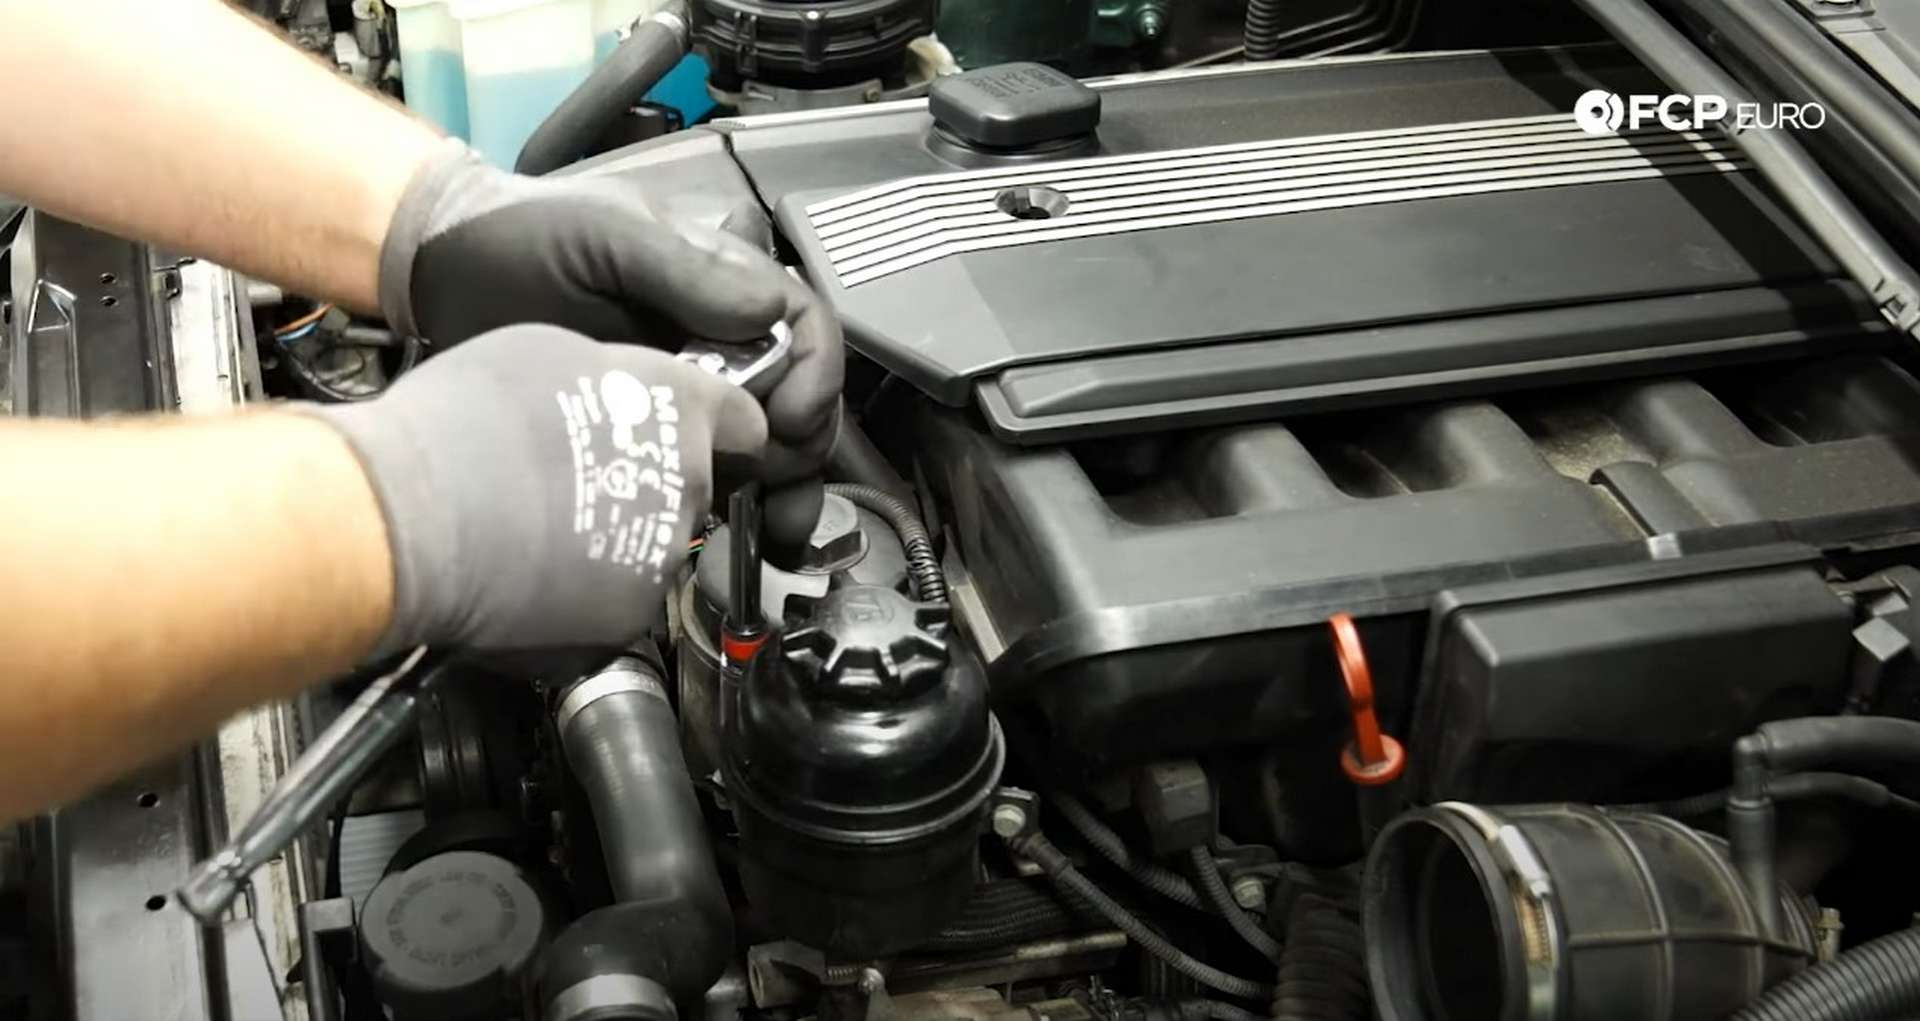
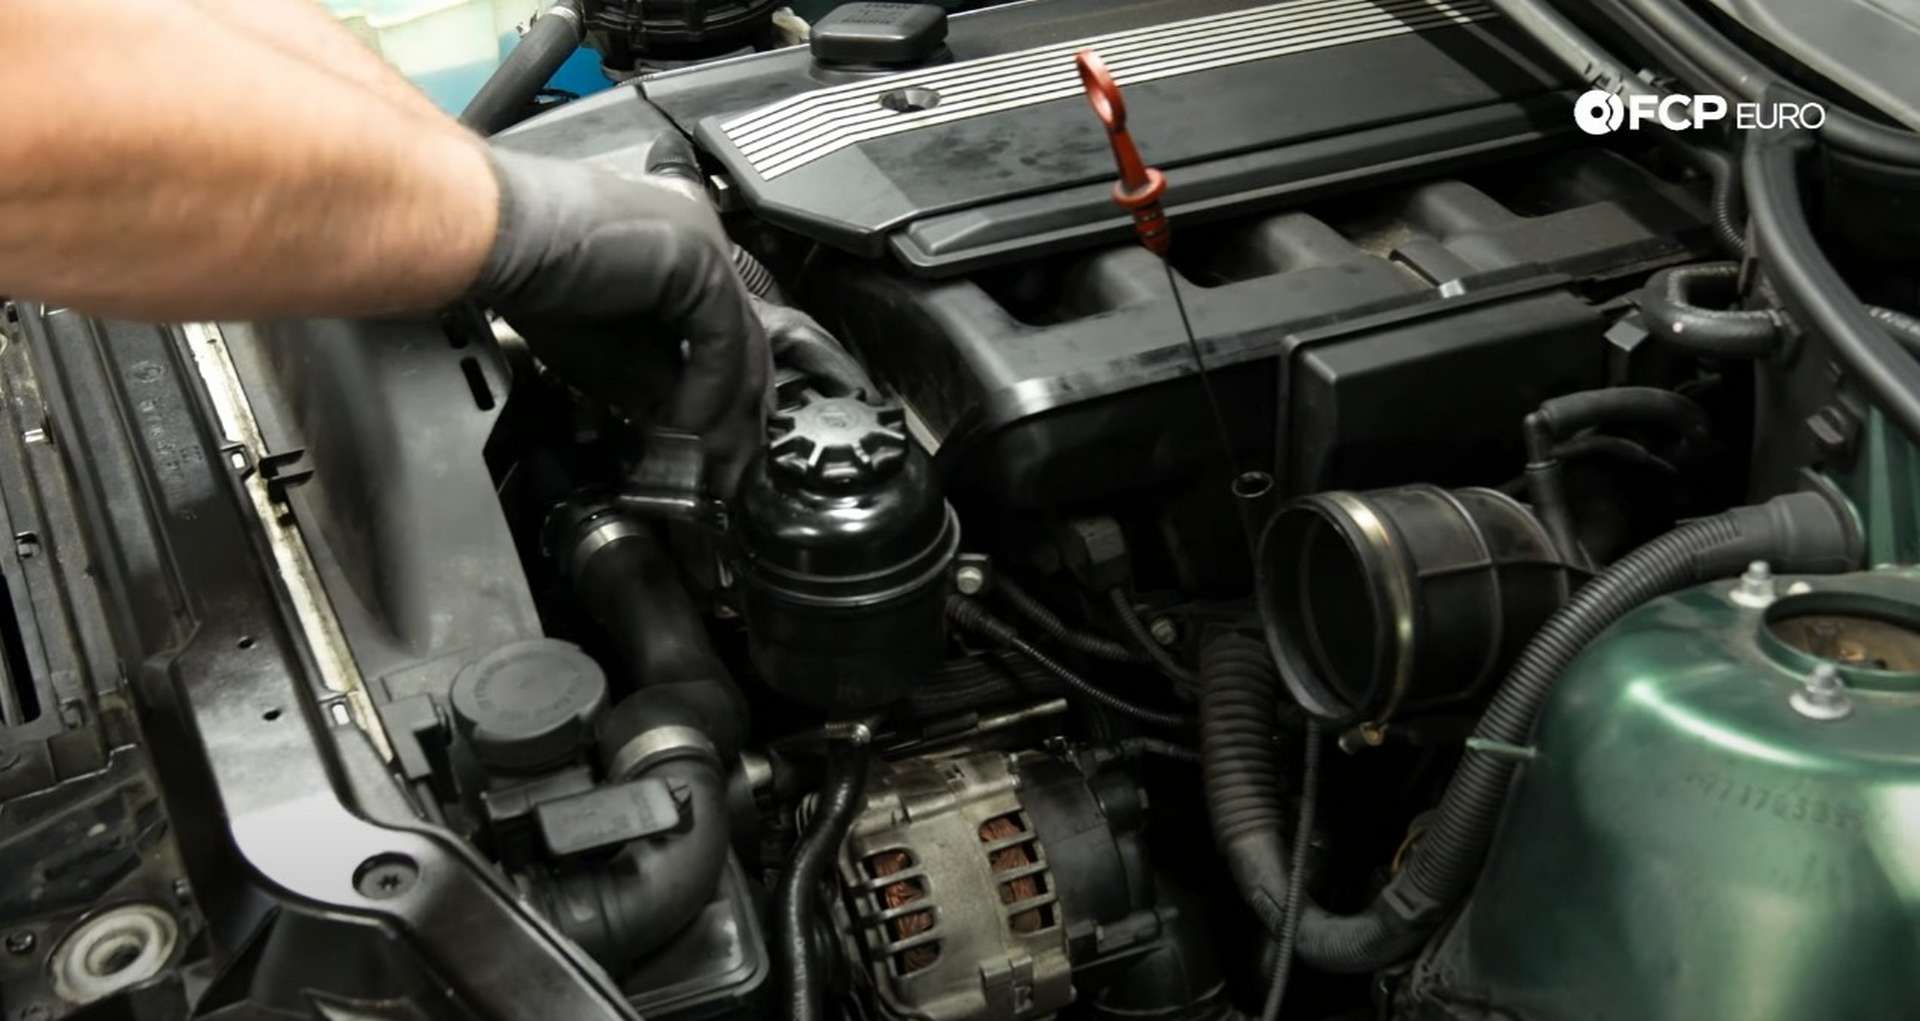
Now would also be a good time to replace the oil filter if you haven't done so already. Use the 36mm socket to tighten the oil filter housing cap.
Next, Refit the airbox into the engine bay. Connect the intake hose to the airbox and make sure that the two mounting bolt holes line up with the chassis' threaded holes. Use a 10mm socket to tighten the two mounting bolts intake hose clamp. Reconnect the mass airflow sensor, too.
Then refit the airbox snorkel. Connect it to the airbox first before installing its pop rivets.
Step 8: Refill the car with oil
Head back under the car and fit a new crush washer to the oil drain plug. Then use a 17mm socket to tighten the drain plug.
After that, remove the oil filler cap from the valve cover and pour in all seven liters of oil supplied in the kit. Refit the cap once all of the oil is in the engine. Then, start the car and check for any leaks. Let the car run and get up to temperature before you confirm that no leaks are present.
Finally, get back under the car and reinstall the splash shield. Use a Phillips-head screwdriver to install the fasteners and use pop rivets to secure it to the bumper. Also, refit the drain cover and secure it to the reinforcement plate with its fastener.
And that should take care of any leaks coming from the oil filter housing and VANOS line. If you're interested in more DIYs for your BMW, you can visit bmw.fcpeuro.com and subscribe to our YouTube channel.


