- 07/13/2020
- 9 Min Read
- By: Christian Schaefer
How To Replace the Control Arms, Bushings, Ball Joints, Tie Rods, & End Links On A BMW E46 M3

A steering system is only as good as the condition of its parts, and every part of that system needs to articulate freely but in a controlled manner. When bushings and joints wear out, tolerances weaken, and the steering feel becomes diluted. For cars designed with high performance driving in mind, like the BMW E46 M3, precise steering feel and control is a must. Even when not pushed hard, the bushings and joints will eventually wear, leading to a need for replacement.
As these parts wear, you may not notice the effect; only when there is an excess of play does it become apparent. When it comes to replacement, there are several different options. BMW offers factory standard replacement parts, and aftermarket companies offer upgrades in flavors ranging from mild to wild. No matter what you’re driving preference is, these parts should be replaced once the mileage gets close to the six-figure mark. If you’d like to save yourself some money by doing the job yourself, follow along below.
BMW models and years applicable:
- 2001-2006 BMW M3 (E46)
Symptoms of worn front suspension bushings & ball joints on a BMW E46 M3:
- Vague steering feel
- Clunking when going over bumps
- Clunking when turning the wheel
- Darty steering under braking
You will be able to feel the worn out bushings through the steering wheel. The excessive play will cause the wheels to follow the bumps and ruts in the road while you hold the wheel straight. These issues can be exacerbated in the rain when hitting standing water. This very quickly ruins the impeccable handling of the BMW E46 M3 that we've come to love.
How long will it take to replace the front suspension bushings and ball joints on a BMW E46 M3?
Anyone located in an area that salts their roads may have a tougher time performing this job. A few of the nuts are tough to reach and are tightened with a lot of torque. Set aside a day to give yourself plenty of time to go slow and clean any corrosion.
Once the job is over, the car will need an alignment. You will need to have this done at a shop by a professional. The alignment process can take another hour on its own, so you will need to factor that time in as well.
What will it cost to replace the front suspension bushings and ball joints on a BMW E46 M3?
Several different components can be replaced on the front end of your BMW E46 M3. If you change them all at once, the cost of the parts will be between $700-1300. A dealership or independent shop will charge several hours of labor on top of that cost, plus the charge for an alignment. Expect to pay around $2000 all in to have someone do the work for you.
There are a few different ways to choose the parts. We offer both Lemforder and Genuine BMW parts. Genuine BMW parts will cost more, but Lemforder supplies BMW with its parts. You won’t be sacrificing quality whichever way you choose. Both BMW and Lemforder offer complete kits with everything you need, except for new steering rack boots and clamps. If your boots aren’t torn, they can be reused.
You can also buy the pieces individually. It won’t cost any more than the complete kit, and the tie rod kit will come with new boots and clamps. You can choose the BMW Z4M control arm bushings for an OEM upgrade. They will give you additional caster over the M3 bushings. Either way, you’ll need to press the new bushing onto the control arm. The tool required to do that is linked below.
Tools required to replace the front suspension bushings and ball joints on a BMW E46 M3:
- Impact Wrench/Gun
- 14mm Wrench
- 16mm Wrench
- 18mm Wrench
- 19mm Wrench
- 21mm Wrench
- 24mm Wrench
- 8mm Socket
- 13mm Socket
- 16mm Socket
- 17mm Socket
- 18mm Socket
- 19mm Socket
- 25mm Socket
- Ball Joint Separator (Pickle Fork)
- Channellocks
- Plier Set
- Hammer
- Ball Joint Separator (CTA-4013)
- BMW Control Arm Bushing Tool (CTA-8920)
- Ratchet
- Torque Wrench
Parts required to replace the front suspension bushings and ball joints on a BMW E46 M3:
Or
Steps required to replace the front suspension bushings and ball joints on a BMW E46 M3:
Step 1: Remove the splash shield and suspension reinforcement plate
You will need to remove the underbody protection to get to the front suspension. The plastic splash shield located in front of the reinforcement plate is secured to the car by six 8mm bolts. Remove the 8mm bolts and pull off the splash guard.
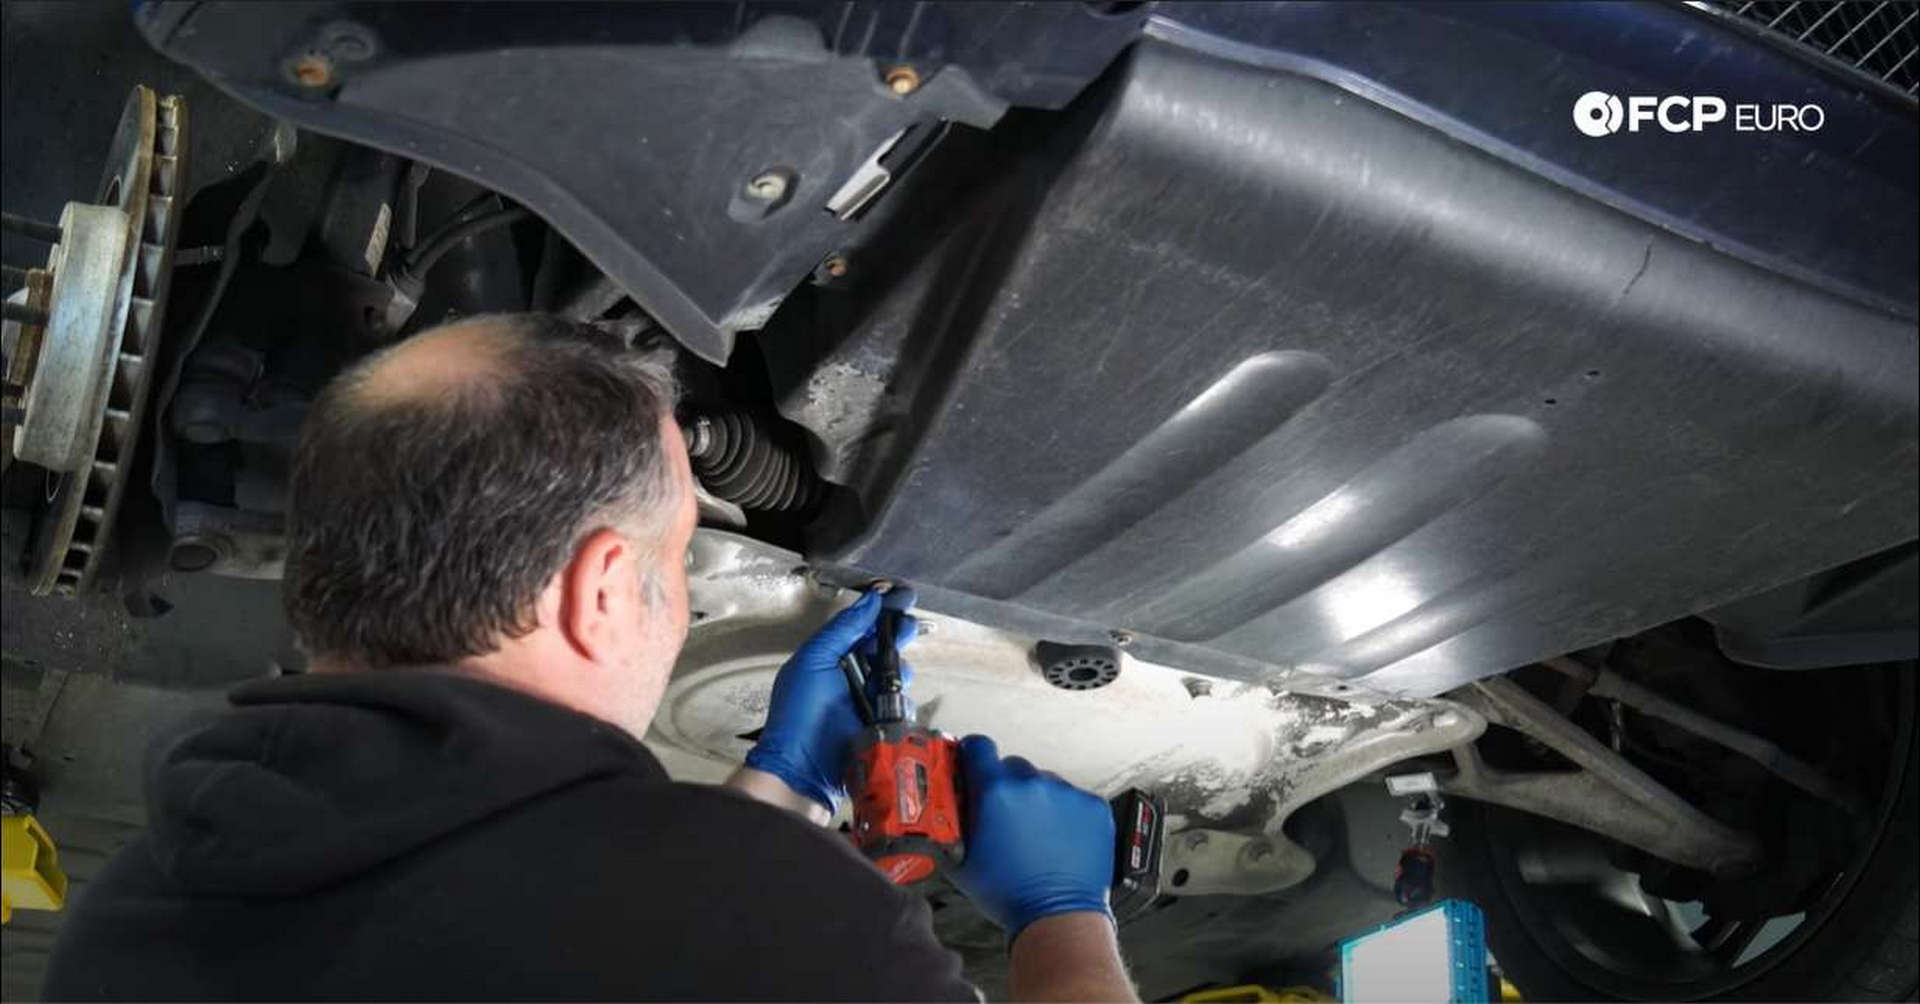
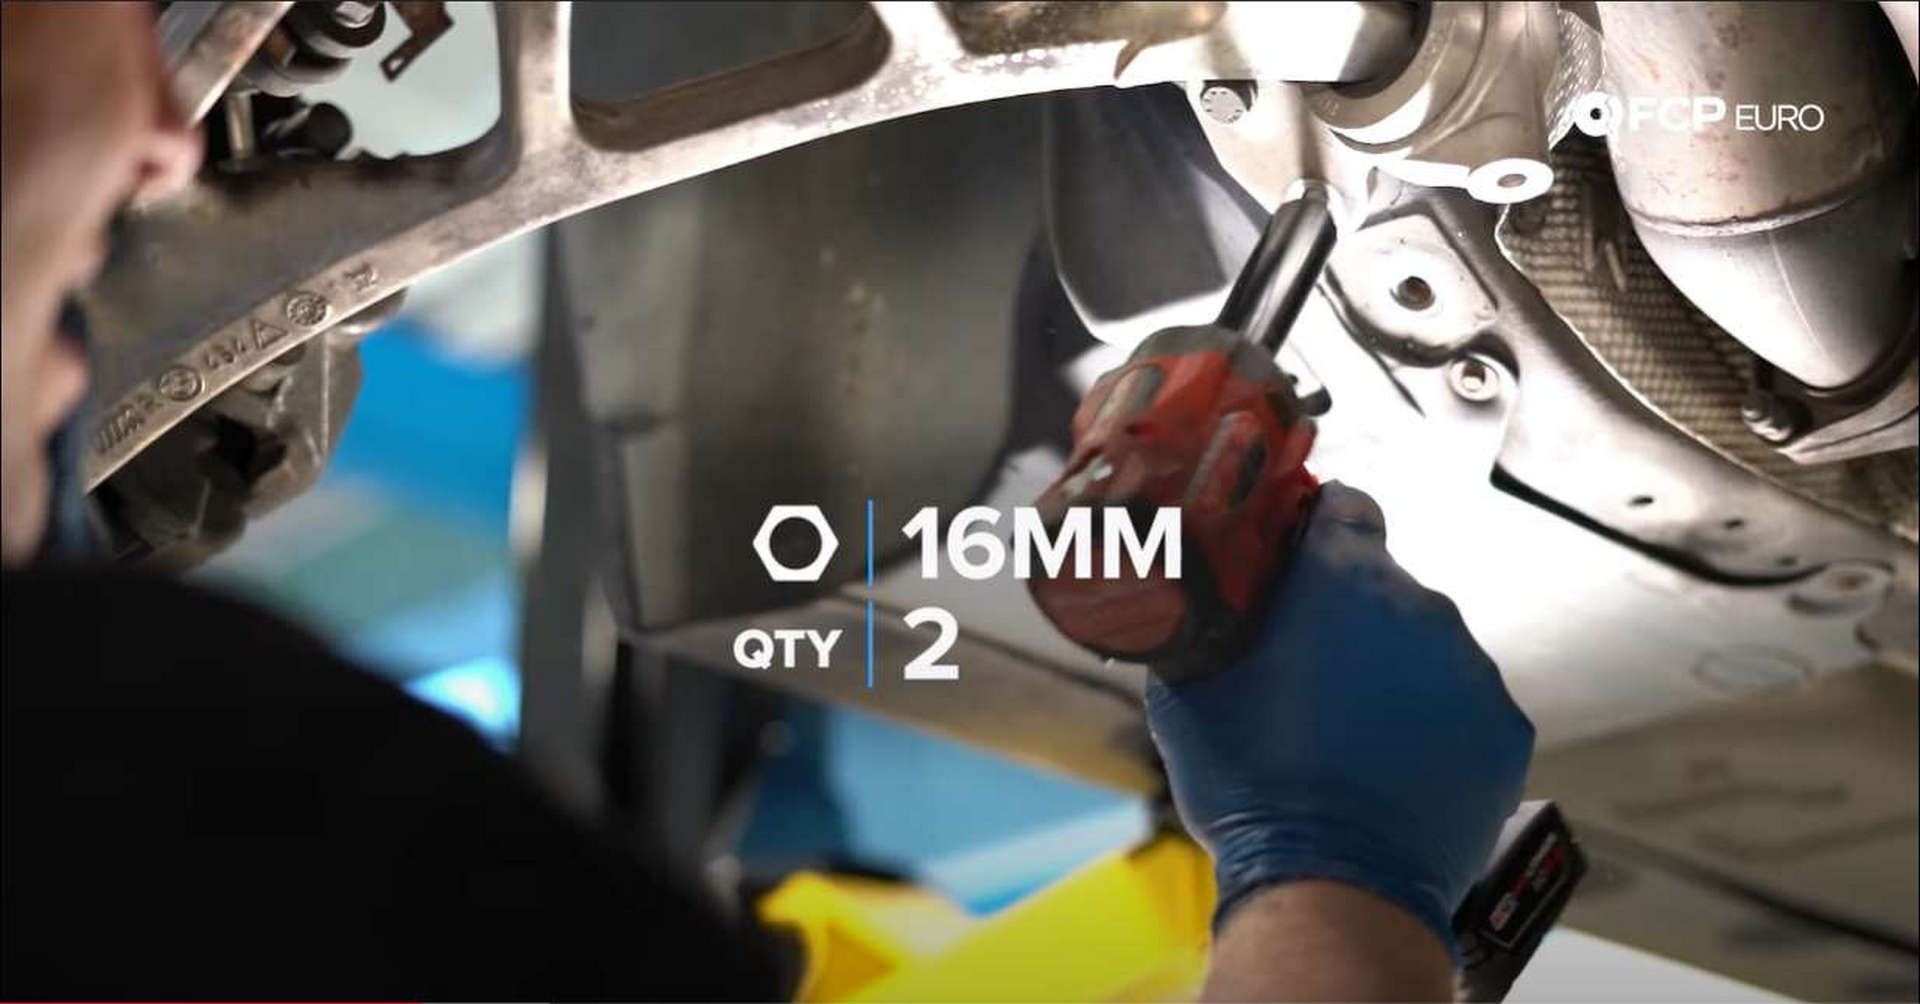
Next, remove the twelve 16mm bolts that secure the reinforcement plate to the suspension. There is also another plastic underbody panel connected to the rear of the reinforcement plate. Remove the three 8mm self-tapping screws to disconnect it from the plate.
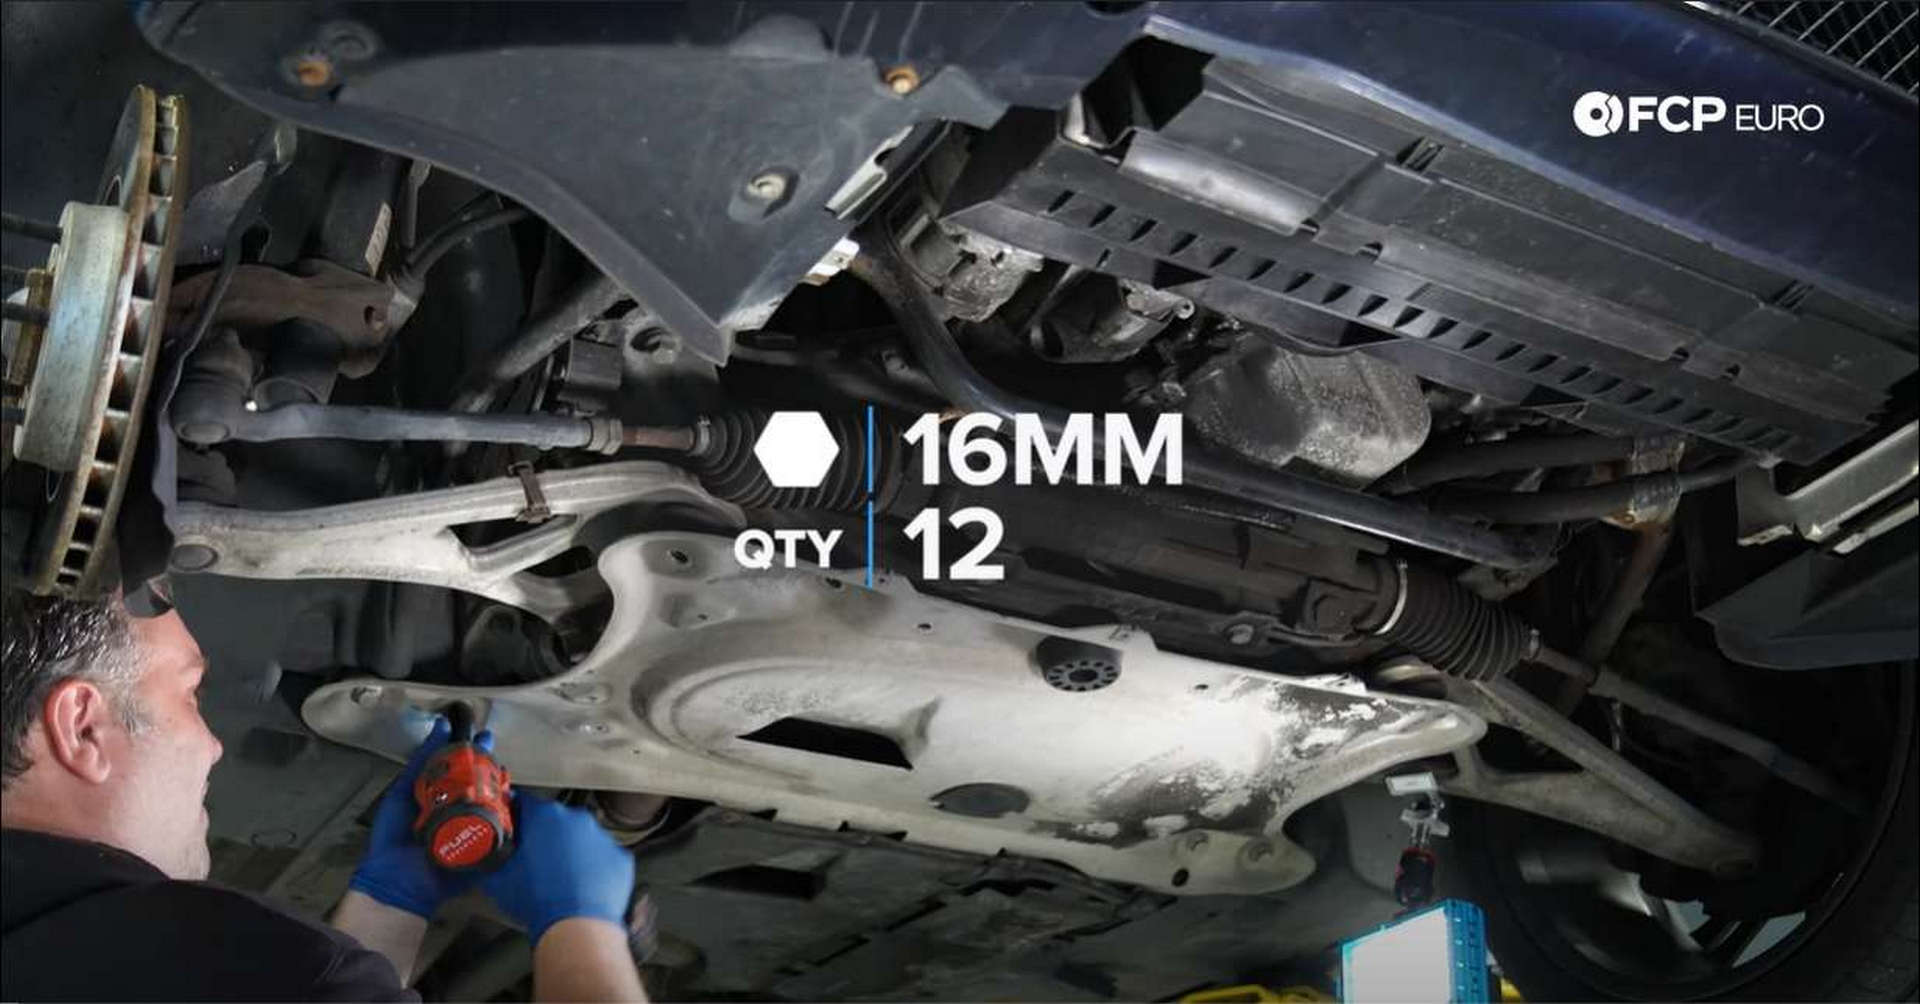
The plate is relatively heavy, so be careful when removing it.
Step 2: Remove the control arm
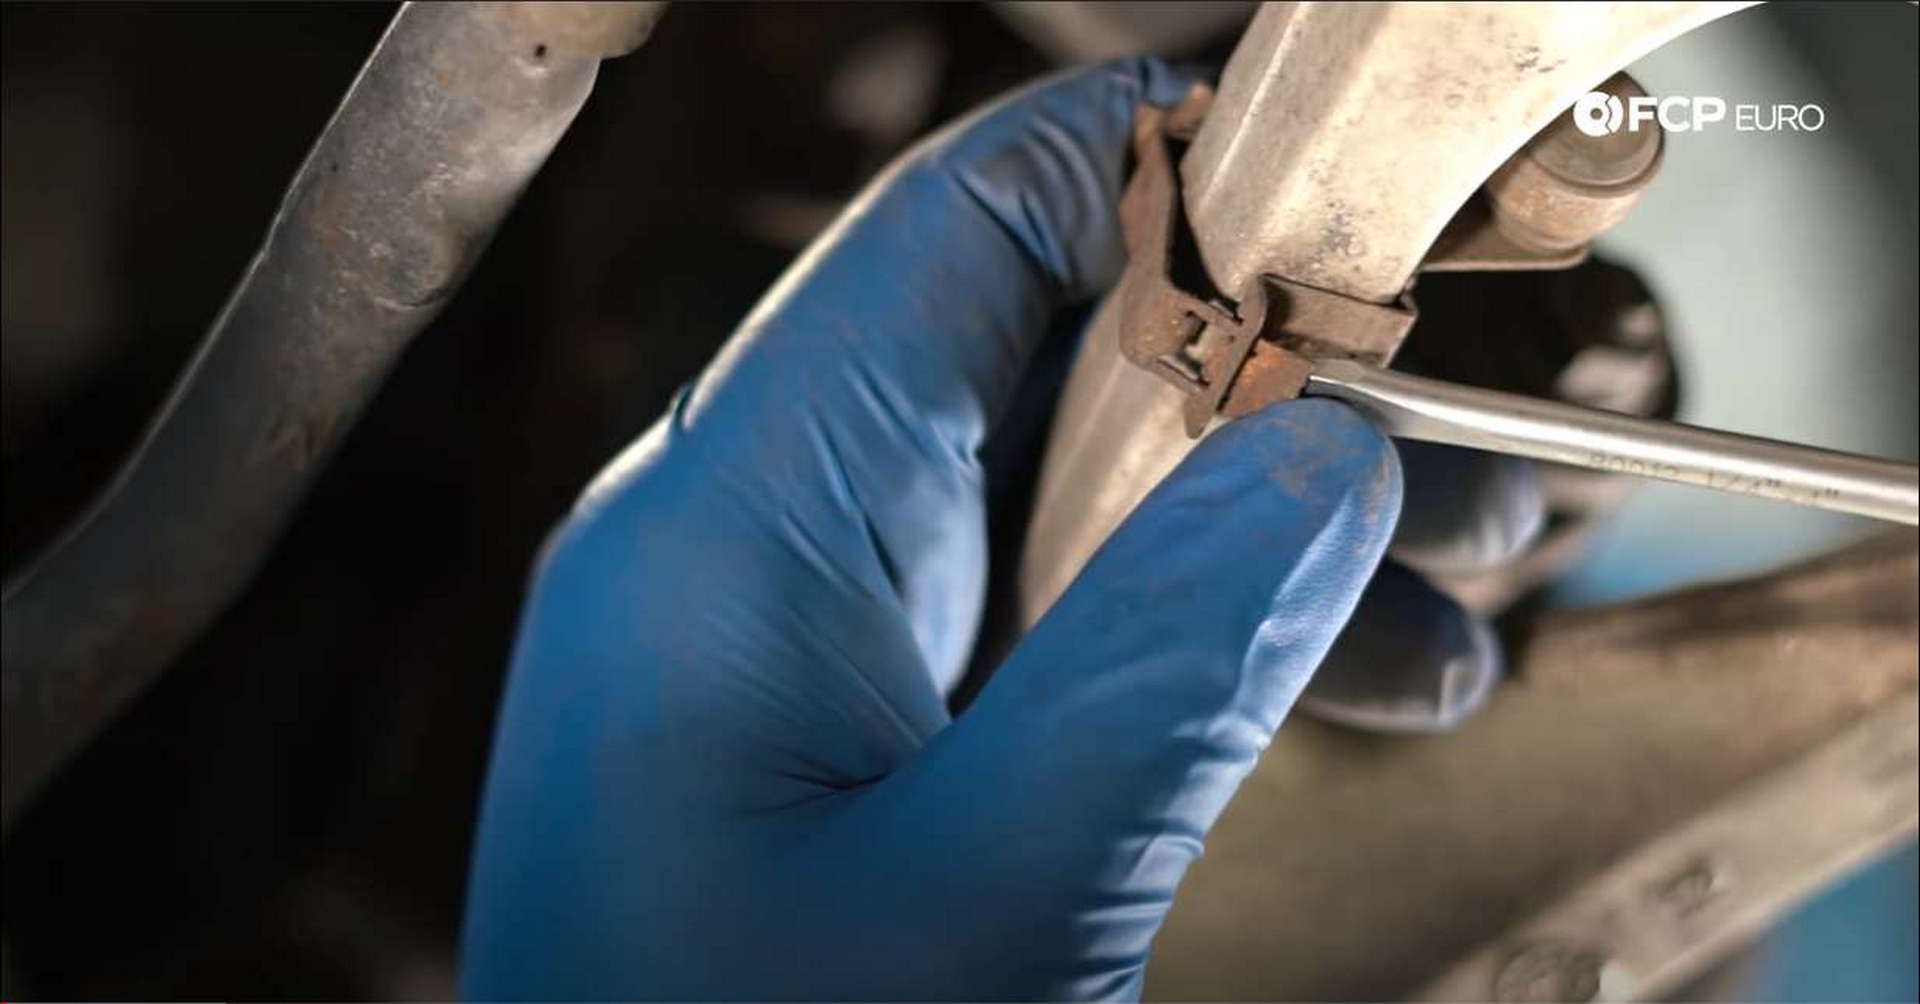
There will be a sensor mounted to the control arm if you have self-leveling headlights. Use a flat blade screwdriver to push down on the locking tab and open up the sensor bracket. Pull the sensor off of the control arm and move it aside.
If you don’t have an impact wrench, take an 18mm wrench and loosen the nut for the tie rod end ball joint. If you remove the control arm first, the wheel assembly will move around while you try to break the nut, free.
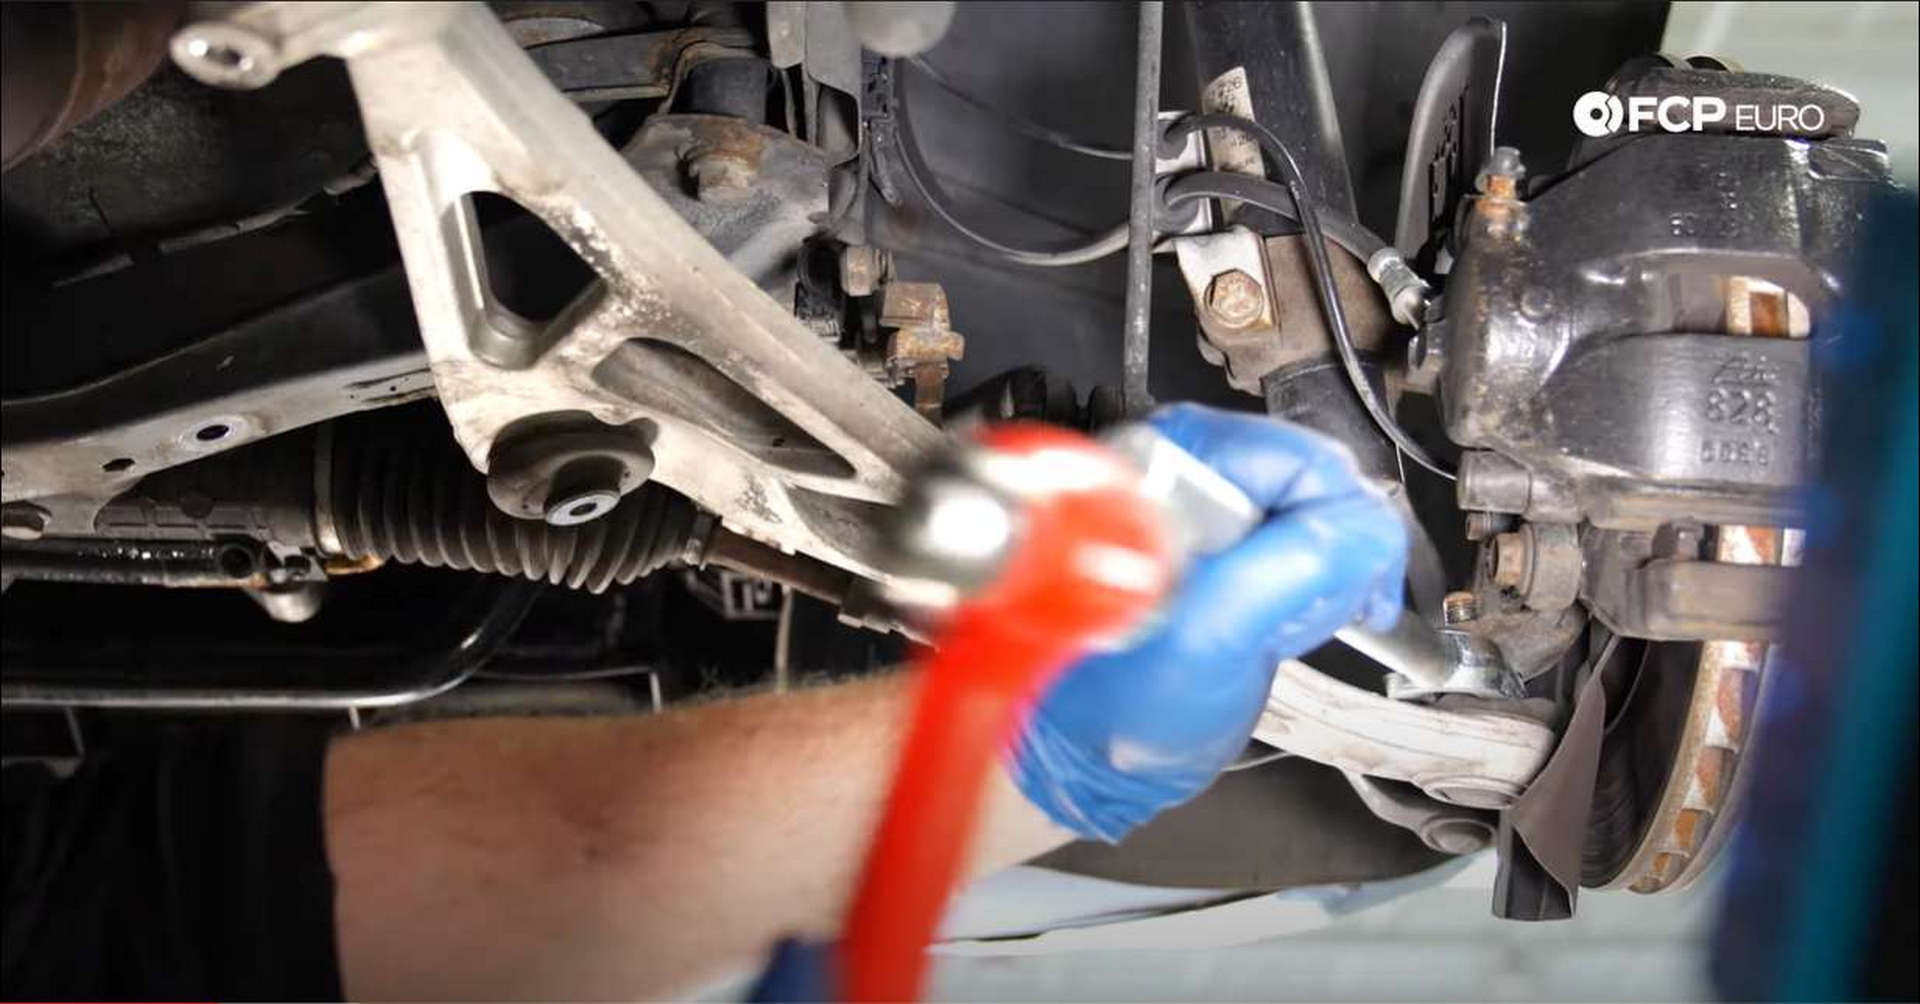
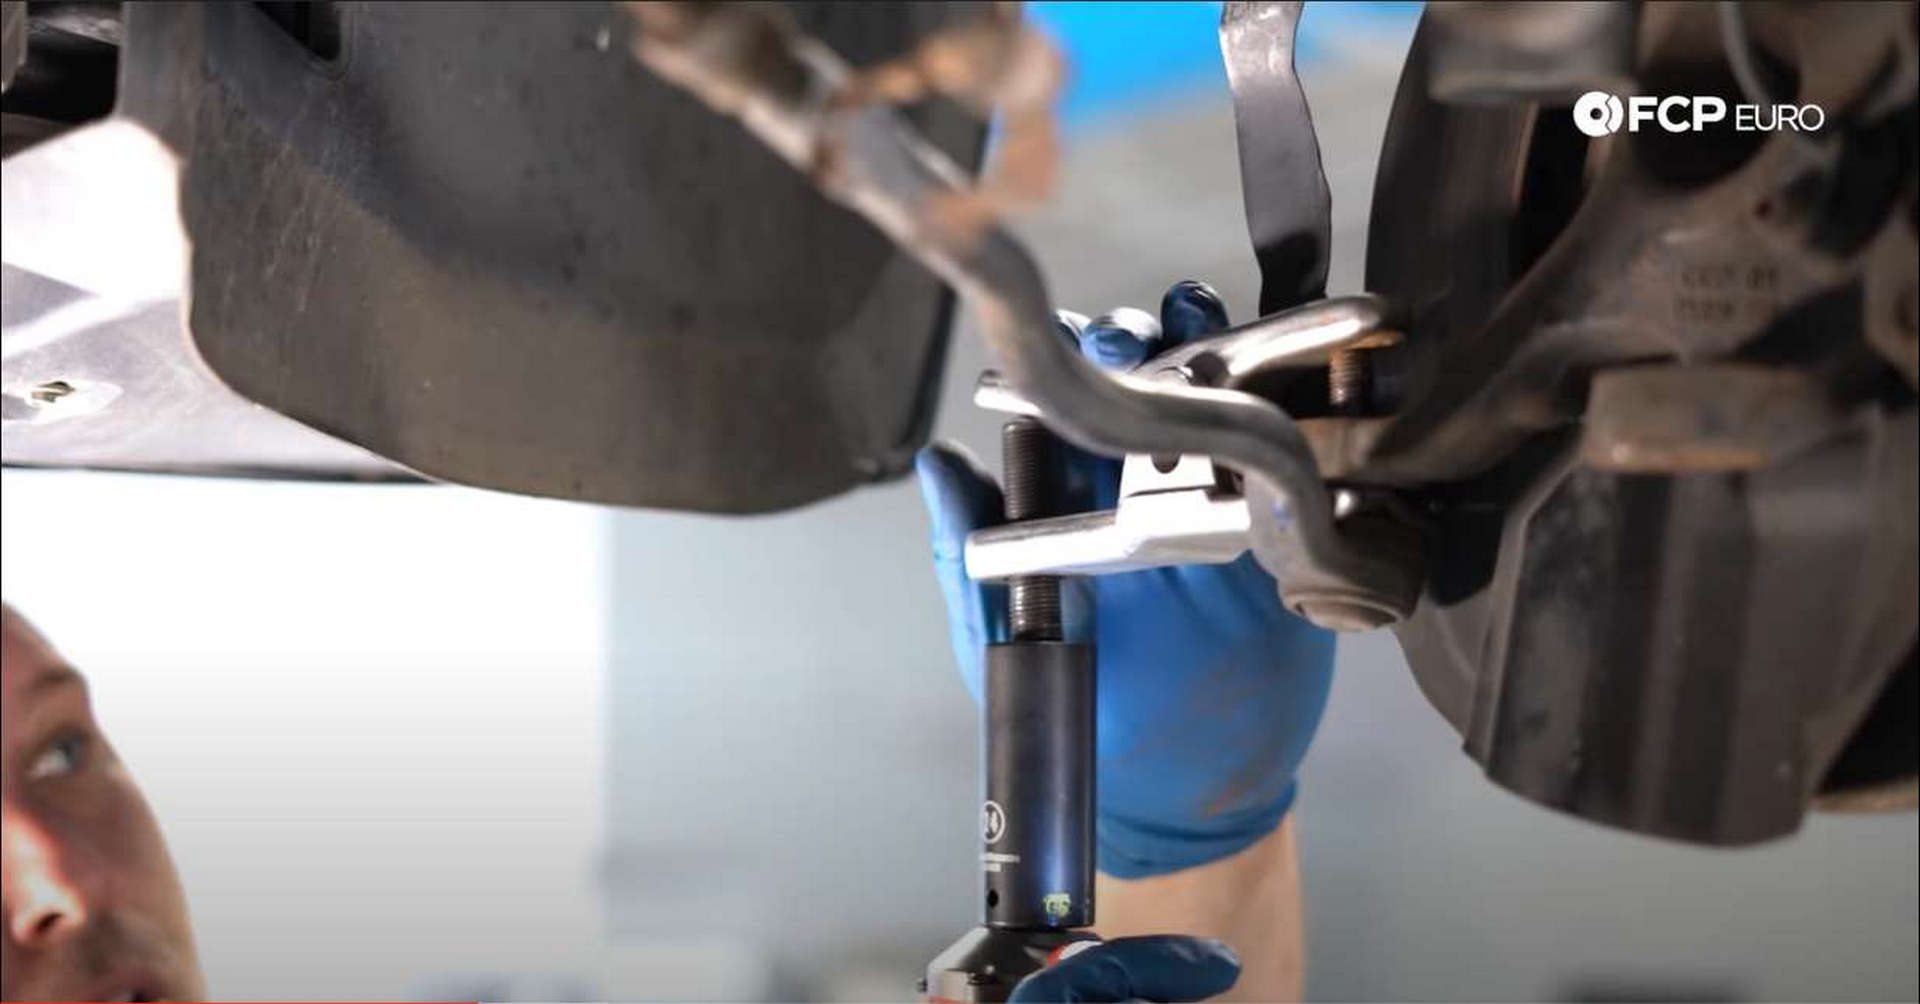
Next, take an 18mm wrench and remove the control arm’s outer ball joint nut. Because the ball joint is tapered, it will be firmly seated into the knuckle. Place the pickle fork in between the knuckle and the ball joint. Hit the end of the fork with a hammer to force it in between the ball joint and knuckle, separating them.
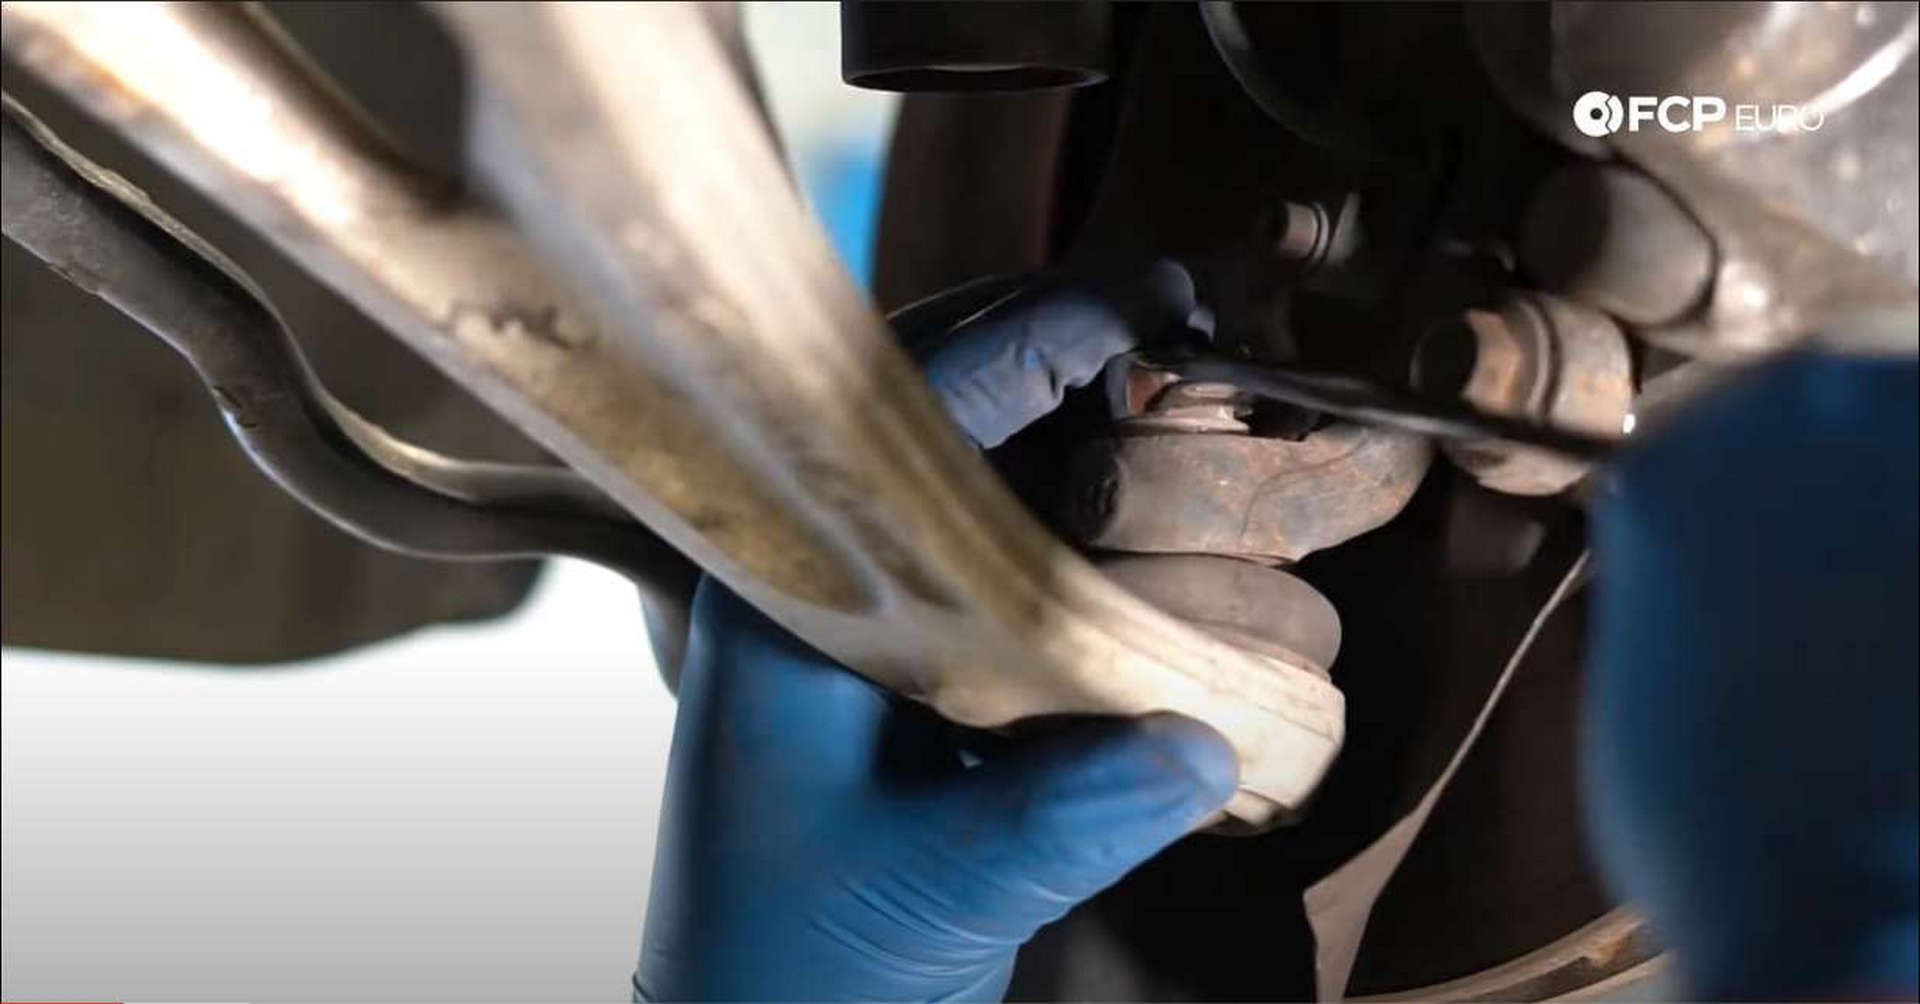
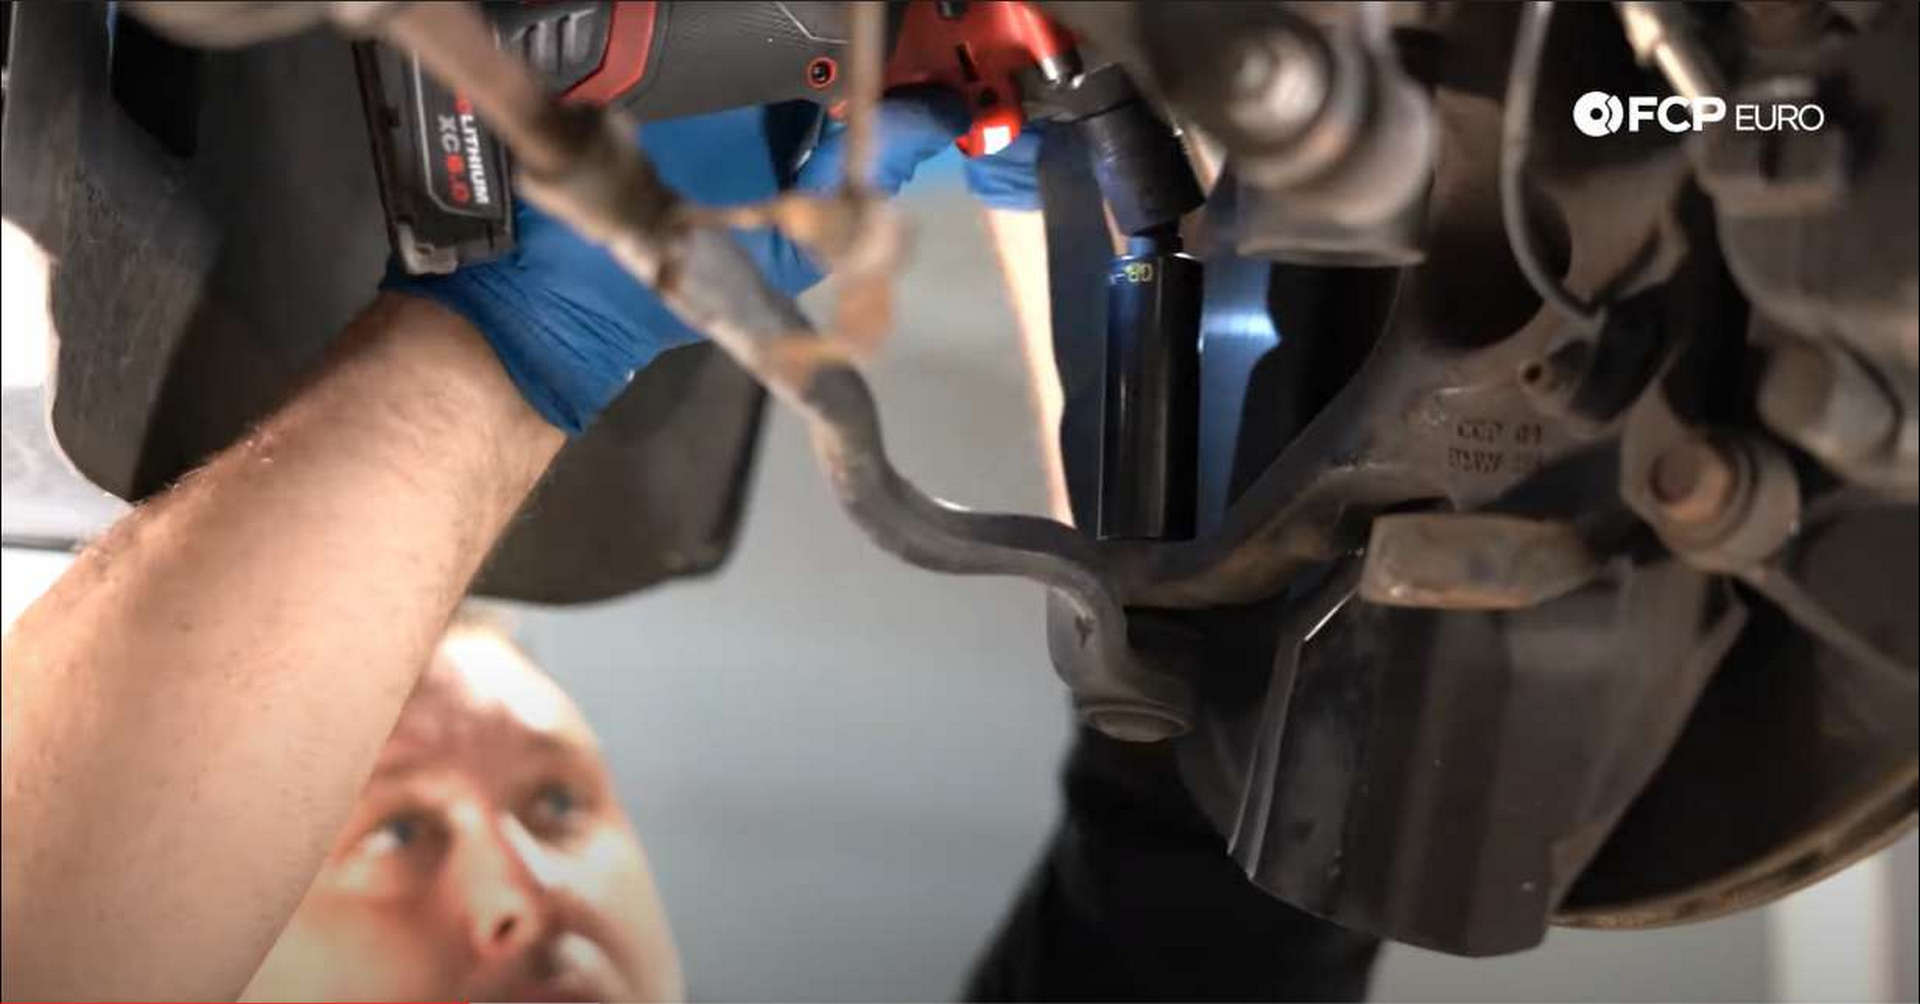
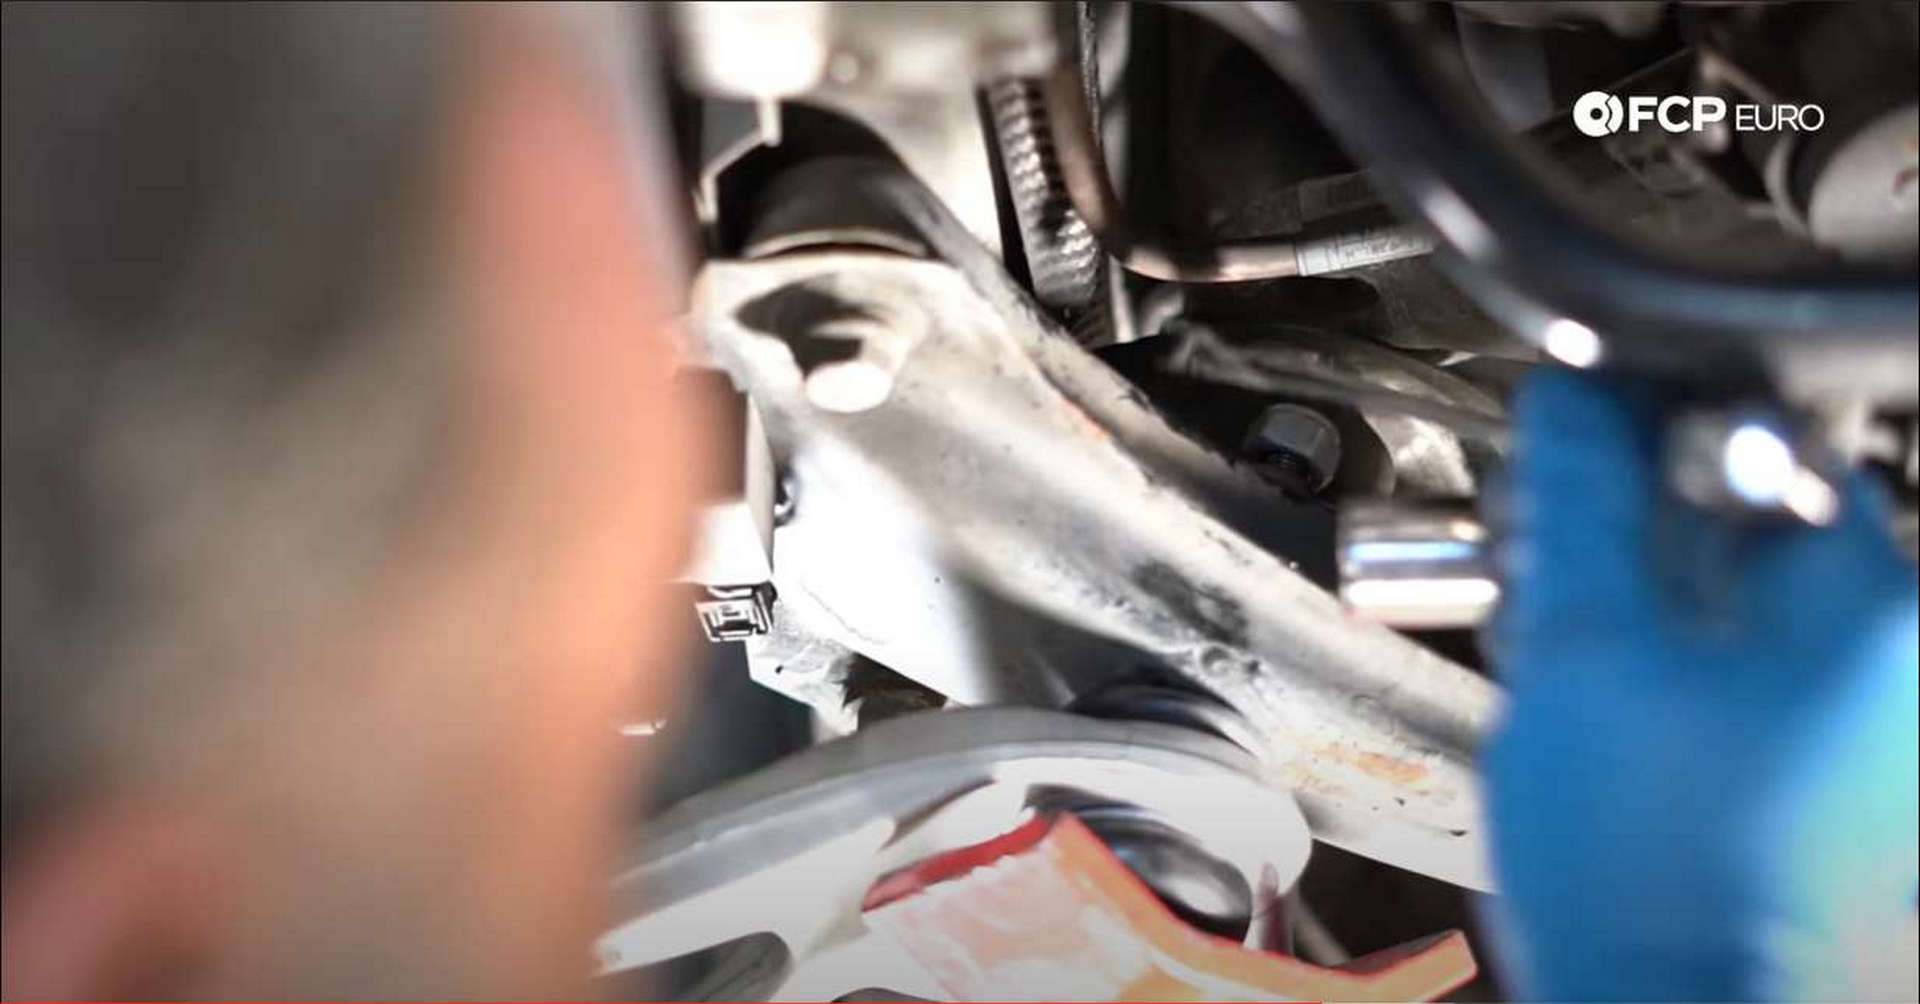
Now, move on to the inner ball joint and use a 21mm wrench to remove the nut. There isn’t a lot of space to work with to get to the nut. Removing the four 13mm bolts that mount the sway bar and pull it out if you need more access.
A flex head wrench will make the job slightly more manageable if you have access to one. Use the pickle fork to separate the ball joint from the subframe once the nut is off.
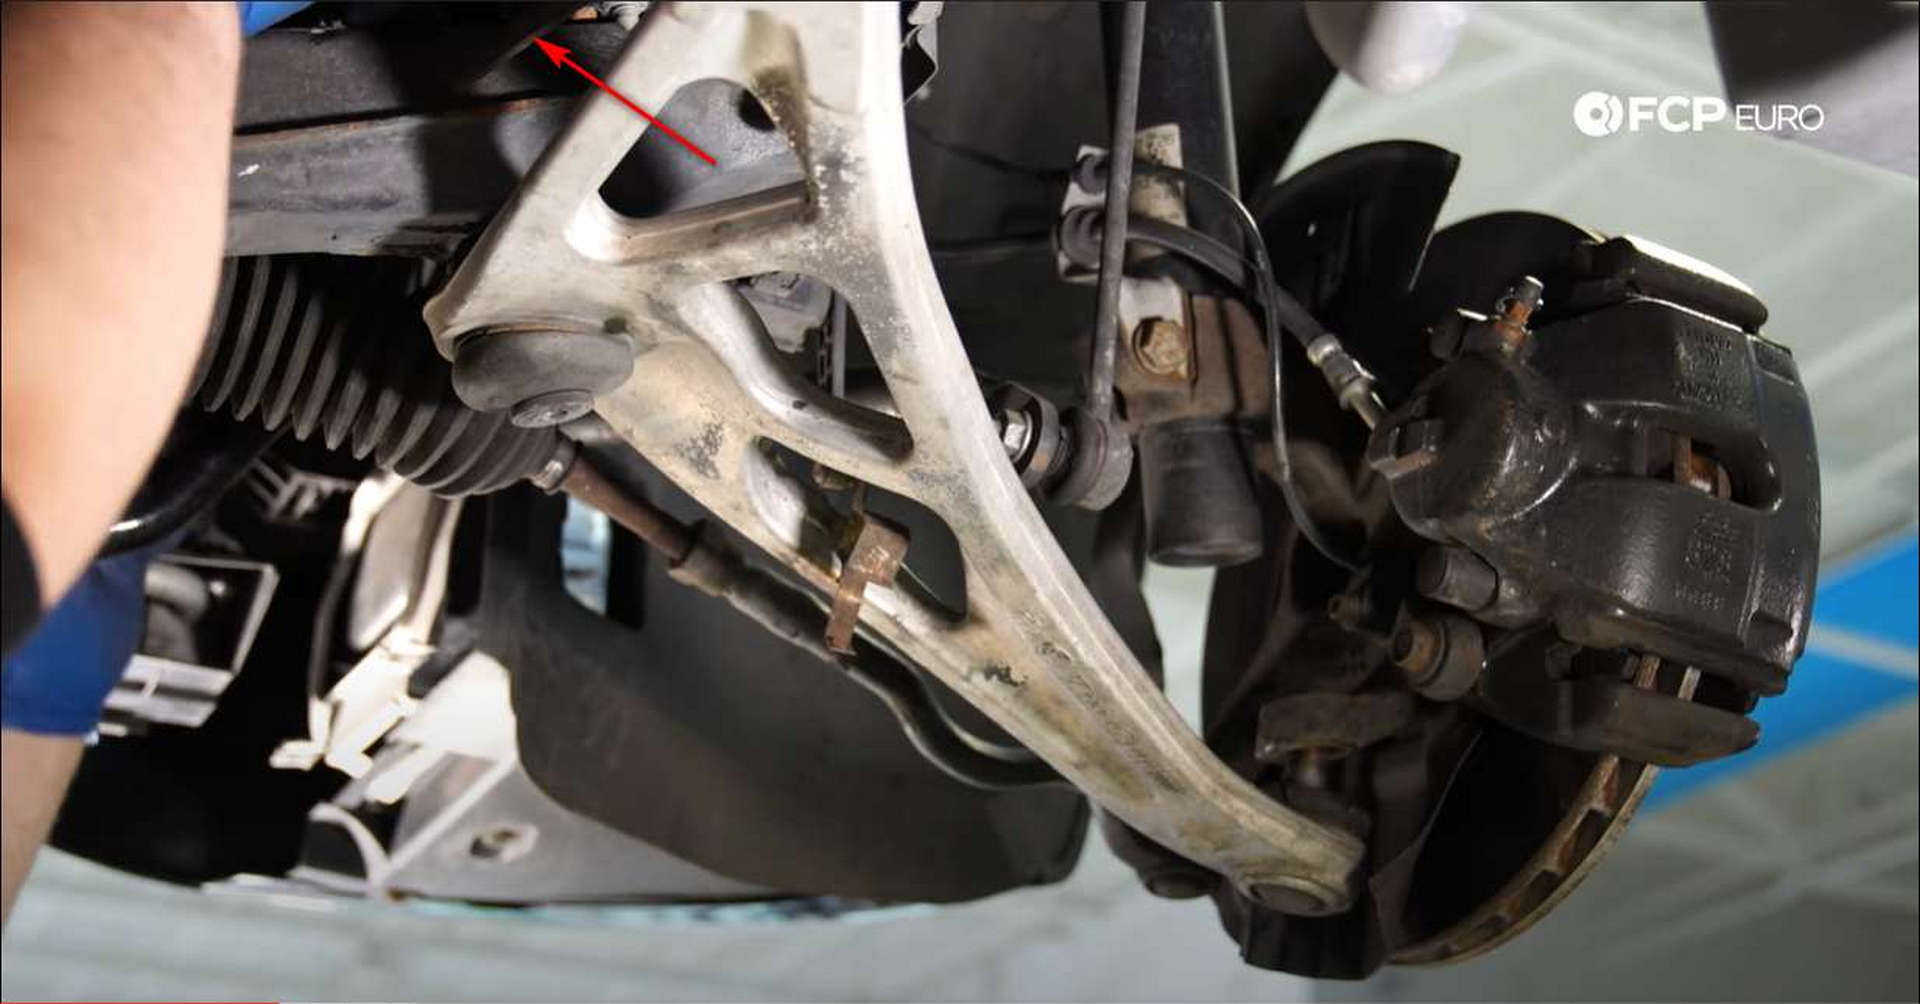
Lastly, remove the two 16mm bolts that hold the rear control arm bushing to the chassis.
Step 3: Remove the tie rod assembly
If you haven’t done so already, use an 18mm socket and impact wrench to remove the nut for the tie rod end ball joint. Once the nut is off, you can get the tie rod end out of the knuckle a couple of different ways. If you have the scissor style ball joint tool, CTA-4013, go ahead and use that. If not, take a hammer and beat on the top of the threads until it is freed. Using a torch to heat the knuckle will help when using the latter method.
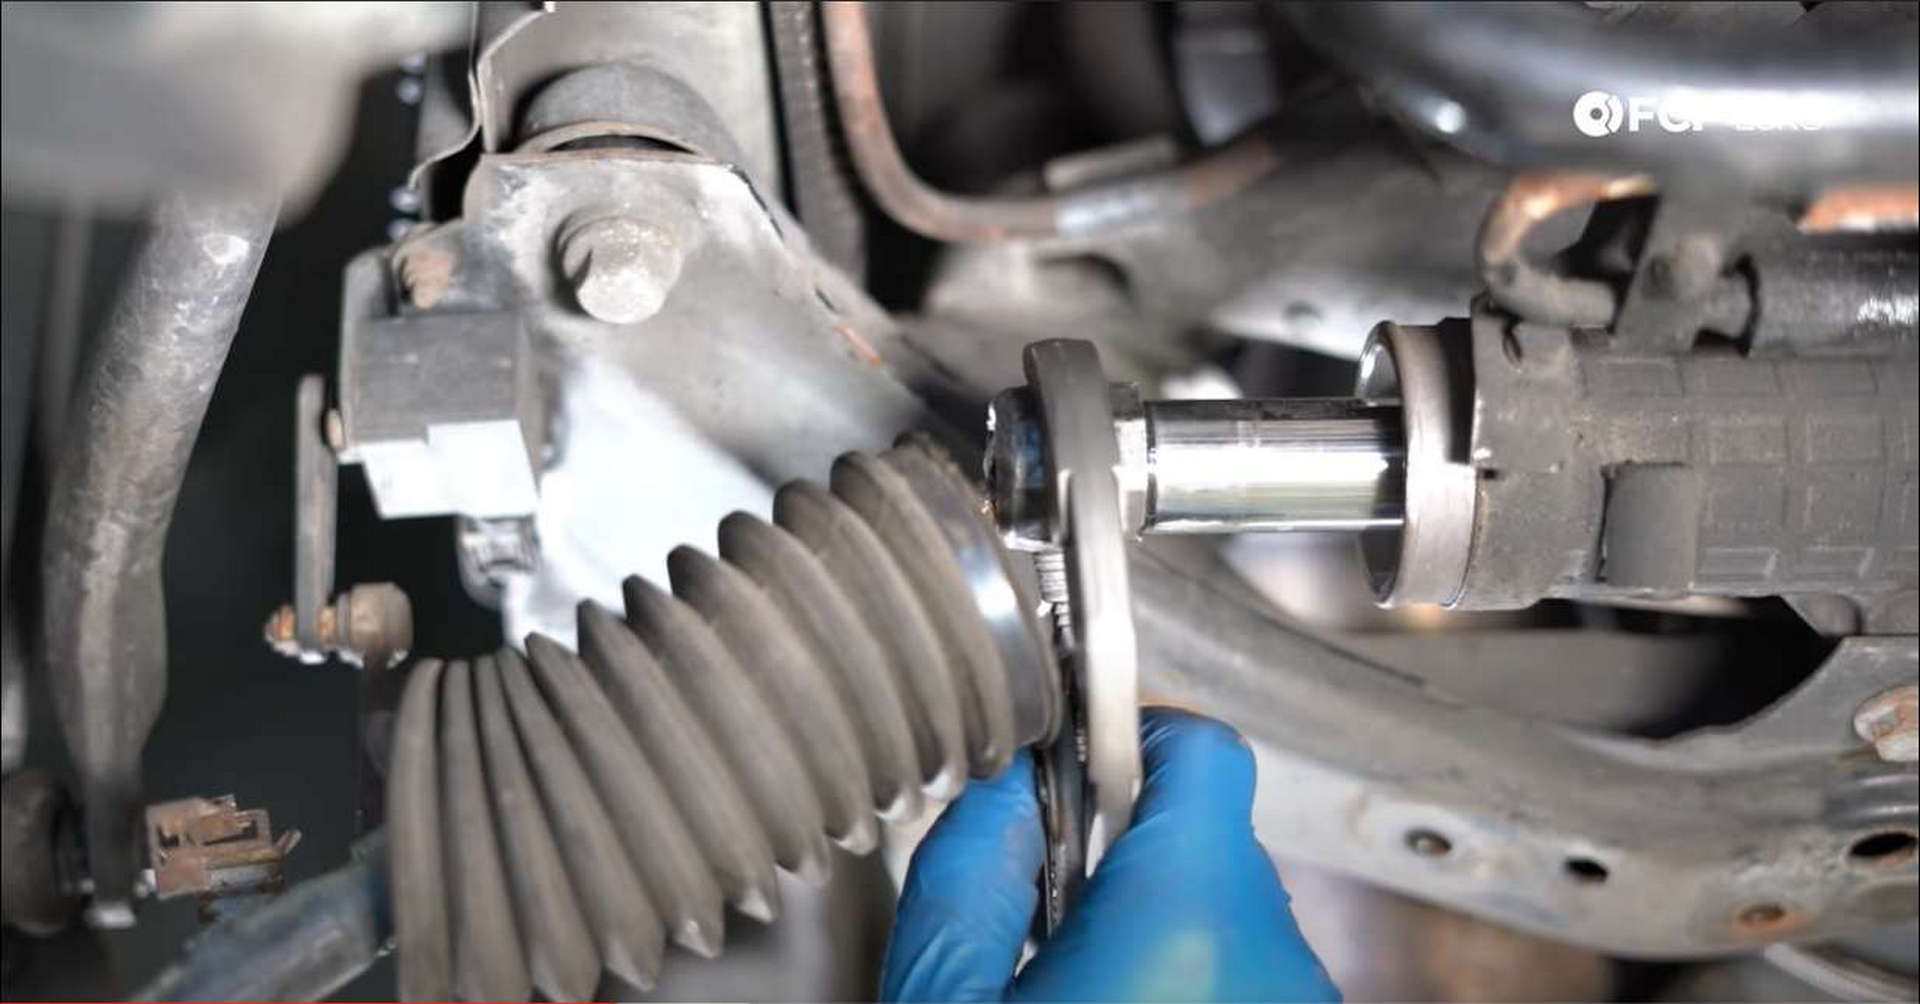
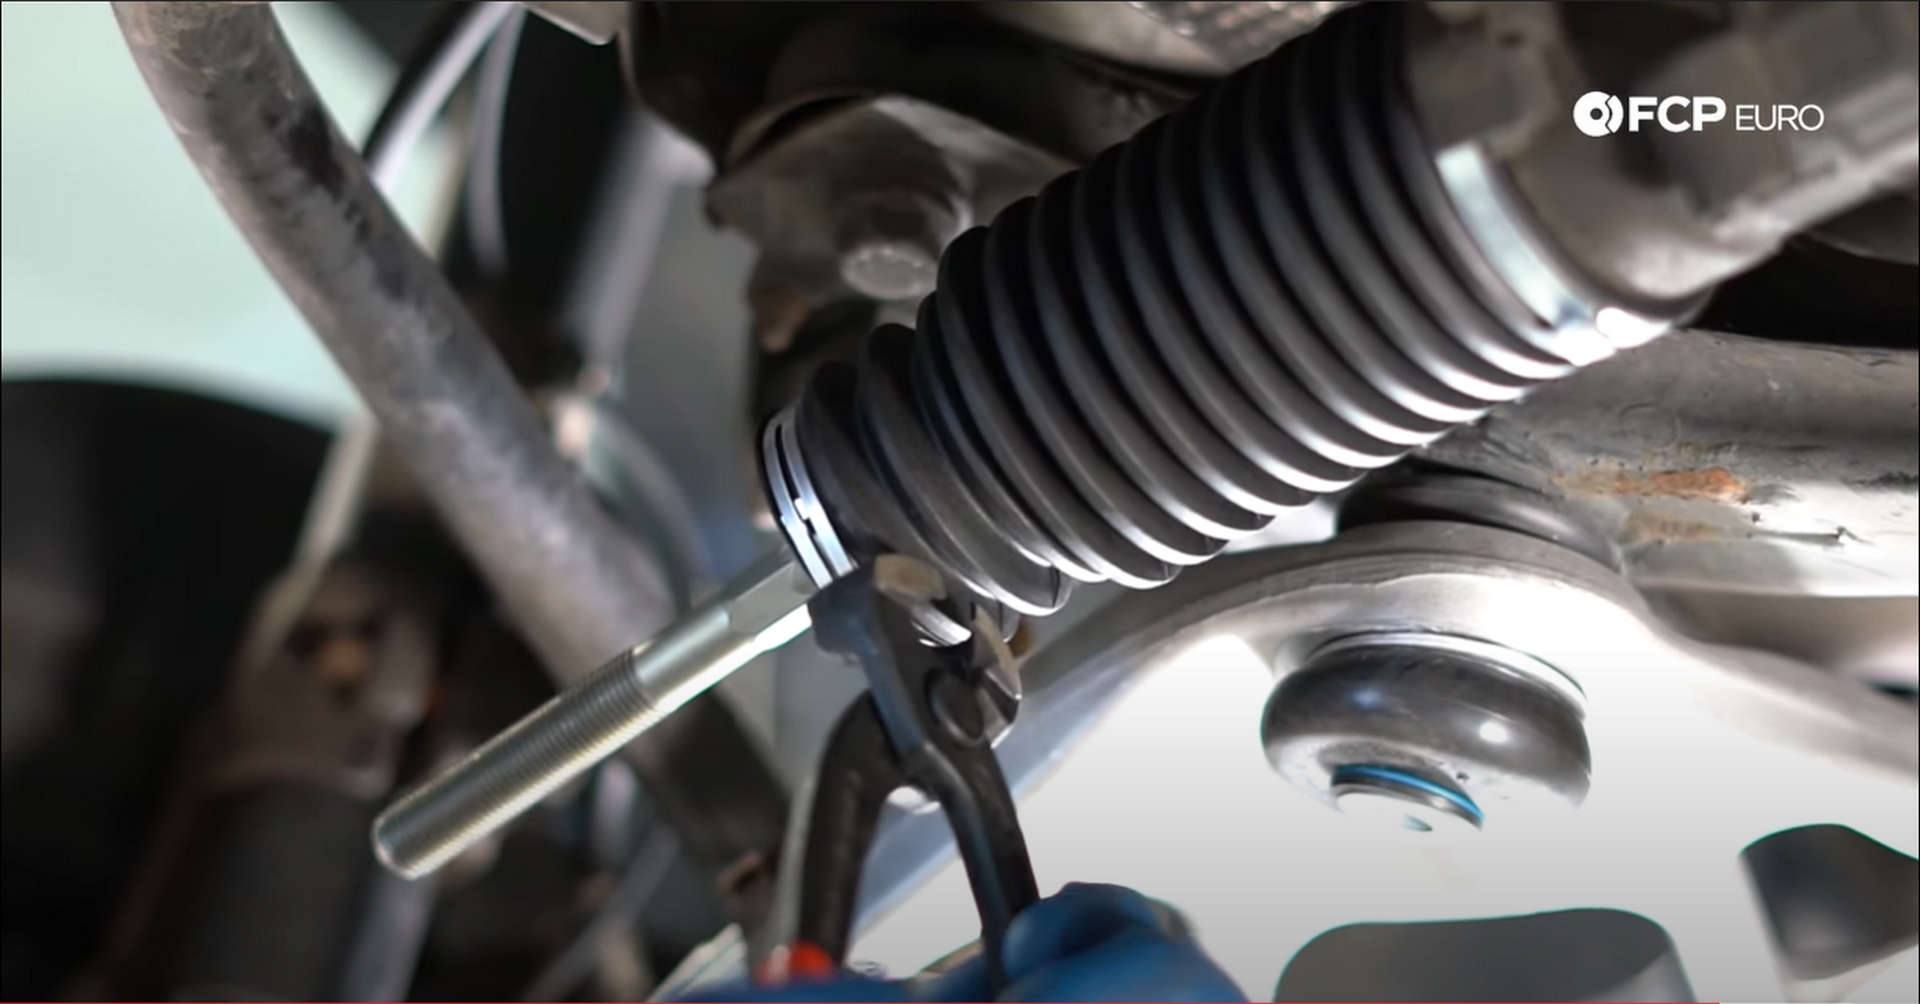
The clamps used to hold the steering rack boot onto the tie rod are one-time-use and need to be cut off. Use a set of cutting pliers to twist and clip the crimped portion of the clamps. Pull the boot towards the tie rod end, once the clamps are removed, to expose the tie rod nut. If any grease or fluid leaks out when the boot is moved, your steering rack is leaking and will need to be replaced.
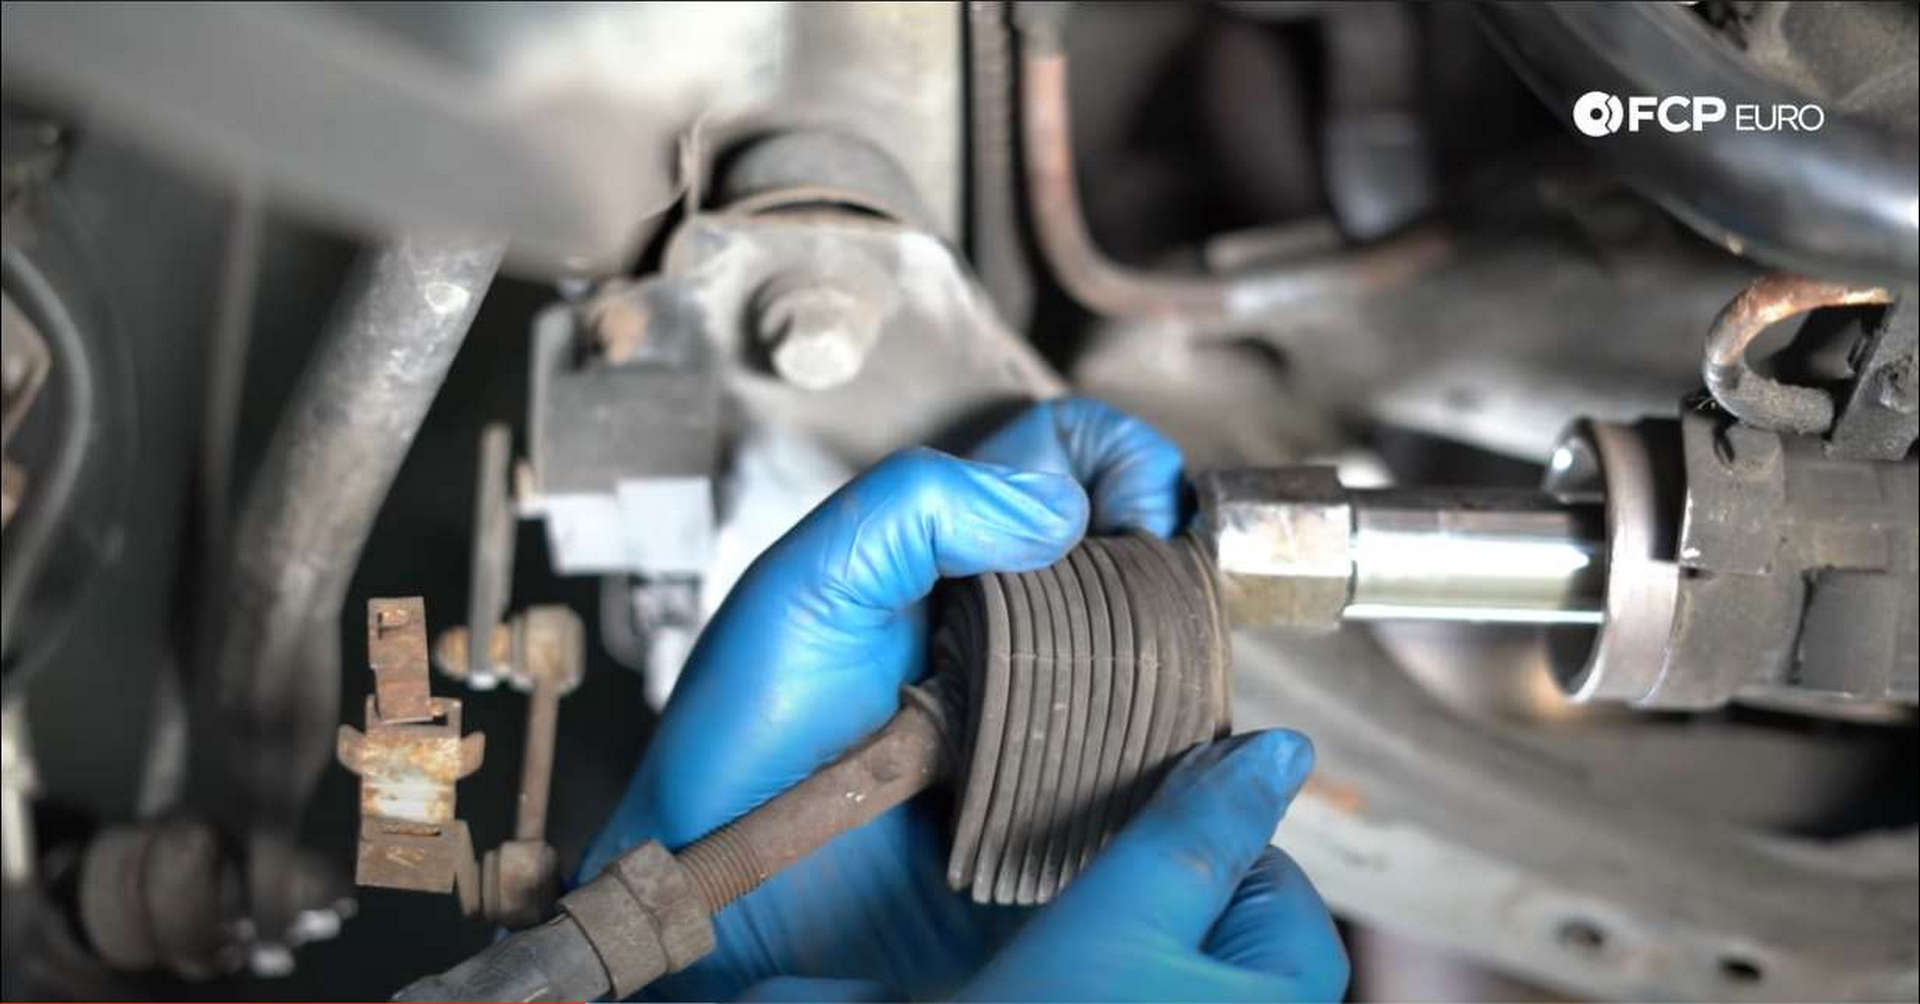
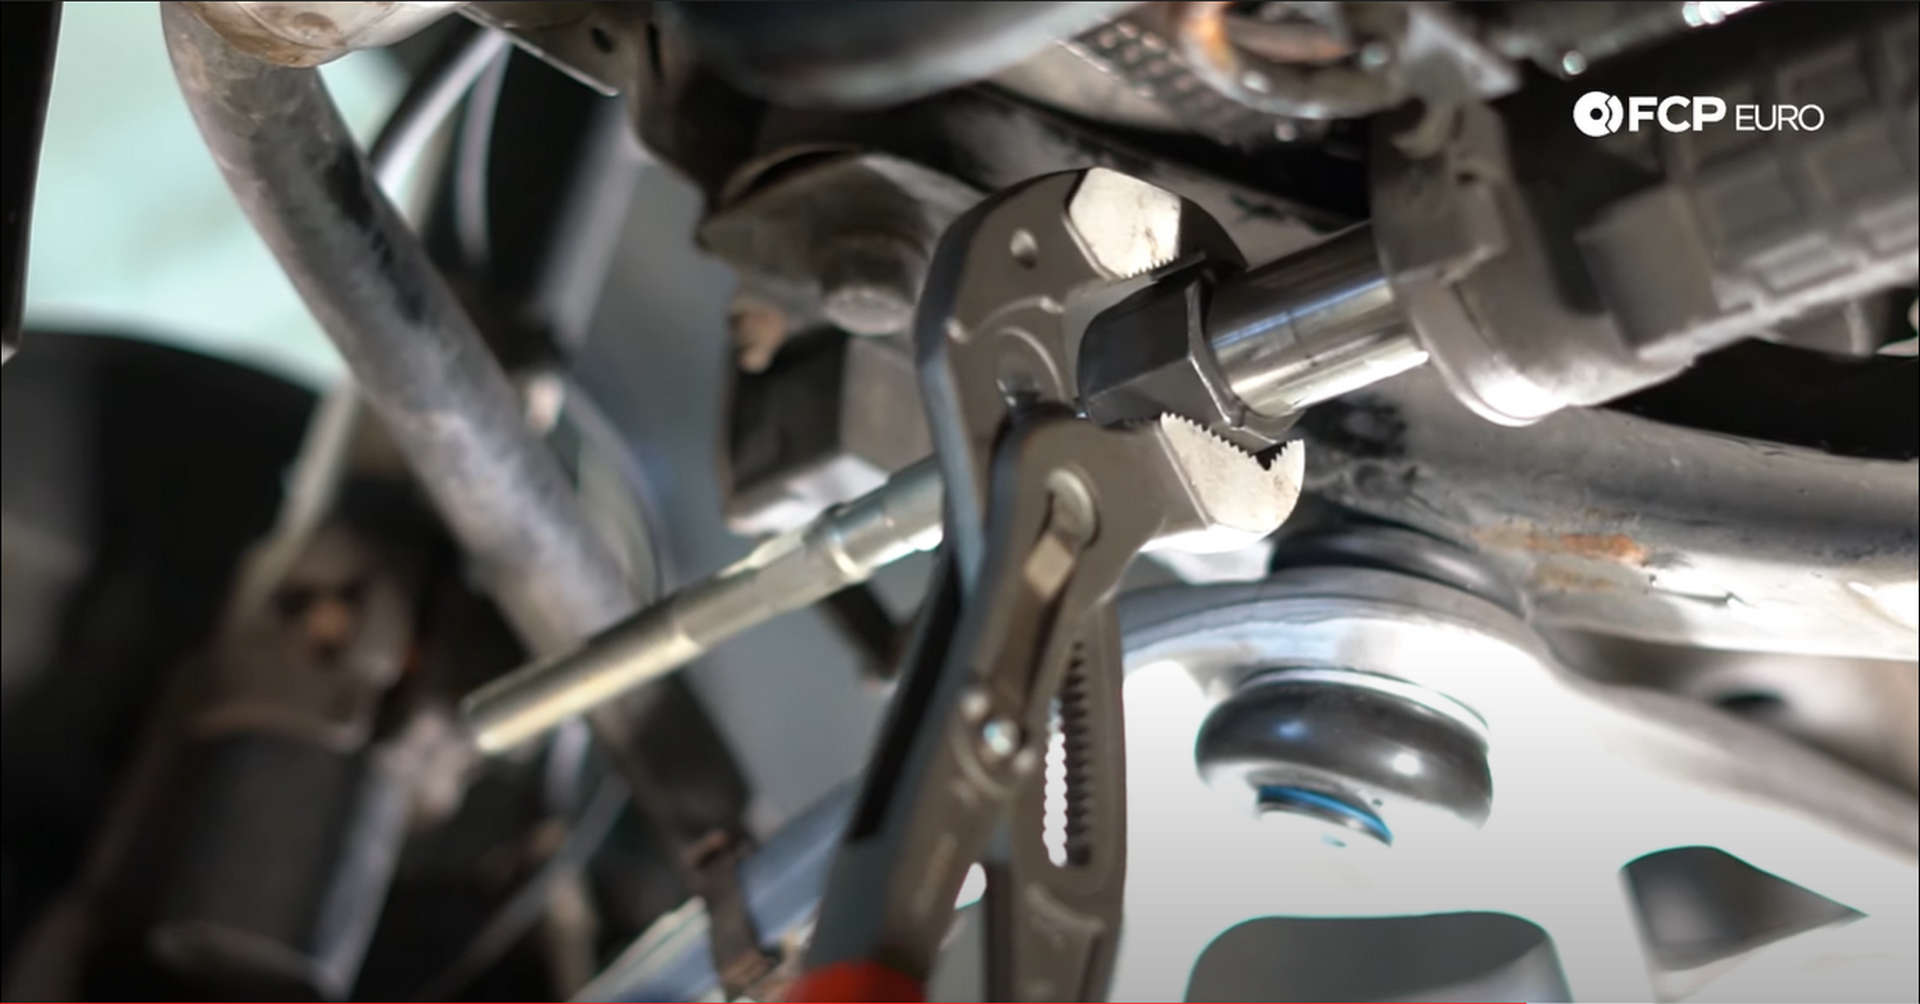
Next, using a pair of channellocks, grip the tie rod nut and loosen it. It uses standard thread, so twist it to the left to remove the assembly.
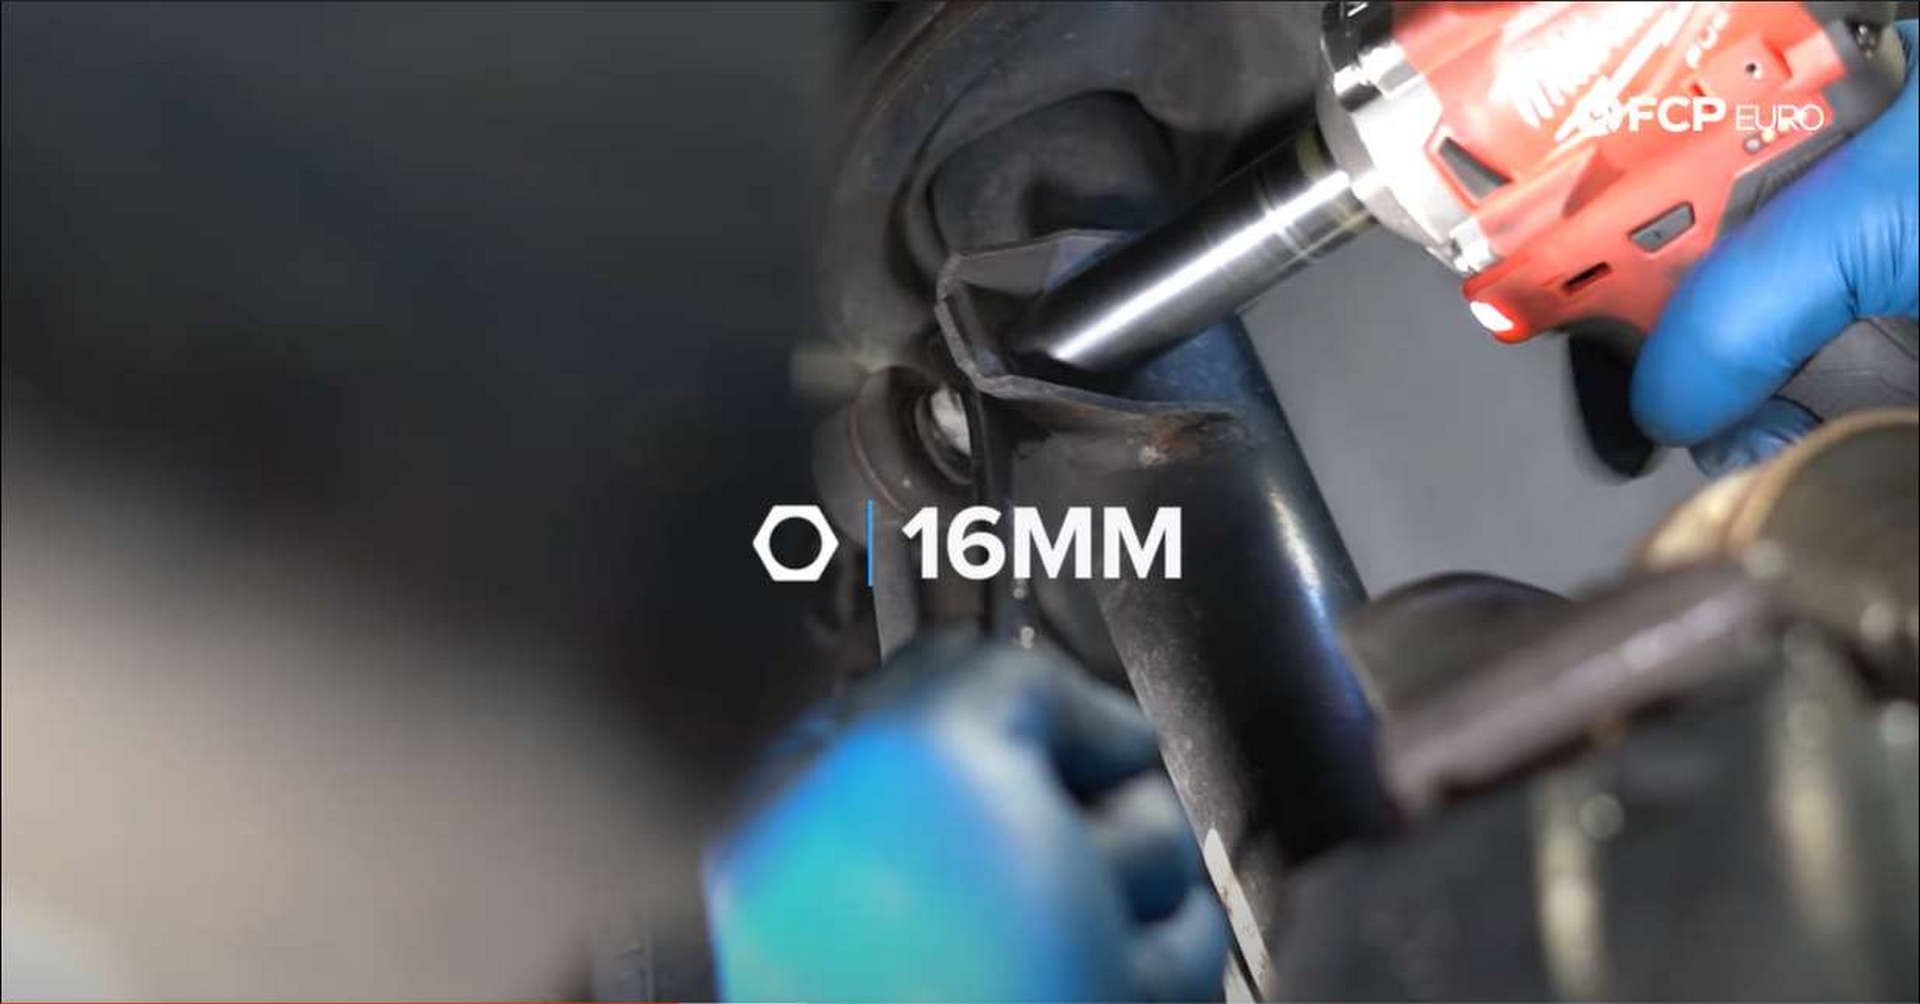
Step 4: Remove the sway bar end link
The last piece that needs to be removed is the sway bar end link. Use a 16mm socket to remove the nuts holding the link to the strut and the sway bar and counter hold it using a 16mm wrench.

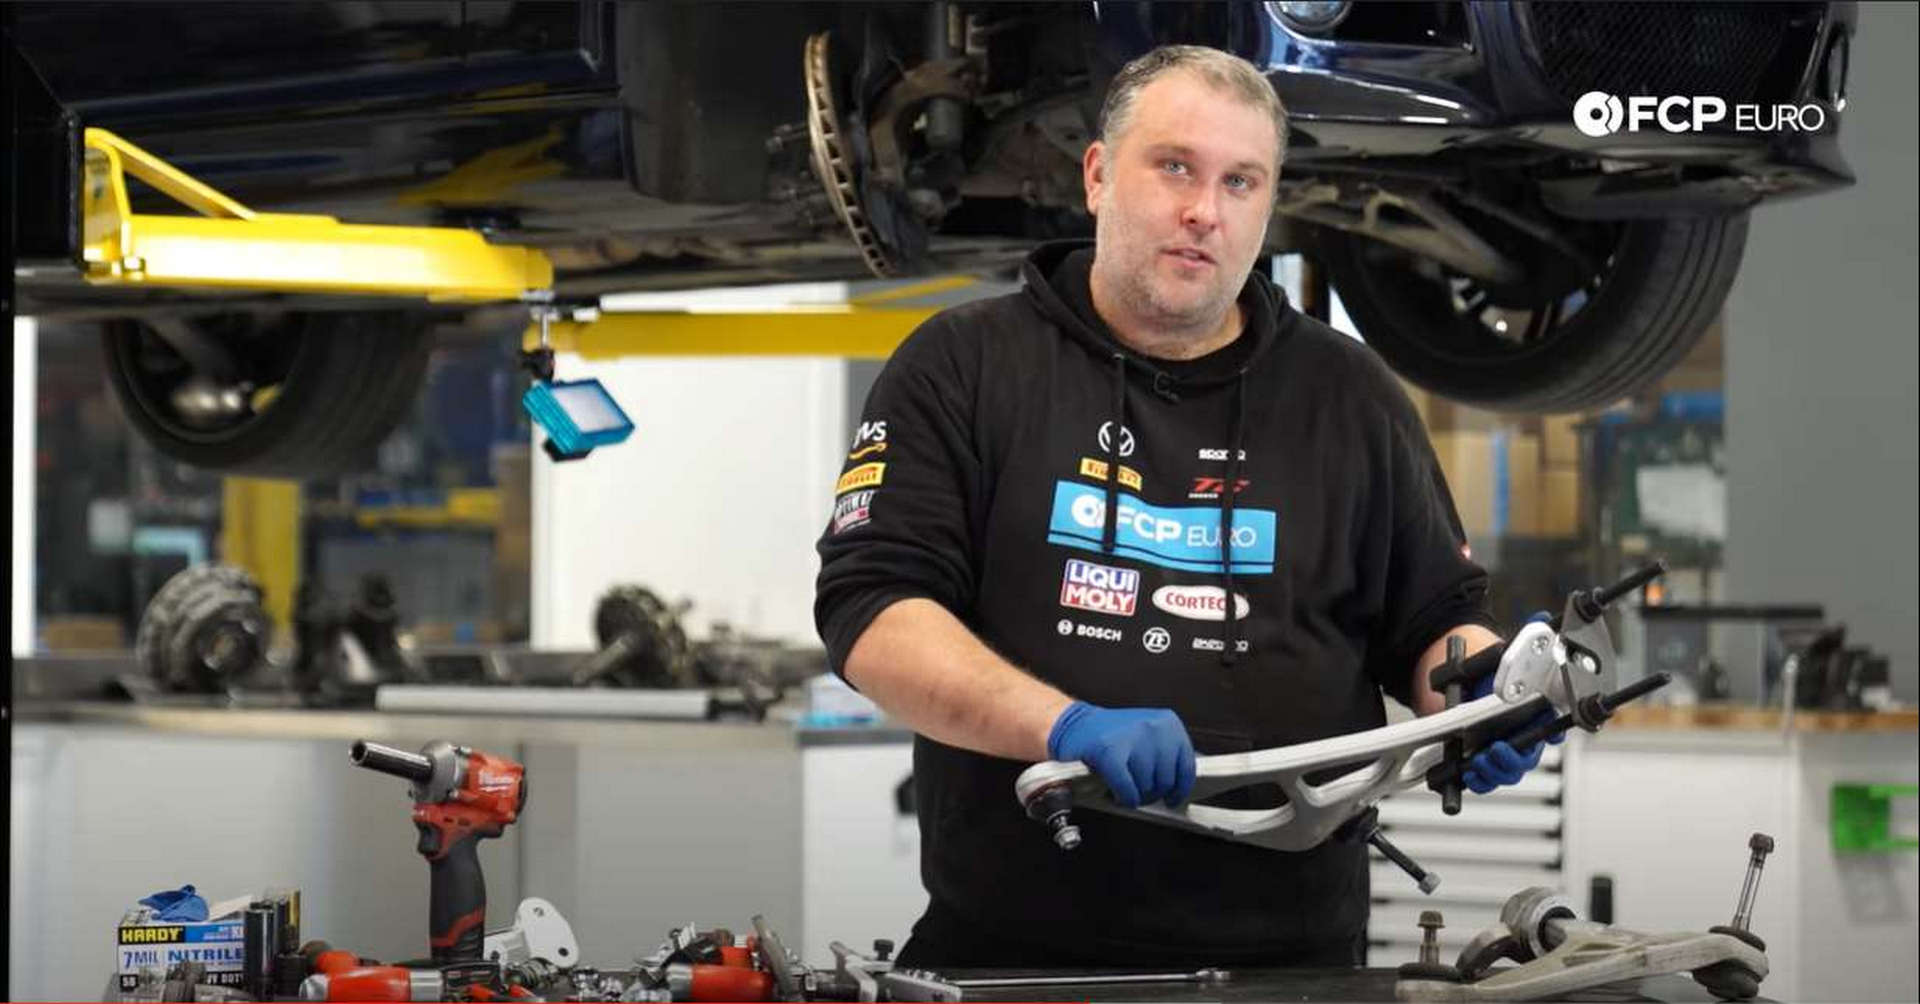
Step 5: Press the new control arm bushing onto the new control arm
Start by identifying the control arm and its corresponding bushing. Both the control arm and the bushing are specific to their respective side of the car.
Use the old control arm as a guide on how to position the new bushing. Tap the bushing onto the control arm to get it started. Next, set the tool up and tighten the nut to press the bushing down. Tighten each nut a turn at a time to ensure the bushing gets seated straight.
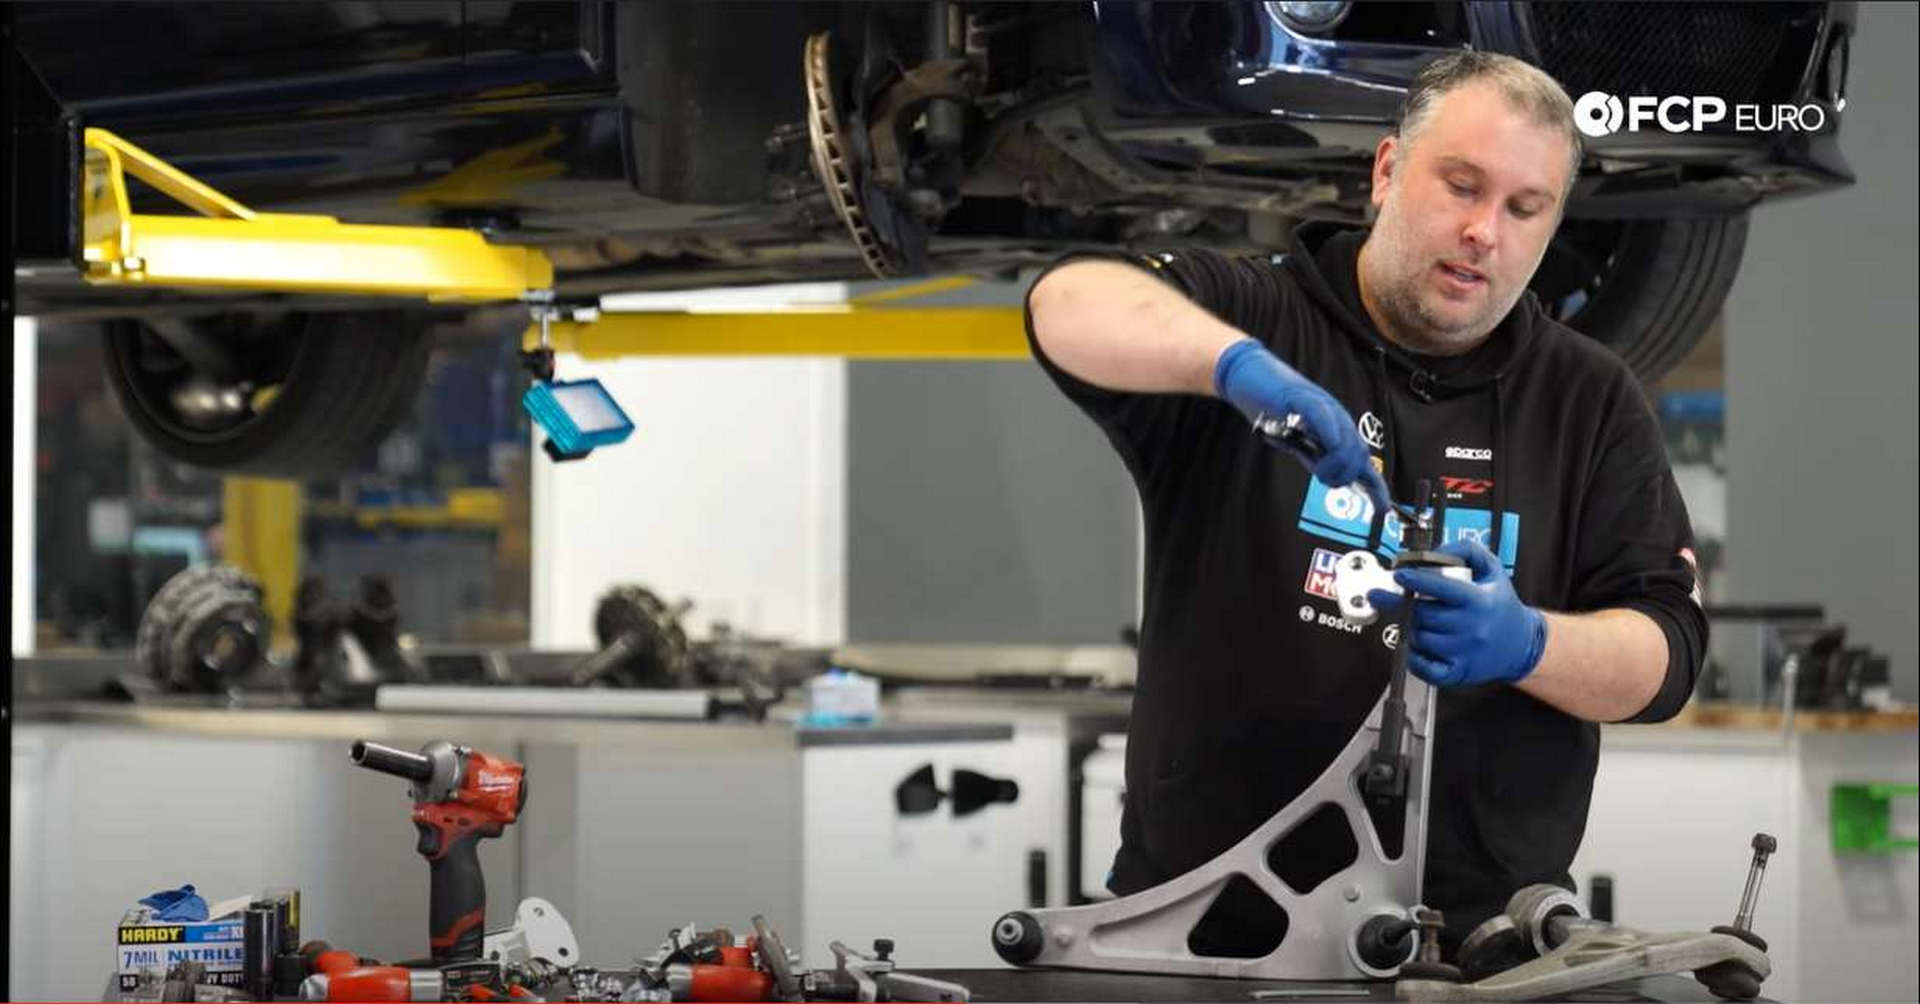
Continue to press the bushing on until a millimeter or two sticks through it. BMW calls for the distance between the center on the inner ball joint to the back of the bushing to be 299 millimeters.
Step 6: Install the new control arms
When fitting the new control arm assembly into the car, install the ball joint studs through their respective holes first. Next, thread in the two 16mm bolts for the rear bushing.
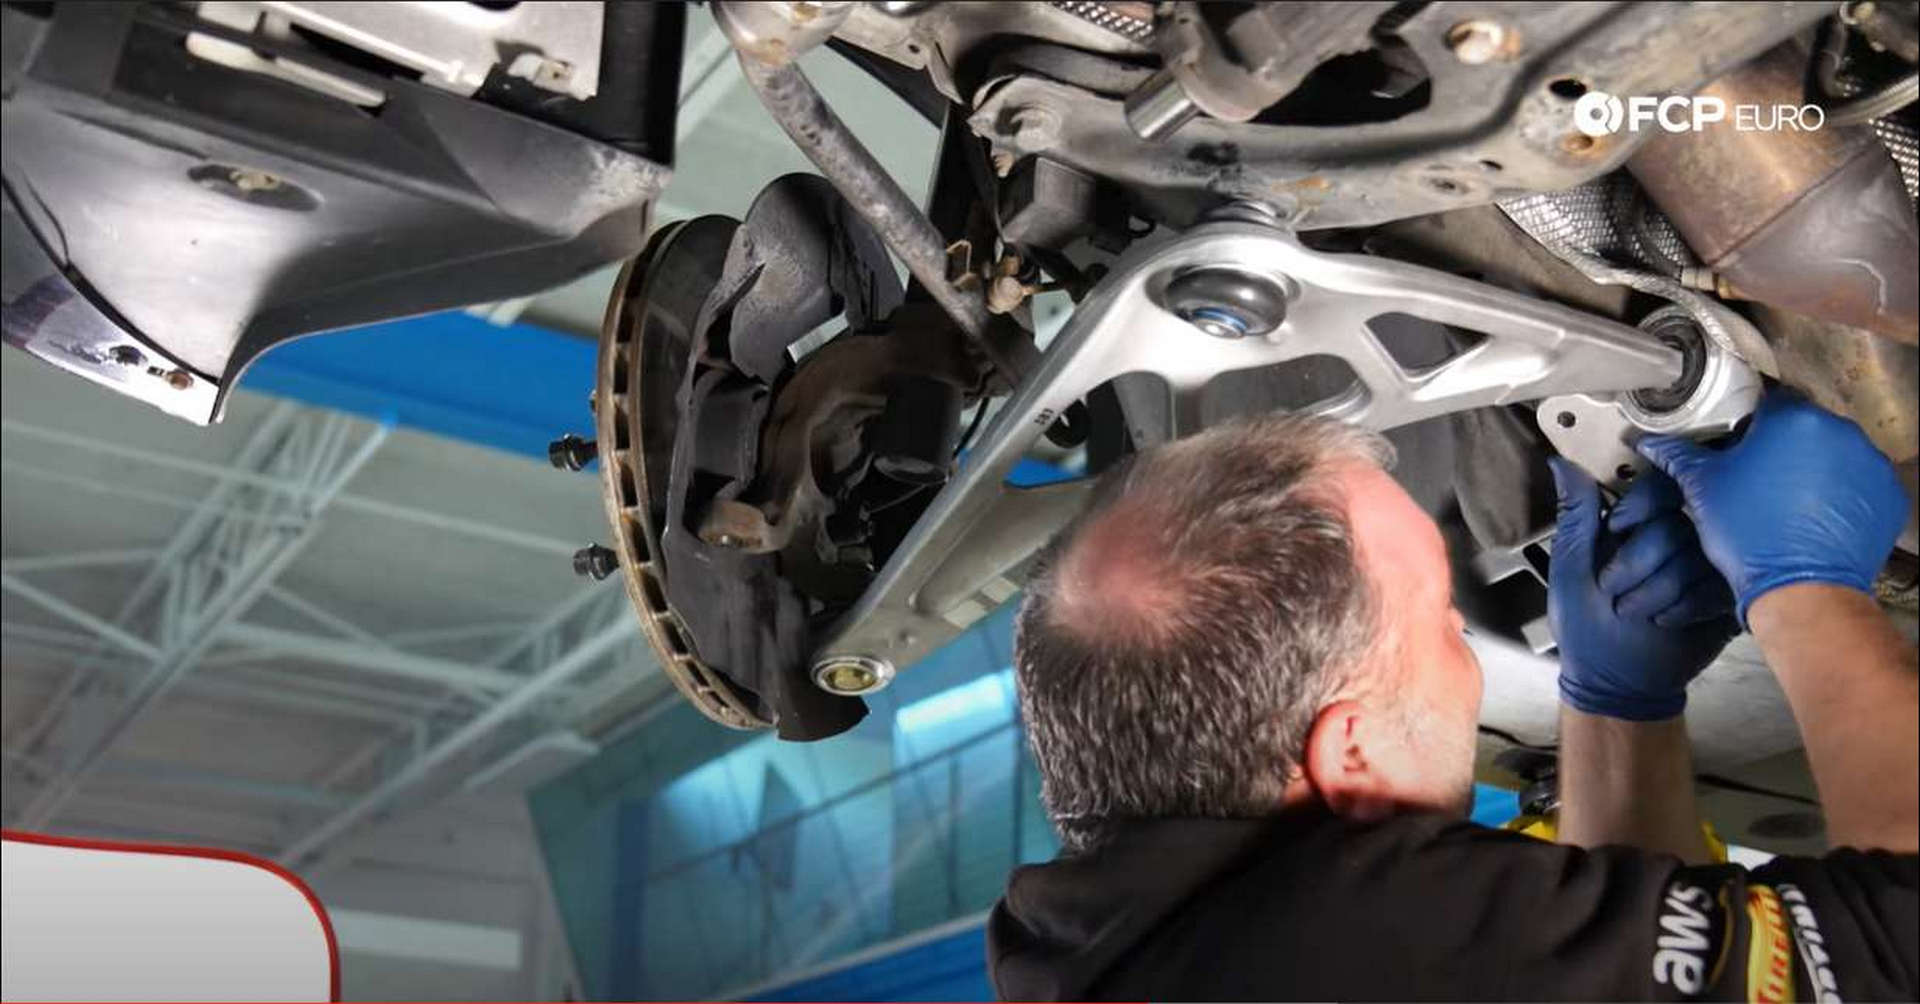
The new bushing will fight you while you try to line up the holes because the suspension is at full droop. Make sure the bushing’s mounting flange is seated on the dowels on the body before threading in the bolts.
Next, thread on the nuts for the inner and outer ball joints. Put pressure on the bottom of the ball joints with a jack to prevent the threads from spinning with the nut. The new inner and outer nuts are 18mm. Torque the inner nut to 90Nm and the outer nut to 65Nm. Now, put the headlight level sensor back around the control arm.
Step 7: Install the new tie rod assembly
Thread on just the tie rod first, and tighten with the channellocks. Proper torque spec for the nut is 110Nm and requires a 38mm crow’s foot to torque it down. If you don’t have access to that, get it as tight as you can with the channellocks.
Next, slide the boot over the tie rod and onto the steering rack. Clamp it down using the supplied clamps. If you don’t have the pliers to crimp the clamps together, any other clamp will do.
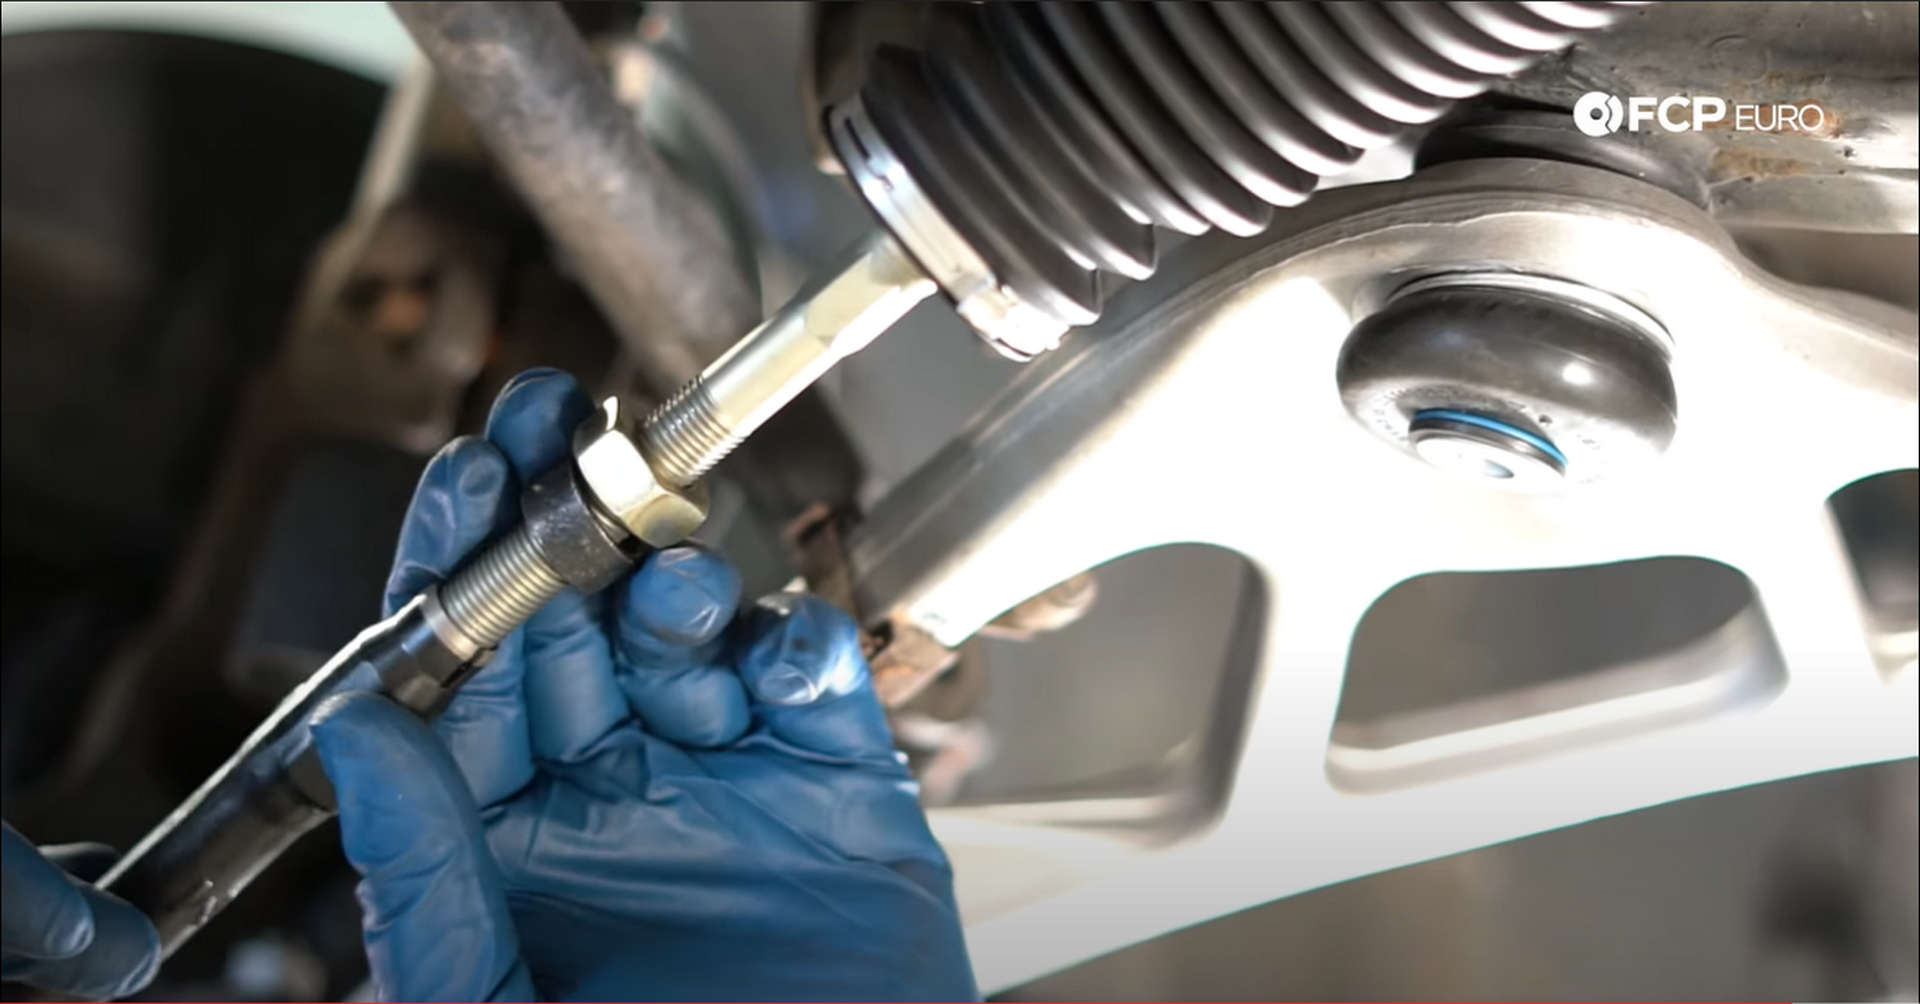
Then, thread on the jam nut followed by the tie rod end. The tie rod ends are directional and are labeled as such. Count how many threads there are from the jam nut to the end of the threads on the old tie rod. Duplicate that as best as you can. This will give the car a reasonably close alignment without any other adjustment.
Use the same technique with the jack on the tie rod end ball joint as with the control arm ball joints to prevent it from spinning when threading on the nut. The nut supplied in our kit was 19mm, as opposed to the factory 18mm nut.
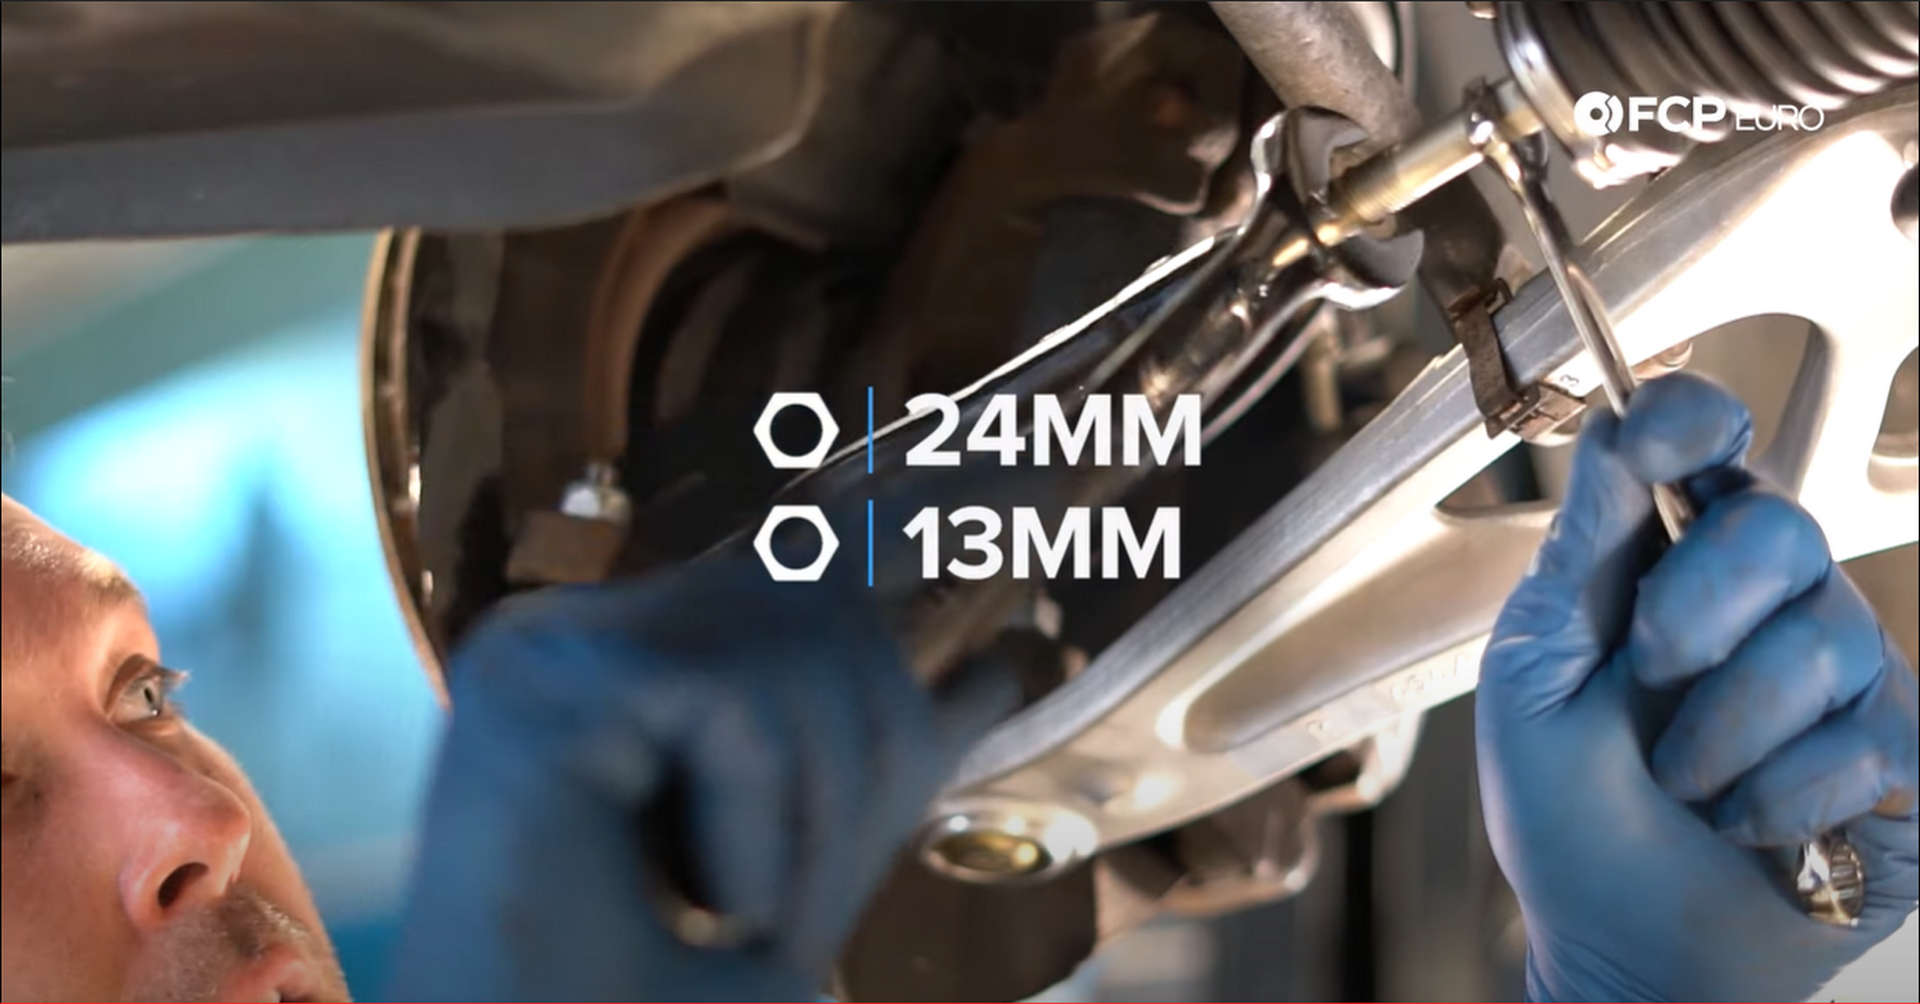
Use a 24mm wrench on the jam nut and a 13mm to counter hold the tie rod to lock down the tie rod end.
Step 8: Install the new sway bar end link and underbody panels
Last but not least, install the sway bar end link. The Lemforder links we used came with a 16mm nut but used an 18mm wrench to counter hold it.
With all of the suspension pieces installed, refit the reinforcement plate and the splash guard.
BMW E46 Front Suspension Torque Specs
- BMW Tie Rod End Nut = 65Nm or 48 lb-ft of torque
- BMW Inner Control Arm Ball Joint Nut = 90Nm or 66.4 lb-ft of torque
- BMW Outer Control Arm Ball Joint Nut = 65Nm or 48 lb-ft of torque
- BMW Inner Tie Rod Nut = 110Nm or 81 lb-ft of torque
- BMW Sway Bar End Link Nuts = 65Nm or 48 lb-ft of torque
- BMW Suspension Reinforcement Plate = 59Nm or 43.5 lb-ft of torque, plus 90°
Now that the car is back together, an alignment is all that is needed. If you’re interested in more DIYs for your BMW, you can visit bmw.fcpeuro.com and subscribe to our YouTube channel.


