- 04/20/2020
- 4 Min Read
- By: Christian Schaefer
How To Replace The Alternator And Serpentine Belt On A BMW N51/N52 Engine (X3, 330i, 528i, & More)

A correctly working electrical system is critical for a properly functioning vehicle. The alternator plays a primary role in the electrical system by keeping the system charged as you drive along. Without a properly functioning alternator, your vehicle can lose power or leave you stranded altogether. Trouble starting, hesitation when accelerating from a stop, dim lights, and a constant dead battery all can be signs of an improperly functioning charging system.
Changing the alternator by yourself is a great beginner DIY challenge. It features several steps that teach proper wrenching skills while giving you a good idea of how the ancillaries on the N52 function. In the video below, Mike Rivera shows you all the steps you’ll need to follow to complete this job.
BMW models and years applicable:
This job is being done on an X3, but this alternator kit fits a wide range of BMWs.
|
|
|
|
|
|
|
|
|
What are the symptoms of a bad alternator?
- Dim lights
- Hard starting
- Constantly dying battery
- Intermittently malfunctioning electronics
- Hesitation when accelerating from a stop
- Battery failure light
The electrical system is a major component in every area of the vehicle. Without systems like your headlights, anti-lock brakes, and airbag system getting the electrical power they need, the vehicle can become unsafe to drive.
Your alternator should last you between 100,000 and 120,000 miles. If it lasts any longer, you are likely on borrowed time and should replace it, just to be safe.
How long will it take to replace a BMW N52 alternator?
This job should take two hours, on the high side. While not overly difficult, spaces can get tight and making sure the belt is set correctly can be a fiddly job. It’s best to take your time to make sure it is done correctly the first time.
How much does it cost to replace a BMW N52 alternator?
If you were to take your BMW to a dealership or independent repair shop, this job could cost up to $1300. The labor isn’t too intensive, but the parts can be pricey. There is also a good chance that the technician or service writer will try to upsell you on other parts you might not need. Doing the job by yourself is the best way to fix the alternator while on a budget.
Tools required to replace a BMW N52 alternator:
Parts required to replace a BMW N52 alternator:
Steps required to replace your BMW N52/N51 alternator:
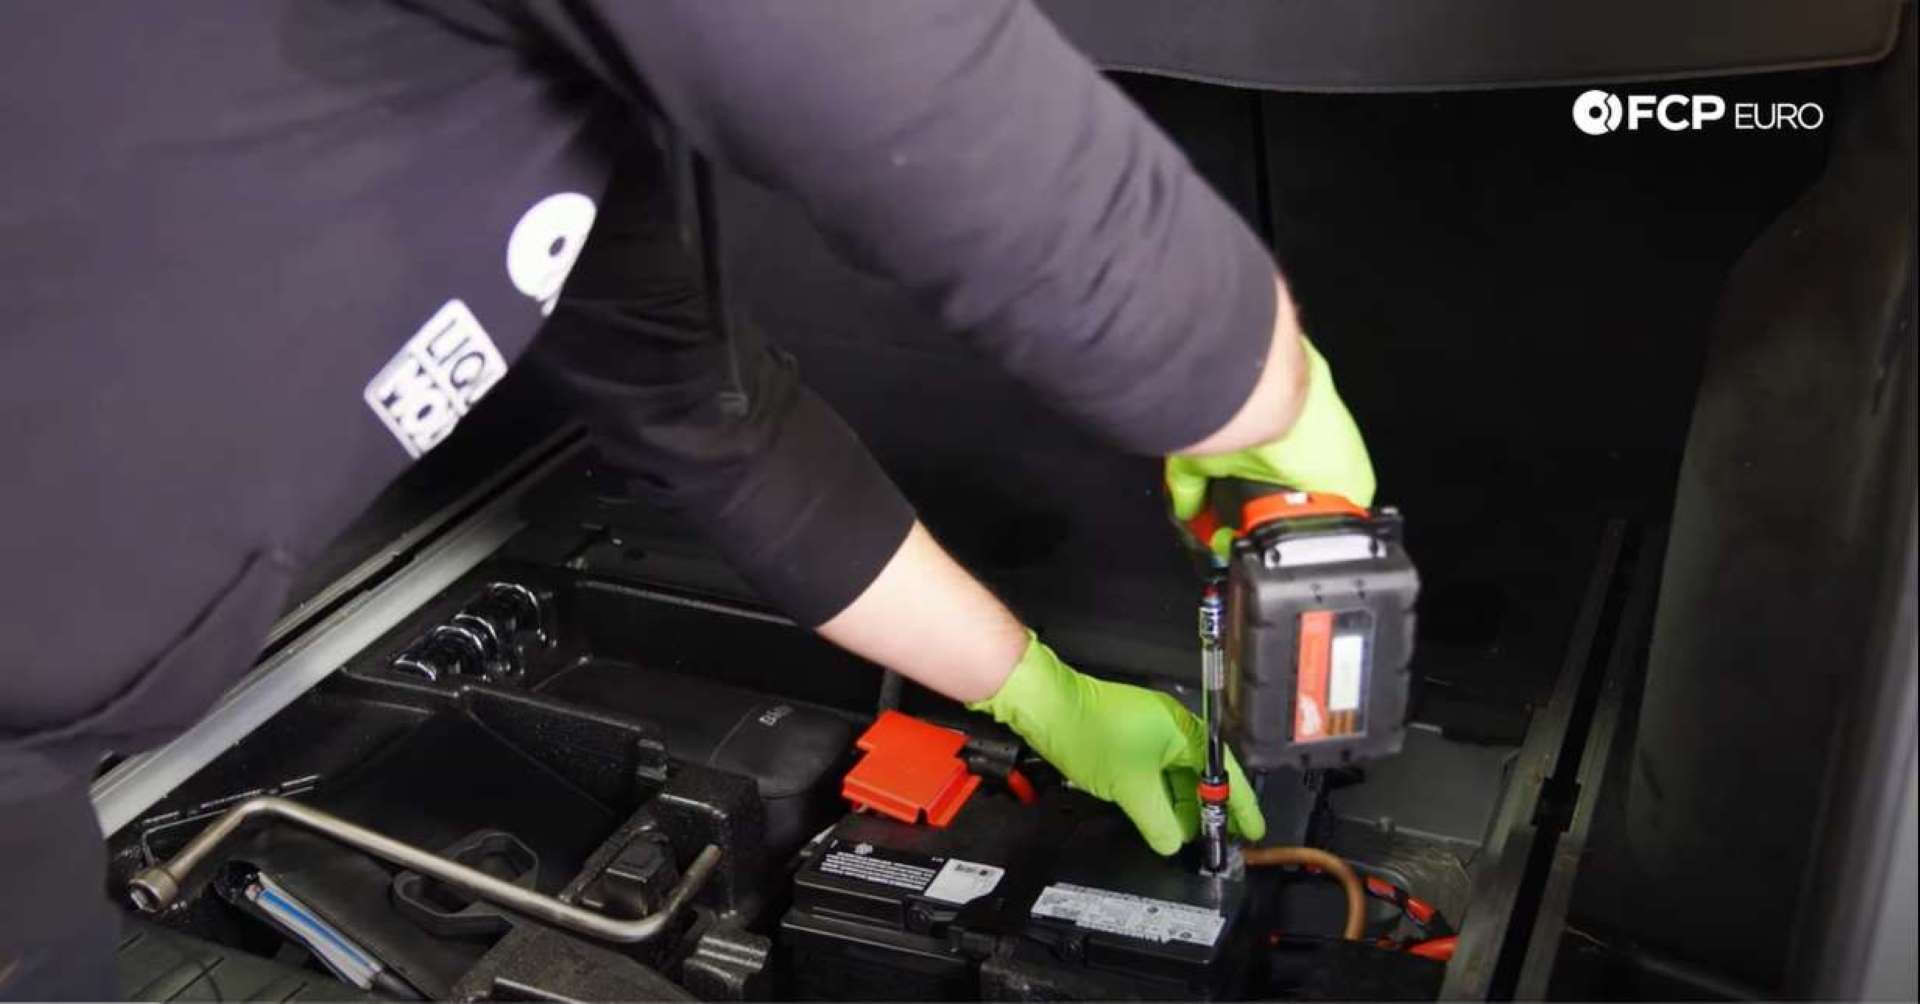
Step 1: Disconnect battery
The battery to your vehicle will be located in the trunk. The exact location is different between the models, so use your owner’s manual to determine where yours is located. Now loosen the nut on the negative post clamp, and remove the cable from the negative post.
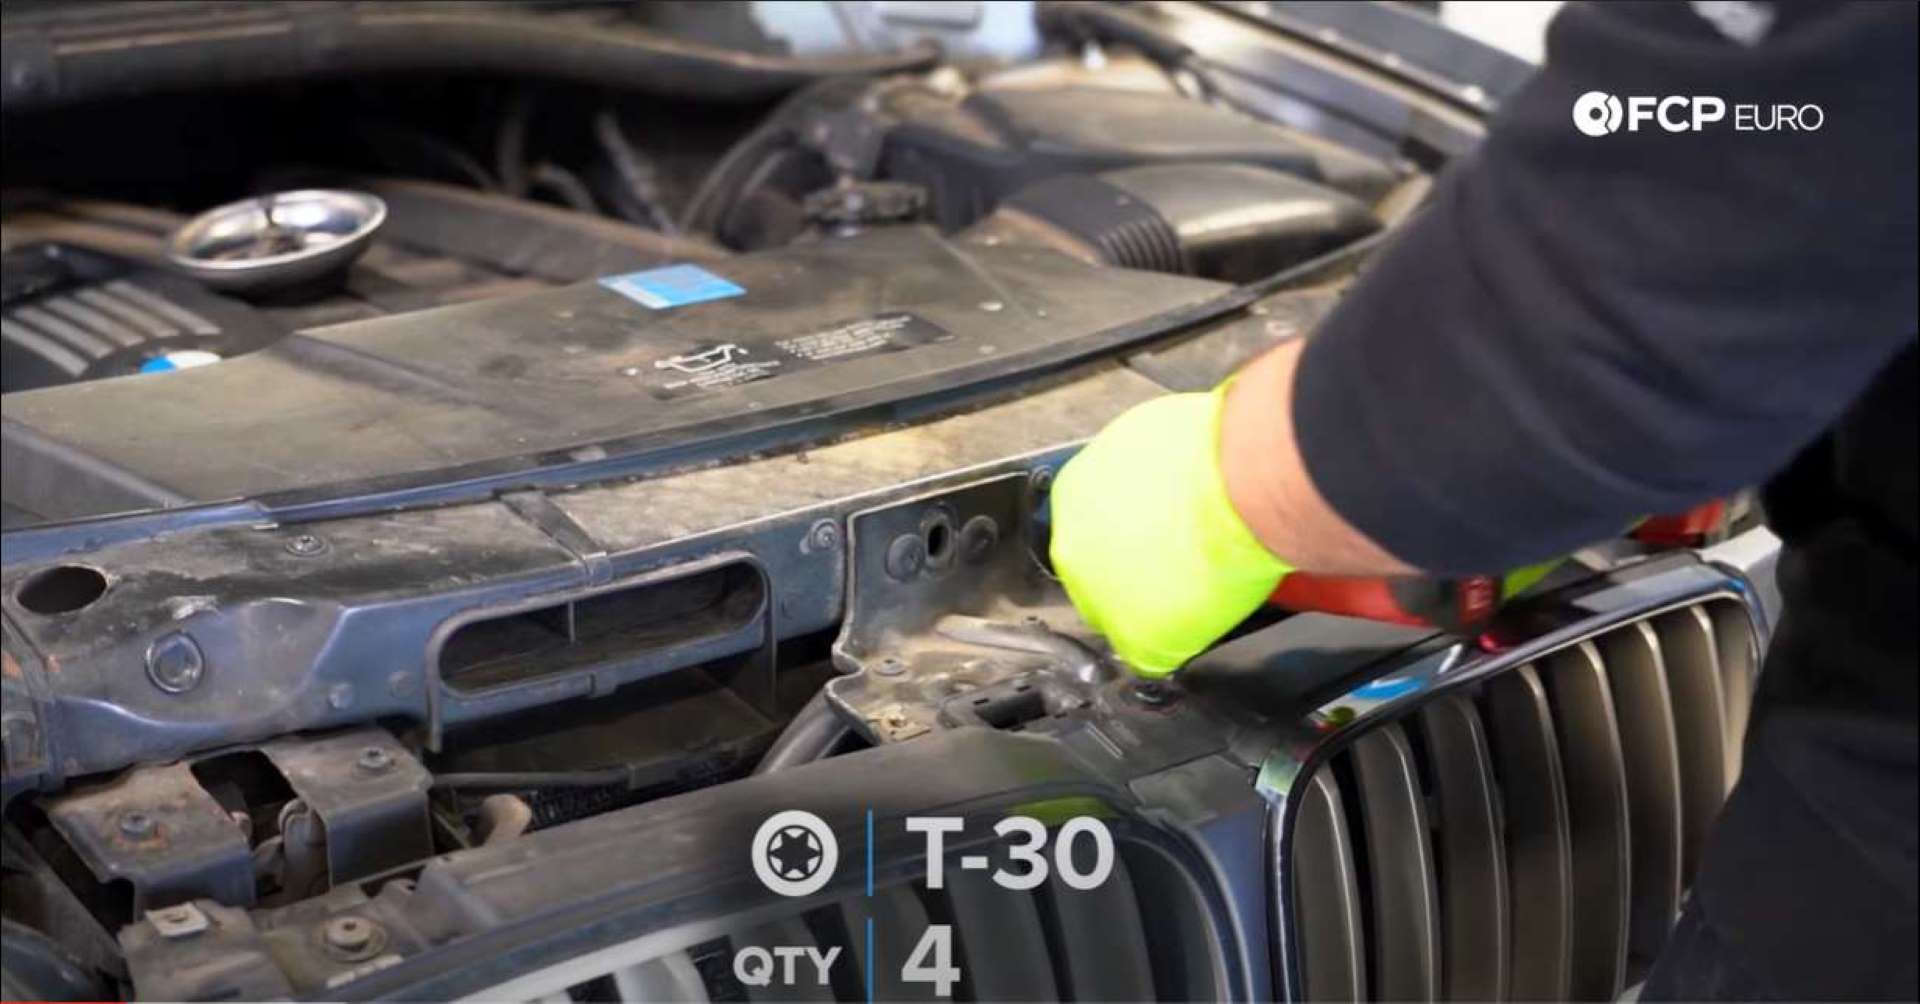
Step 2: Remove the intake ducting
Using a T30 Torx bit, remove the four retaining screws holding on the intake ducting shroud and set the shroud aside. Next, use the same T30 bit, remove the four retaining screws used to hold the intake ducting into the radiator support. Finally, unclip the intake ducting tube from the airbox, and remove the entire duct from the vehicle.
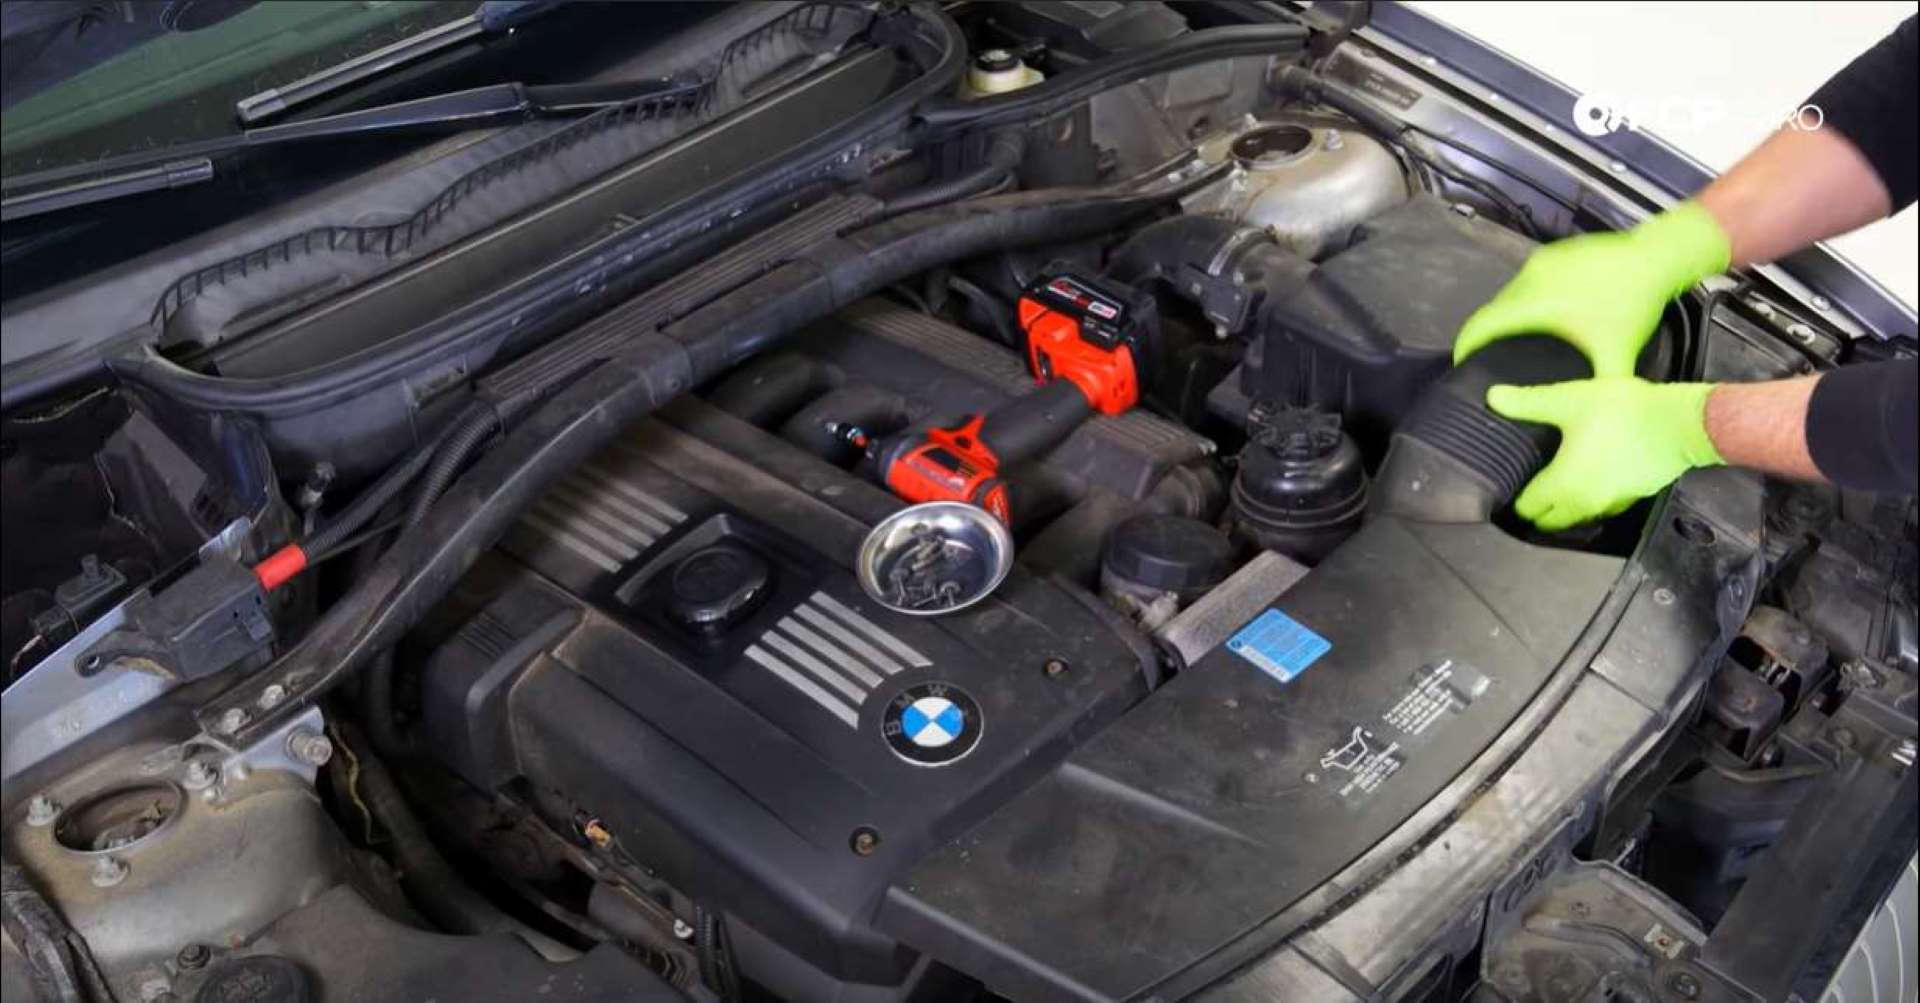
Step 3: Remove the airbox
Simply unclip the MAF sensor, and loosen the clamp on the intake tube with a flathead screwdriver. Then rock the airbox back and forth while pulling up. The airbox should then pop free.
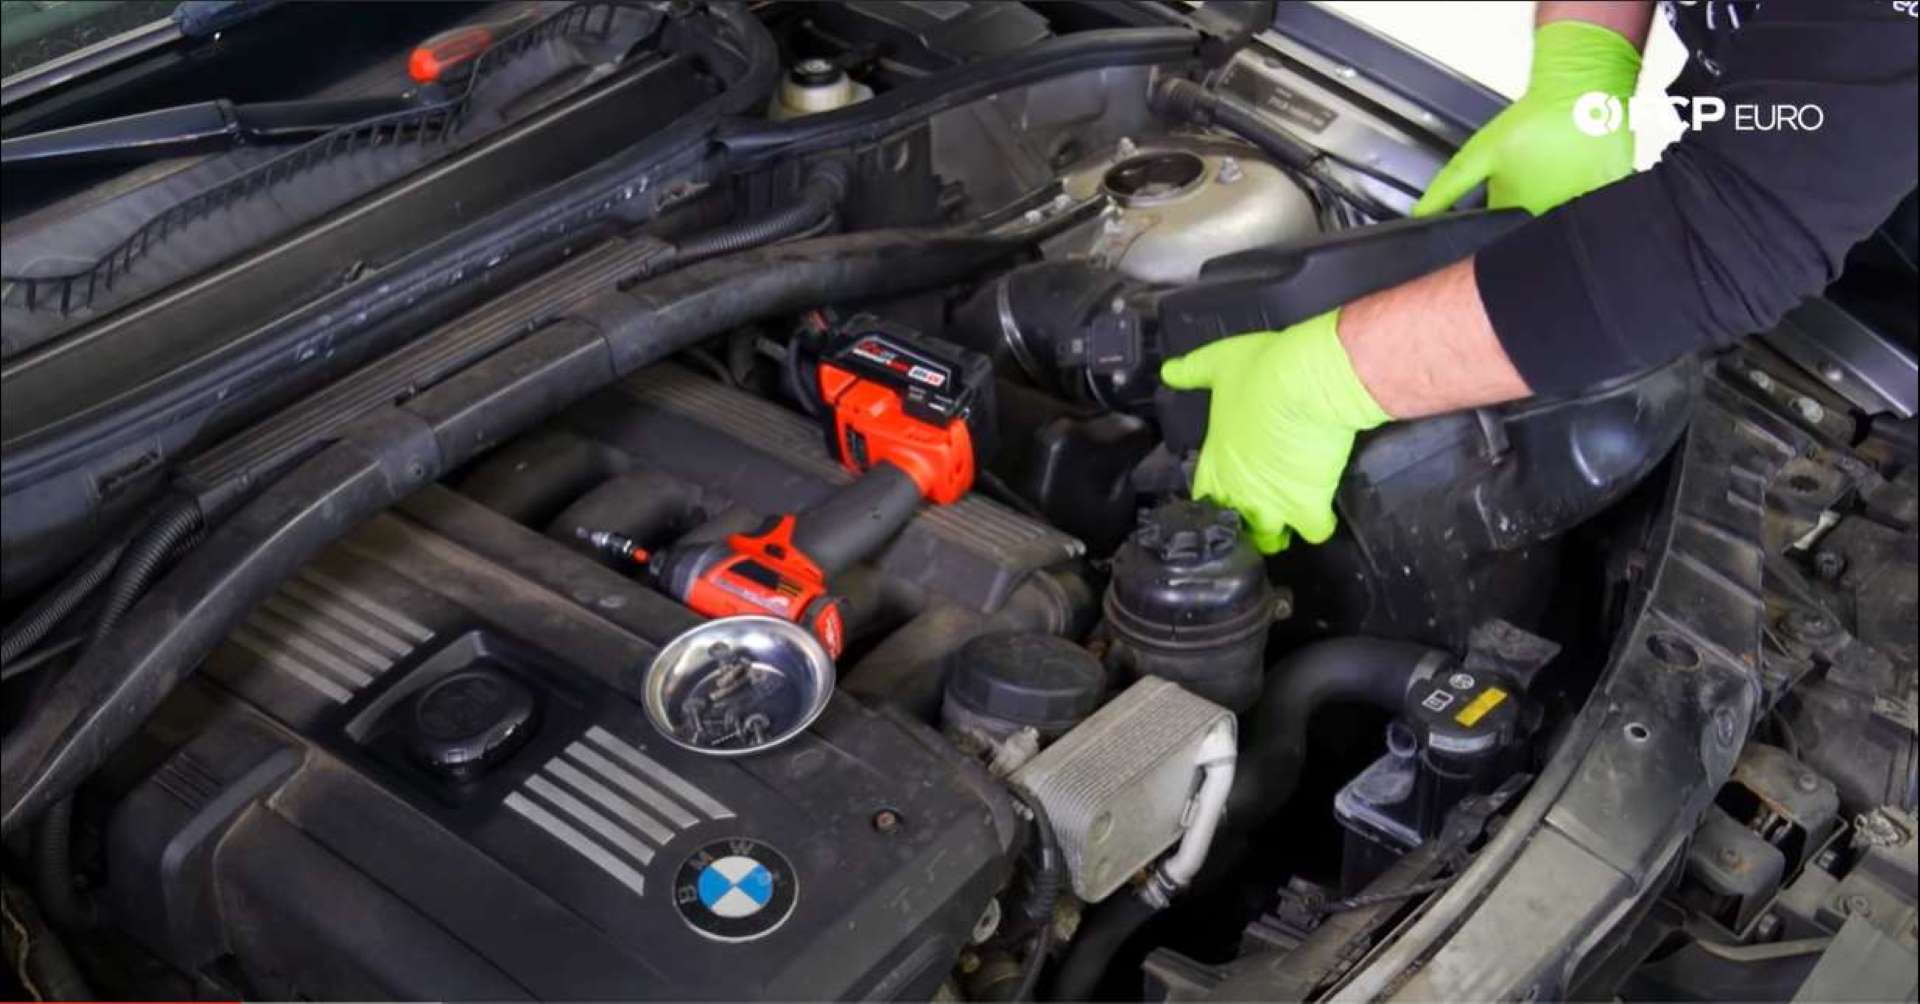
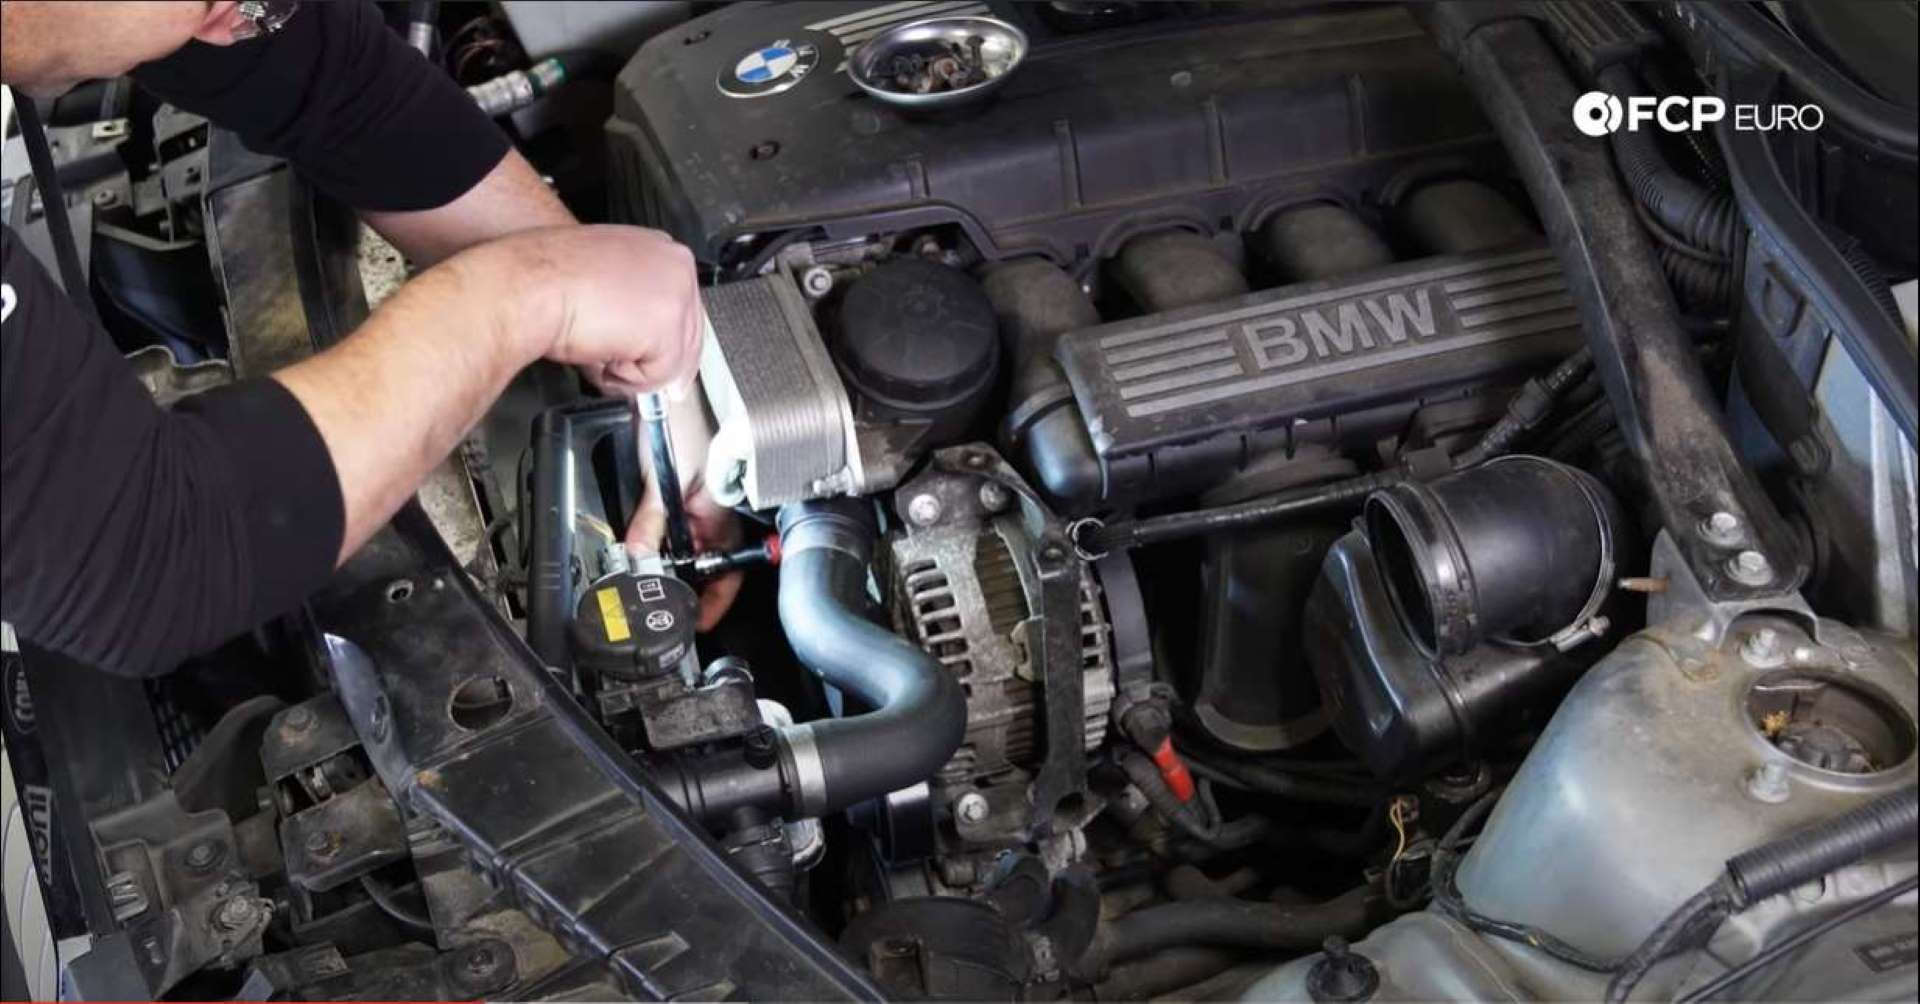
Step 4: Move the power steering fluid reservoir
There are two bolts holding the reservoir into its bracket. Remove them using a T47 Torx bit and rest it in the area where the airbox normally sits.
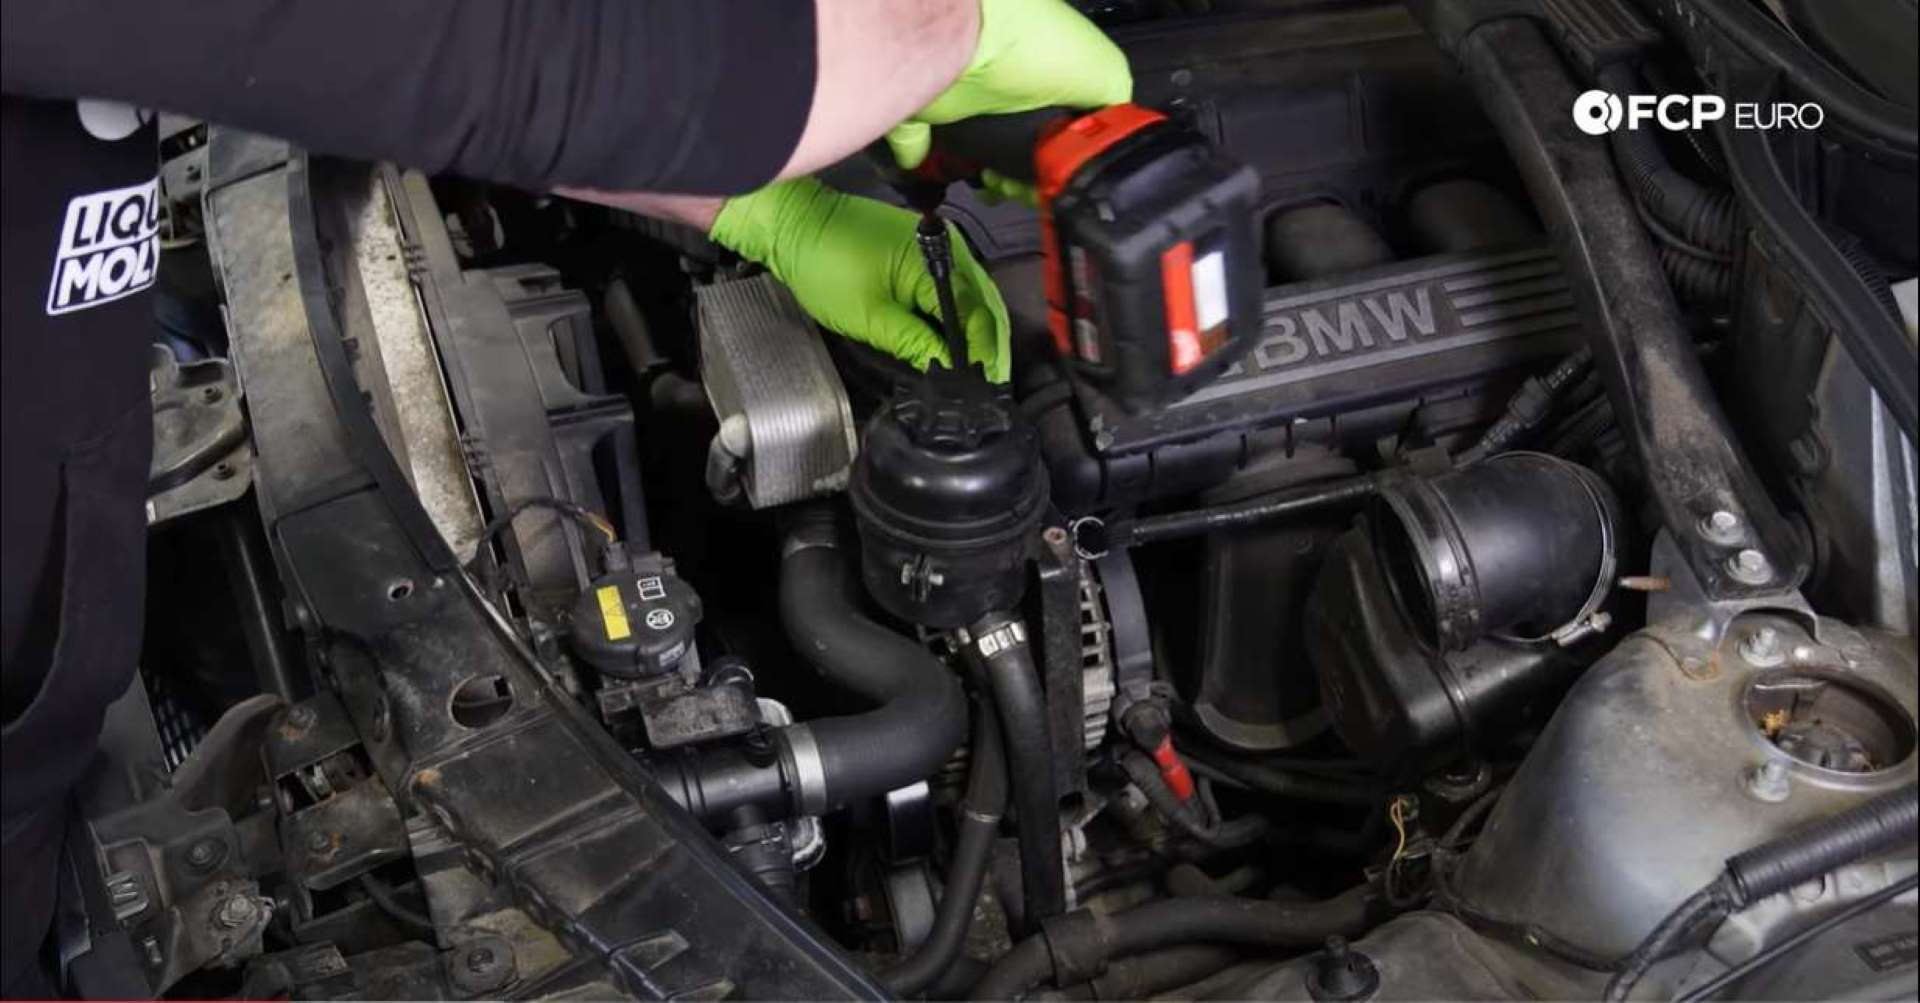
Step 5: Remove the alternator belt
Locate the belt tensioner on the front of the engine. Next, using a T60 Torx bit and breaker bar, push to the right to remove the tension from the belt. If the belt doesn’t fall out of the way, use one hand to hold the tensioner and the other to remove the belt.
Optionally, you can remove the fan from the radiator to give yourself extra space to work. To do this, remove two connectors, one at each top corner. Then remove the one T25 screw mounting the fan to the radiator, at the top of the fan, on the passenger’s side. Finally, remove the pop rivet at the top of the driver’s side of the fan. The fan and shroud assembly should now lift out, giving you more room to work.
Step 6: Remove the alternator connections
The wiring harness connects to the back of the alternator in two places. For the main power wire, use a 17mm socket to remove the nut encapsulated in plastic that secures the wire onto the stud. Next, unplug the two-pin connector that sits below the stud. Tuck these wires aside so that they do not get snagged while removing the alternator.
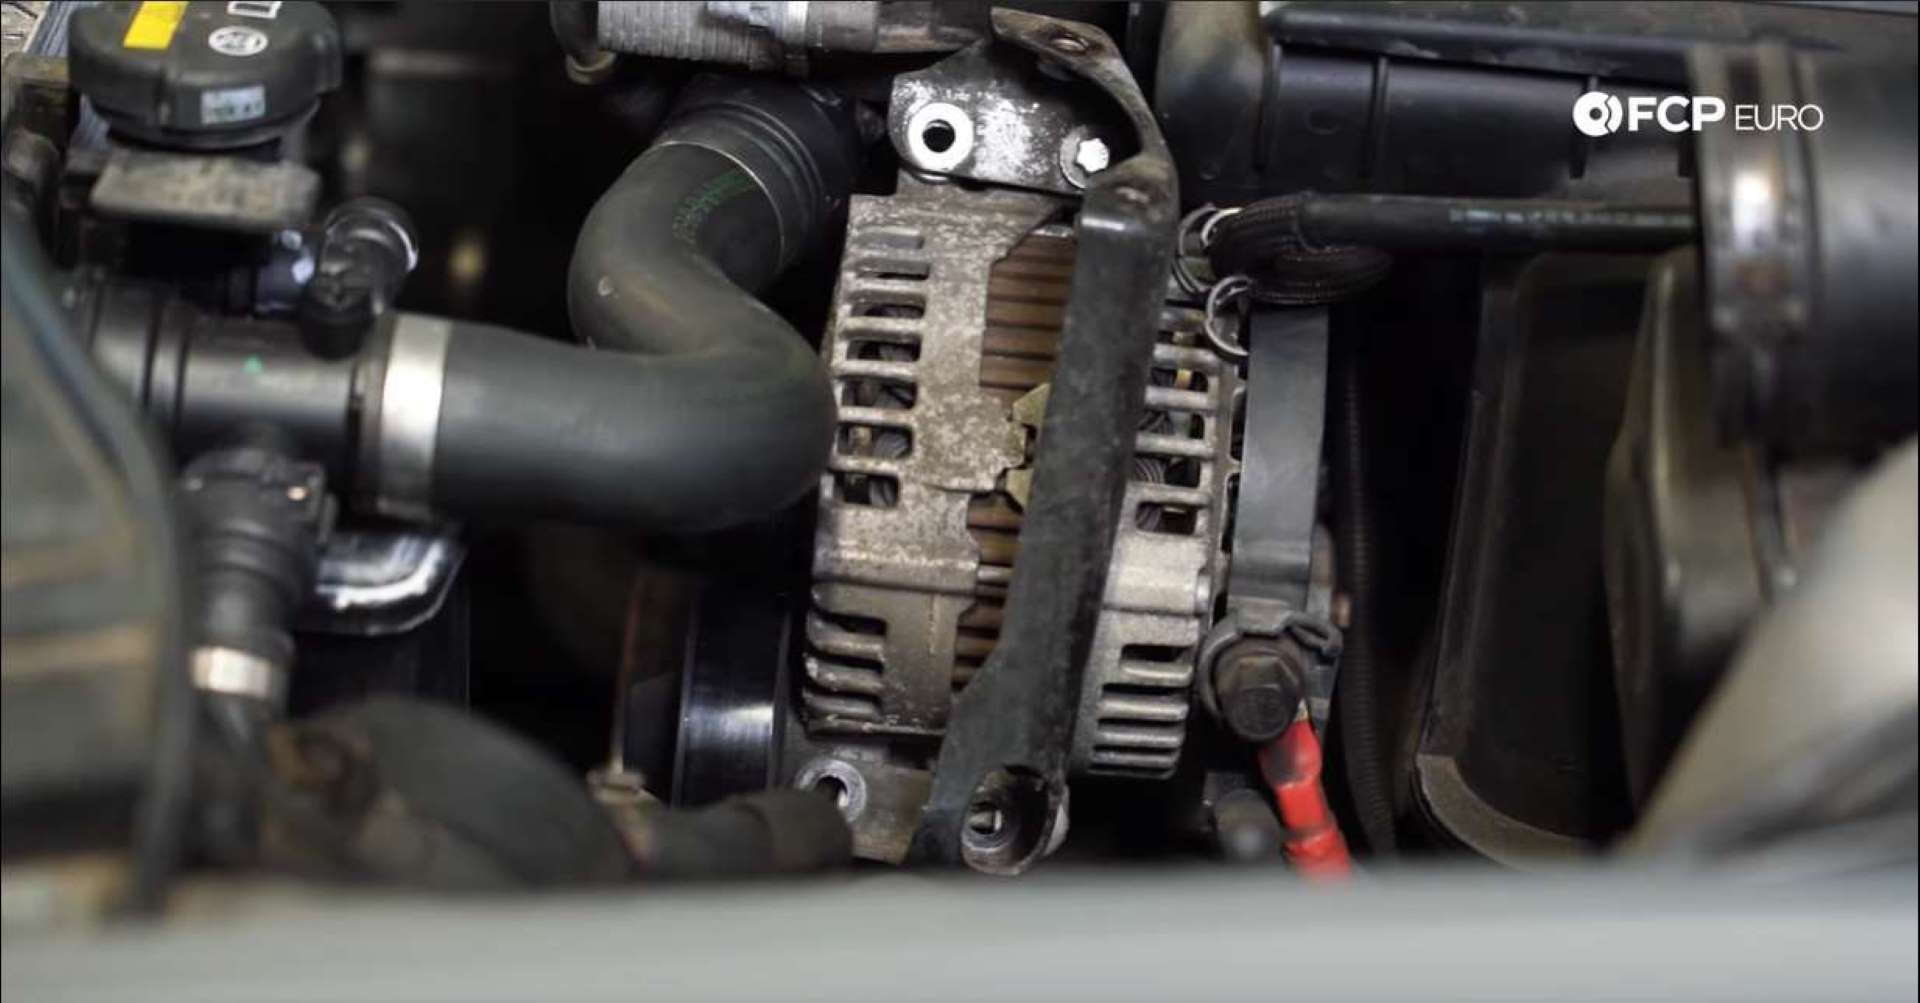
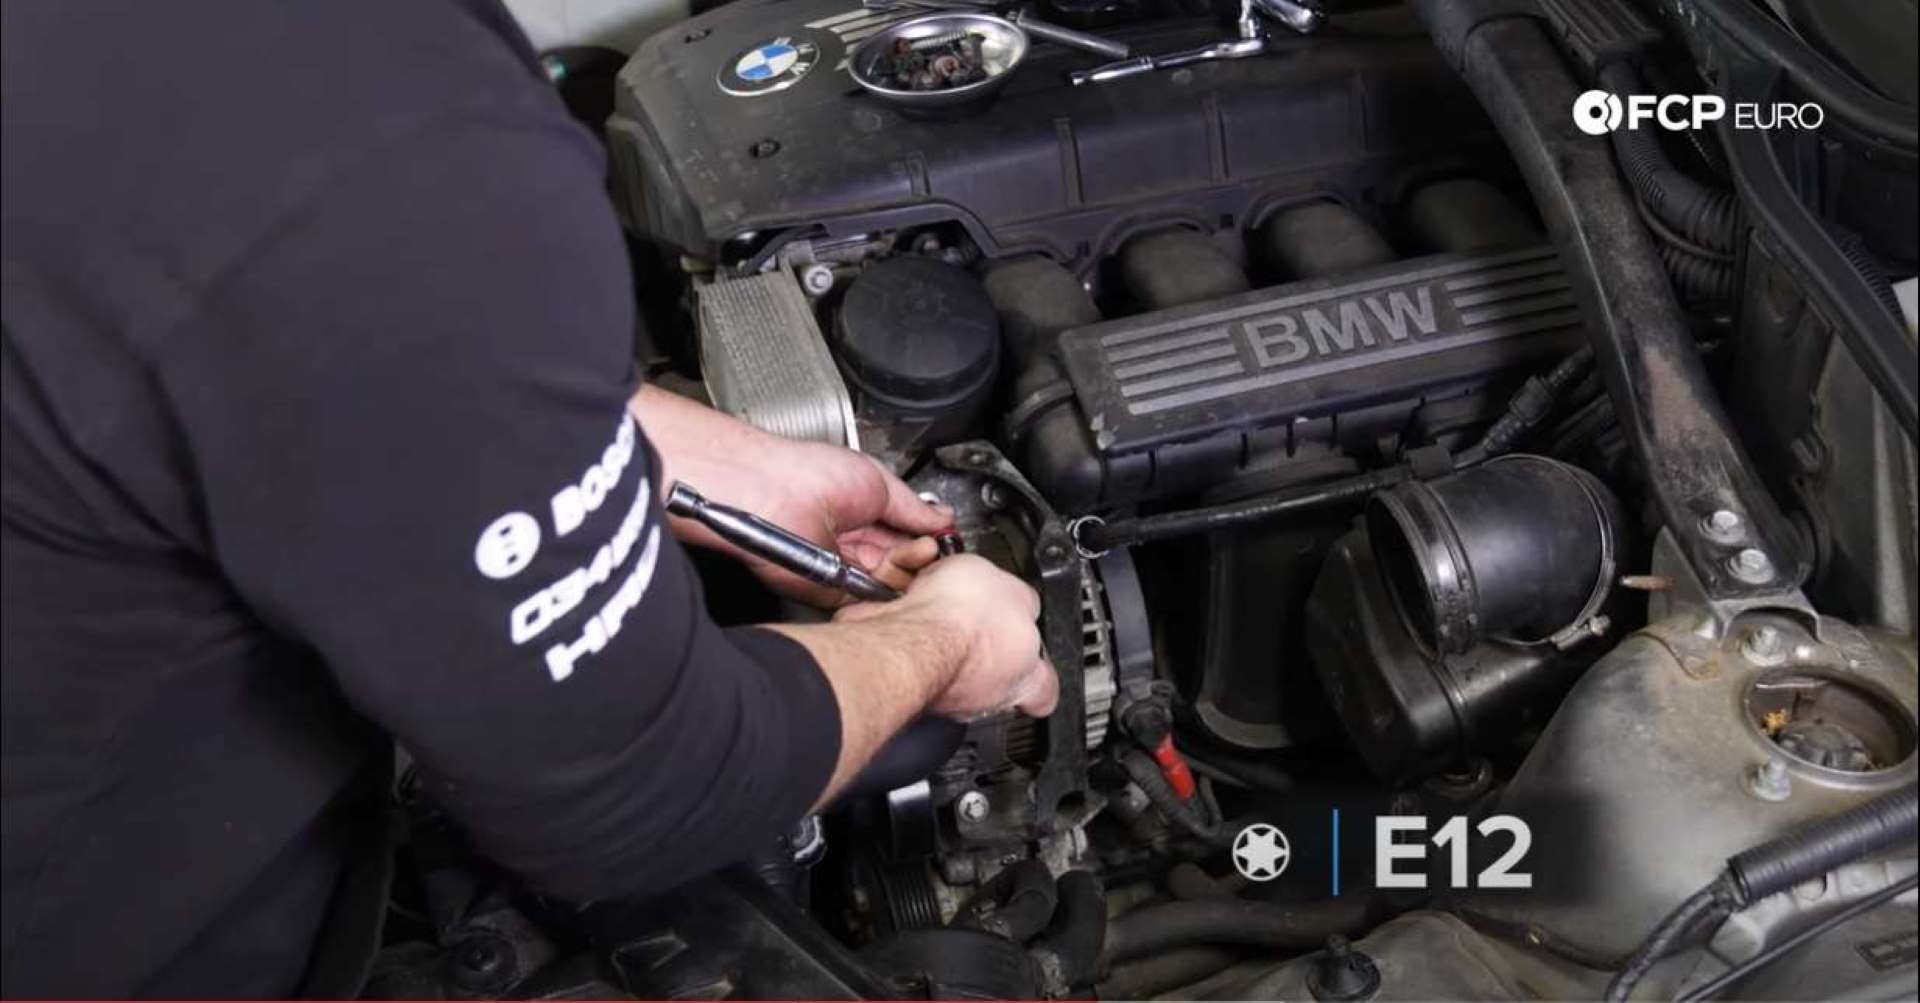
Step 7: Remove the alternator mounting bolts
To remove, use an E12 socket on the four aluminum bolts. If they are tough to remove, go slowly so you don’t snap them. The power steering fluid reservoir is mounted to the alternator using these same bolts, so it will come loose as they are removed.
Before removing the last bolt, unclip the breather line from the back of the reservoir bracket. Now you can remove the last bolt, and remove the broken or failing alternator.
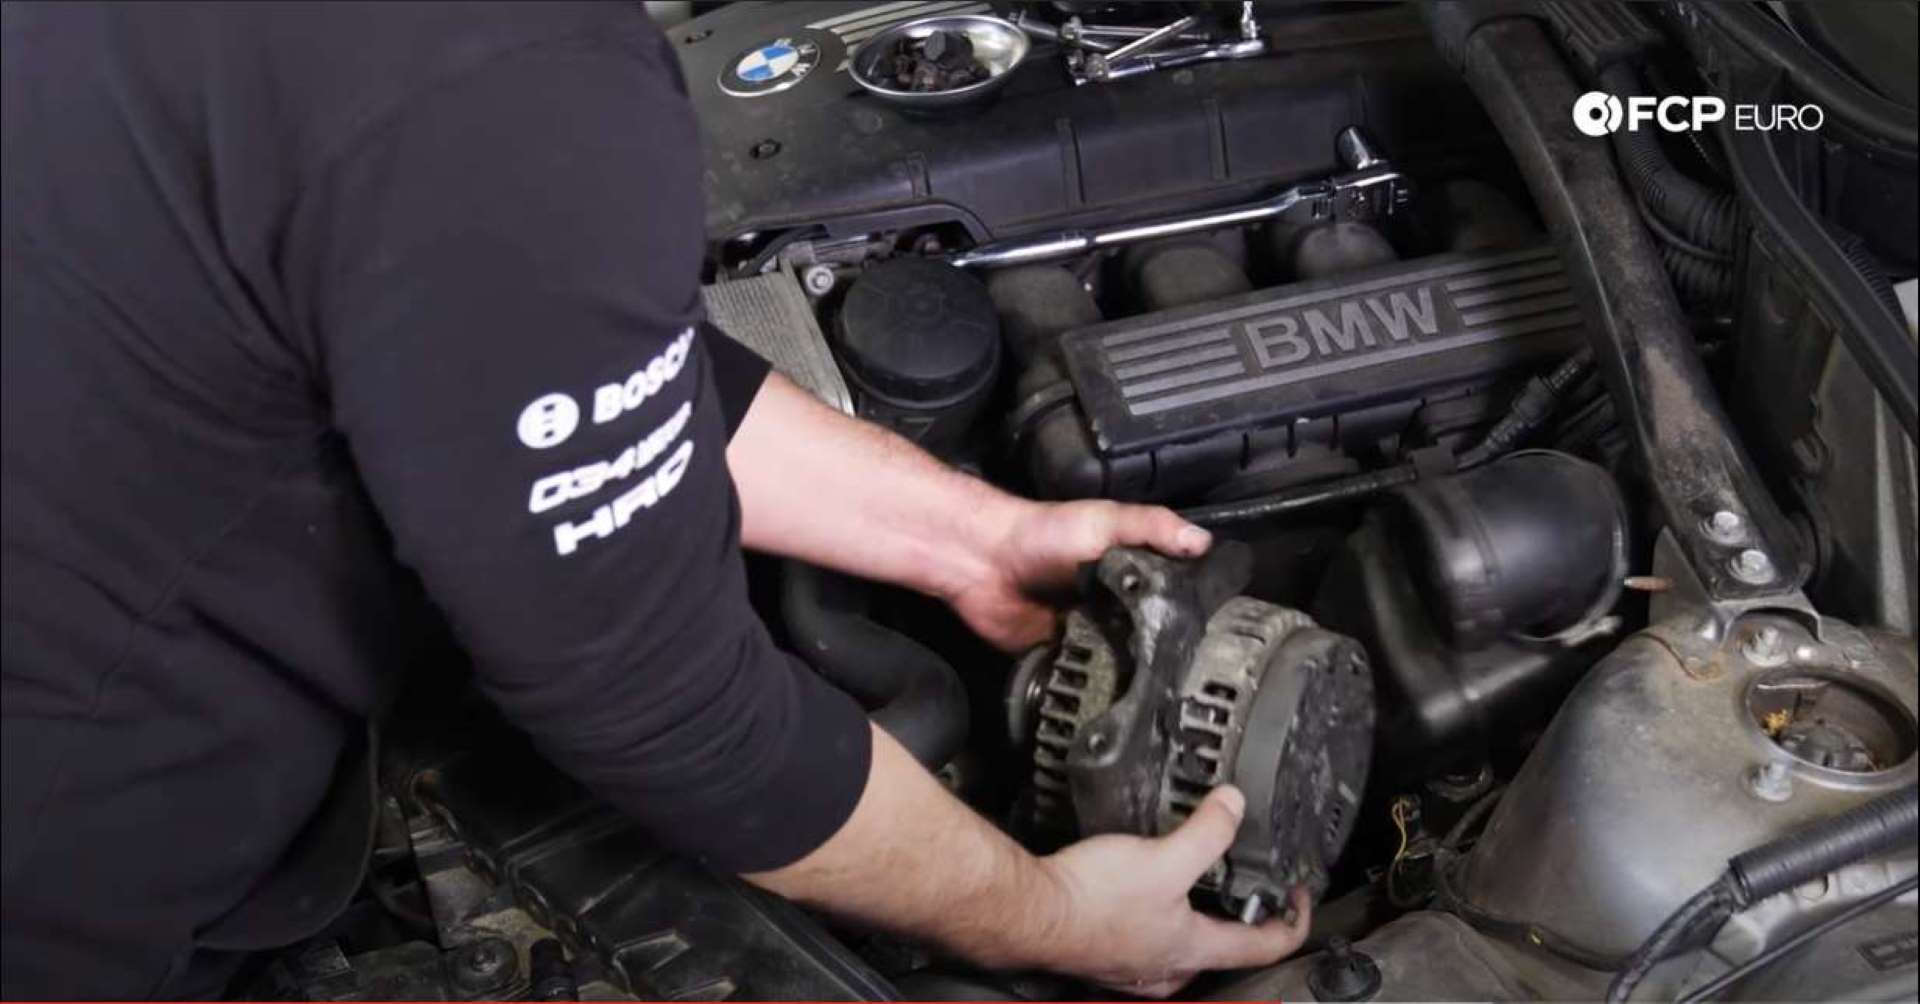
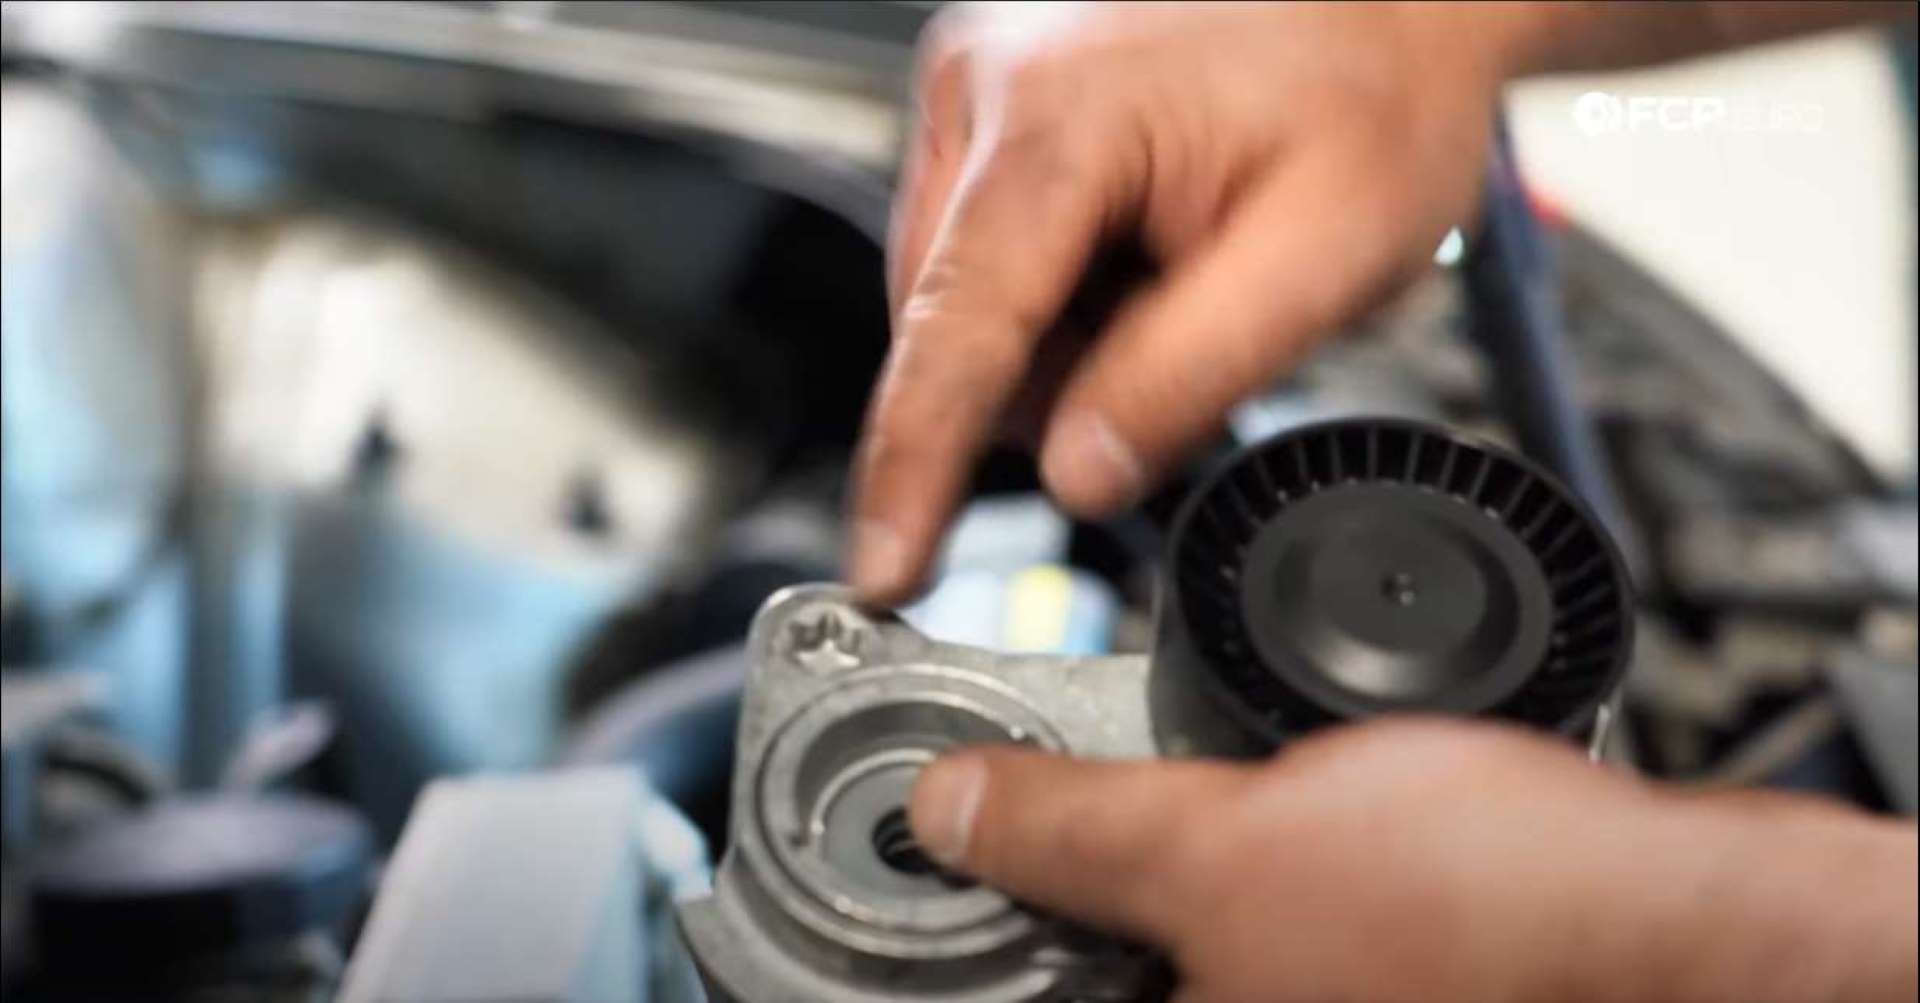
Step 8: Swap the idler pulleys
Use a flathead screwdriver to remove the cap on the idler bolt. Then, take a 17mm socket and remove the bolt holding the idler pulley onto the alternator. When moving it onto the new alternator, be sure not to forget the washer on the backside of the pulley.

Step 9: Reverse steps 1 through 7 and reinstall
It’s as simple as that. Now you’re halfway to having a functioning charging system in your BMW. Remember to mount the power steering fluid reservoir on the alternator before installing it. The bolts are aluminum, therefore not reusable.
Torque the bolts down to proper spec when reinstalling to be sure that nothing comes loose. Follow the diagram below when reinstalling the belt to ensure proper routing.
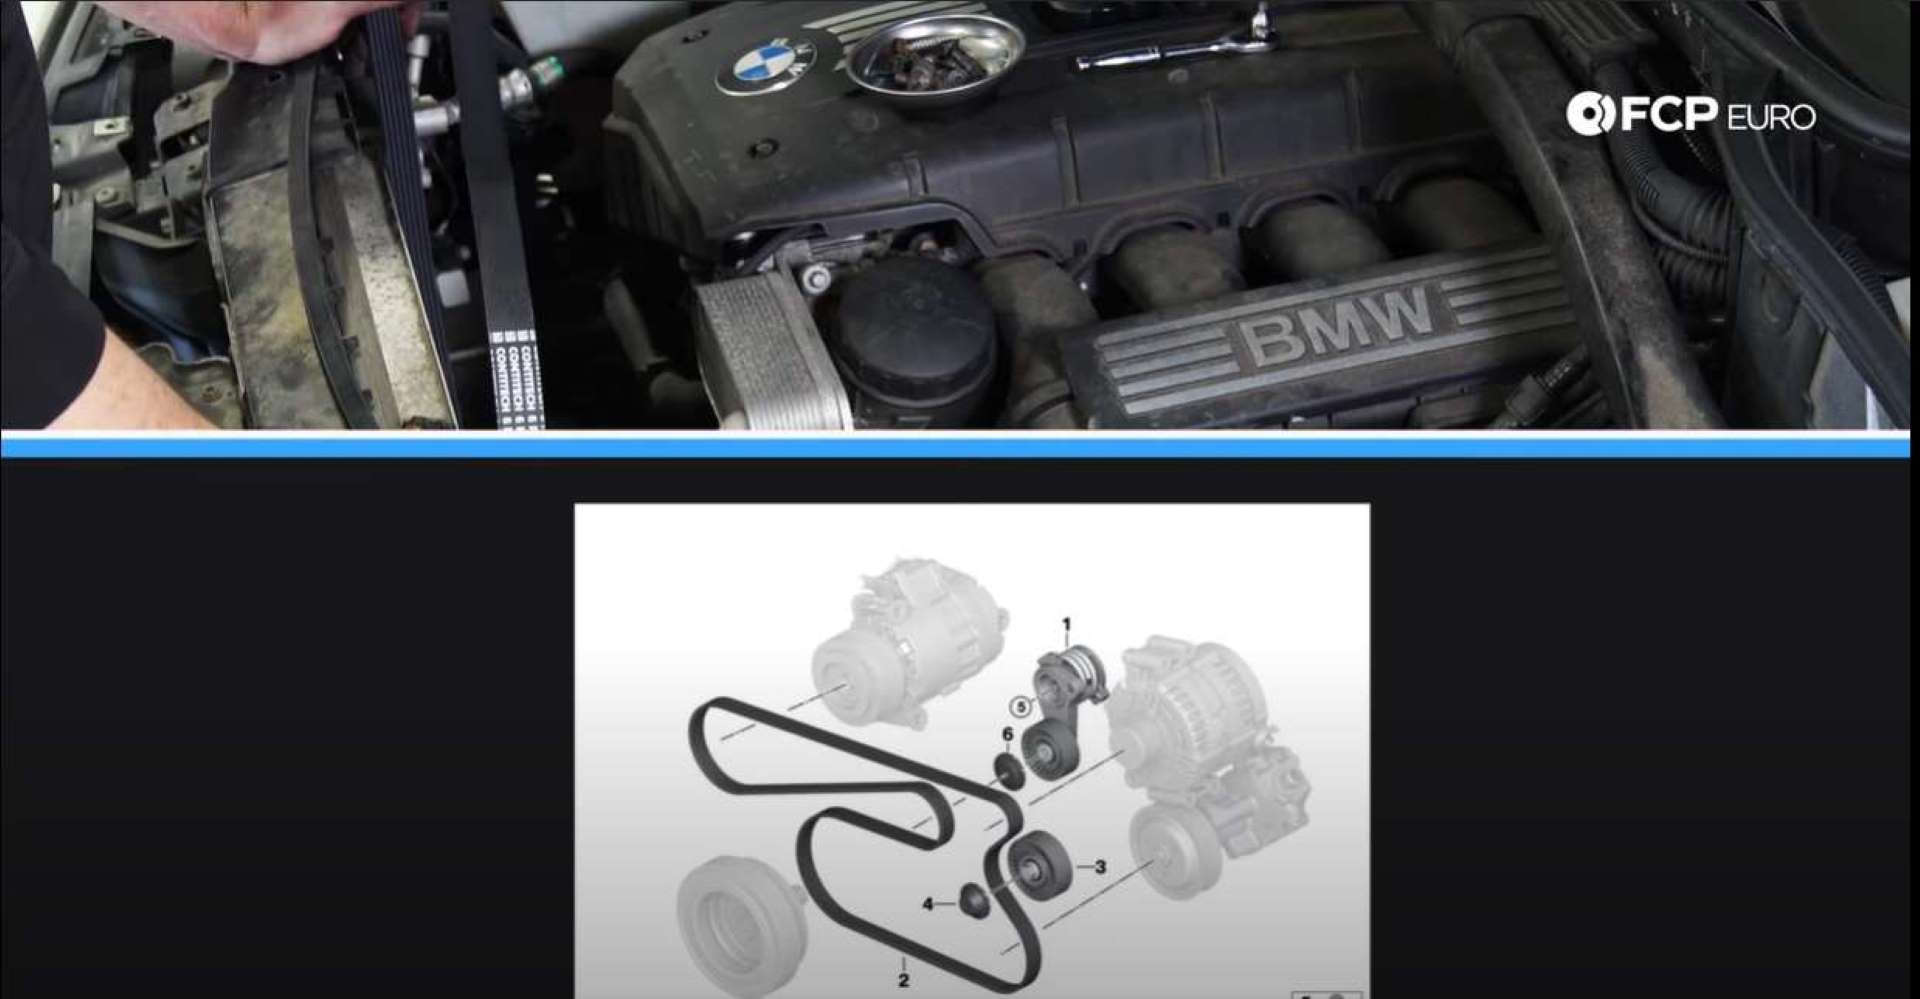
Once everything is put back in its place, you’ll have completed an alternator swap on your N52/N51 equipped BMW.
BMW N52 Alternator Replacement Torque Specs:
- BMW alternator idler pulley bolt = 40.7Nm or 30 lb-ft of torque
- BMW alternator mounting bolts = 10Nm or 7.4 lb-ft of torque, plus 180°
- The mounting bolts must be torqued down in an X pattern.
If you're interested in more DIYs for your BMW, you can visit bmw.fcpeuro.com and subscribe to our YouTube channel.


