- 01/15/2019
- 9 Min Read
- By: Evan Madore
How To Replace Your Oil Filter Housing Gaskets On A BMW N52, N52N, And N54 (1M, 135i, 335i, 335i, 535i, 740i, X6)

Oil leaking from your oil filter housing gasket on your N52, N54, and N55 is extremely common. A simple inspection will give you enough insight to whether or not it's time to tackle this job.
Replacing the oil filter housing gaskets on these engines isn't a difficult job; there are just quite a few steps in the process. Ignoring the issue can lead to your serpentine belt being ingested by the motor, resulting in catastrophic failure. With this guide, a couple special tools, and a few hours of your time, you should be able to continue driving on with piece of mind.
Tools needed to complete this repair:
- Socket Wrench Set
- Torx Socket Set
- Torx Bit Set
- Screwdriver Set
- Siphon Pump (Optional)
- Tool Pick (Optional)
- Fluid Drain Pan
- Hose Pinch-Off Pliers
- E10 Ratcheting Wrench
- Underhood Work Light (Optional)
- Cordless Stub Ratchet (Optional and extremely handy)
- 86mm Oil Filter Wrench
- Soft Jaw Channel Lock Pliers (Optional but recommended)
- Torque Wrench
Parts needed to complete this repair:
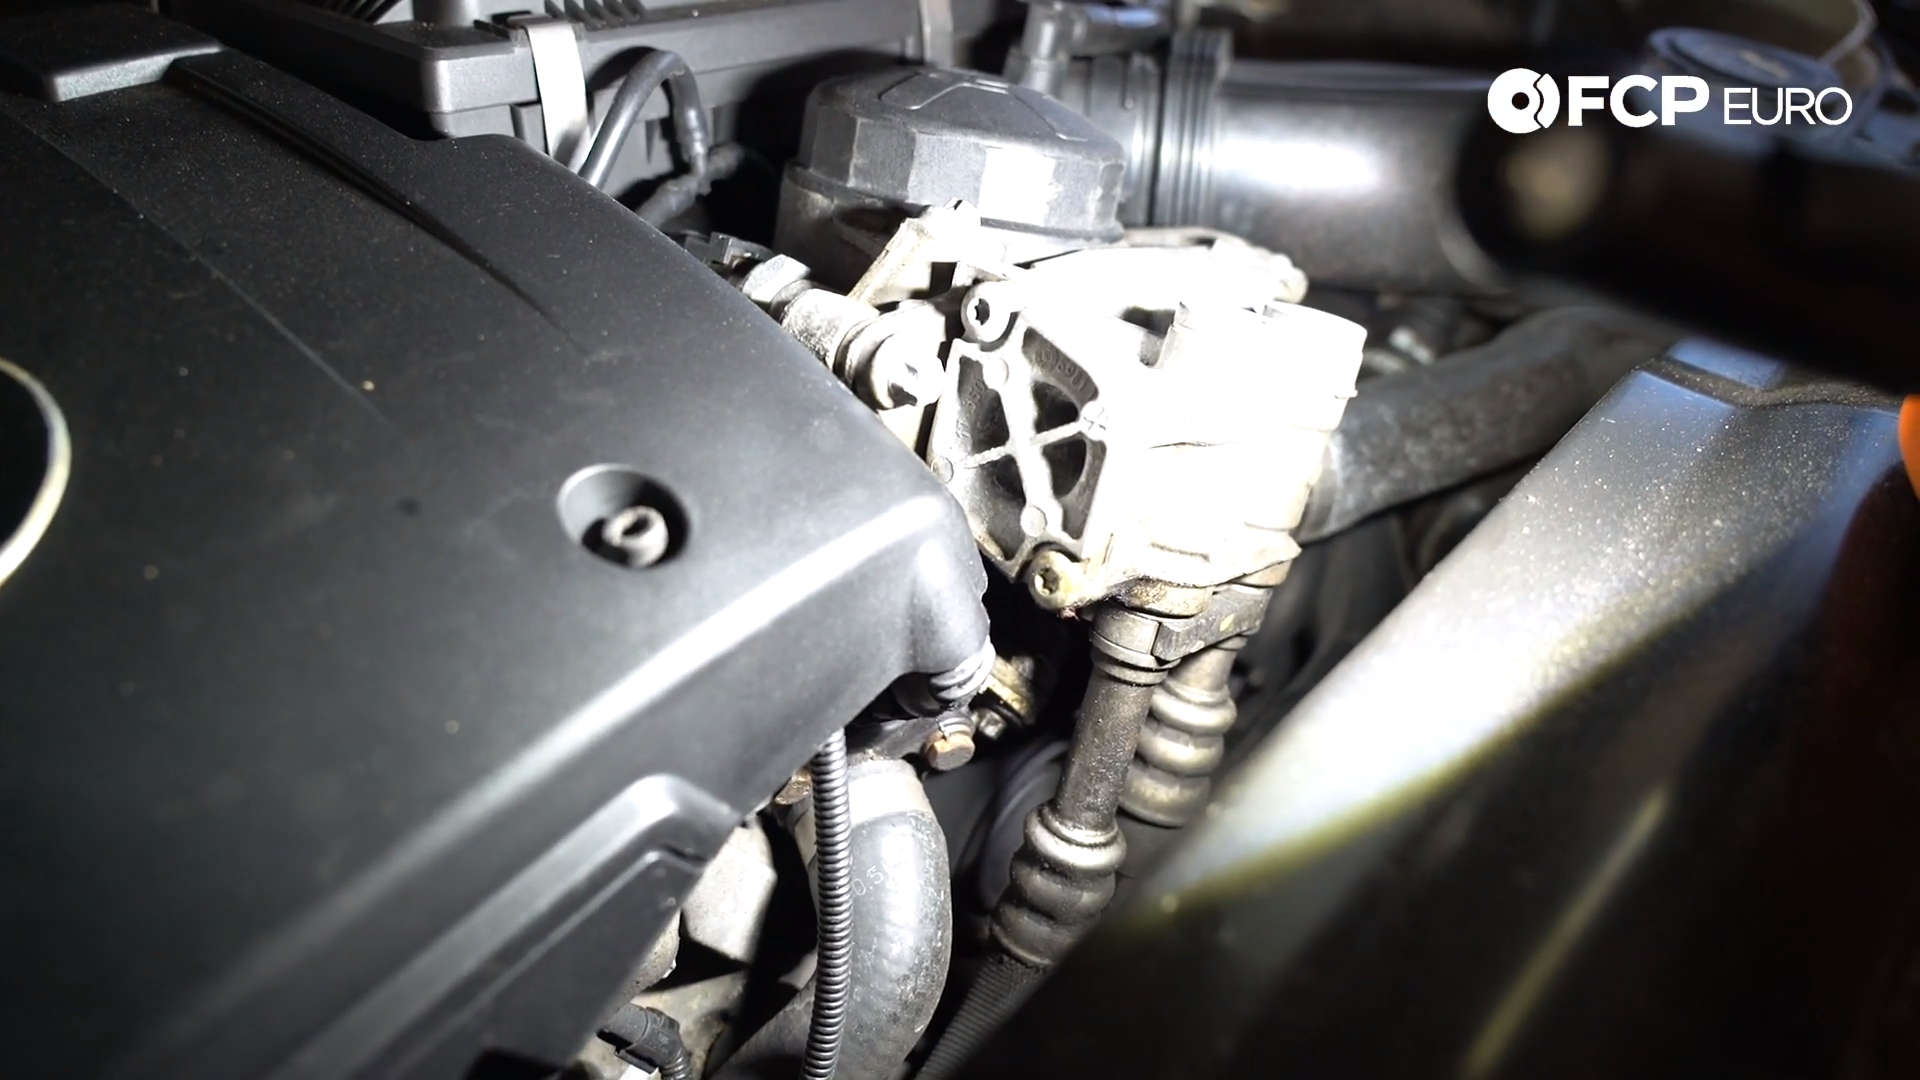
Step 1: Inspection
To narrow down your issue, you should be looking for oil residue toward the front of the motor. Diving in further, you will likely find the front timing cover coated in oil.
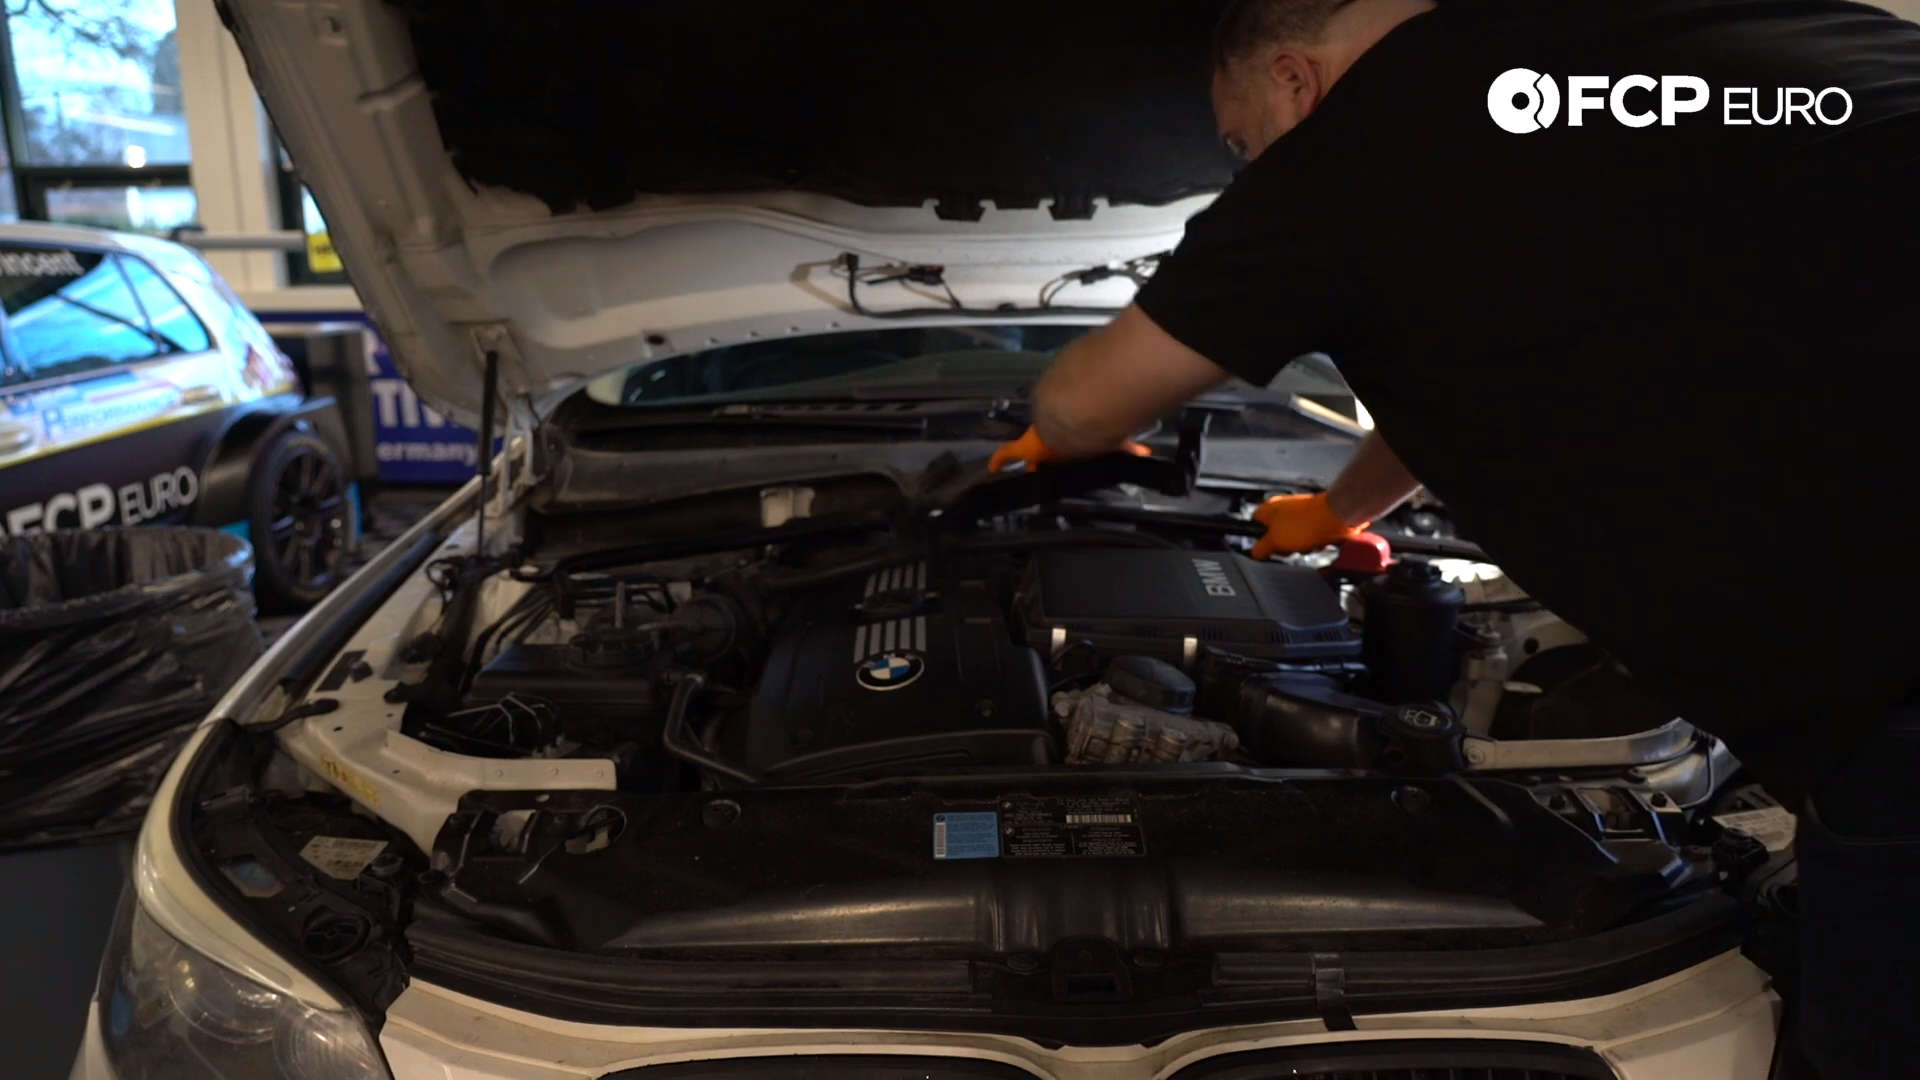
Step 2: Remove Cowls and Air Filter Housing
Depending on your vehicle, this step might be slightly different for you. Remove the upper cowl covers and then move onto removing the air filter housing. There will be multiple vacuum lines and two air suction hoses connected to the air box. Once you remove these, you will have access to the intake manifold.
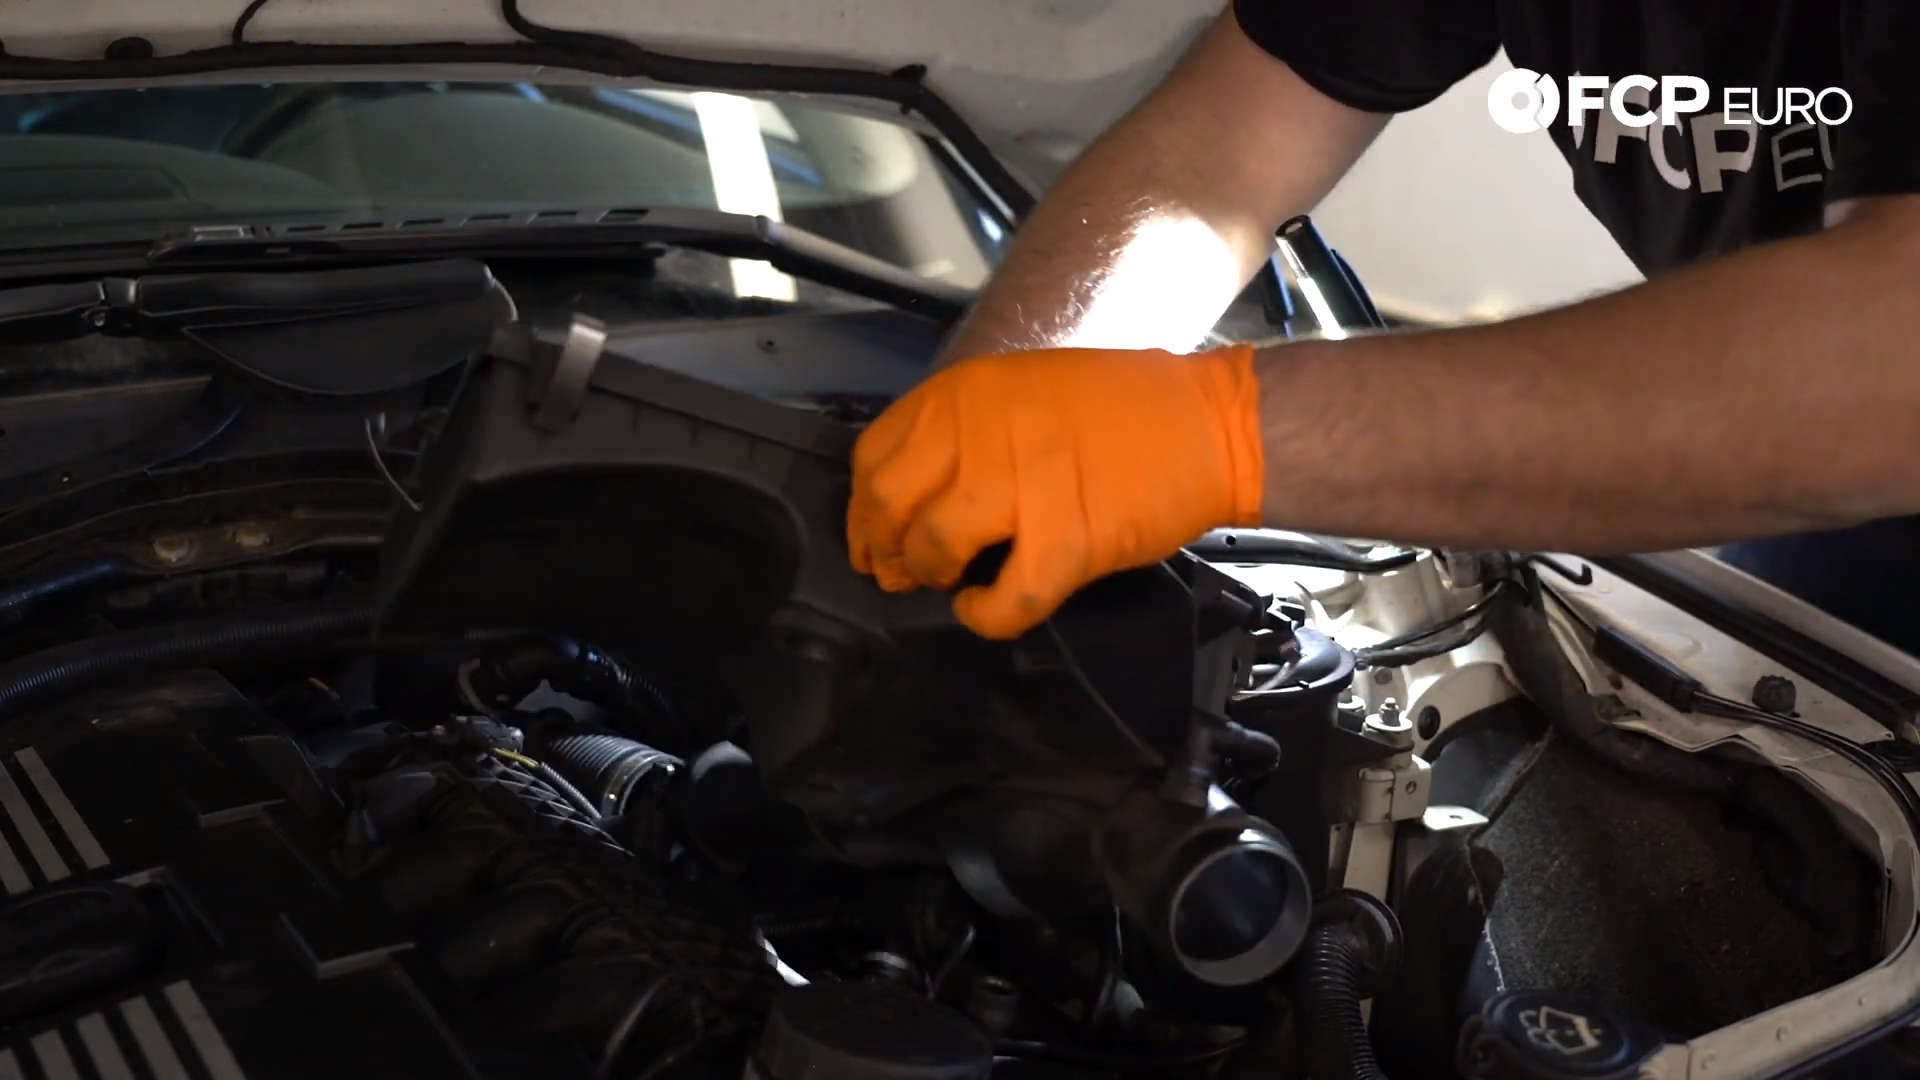
Step 3: Remove the Air Box
To remove the air box, you have to remove various hoses that supply fresh air. These connect to the turbo and depending on what model car you're working on, these could differ.
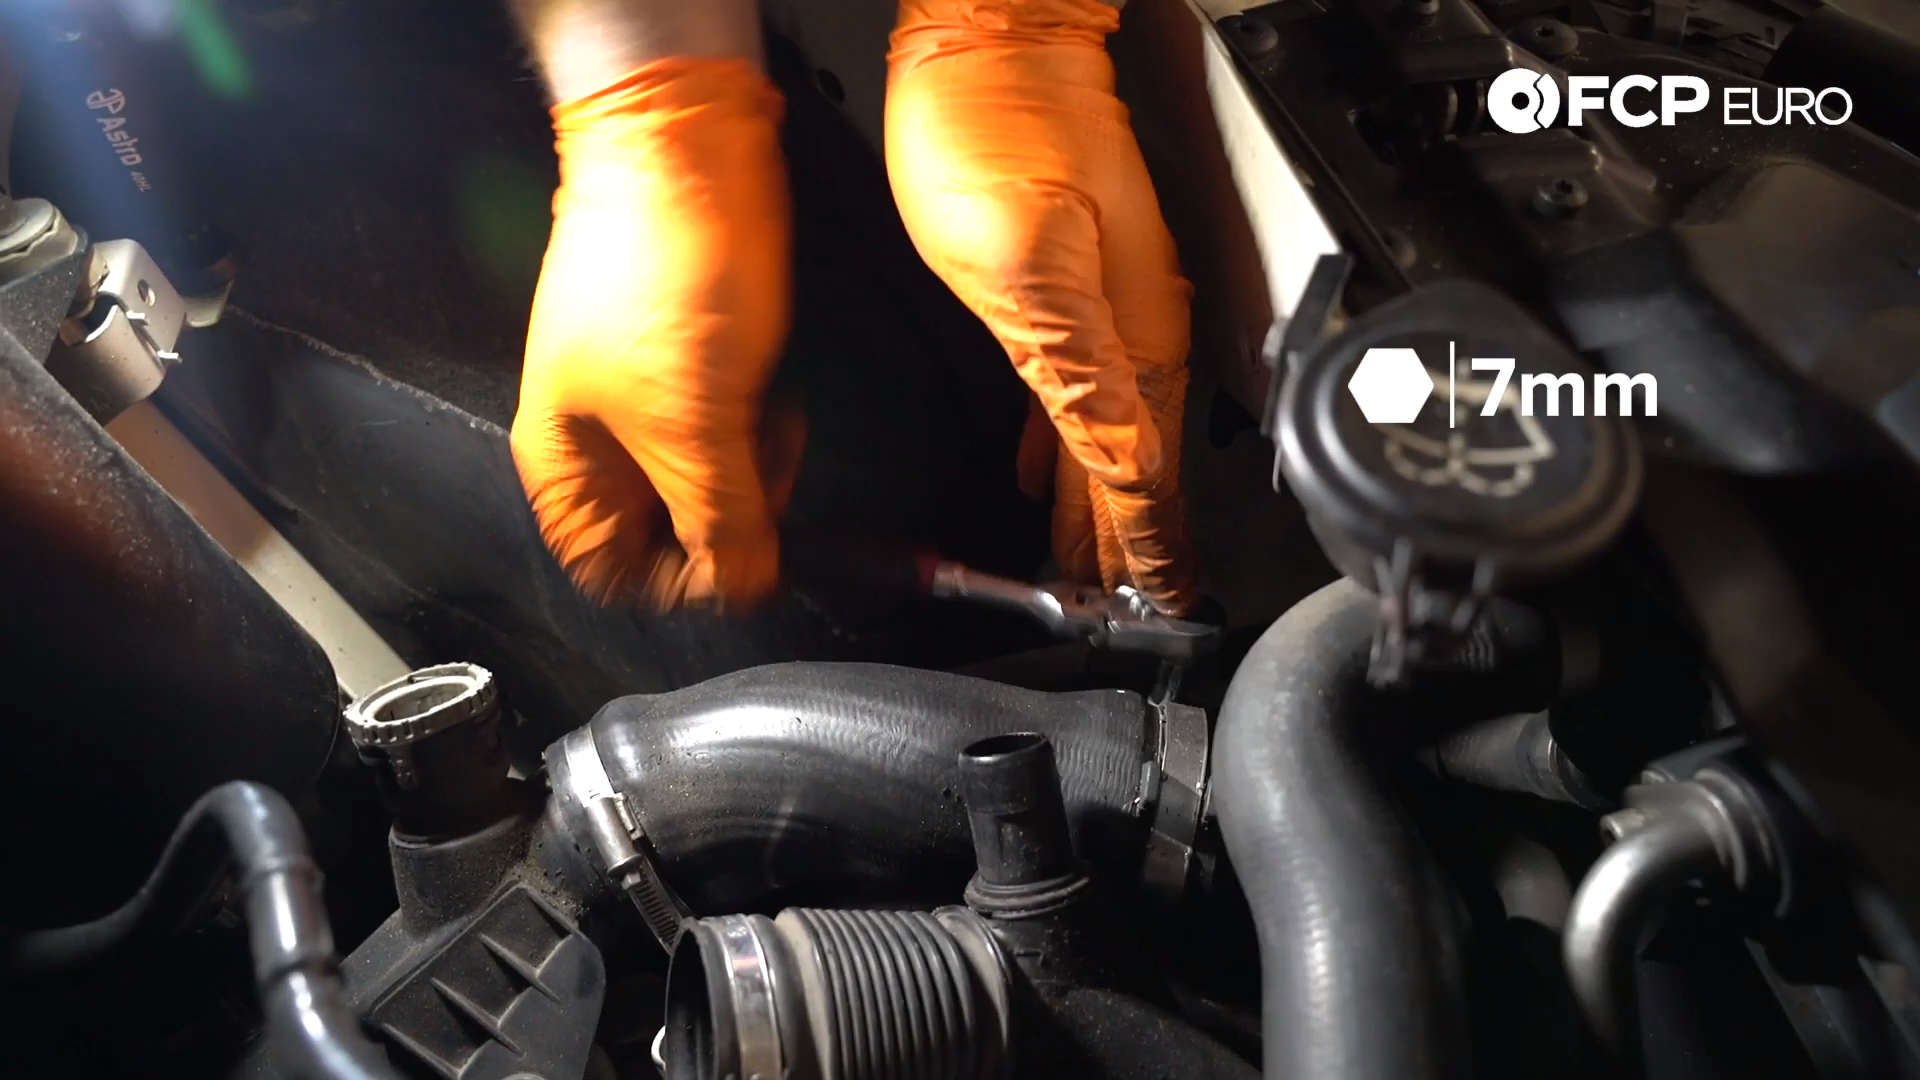
Step 4: Remove the Charge Pipe
Now that the air box is out of the way, you can remove the charge pipe that goes to the throttle body. To do so, first you have to remove the re-circulation valves that go back into the air inlet. These are held in place by twist lock connectors. Just untwist and pull; they should come right out.
With the re-circulation pipes removed, you can now undo the quick clamp and the hose clamp. The quick clamp will lift up with a pick or screwdriver and the hose clamp is simply a screw style 7mm.
At this point, the charge pipe should be ready to pull right off. As Gareth demonstrates, it's helpful to grunt loudly while yanking it off.

Step 5: Remove the Throttle Body from the Intake Manifold
Using a 10mm socket, remove the three bolts that hold the throttle body to the intake manifold. On the back side of the throttle body there's a vacuum connection as well as an electrical connection. You can disconnect the vacuum connection before taking off the throttle body but you should wait on the electrical connection. It's easier to reach once the throttle body is loose. Underneath the throttle body is another electrical harness. You can slide this off the bracket to give yourself easier access. 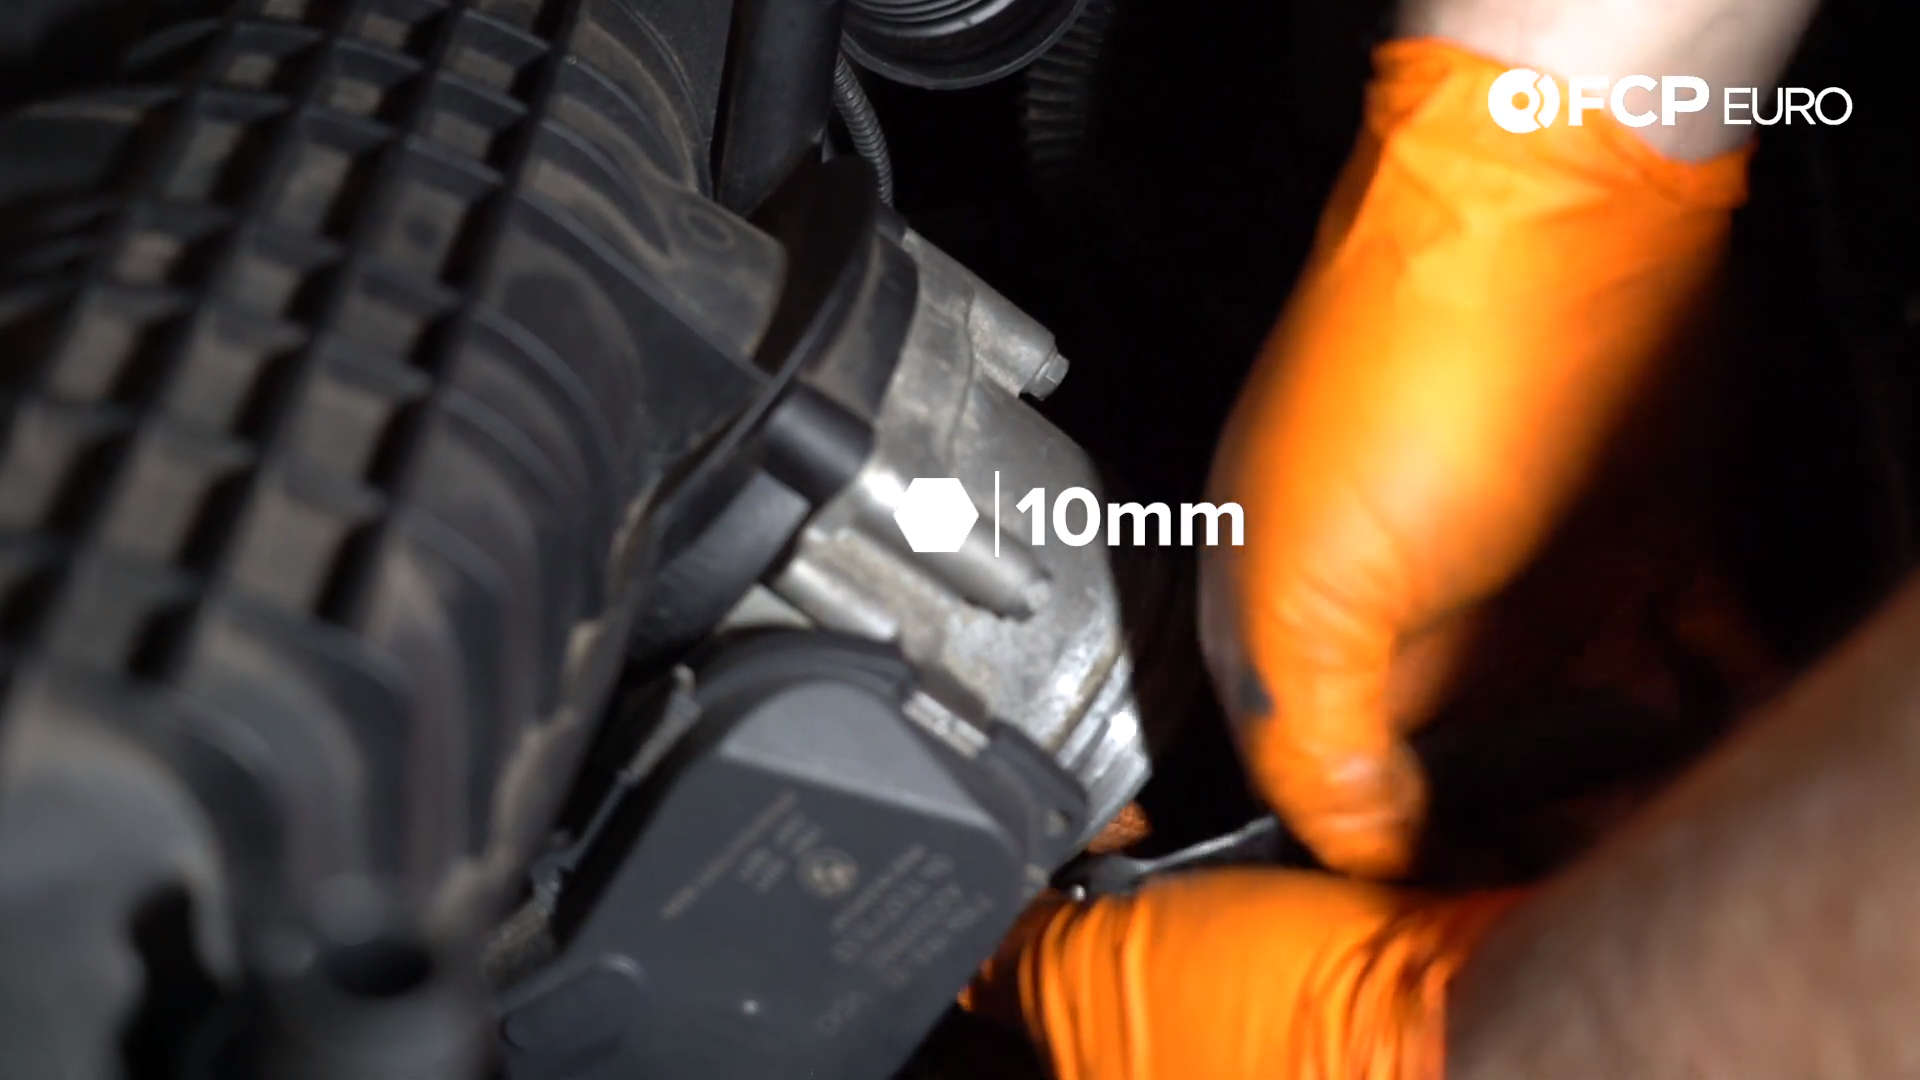
Step 6: Remove the Engine Cover
The engine cover is held on by three 6mm screws. It isn't mandatory to take the cover off, but it does help to gain better access for the next steps.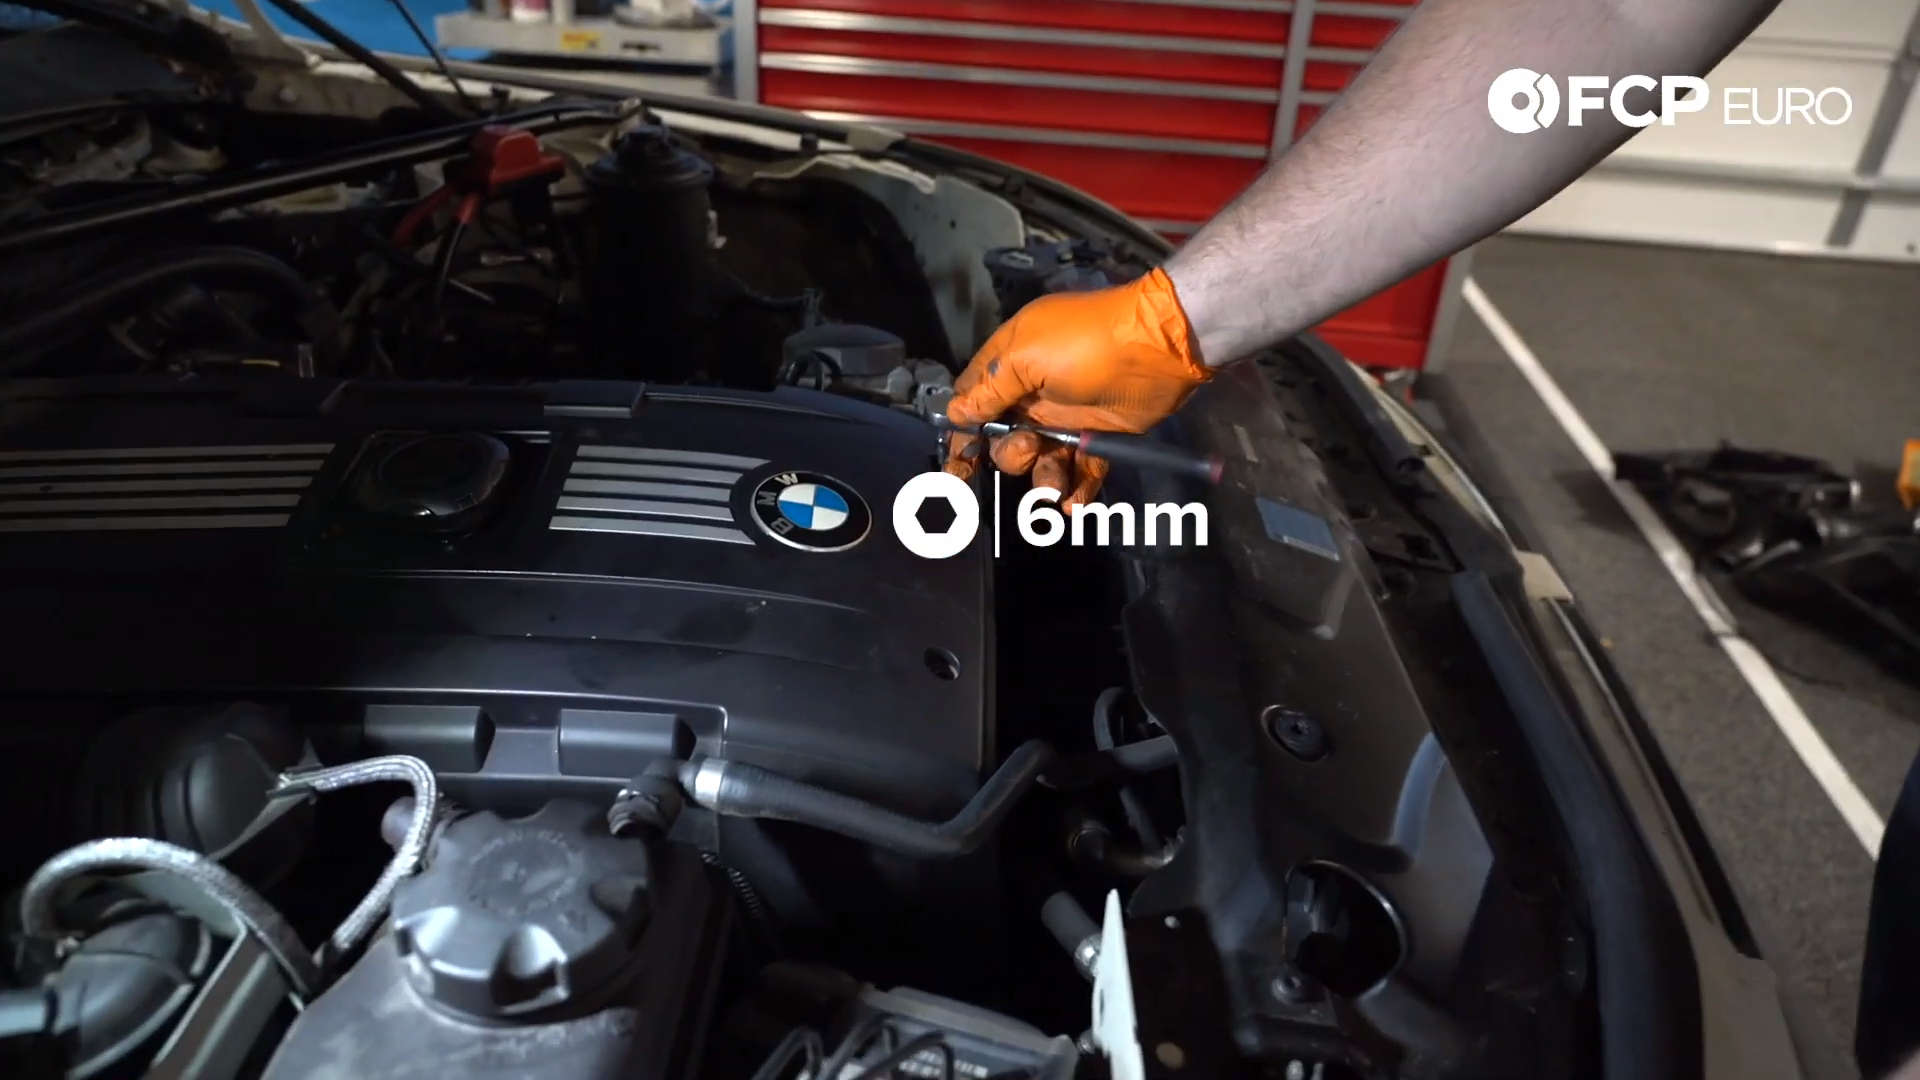
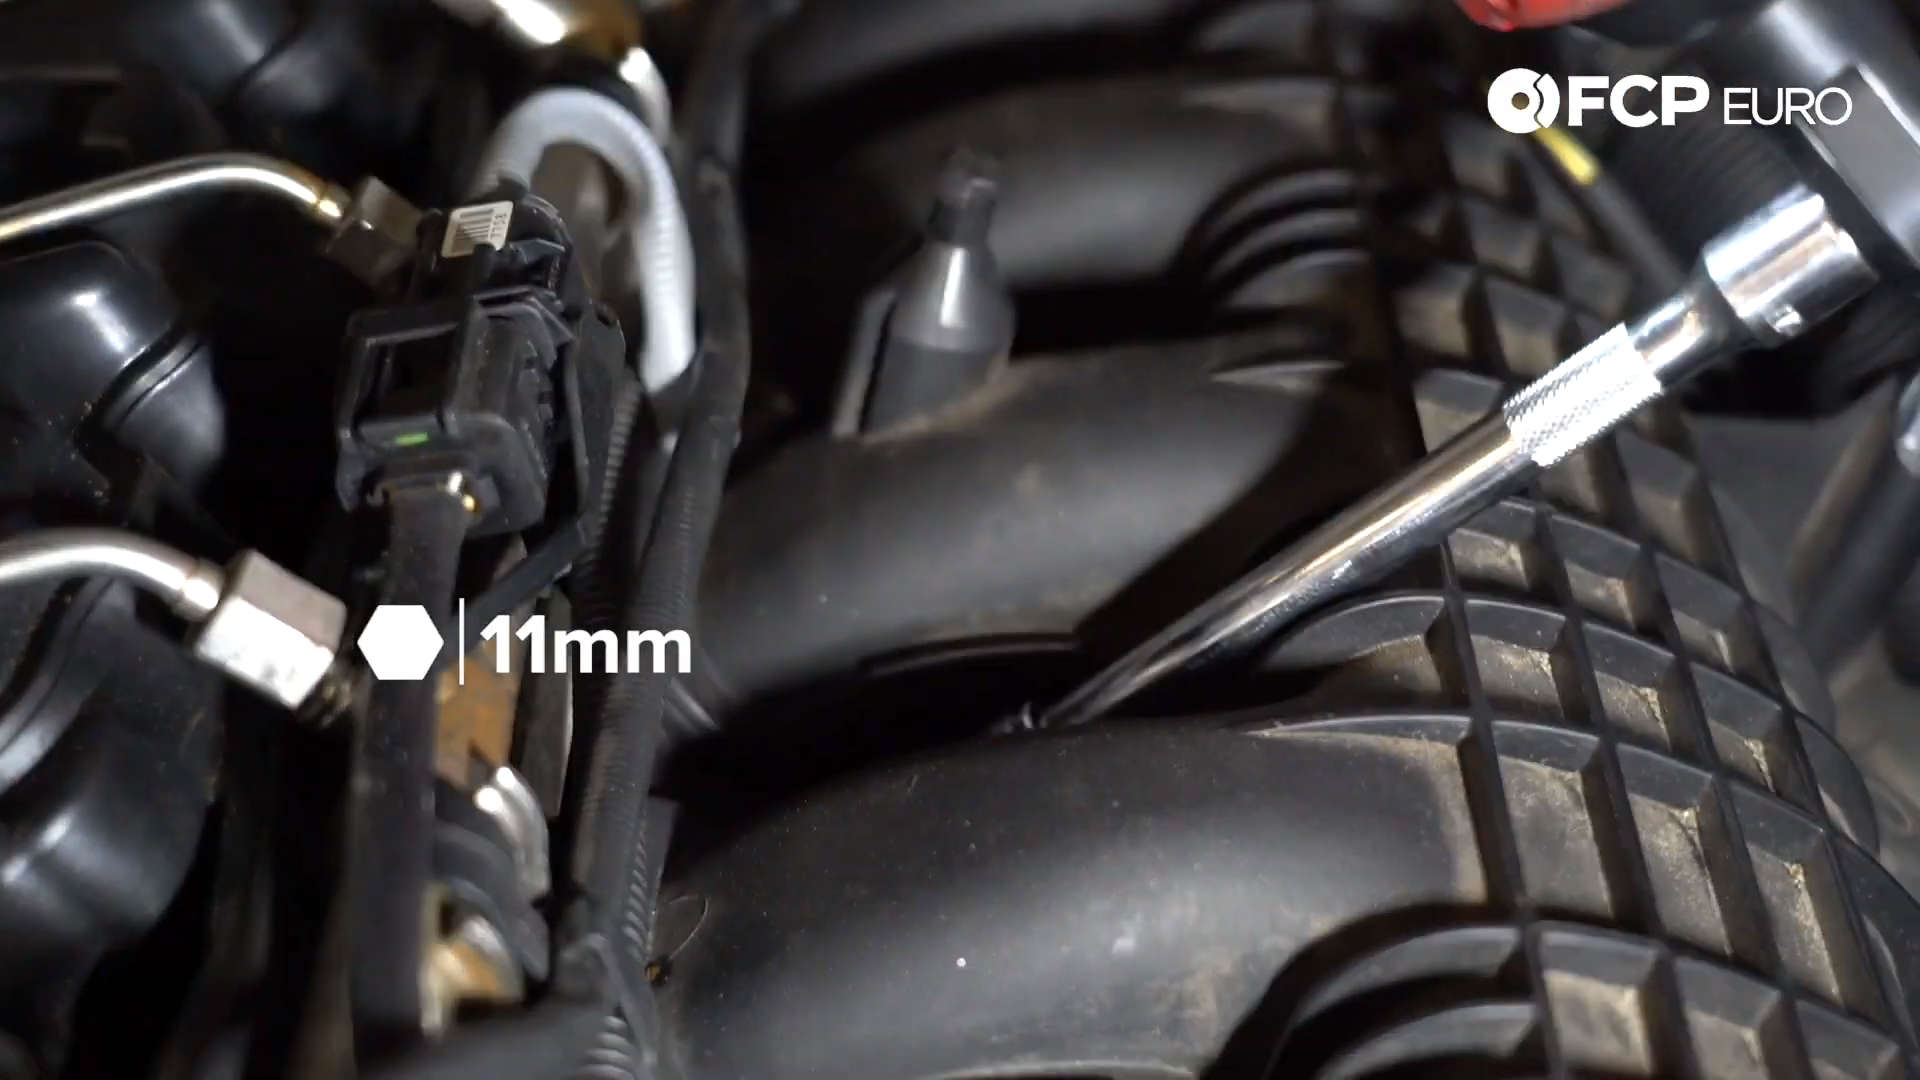
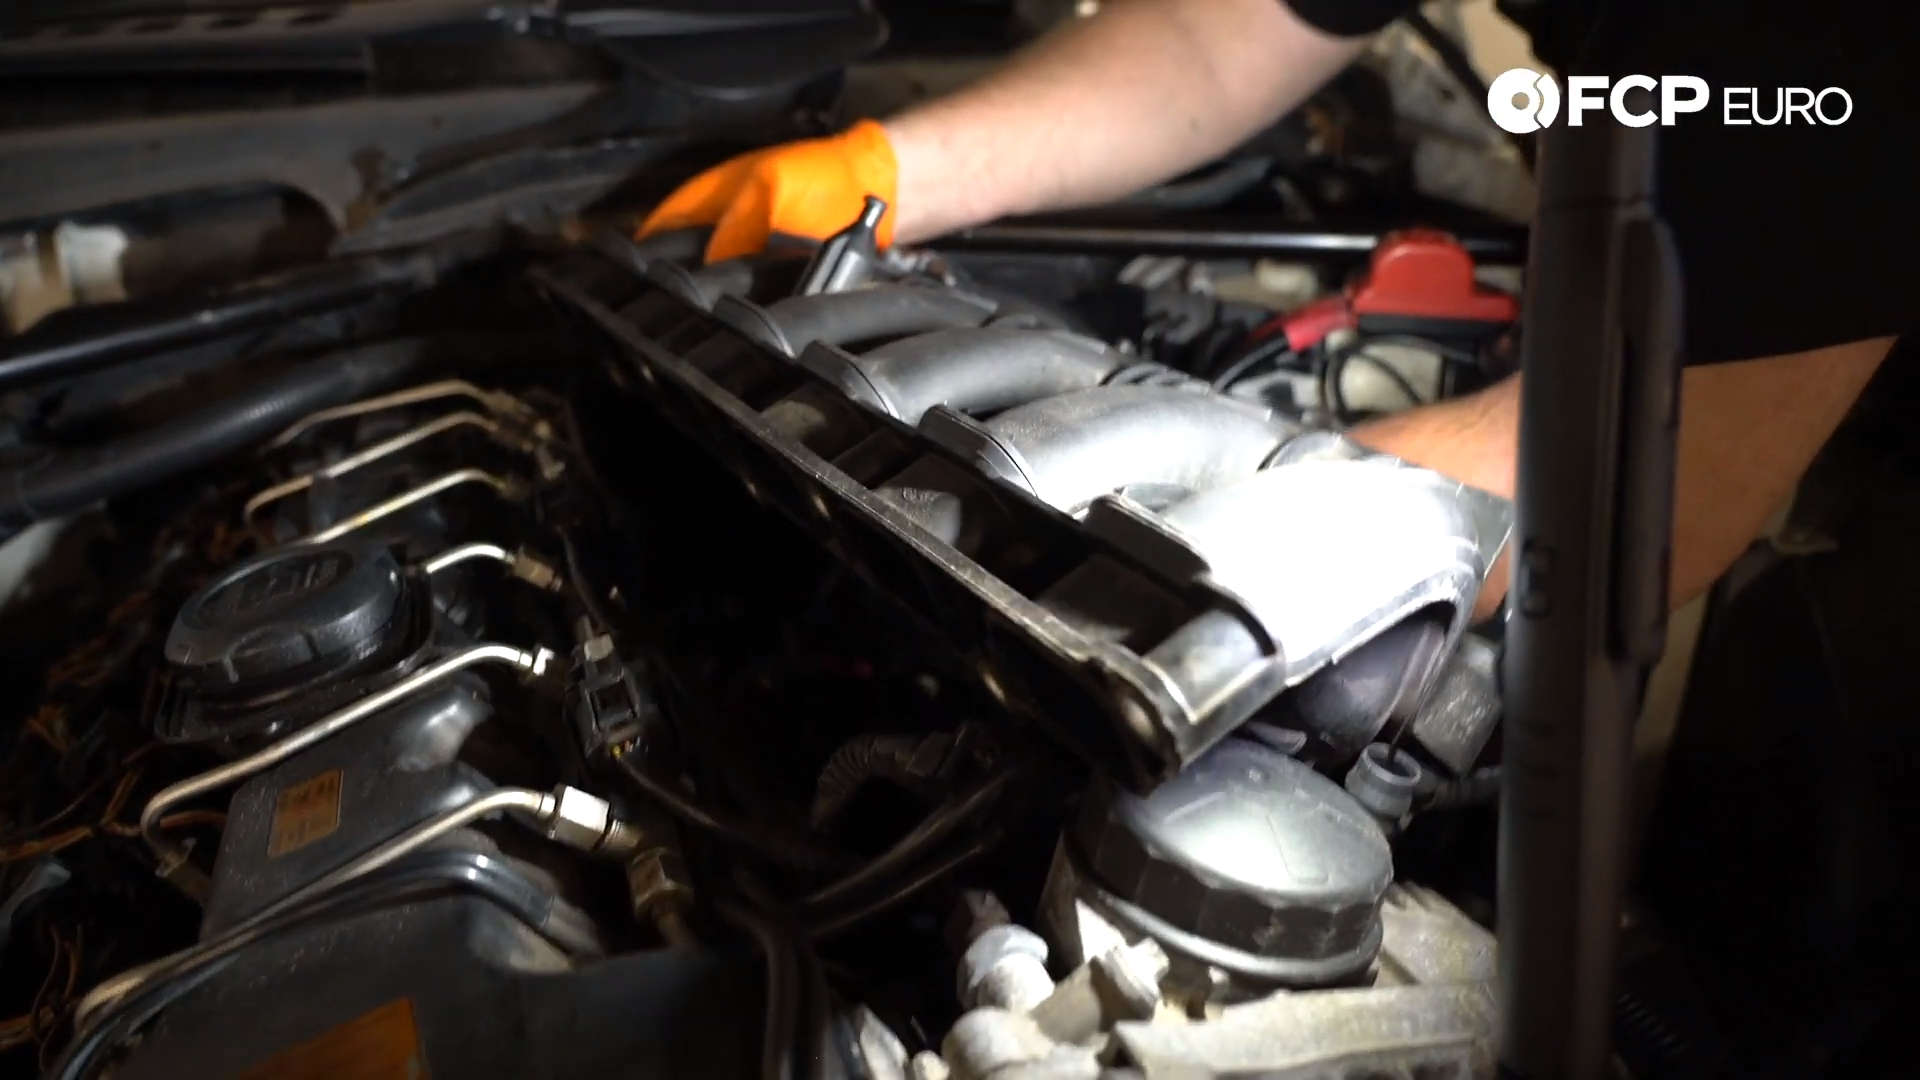
Step 7: Remove the Intake Manifold
The intake manifold is held on by two 11mm bolts and five 11mm nuts. Before you unfasten these, there are two MAP sensors to unplug. Just un-clip these and you're ready to go.
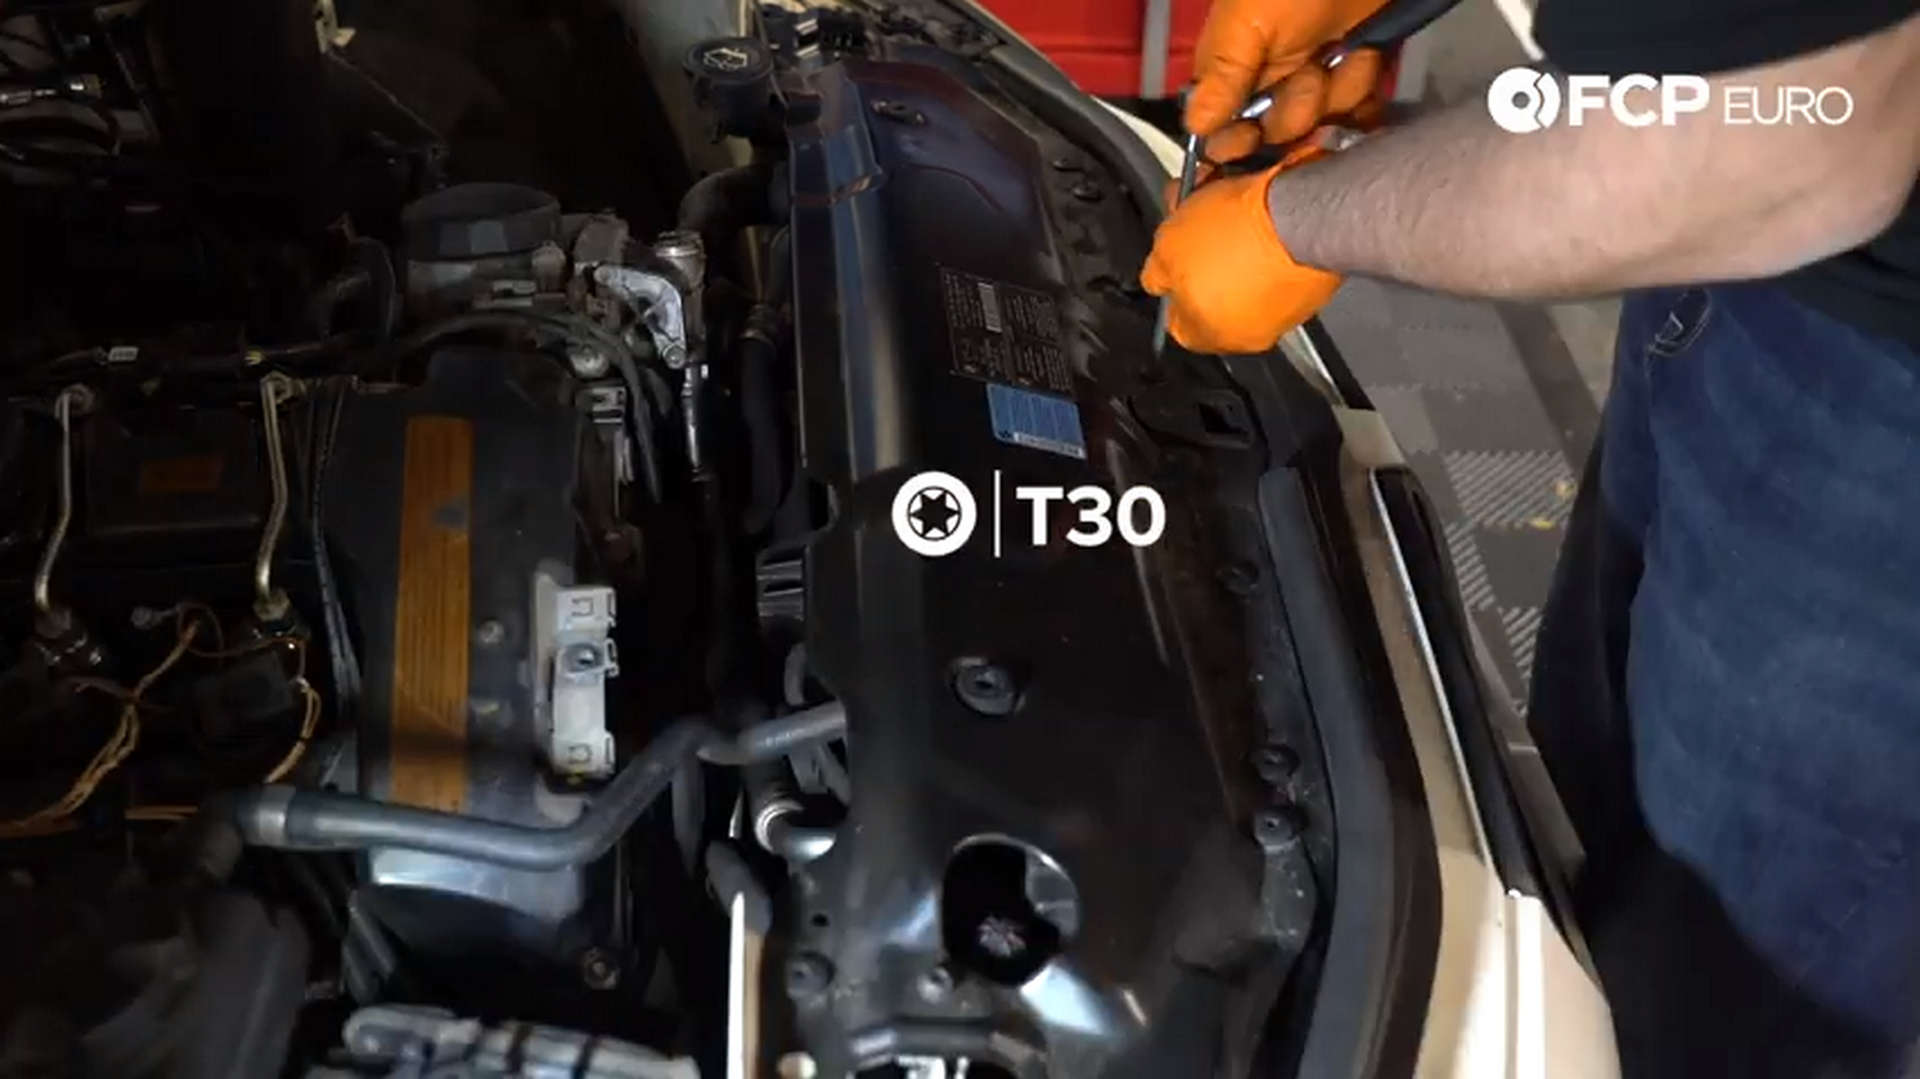
Step 8: Remove the Cooling Fan Shroud
This step only applies if you're working on a 535xi. Using a T30 Torx, remove the screws holding the fan shroud in place.
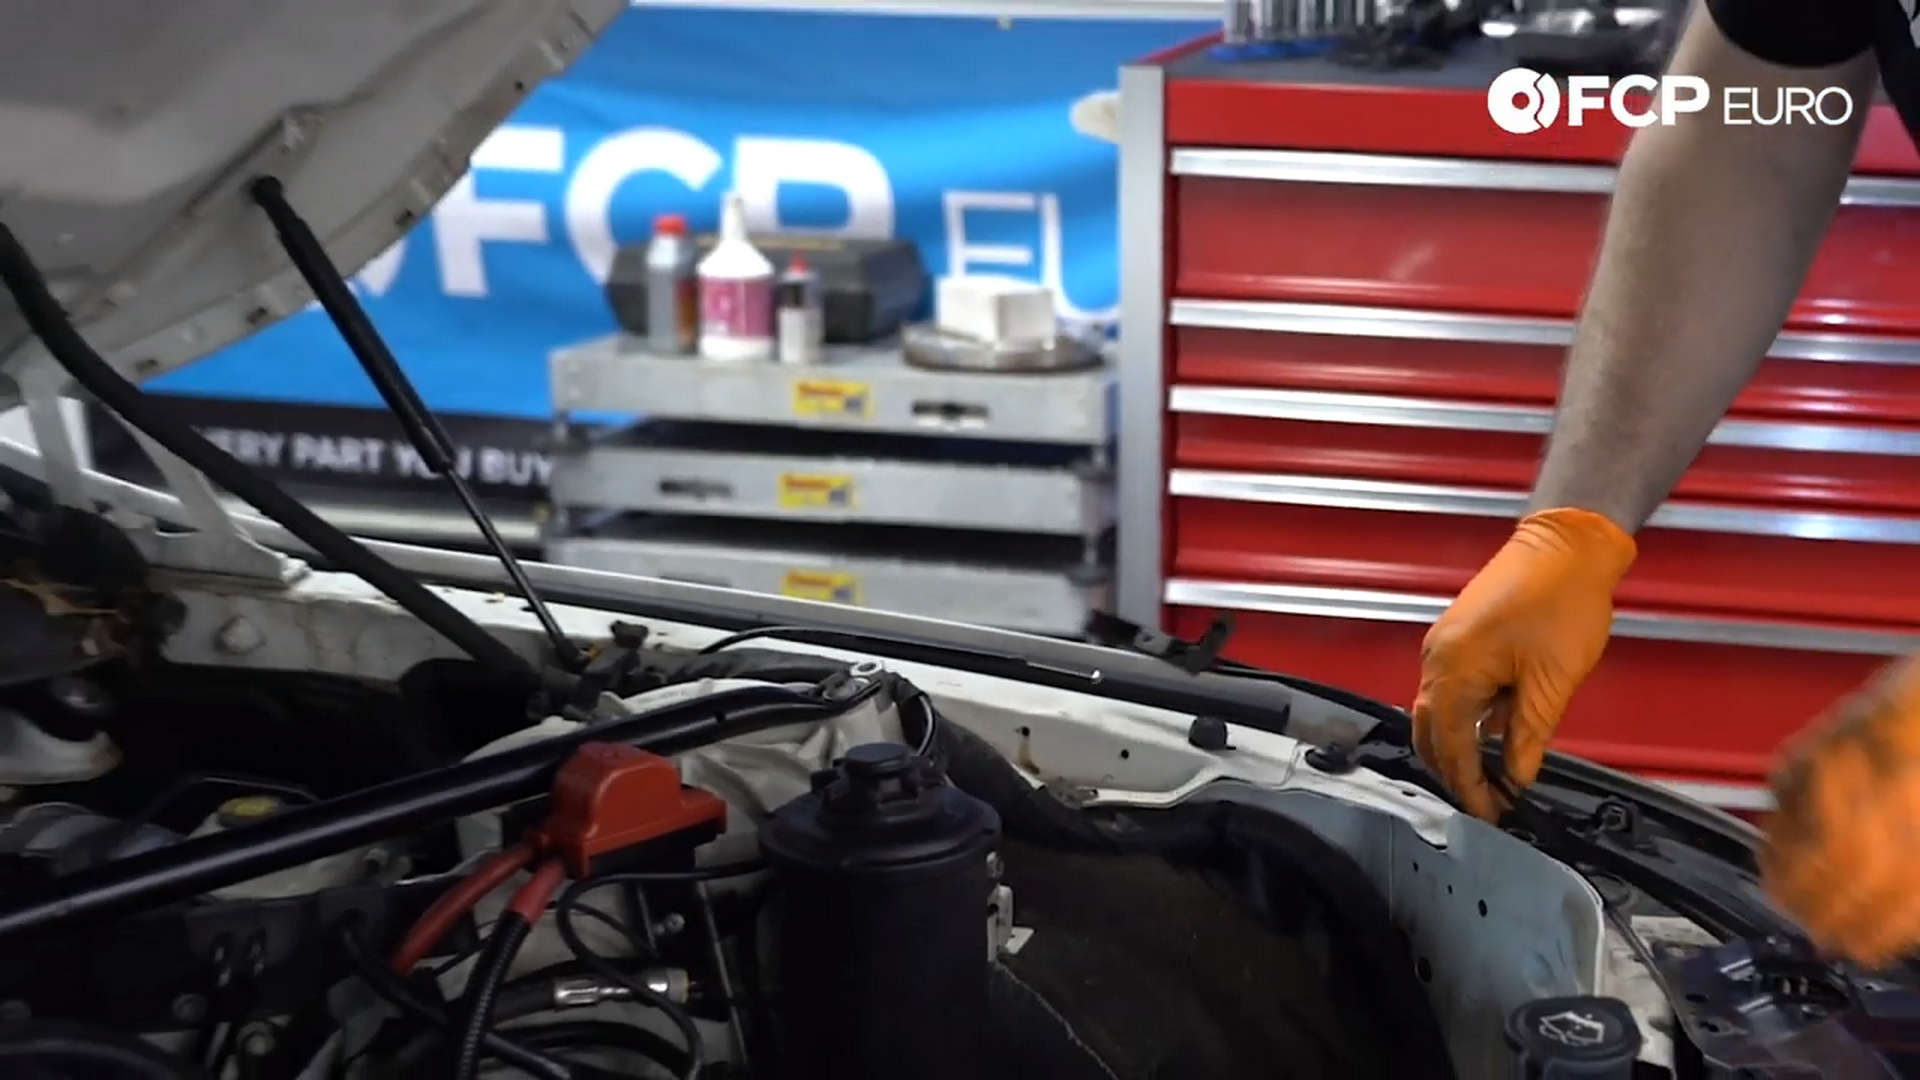
Step 9: Disconnect the Hood Release
This needs to get out of the way. Just disconnect it and move the cables out of where you're working.
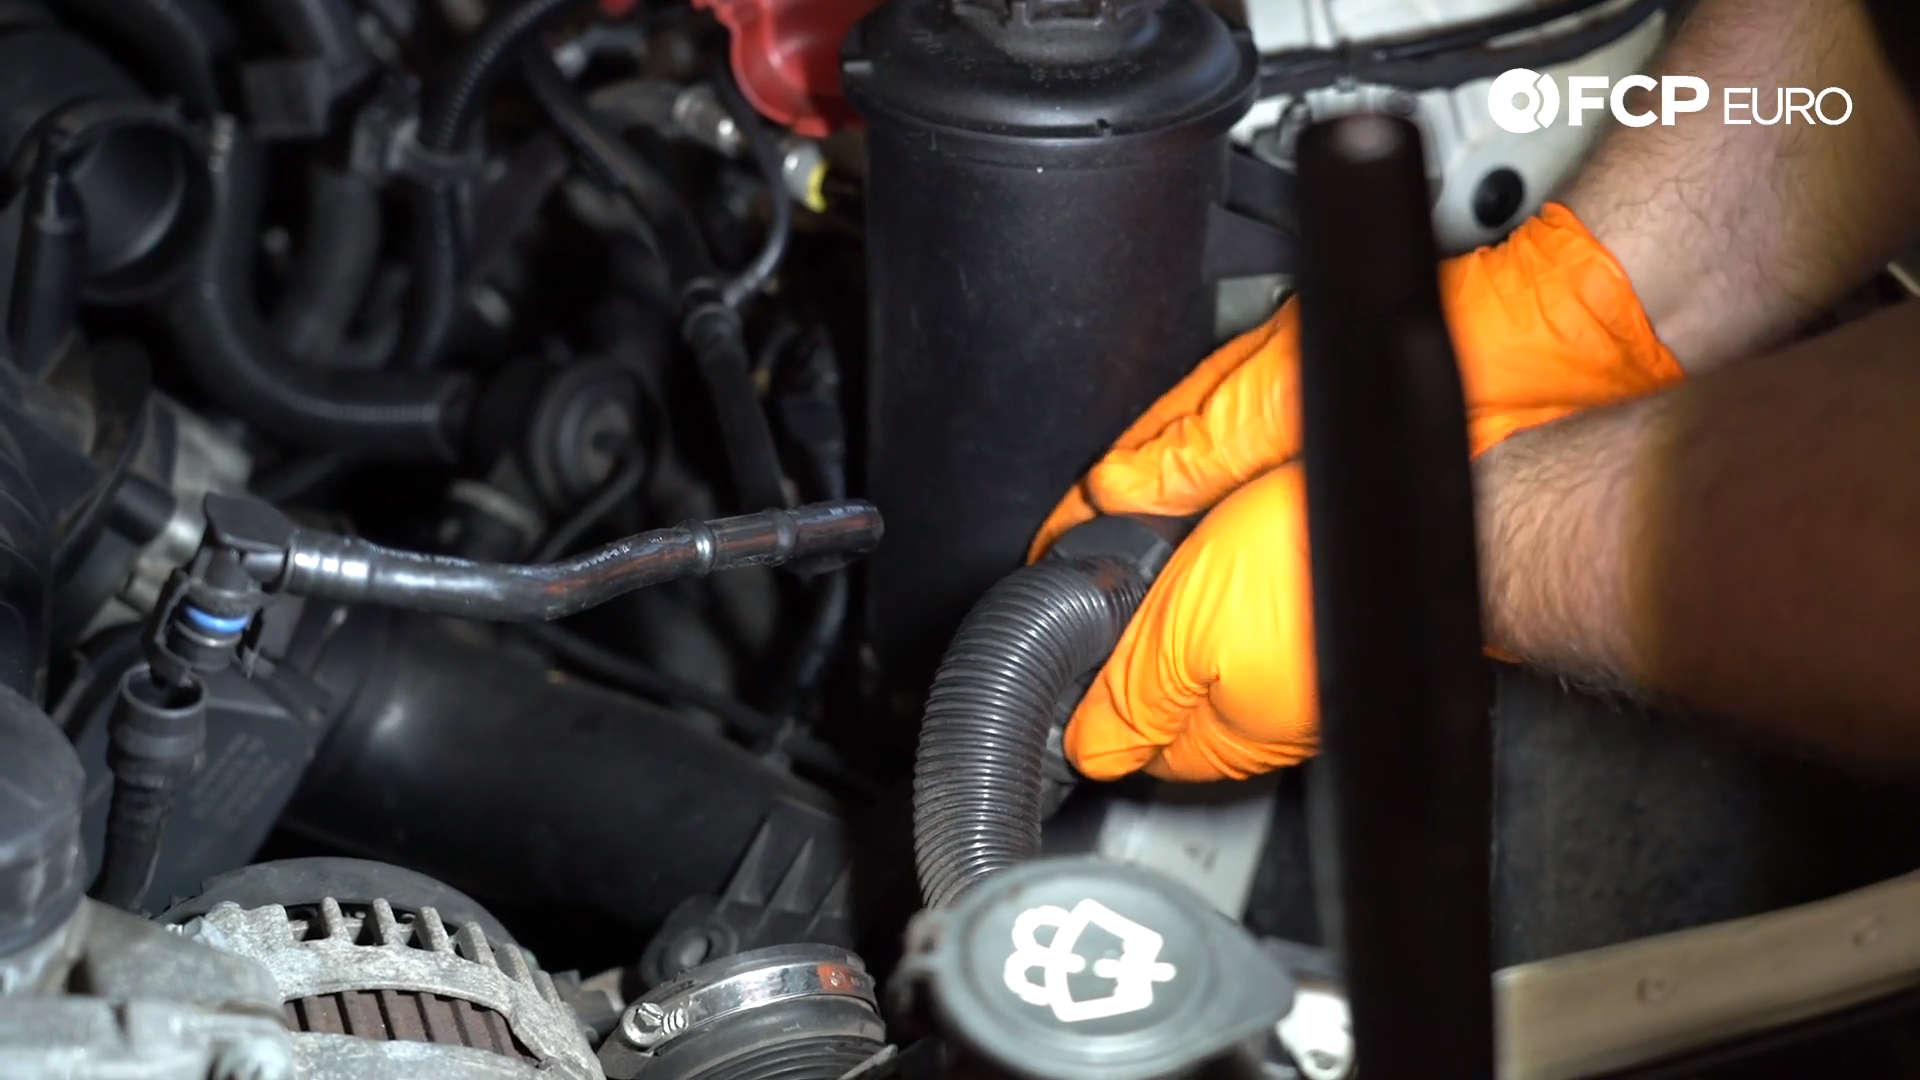
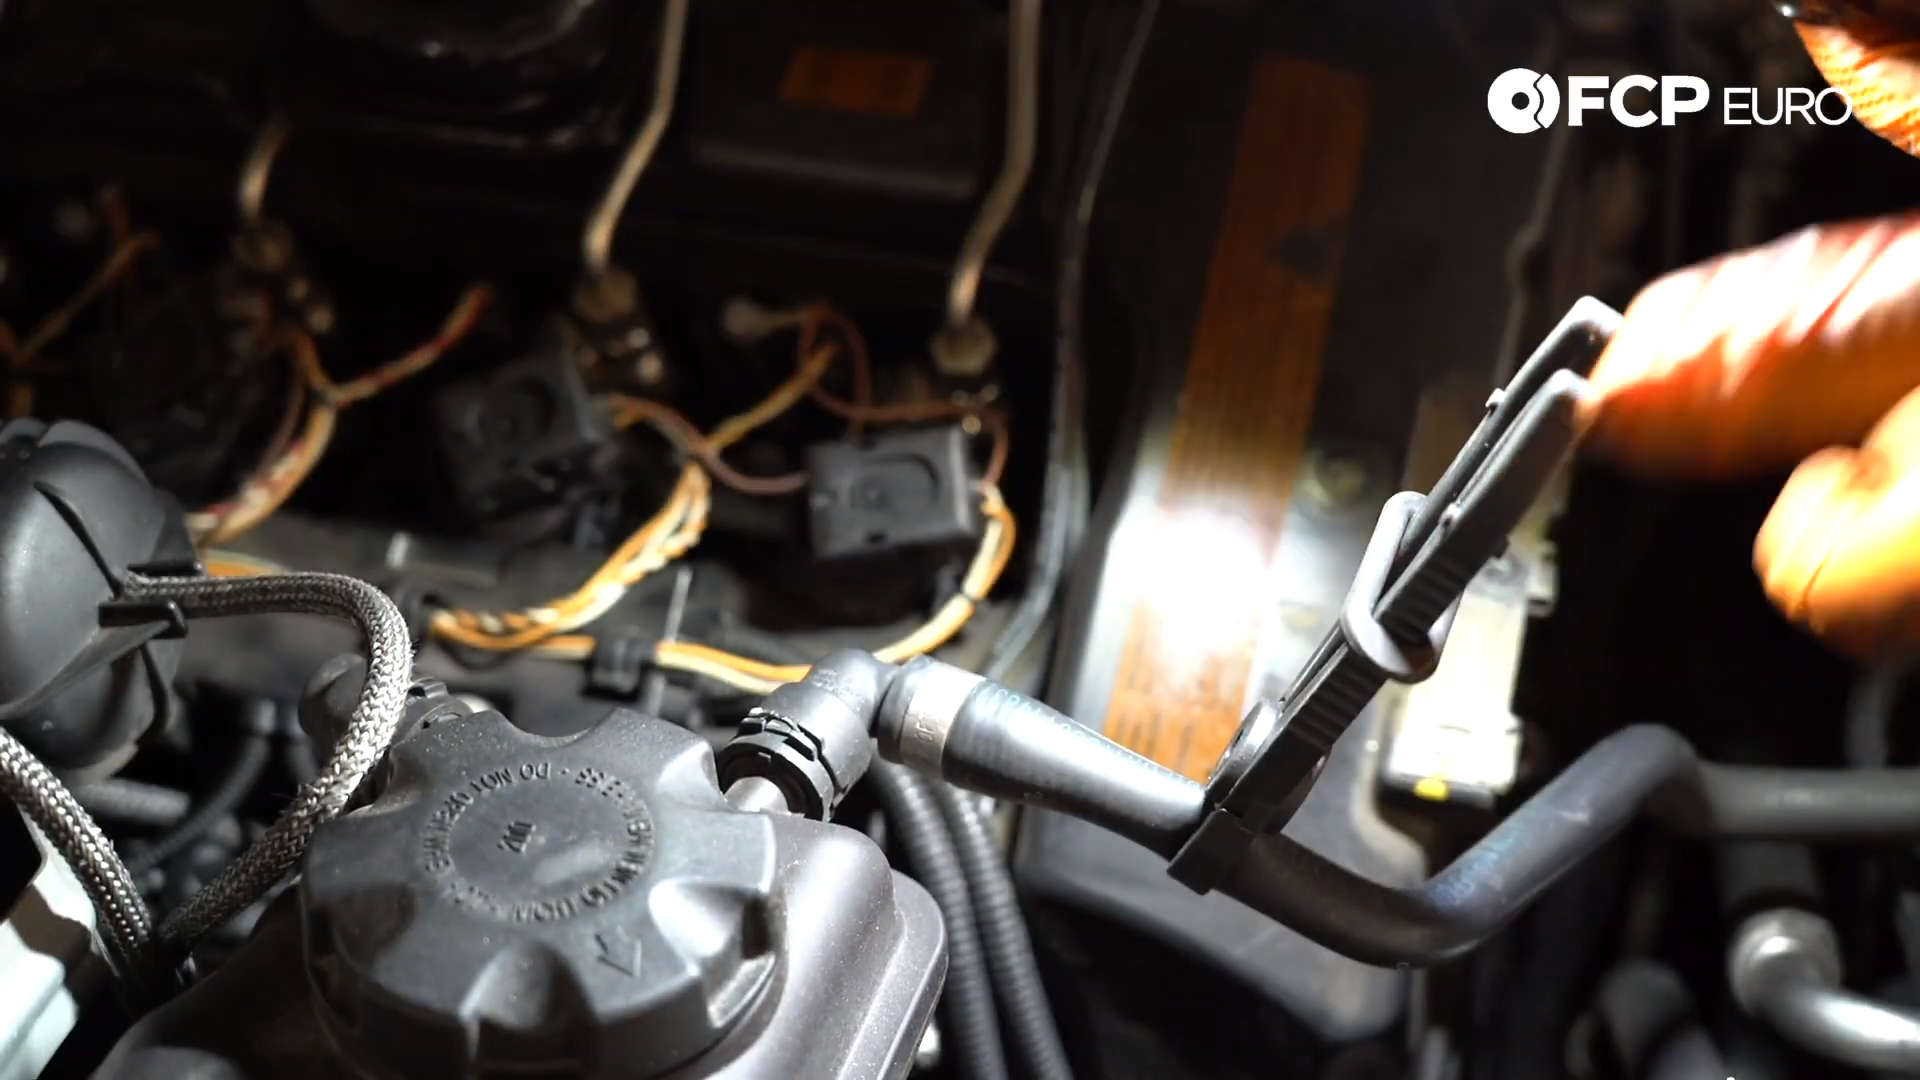
Step 10: Disconnect and Move the Coolant Expansion Tank Line
The coolant expansion tank lines that go from your radiator to your expansion tank are fragile. Use care during these steps to prevent headaches down the line. Using hose pinch-off pliers, gently clamp the coolant hose off. At this point, there shouldn't be any pressure in your system. Just in case, slowly unscrew the expansion tank cap. Once the hose is clamped, you can undo the quick clamp and carefully wiggle the hose off the tank.
Step 11: Disconnect the Fan Electrical Connector
There's one electrical connector going to the cooling fan toward the passenger side. This just disconnects by hand.

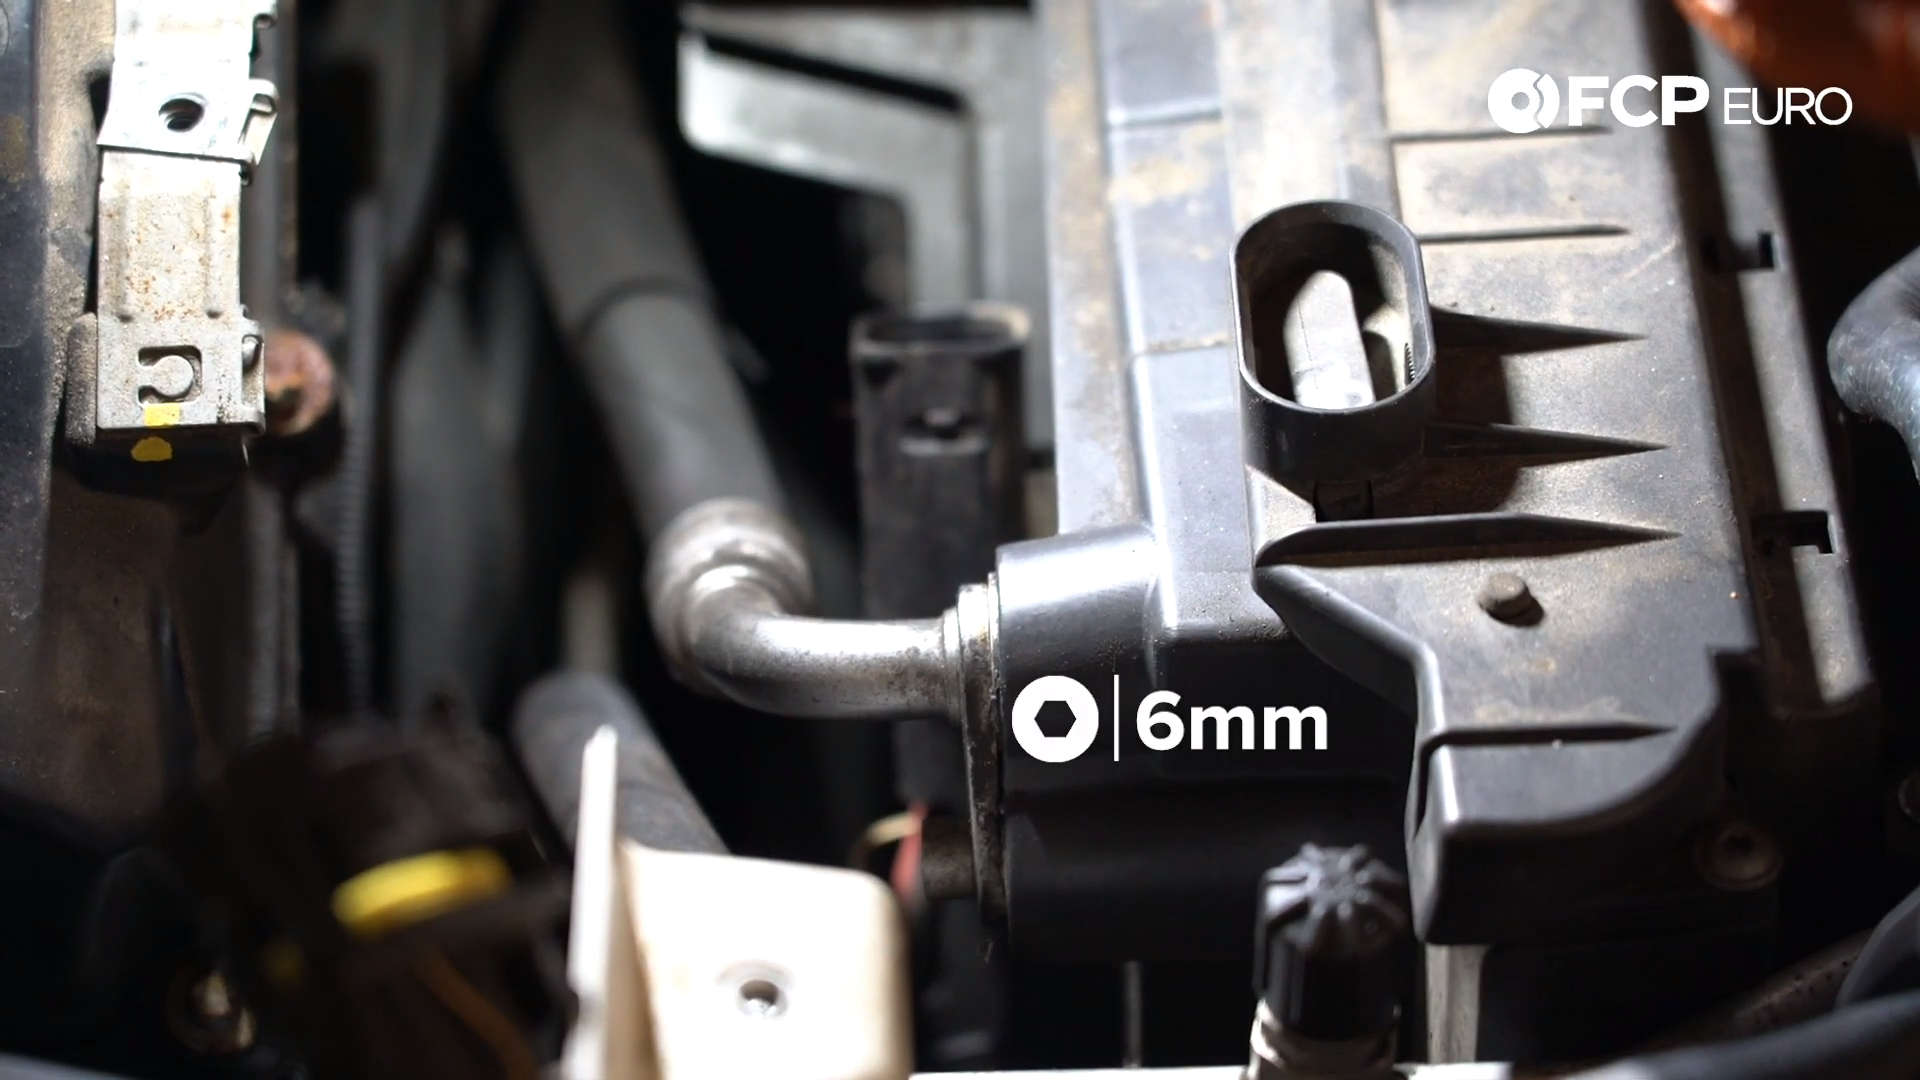
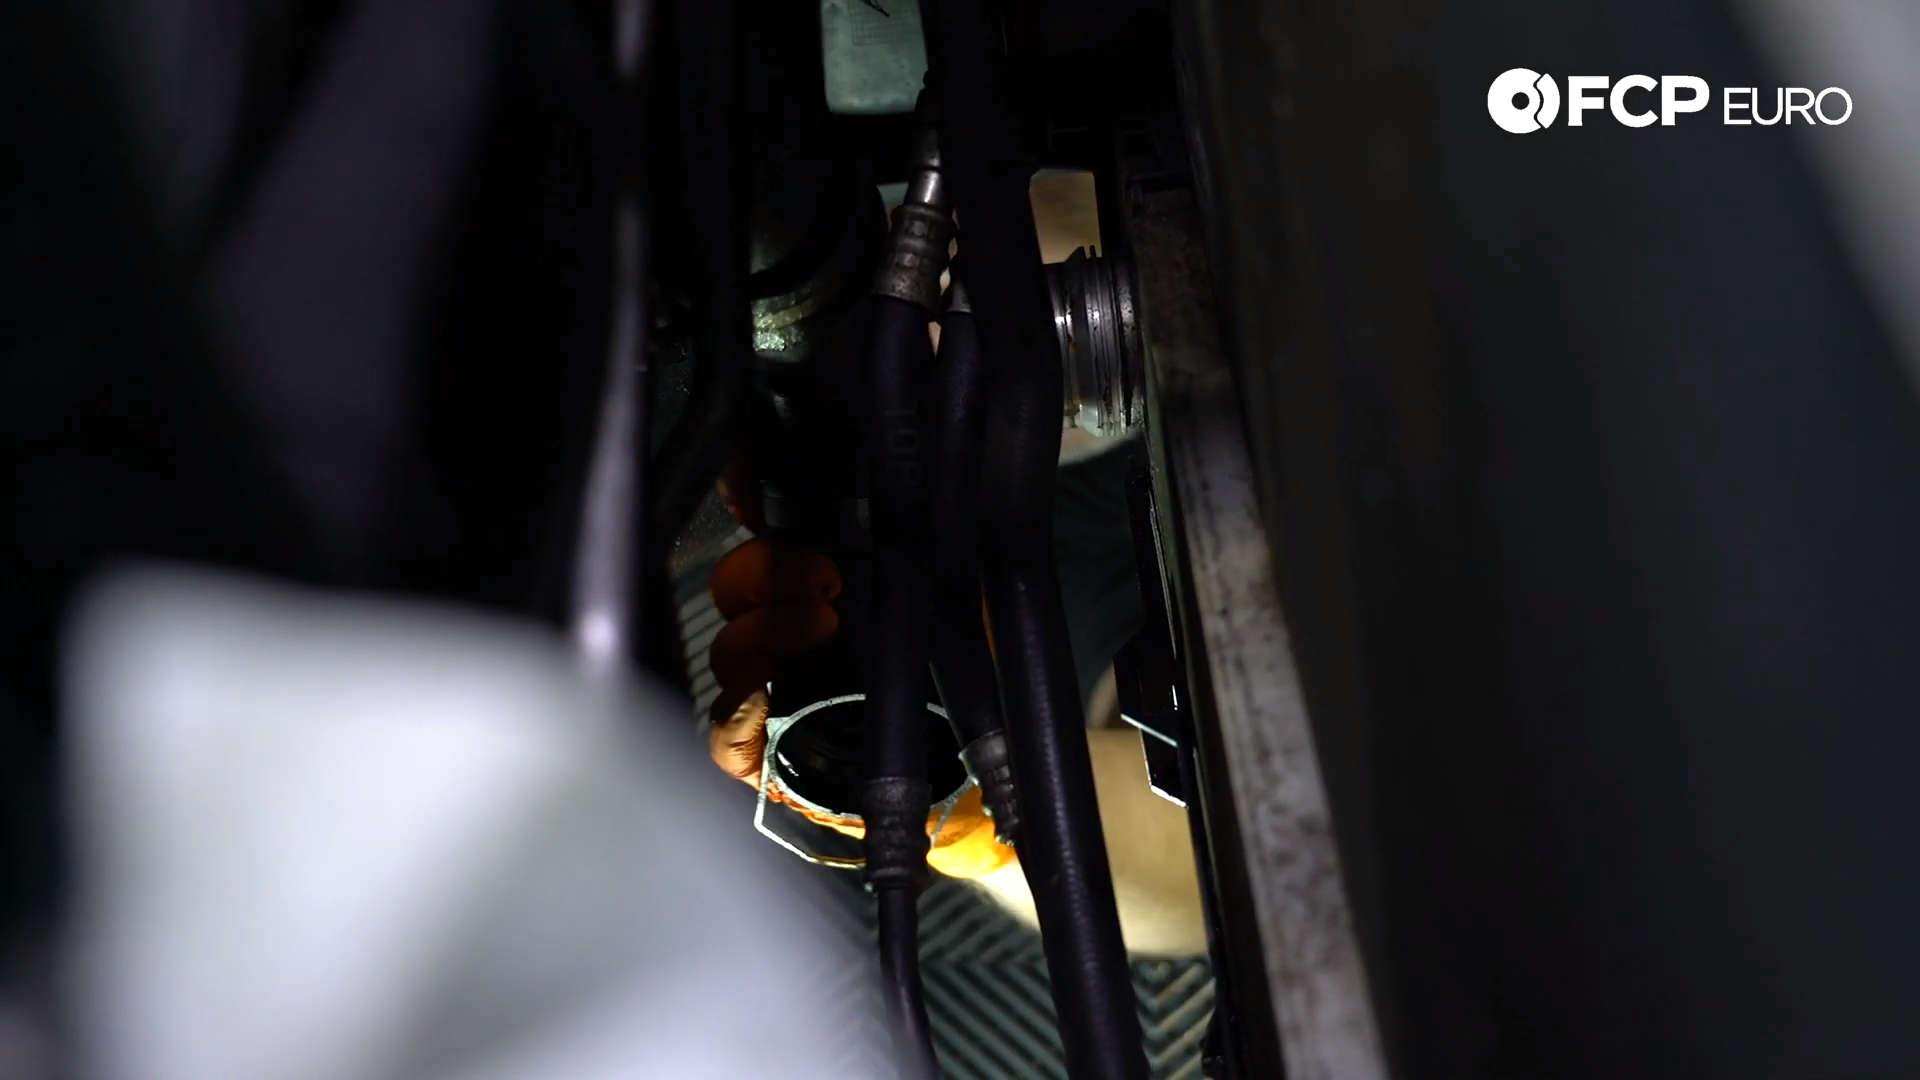
Step 12: Disconnect the Oil Cooler Lines
To take the fan off, you must disconnect the oil cooler lines. Directly below the lines are two 6mm Allen screws. Before you remove these lines, use pinch-off pliers once again. This is just to prevent any residual oil from making a mess. If you do spill oil, we love these wipes for our hands as well as inside the engine bay.
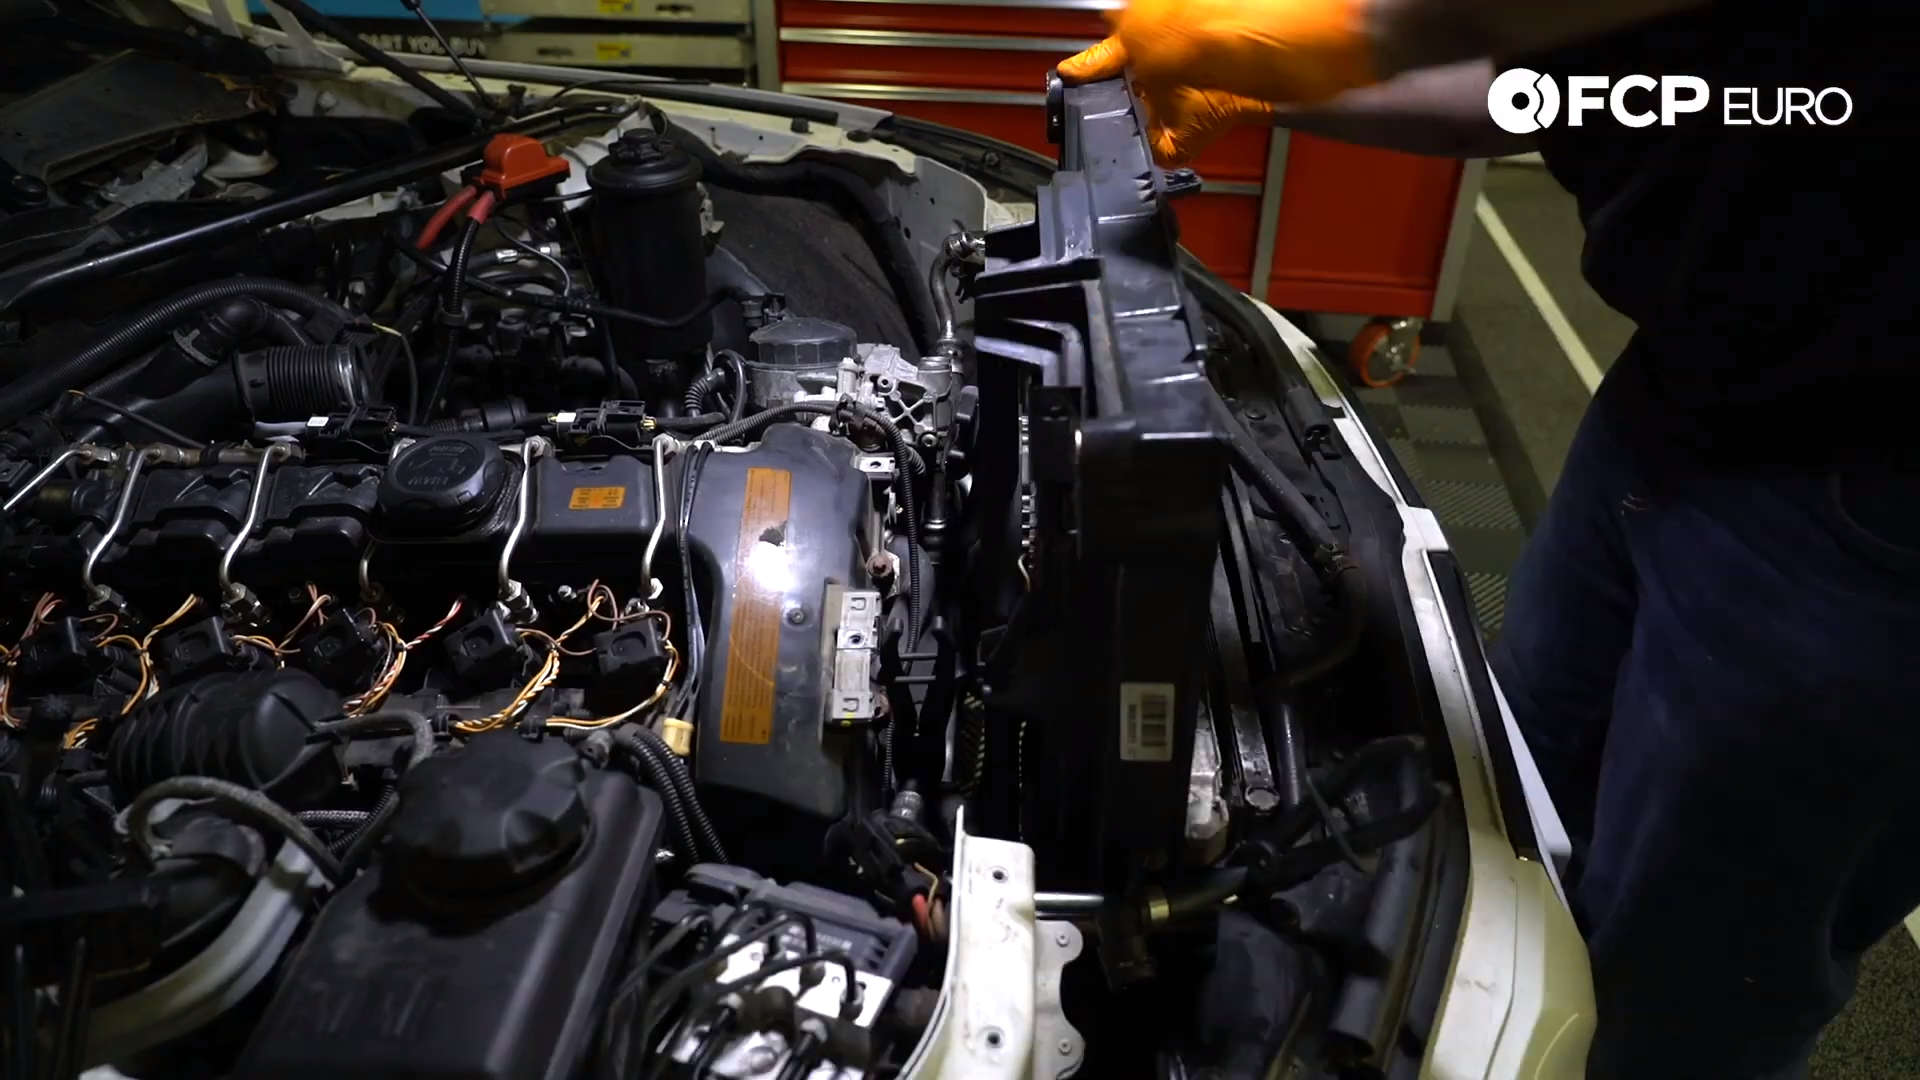
Step 13: Remove the Cooling Fan
Using a T25 Torx, remove the screws that hold the fan down. Depending on your model, there could be a different quantity of screws in different locations.

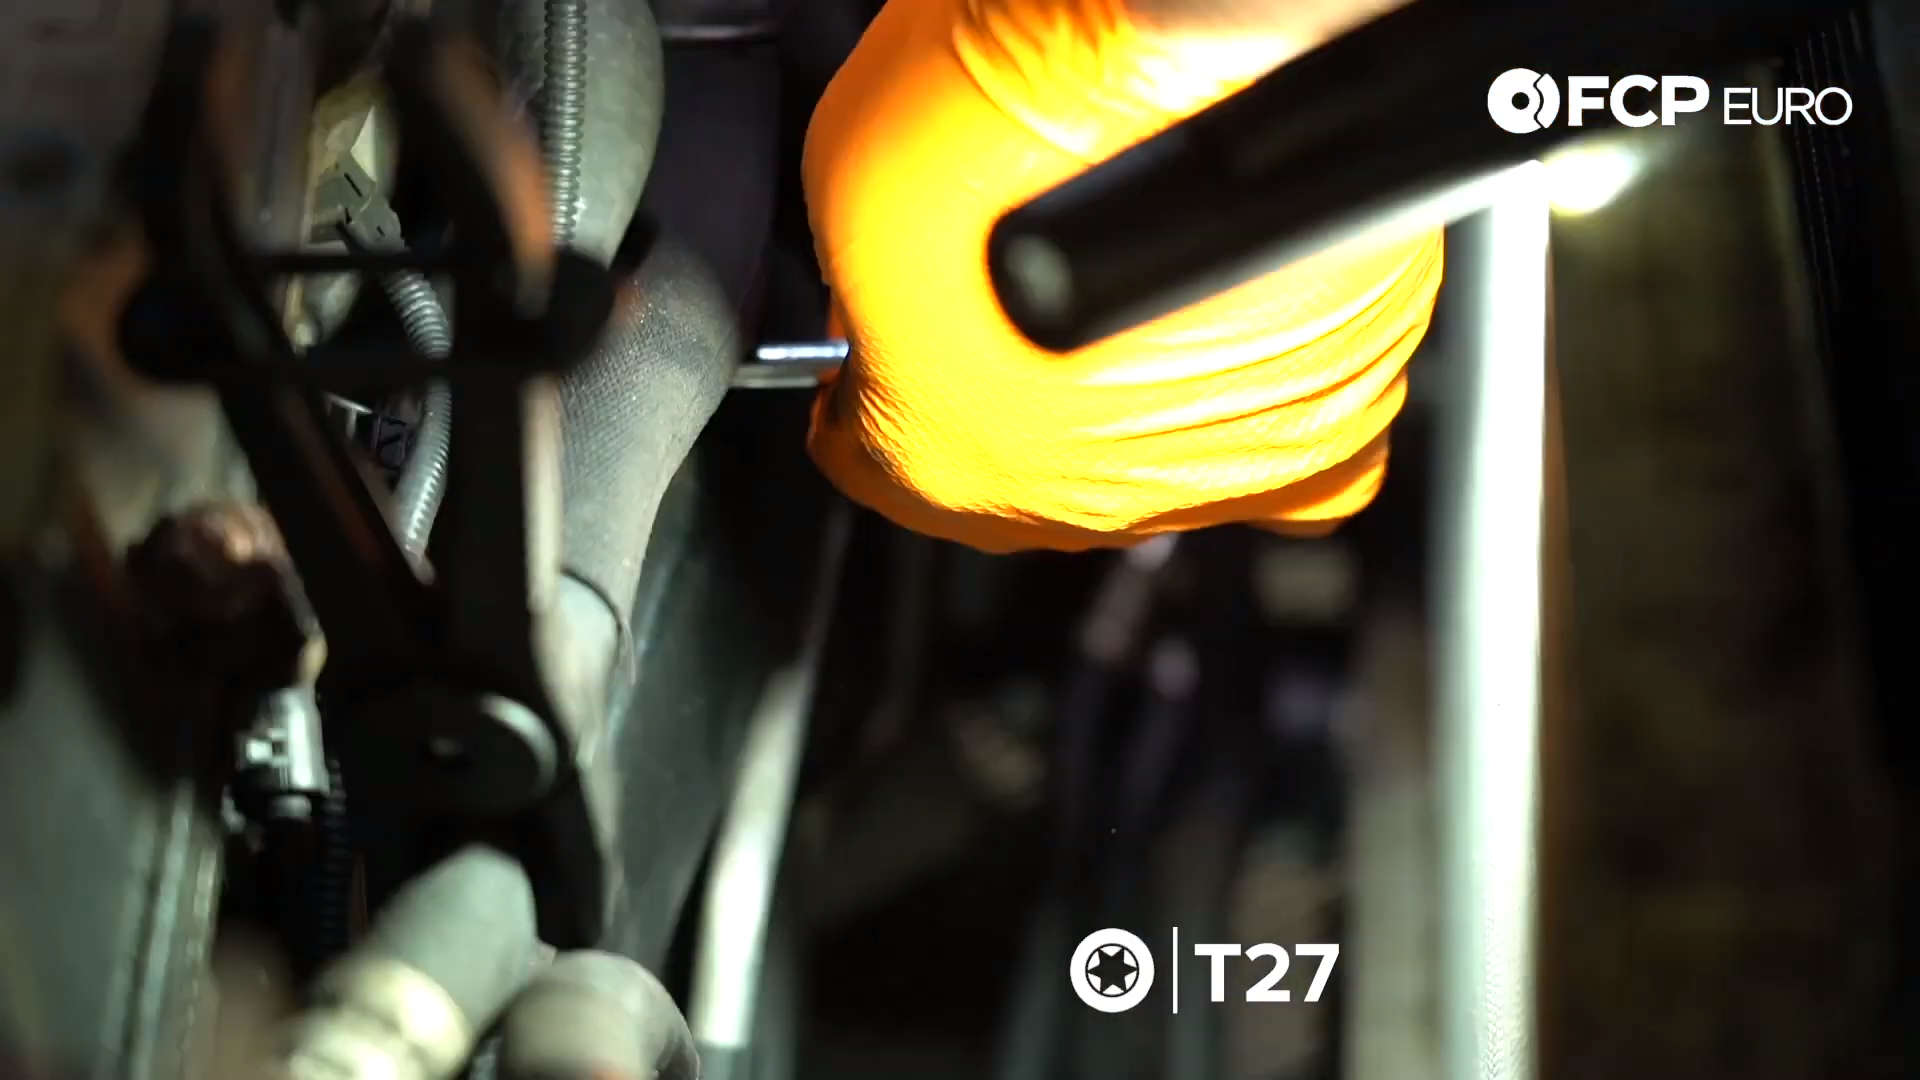
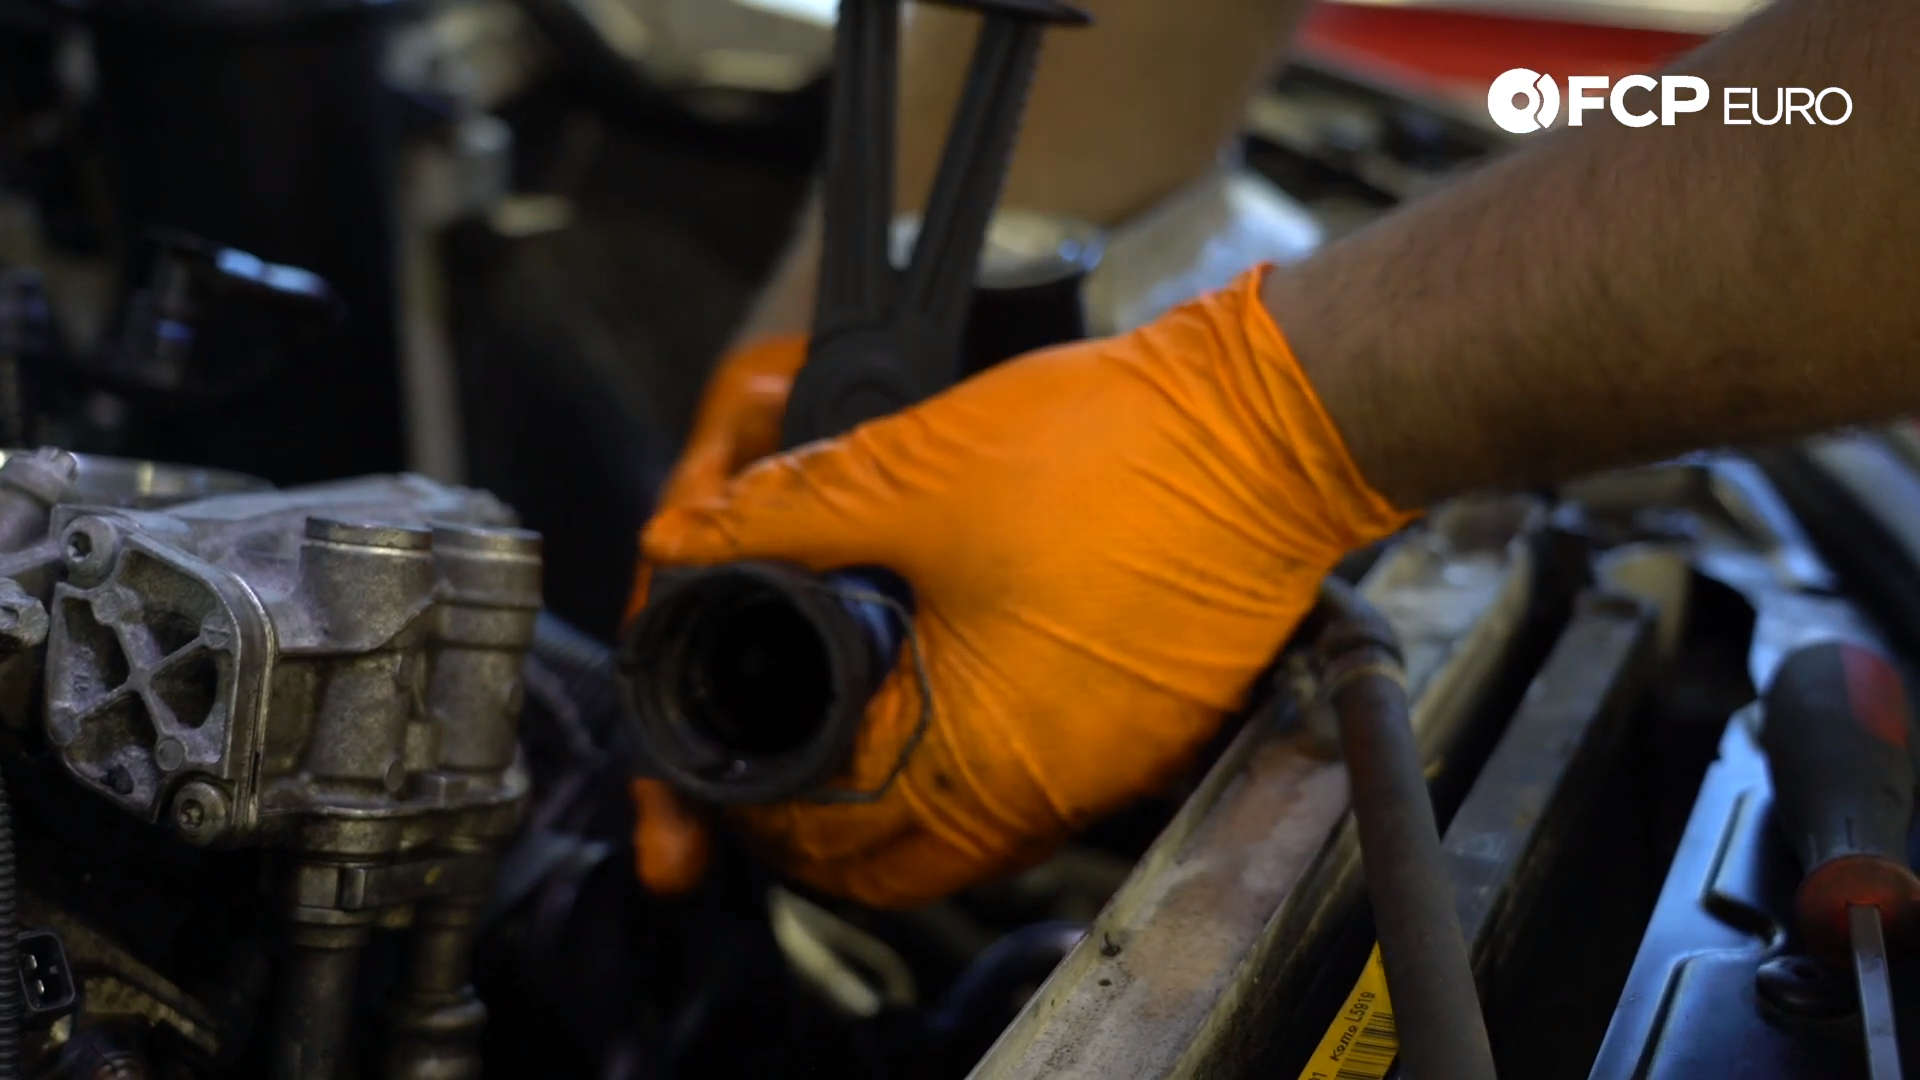
Step 14: Remove the Air Inlet Tube
The air inlet tube on the front of the motor supplies air to the turbocharger. This is held on with two T27 Torx screws. Simply unscrew these and pop the inlet tube off.
Step 15: Remove the Hose Connector from Inlet Tube
Down below the inlet tube there's a connector that holds multiple hoses. This is fastened with a single E8 bolt. Remove this and everything should now be free.
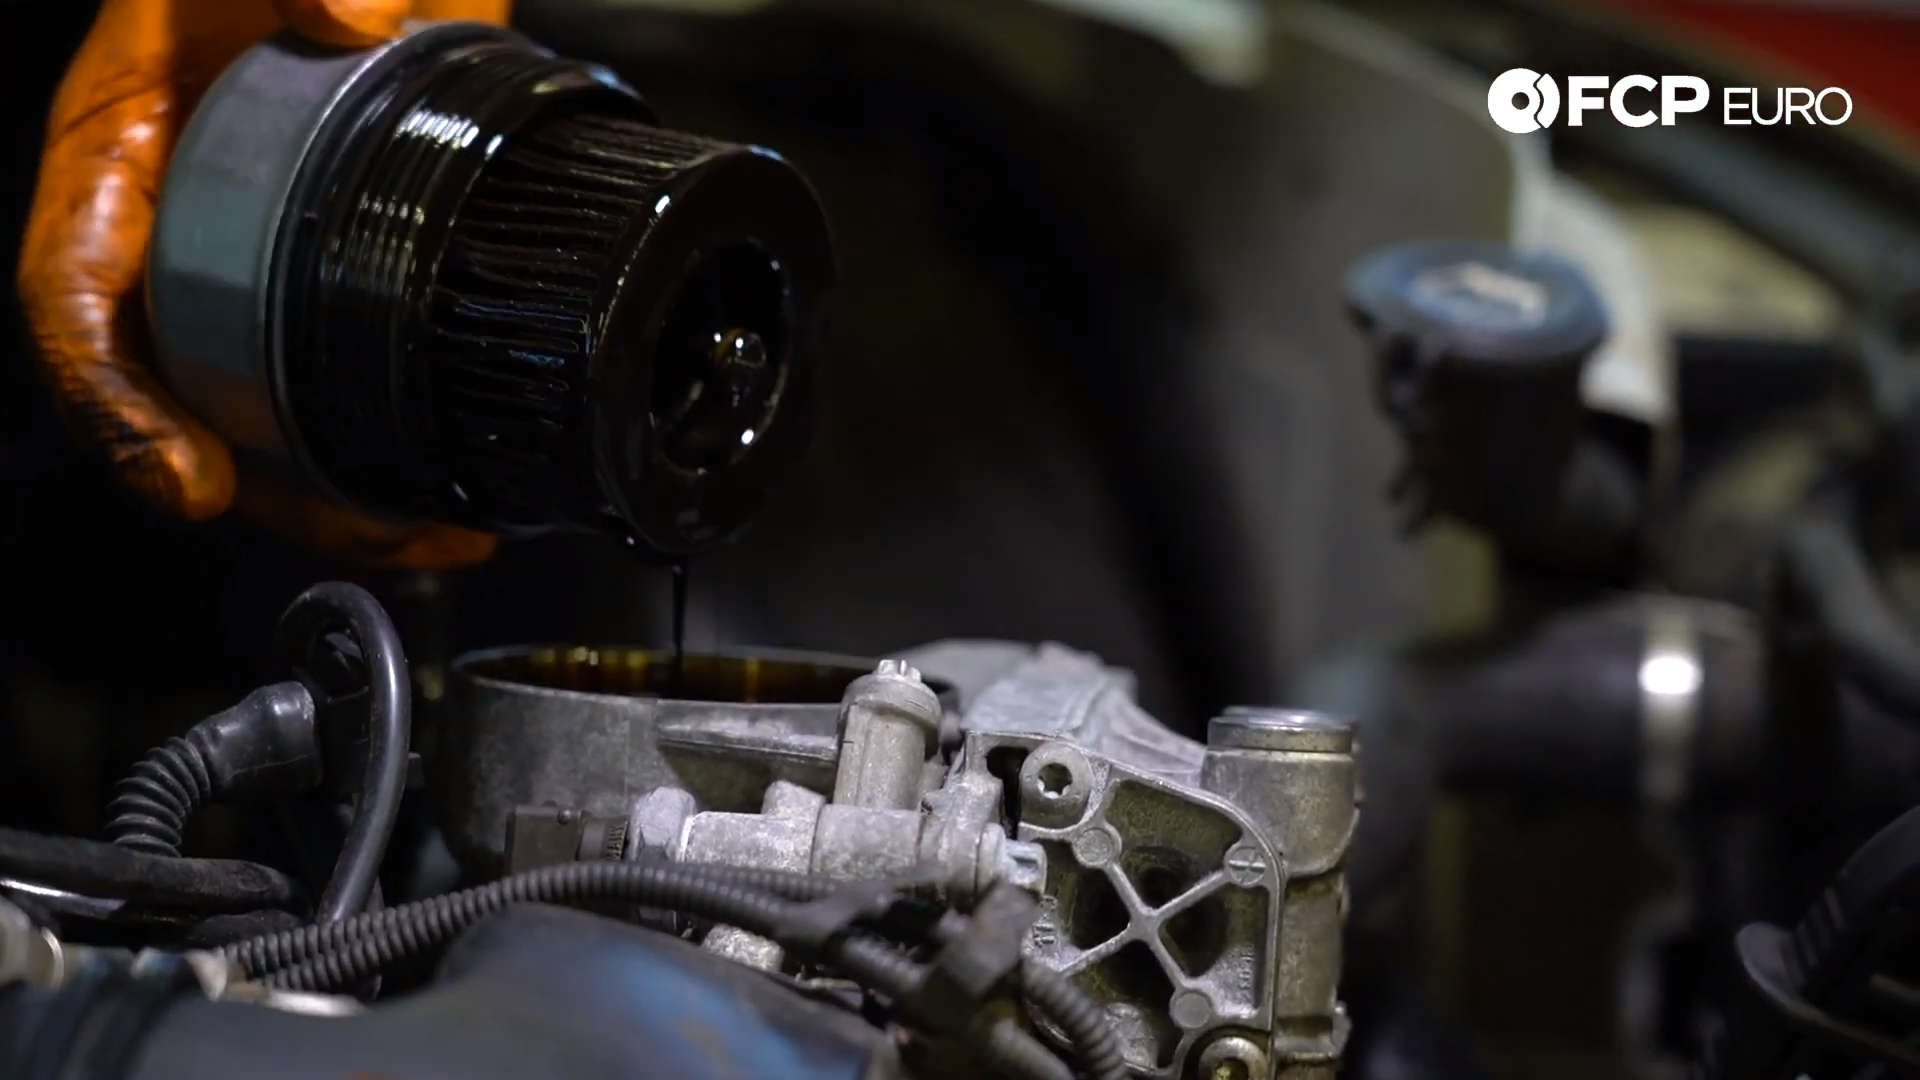
Step 16: Remove the Oil Filter Housing Cap
Using your oil filter wrench, remove the oil filter housing cap. This shouldn't be too tight as torque spec is only 25 N⋅m. The oil filter wrench for the N54 is 86mm, which is the same for Volvo in case you have one lying around. Before continuing, it is helpful to use a siphon pump to remove any excess oil. While it isn't strictly necessary, this is just to prevent spills. A quick word of advice about siphon pumps - When using with oils or chemicals, I recommend rinsing them out well after use. Oils and chemicals break down seals which will cause leaks or loss of suction. By doing this easy step, you extend the life of your siphon pump greatly.
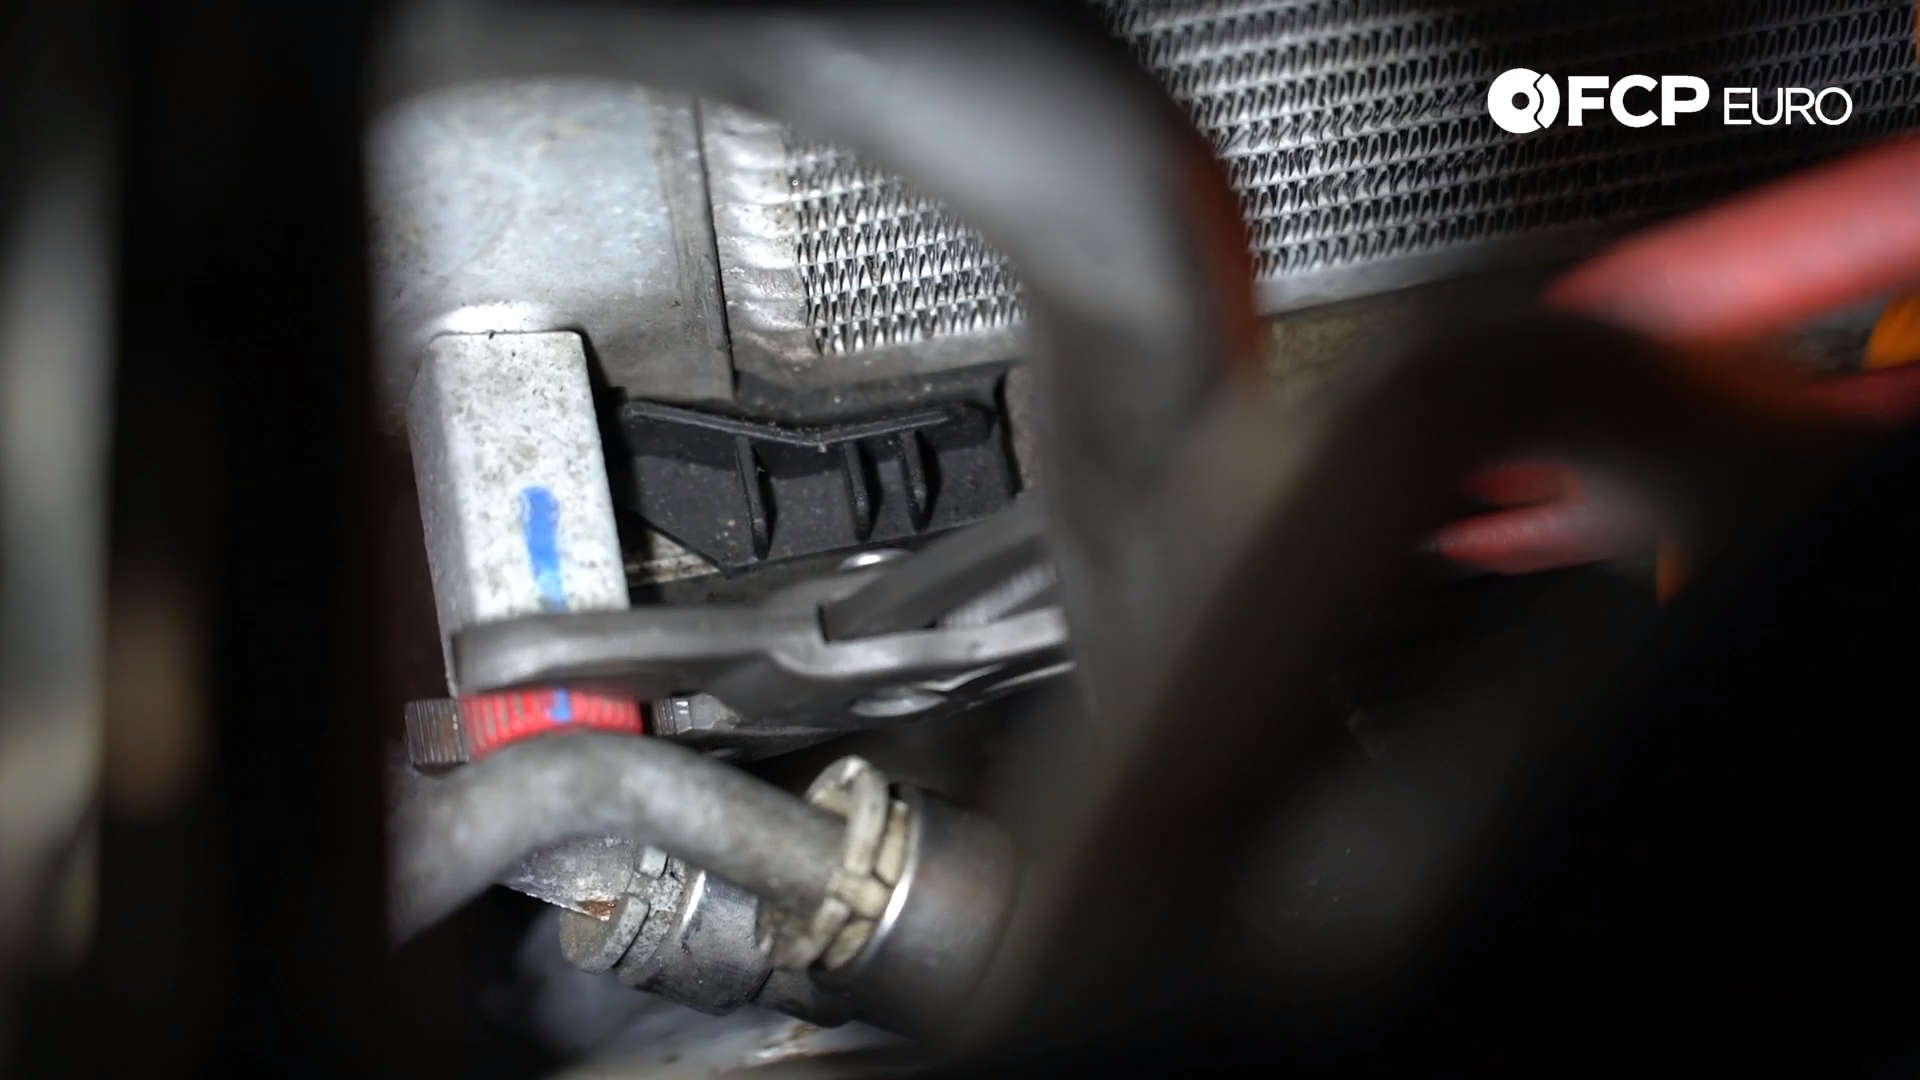
Step 17: Remove the Lower Charge Pipe and Drain the Radiator
You want to drain your radiator now before the next steps to mitigate a potentially large mess. To gain access to the radiator drain plug, we first have to remove the lower charge pipe from the intercooler. This is held on with a quick clamp which can be undone with a tool-pick or a flat head screwdriver.
The radiator drain plug has a red plastic cap. It aligns in only one direction, so if you can reach it, it is helpful to mark it and the bung it screws into. This way when you go to re-attach it, you can easily align it. You can use channel lock pliers to remove this plug - I recommend owning a pair like these with soft-jaws. They will come in handy on future jobs where you don't want to mar the finish of something.
Once your radiator is drained, don't forget to replace the drain plug. There's nothing worse than going to refill your radiator when the job is complete, just to watch the coolant dump out on the garage floor.
Step 18: Disconnect the Upper Radiator Hose
This radiator hose is held on by another quick disconnect clamp. Using a tool-pick is the easiest way to access this clamp. Although you already drained the coolant, it doesn't hurt to use another pair of hose pinch-off pliers to prevent any excess coolant spillage.
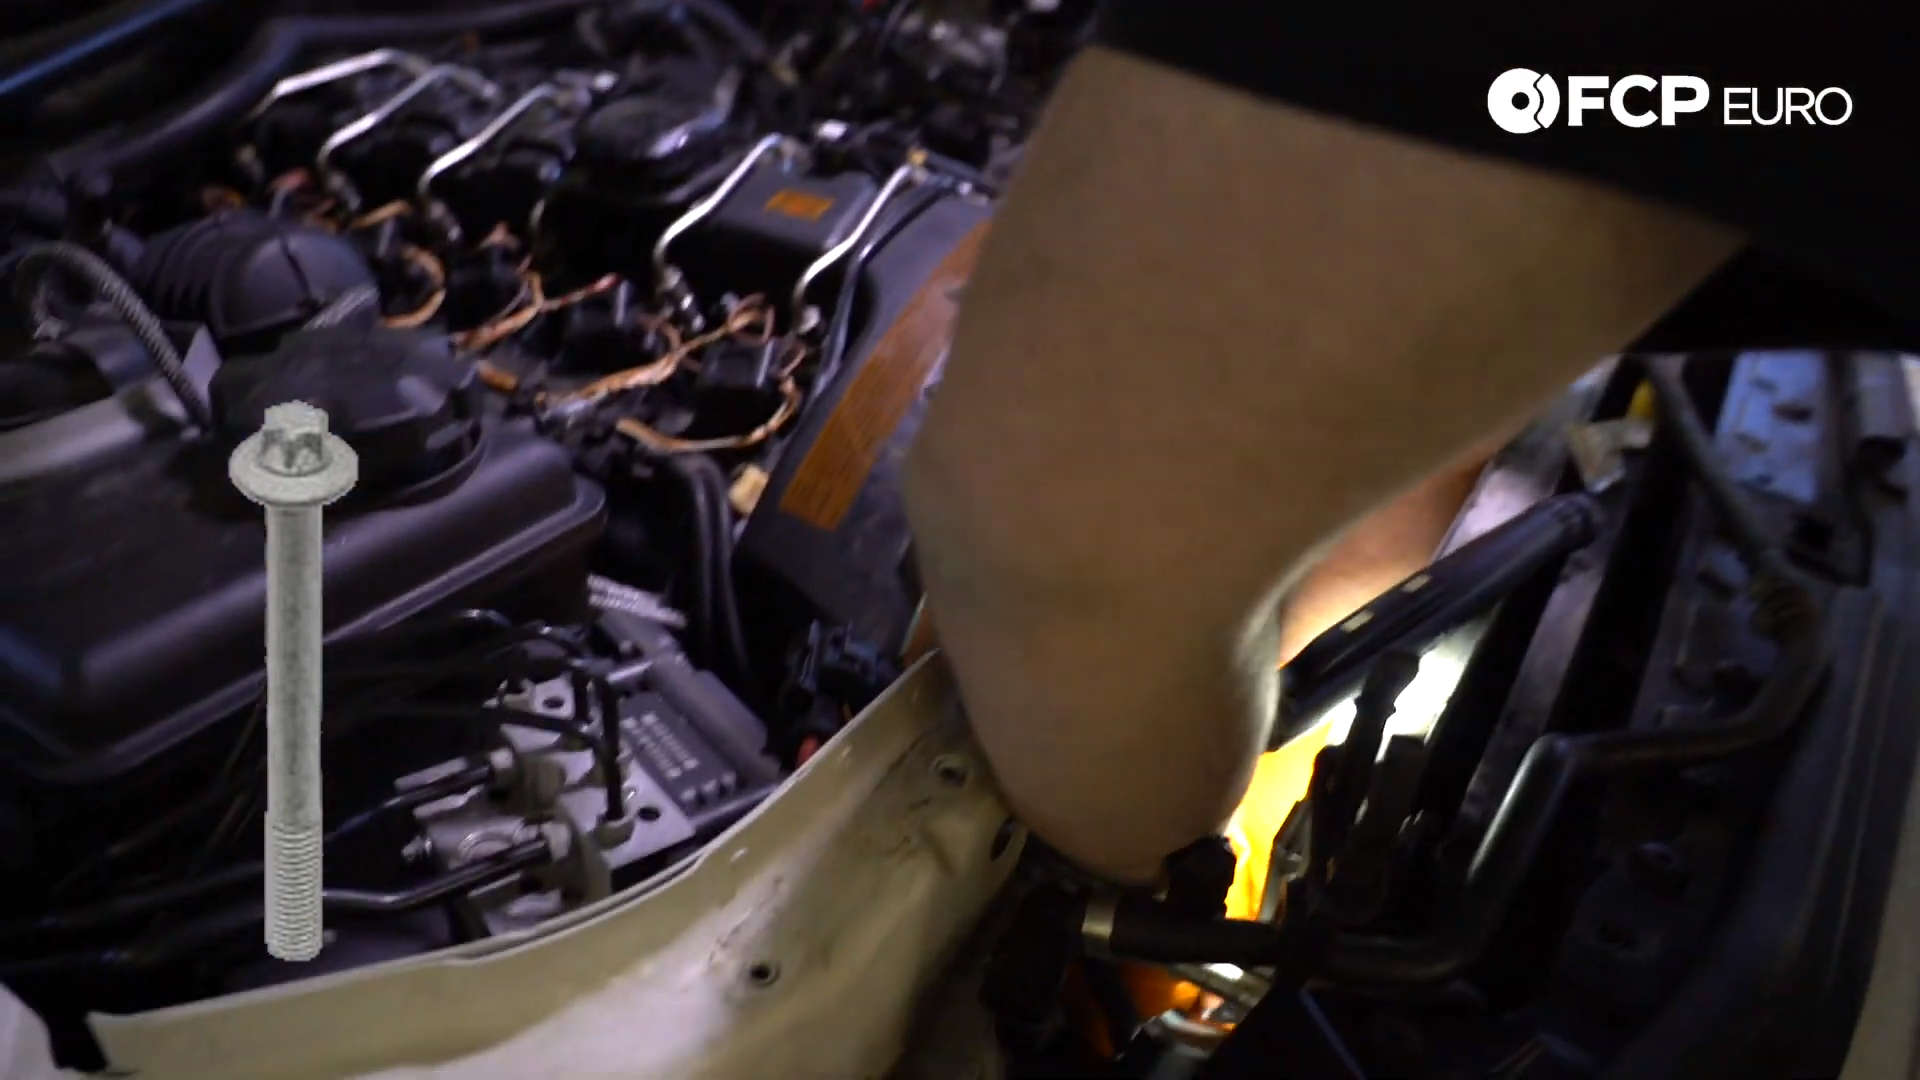
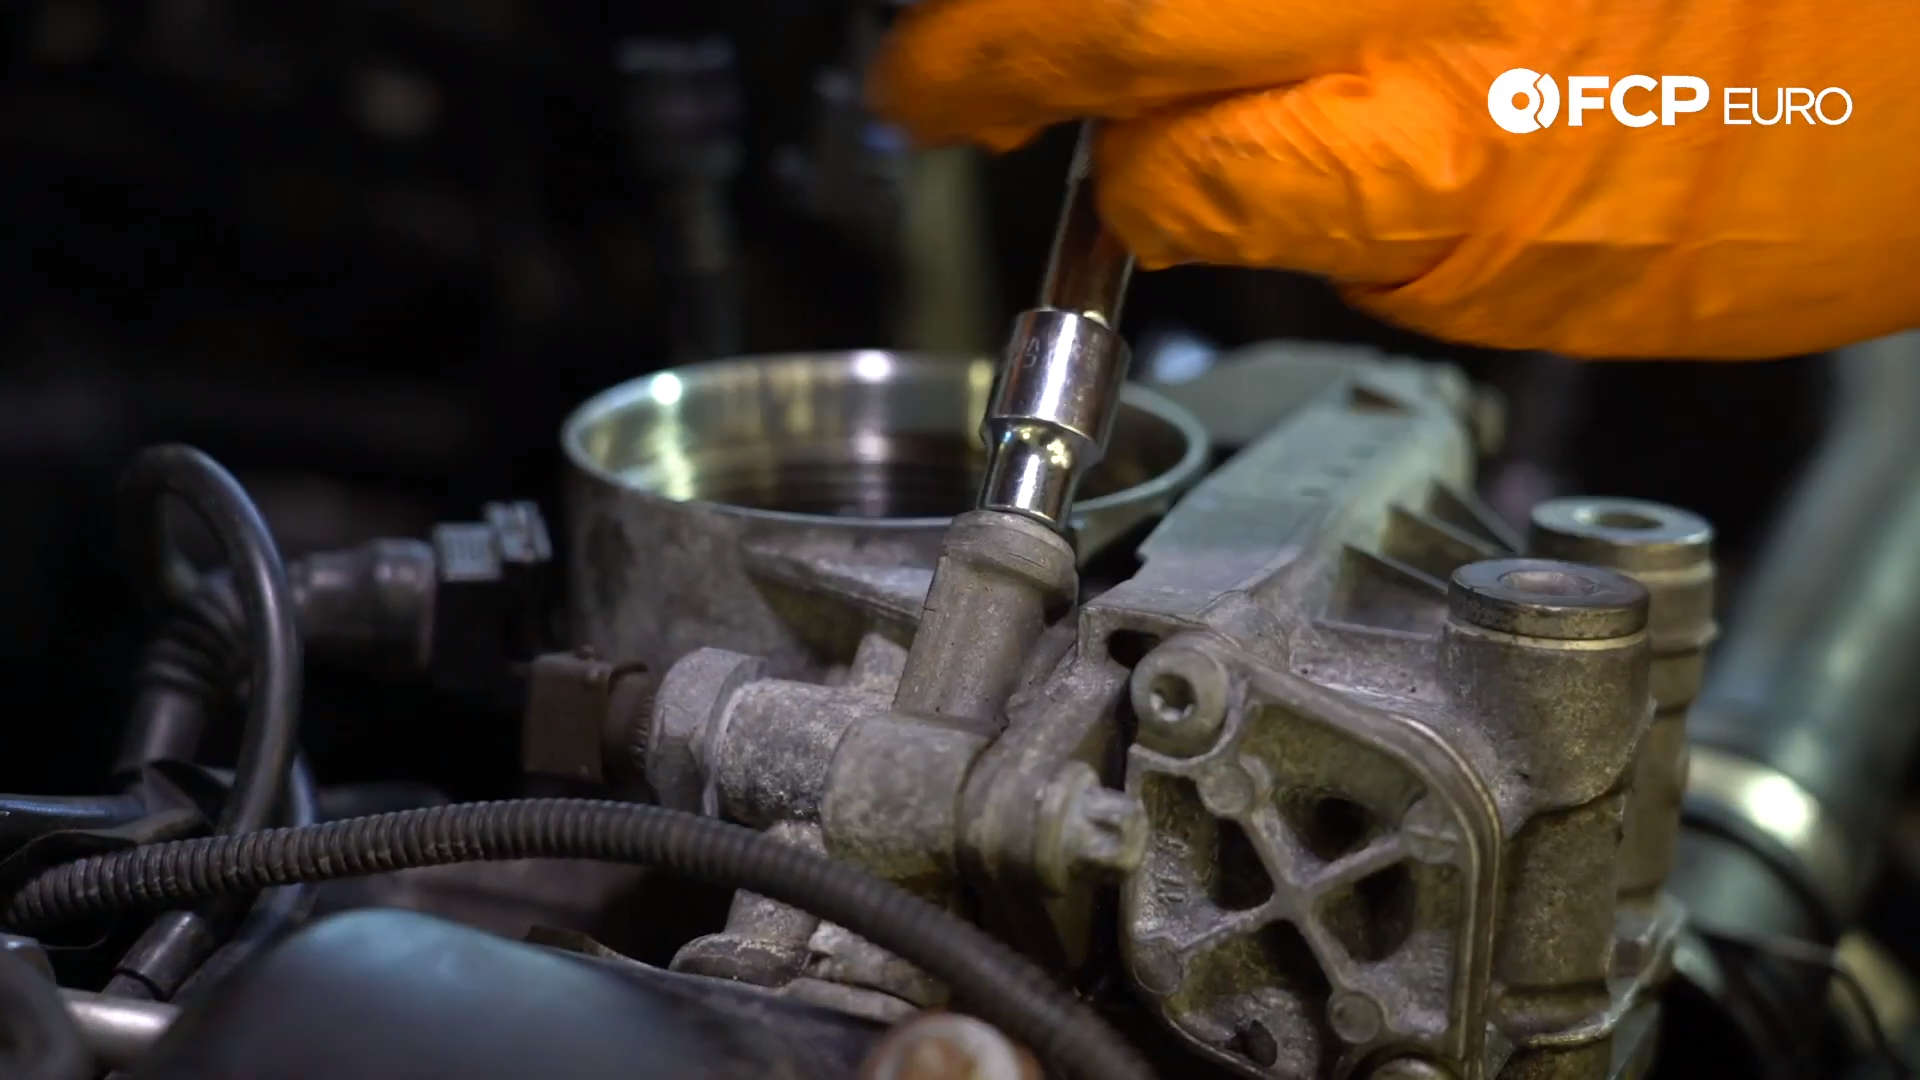
Step 19: Unscrew the Oil Filter Housing from the Cylinder Head
There are three E10 bolts that hold the oil filter housing to the cylinder head. One bolt is obscured by the intake manifold, which is why we had to remove it on our car. The second bolt is easy to access directly on top of the oil filter housing. The last bolt is more difficult to access and we recommend using a E10 ratcheting wrench. Trying to use a standard wrench you risk rounding over the splines.
At this point, the oil filter housing should be free. You can pull it out and set it on your bench for further disassembly.
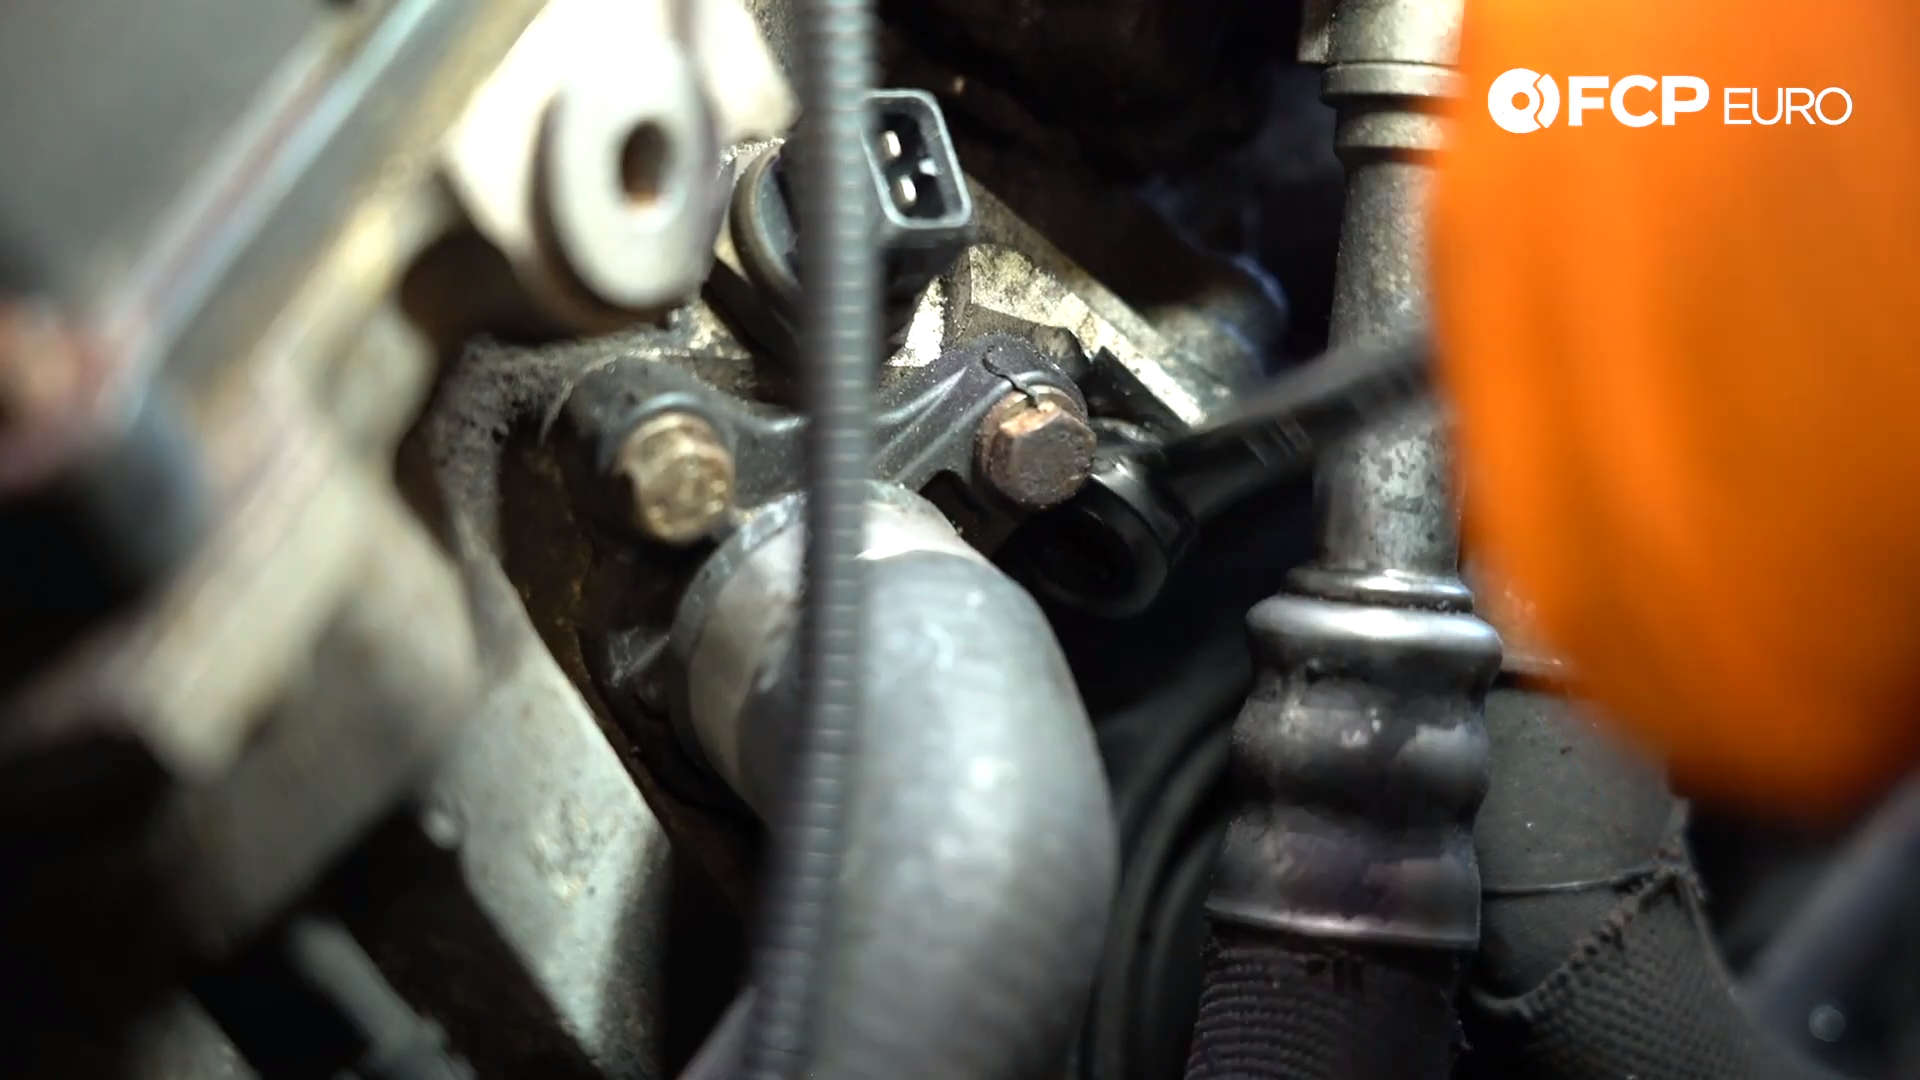
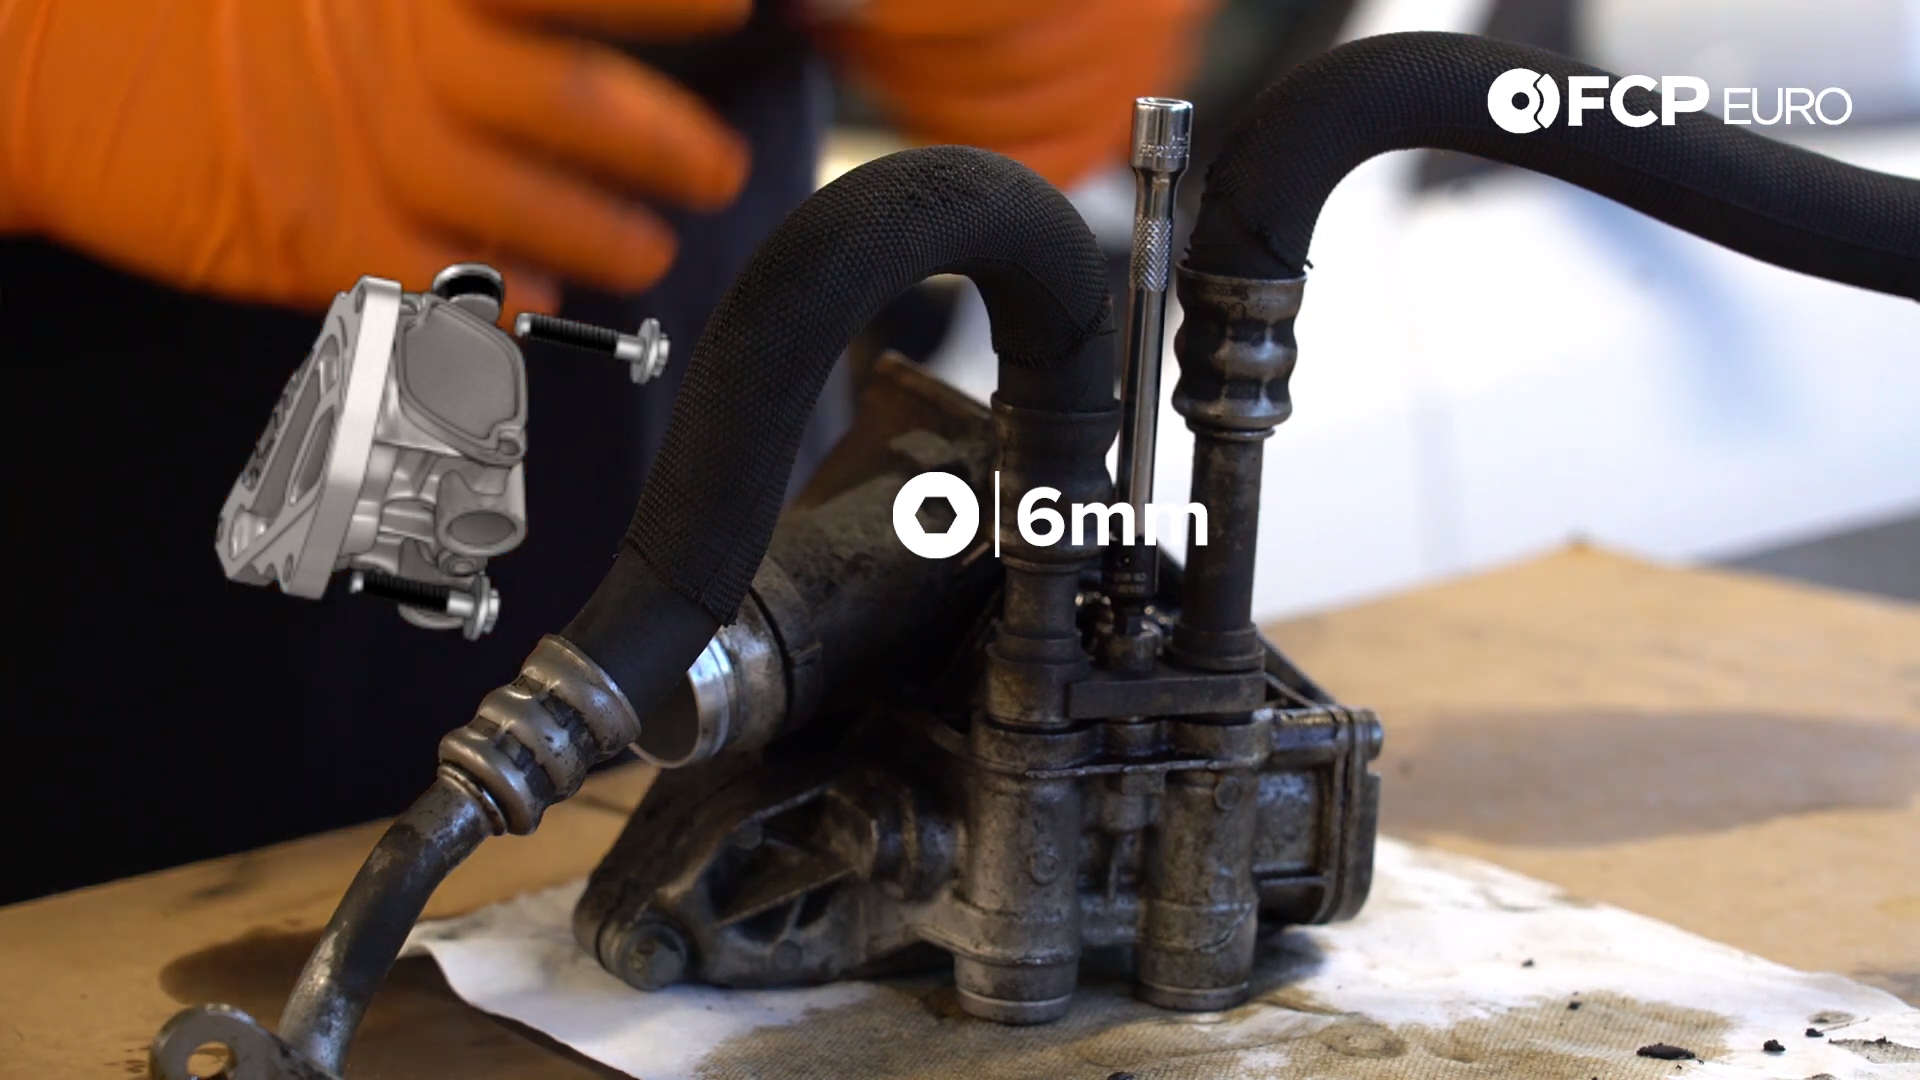
Step 20: Remove the Oil Cooler Line Bracket
Now that you have your oil filter housing on your bench, it's time to dig inside. This bracket is held in place by a single 6mm Allen screw. It shouldn't be too tight, just make sure that your socket is seated fully. The head of this screw can be filled with gunk that prevents proper seating.
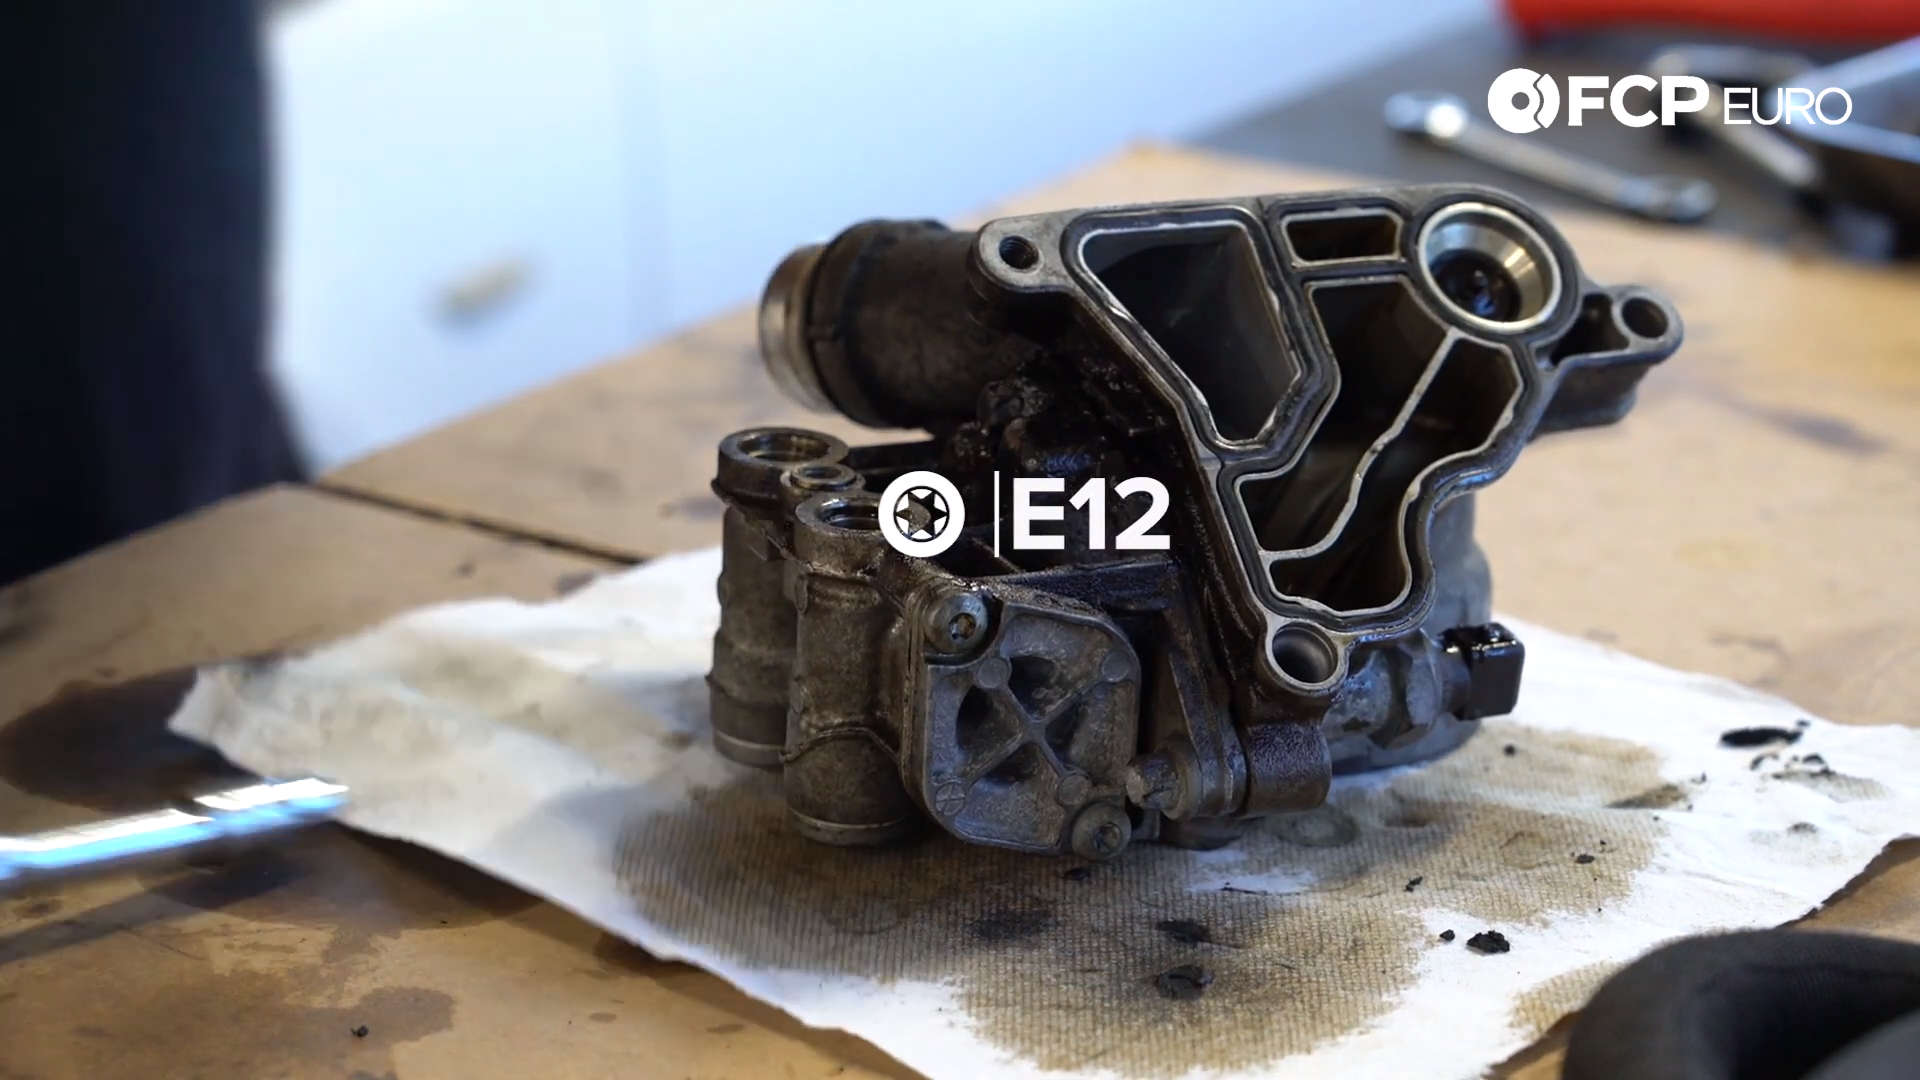
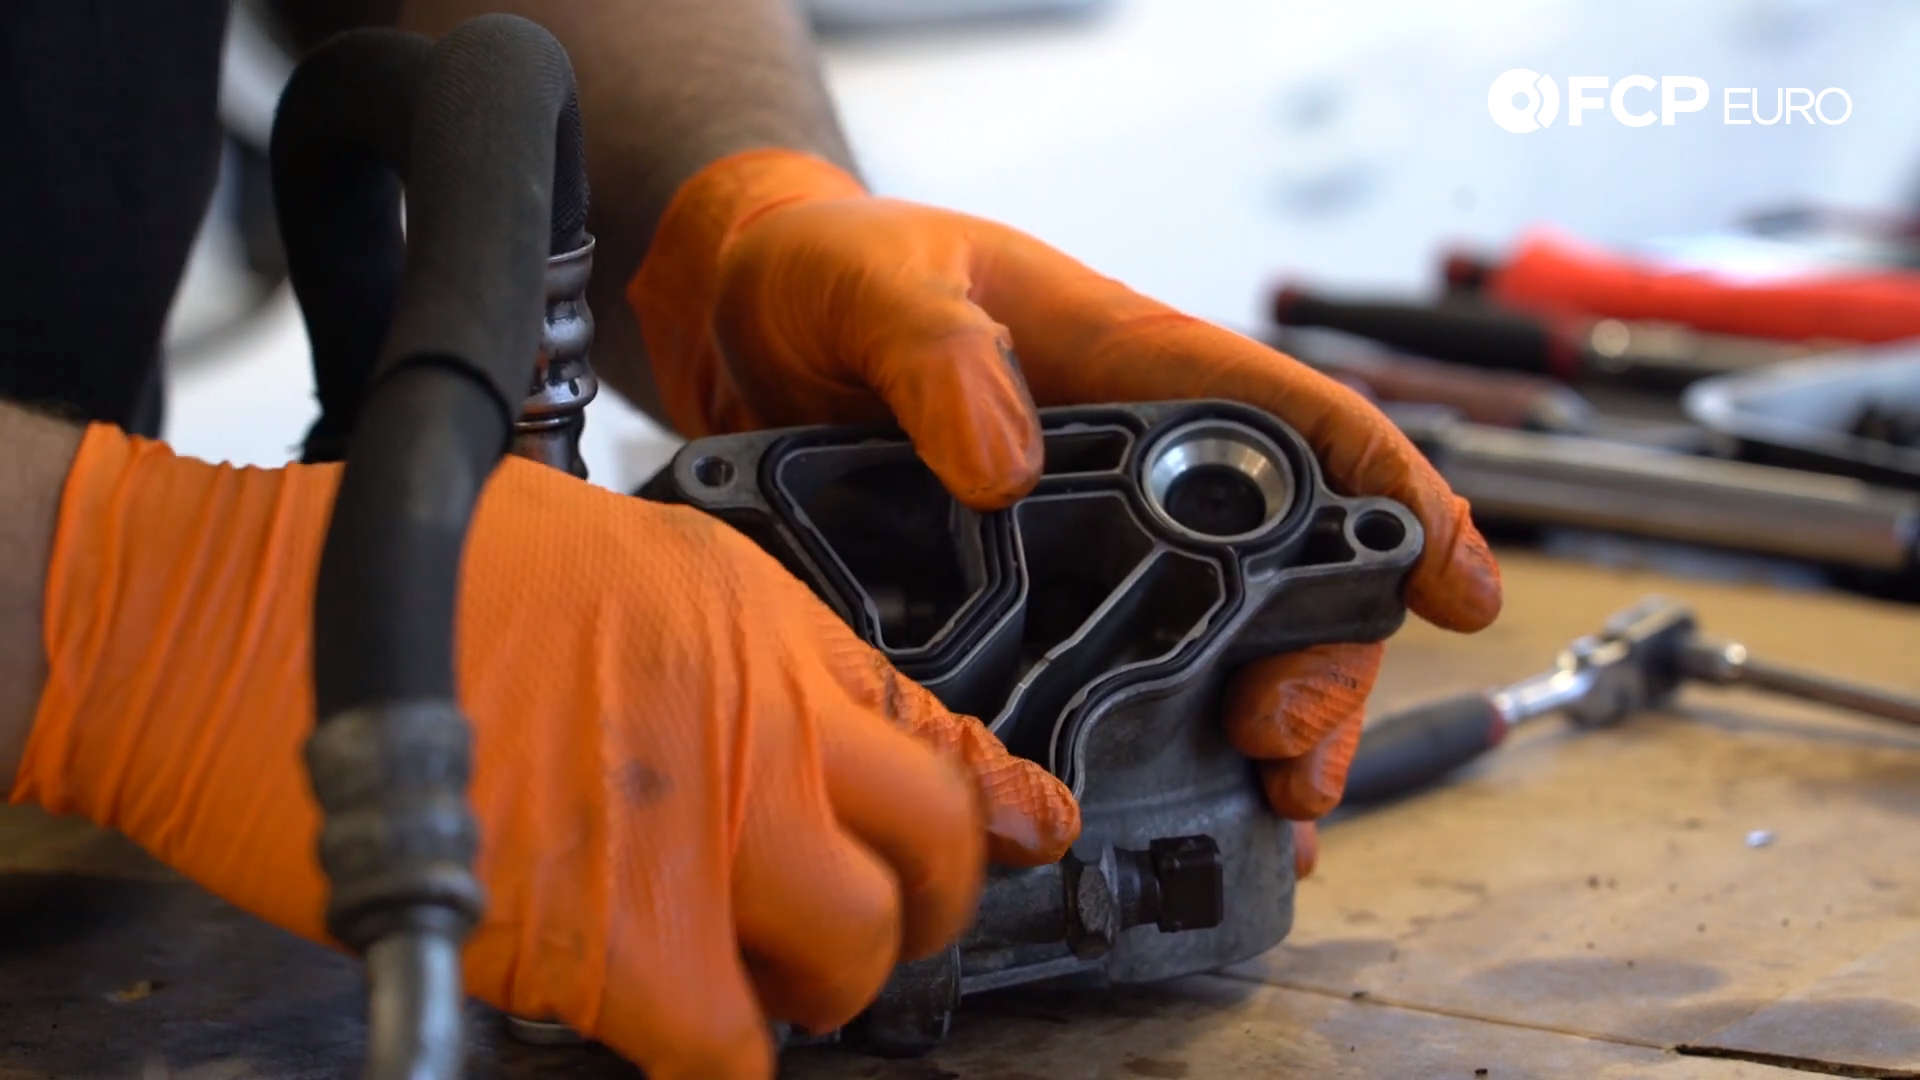
Step 21: Remove the Oil Cooler Thermostat
The oil cooler thermostat is fastened to the oil filter housing using three E12 bolts. Expect residual oil to spill out from the thermostat once you break the seal.
Step 22: Thoroughly Clean Components
Going forward from this point, it's helpful to have clean parts to work with. Old oil leaks mean caked on oil and dirt. It's especially important to clean the mating surfaces for a proper seal. We use brake cleaner, but you can use anything you'd like.
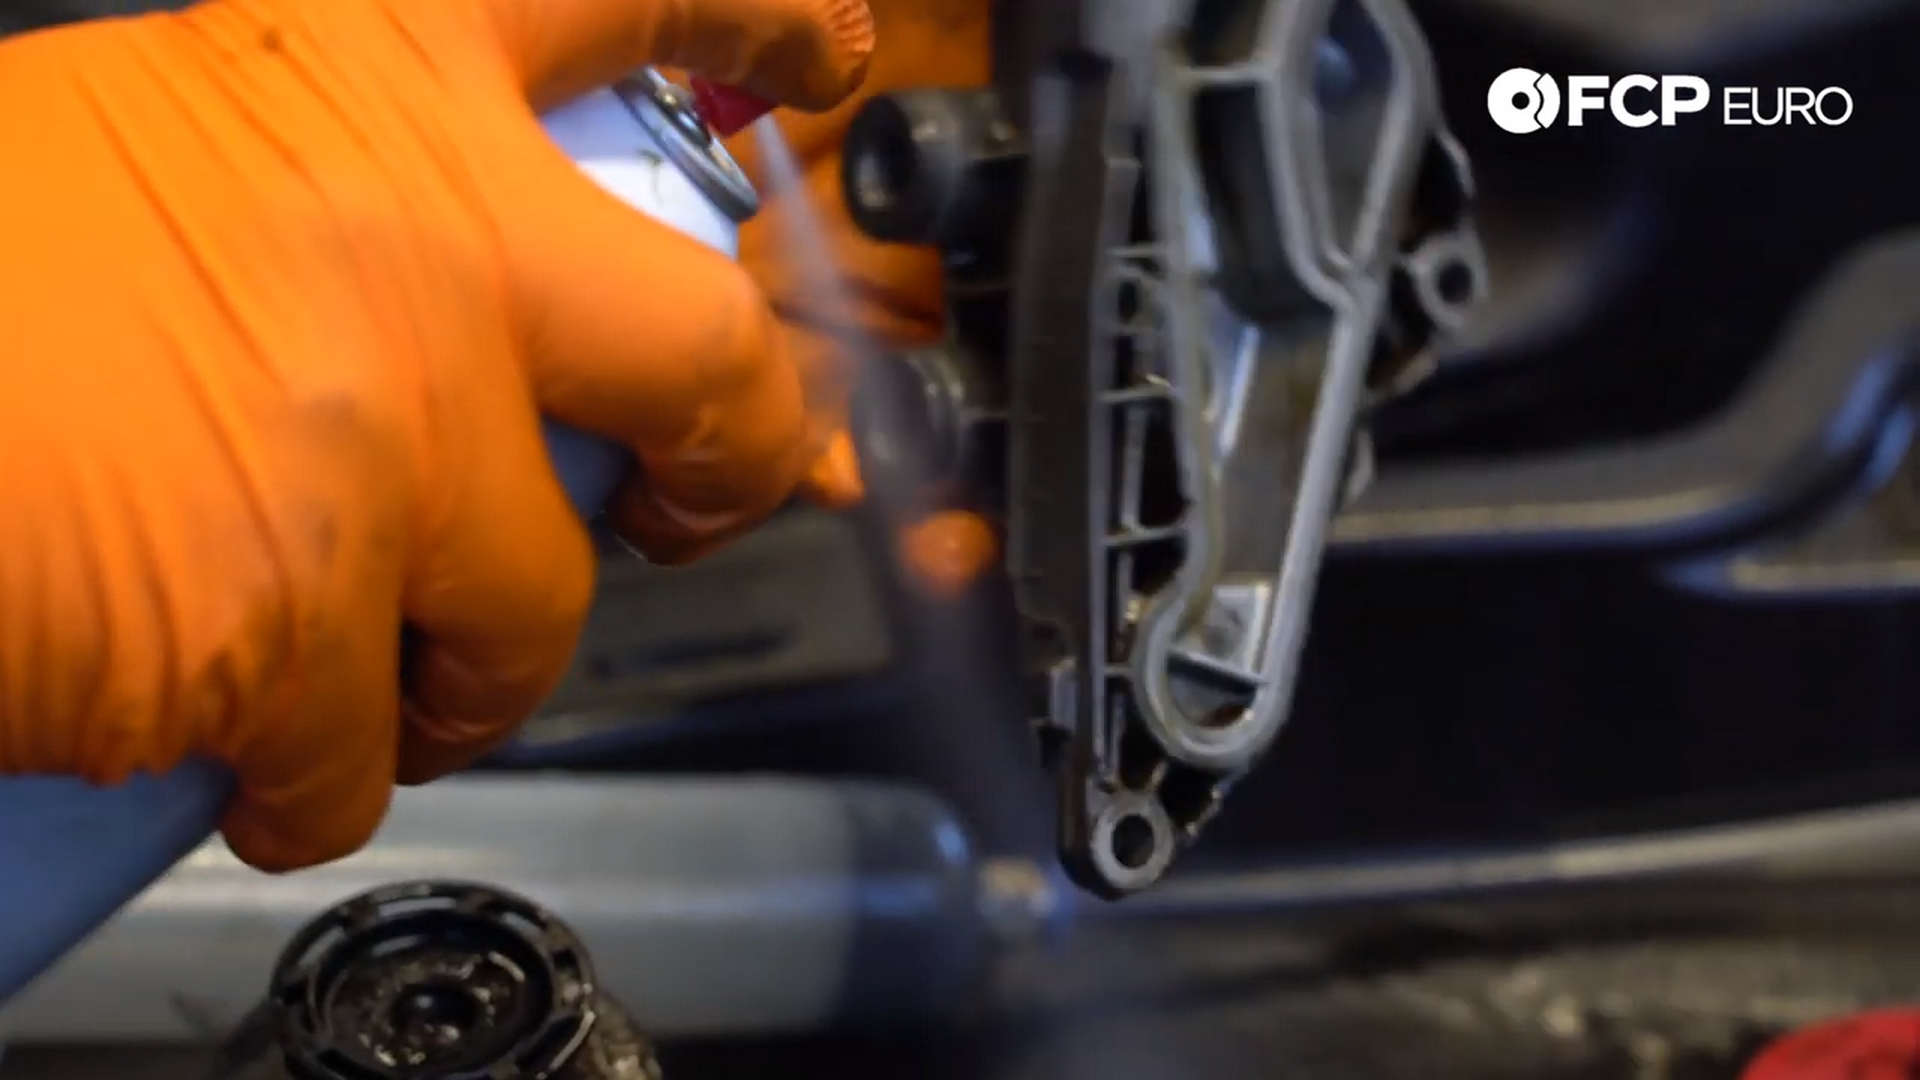
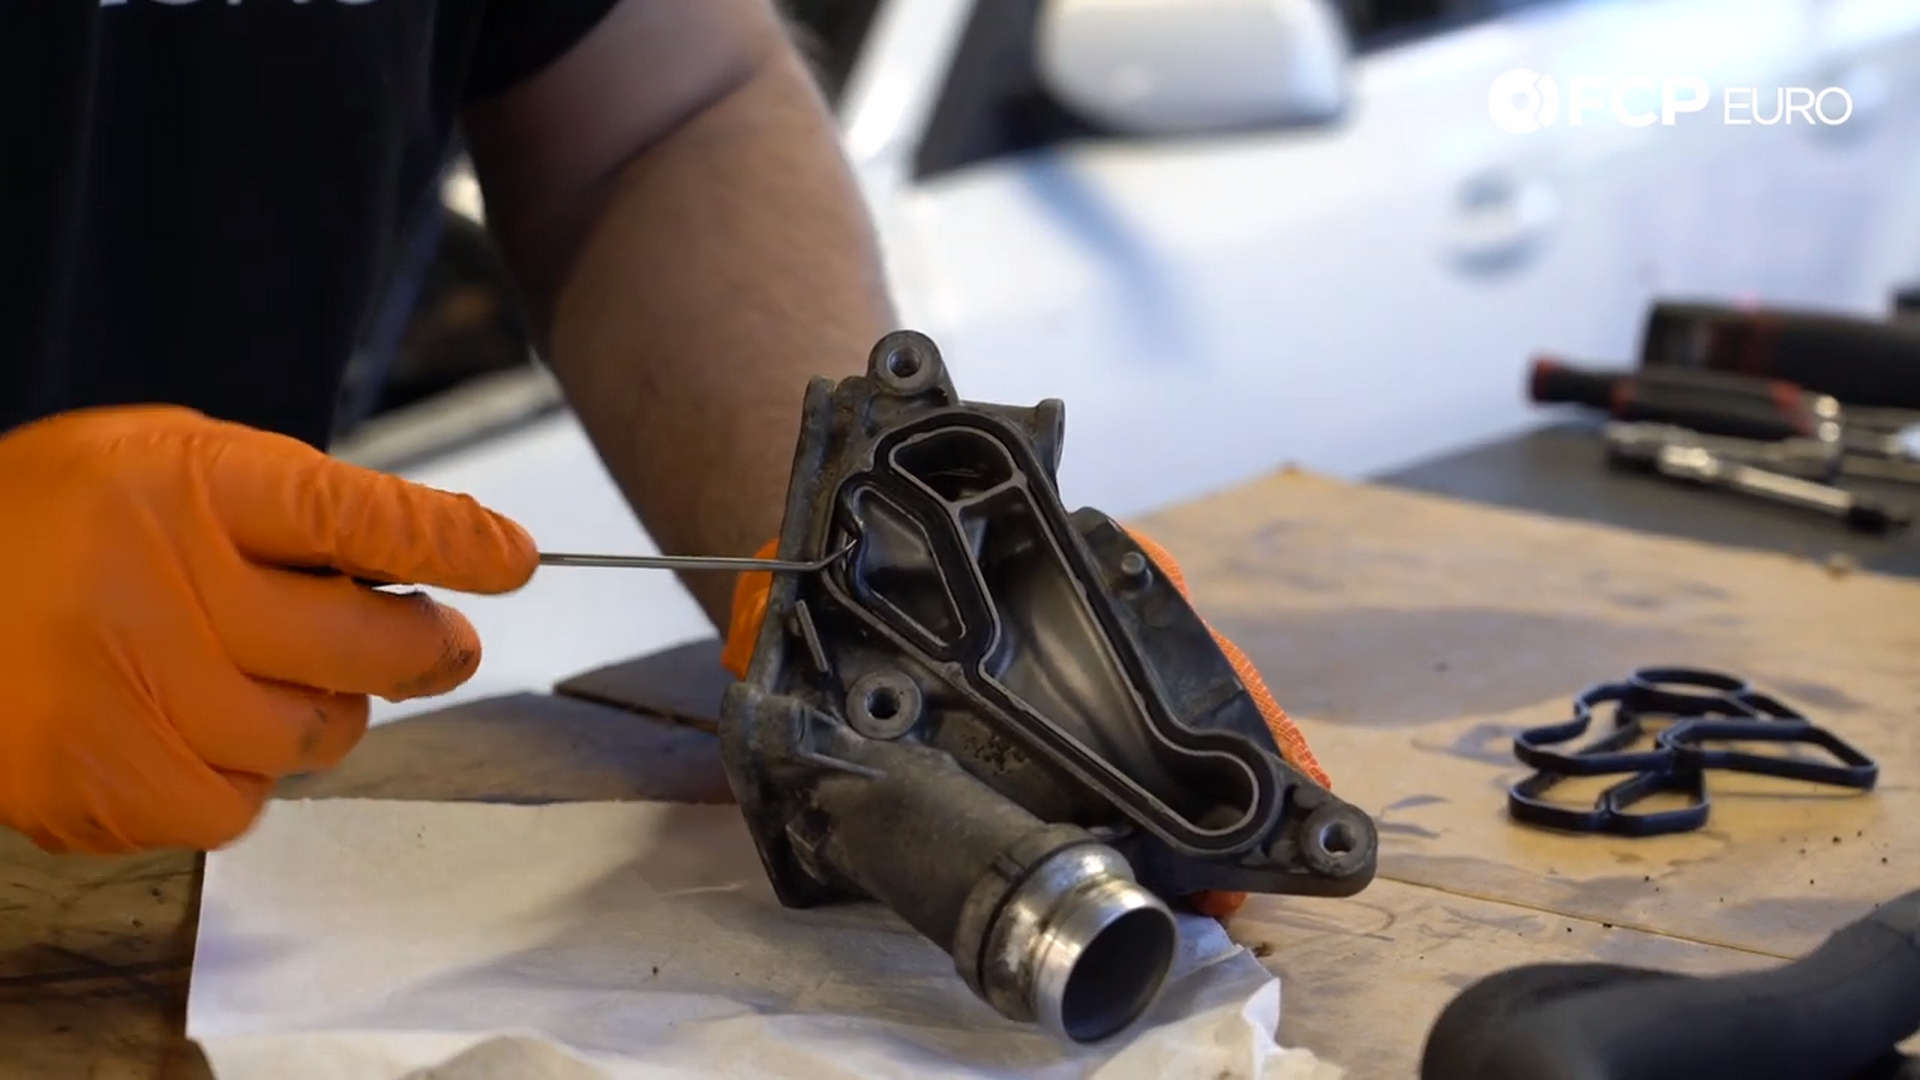
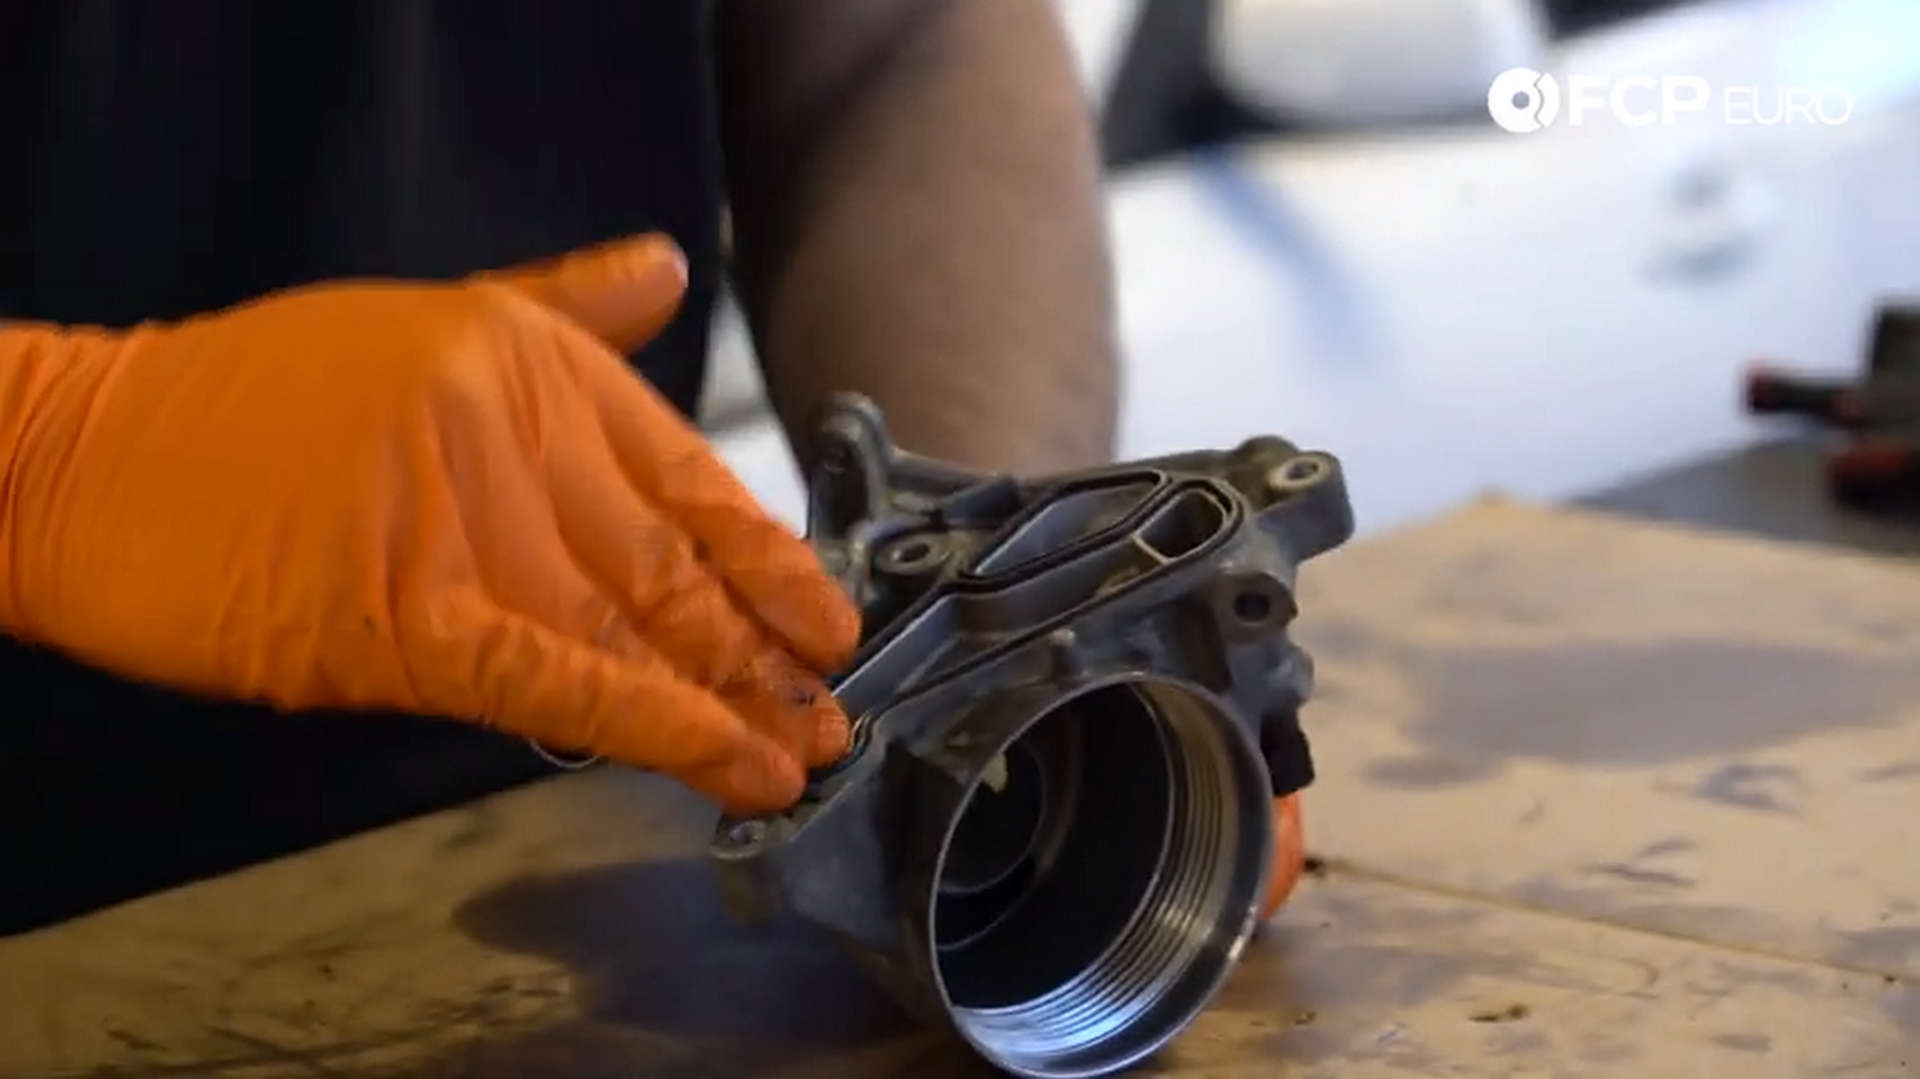
Step 23: Remove the Old Gaskets and Replace
Now it's time to remove the old gaskets from the housing. The old rubber might be brittle and stuck in place. Using your tool pick, you should be able to pry them out. Be sure to remove every bit of old gasket and clean where they seat. Leaving any trace of them at all will cause massive leaks once reassembled. When installing the new gaskets, use a a little oil to lubricate and help seal them.
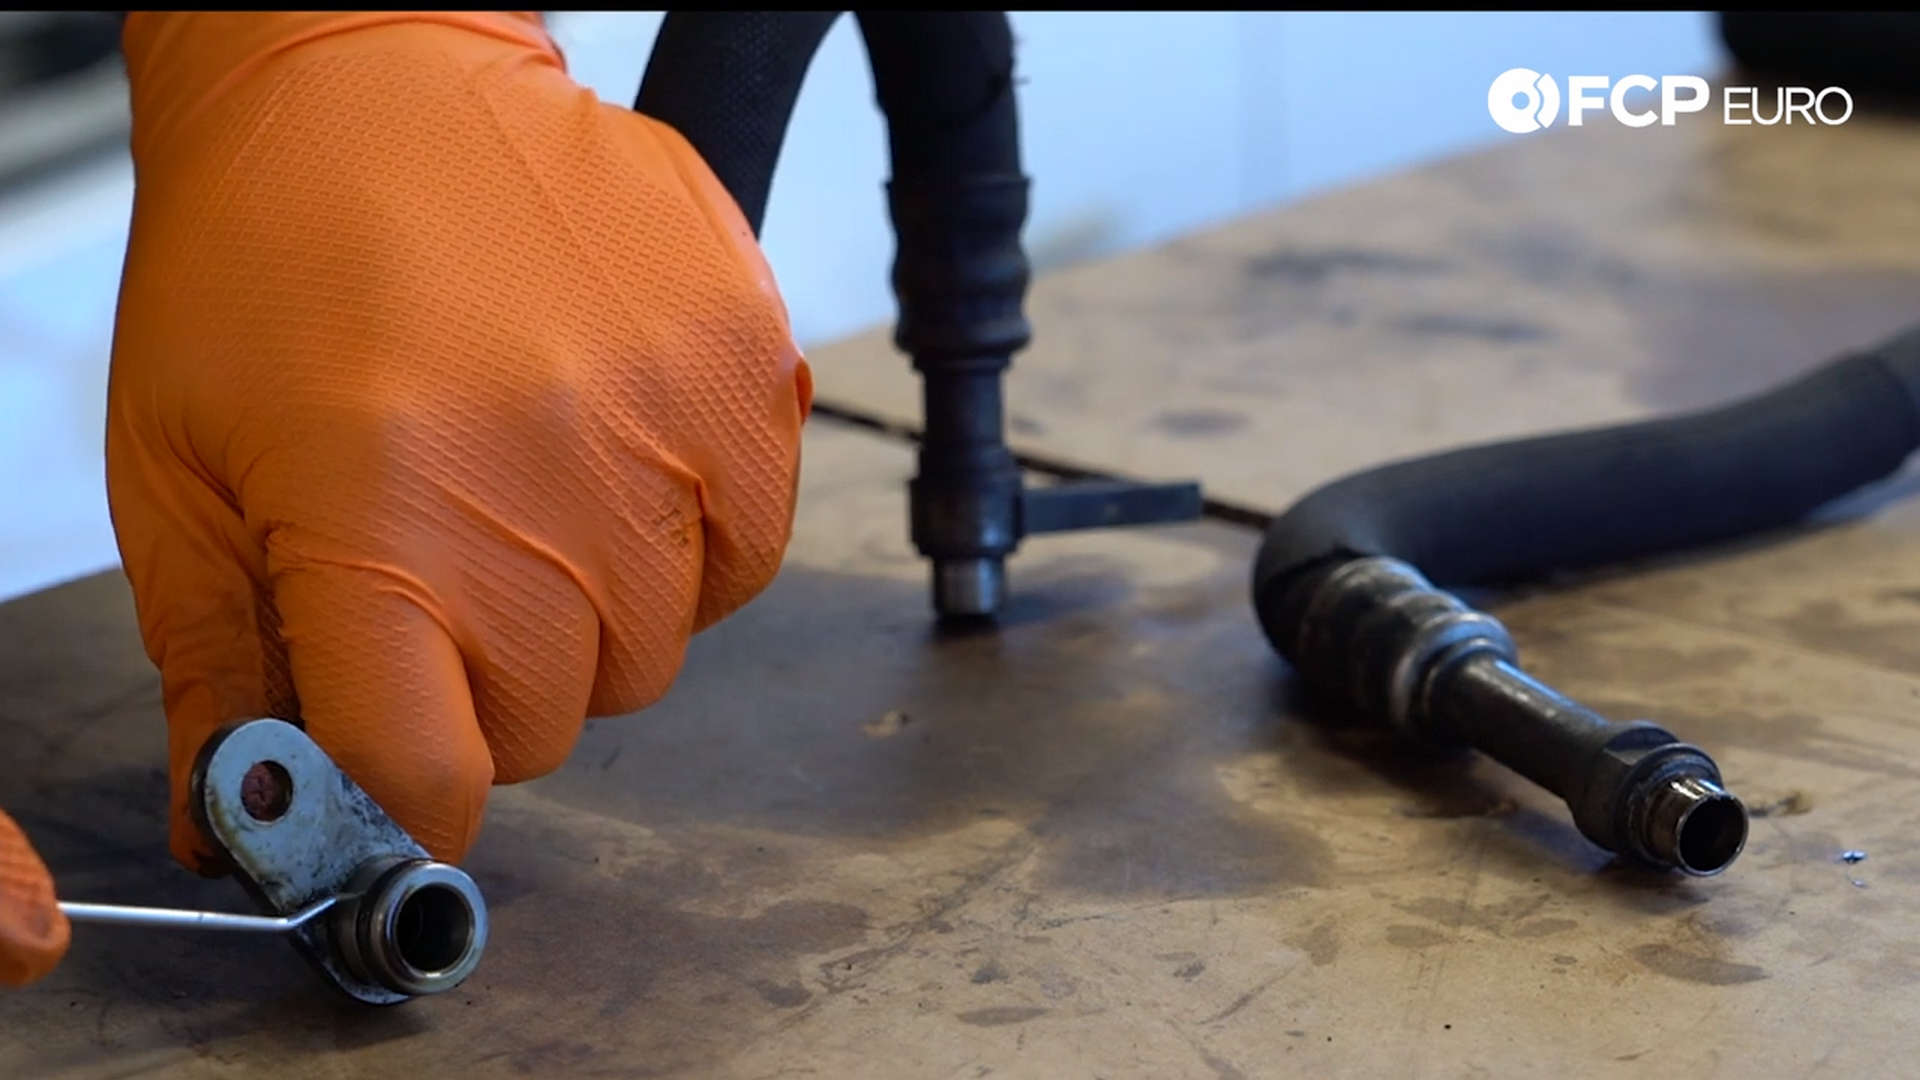
Step 24: Replace Oil Cooler Line O-Rings
Since you're in this deep, you should replace the O-rings on your oil cooler lines. They might be fine, but who wants to take this all apart again later. Like the gaskets, use a little oil to lubricate the O-rings.
Step 25: Reassembly
At this point you're all done. Everything going forward is just reassembly. You can reference the video below for reassembly or you can work backwards from this guide. Since you're working with cast aluminum parts, take care not to over-tighten fasteners. Be sure to use a torque wrench and tighten these fasteners to their specific torque specs:
E12: 18 N⋅m
E10: 22 N⋅m
11mm: 15 N⋅m
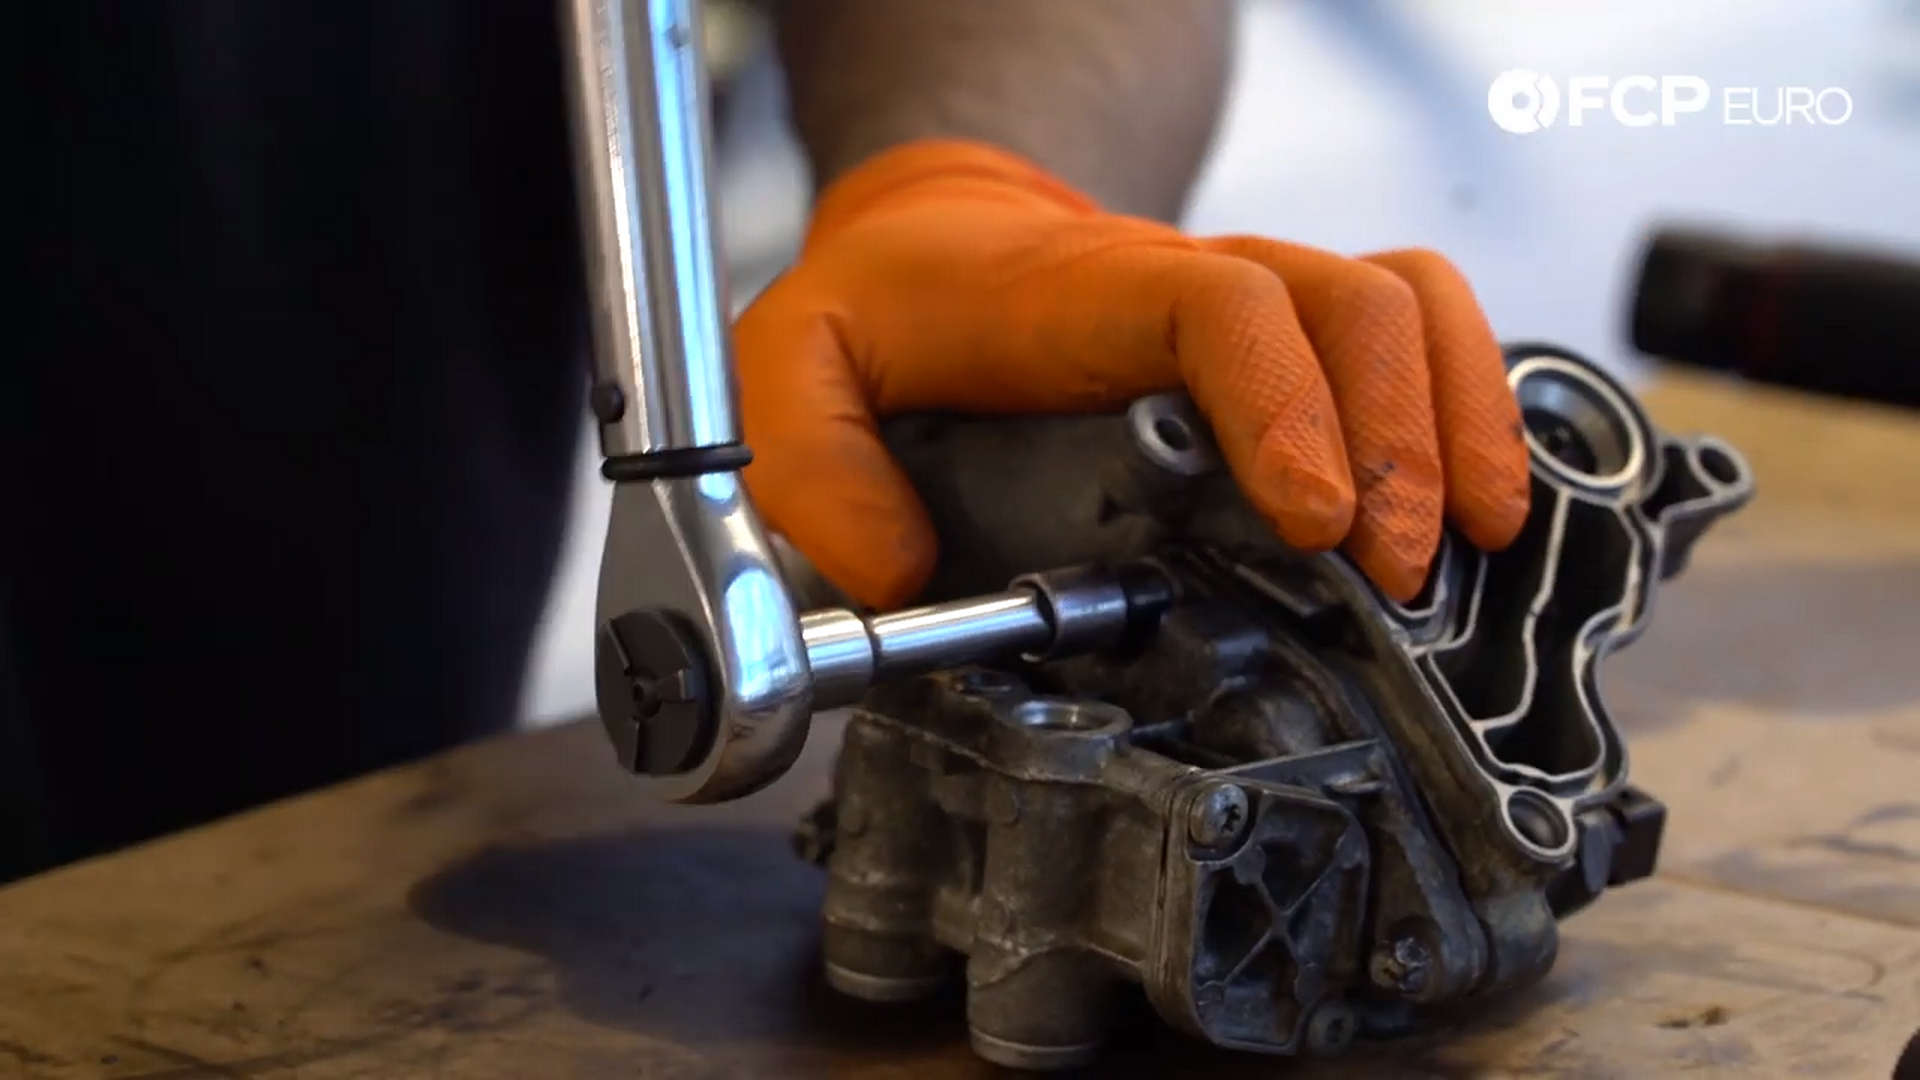
Diagram Parts List
Now that this job is done, you can drive without worrying about your engine inhaling your serpentine belt. If you're wondering which kit you specifically need, click the link below and use the "My Garage" vehicle search. And as always, make sure to subscribe for more videos.