- 06/04/2020
- 5 Min Read
- By: Christian Schaefer
How To Replace The Front Brake Pads And Rotors On A Volvo P1 (S40, V50, C70, & C30)

The brakes and tires on your Volvo P1 are the two biggest factors in determining how effectively it stops. Checking on the condition of your brakes and tires is as easy as looking at them, but changing worn tires isn't something you can do in your garage. Changing the brakes on your Volvo P1, however, is a DIY job that can be done with simple hand tools by those with little experience.
To check out the condition of your brakes, simply look at them. The remaining life of the brake pad is determined by how much material is remaining. The thinner the pad, the sooner it needs to be changed. The face of the rotor should be a metallic color and somewhat smooth. If there are any deep grooves or dark colored deposits, they must be changed. While you don’t have to change the pads and the rotors at the same time, doing them together ensures maximum braking effectiveness.
Volvo P1 Models and Years Applicable |
|
|
|
|
|
Symptoms of worn front brake pads and rotors on your Volvo P1 C30 |
- A grinding coming from the front, under braking
- Juddering or a vibration coming from the front, under braking
- Deep grooves on the rotor surface
- Dark-colored deposits on the rotor surface
- The vehicle’s steering pulling to one side, under braking
All disc brake systems have a front bias, meaning that the front brakes do a majority of the braking. Their increased braking responsibility will lead to more frequent replacement intervals when compared to the rears.
Driving your Volvo with worn front brakes can pose a danger to you and everyone around you. The safest action would be to park the car until you can service it yourself, or have a qualified technician do the job.
How long will it take to replace the front brake pads and rotors on a Volvo P1 C30? |
A safe estimate for completing a pad and rotor change, as well as a fluid flush, would be around two and a half hours. Depending on the condition of the parts and the tools you have at your disposal, it could take more or less time.
The last part of this DIY includes a brake fluid flush. To complete this process you will need to have another person handy to pump the brake pedal for you. If you have a power or vacuum bleeder, you’ll be able to complete the job by yourself.
How much will it cost to replace the front brake pads and rotors on a Volvo P1 C30? |
Having this job done by a Volvo certified professional can cost nearly $500. Buying parts from the dealership is always more expensive than buying from a parts retailer like us. On top of the increased cost of parts, you’ll have to pay for the labor.
If you buy the front brake job kit we’ve put together, you’ll be spending much less than half of what the dealership would charge you. We use parts from the same suppliers as Volvo themselves, so you’ll be getting the same parts at a better price.
Tools required to replace the front brake pads and rotors on a Volvo P1 C30 |
- 3/8" Ratchet
- 19mm Socket
- 9mm Socket
- 7mm Hex Bit Socket
- 15mm Wrench
- Flathead Screwdriver
- Piston Compressor
- Brake Power/Pressure Bleeder
Parts required to replace the front brake pads and rotors on a Volvo P1 C30 |
Steps required to replace the front brake pads and rotors on a Volvo P1 C30 |
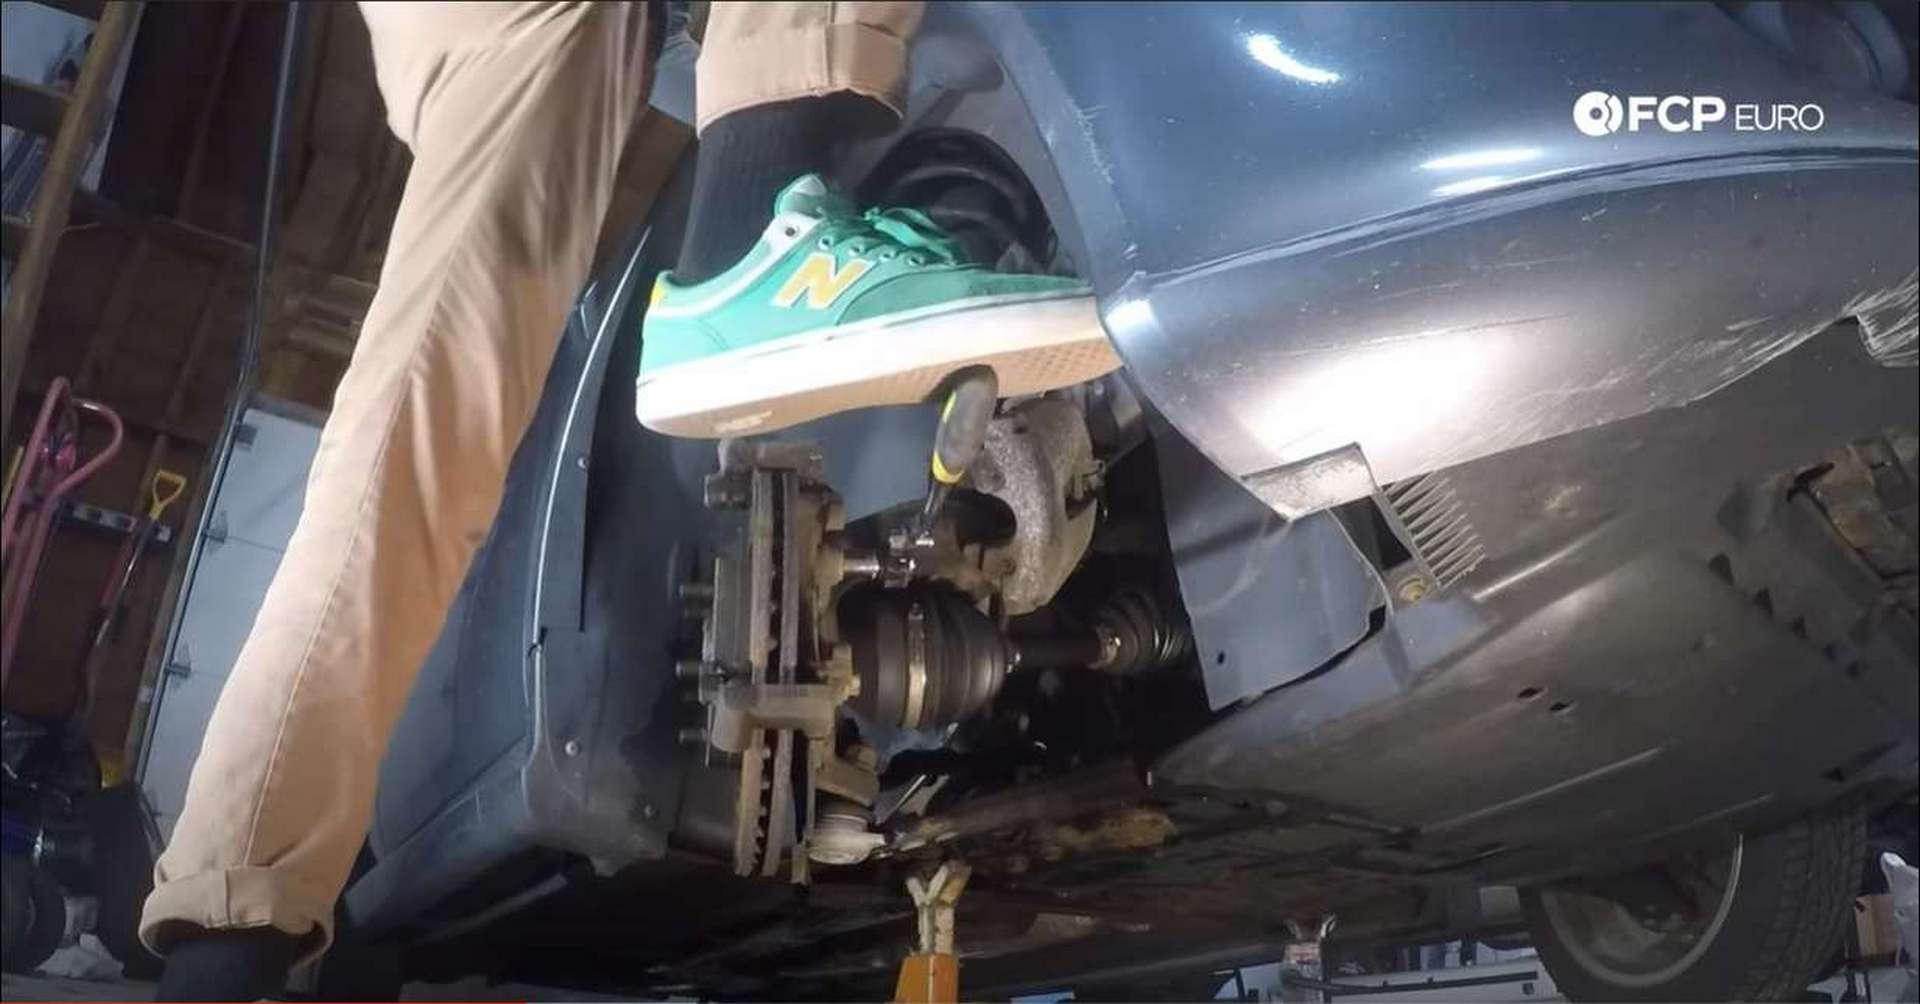
Step 1: Jack up the car and remove the wheel
Before jacking up the car, take your ratchet, or breaker bar if you have it, and use the 19mm socket to break the lug nuts free. Do not remove them all the way, just get them loose. Use the jack point shown below.
![DIY Volvo Front Brakes jack point]](https://images.contentstack.io/v3/assets/blta5fd5c563cb3dbc3/blt14432ce6b7ae260b/660488eba688ae3e8ec1dc09/01_DIY_Volvo_Front_Brakes-Jacking-Car.jpg)
Once the car is jacked up, set it on jack stands, if you have them. With the car in the air, you can now remove the lug nuts all the way, and take the wheel off. Now is a good time to turn the steering wheel to whichever side of the car you are working on. This will give you the space required to get to the bolts the hold the caliper on.
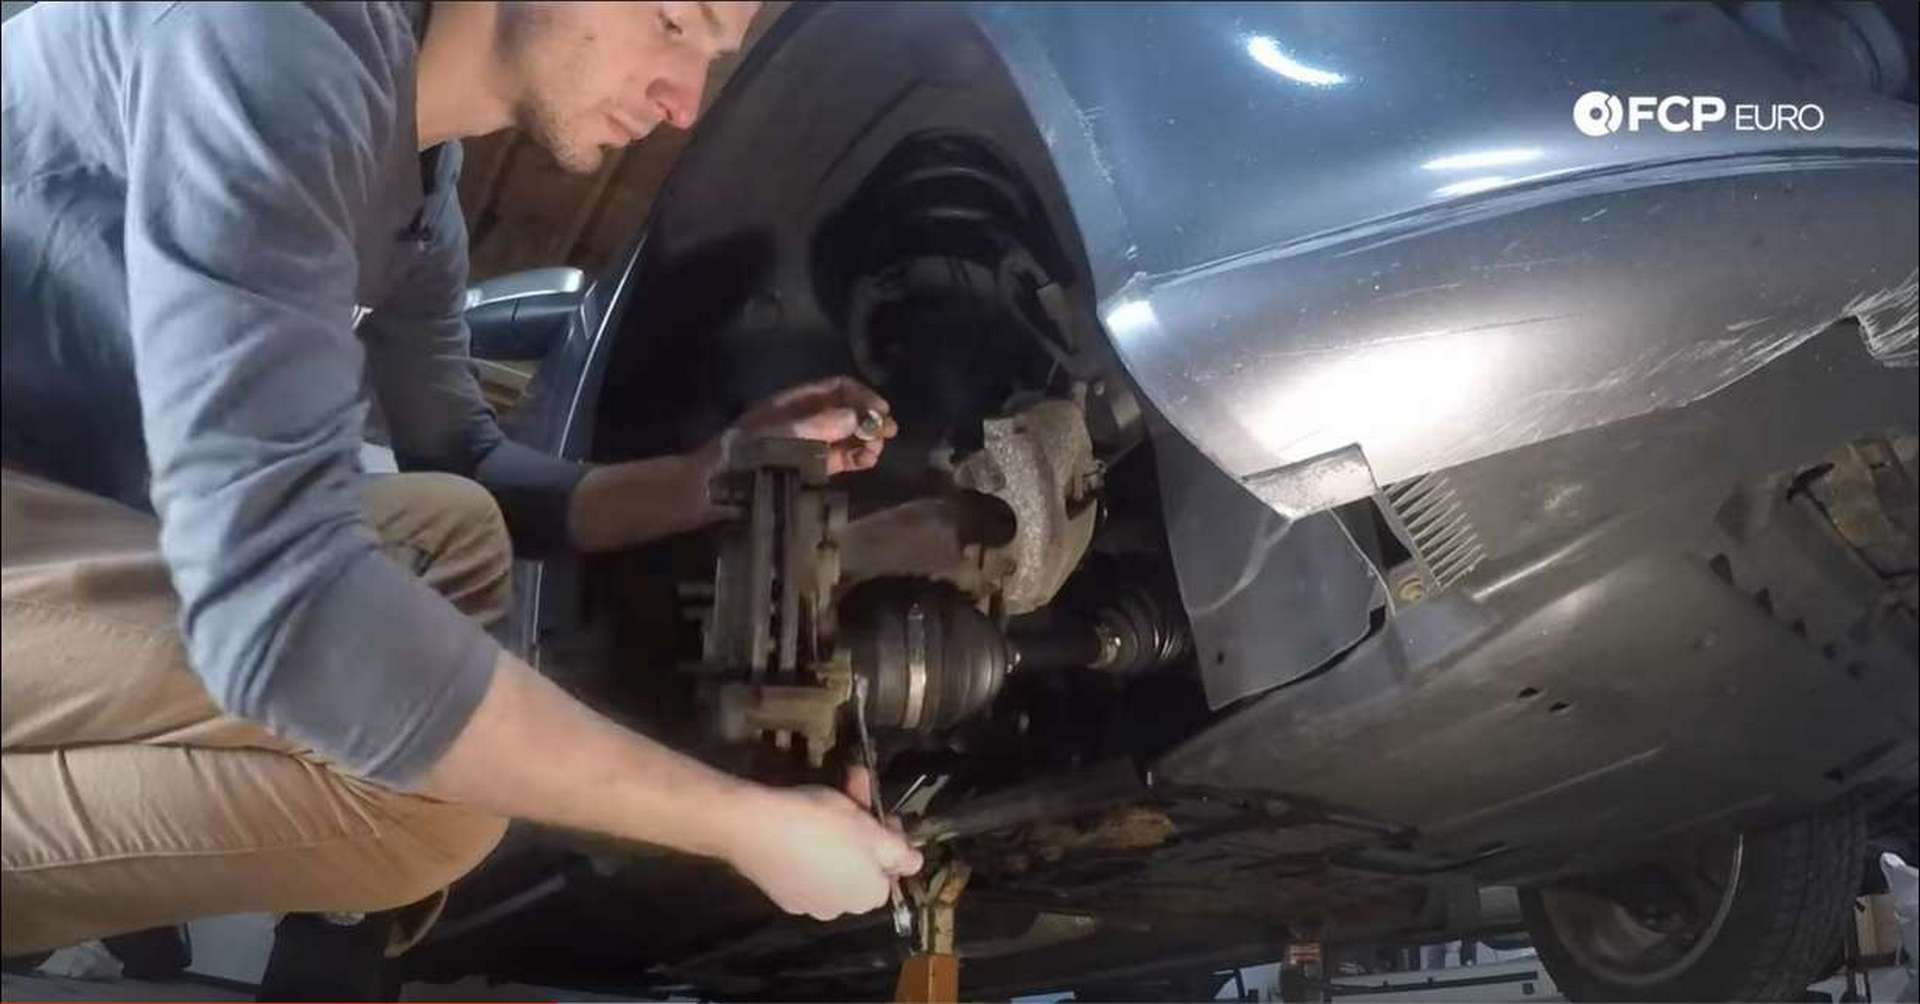
Step 2: Remove the caliper guide pins and caliper
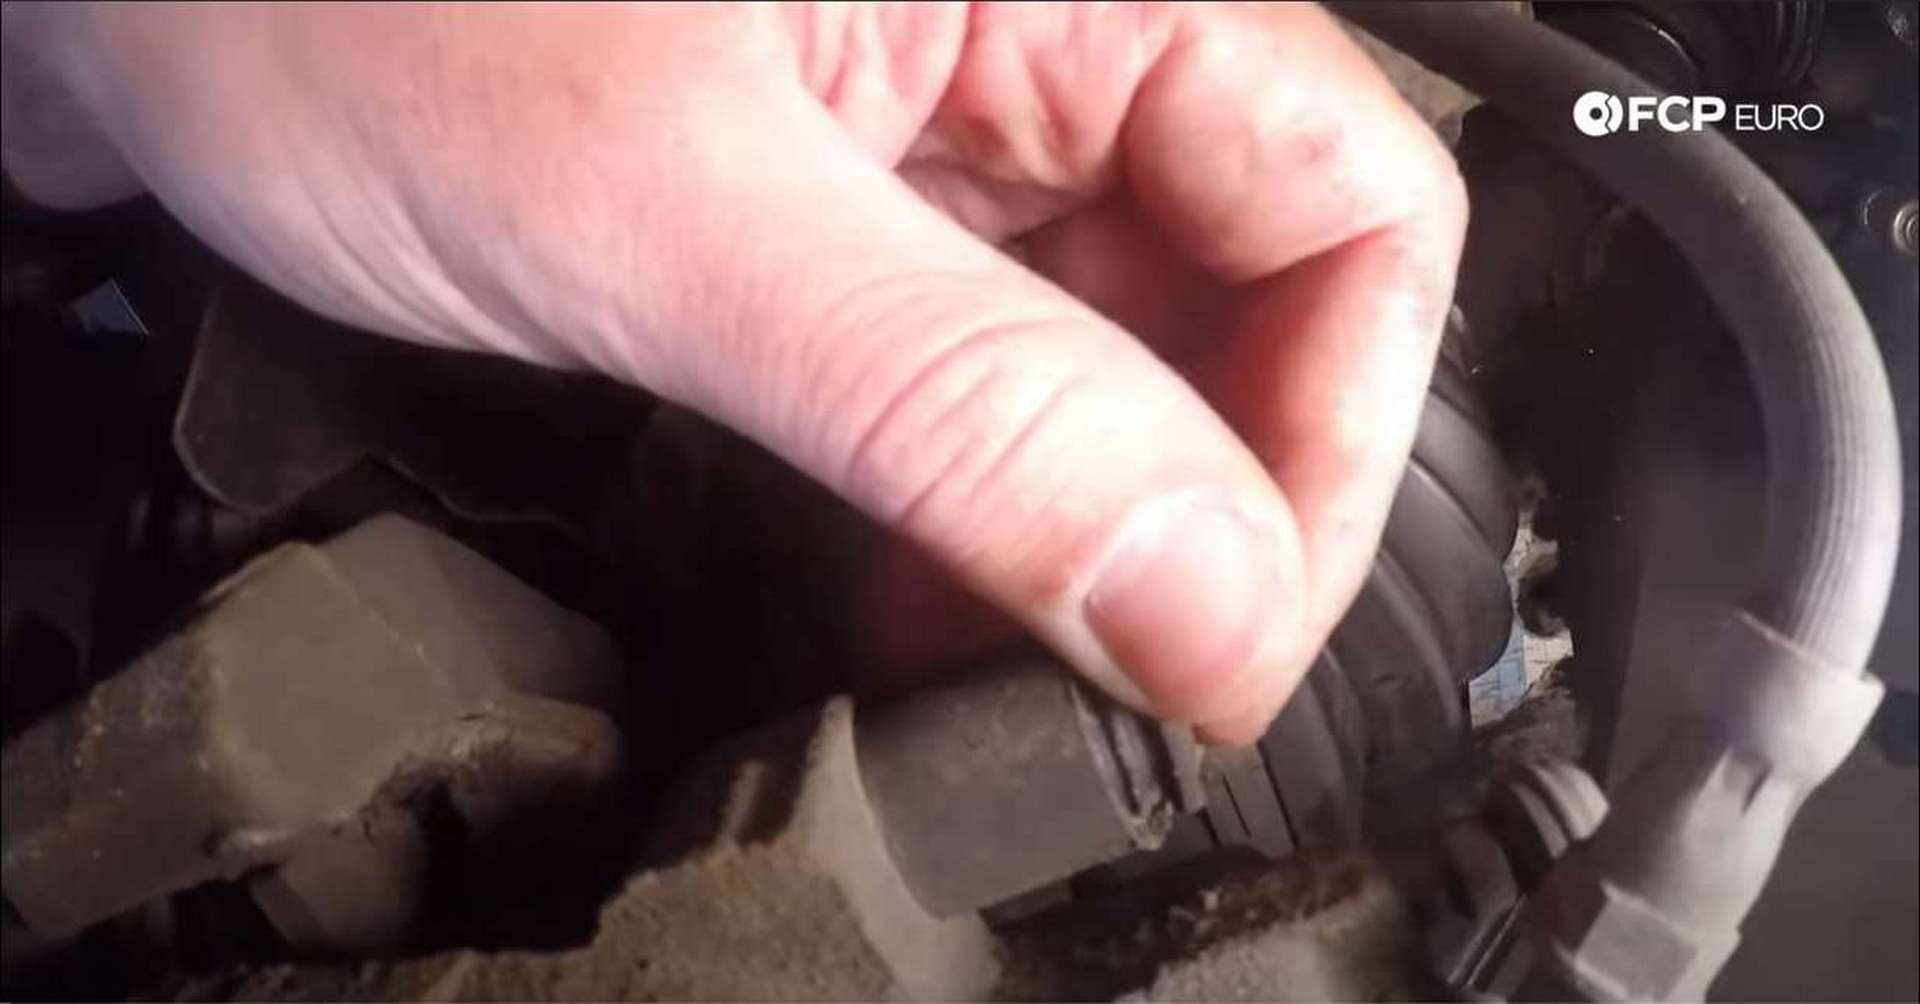
On the front of the caliper, there will be a metal clip that prevents the brake pad from rattling around. To remove this, take a flat blade screwdriver and pry the tabs out of where they sit. Do not throw there out as you will need to reuse them. Next, locate the caliper guide pins on the back of the caliper and remove the protective dust caps.
Once the caps are removed, the guide pins can be taken out. Use the 7mm Hex bit socket on the ratchet to remove the guide pins. Put these aside as you’ll need to reuse them.
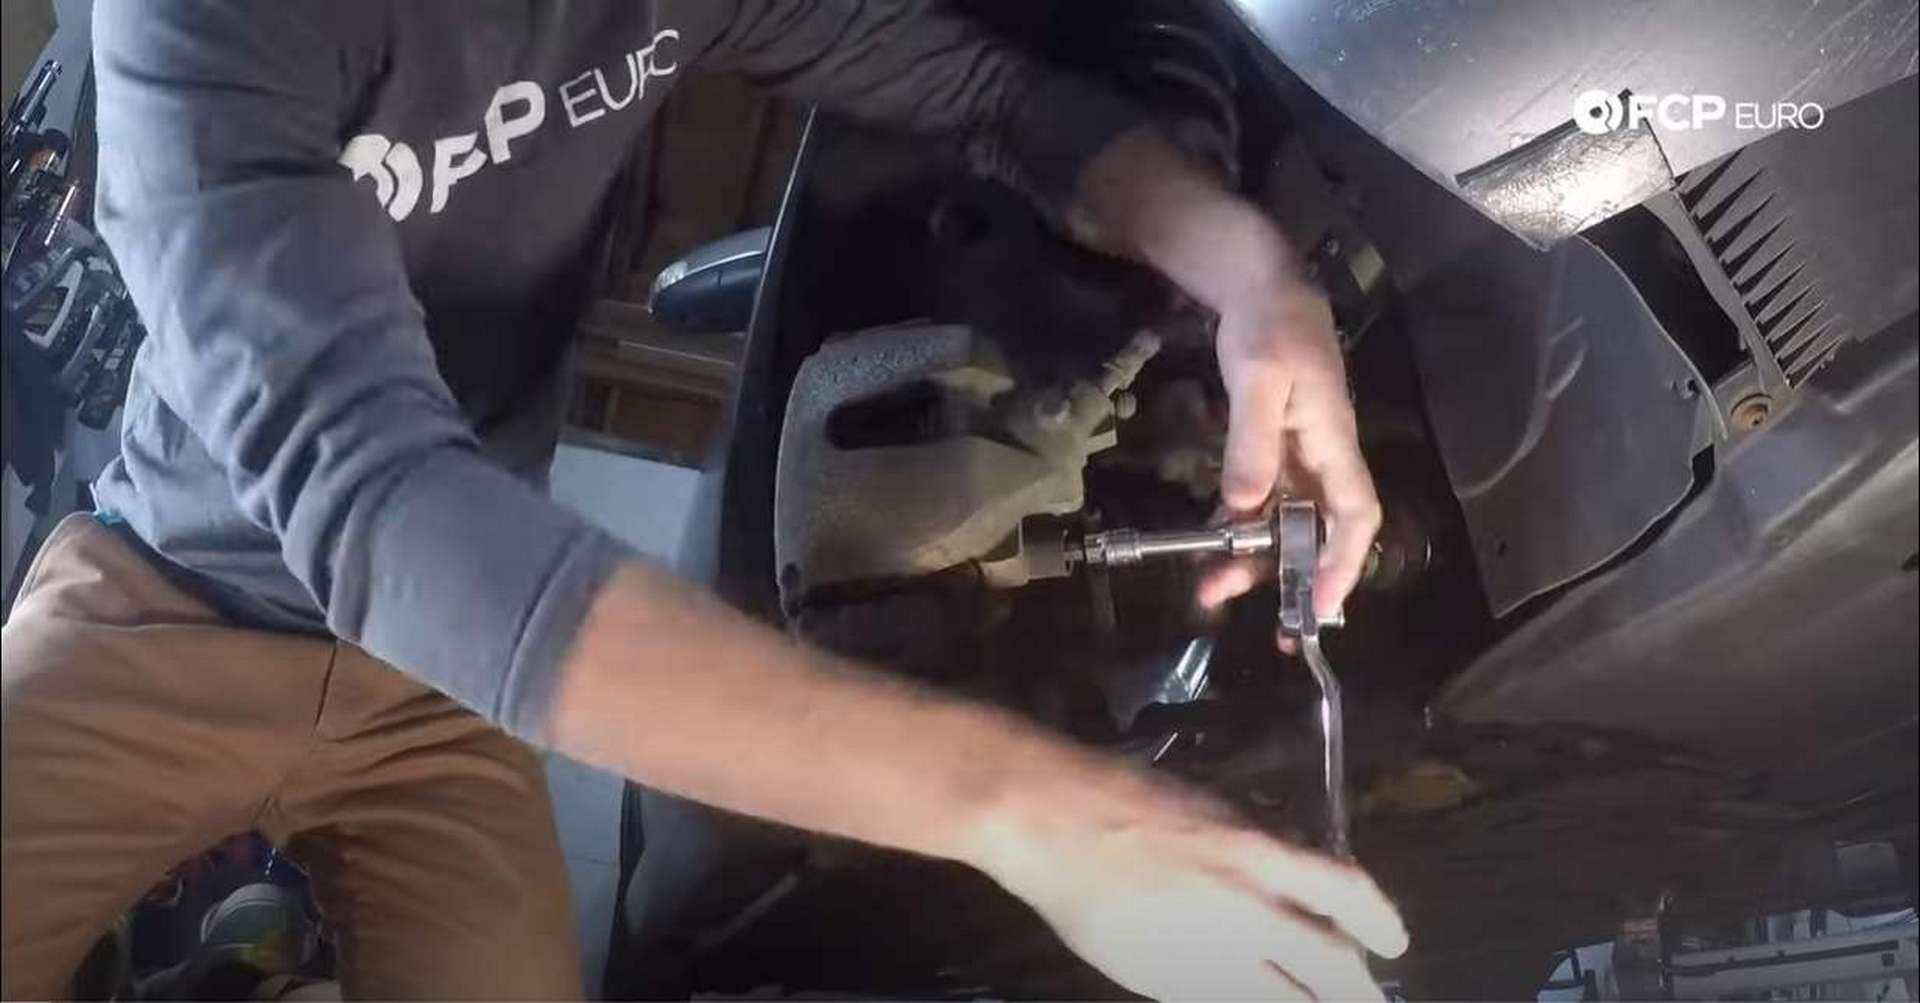
With these pins removed, the caliper is free from its bracket and can be removed from the rotor. When removing the caliper, be sure to support the weight of the caliper by hanging it with an old coat hanger or some bungee cords, or resting it on something. You can cause a tear in the rubber brake line if you don’t support the caliper and leave it hanging by the rubber line. A leaking line will let air get in the lines, preventing your brake pedal from working.
To get the caliper off of the rotor, grab the front and the back, and pull away from the center of the wheel. If you need more freedom to hang the caliper, unclip the brake hose from the strut by pulling it out.
When the caliper comes off, the outer brake pad will remain in the bracket. Pull it straight out and throw it away.
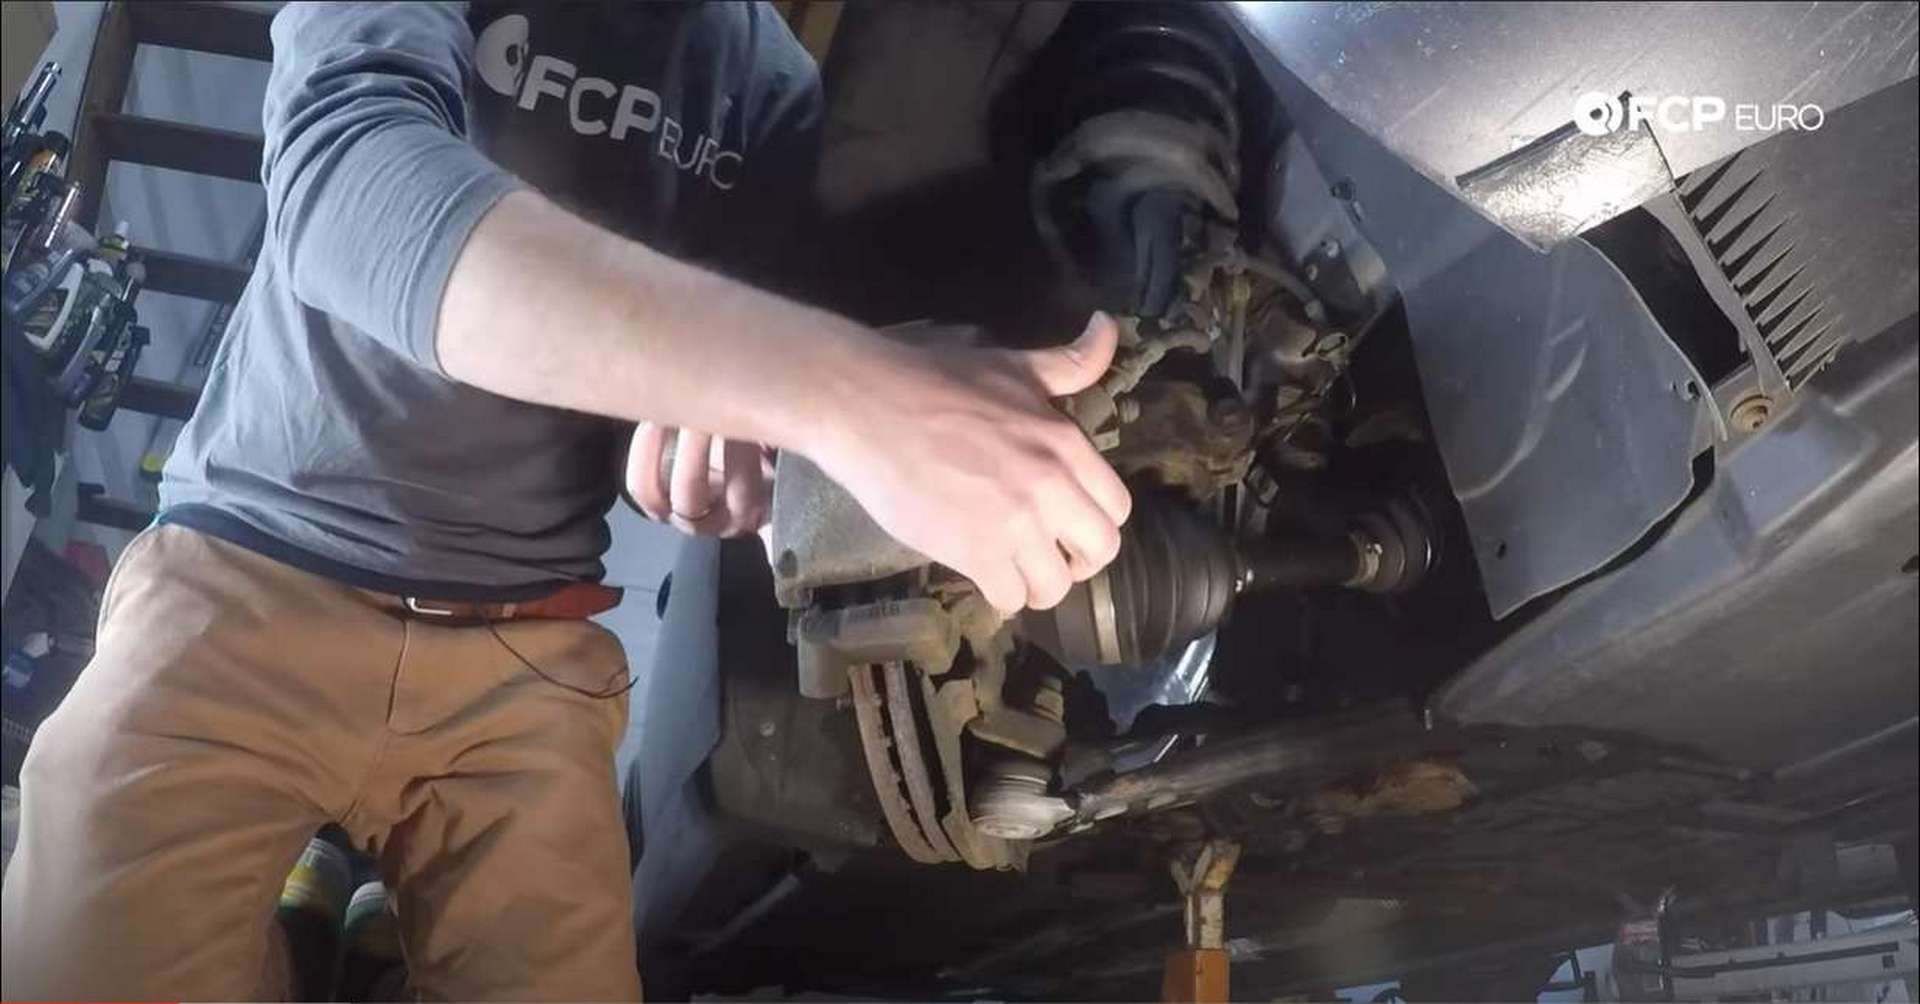
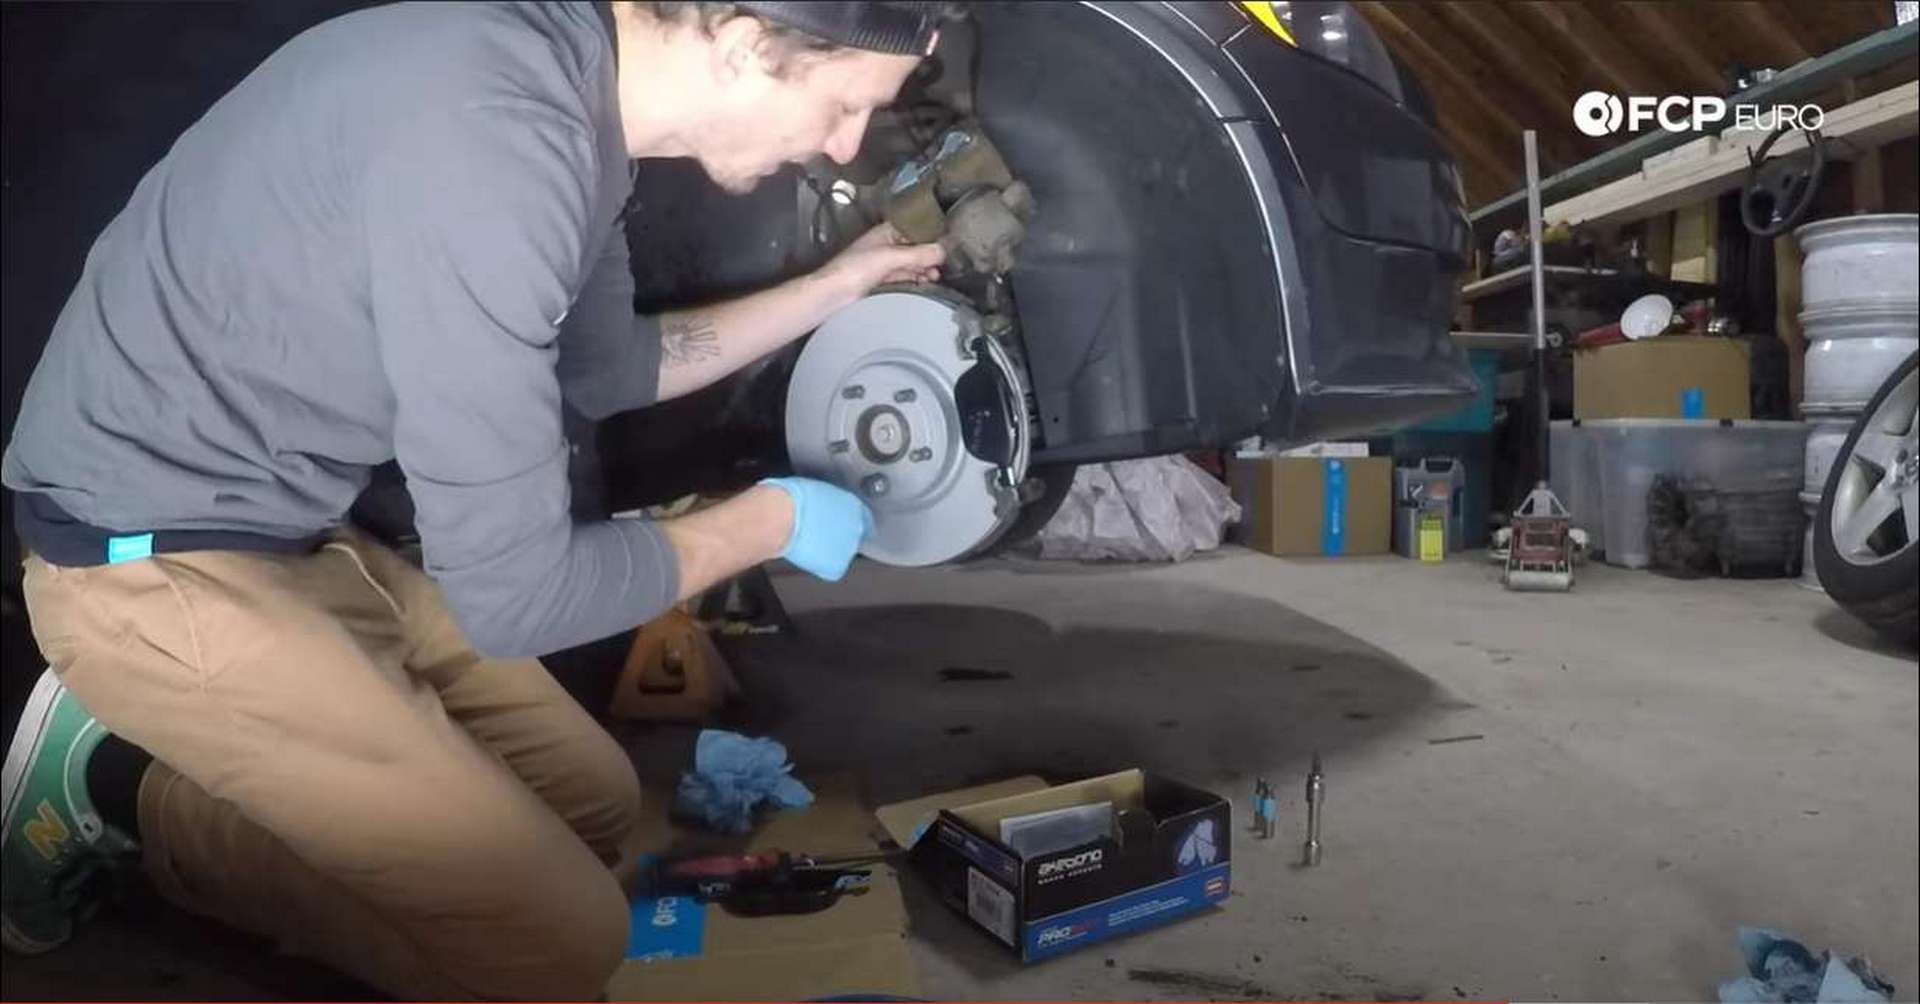
Step 3: Remove the caliper bracket and replace the rotor
The only thing keeping the rotor on is the caliper bracket. To remove the bracket, use a 15mm wrench or socket on the two bolts at the back. Once these are removed, the bracket will come off. To prevent you from losing the bolts, you can thread them into the bracket once it is removed from the knuckle.
With the bracket removed, the rotor can be pulled off. If you live in an area where rust is an issue, the rotor might fight being removed. Hitting it with a mallet and using rust penetrant will help break it free from the rust.
Once the old rotor is off, clean up the surface that the rotor is mated to, as you see fit. Next, go ahead and put on the new rotor.
Step 4: Reset the caliper’s piston
The piston is what the inner pad clips into. When you step on the brake pedal, brake fluid is sent through the lines and pushes on the back of the piston, forcing the pads to come into contact with the rotor and slowing the car down. With the new pads being thicker than those being replaced, the piston needs to be pushed back as far as it can to give the new pads the space they need to fit.
Using the compressor tool, push against the old inner brake pad, compressing the piston until it can’t go any further. Once you have compressed the piston, remove the old inner brake pad, and install the new one.
Step 5: Reverse steps and reinstall
Included in the kit are two packets of light blue grease. Place the grease on the backs of the brake pads, where the pads sit in the caliper bracket and on the non-threaded portion of the guide pins.
Volvo P1 C30 Front Brake Torque Specs |
- Volvo C30 Caliper Bracket Bolts = 120Nm or 88.5 lb-ft of torque
- Volvo C30 Caliper Guide Pin = 30Nm or 22 lb-ft of torque
- Volvo C30 Lug Nuts = 110Nm or 80 lb-ft of torque
Now that your front brake pads and rotors have been replaced, you can get back to safely driving your vehicle on the public roads. If you're interested in more DIYs for your Volvo, you can visit volvo.fcpeuro.com and subscribe to our YouTube channel.


