- 04/08/2020
- 5 Min Read
- By: Christian Schaefer
How To Replace Control Arms, End Links, Tie Rods, & Ball Joints On A BMW E90 (X1, 325i, 328i, 330i, & 335i)

As your BMW E90 approaches 80,000 miles, you may start to hear a clunking sound or feel some play in your steering. This can be caused by the wearing of the front suspension components, not uncommon to this generation of BMWs. From your inner tie rods to your control arm bushings, worn-out components of your front suspension can make your car a danger to you and others. Replacing these components is the best way to keep you safe and your vehicle driving straight.
To ensure the parts in your front suspension are all in good condition, we've assembled a 10-piece kit with everything you’d need to keep your BMW driving true. Tackling the replacement of these parts is a job you can do at home with basic tools, and a few specialty ones as well.
BMW E90 models and years applicable:
This 10-piece control arm kit fits a wide range of BMWs, including:
|
|
|
|
|
|
|
|
What are the symptoms of worn front suspension components on the BMW E90?
- A clunking sound coming from the front of the vehicle
- Vague steering feel
- The vehicle wanting to track to the side under braking
- Front wheels shifting backward under braking
- An inability to properly set an alignment
Ignoring the signs of failing front suspension components can be detrimental to you and your vehicle. These components need to be in good order to keep the vehicle safe and running properly. Failure of these parts can cause a lack of control, as well as an inability to accelerate and stop properly.
The ballpark failure mileage on these parts comes around 80,000 miles. If you drive the car particularly hard or live in an area with especially poor roads, they can wear out sooner.
Tools required to replace your BMW E90 front control arm components:
Parts required to replace your BMW E90 control arms:
Steps required to replace your BMW E90 front control arms:
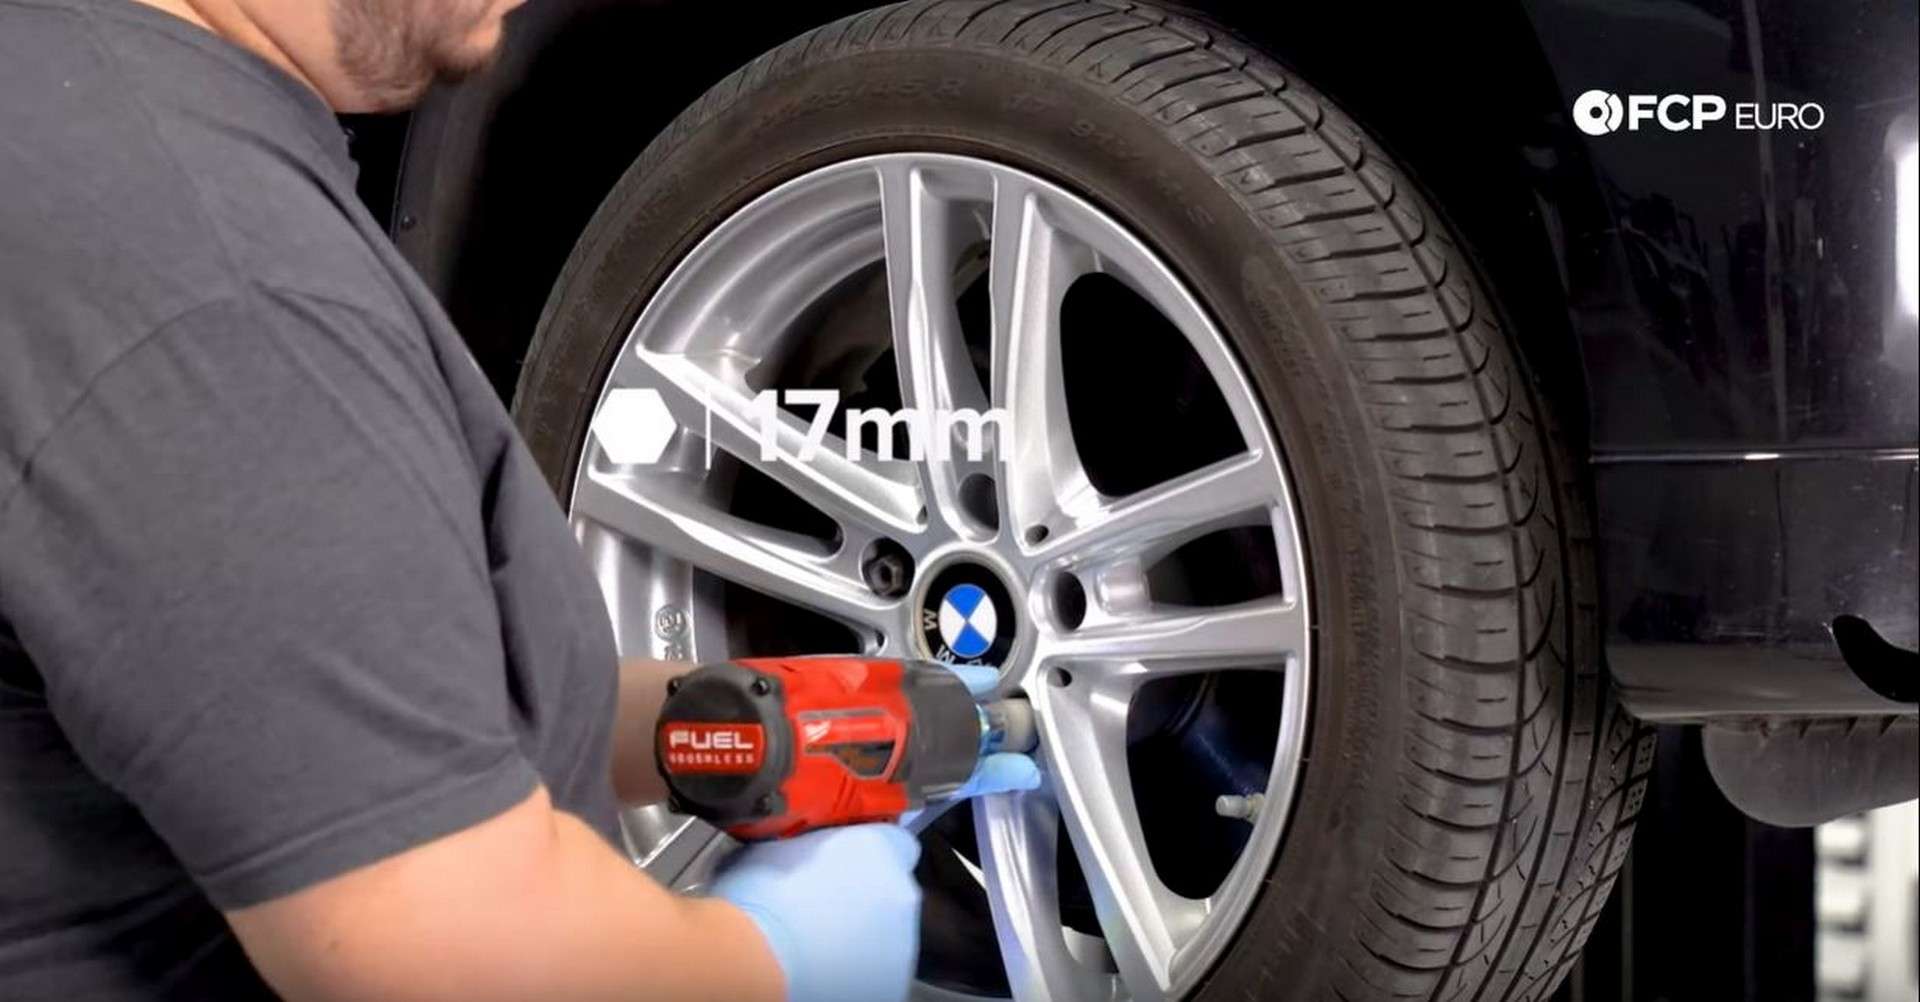
Step 1: Remove the wheels
The first thing you need to do is measure the distance from the center of the wheel hub to the top of the fender. Then, jack the car up, and rest it on jack stands. Then remove your wheels with a 17mm socket with either an impact wrench or a breaker bar. Set them aside until the job is completed
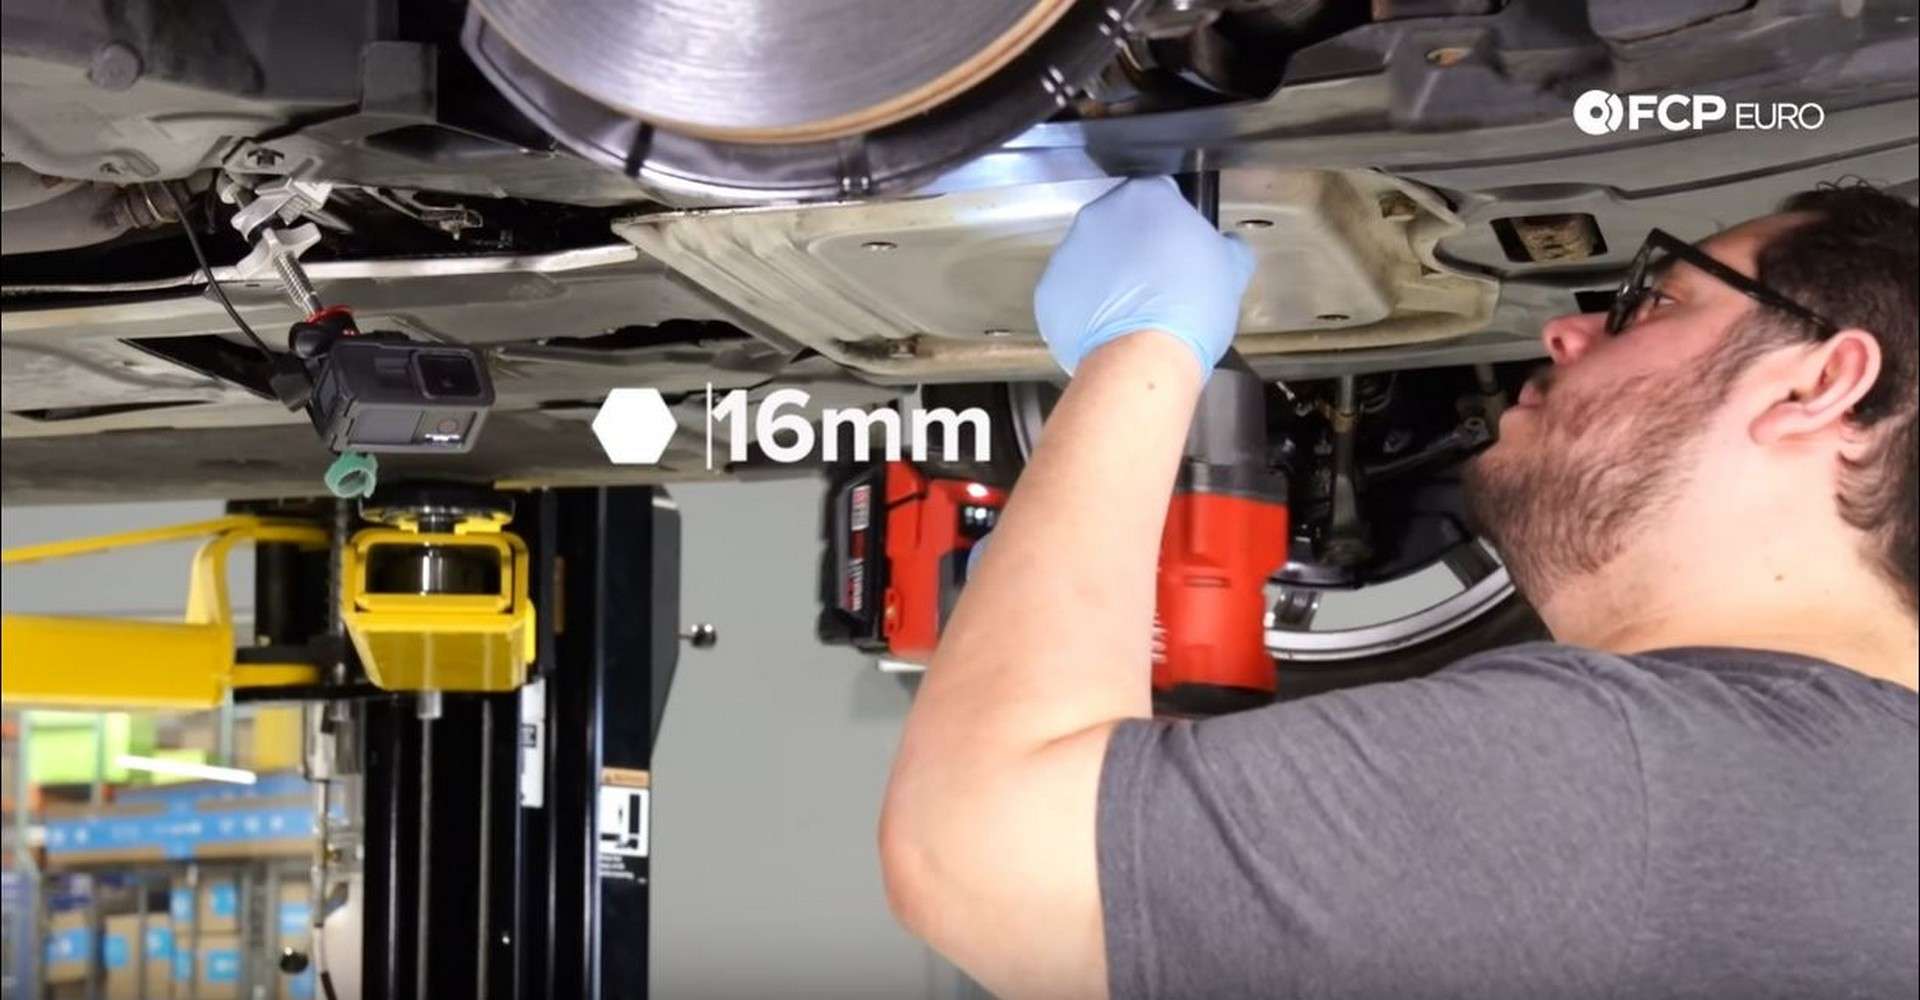
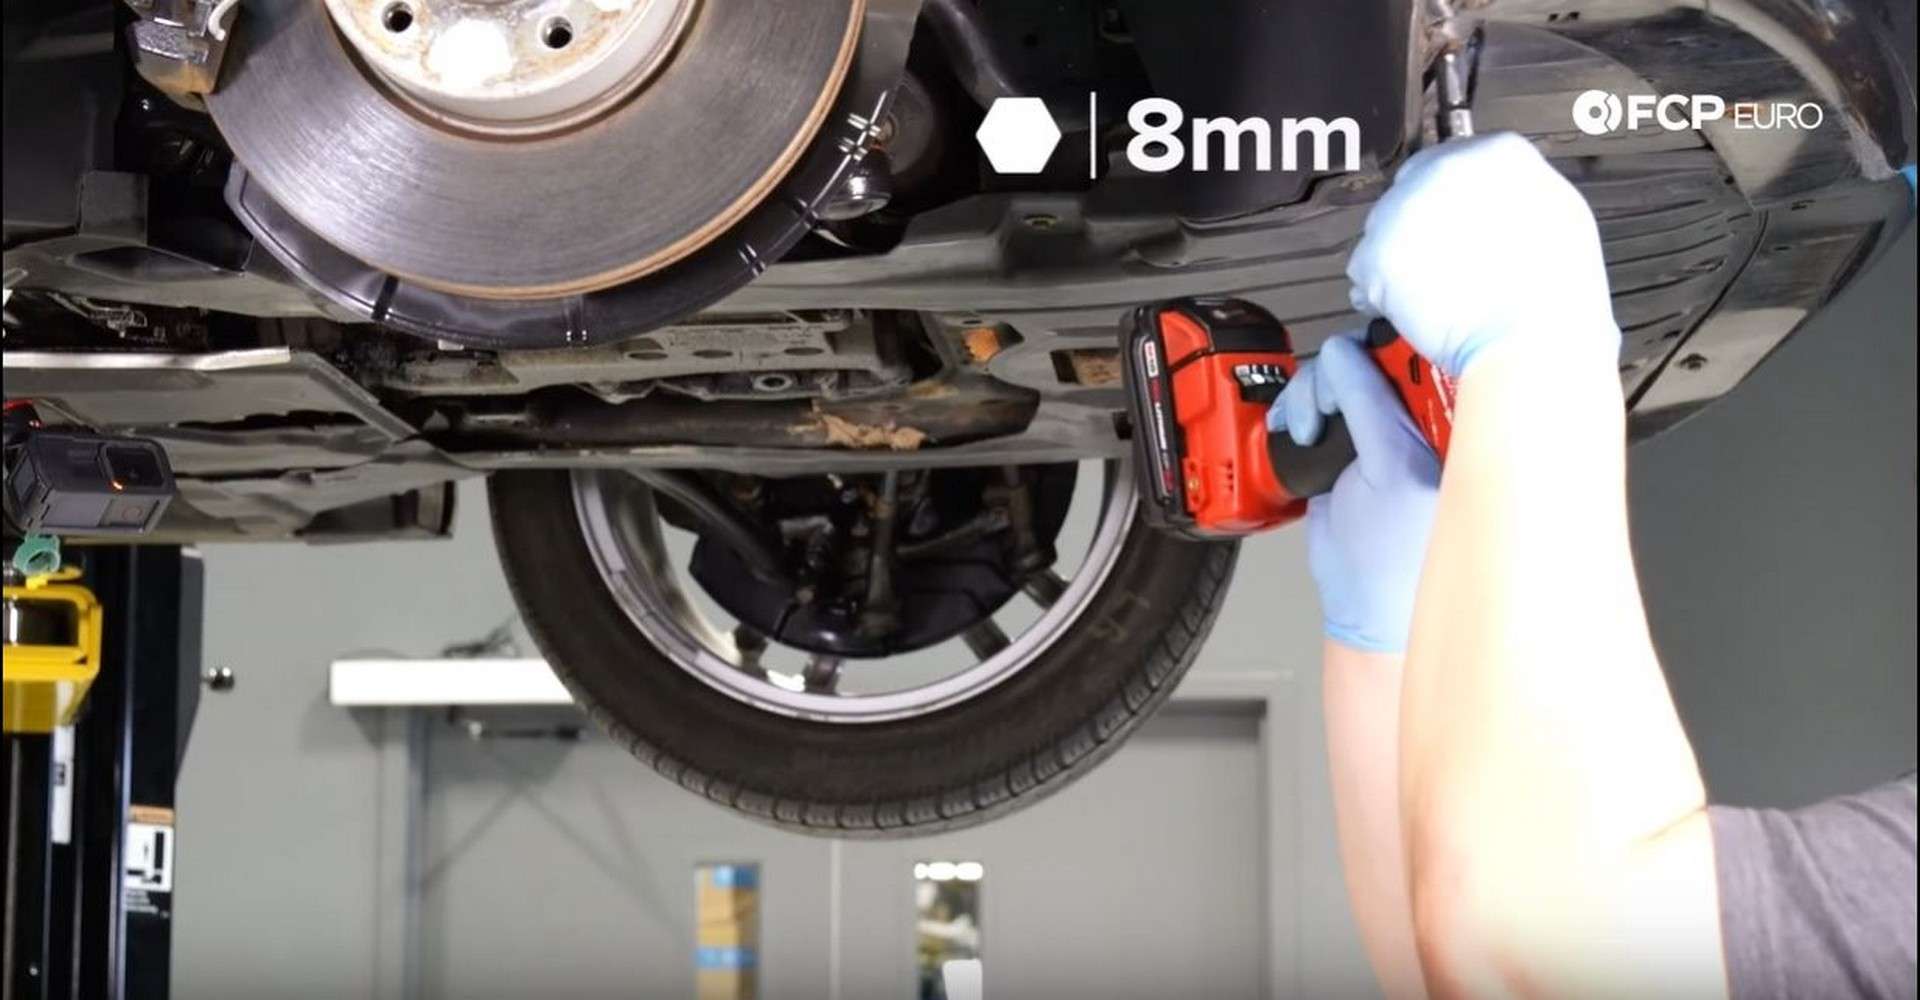
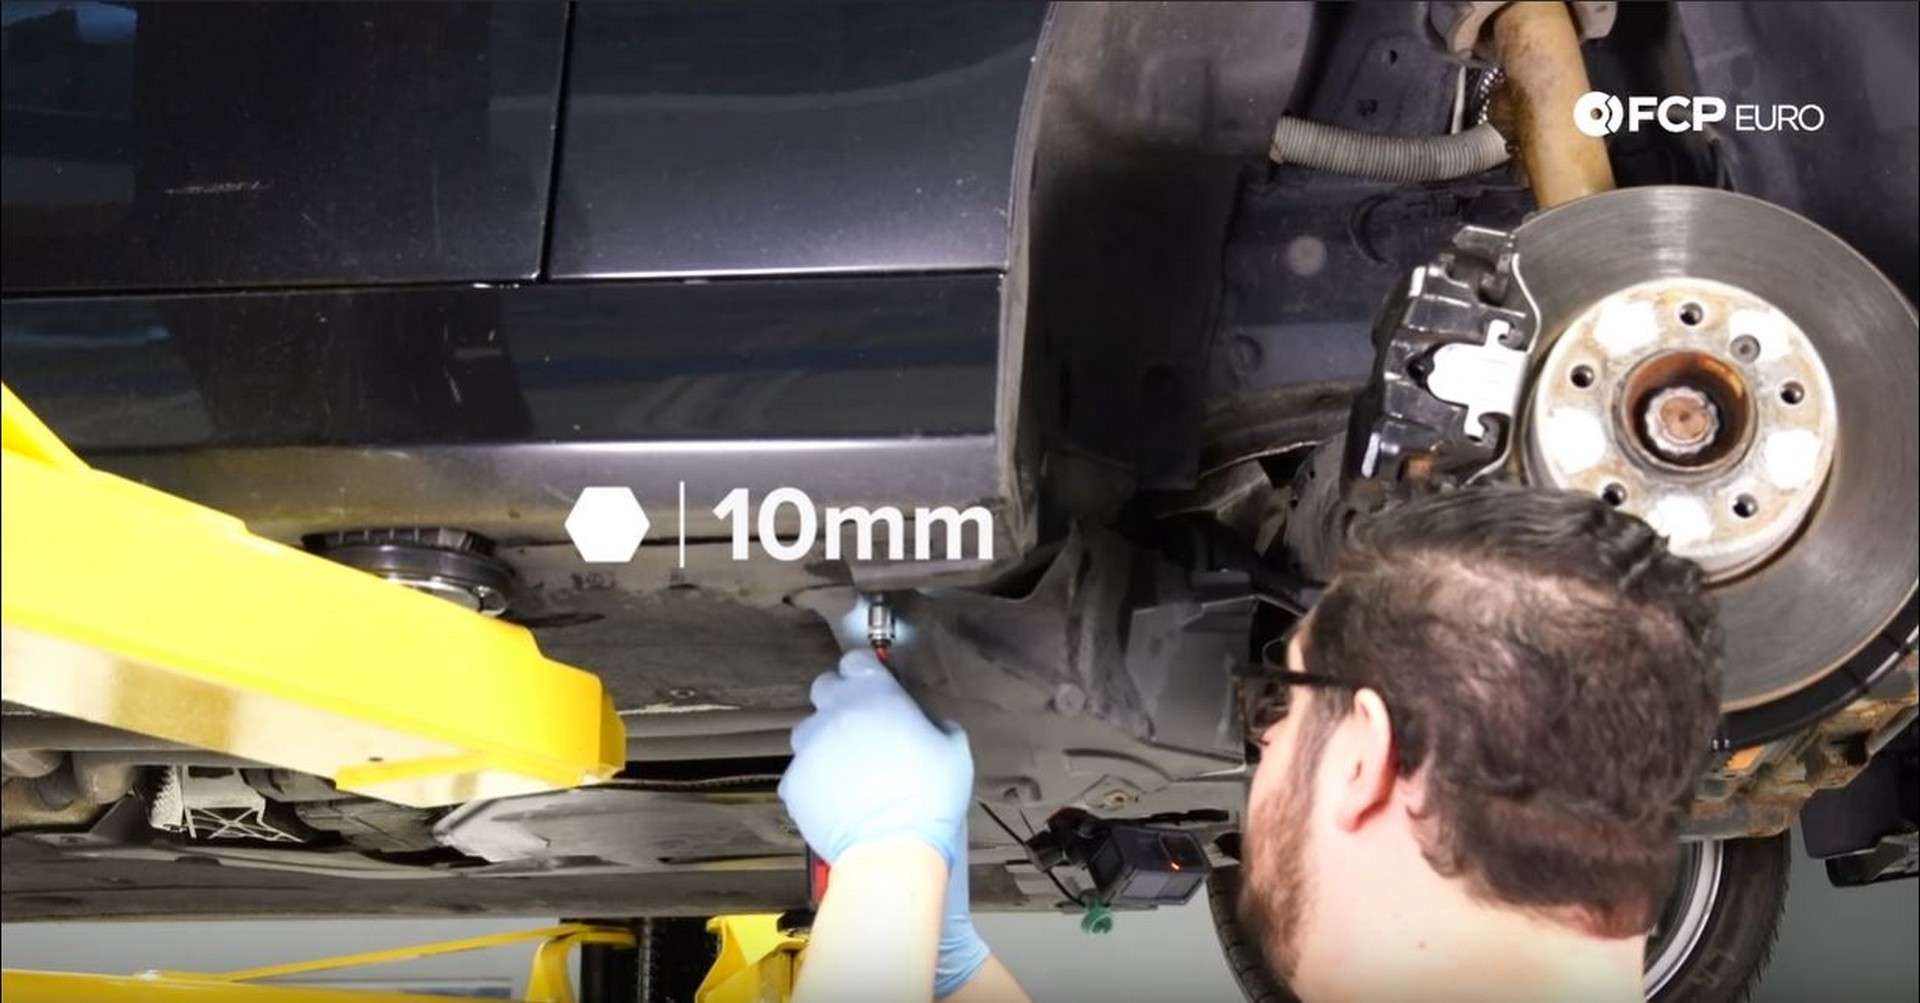
Step 2: Remove the underbody panels
Start by removing the six 16mm bolts holding the stiffening plate in place and setting it aside. Next, remove the main plastic underbody panel removing the 22 8mm nuts holding up. Finally, remove the splash guards by taking out the three 8mm bolts, and the two 10mm nuts, per side, holding them in.
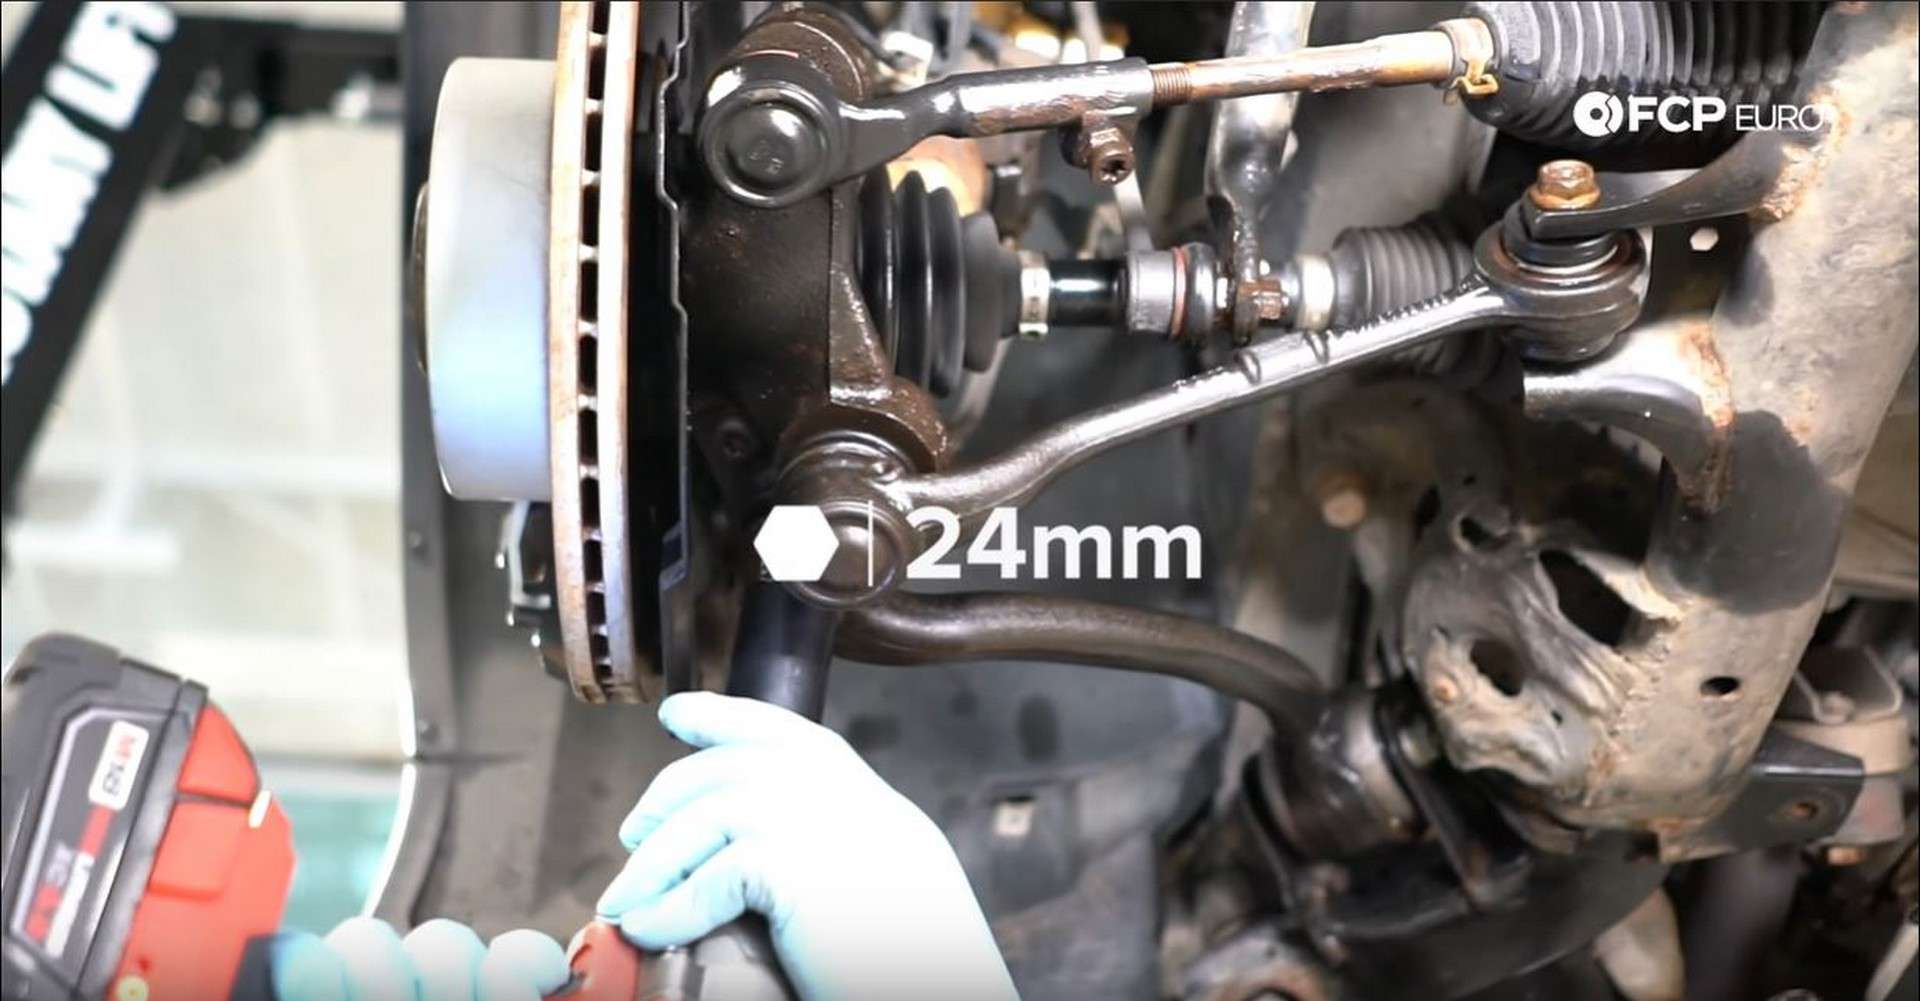
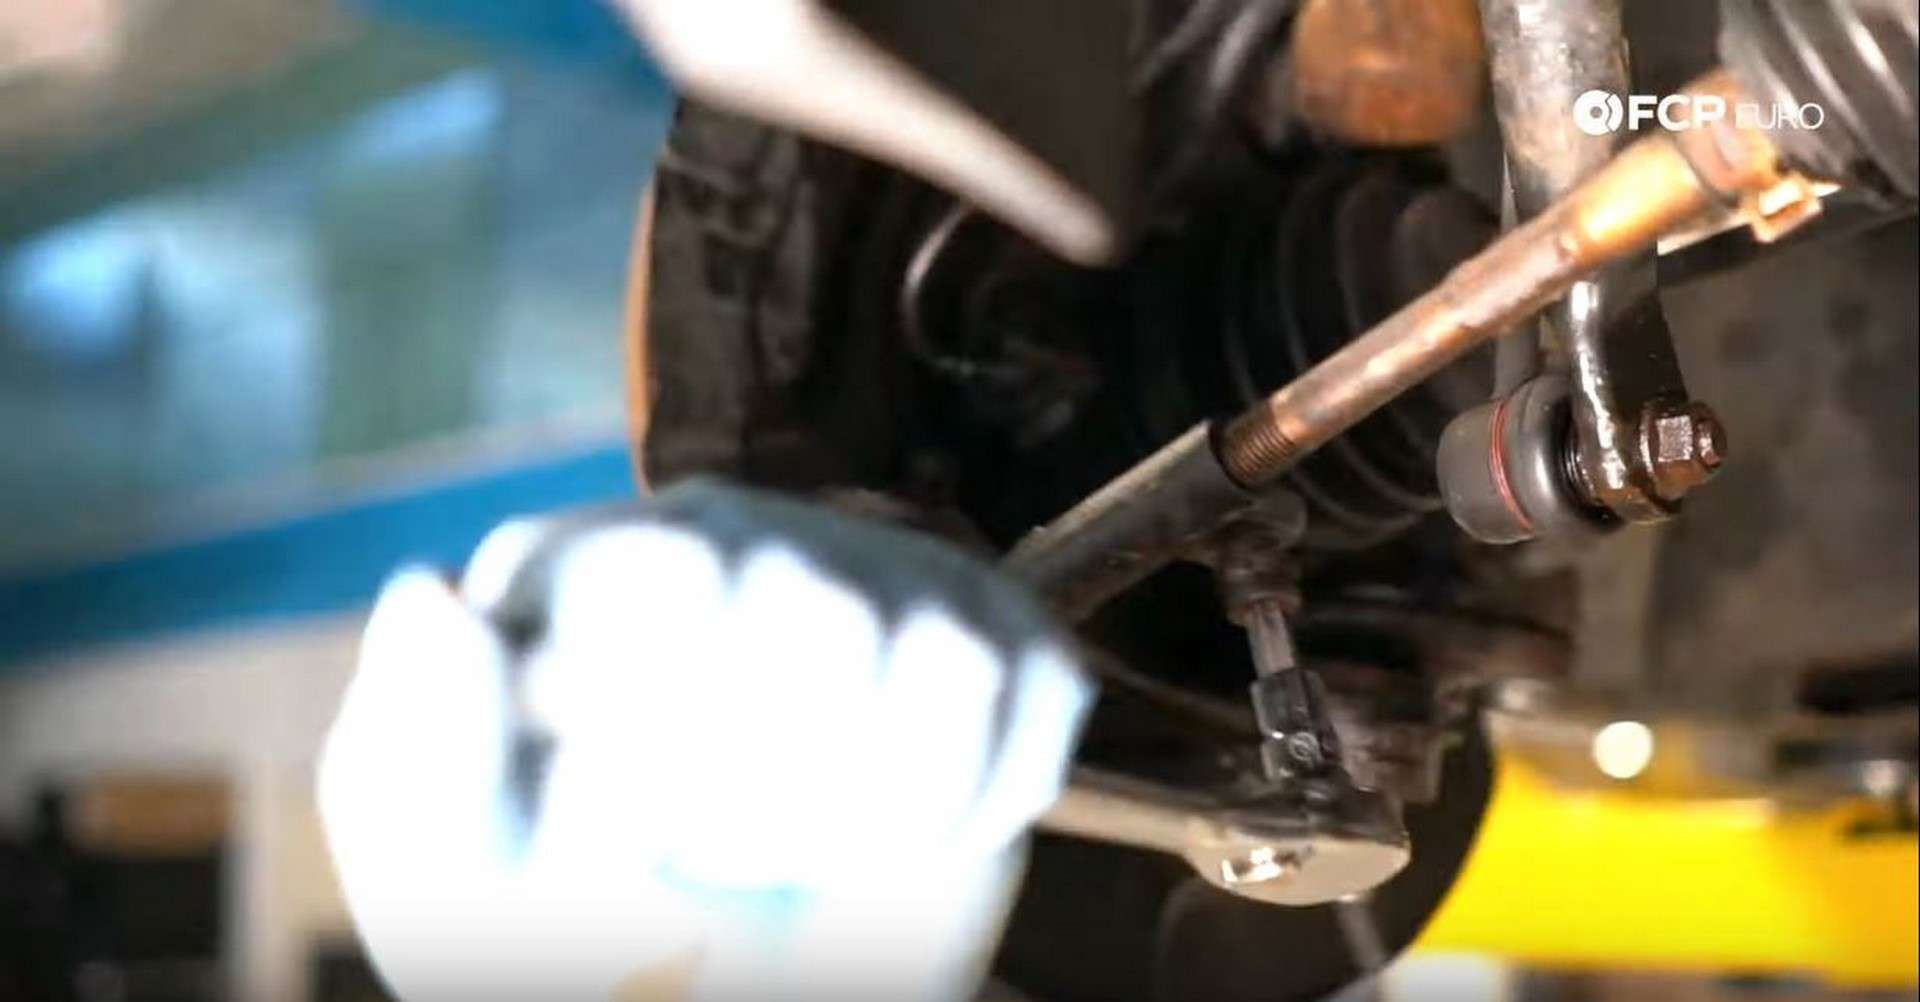
Step 3: Remove the tension strut
Remove the 24mm nut connecting the strut to the ball joint. After lots of miles, the strut may not want to come free of the ball joint. Wedge the pickle fork between the ball joint and tension strut and hammer on the back of it to force them apart.
Use an 18mm wrench and 18mm socket to counter-hold and remove the bolt holding the strut into the subframe. Be careful when loosening the bolt, as the strut will swing down.
Step 4: Ball joint removal
The ball joint is held into the knuckle with two T50 bolts. With those removed, the ball joint will still be stuck in the knuckle because of rust and grime. A slide hammer will definitely help break it free. If that isn’t available, heat and penetrant along with a hammer or prybar will be your best bet.
To gain easier access to the top of the ball joint, you can remove the brake caliper. Use a 7mm hex socket to remove the guide pins and an 18mm socket for the caliper bolts.
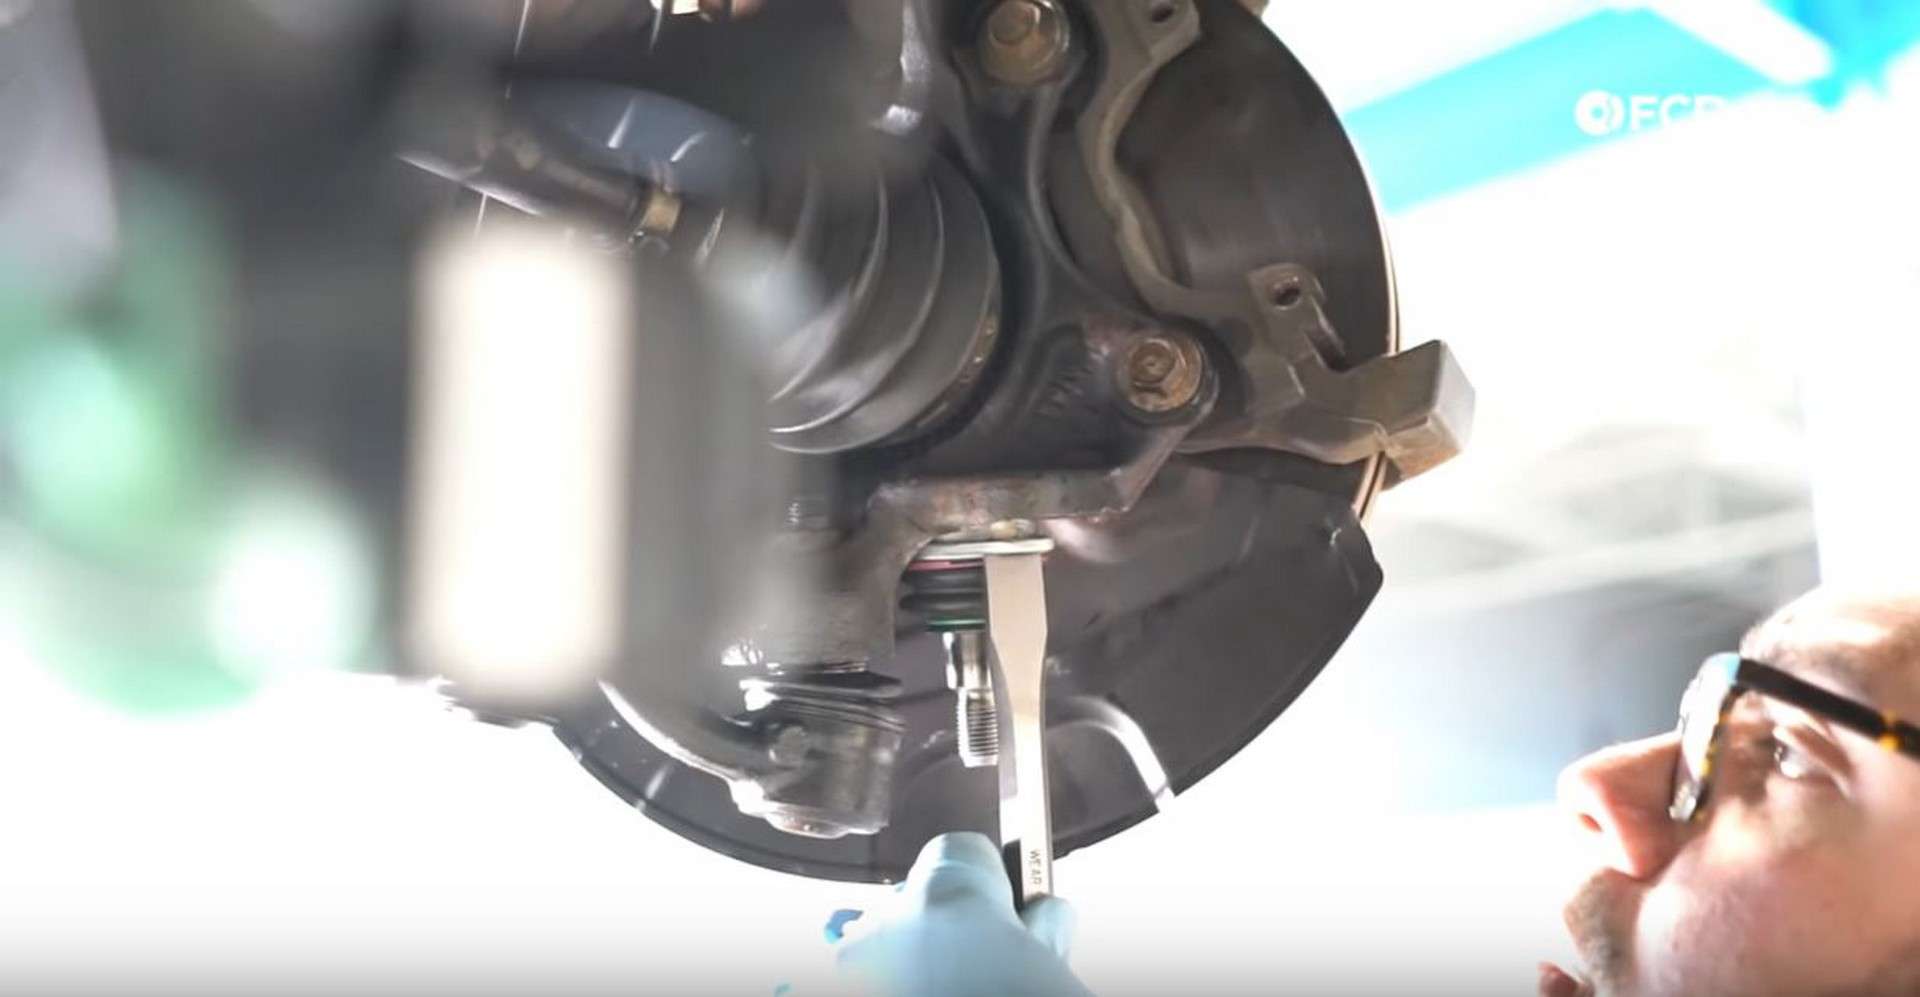
Step 5: Ball joint reinstallation
Now that the old ball joint is out, you can reinstall the new one. Before installing it, put some anti-seize where the ball joint sits in the knuckle; this will also help lubricate it while putting it in.
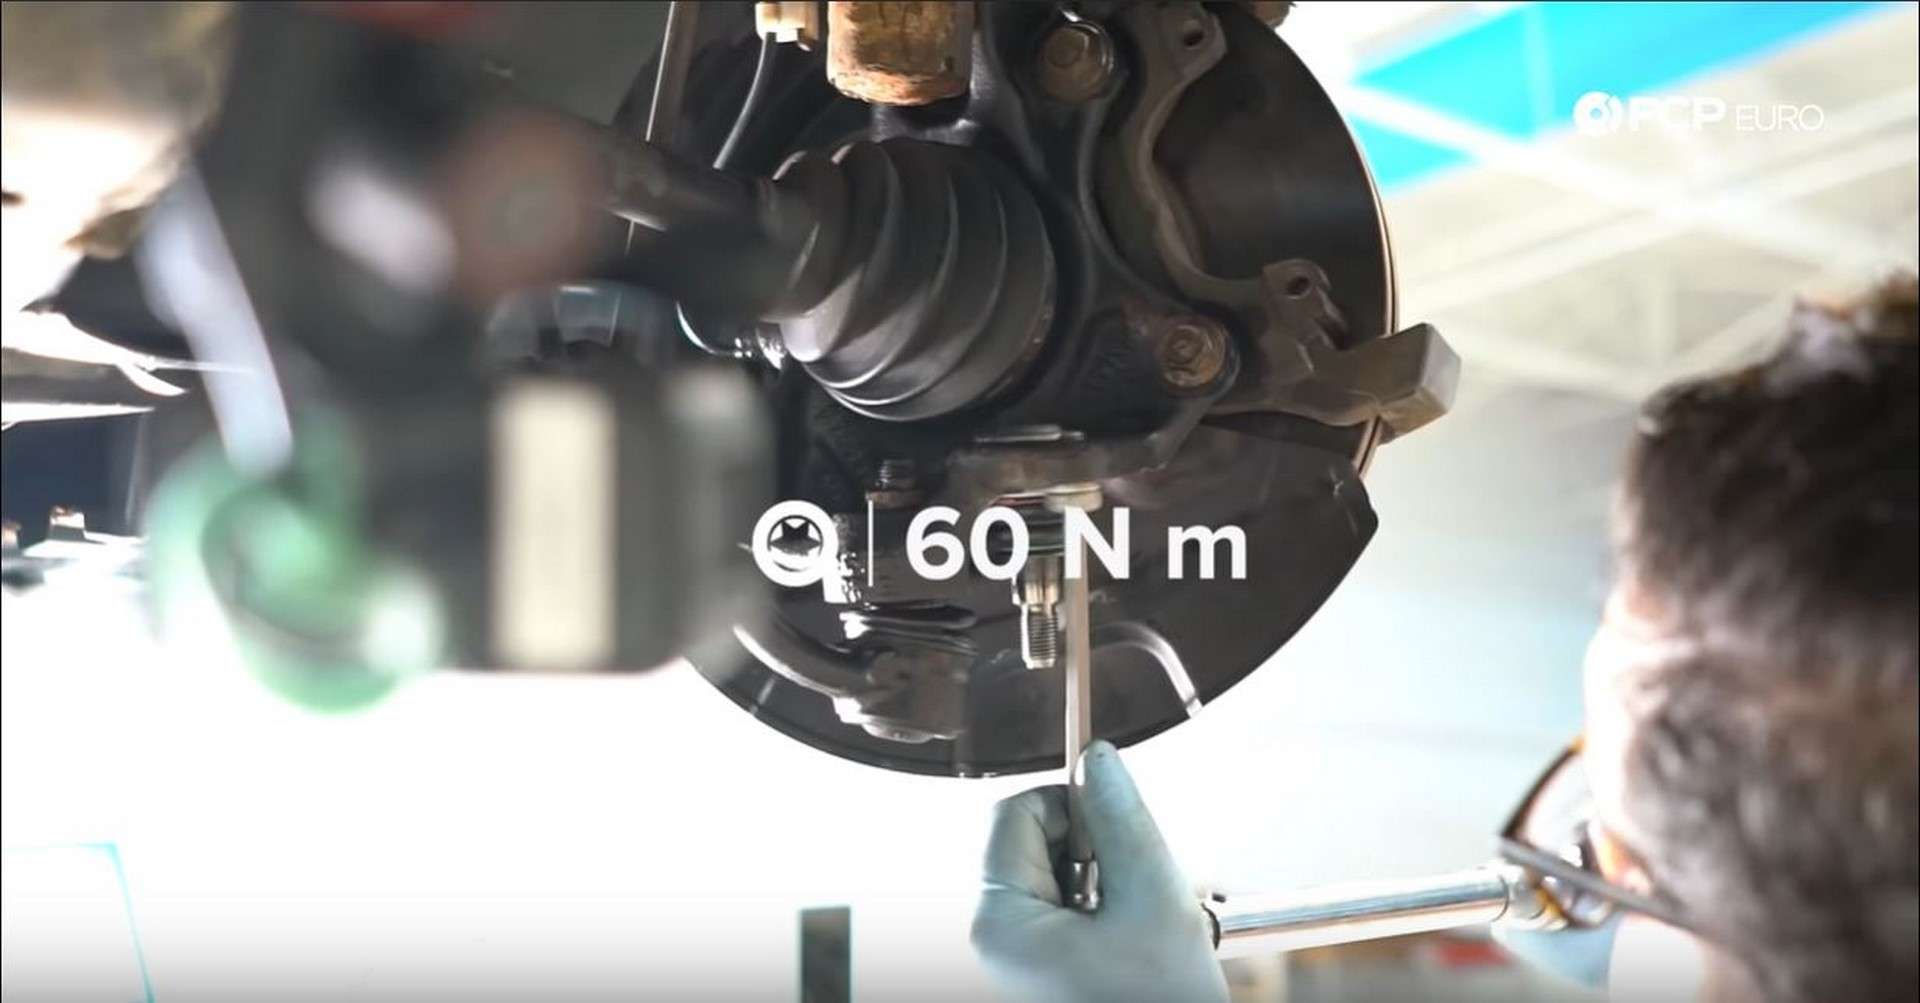
Tap back and forth on each side of the ball joint flange, so as not to push it in on an angle. Once it’s close, you can thread in and tighten the bolts to seat it the rest of the way. Now that the bolts are tight, torque them down to the required spec.
Step 6: Front control arm removal
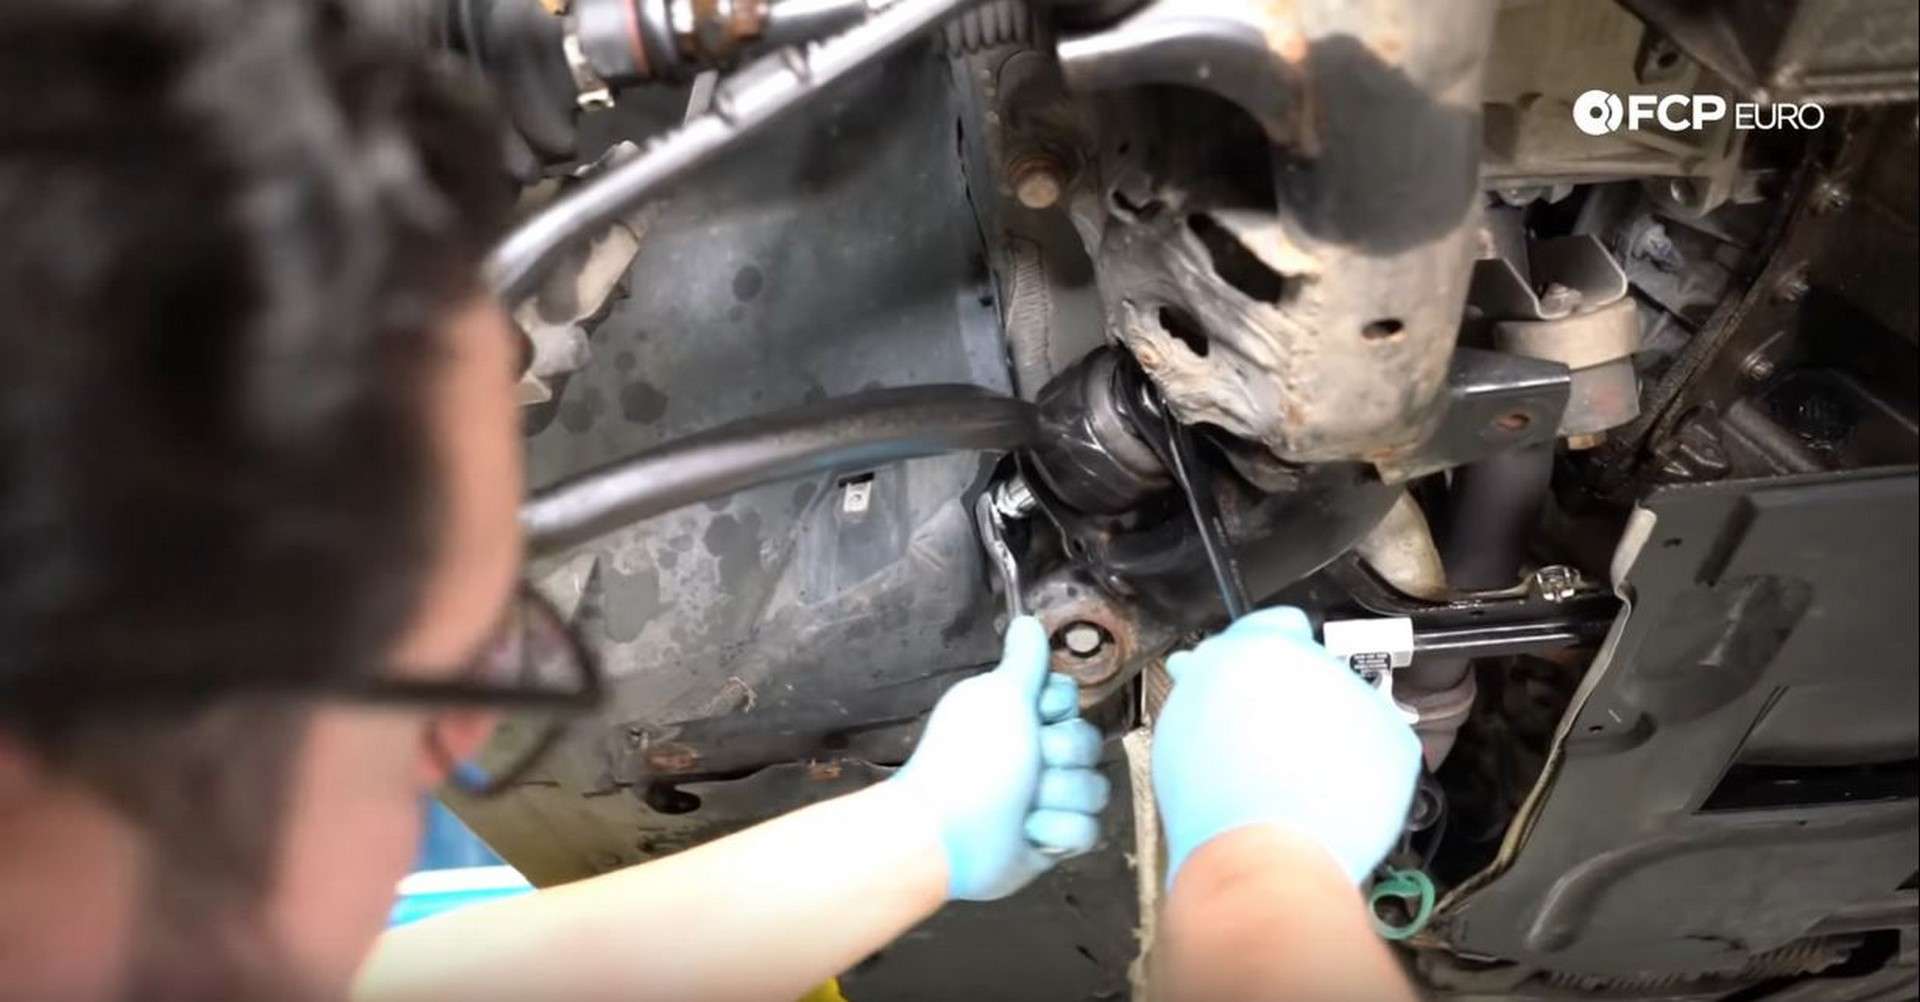
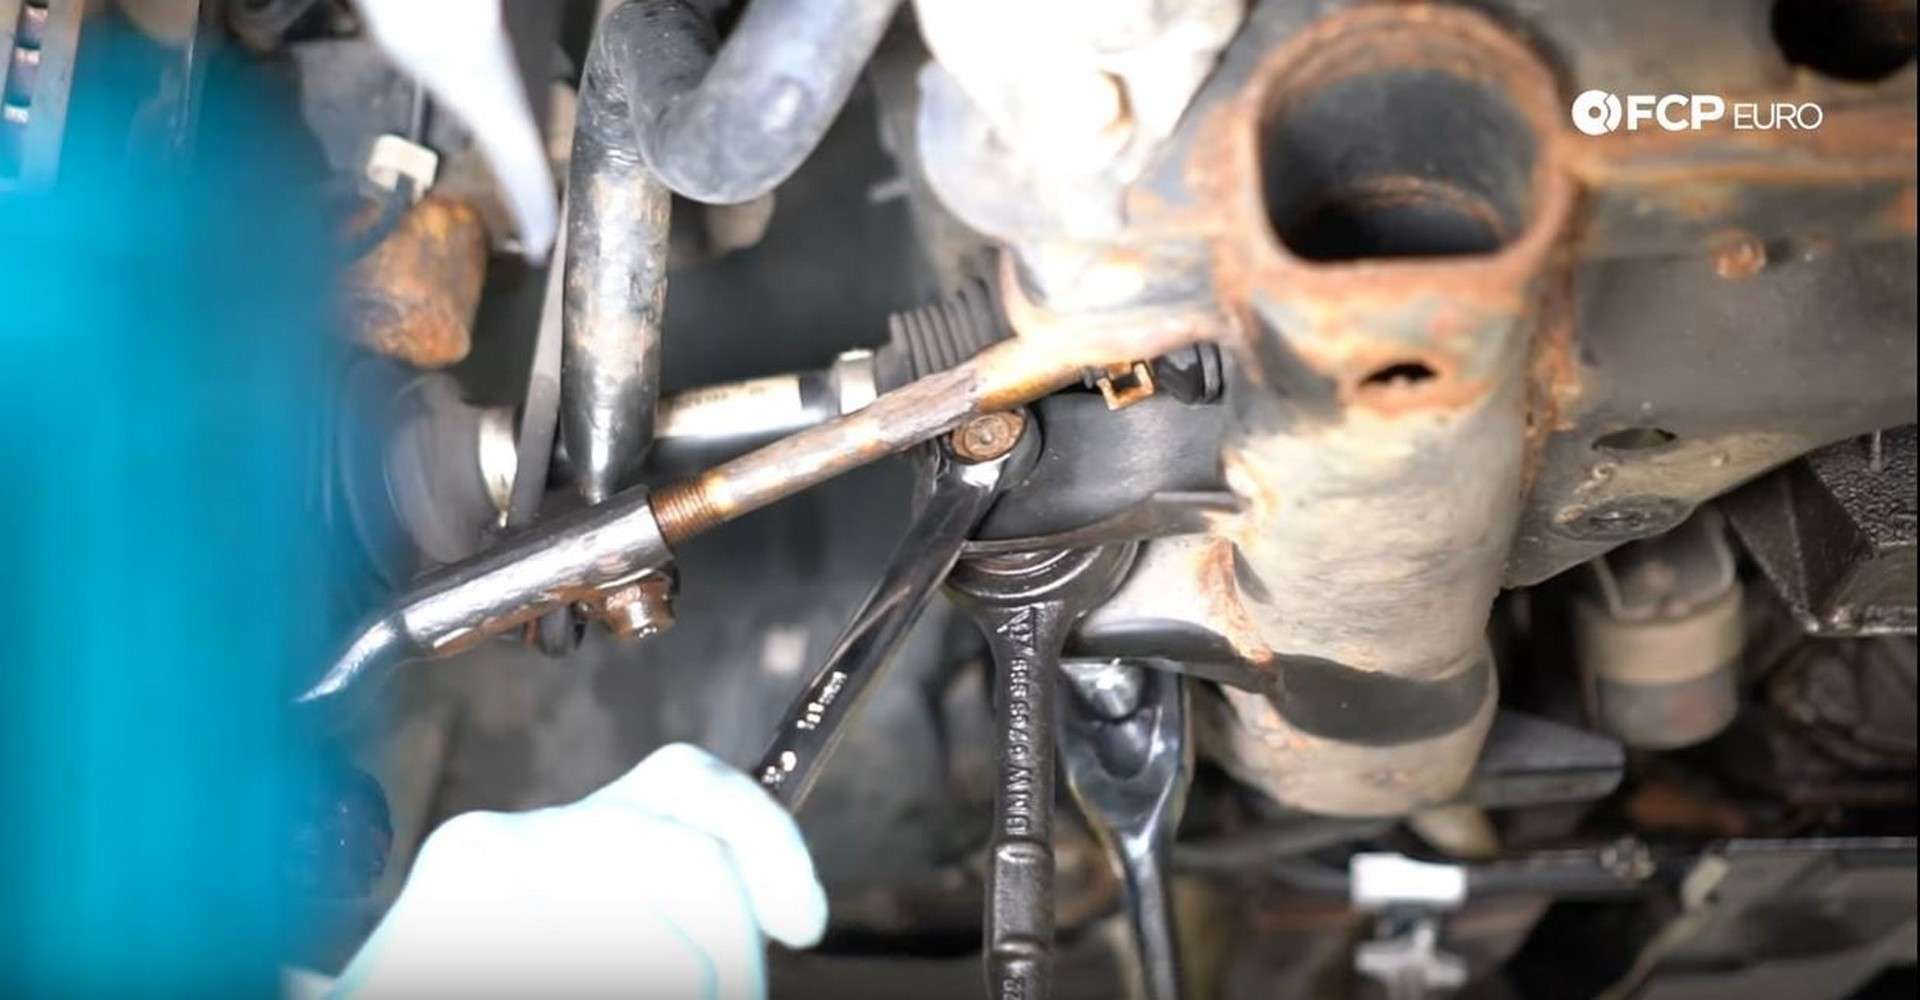
Take your 24mm wrench and remove the nut holding the control arm ball joint into the knuckle. If the ball joint starts to spin, counter hold it with a T40 bit socket. After the nut is removed, pull the arm down and out of the knuckle. If the arm doesn’t come out, use the pickle fork just as you did with the tension strut.
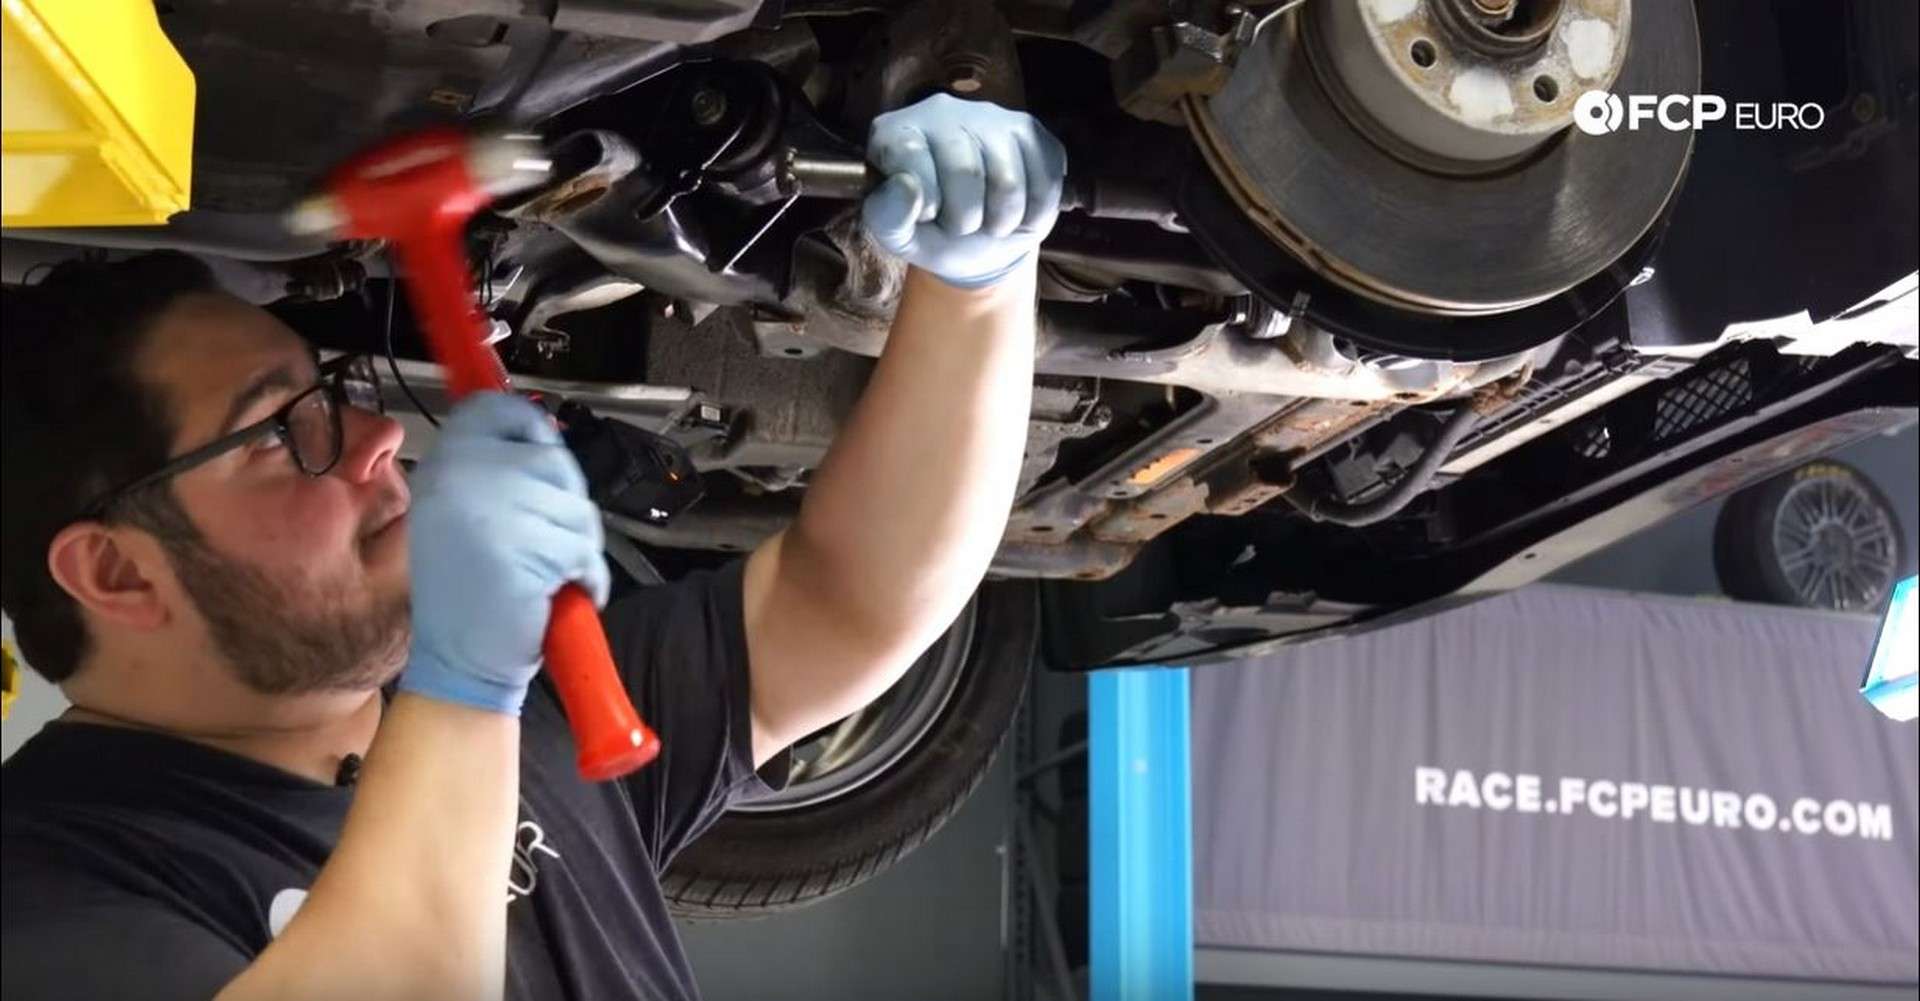
Take an 18mm socket, with an 18mm wrench to counter hold, and remove the bolt holding the control arm into the subframe. The axle may be in the way when trying to pull the bolt out. Put some wood on your jack and jack up the knuckle by the brake disc. Doing this will lift the axle up enough to remove the bolt.

Step 7: Tie rod end removal
Before removing anything, grab a tool you can use to measure how far the center of the tie rod end is from the end of the threads on the tie rod. This will help to give the car a decent eyeball alignment before taking it to get it professionally aligned.
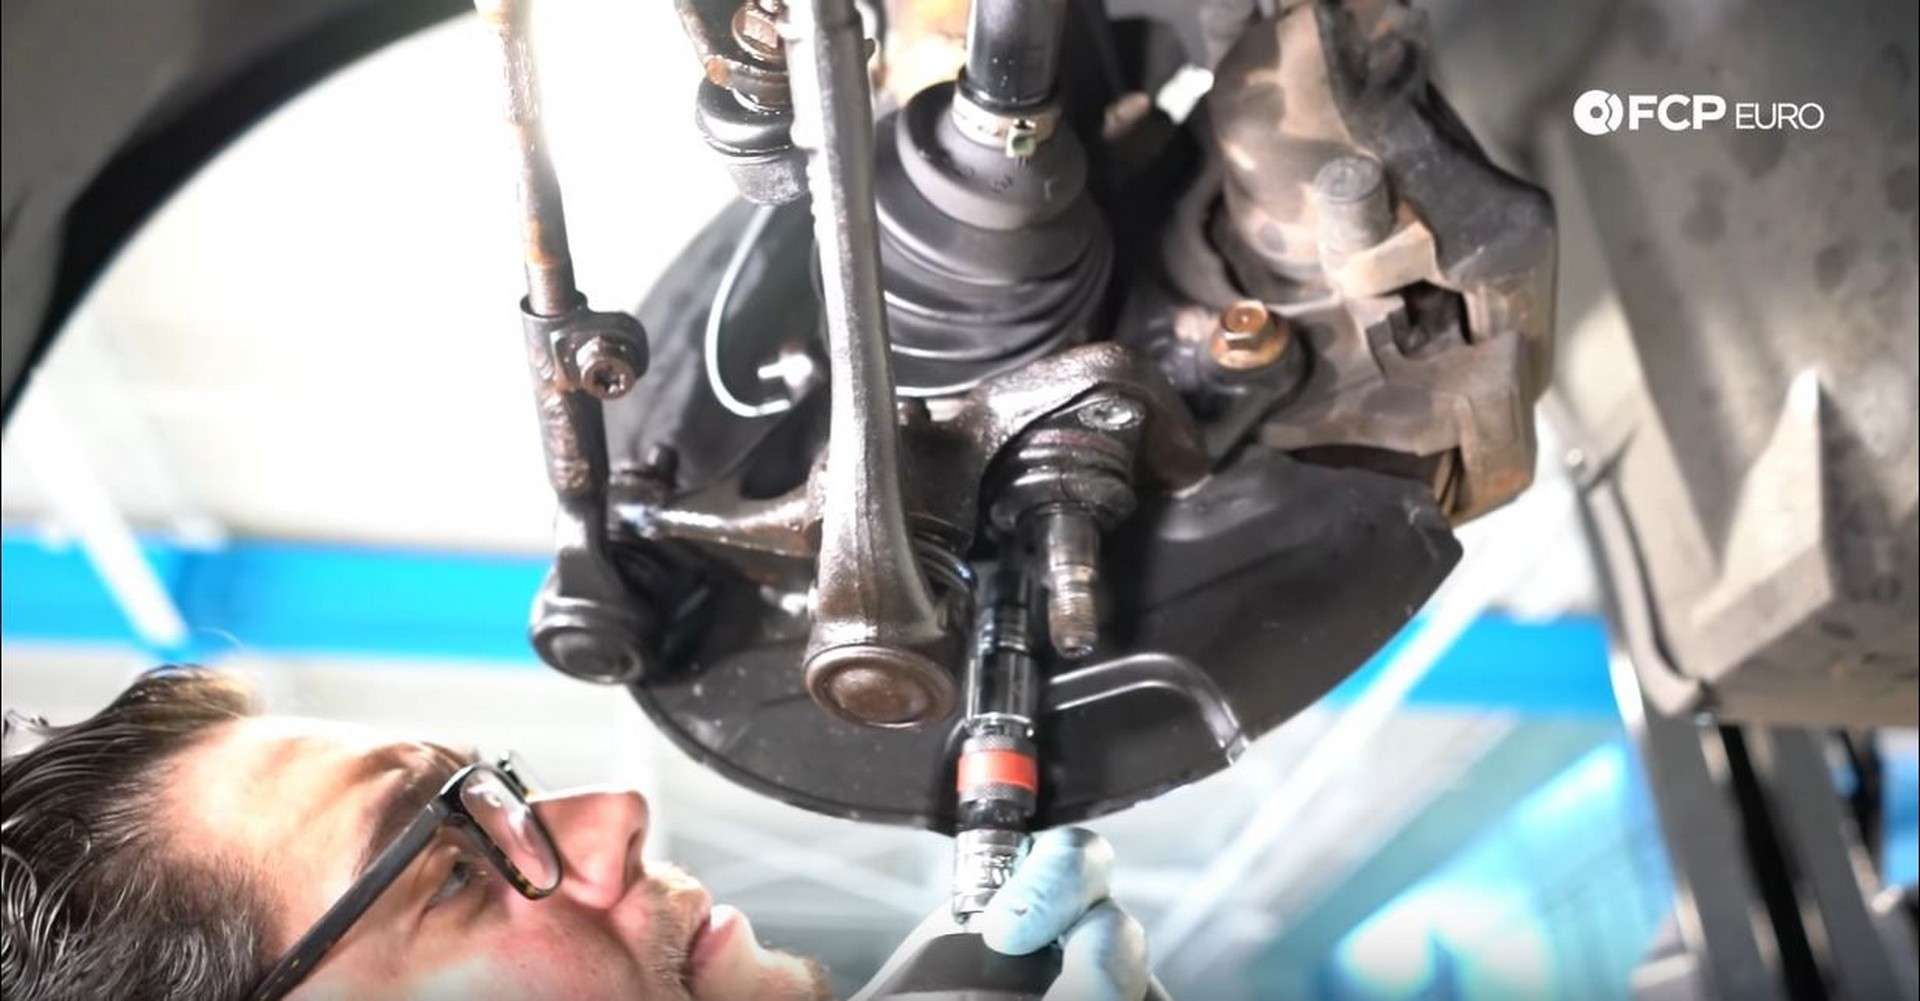
Once everything is measured, take a T50 bit socket and remove the pinch bolt from the tie rod end. Next, take a 13mm wrench, and, when looking at the knuckle, rotate the tie rod to the left, separating it from the tie rod end.
After that, take a 24mm socket and remove the nut holding the tie rod end into the knuckle. If the end is stuck in the knuckle, hit down on the threaded ball joint portion with a hammer until it comes free.
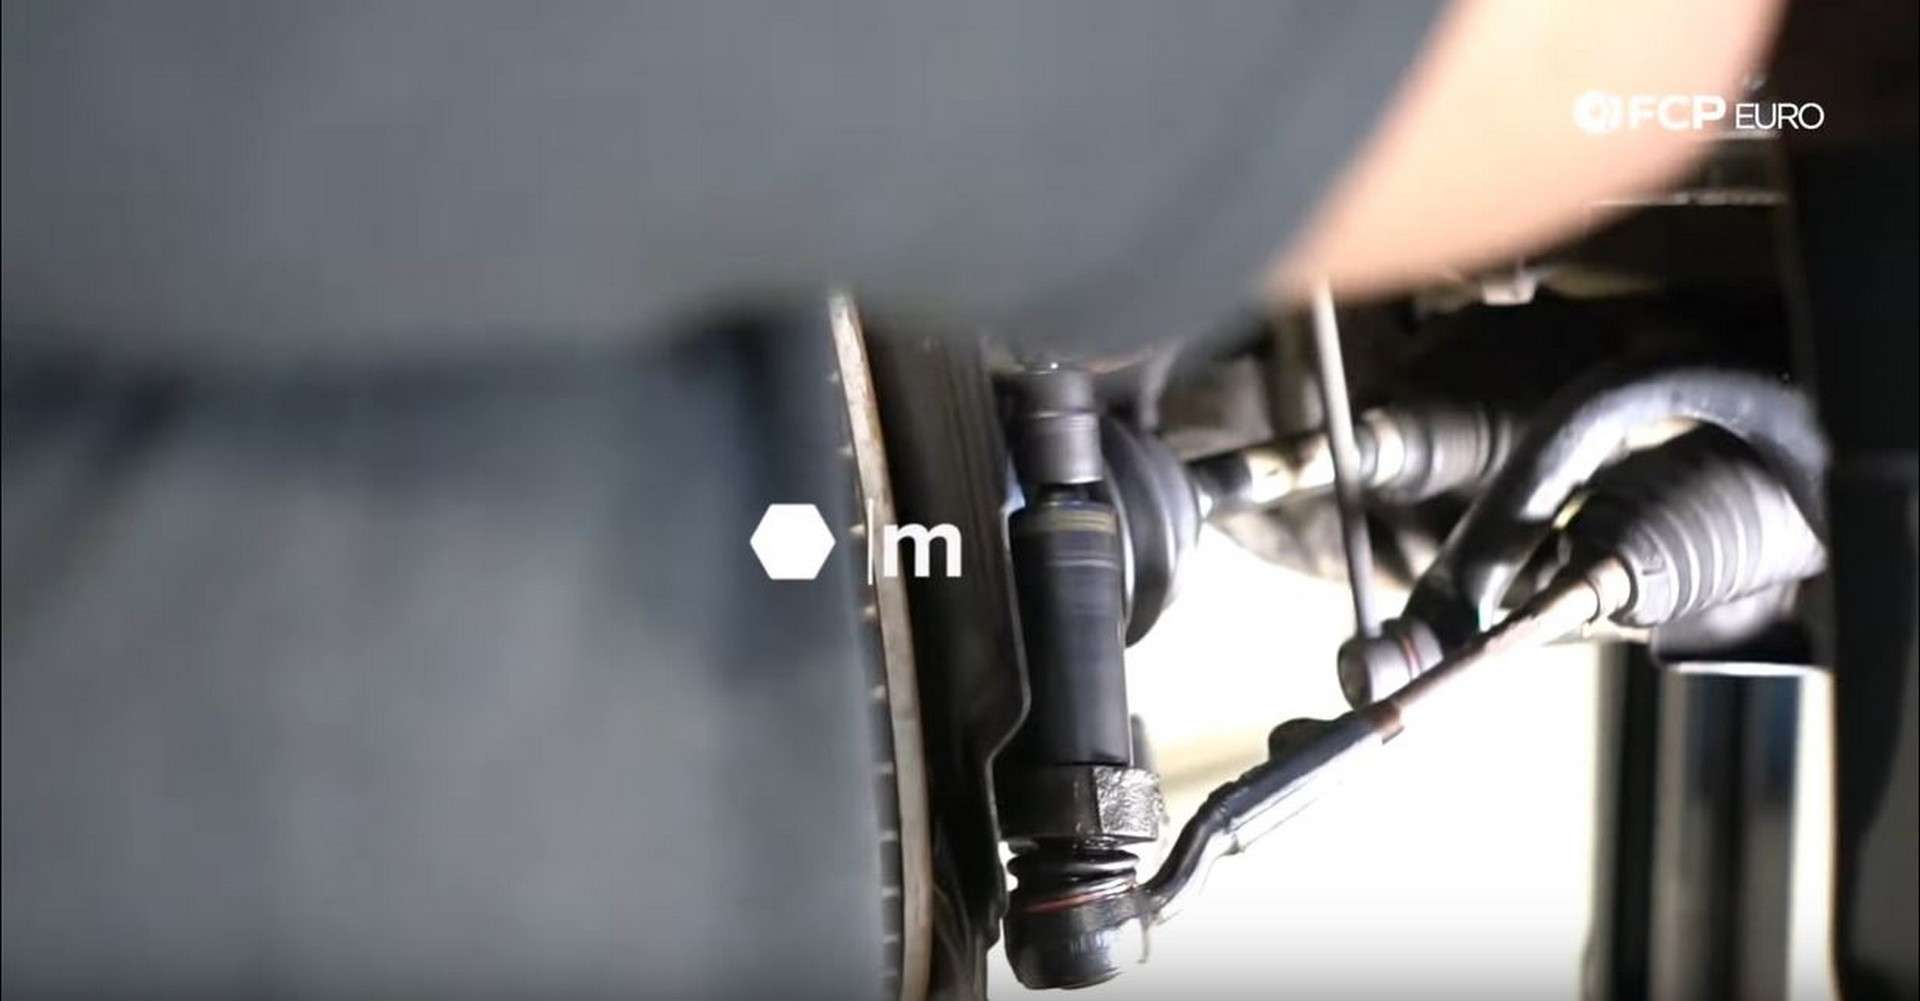
Step 8: Tie rod removal
Remove the two clamps holding on the steering rack boot. The rear clamp cannot be reused, so hammer a flat blade screwdriver through the looped portion to break it free. Now that the boot is off, slide the Lisle 45750 tool onto the tie rod and break it loose, removing it from the steering rack. If you don’t have access to the Lisle tie rod tool, you can use a 38mm wrench to loosen the tie rod.
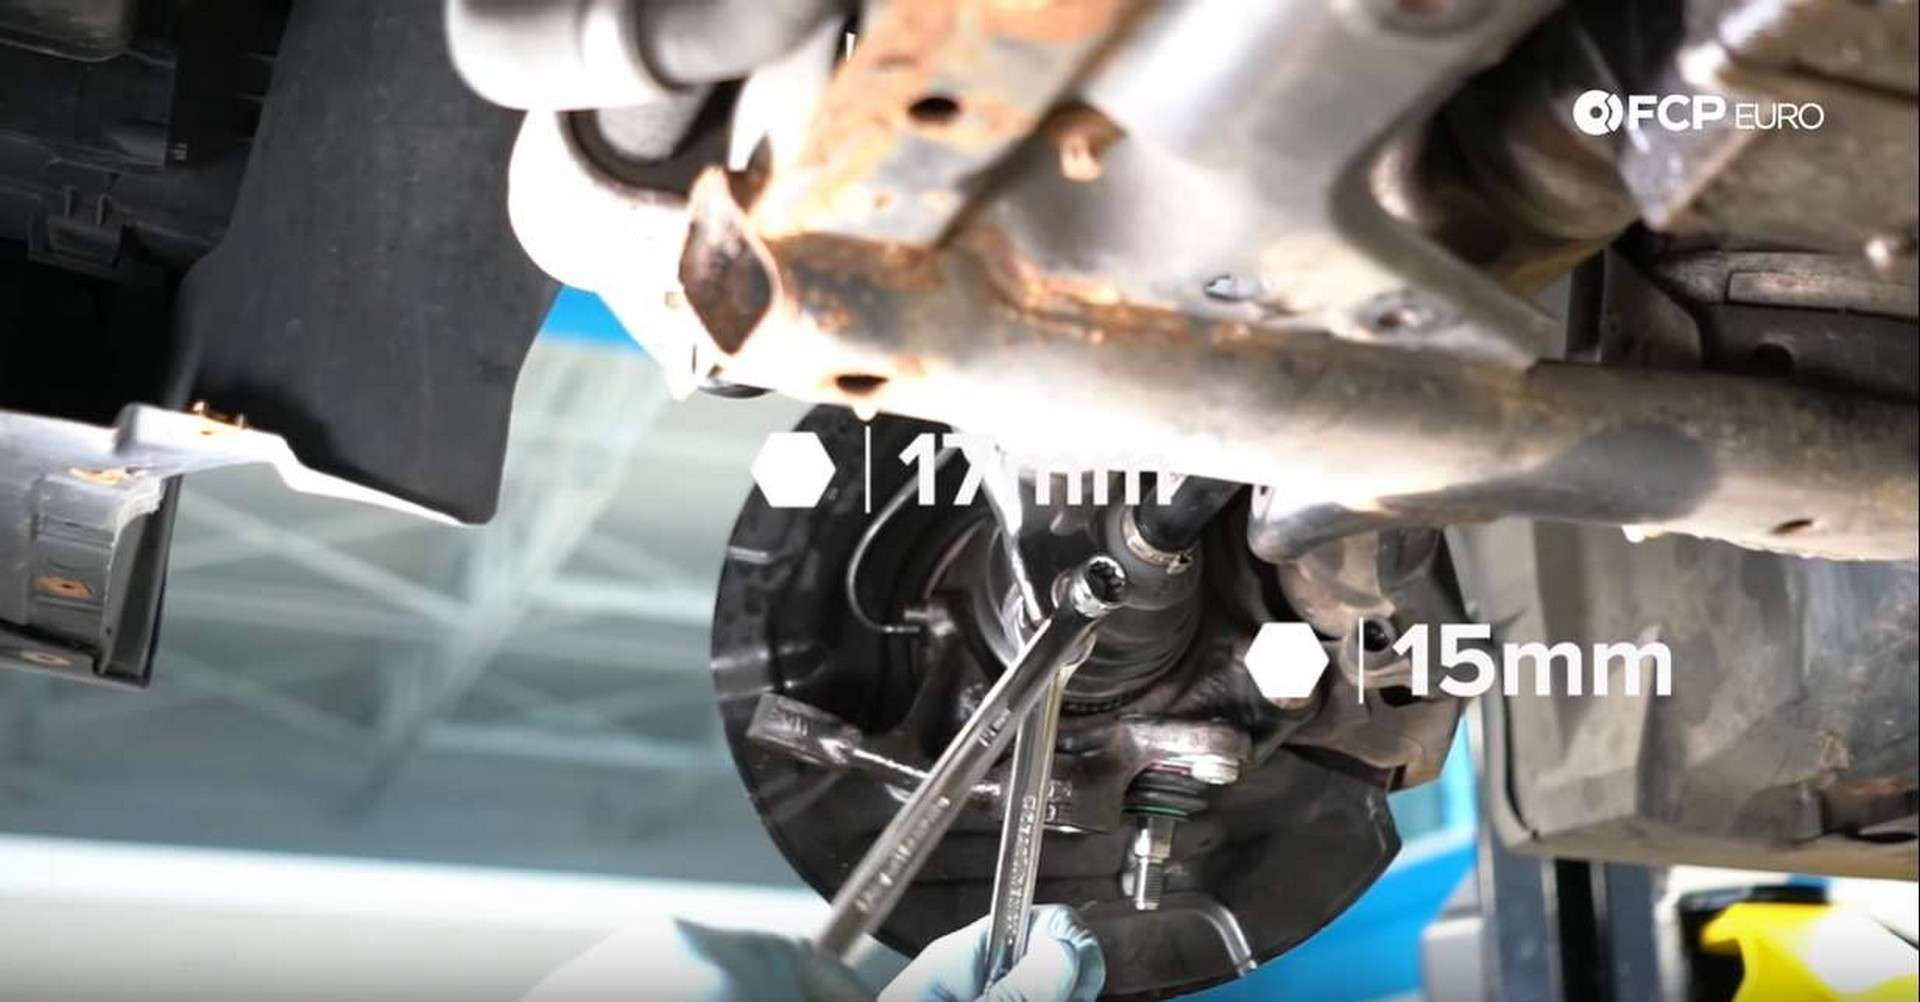
Step 9: End link removal
Use a 15mm wrench for the nut, and a 17mm wrench to counter hold the ball joint on the other side of the sway bar to remove the end link from the sway bar. Use the same wrenches and procedure to remove the top of the end link from the strut.
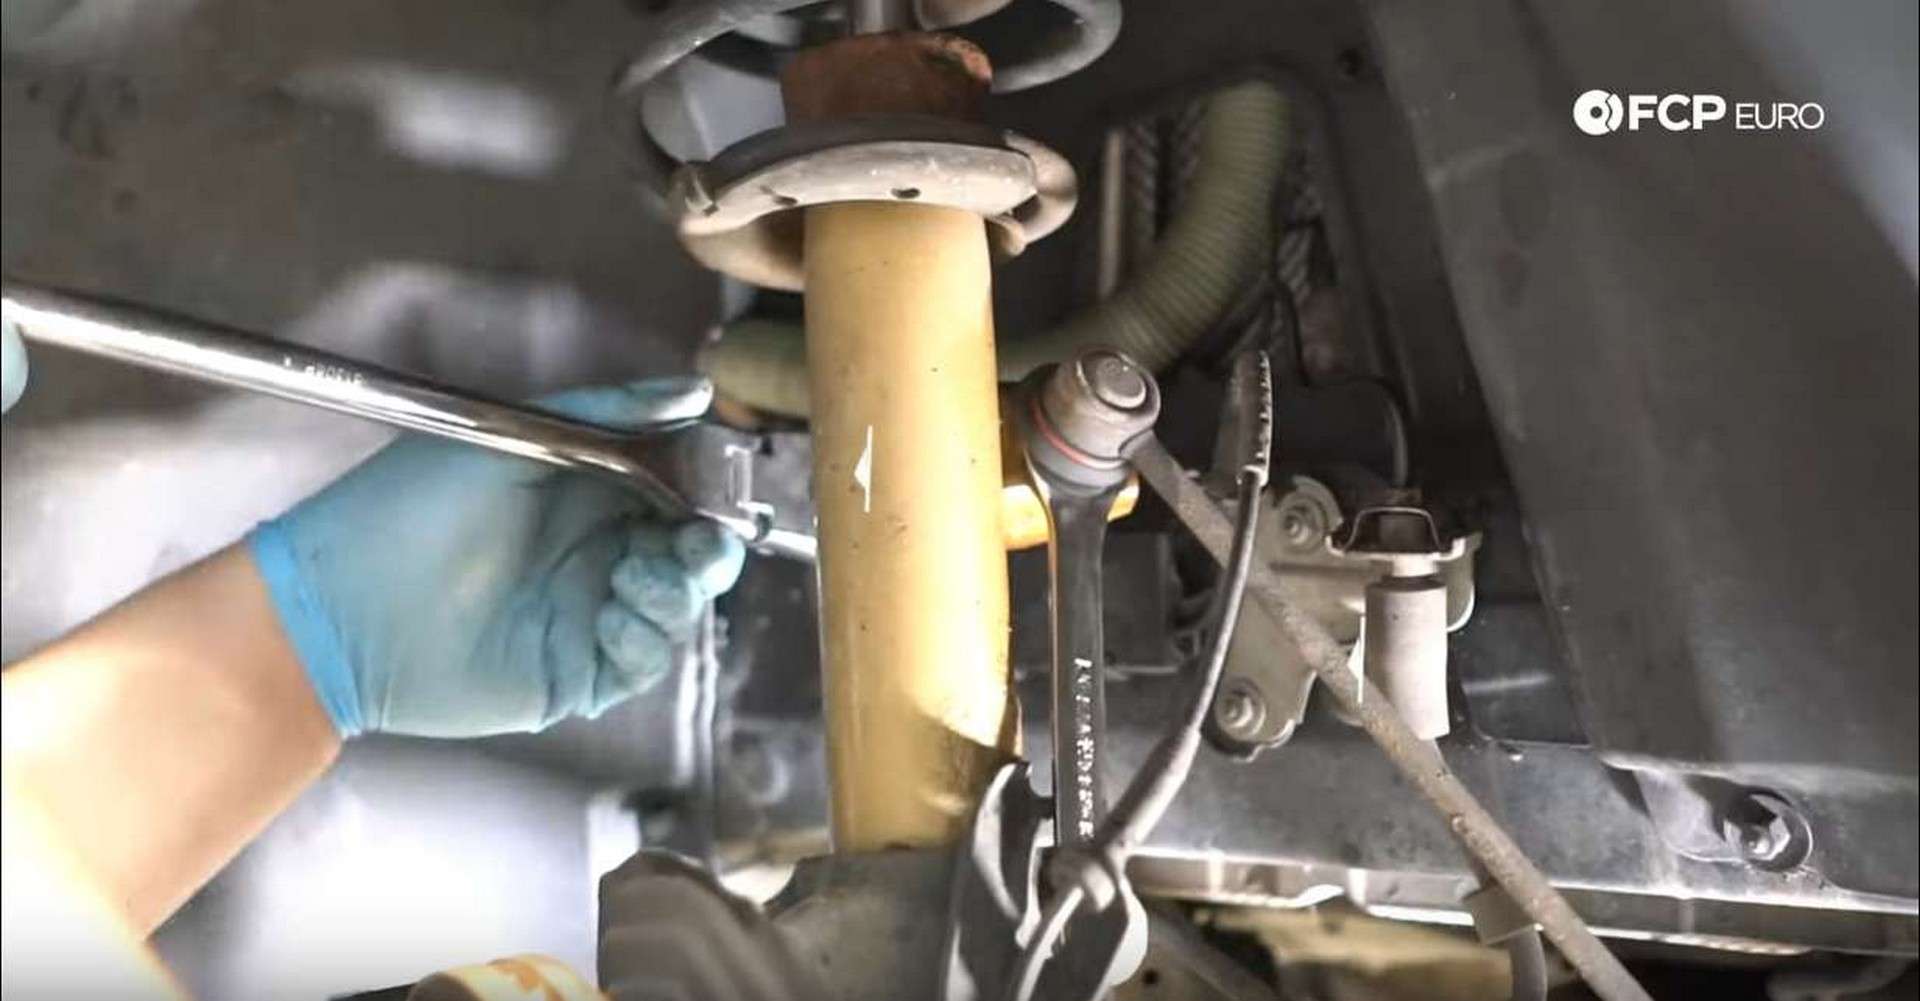
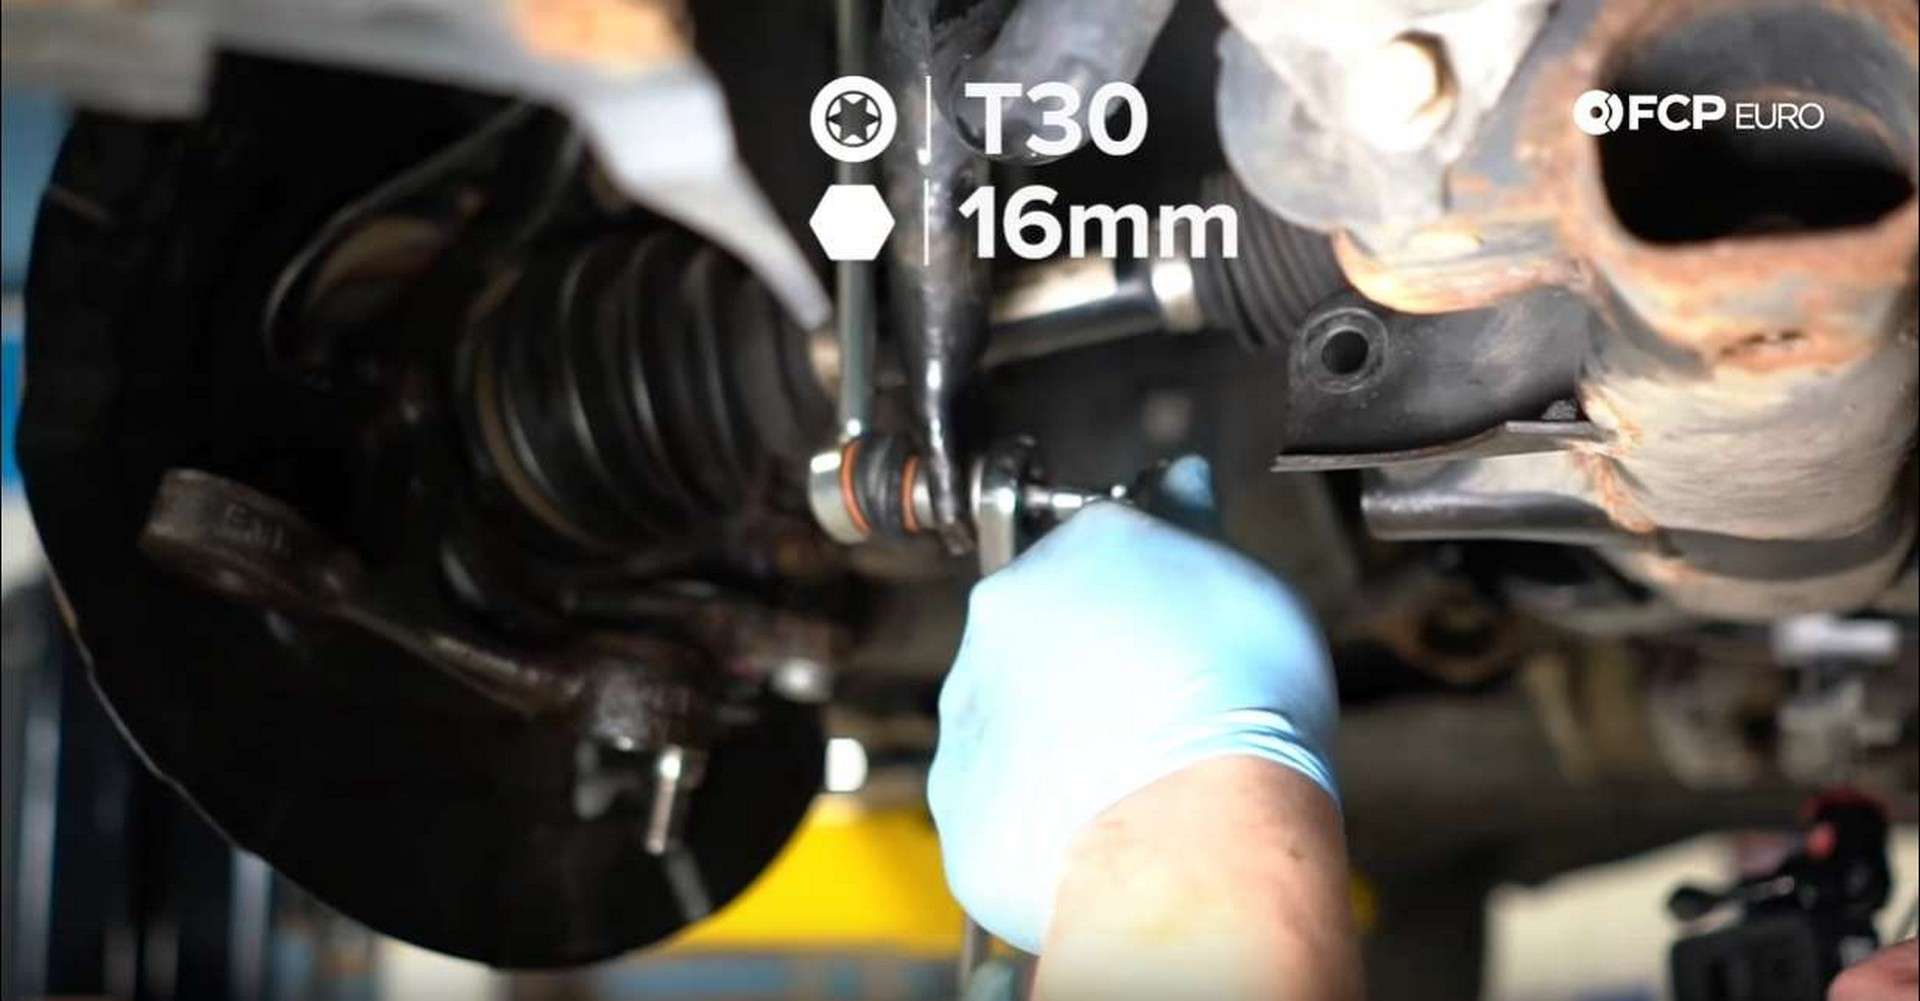
Step 10: Install the new end link
The end links that come in the Lemförder kit are different from the factory units. To tighten them, use a 16mm wrench while using a T30 bit socket, inserted in the end of the threaded portion of the ball joint, to counter hold it. Attach the end link to the strut before attaching it to the sway bar. Make sure to torque these nuts to the required spec.
Step 11: Reverse steps and install new parts
With all of the worn components removed, you can reassemble everything in reverse order. Use the CTA 4210 pliers when clamping down the new inner tie rod boot clamps.
When tightening and torquing the tension strut mounting bolt, the suspension has to be at its regular ride height. Use the measurement taken before removing the wheels to determine what your normal ride height is.
Lemförder BMW E90 Control Arm Kit Hardware Sizes:
With the Lemförder kit, some of the new hardware will have different sizes than the original BMW parts.
- End link nuts = 16mm, counter hold with T30 Torx
- Control arm and tie rod end ball joint nut = 18mm, counter hold with
- Ball joint nut = 22mm, counter hold with T40 Torx
BMW Front End Refresh Torque Specs:
- BMW ball joint bolts = 60Nm or 44.3 lb-ft of torque
- BMW ball joint nut = 60Nm or 44.3 lb-ft of torque
- BMW end link nuts = 58Nm or 42.8 lb-ft of torque
- BMW tie rod = 110Nm or 81.1 lb-ft of torque
- BMW tie rod end pinch bolt = 40Nm or 29.5 lb-ft of torque
- BMW tie rod end ball joint nut = 80Nm or 59 lb-ft of torque
- BMW control arm mounting bolts = 100Nm or 73.8 lb-ft of torque, plus 90°
- BMW control arm ball joint nut = 80Nm or 59 lb-ft of torque
- BMW brake caliper guide pins = 30Nm or 22.1 lb-ft of torque
- BMW brake caliper mounting bolts = 110Nm or 81 lb-ft of torque
- BMW tension strut mounting bolt = 100Nm or 73.8 lb-ft of torque, plus 90°
- BMW wheel nut = 119Nm or 88 lb-ft of torque
Once everything is torqued down, you will have completed a front suspension refresh on your E90 series BMW. As with most suspension jobs, you will now need to get your vehicle properly aligned by an independent shop or dealership. Without a proper alignment, you could cause premature wear of your tires and the suspension components you’ve just replaced.
If you're interested in more DIYs for your BMW, you can visit bmw.fcpeuro.com and subscribe to our YouTube channel.
bm


