- 04/01/2021
- 5 Min Read
- By: Christian Schaefer
How To Replace BMW F30 Rear Brake Pads & Rotors (M-Sport)

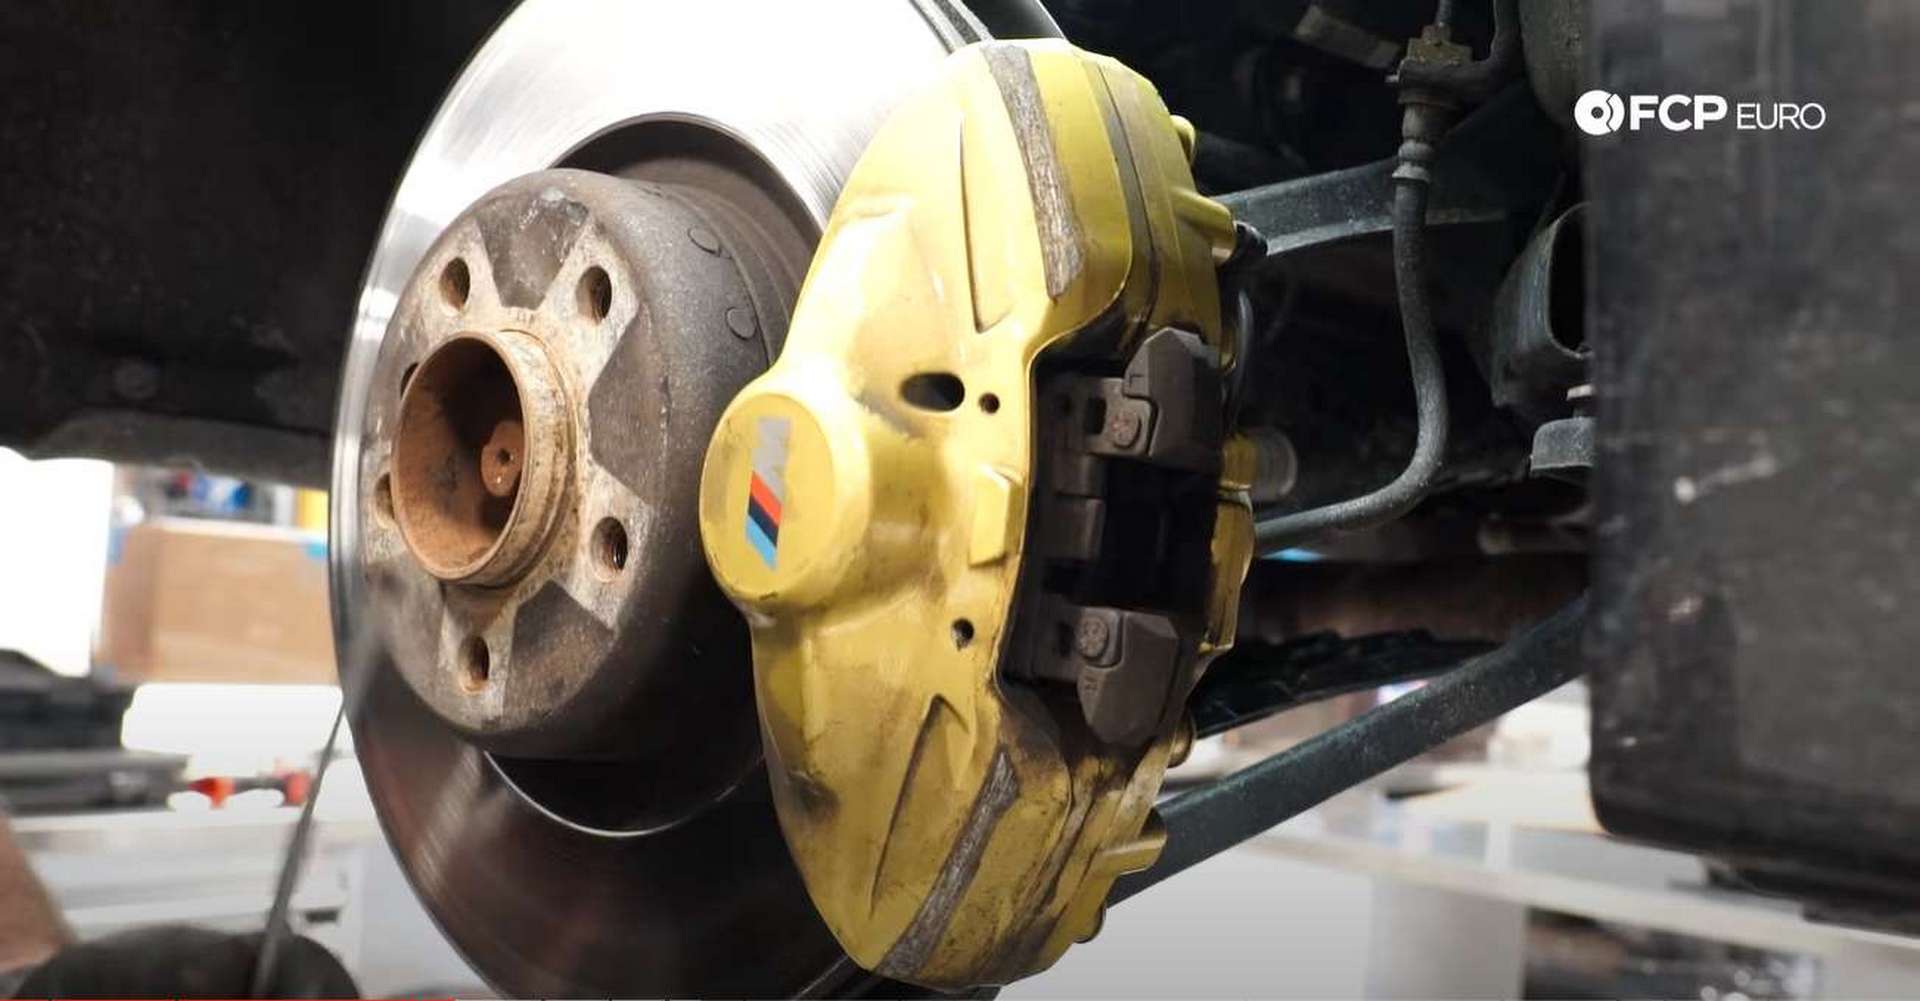
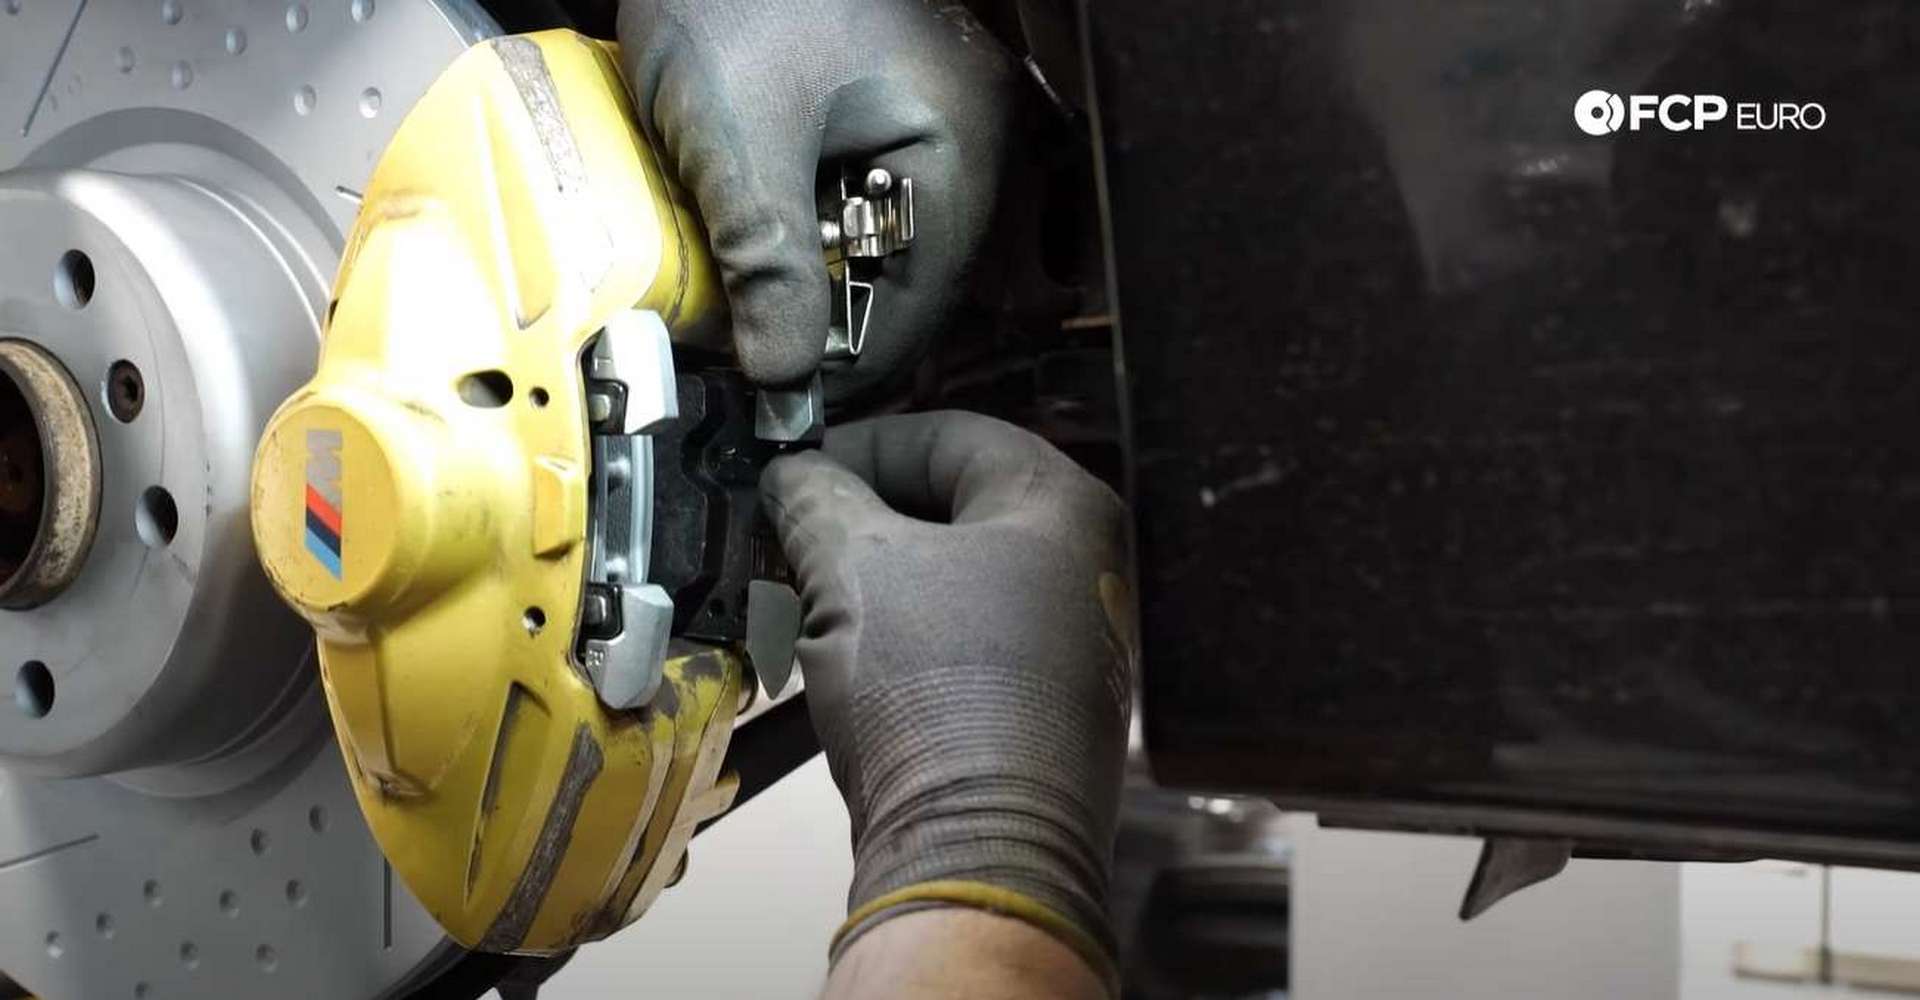
BMW's M-Sport package allows 3-series owners to experience some of the capabilities of an M3. The package equips your BMW with a lower and firmer suspension, more aggressive front and rear bumpers, a smaller steering wheel, sportier seats, and fixed piston, Brembo brake calipers. The yellow Brembos are a significant upgrade over the stock sliders. They use a bigger rotor and pad for more stopping power and greater heat tolerance. The calipers use two pistons rather than one and are made from aluminum, making them lighter than the standard caliper. All of those options make the M-sport package vehicles better suited for autocross, track days, and spirited driving.
The upgrade to the M-Sport brakes changes the brake service procedure. The fixed piston style of caliper used by Brembo uses a different method than the standard sliding calipers. However, the difference in pad and rotor replacement over the standard brakes doesn't add any complexity or difficulty to the job. This job is still a standard brake service you can easily do in your driveway with hand tools.
BMW models and years applicable:
- F30/F31/F34 BMW 3-Series with M-Sport Package
- F32/F33/F36 BMW 4-Series with M-Sport Package
- F22/F23 BMW 2-Series with M-Sport Package
Symptoms of worn BMW F30 rear brake pads and rotors:
- A grinding coming from the rear, under braking
- Juddering or a vibration coming from the rear, under braking
- Deep grooves on the rotor surface
- Dark-colored deposits on the rotor surface
All disc brake systems have a front bias, meaning that the front brakes do most of the braking. Their increased braking responsibility will lead to more frequent replacement intervals when compared to the rears. However, driving with excessively worn rear brakes still creates reduced stopping ability.
Once the brake pad material is completely worn away, the pad's metal backing plates are forced against the rotor, destroying it. You'll hear an intense grinding noise under braking when this happens. Additionally, metal shavings will come off of the rotors and cover your wheels. If these shavings get wet, they'll coat your wheel in rust.
How long will it take to service the rear brakes on my BMW F30?
Replacing the pads and rotors is a straightforward process that doesn't require removing and reinstalling too many parts. This part of the job should take 30 minutes per corner.
To completely service the brakes, you'll need to flush the brake fluid as well. Having a pressure bleeder simplifies this process and significantly speeds it up. If you don't have a pressure bleeder, you'll need another person to help you out. Either way, bleeding the brakes shouldn't take longer than 20 minutes.
What will it cost to service the rear brakes on my BMW F30?
You have several options to choose from when picking your new brake components. Liked below is the kit we used in the DIY video. It uses TRW pads and one-piece Zimmerman rotors to replace the factory semi-floating rotors. The kit will run you right around $200.
If you want to keep the semi-floating style rotors, you're going to pay around $160 a rotor. Then you'll have to buy pads and a new pad wear sensor. A new sensor is roughly $20, and rear pads range between $50 and $200. Pick your poison.
Parts required to service the rear brakes on your BMW F30:
Tools required to service the rear brakes on your BMW F30:
- Caliper Piston Compressor
- 17mm Socket
- 16mm Socket
- 10mm Socket
- 6mm Hex Bit Socket
- Ratchets
- Ratchet Extension
- Torque Wrench
- Flathead Screwdriver
- Hammer
- Light
- Caliper Hanger
Steps required to service the rear brakes on your BMW F30:
Step 1: Remove the old brake pads
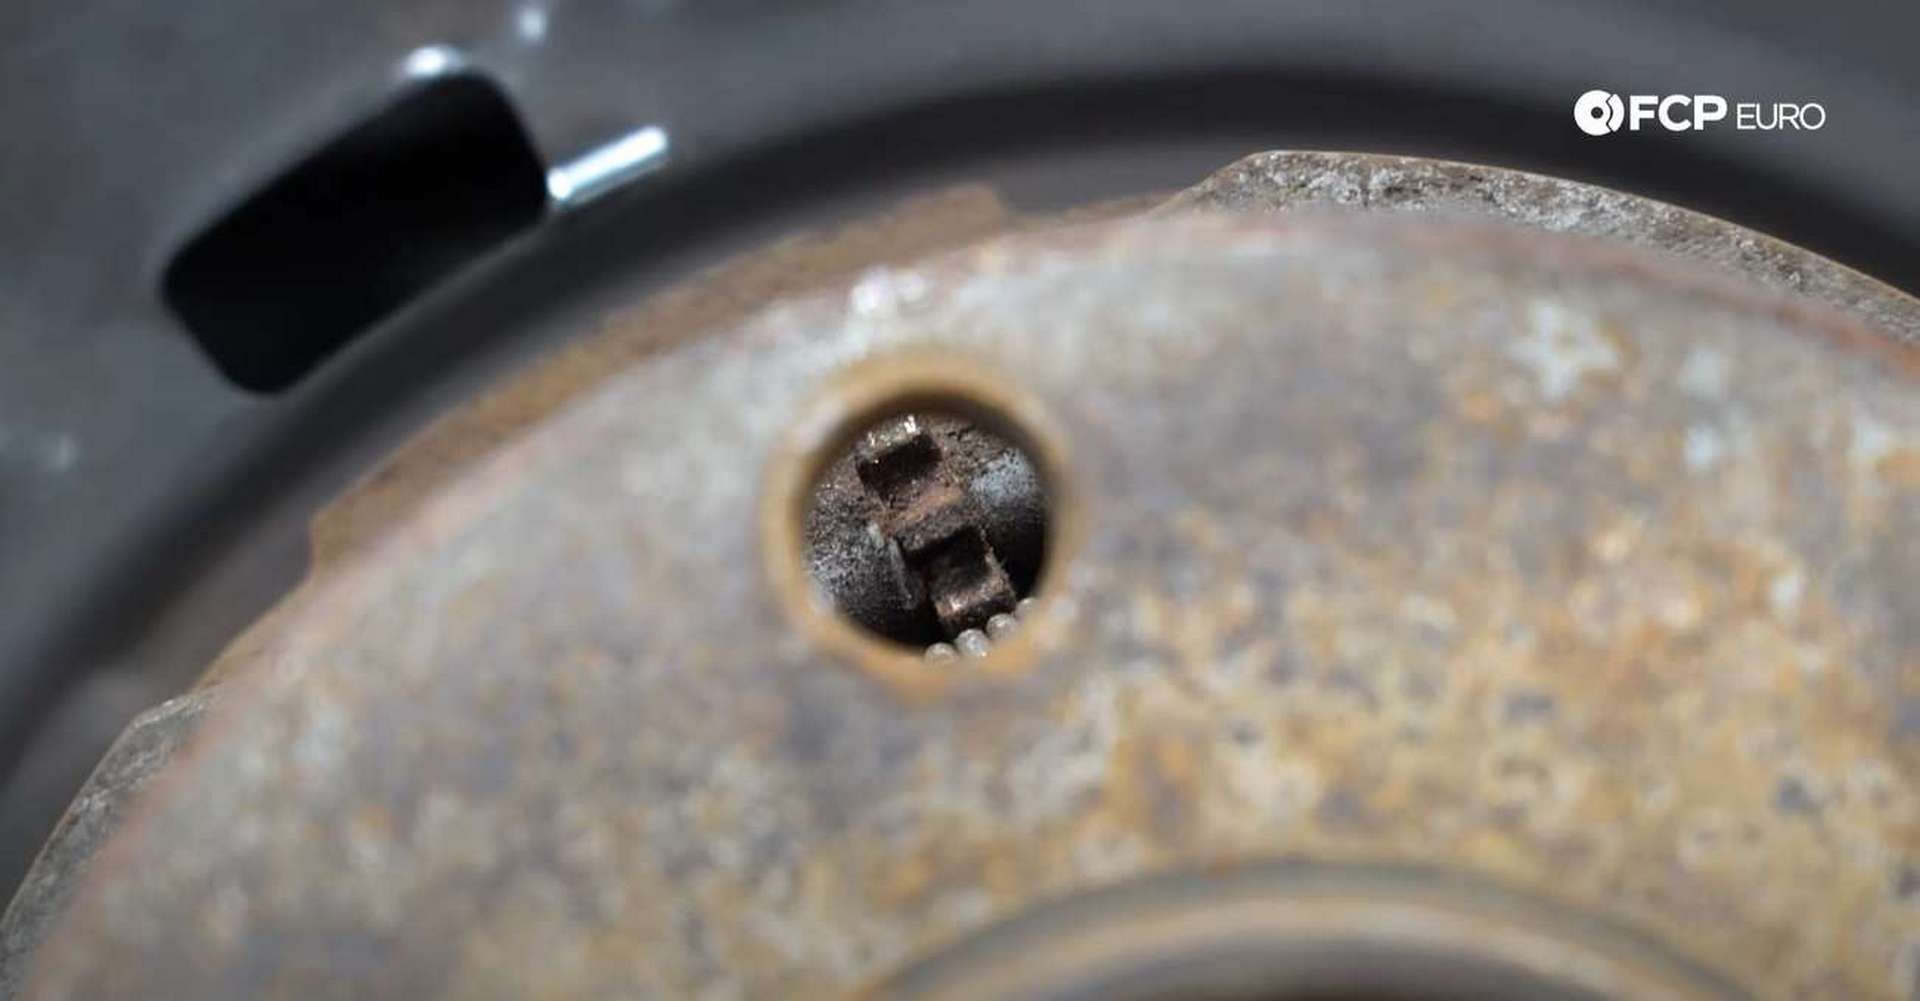
Jack up your BMW and place it on jack-stands. Then, use a 17mm socket to remove the rear wheels. Next, USe a 6mm hex bit socket to remove the set crew from the rotor.
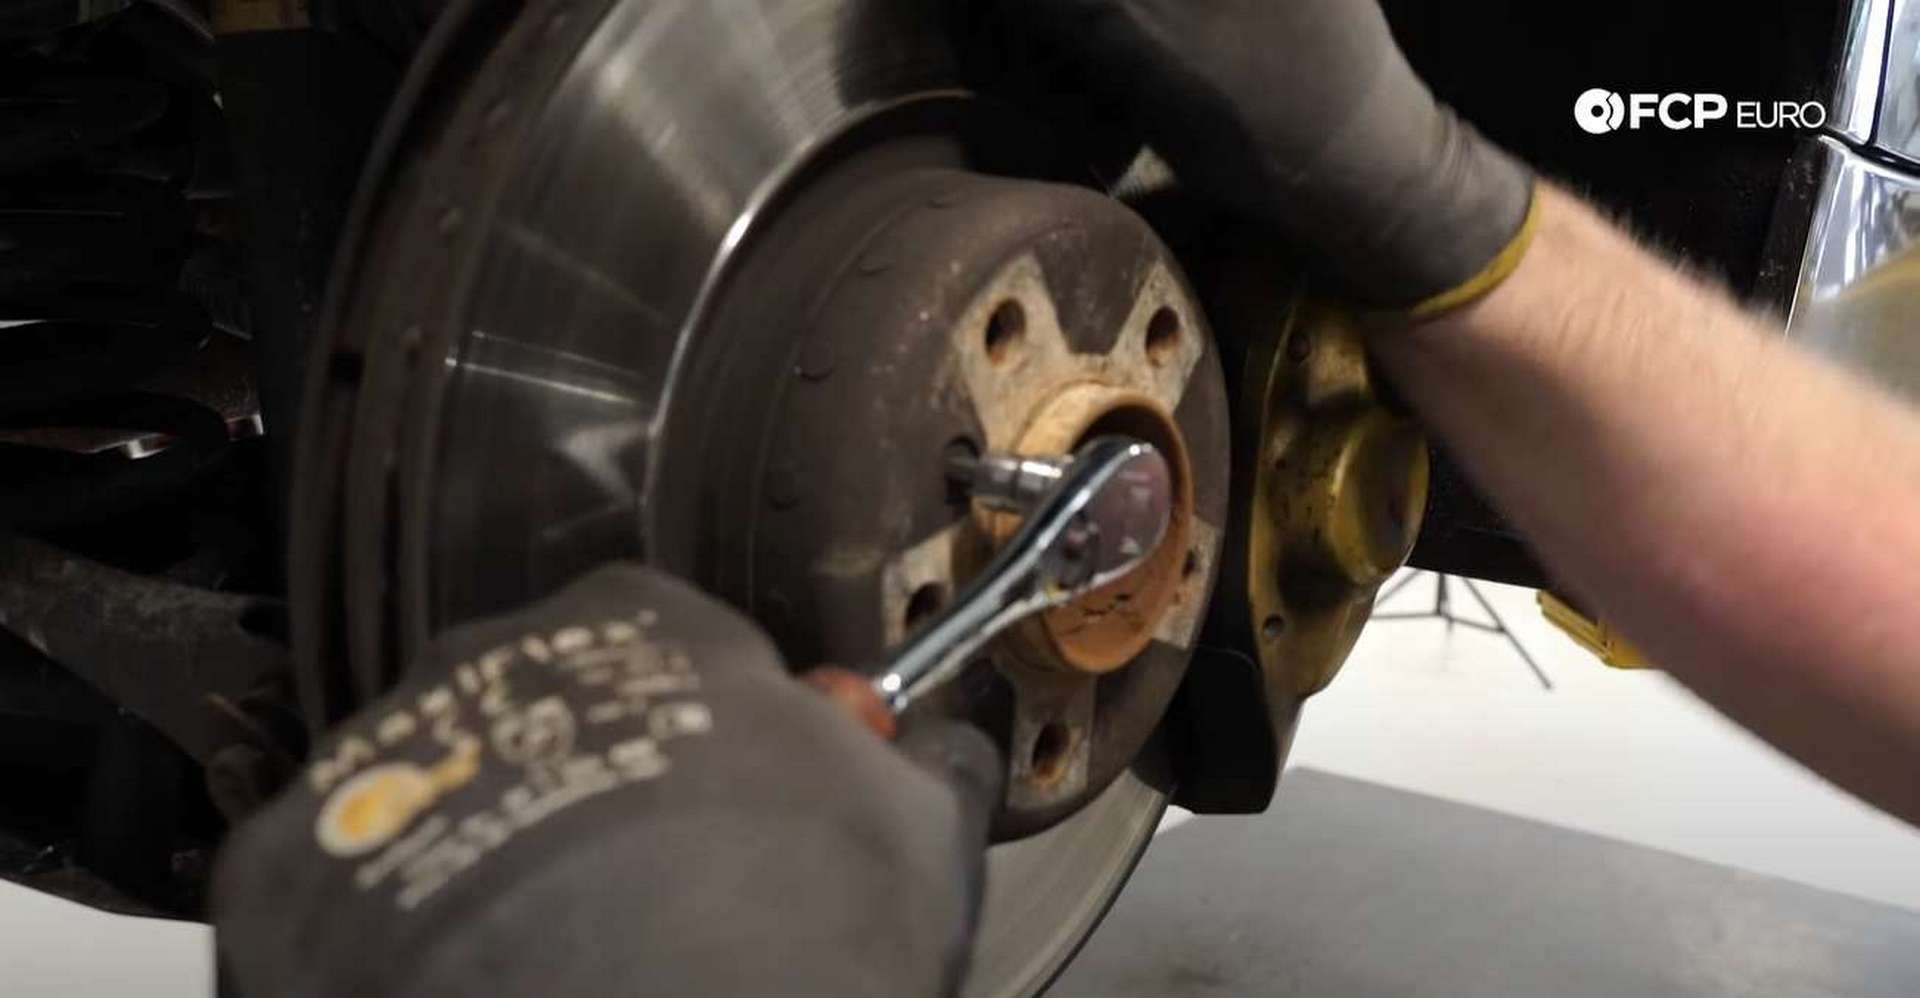
The set screws can become seized in the hub if they're subject to enough corrosion. You need to remove the set screw to replace the rotor, so drill it out if you have to.
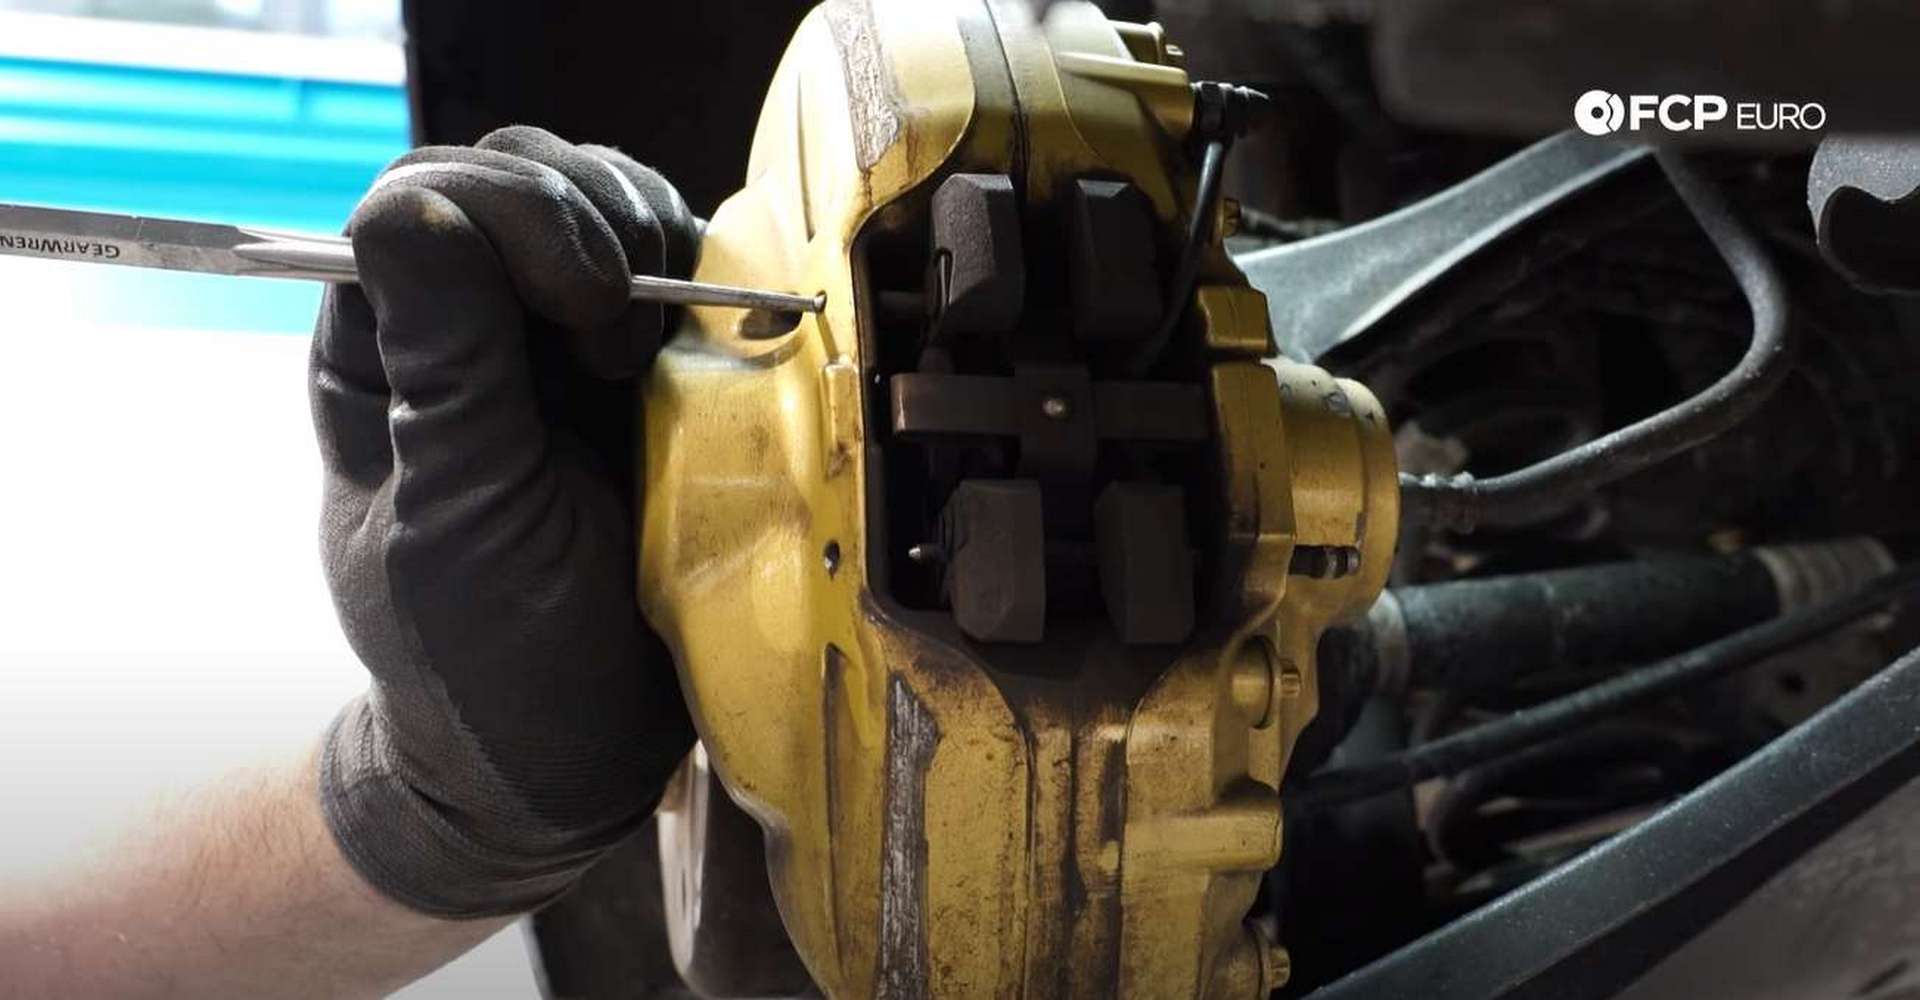
The brake pads are held into the caliper by two pins. Use a hammer and a thin punch to knock the pins out of the caliper. Use can use a pair of pliers to pull the pins out the rest of the way.
With the pins out, the anti-rattle clip will fall out.
Now you can pull the pads out of the caliper. The inner pad in the right rear caliper has the pad wear sensor attached to it. Pull the sensor off the pad and throw the pads away. Remove the bleeder cap to free to pad wear sensor wire.
Step 2: Replace the rotor
Take your caliper piston tool and insert it into the caliper. Squeeze the trigger to push the pistons back into the caliper.
Then, use a 16mm socket to remove the caliper's two mounting bolts. Hold the caliper as you back out the last bolt so that it doesn't fall and tug on the brake line.
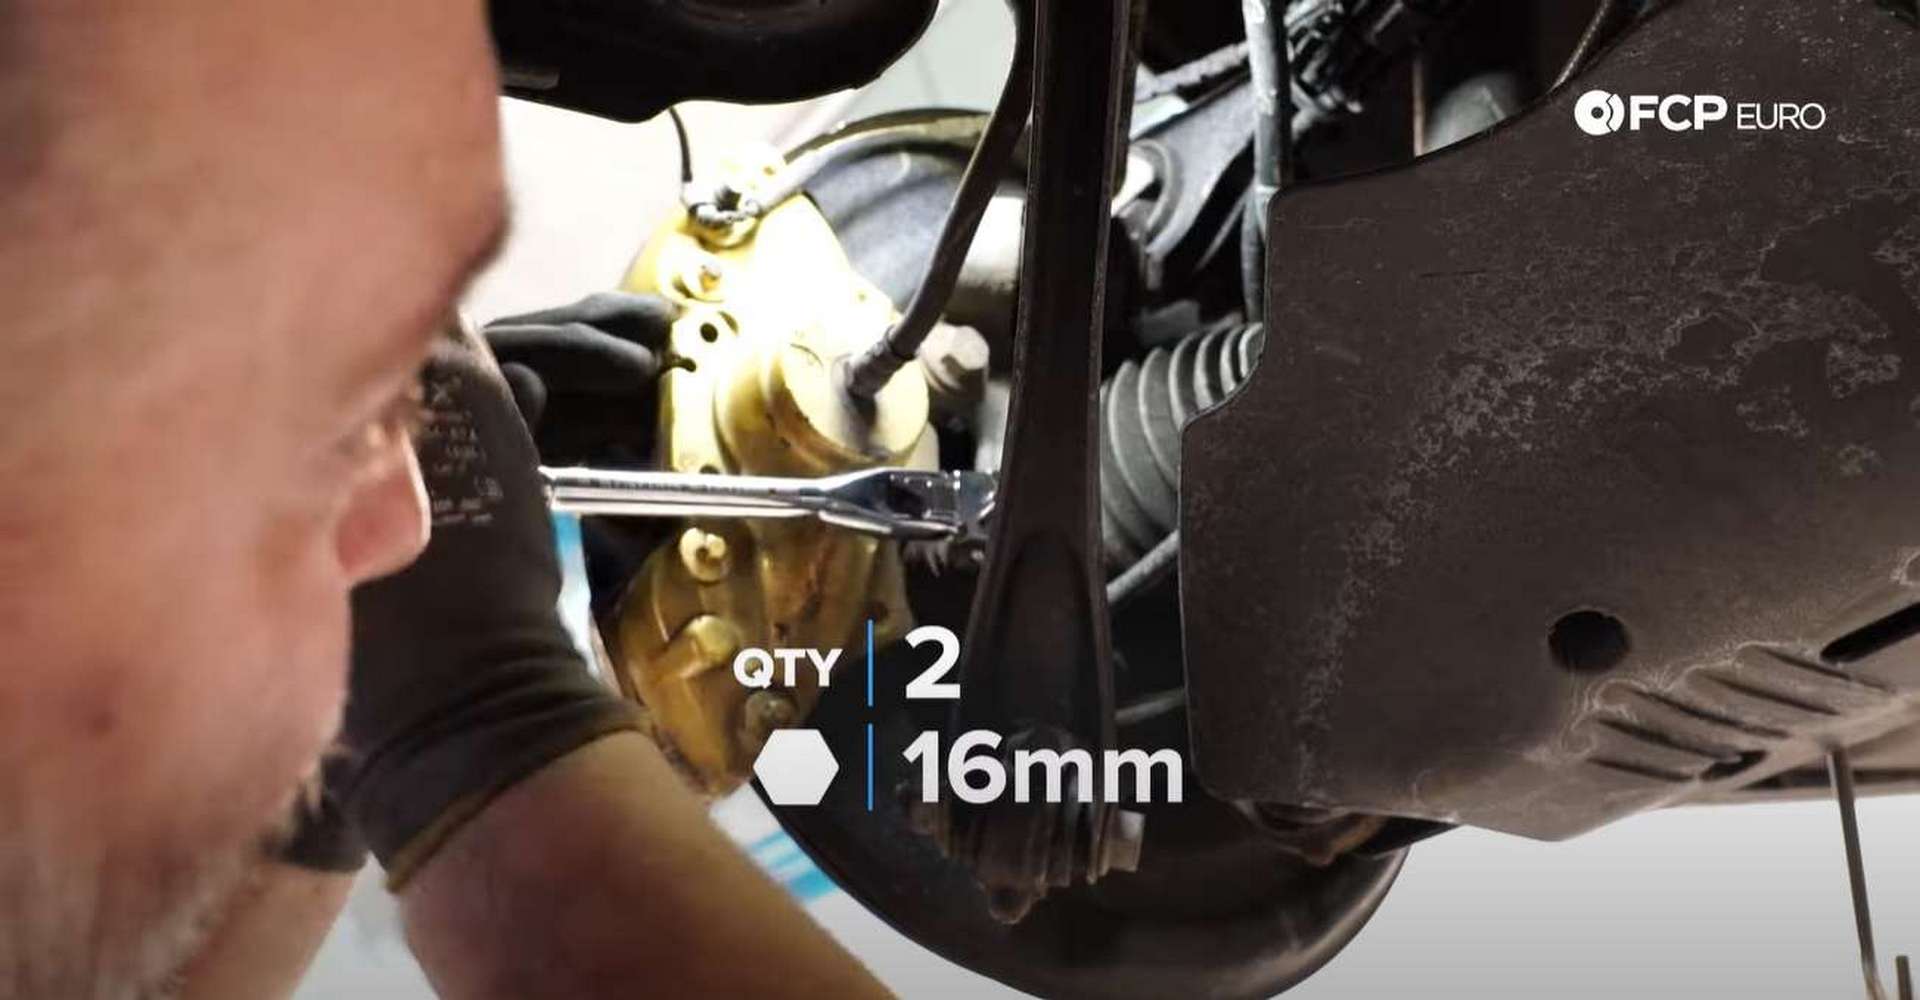
Use the caliper hanger to hold up the caliper and keep the caliper's weight off the rubber brake line. Then, remove the old rotor. There is a good chance some corrosion is holding the rotor to the hub. Thread in a lug bolt and hit the rotor hat with a hammer to break the corrosion.
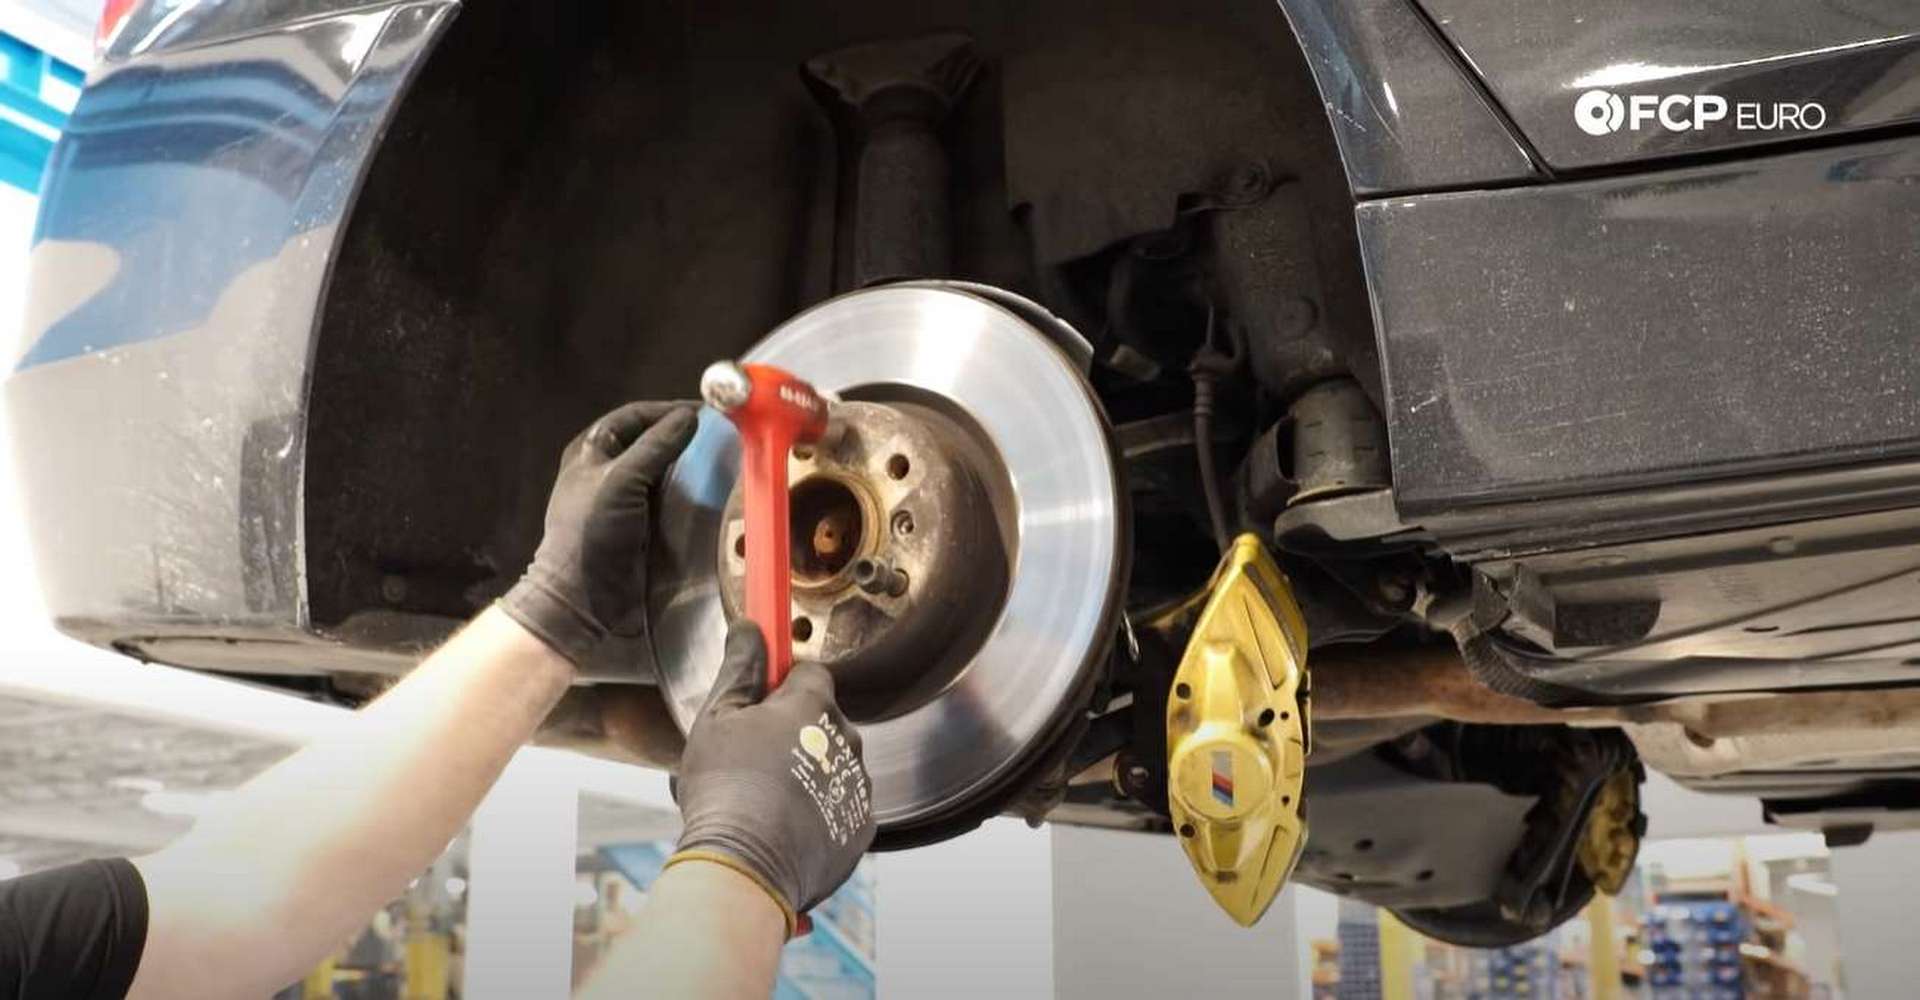
The lug bolt is there to catch the rotor in case it falls from the hub. The parking brake shoes can also be holding up the rotor. Rotate the rotor until one of the lug bolt holes is around the 11:30 position. The parking brake adjuster is accessible through the lug bolt hole. Use a flathead screwdriver to rotate the wheel upward and retract the parking brake shoes.
Use a wire brush to clean as much of the corrosion off of the hub as you can. Then, fit the new rotor. Thread in the set screw and tighten it with a 6mm hex bit socket.

Step 3: Replace the pad wear sensor
The pad wear sensors are one-time use. After disconnecting them from the old pad, disconnect them from their junction box in the wheel well. The box sits behind the wheel liner. Use a 10mm socket to remove a single fastener and then peel the liner back to reveal the box.
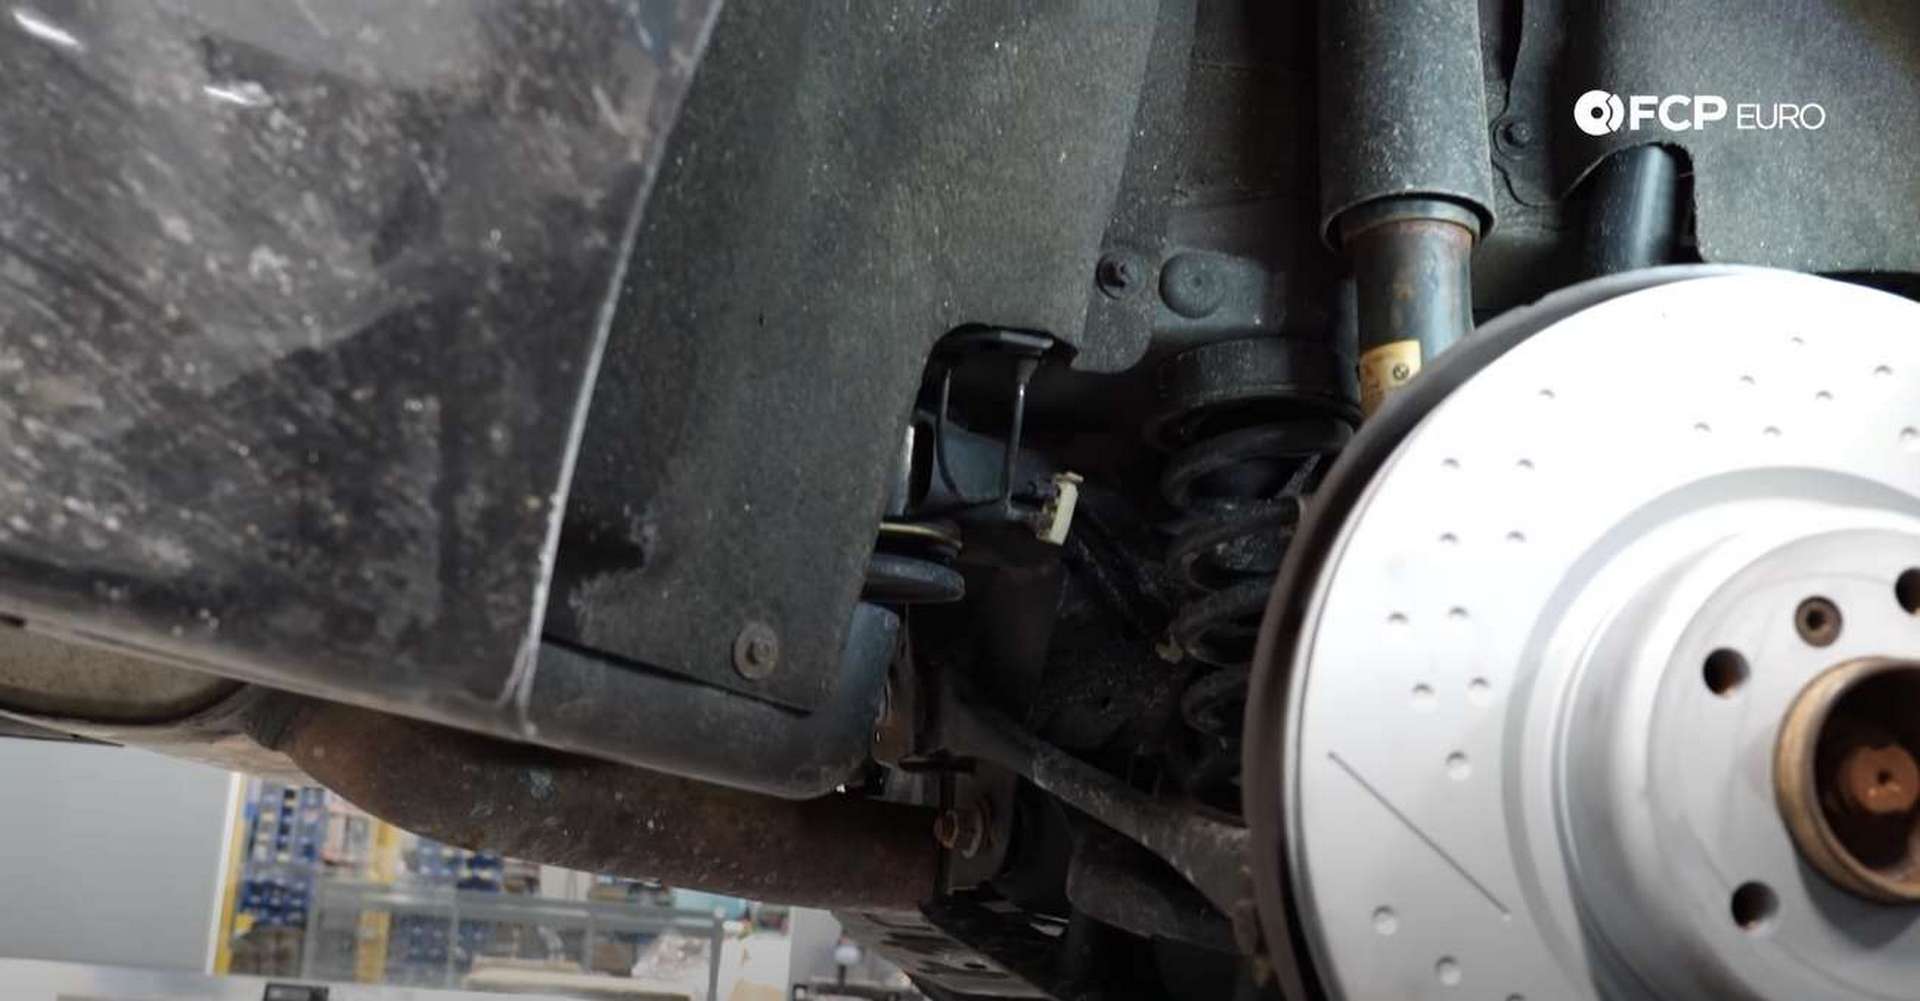
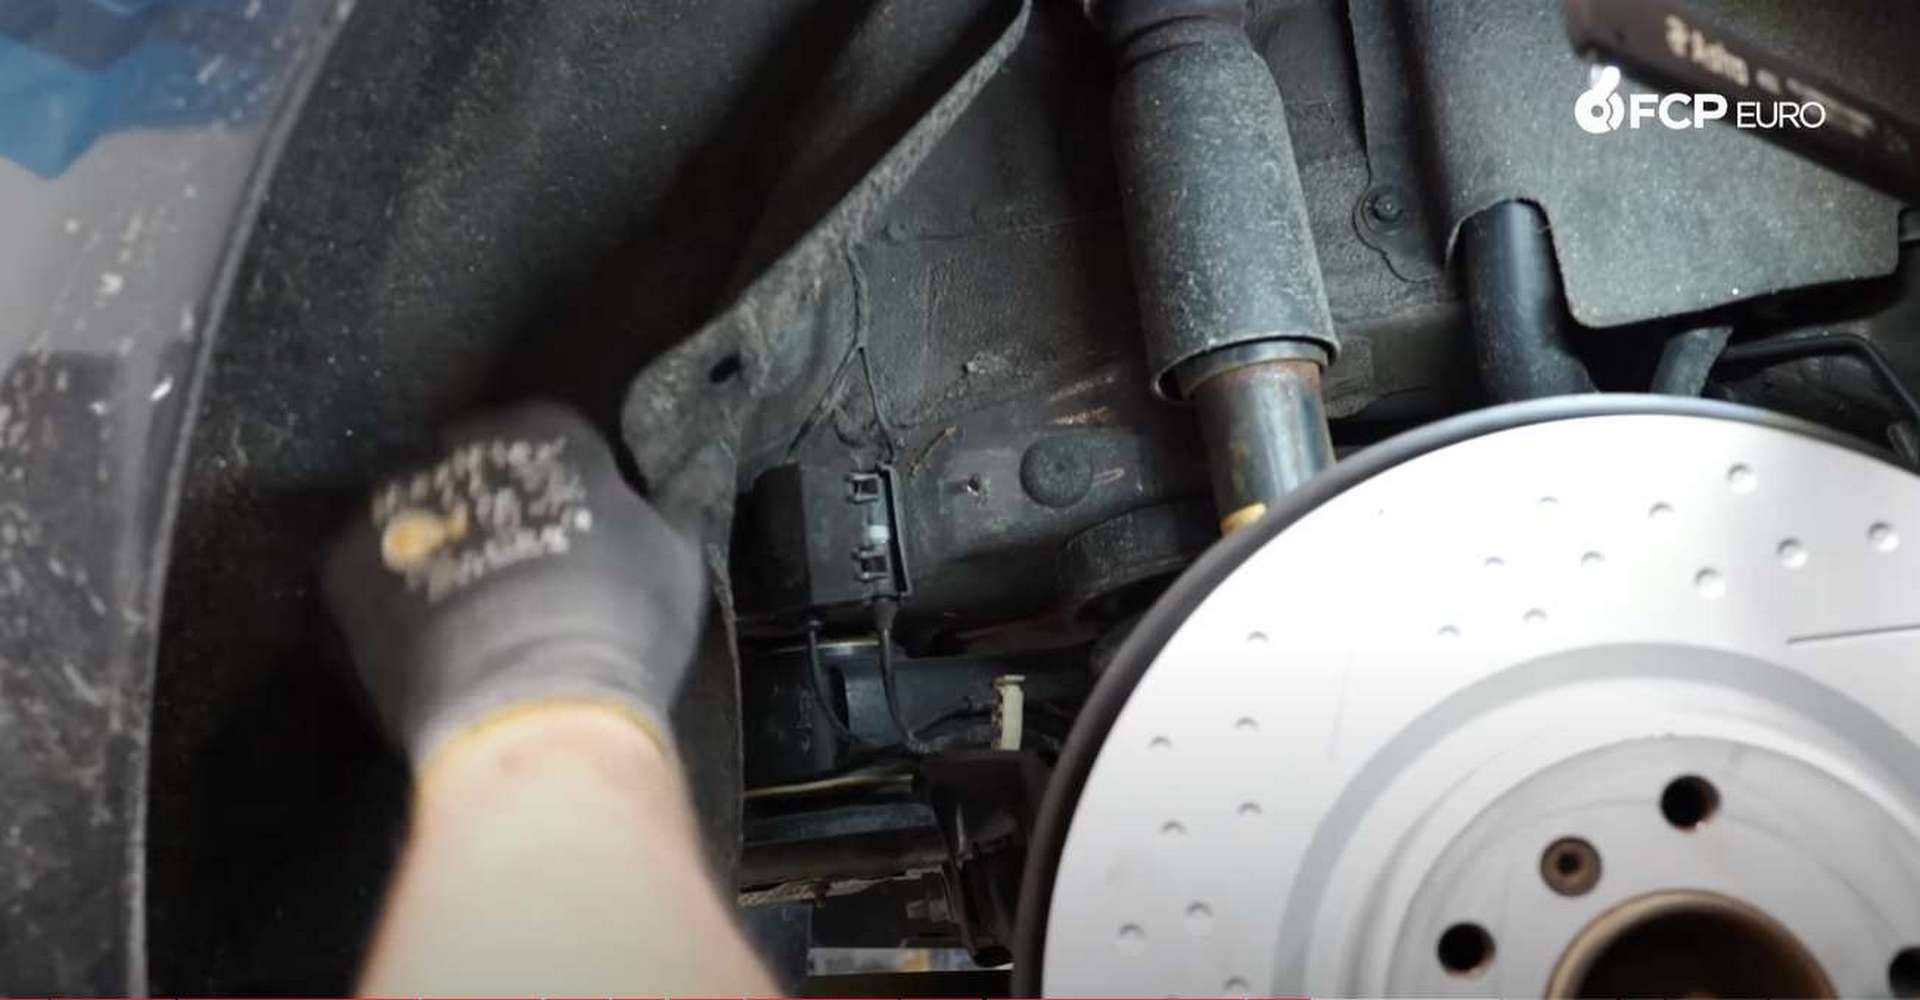
Follow the sensor wire along the suspension arm and around the spring up to the junction box. Pop open the box and disconnect the old sensor. Plug the new sensor in, routing it through the retaining clips like the old sensor.
Refit the liner and secure it with its fastener once you've gotten the new sensor in place. Use a 10mm socket to tighten the fastener.
Step 4: Refit the caliper and install the new pads
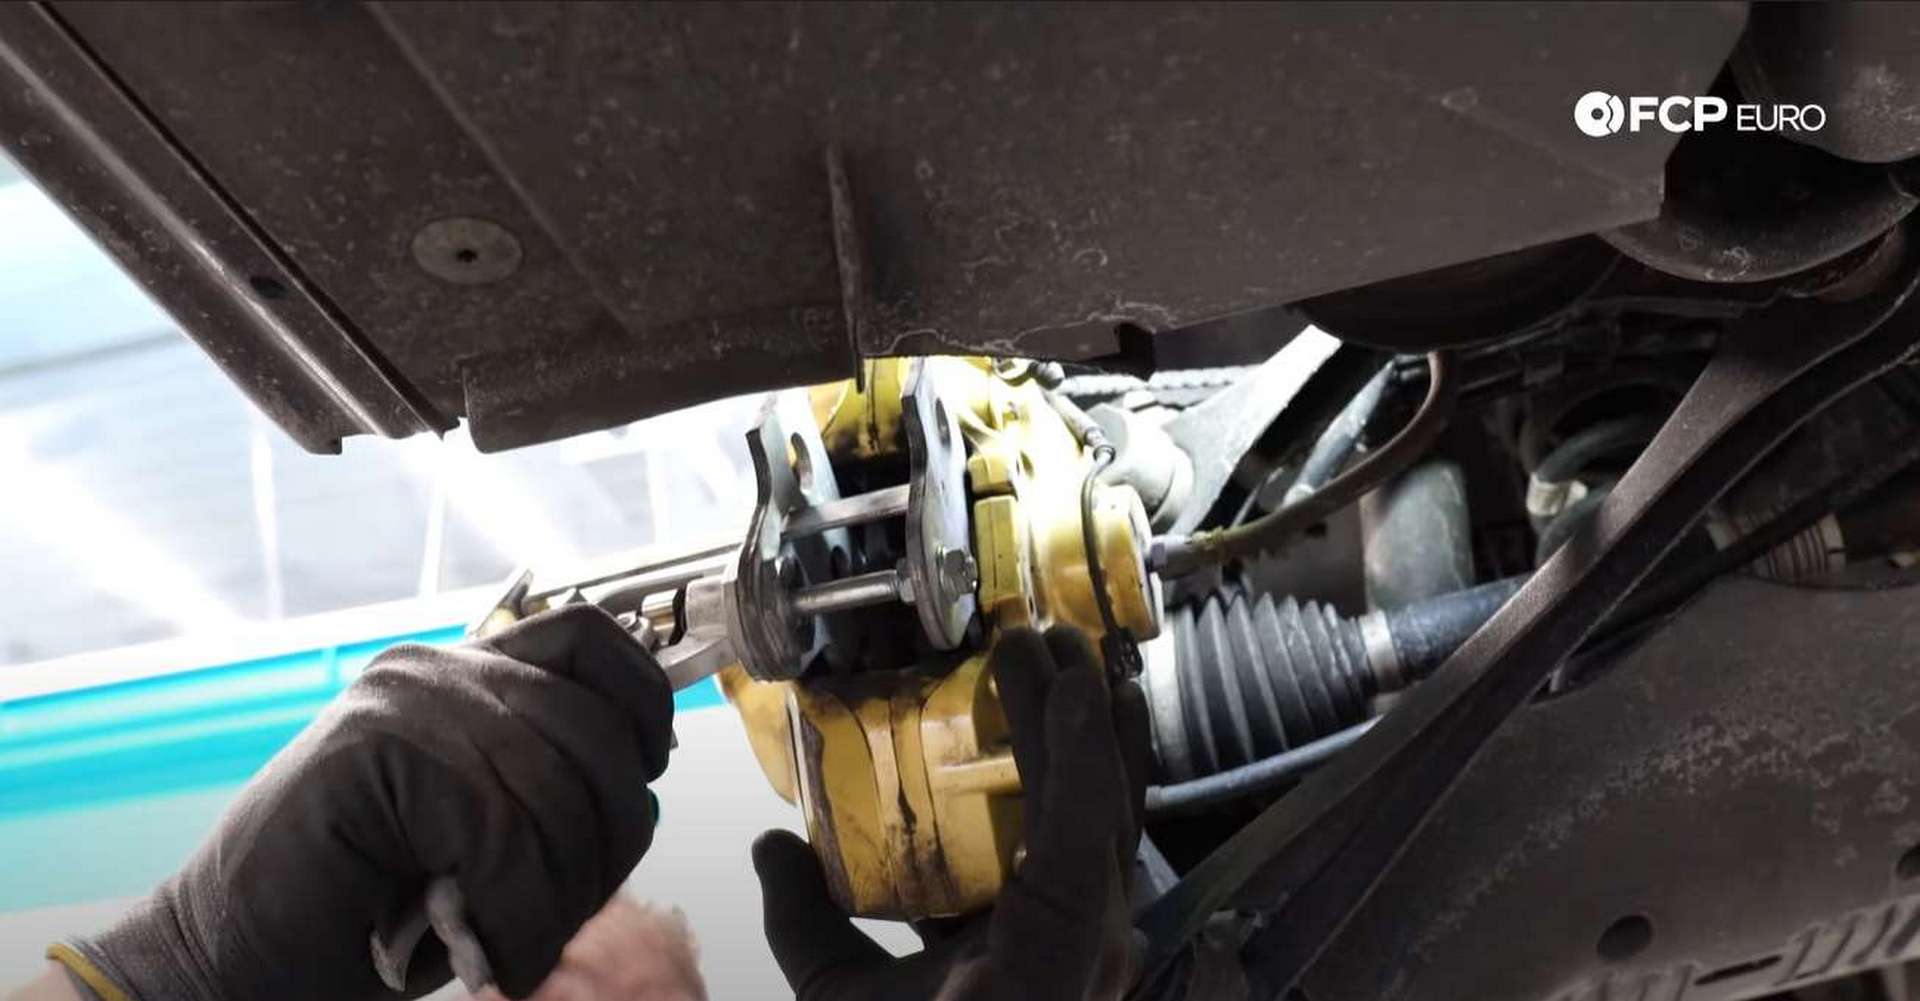
Remove the caliper from the hanger and slide it over the caliper. Thread in the caliper's mounting bolts by hand before driving them in with a 16mm socket.

Torque the bolts to 50Nm plus 90°. After that, slide in the new pads and place the spring clip over them. Press the pad wear sensor onto its pad, too.
Install the spring clips with the angled pieces down over the pads. Then, reinstall the pad pins. Use a wire brush to clean off the baked-on brake dust so they'll slide in easier. Resecure the pad wear sensor wire in the bleeder screw cap, too.
Lastly, Refit the wheels and thread in the lug bolts. Use a 17mm socket to tighten and torque the bolts to 85 ft-lbs.
BMW Torque Specs:
- BMW Rear Brake Caliper Mounting Bolts = 50Nm or 37 ft-lbs, of torque plus 90°
- BMW Lug Bolts = 115Nm or 85 ft-lbs, of torque
That's how you change the pads and rotors on your M-Sport brake-equipped BMW. If you don't know how to bleed the brakes but would like to, click here. If you're interested in more DIYs for your BMW, you can visit bmw.fcpeuro.com and subscribe to our YouTube channel.


