My car seems to be a never ending case of replacement. Not that this is a bad thing, because otherwise I wouldn't have anything to write about. But in the case of the engine, I've been slowly changing all sorts of things to bring it back to what it used to be. I have been chasing what I think is a vacuum leak, so a logical step for me was to replace the intake gasket. Over time, these paper gaskets will crumble and fall apart, leaving a nice open hole for air to slip through unnoticed by the air mass meter.
For my Volvo 940 GLE with a B234F engine, I needed this gasket: Volvo Engine Intake Manifold Gasket (740 940)
 Volvo Engine Intake Manifold Gasket (740 940) 1378854OE
Step 1: Remove the Intake Manifold and gasket
There will be 9 bolts holding the manifold on. You should not have too much problem removing the bolts as they are high up on the engine and less prone to corrosion. If you do have issues, your friendly PB blaster or Kroil will be your best friend. In some cases, you will not need to remove the lower bolts as the intake manifold is slotted at the bottom. I however, needed to because the intake manifold wasn't coming off without a fight. Remove the old gasket, being very careful to not to allow any old gasket material fall into the engine. However, if the inevitable happens, don't fret too much as having a little bit of old paper gasket in the cylinder probably is not detrimental to your engine.
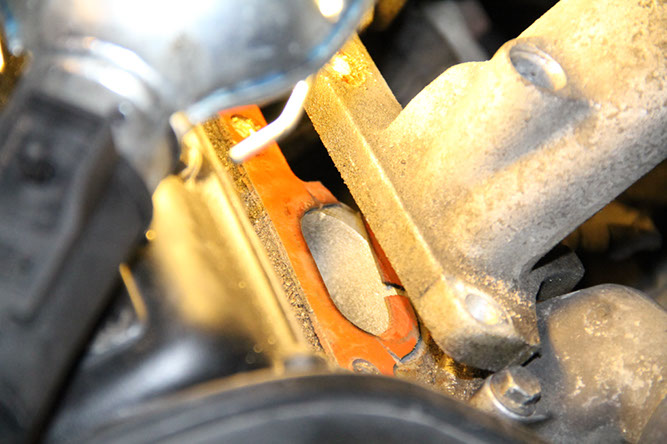 This Intake manifold gasket has seen better days
Step 2: Inspect your new gasket
Lay the gaskets side by side and make sure that what you picked up is the right one. You may notice the thickness of the new one will be greater than the old one. This is perfectly normal.
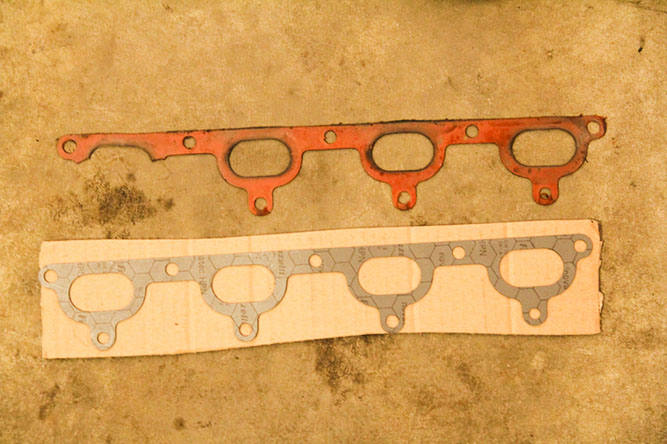 Old and new gasket. Guess which one is new.
Step 3: Install the new gasket
Take your new gasket and lay it in place. Just lay the gasket on the engine, and bolt up the intake, using a lightly tightened bolt in place on the lower side to help hold the gasket in place. RTV sealant isn't necessary, but may be used if you so desire. Tighten up all the bolts to 18 ft-lbs of torque using a calibrated elbow or a torque wrench. Either will do just fine, but one may have a greater degree of accuracy than the other.
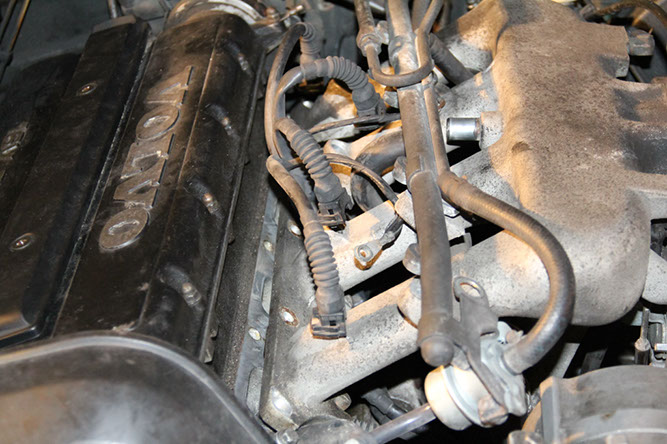 Install your new gasket and tighten up the bolts to 18 ft-lbs