Continuing on the path to keeping my old Volvo on the road, it was a logical step to replace the distributor cap and rotor. While I was at it, I thought I might as well replace the seals. How hard could it be?
Well, in most cases, you never want to start your car project thinking that. But in this case, it was actually one of the easiest jobs you can perform on your car.
Step 1: Pick up the parts you need.
For my 1991 Volvo 940 GLE with a B234F Engine, I picked up a Bosch distributor cap and rotor. Keep in mind that if you decide to get a cheaper model, you’ll most likely end up with aluminum contacts as opposed to brass. Aluminum performs fine, but won’t last as long as a brass cap and rotor.
- Bosch 03215 Distributor Cap
- Bosch 04169 Distributor Rotor
- Volvo 969331 Distributor seal (large)
- Volvo 969933 Distrubutor seal (small)
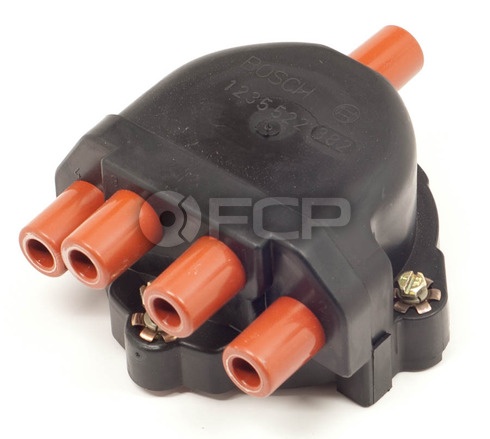 Bosch 03215 Distributor Cap
Step 2: Disconnect the battery and remove the spark plug wires
Whenever I do electrical work, I always disconnect the battery. Yes, I lose my radio presets, but its better than getting electrocuted by your car.
Remove the spark plug wires from the distributor, making sure to mark them as you take them off. You don’t want to accidentally put the wires back in the improper order.

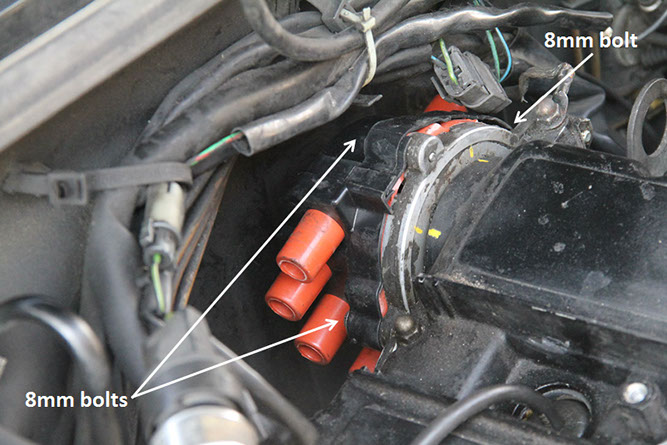
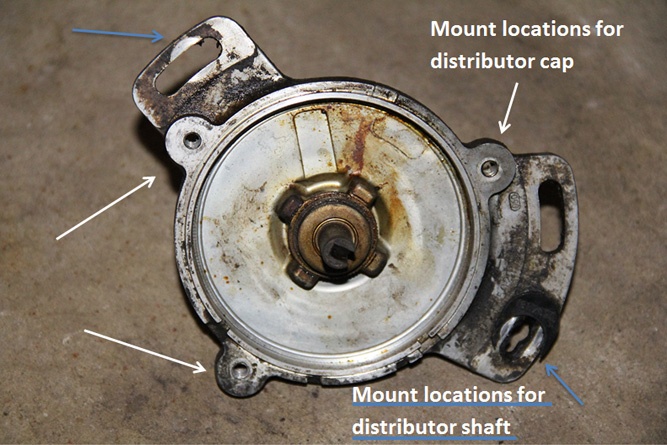
Step 3: Remove the distributor cap
Take an 8mm wrench, a ratcheting wrench is preferred, and remove the three bolts on the distributor. They will all be pretty easily accessible with a wrench, but you may have a tough time seeing them. Feel around with your hand to find out where they are. If your 8mm wrench doesn’ t fit on the bolt you’re trying to turn, you may have found the distributor shaft bolts. Those are 10mm.
The distributor cap should easily come off once all the bolts are off..
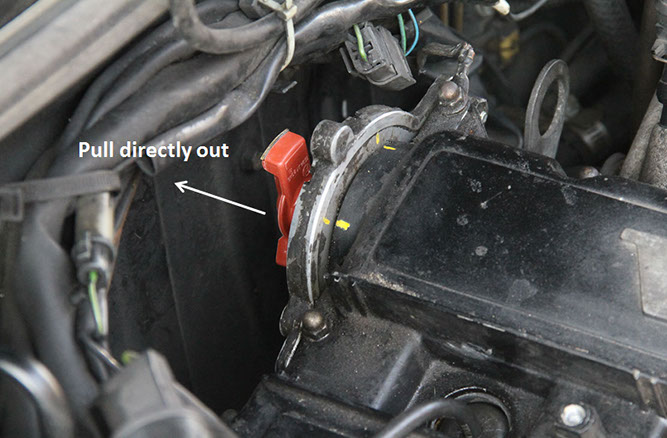
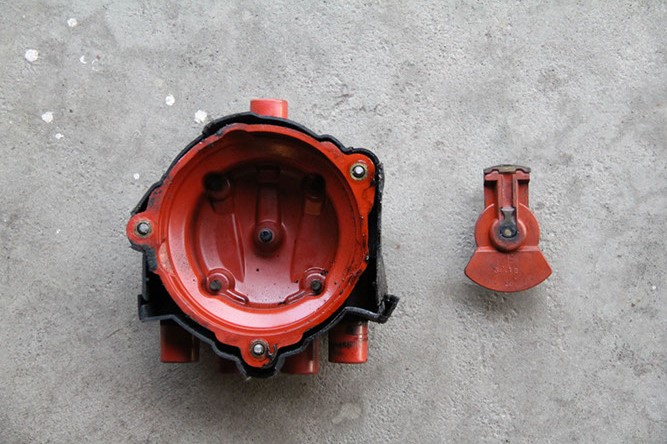
Step 4: Remove the Distributor rotor
On my car, it was a simple case of grabbing the rotor and pulling it off. I can see this not being as easy for everyone else, but because this rotor is plastic you should not need to worry much about corrosion. Keep in mind the orientation of the rotor for ease of reinstallation. The rotor will only fit one way.
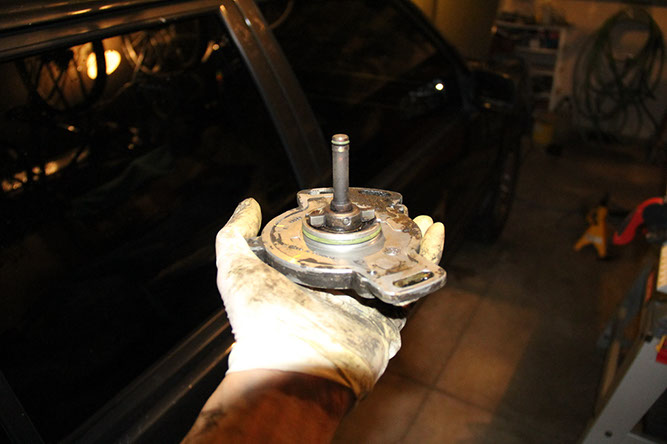
Step 5: Remove the distributor shaft
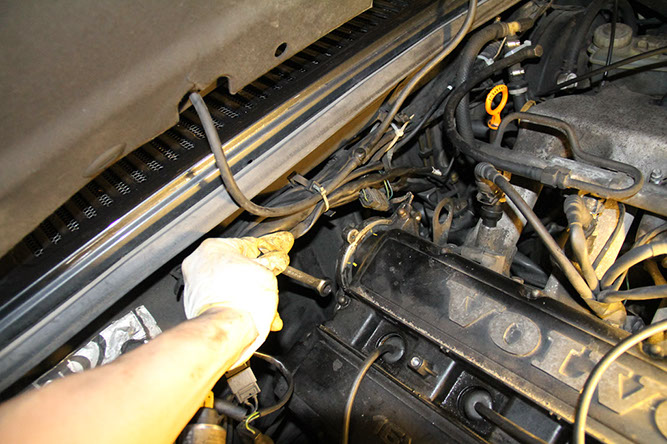
Before you remove the distributor shaft, mark down the position. For my car, this isn’t an entirely necessary step as there are no sensors on the shaft and electronic timing and ignition isn’t dependent on the movement of the camshaft. Take a 10mm wrench and remove the two bolts that hold this down.
Step 6: Replace the seals on the shaft
I’m going to be honest here. There are three seals on this part that need to be replaced, but I only managed to replace two. The seal on the shaft itself needs a pin to be pushed out, not a task that I was able to do.
For the two seals that I did replace, it was simply a case of taking the old ones off and putting the new ones on.
Step 7: Install your new parts.
Installation for once is actually the reverse of removal. Two things to keep in mind are the installation of the distributor shaft, and the distributor rotor.
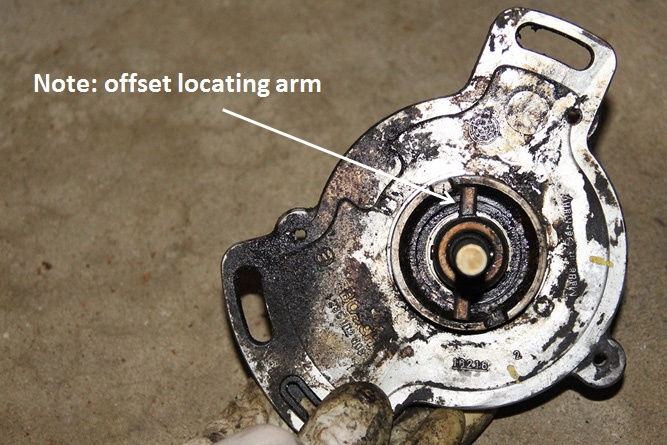
For the shaft, you can see in this image that the indexing part of the shaft is slightly offset to one side of the shaft. If you insert the shaft incorrectly, it simply won’t install.
The distributor rotor has a keyed slot so it will only go in one way. Before installing the shaft, look at it closely to see how it installs. It should not require much force to push on.

Finally, tighten up the distributor shaft and bolts and you’re well on your way to mastering your Volvo.