- 08/07/2019
- 4 Min Read
- By: Gareth Foley
How To Replace A BMW E36 Front Window Regulator And Motor

Window regulators on the BMW E36 leave much to be desired. But then again most BMW window regulators leave much to be desired when it comes to their reliability. In this DIY, I'll walk you through my method of installing these window regulators as well as a few tips to ensure that the regulators you install hold up and function optimally for years to come.
The E36 window regulators are a simple design, but there are several failure points which can cause the window to jam or not work at all. We almost always recommend OE/OEM replacements but when it comes to E36 window regulators the only option FCP Euro can recommend are the Genuine BMW regulators. There aren't any OE options available and aftermarket window regulators tend to be of poor quality/have too much play in the joints to last. In this case, Genuine BMW is going to be the best long-term option if you are looking to hold onto your E36.
Tools needed to complete this repair:
- Metric socket set
- Torx socket set
- Allen key set
- Ratchets
- Rivnut tool
- Pick set
- Drill/Die grinder
- Silicone spray
Parts needed to complete this repair:
- Window Regulator
- Window Regulator Slide Clips
- Door Panel Clips
- Rivets or Rivnuts
- Window Motor (optional)
- M6x10 button head screws
- M6 flat washers
- M6 rivnuts
Step 1: Remove the door card and vapor barrier
Door card removal on E36s is pretty simple. There are two hidden screws near the door panel. Generally speaking factory screws are T30 torx screws but it's possible that they may be something else. Pop back the caps that hide the screws and then remove them. Also, there's a plastic shroud around the door handle, slide this back and out of the way. You will also want to remove the door lock rod cap which is threaded. Once these items are removed, you will want to pop the door panel clips one by one around the outer perimeter of the door. Be careful as the door panels on E36s are pretty fragile. Once the lower portion of the door panel is free, pop the upper tabs for the upper inner window seal and pull up and over the lock rod. The vapor barrier can be a pain to remove since it's adhered to the door panel with a black butyl goo. A sharp putty knife will help remove the vapor barrier without damaging the vapor barrier.
Step 2: Remove the inner door handle and disconnect the window motor
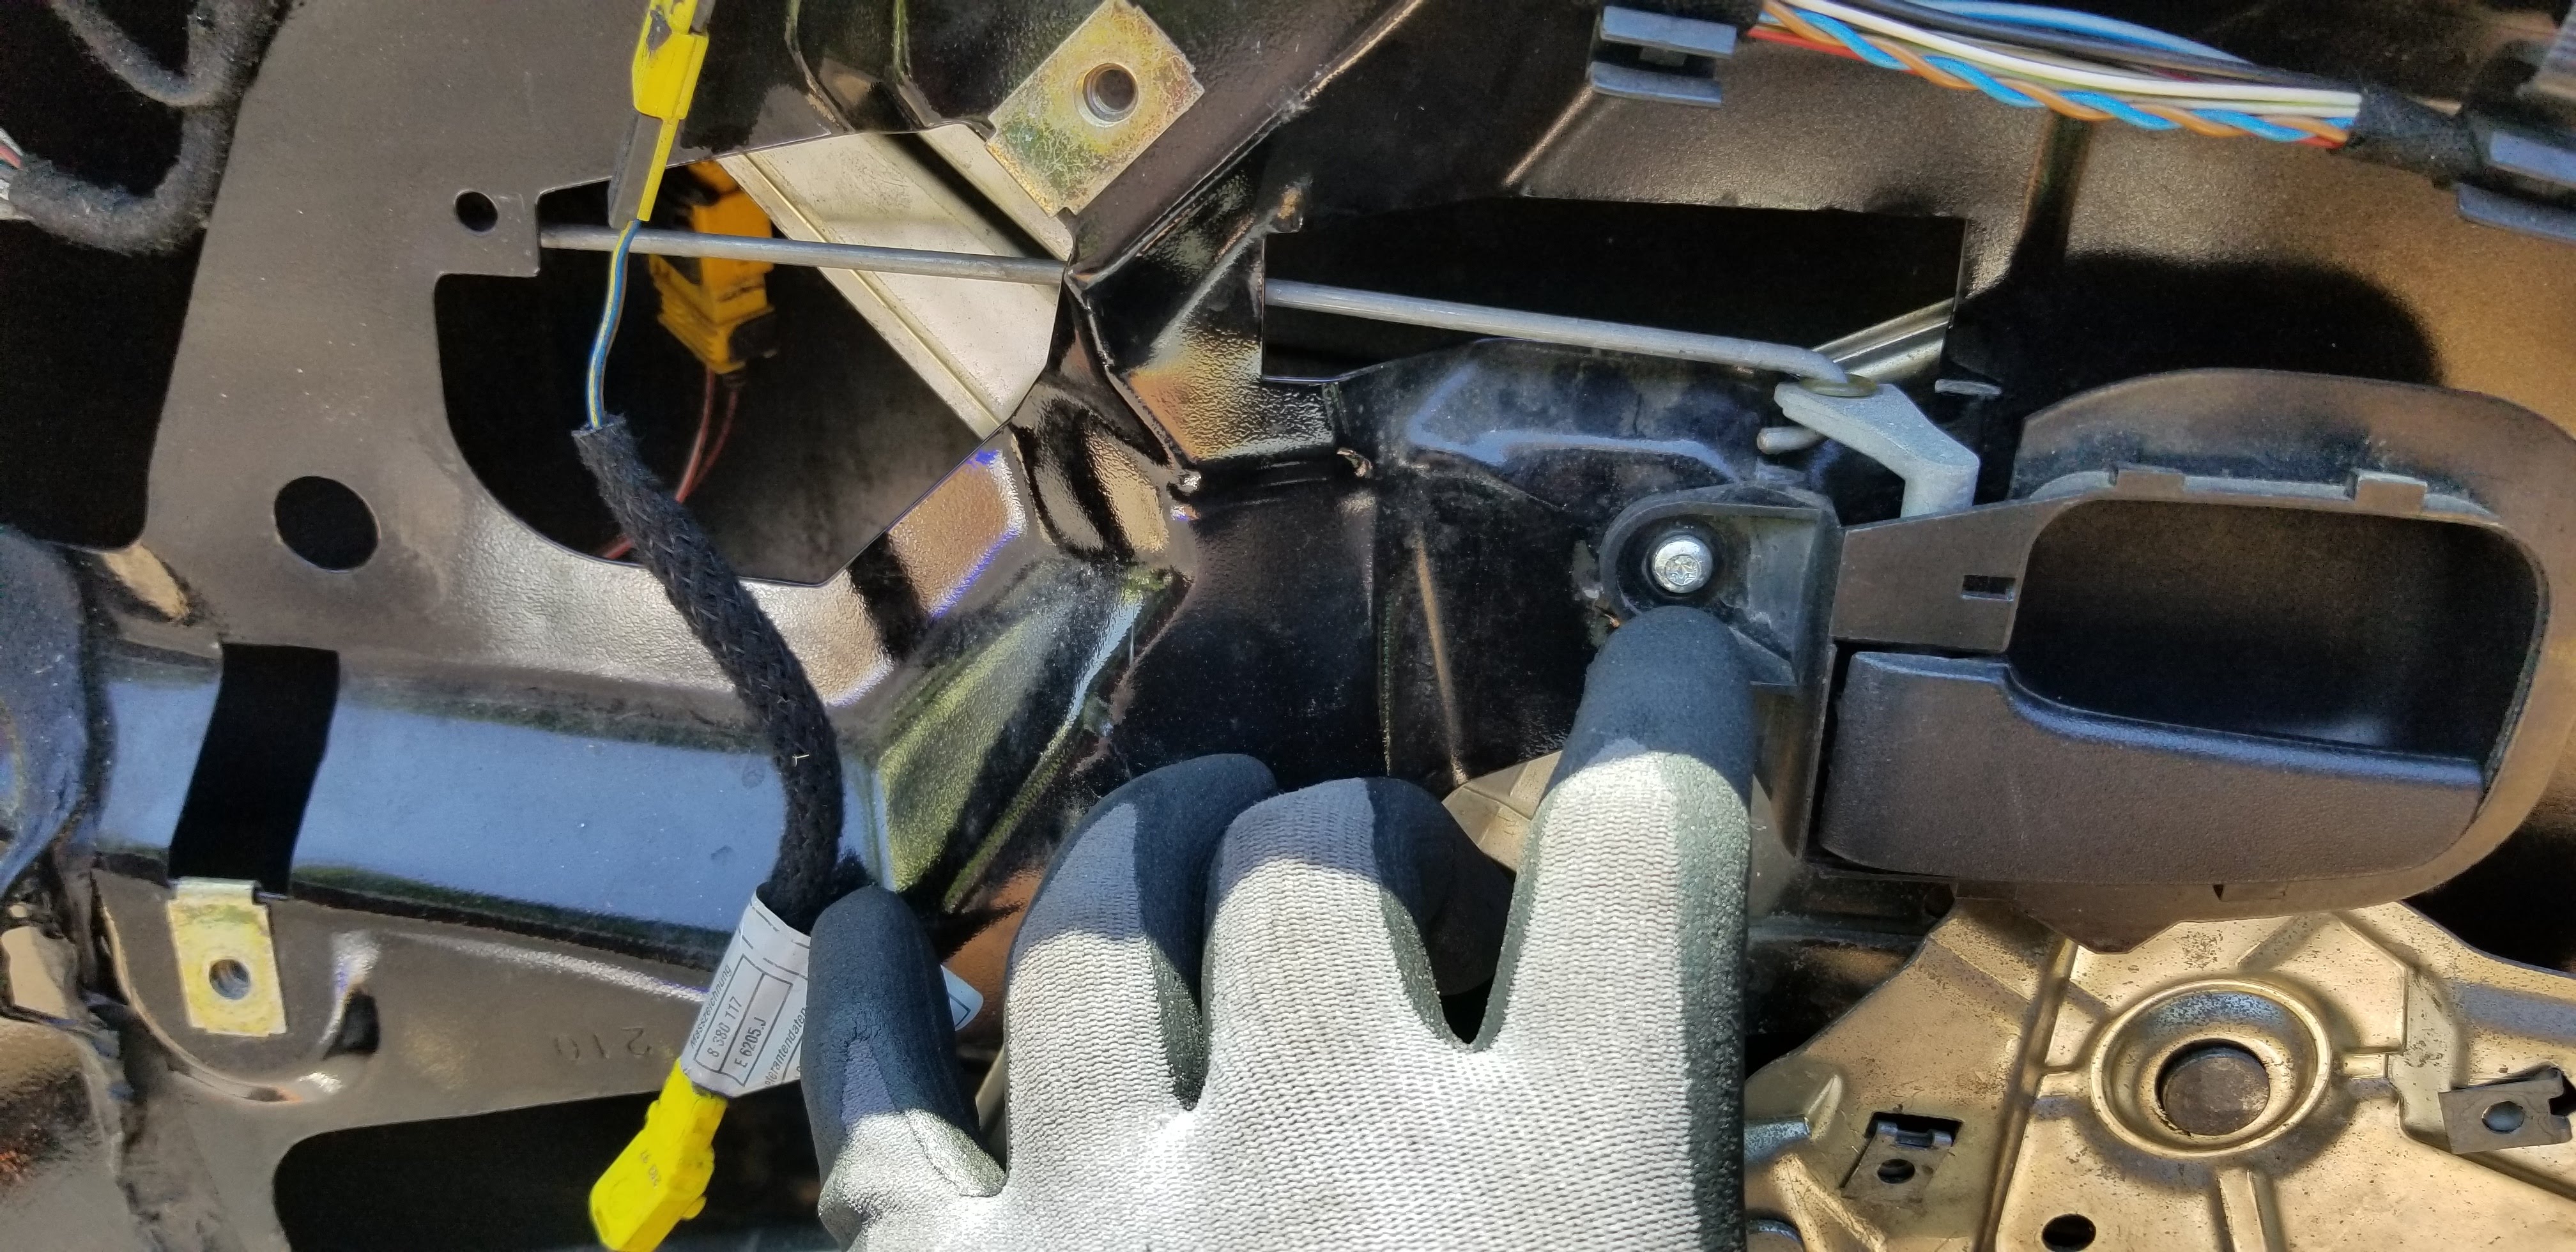
The door handle is held to the door panel with a T25 torx screw. Once the screw is removed, you can remove the pull rod from the door handle and place it to the side. Next, disconnect the window motor by depressing the tabs on the two connectors.
Step 3: Disconnect the window from the window regulator
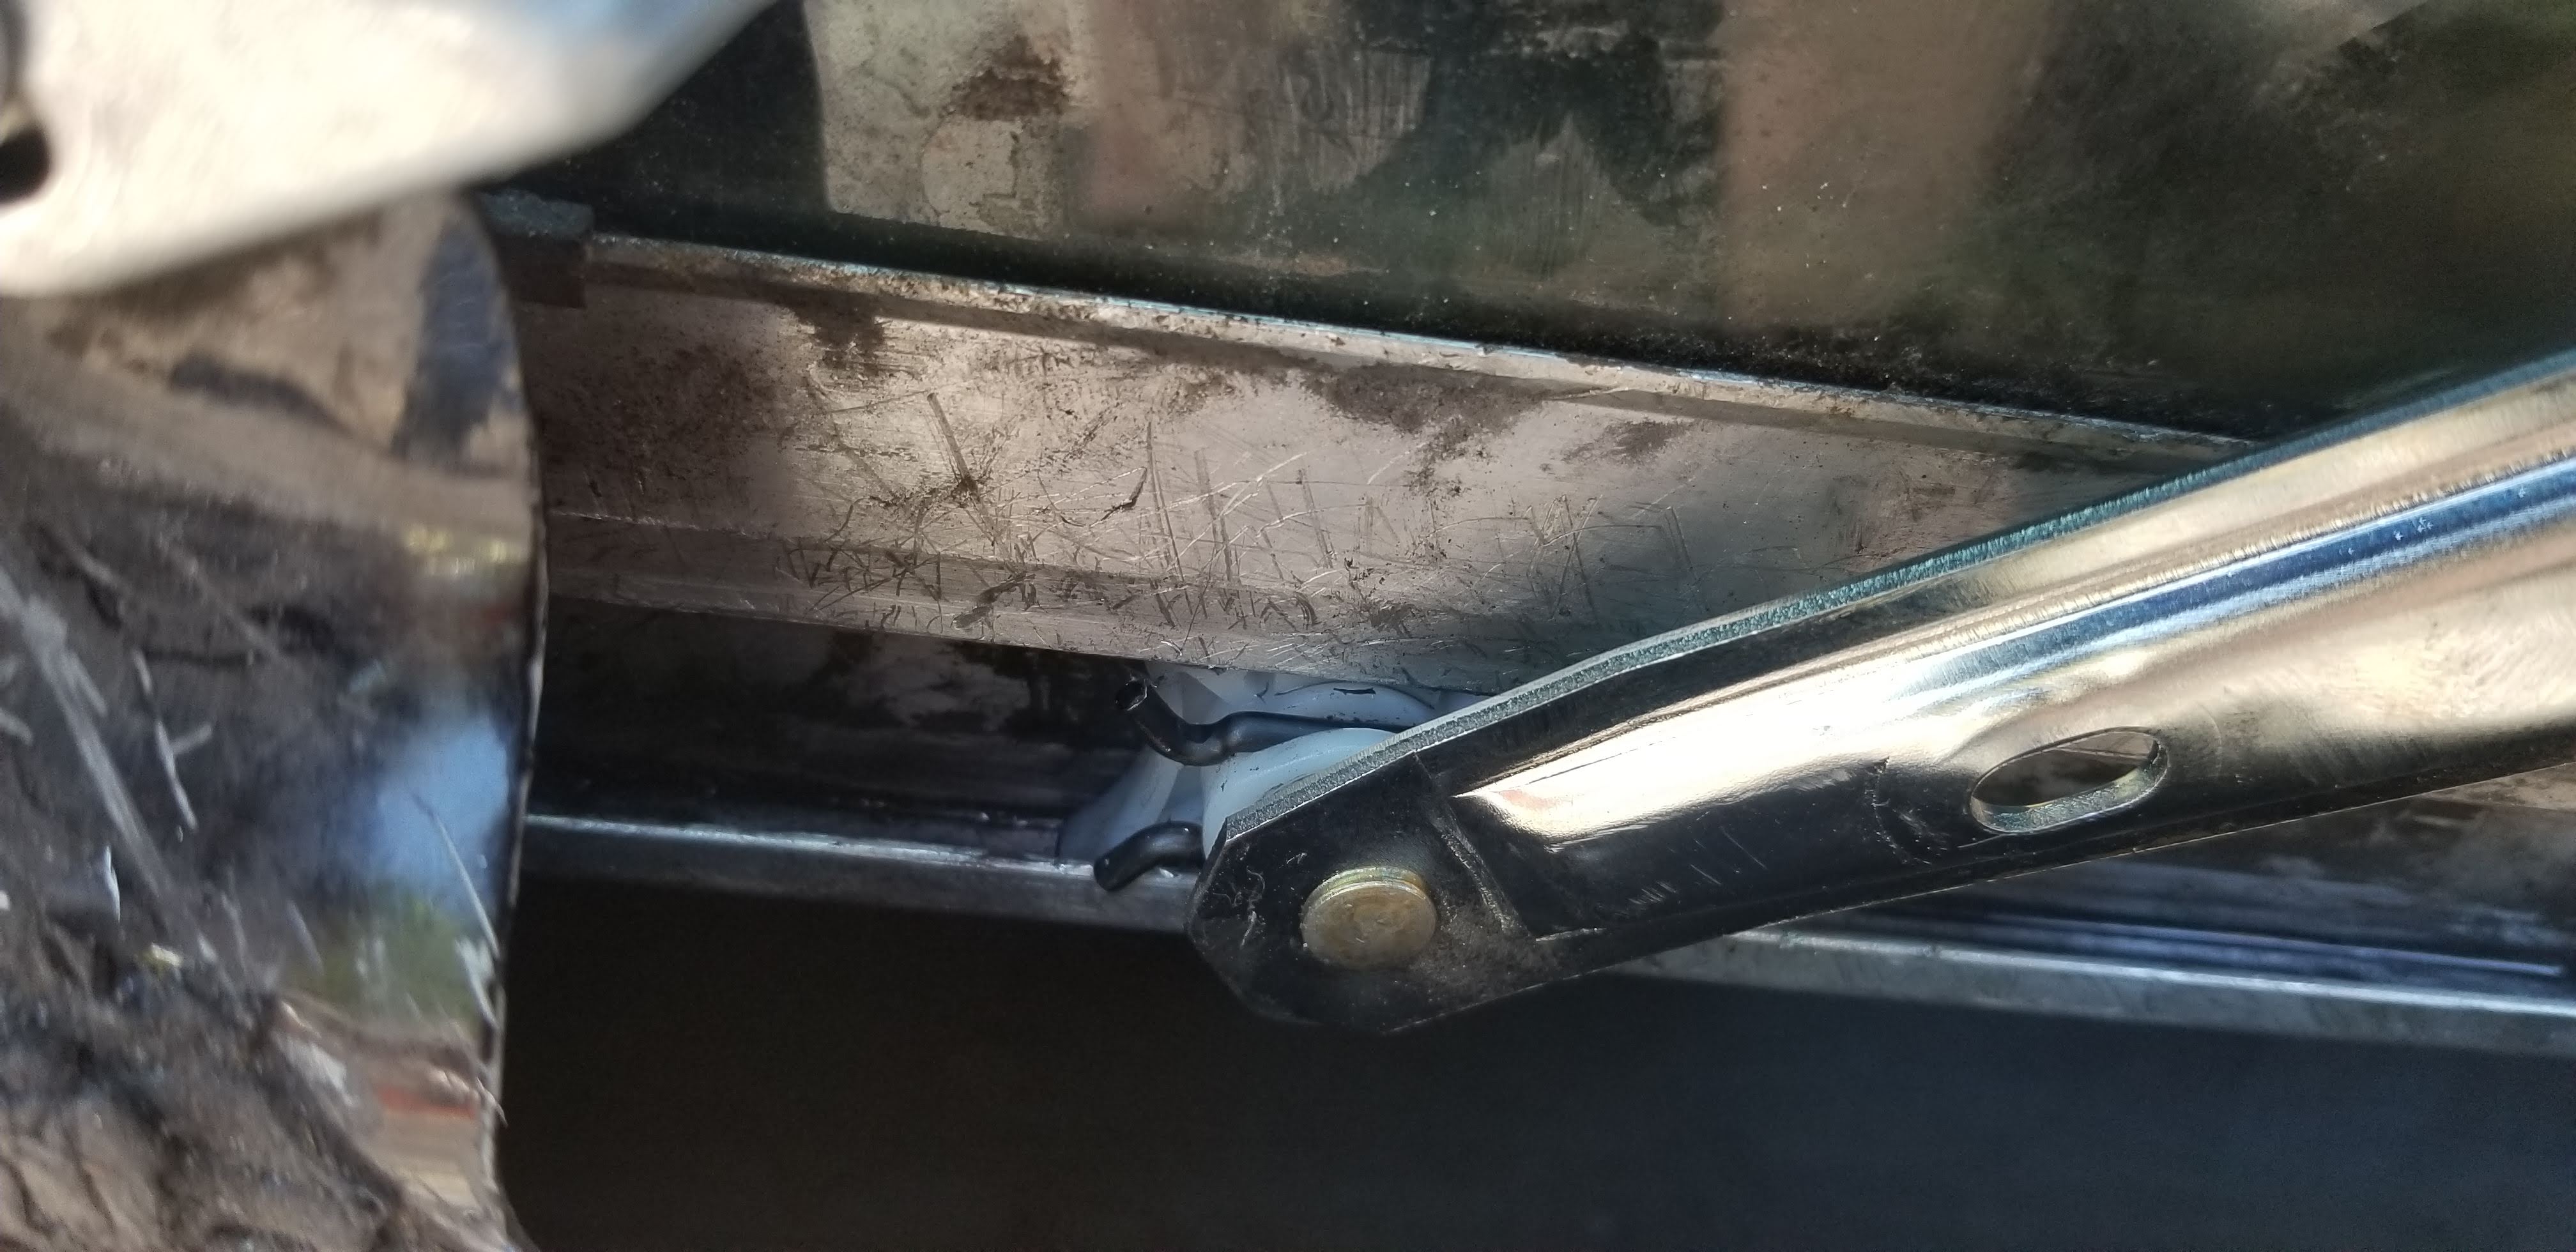
There are two sliding tabs which connect the window regulator to the window. This is essentially a ball pivot and the plastic guide piece slides along these guides attached to the window. These pieces are held to the regulator with a locking clip. Using an angled pick you can easily pull the locking clips out. Sometimes the clip can go flying once released so you'll want a magnetic pickup tool to reach inside the door panel to retrieve them.
When attempting to do this job, I personally prefer to remove the window from the door. To do so, you'll need to remove the inner upper window seal which is held to the door panel with metal clips. Using a trim panel tool, depress the clips and remove the seal. Now you can easily pull the window up and out of the door panel.
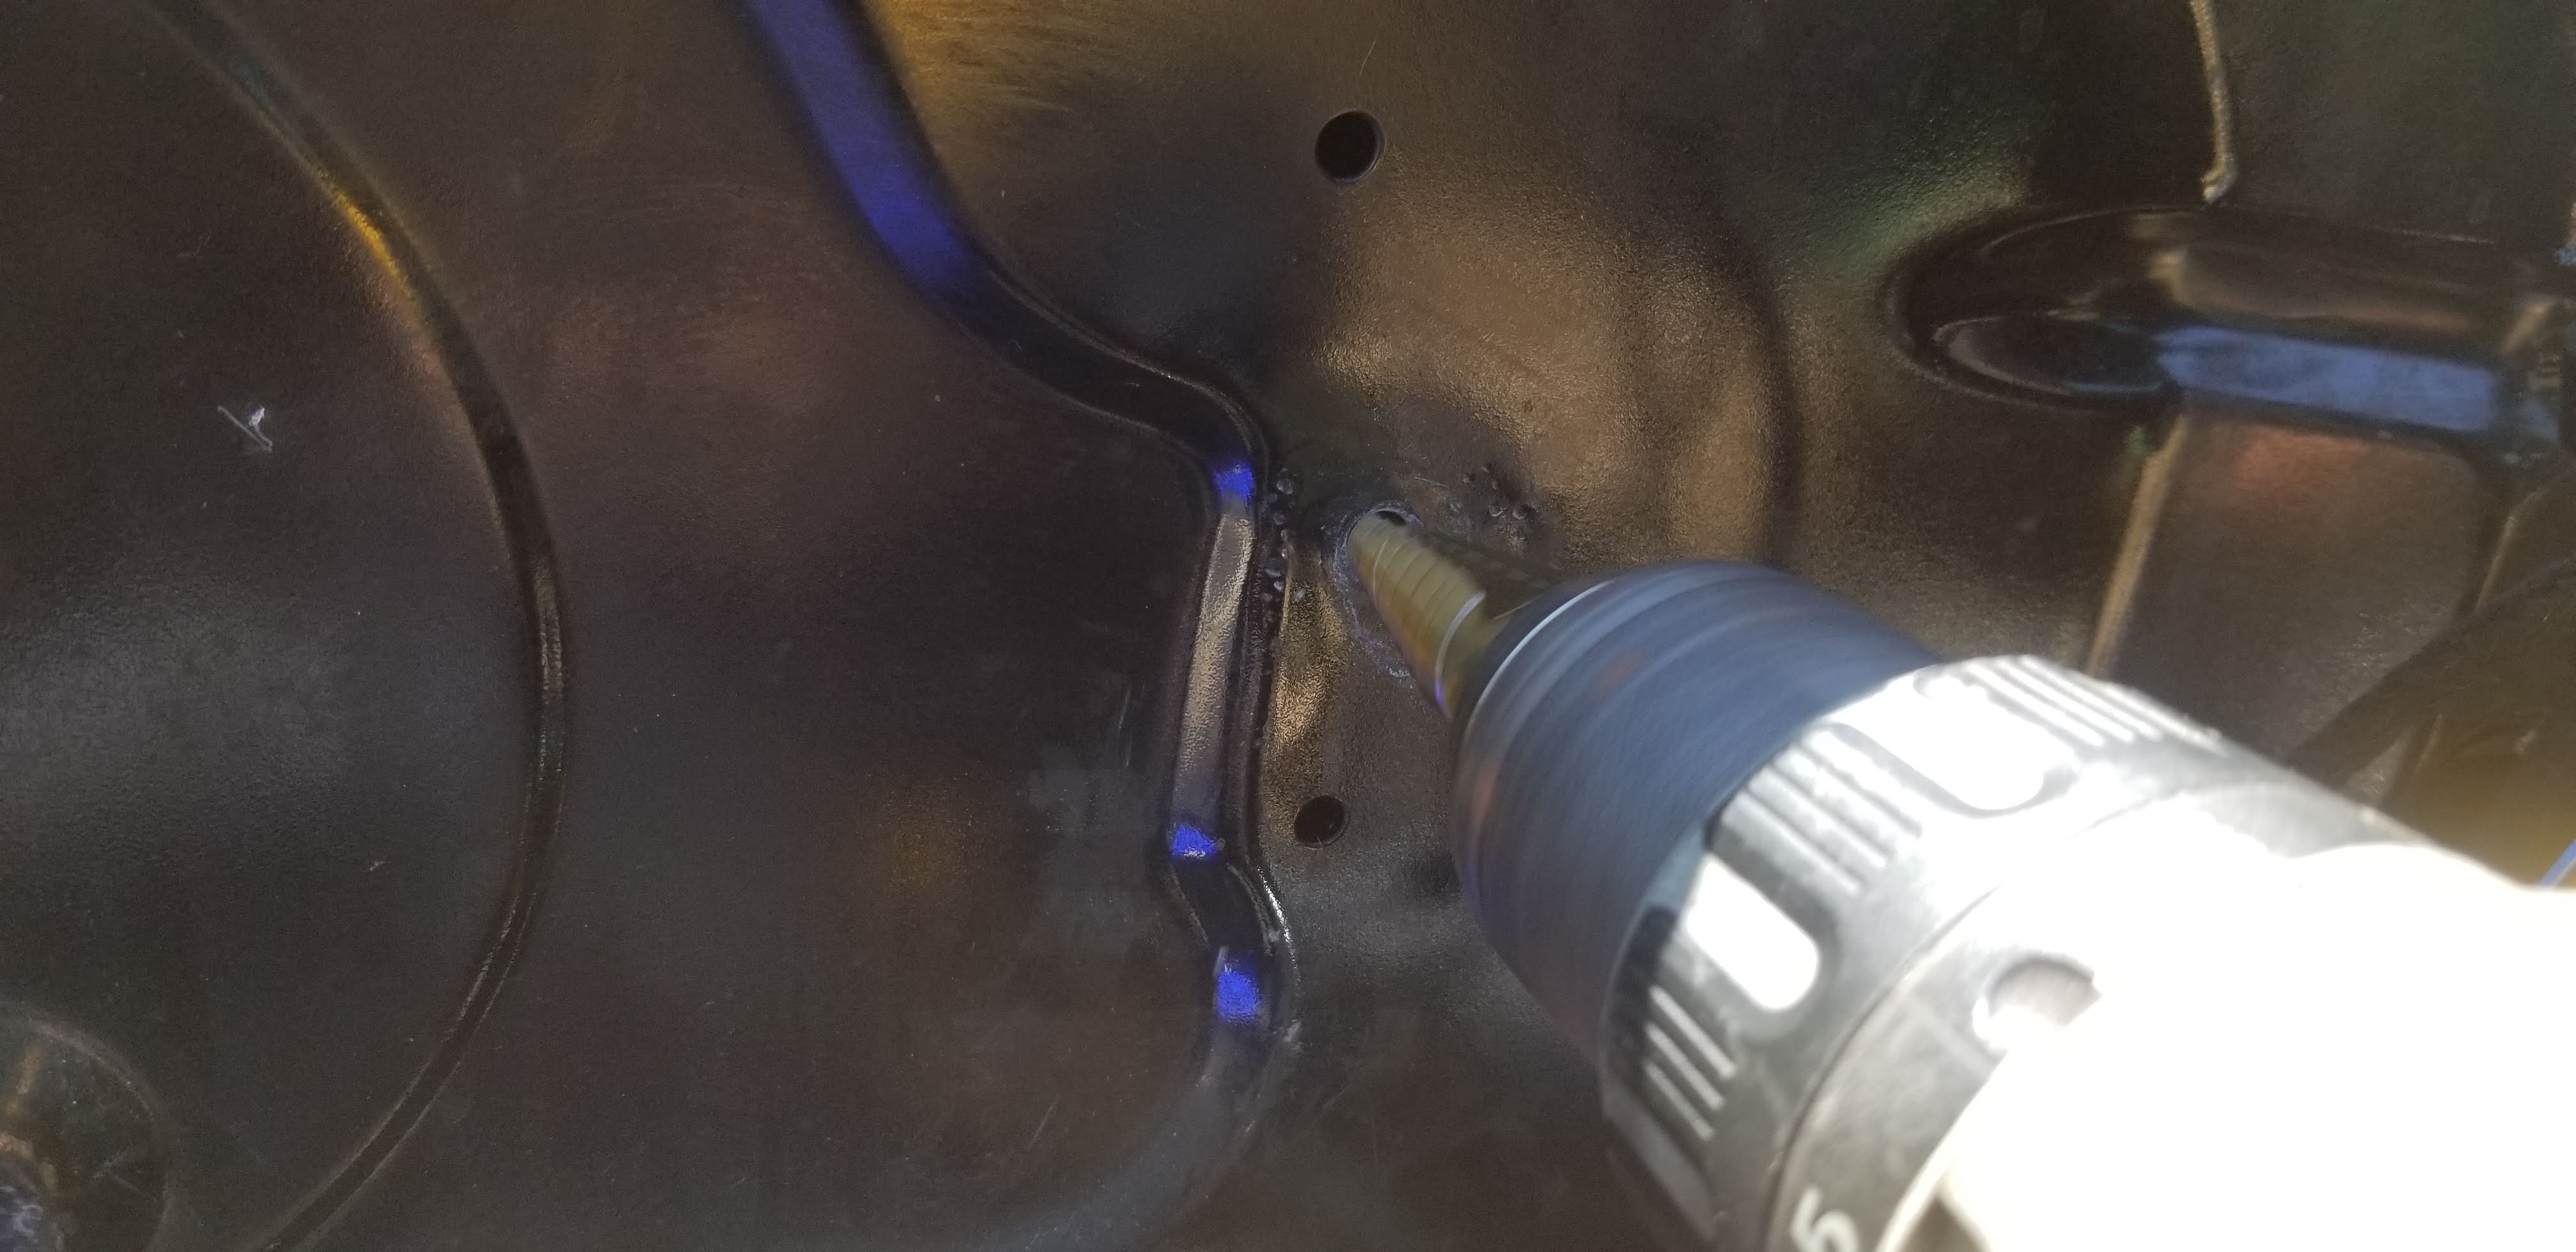
Step 4: Remove the window regulator
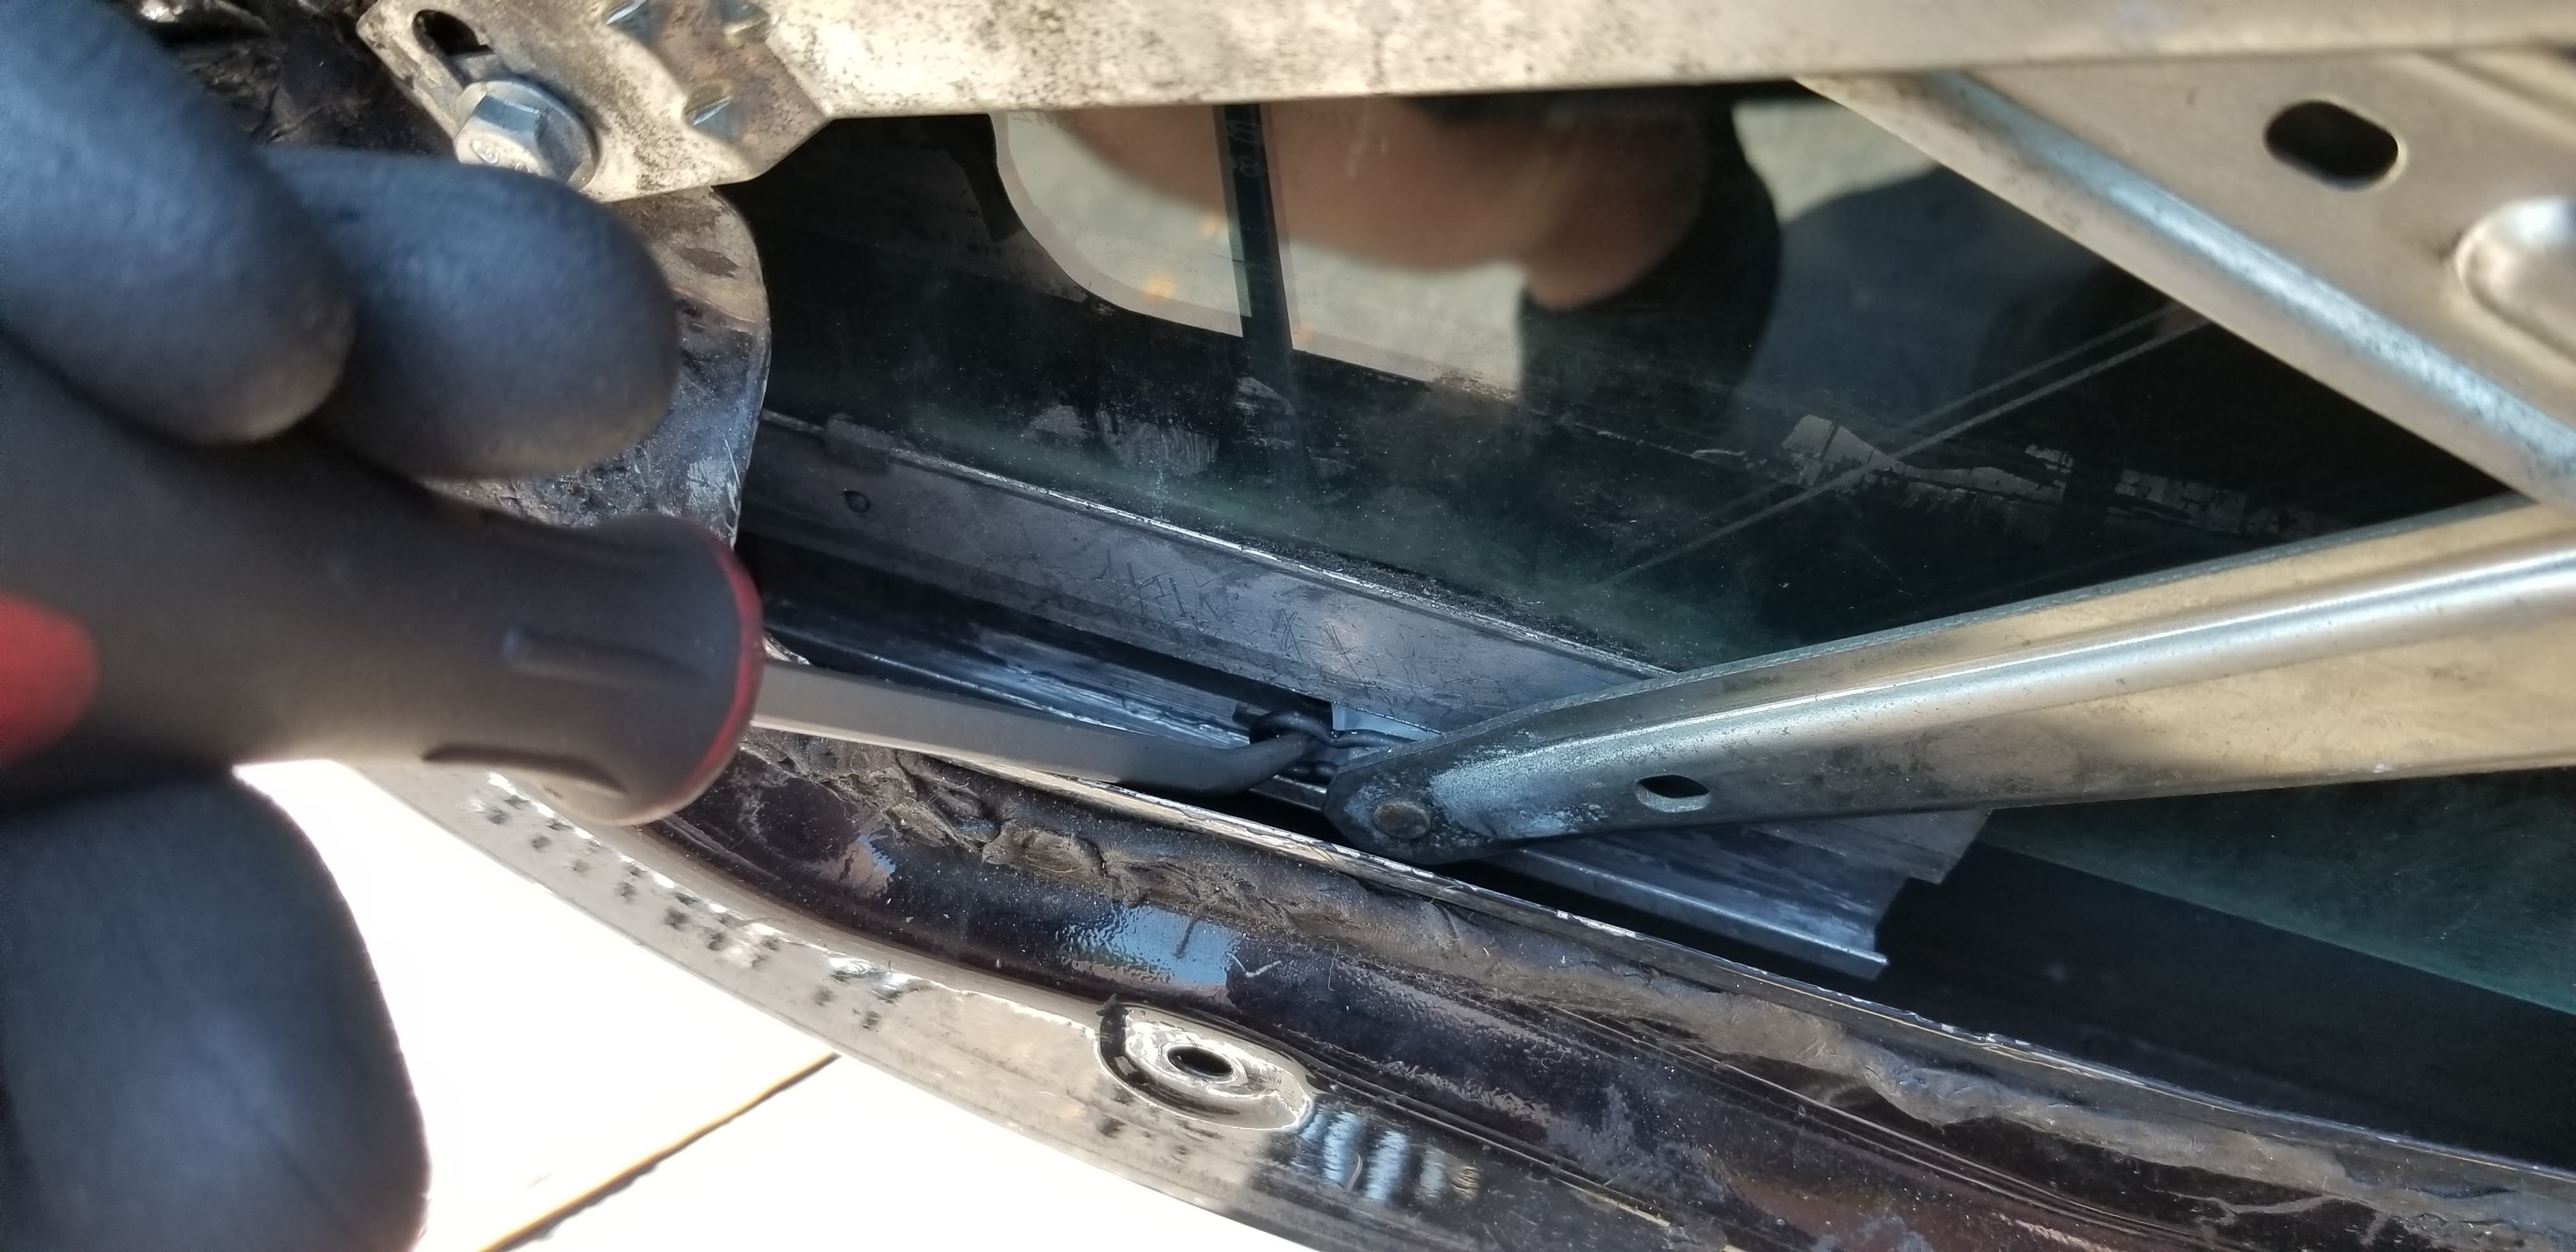
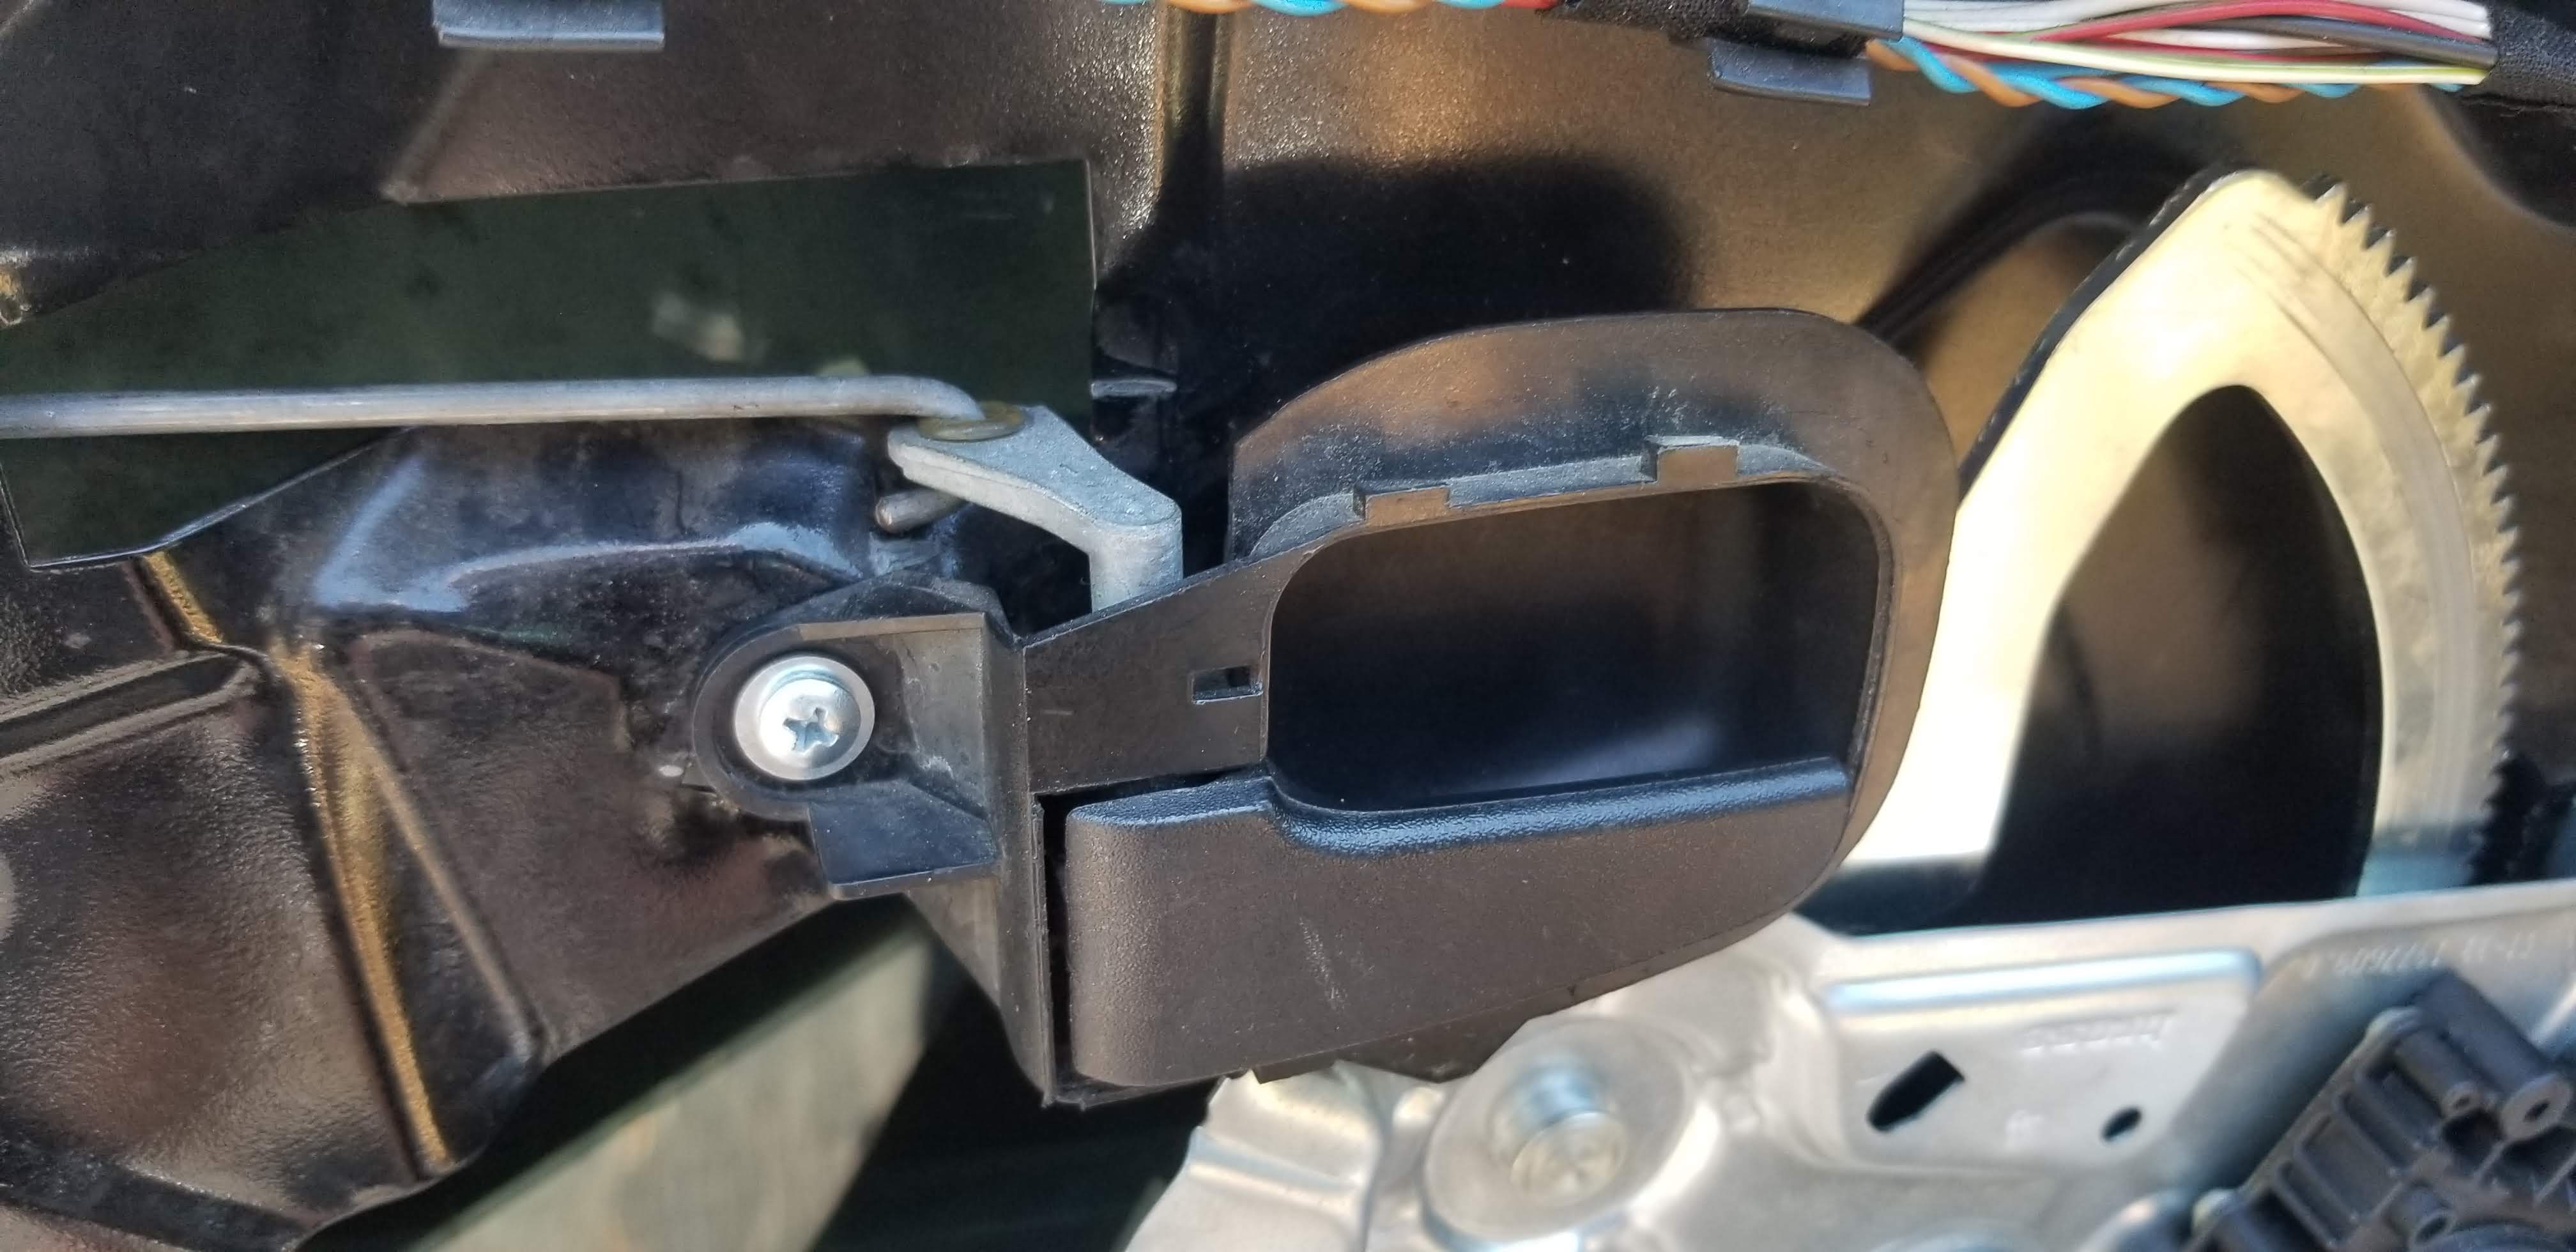
Originally installed window regulators are riveted to the door panel. These rivets can be a real pain to remove as they will generally start spinning as you start to drill them out. If you have a dremel or die grinder it may be best to grind down the head of the rivets. There are four of these rivets in total. If the window regulator was replaced, it may be secured with regular M6 bolts; if this is the case, removal will be much easier. Once the four main mounting rivets/bolts are removed, remove the 10mm lower bolt that secures the guiding arm of the regulator to the door panel. At this point, you can remove the regulator as a whole assembly.
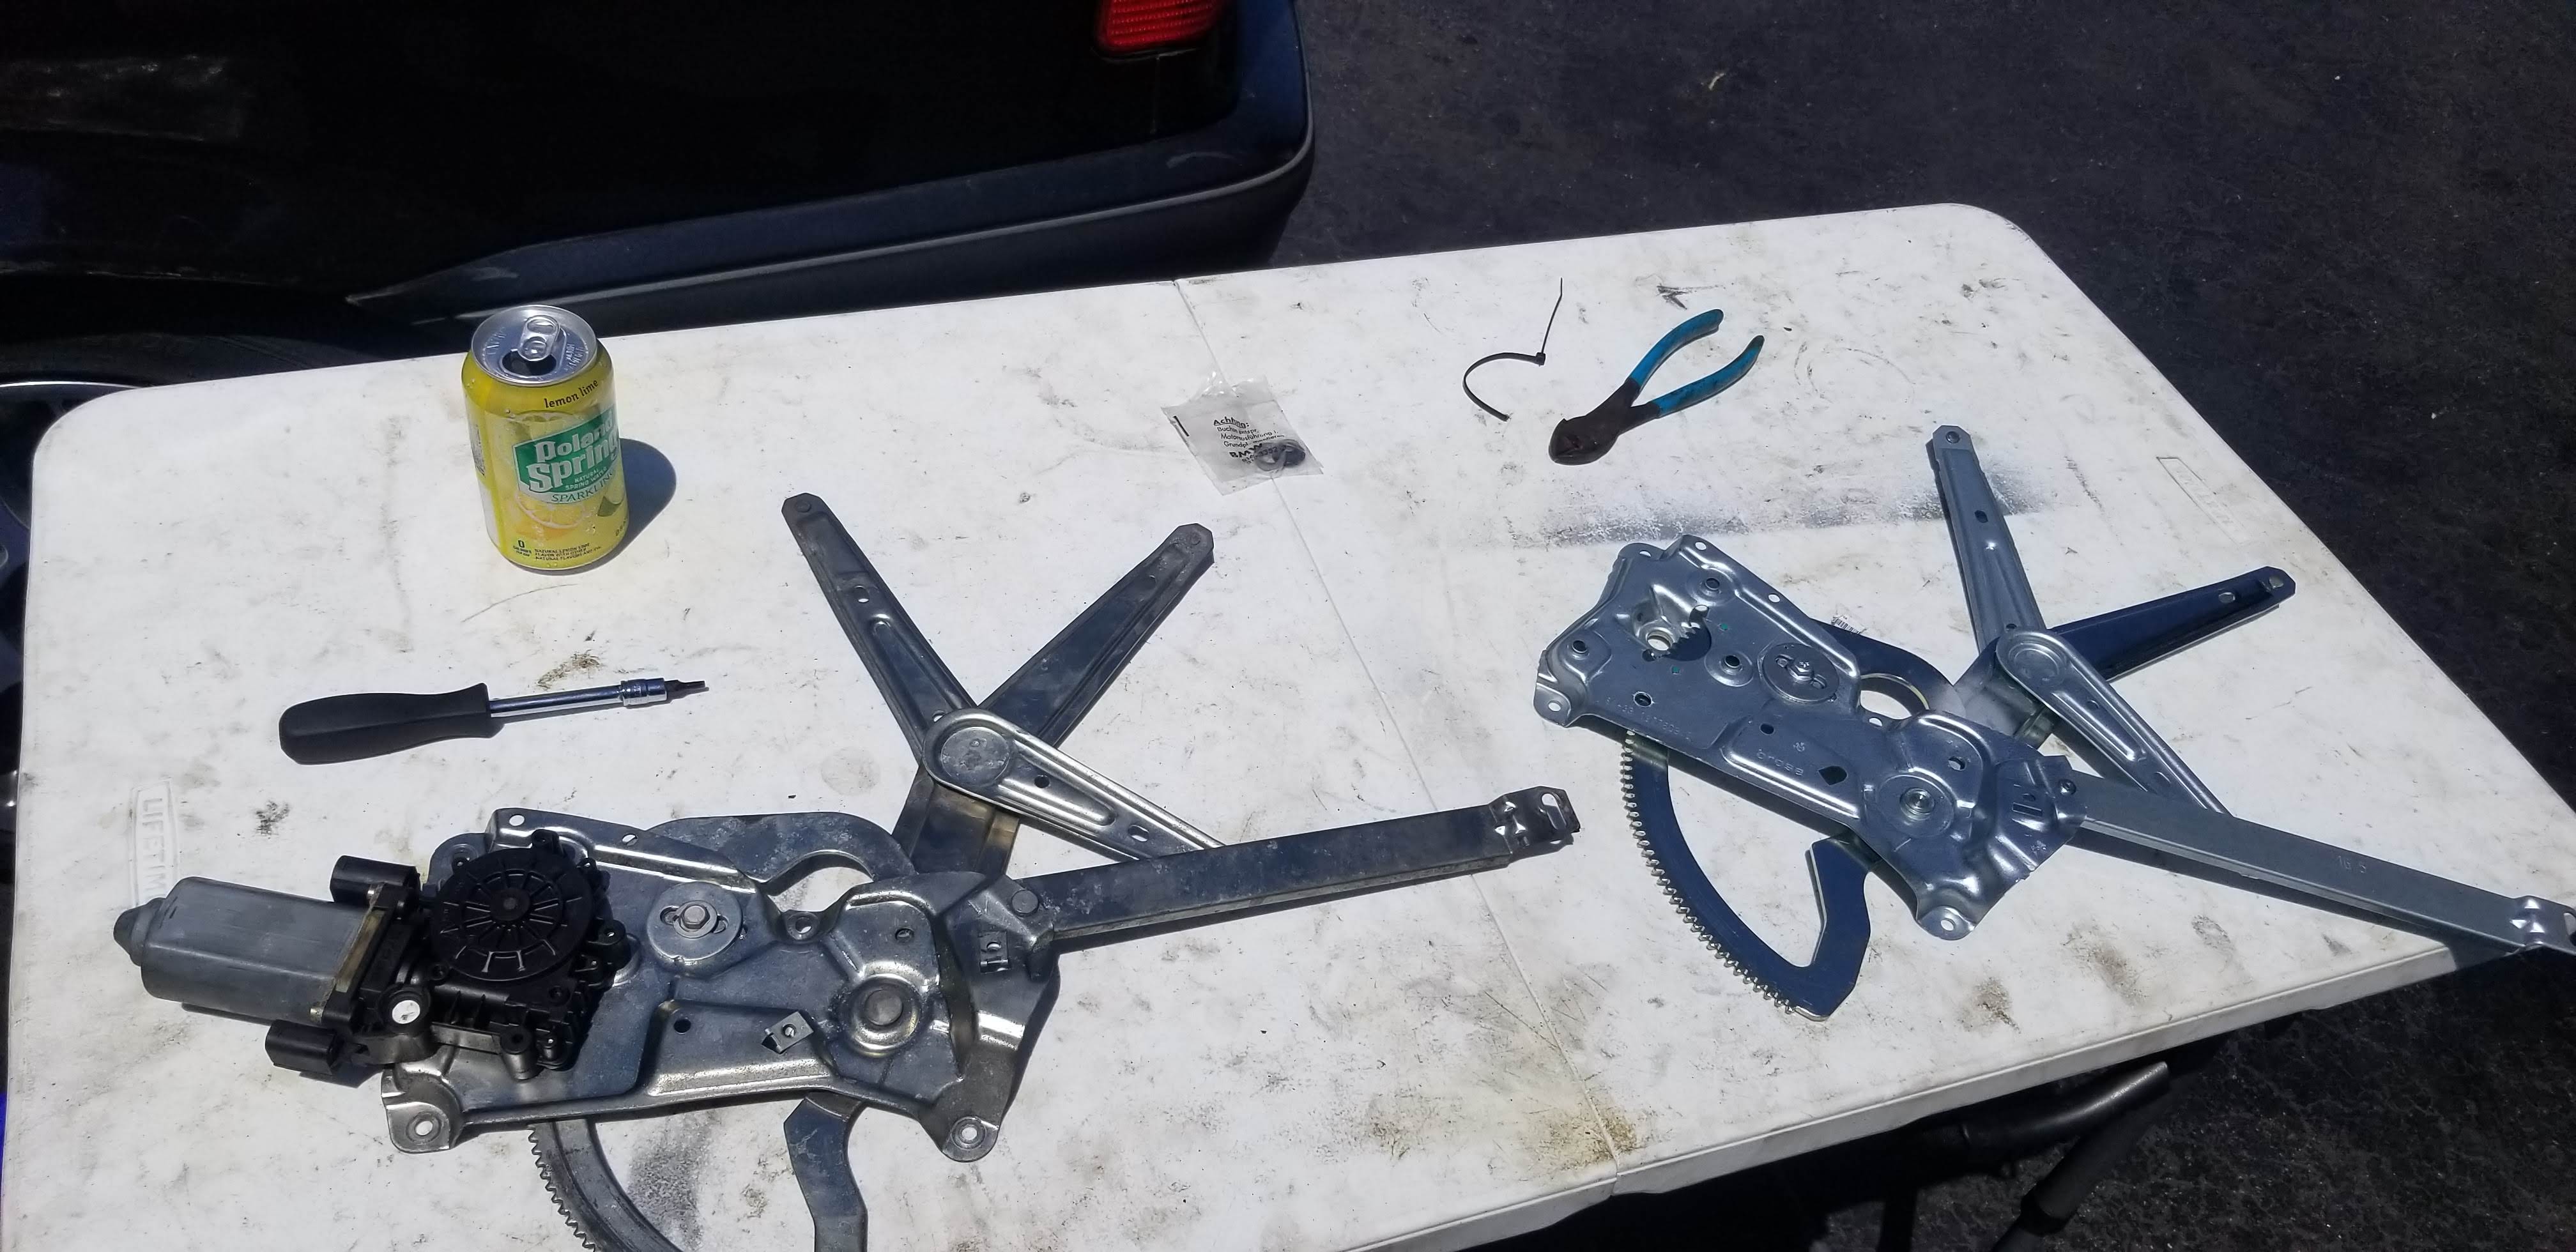
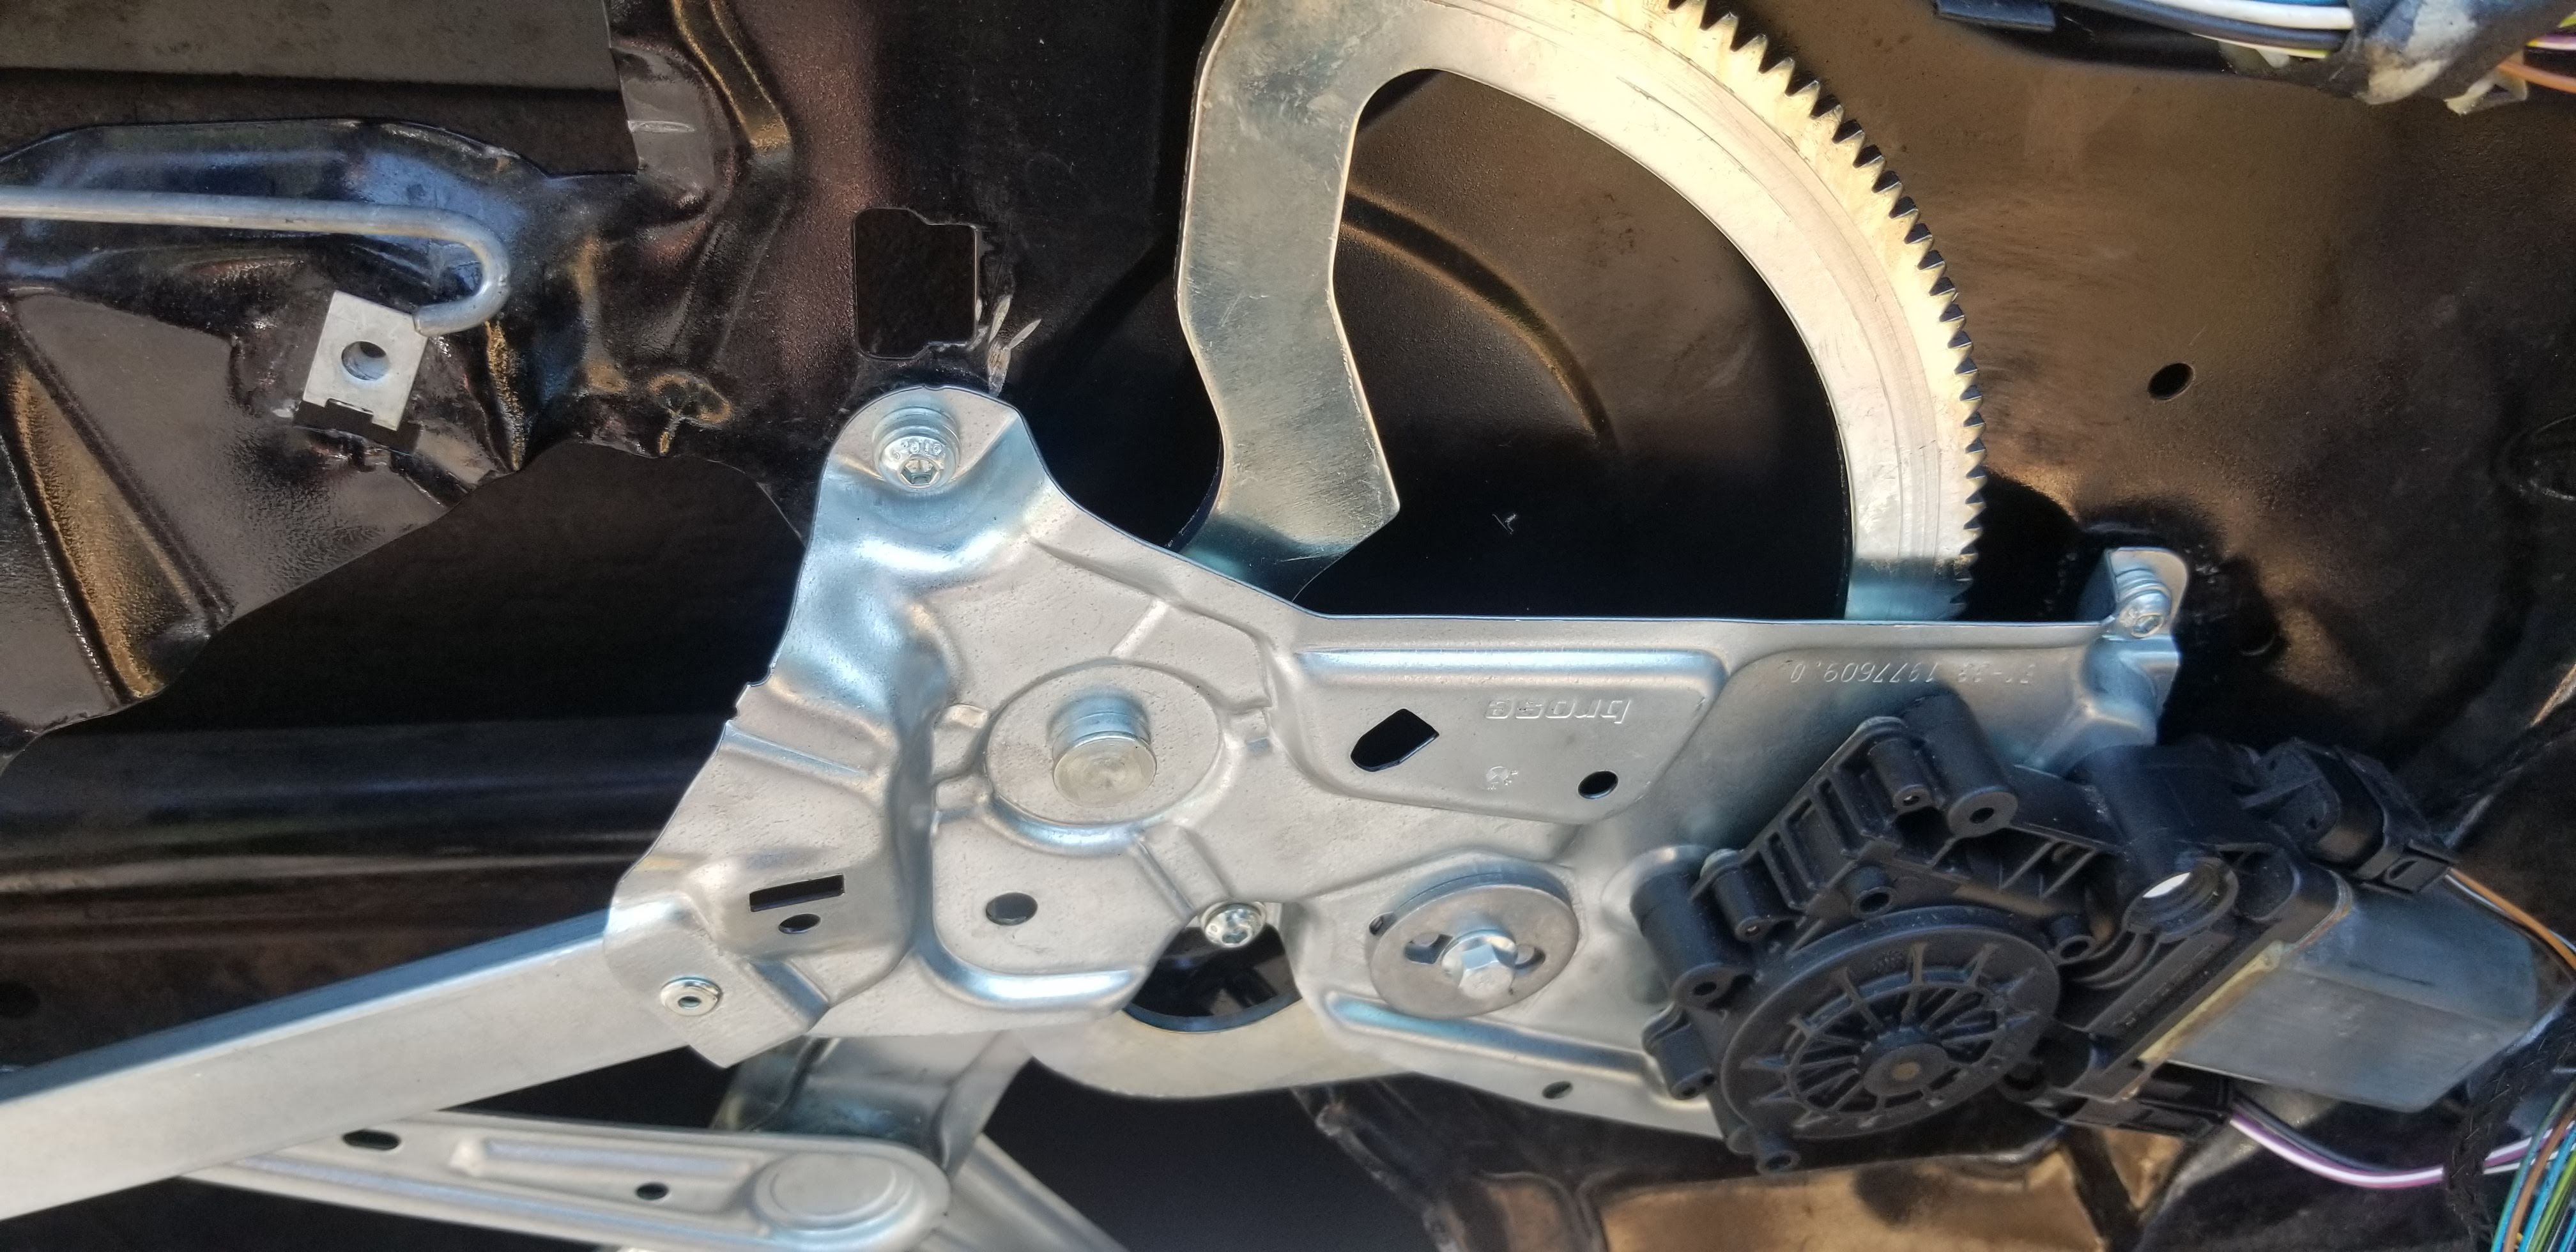
Step 5: Install the window motor onto the new regulator
I always compare parts when installing new ones to make sure the new one is correct and there isn't a notable difference which may affect installation. If you are reusing the window motor from the removed regulator, you will need to release the three T20 torx screws. Once the screws are removed, the window motor slides off.
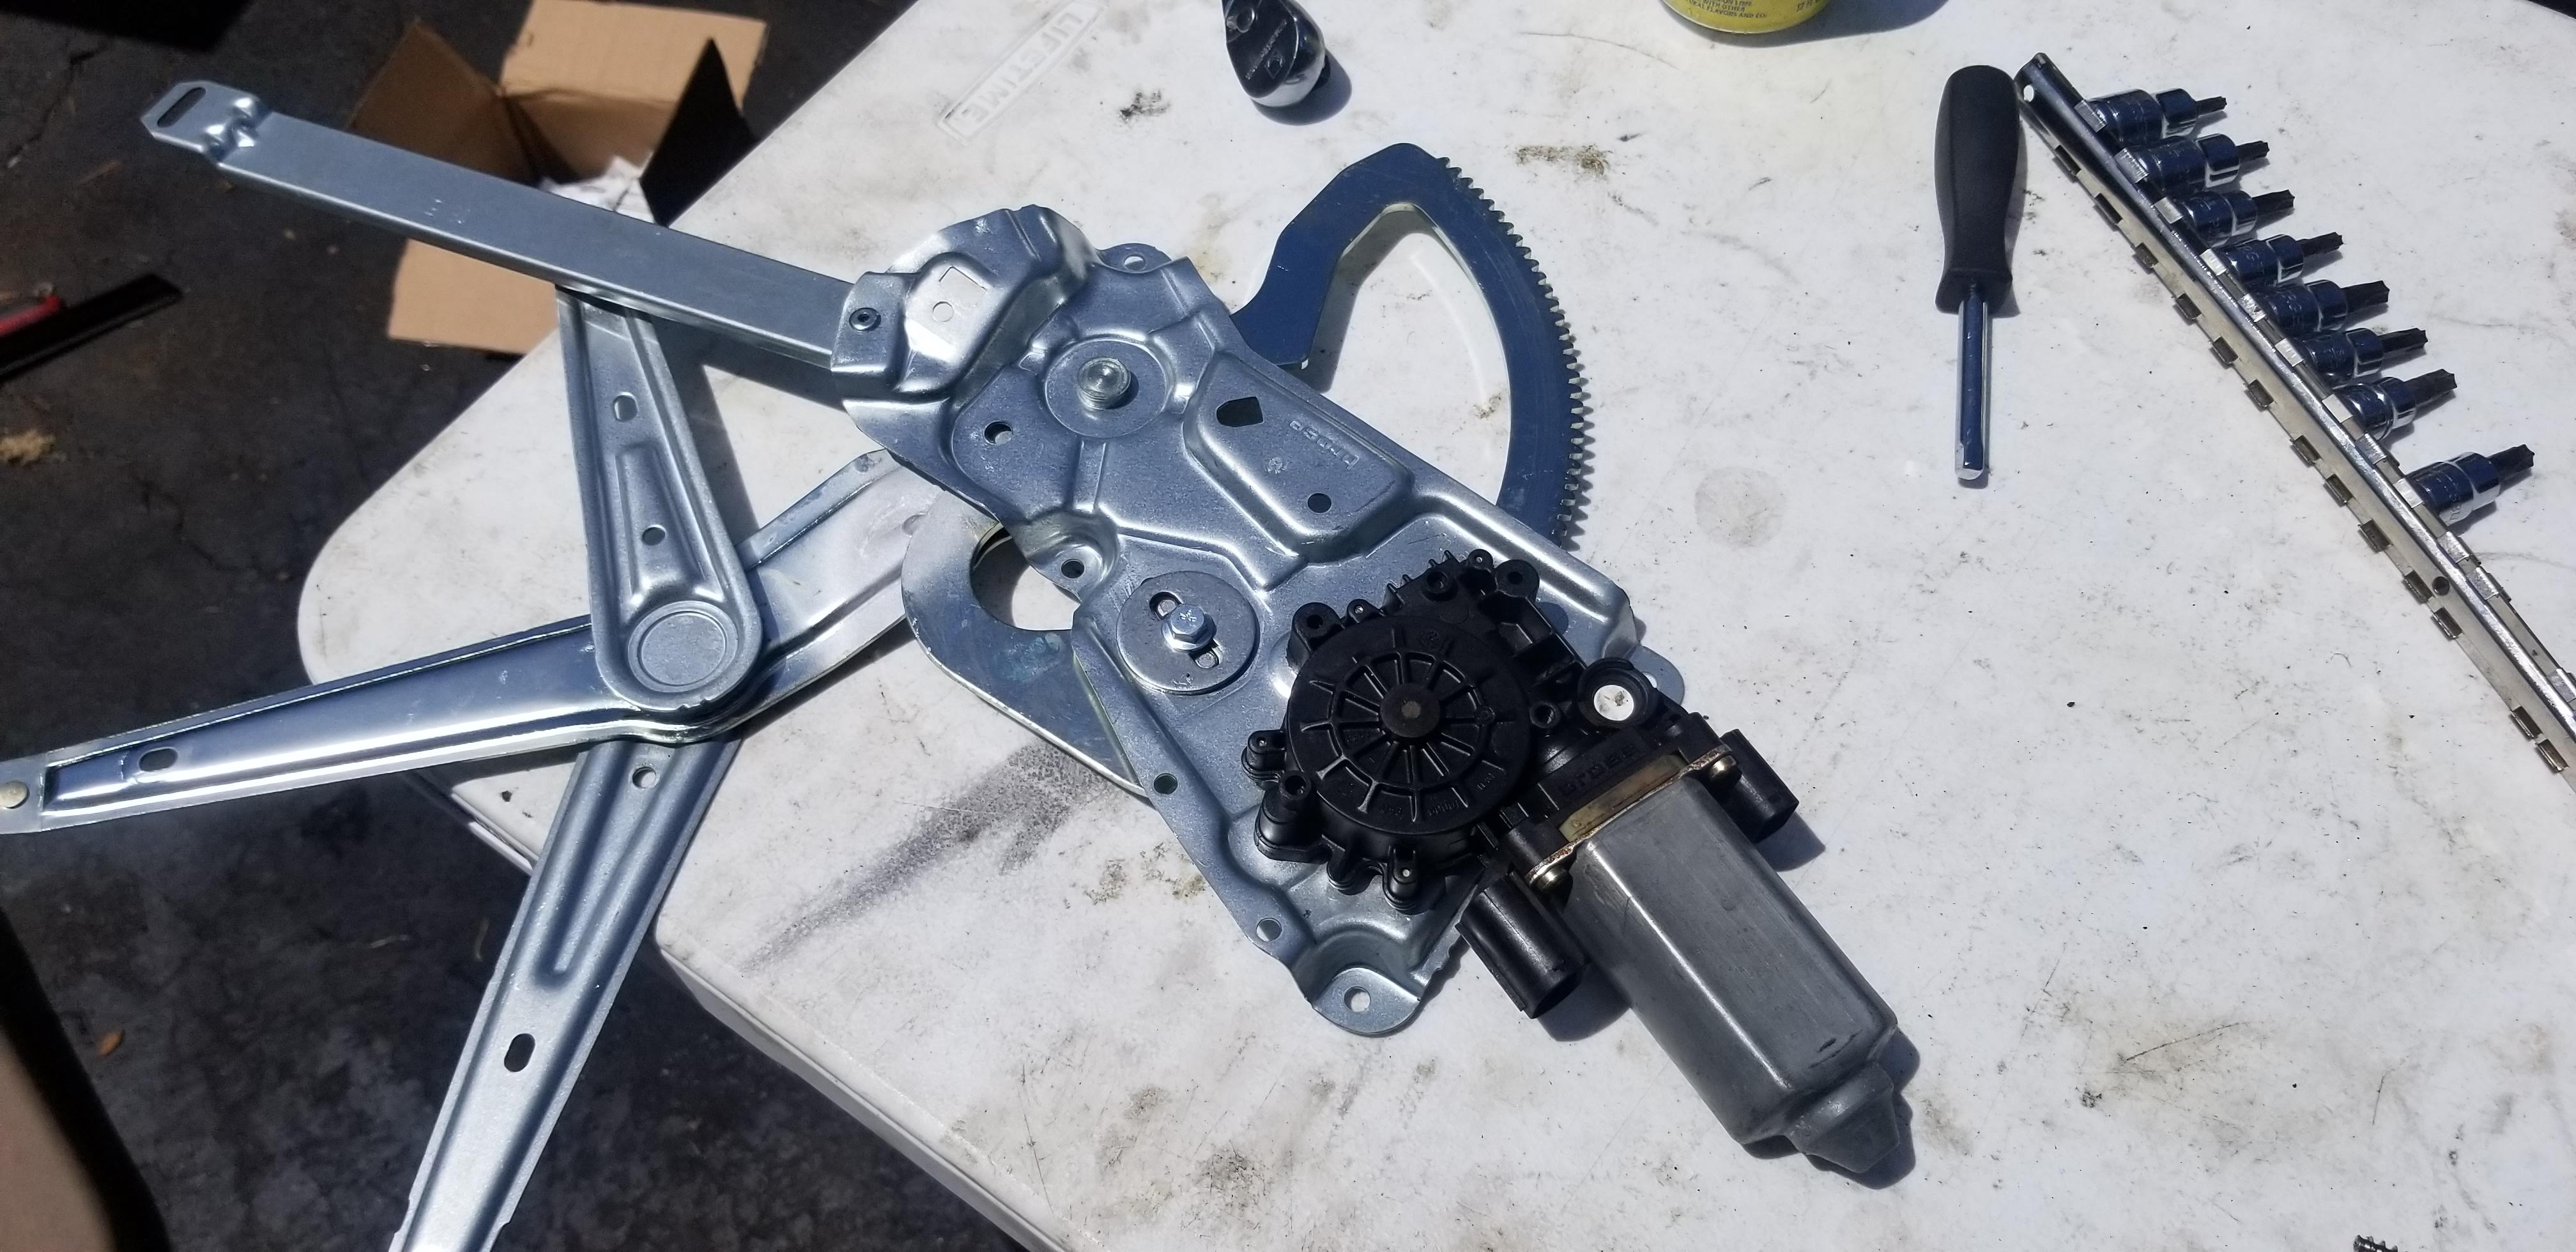
When installing a new window regulator note the Genuine BMW replacements include two replacement motor bushings for the "gear housing". You will need to use one or the other. In my case I used the rubber bushing. Before installing the window motor onto the new regulator, install the bushing by tapping it into place. Then place the window motor onto the regulator making sure the window motor gear engages with the teeth on the regulator. Use the original screws to secure the motor to the new regulator.
Step 6: Prep the door panel for installation of the new window regulator
Before installing the new regulator on the BMW E36, I make sure to clean out the inside of the door panel of any debris with a vacuum cleaner. In addition to that, I check the condition of the window guides as well to make sure they are properly seated. This is also a great time to lubricate the guides—I used silicone spray to lubricate the guides which not only helps reinstalling the window but also allows the window to slide smoothly when the regulator is operating the window.
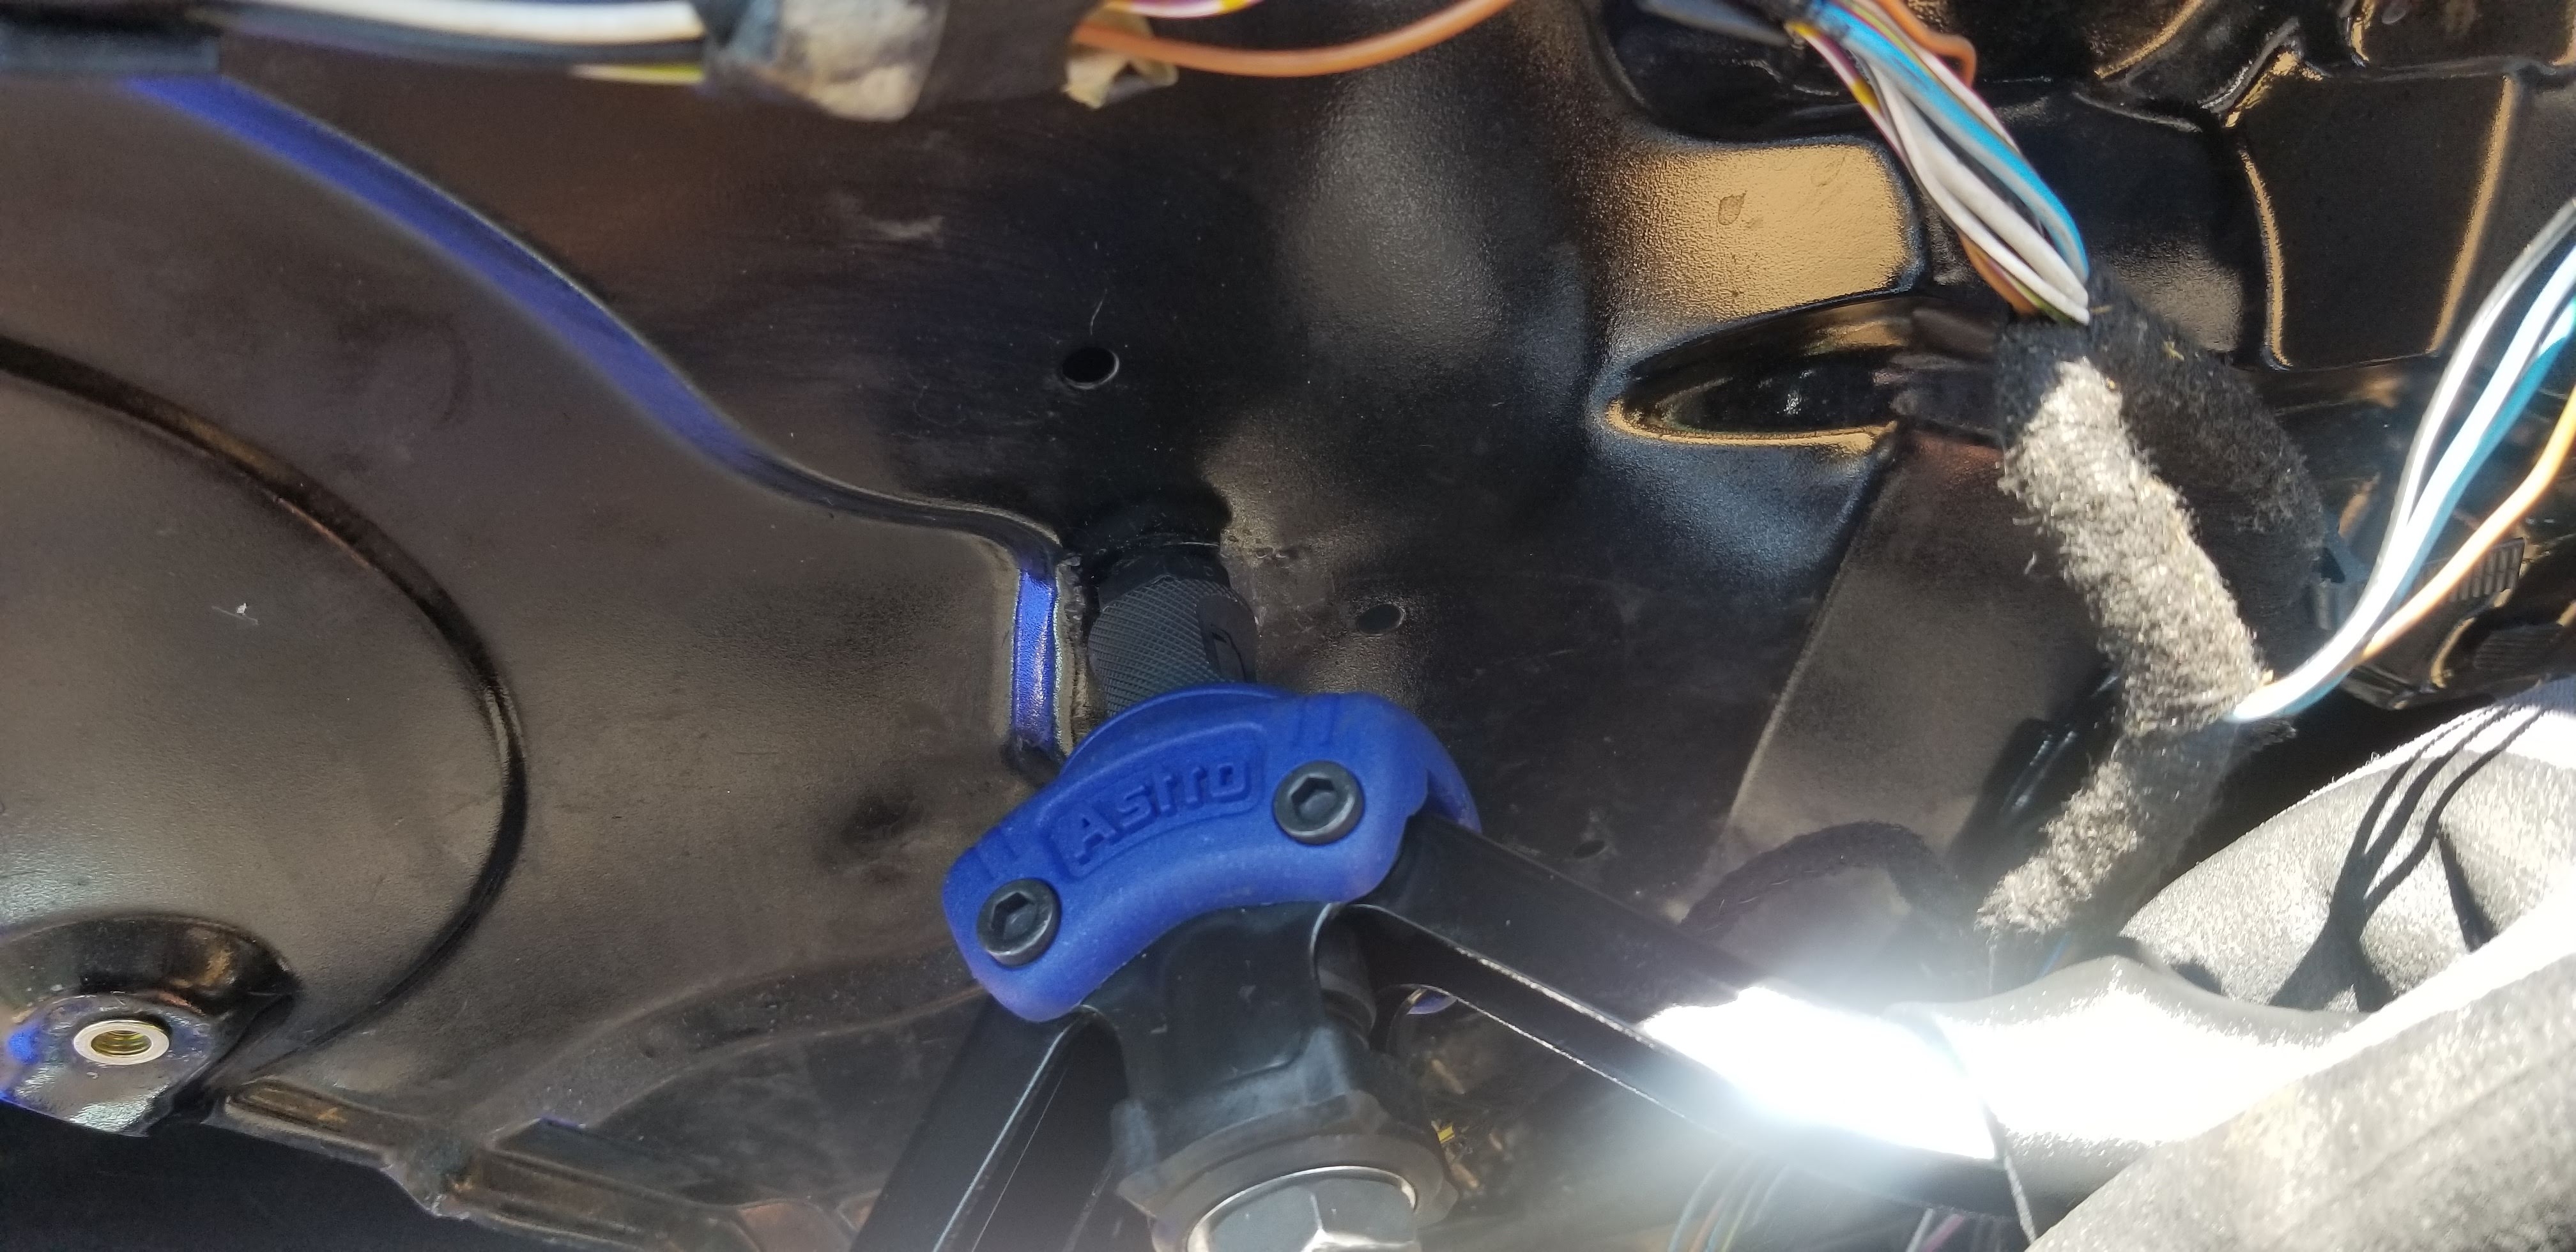
In regards to mounting the door panel and mounting the new regulator, I don't want to rivet it in place again and I also don't like the idea of using regular bolts as some of the bolt heads can be difficult to reach inside the door panel. Instead, I used M6 rivnuts to mount the regulator in place. I drilled the holes in the panels slightly large to install the riv nuts. This makes removal of the regulator in the future a piece of cake and allows for a clean install.
Step 7: Install the new window regulator
Line up the four main mounting holes and install the fasteners. I used M6x12 button head screws and M6 washers in combination with the rivnuts to mount up the regulator. Installation of the regulator worked nicely like this and like I said before, this will make for easy removal later on if need be. Once the regulator is in place, plug the window motor back in and make sure the two arms for the regulator are towards the bottom position (you can do this in advance). Also, make sure the guiding arm is installed loosely with the 10mm bolt. This will require adjusting later to make sure the window moves up and down as straight as possible.
Step 8: Finishing the installation in the door panel
Slide the window back into the door (if removed) and make sure it's sitting correctly in the window guides inside the door panel. You will want to make sure the sliding clips, which secure the window to the regulator, are in the sliding guides. Once lined up with the regulator, make sure the pivot pin clicks into the regulator clips. If these are not properly bottomed out, you will not be able to easily or properly install the metal retainer. The retainers will click into place and the window will be secure.
Before reinstalling the door card or door handle, check operation of the window regulator; what you're looking for is smooth operation. If any adjustments are needed, you can center everything up via the guide arm. Once the window operates smoothly and evenly, tighten down the 10mm bolt. Reinstall the upper inner window seal by sliding the clips back into place on the door panel.
Step 9: Reinstall the inner door handle, vapor barrier, and door card
Start by reinstalling the inner door handle first—it pretty much just fits into place. Make sure to reinstall the screw that secures it. Next, the vapor barrier will go into place on the existing bead of butyl adhesive. Last, replace any broken or damaged door card clips prior to installation. Line up the door card clips with the holes in the door panel and gently tap into place.
That's it, your window should raise and lower as it did from the factory. This is a job that everyone dreads, but as long as you followed the steps, it really isn't as horrible of a project as everything makes it out to be.
If you'd like to read more about my BMW E36 track car build, follow this link for the rest of the build series. If you have any questions about the process or any jobs that I should do, feel free to leave them in the comments below.