- 04/05/2021
- 5 Min Read
- By: Christian Schaefer
How To Replace A BMW F30 Serpentine Belt & Tensioner (BMW N20 & N26 Engine)

BMW's electric power steering and electric water pump simplified the rotating components on the front of their N20 and N26 engines. Now all the belt only spins the alternator and the A/C compressor. Even with the reduction in belt-driven ancillaries, ensuring that your serpentine belt and tensioner are in good condition is vital to the vehicle's health. A snapped belt from old age or a seized tensioner pulley can damage components around it and will cripple your battery charging system.
Replacing the belt yourself is almost too easy. Now that the belt drives just two accessories, the belt system is small and straightforward. The service interval for the belt and tensioner is 80,000-miles. If you're close to that mileage, follow along below as we take you through the steps of replacing the belt and tensioner yourself.
BMW models and years applicable:
|
|
|
|
|
|
|
|
Symptoms of a failing BMW N20 serpentine belt and tensioner:
- Squealing noise from the front of the engine
- Slapping noise from the front of the engine
- Alternator warning coming on inconsistently
The serpentine belt only drives the alternator and A/C compressor because of the electric power steering and water pump. The belt is smaller than on previous BMW engines, and the belt system consists of only the tensioner. The belt system may affect fewer components when it fails, but it is still vital to the engine.
Most commonly, you'll hear the belt start to squeal as the first sign of it needing replacement. As the belt is subjected to thousands of heat cycles, it dries out, leading to the squealing. If left in use, the belt will eventually crack enough to snap and leave you without a charging system. Replacing the belt will solve the issue, but leaving the old tensioner installed isn't a good idea.
The tensioner will fail, too. Subject to the strain of the belt, the spring inside the tensioner weakens with age. Eventually, it will get to a point where the belt will start pushing the tensioner back so much that the tensioner won't hold constant pressure on the belt. You'll know when that happens as the belt will start to slap against the tensioner's pulley. Additionally, the tensioner's pulley can seize and snap the belt.
How much will it cost to replace a BMW N20 serpentine belt and tensioner?
With the kit we provide to replace the belt and tensioner, you'll spend around $70. Special tools aren't required, and you shouldn't be dealing with any fluids, so you won't need to go out and buy brake clean and rags. This kit is all you need.
How long will it take to replace a BMW N20 serpentine belt and tensioner?
Getting to the belt and tensioner on the N20/26 engine is as easy as it gets. With the right tools in your hand, replacing the belt won't take you any longer than 30-minutes.
Parts required to replace a BMW N20 serpentine belt and tensioner:
Tools required to replace a BMW N20 serpentine belt and tensioner:
Steps required to replace a BMW N20 serpentine belt and tensioner:
Step 1: Remove the intake
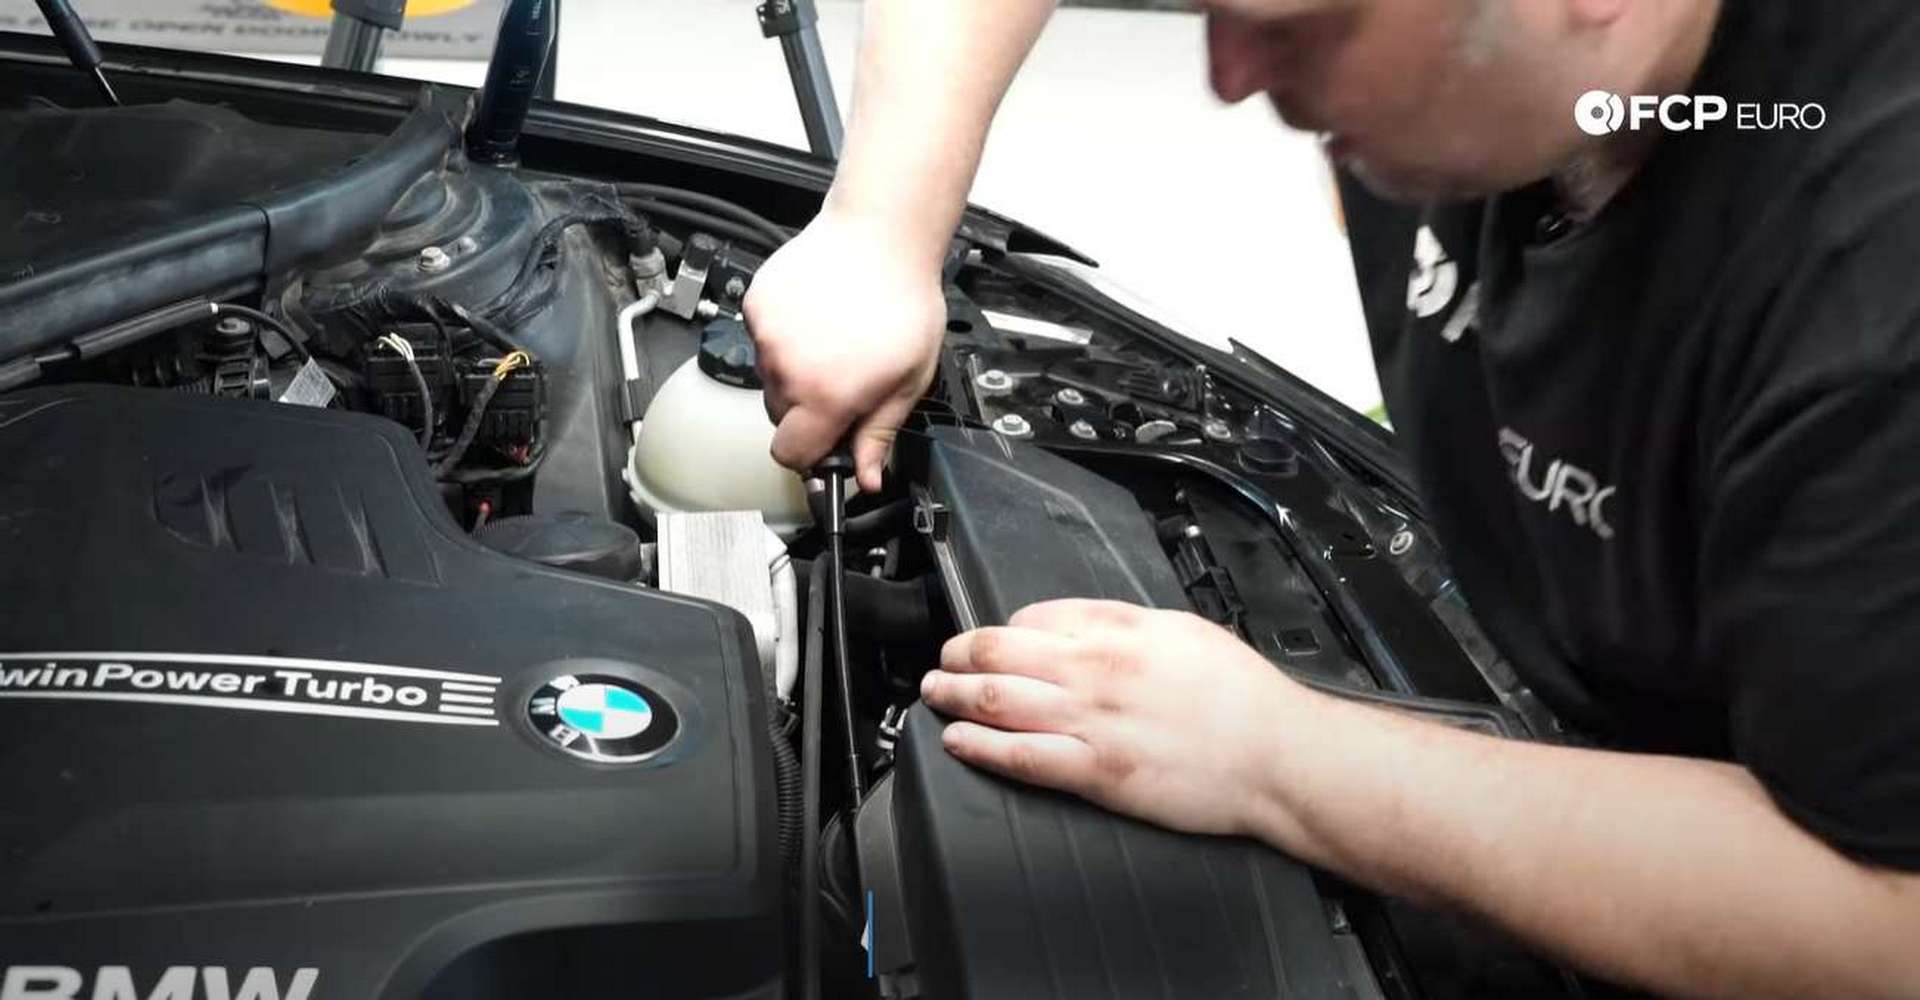
Open the hood and examine the intake airbox. Locate the hood cable secured to the rear of the airbox cover and remove it from its clips.
Next, unplug the mass airflow sensor's electrical connection. Then, use a 6mm nut driver to loosen the hose clamp that secures the airbox to the intake tube.
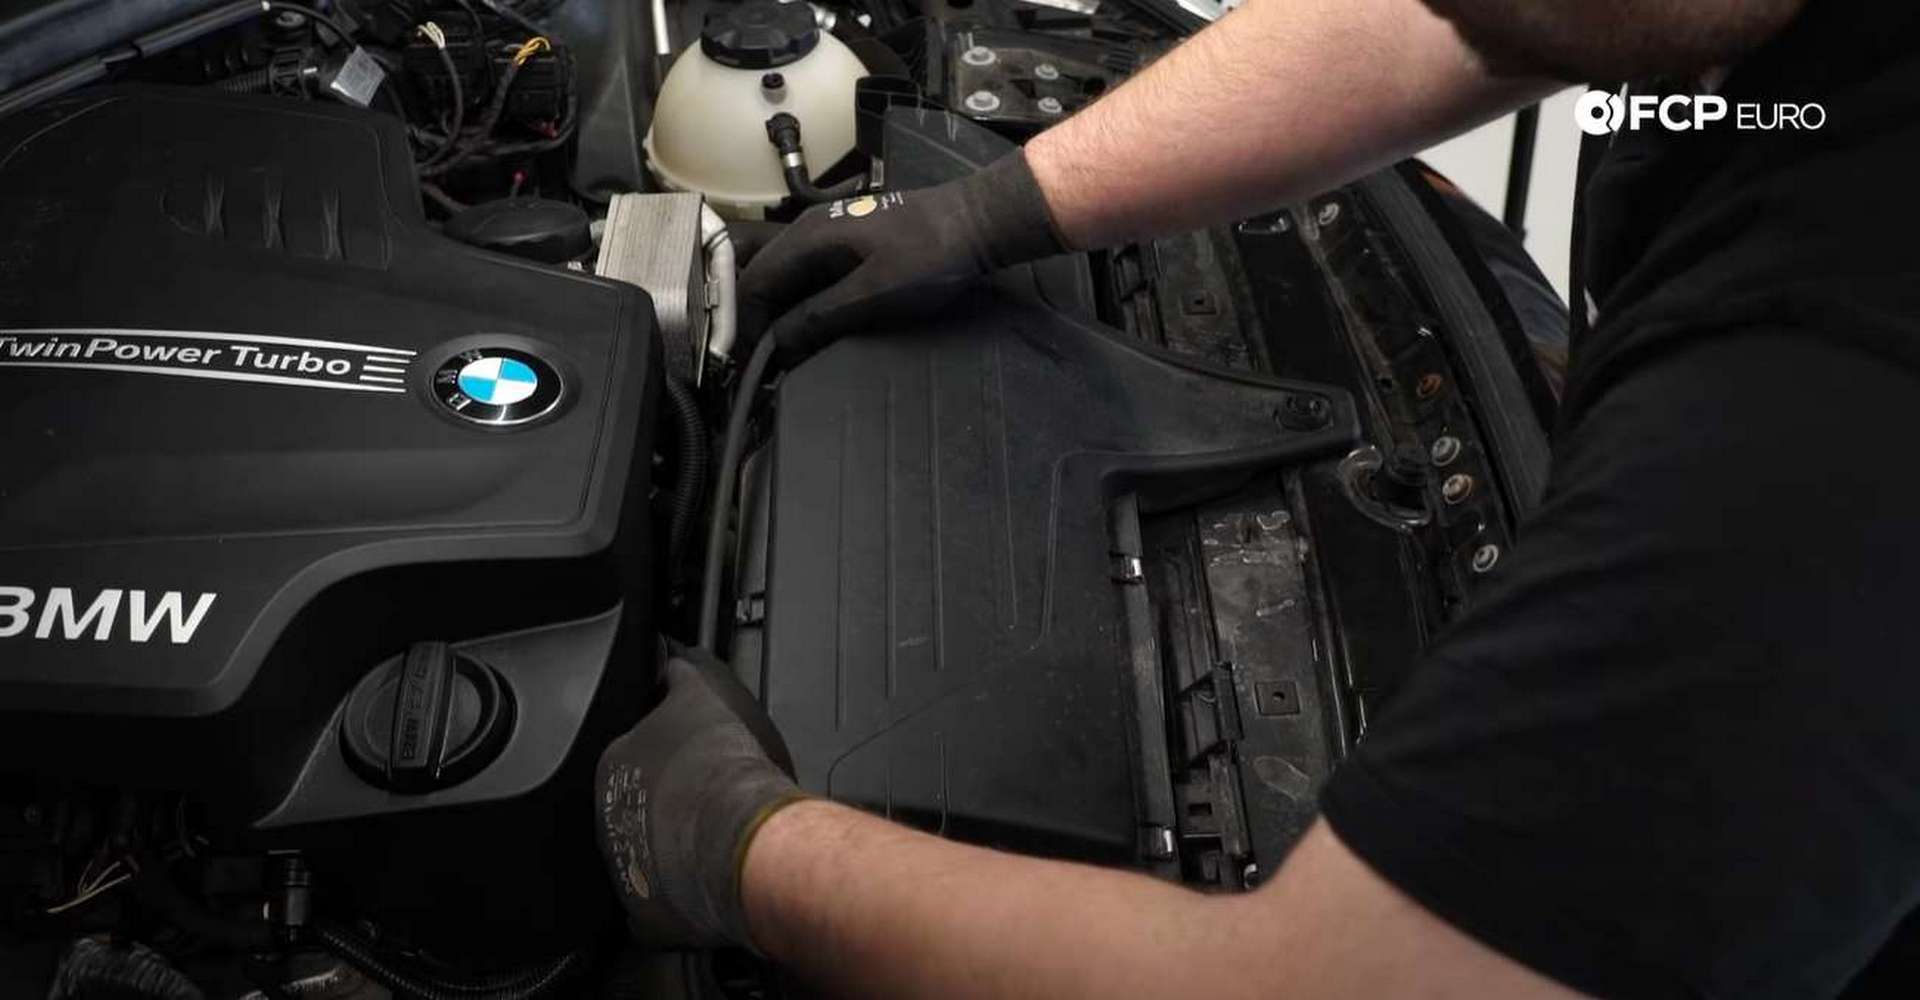
After that, pull up on the airbox to remove it from the engine bay. It mounts to the car by three rubber grommets. Pop it out of the three grommets, and you can lift it out.
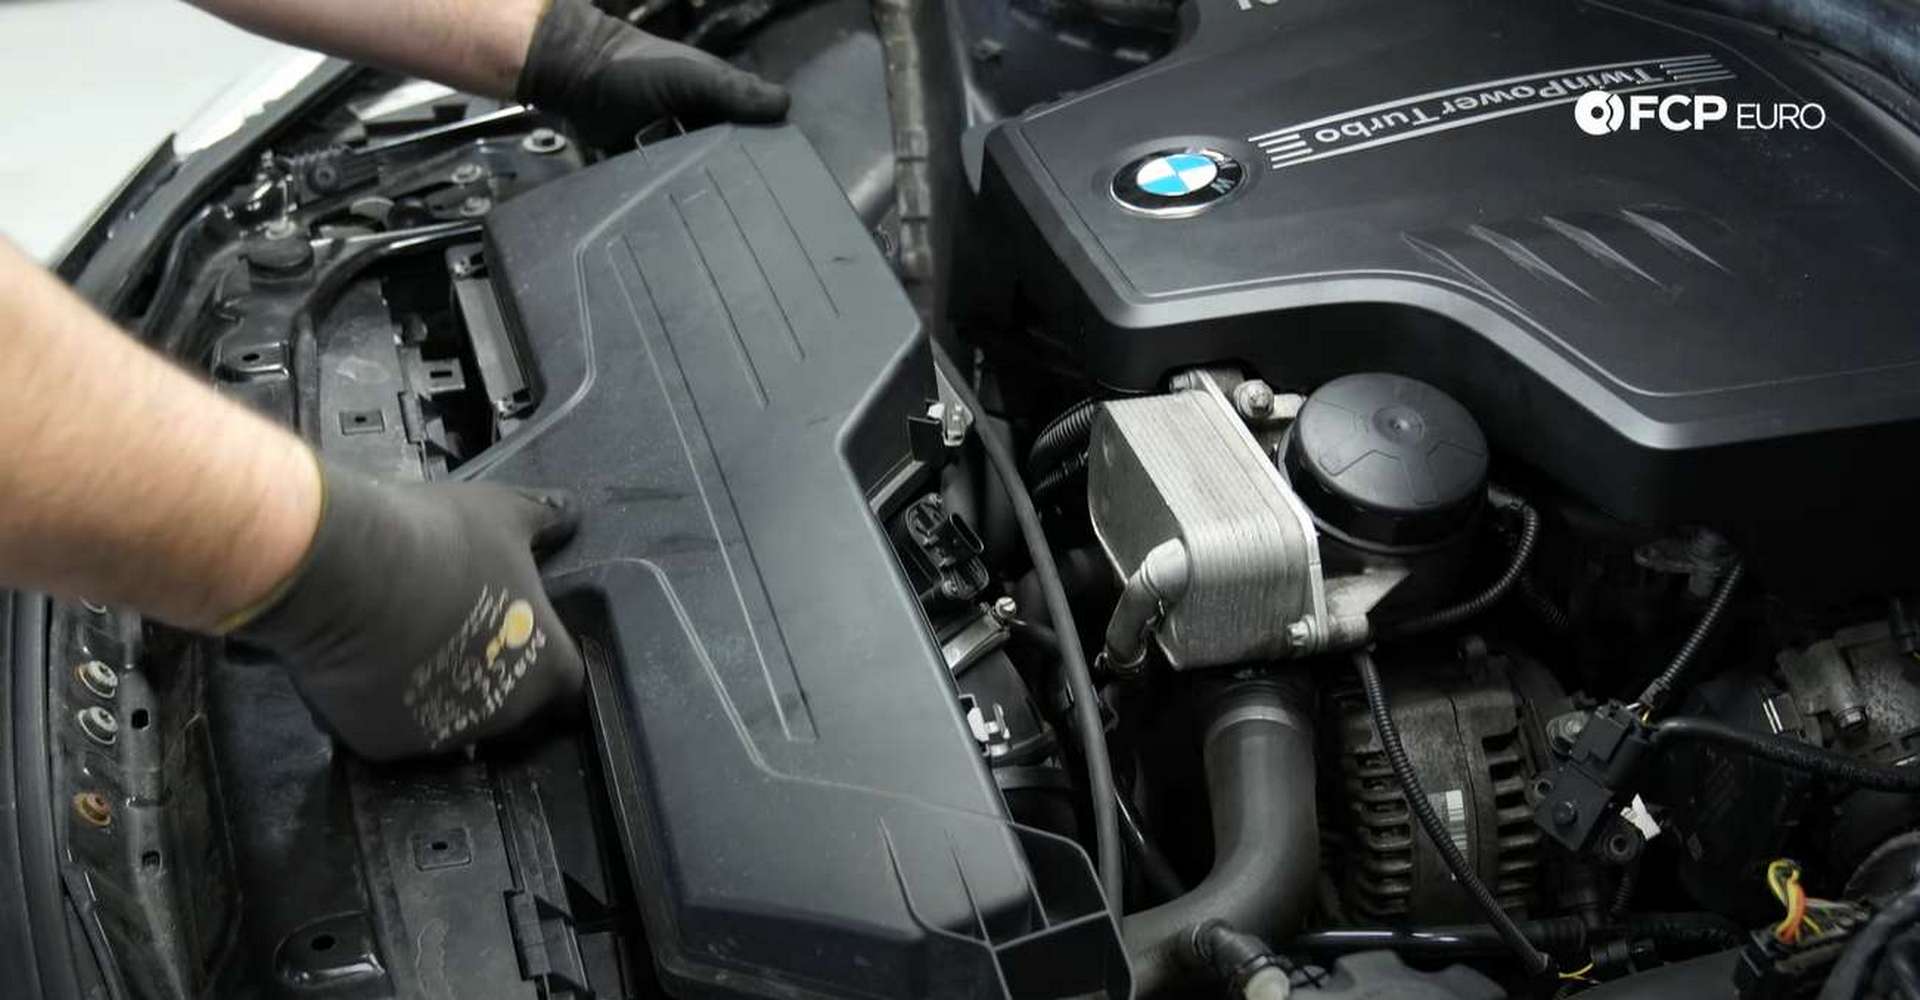
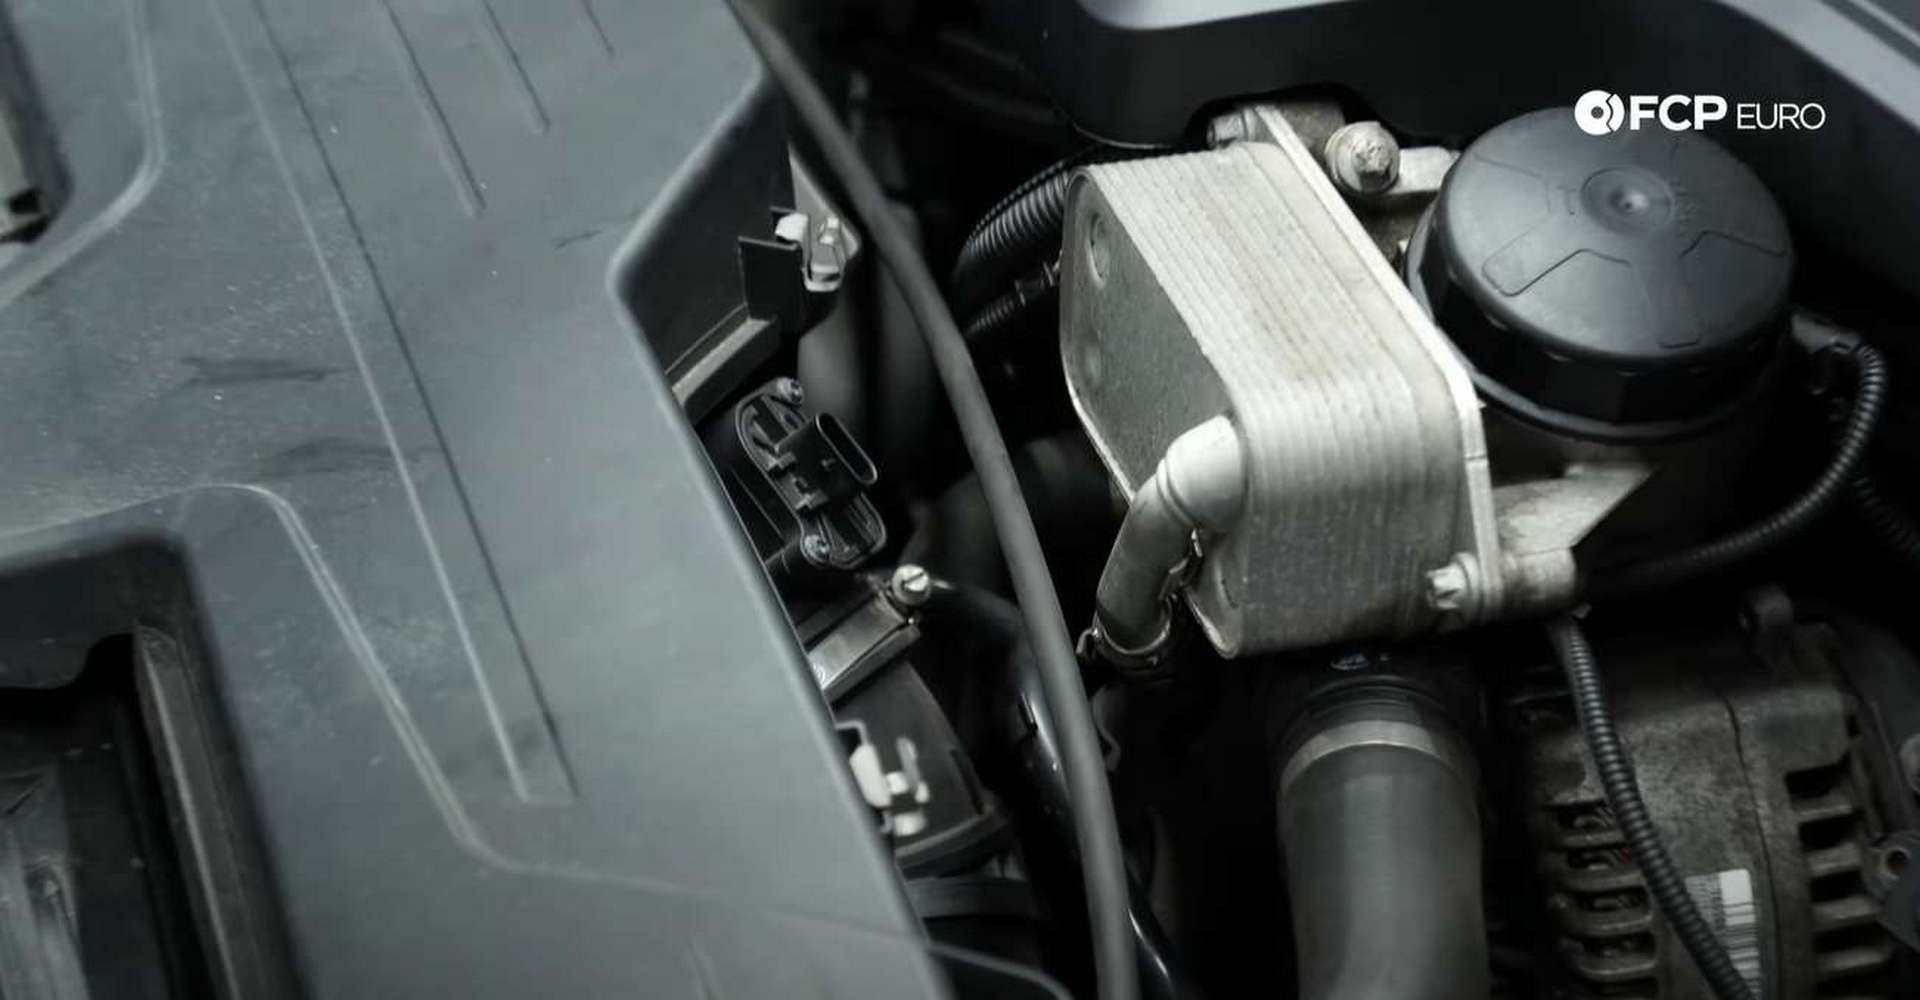
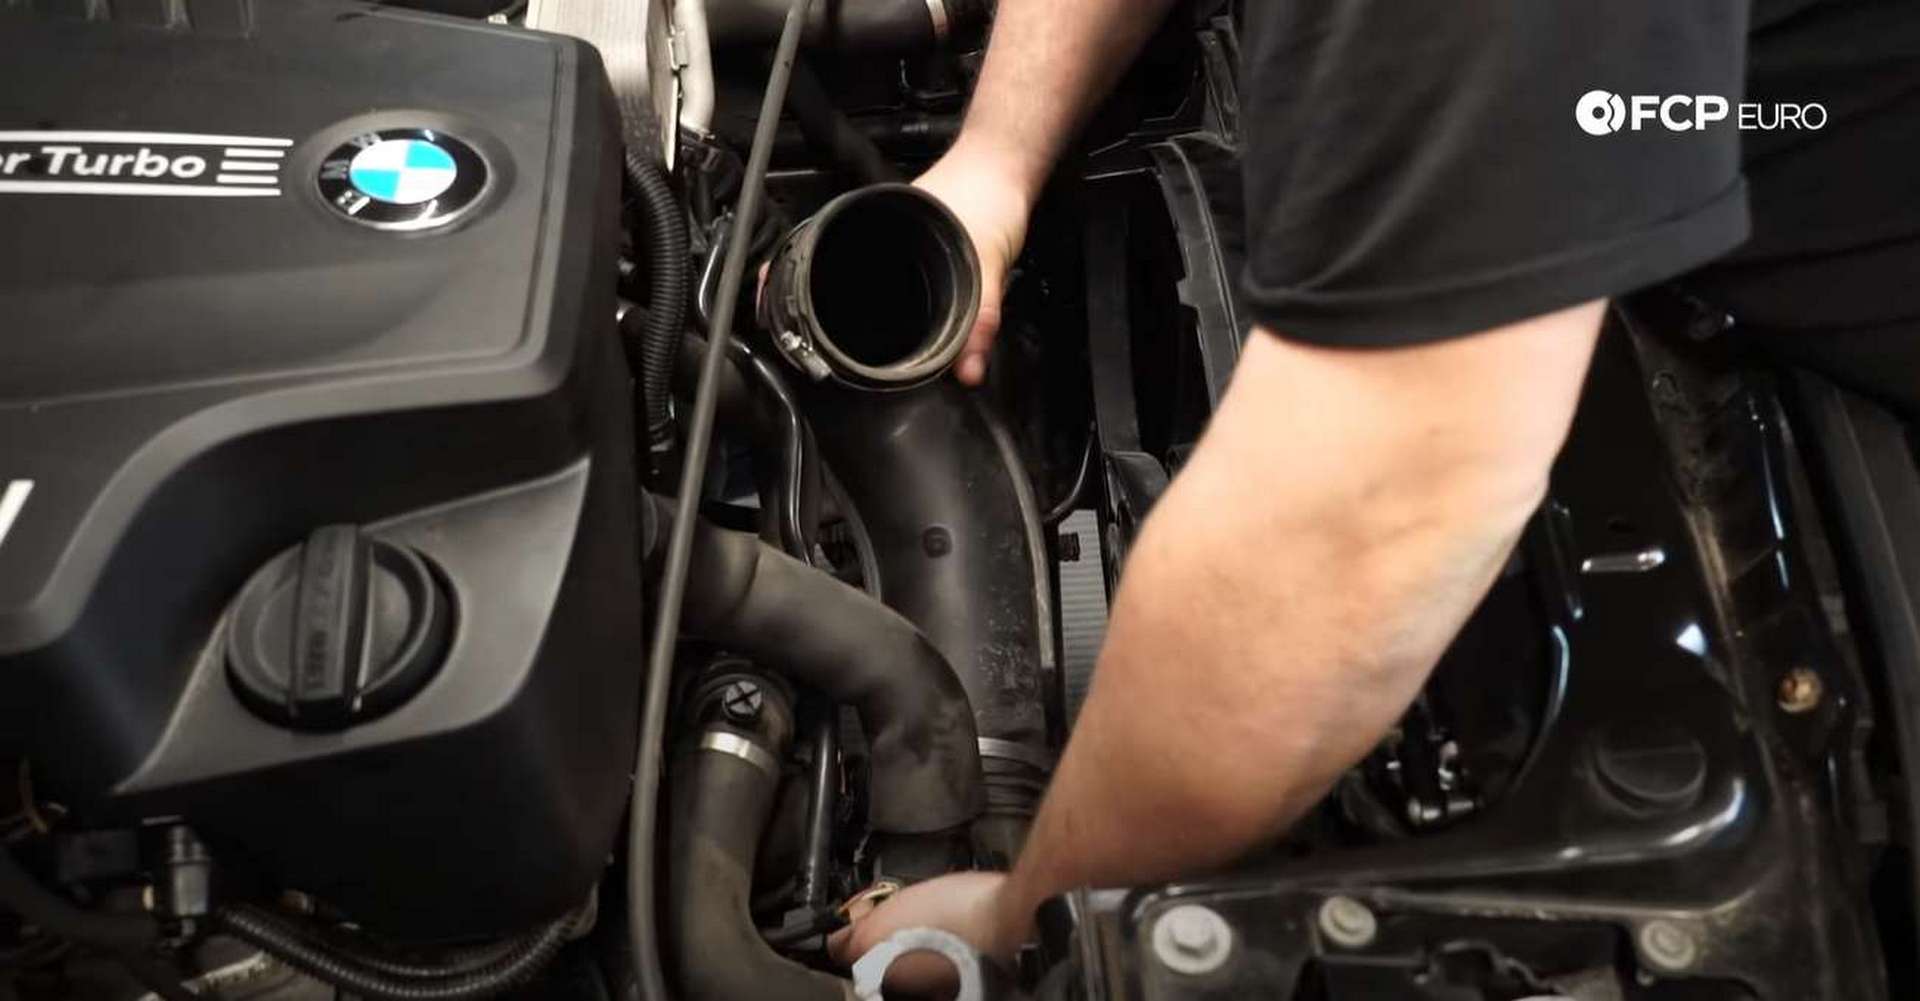
At this point, you should be able to access the serpentine belt system. However, the intake tube is mainly in the way, and you can give yourself more access if you remove it. To do so, use a 7mm socket or nut driver to loosen the tube's hose clamp. Pull the tube out when the clamp is loose enough.
Step 2: Replace the serpentine belt and tensioner
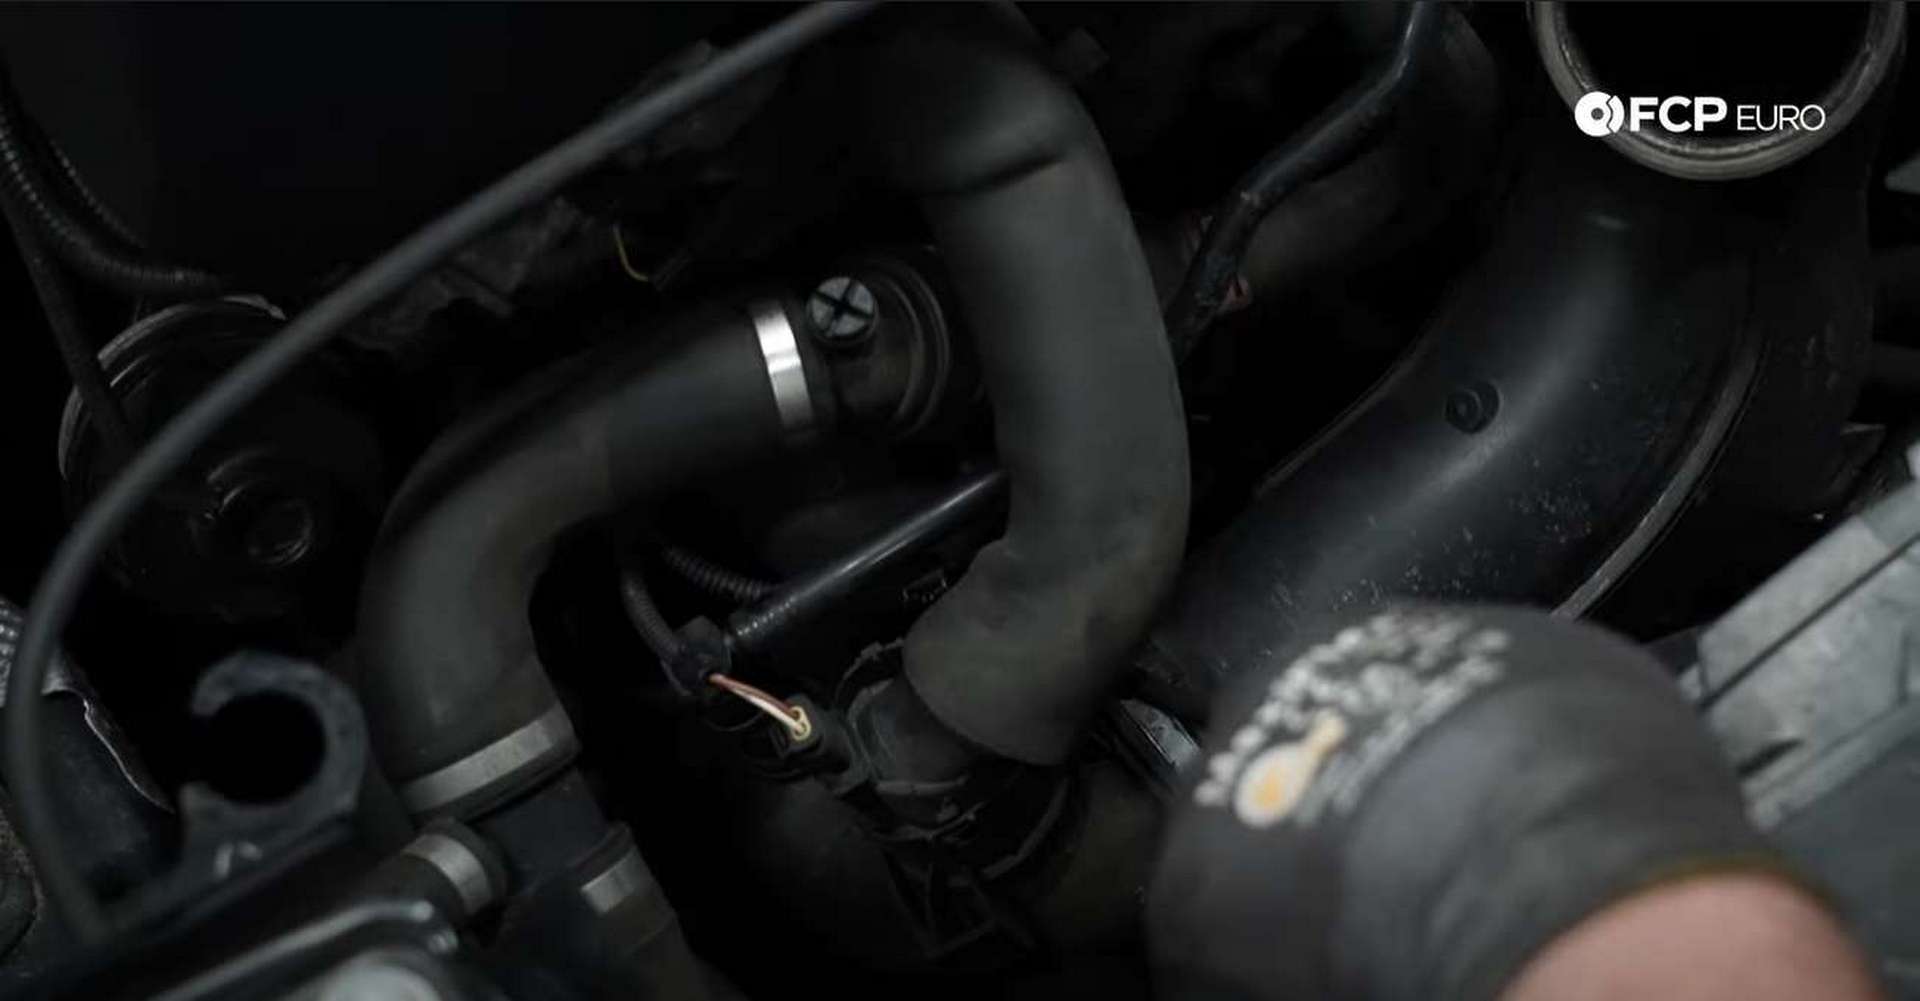
Make a note about the orientation of the belt before removing it to ensure you replace it properly. Then, examine the tensioner. On it, you'll see what looks like a 16mm bolt head cast into it. Use a 16mm socket on it to rotate it clockwise.
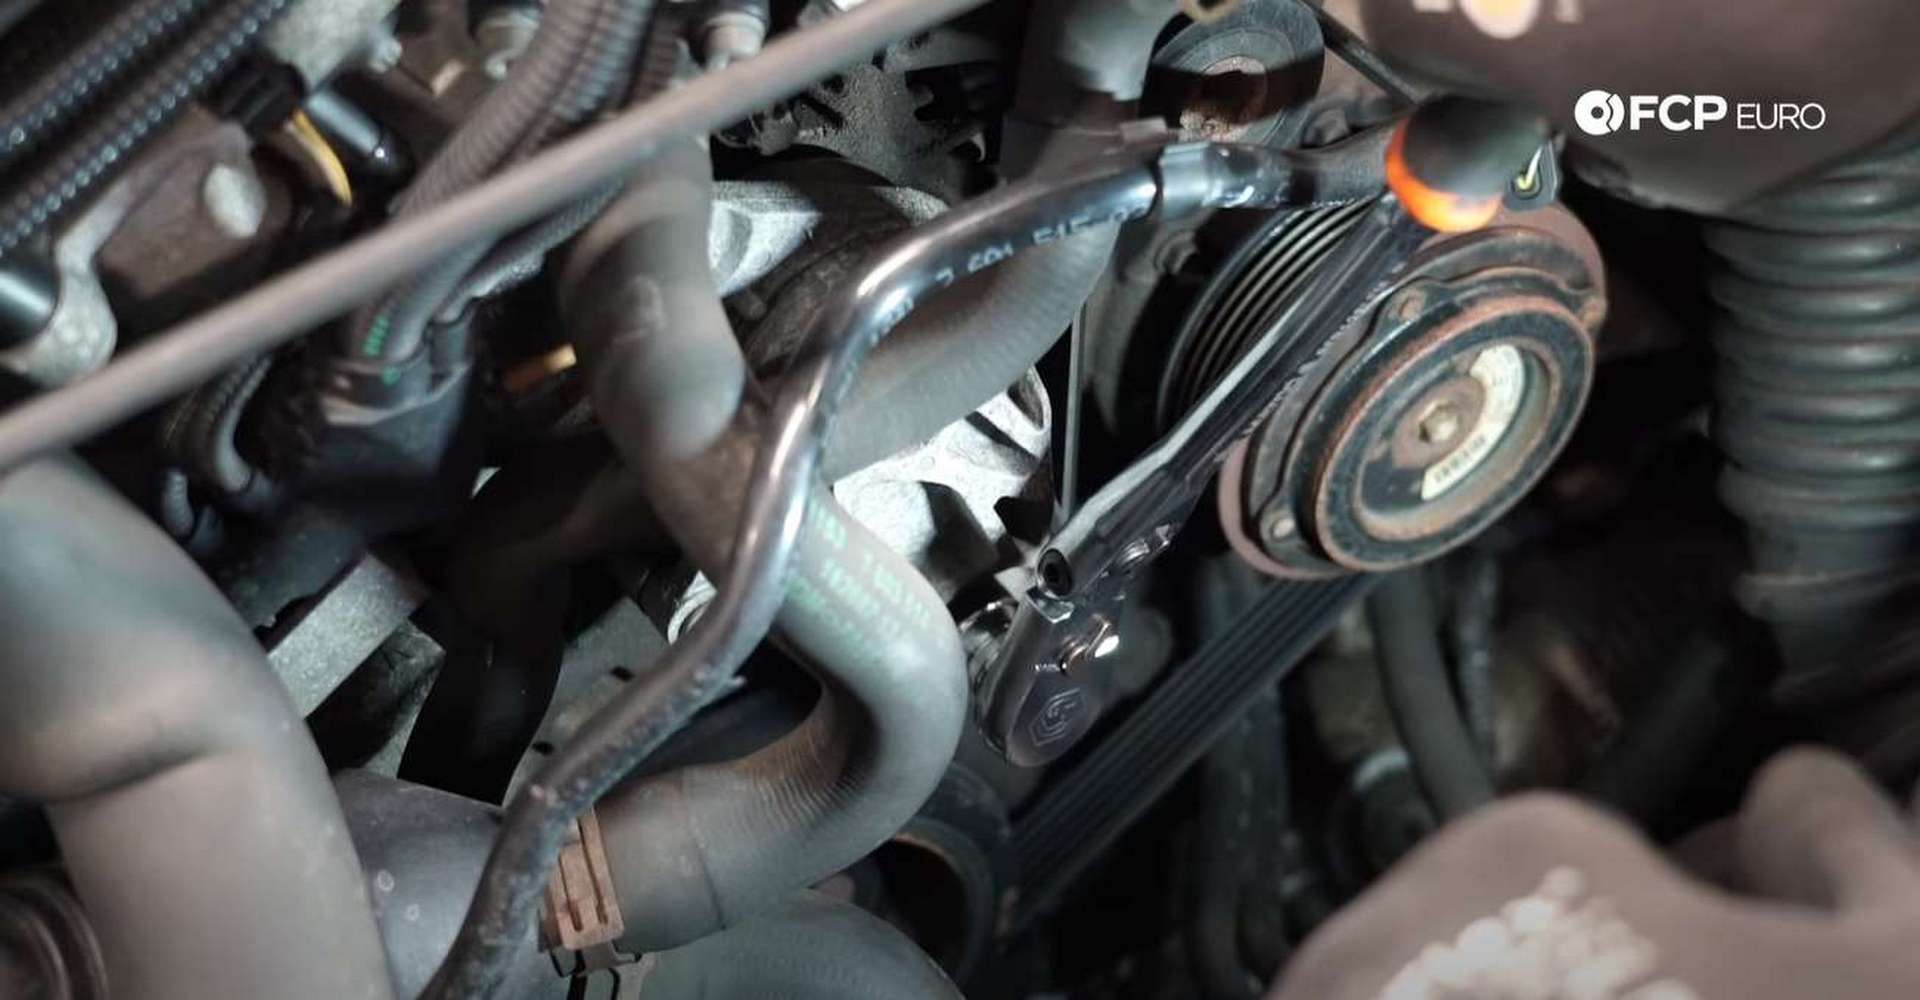
Rotate it until there is enough slack on the belt to remove it. Let the tensioner go after you remove the belt. Then, use an E10 socket to remove the tensioner's three mounting bolts.
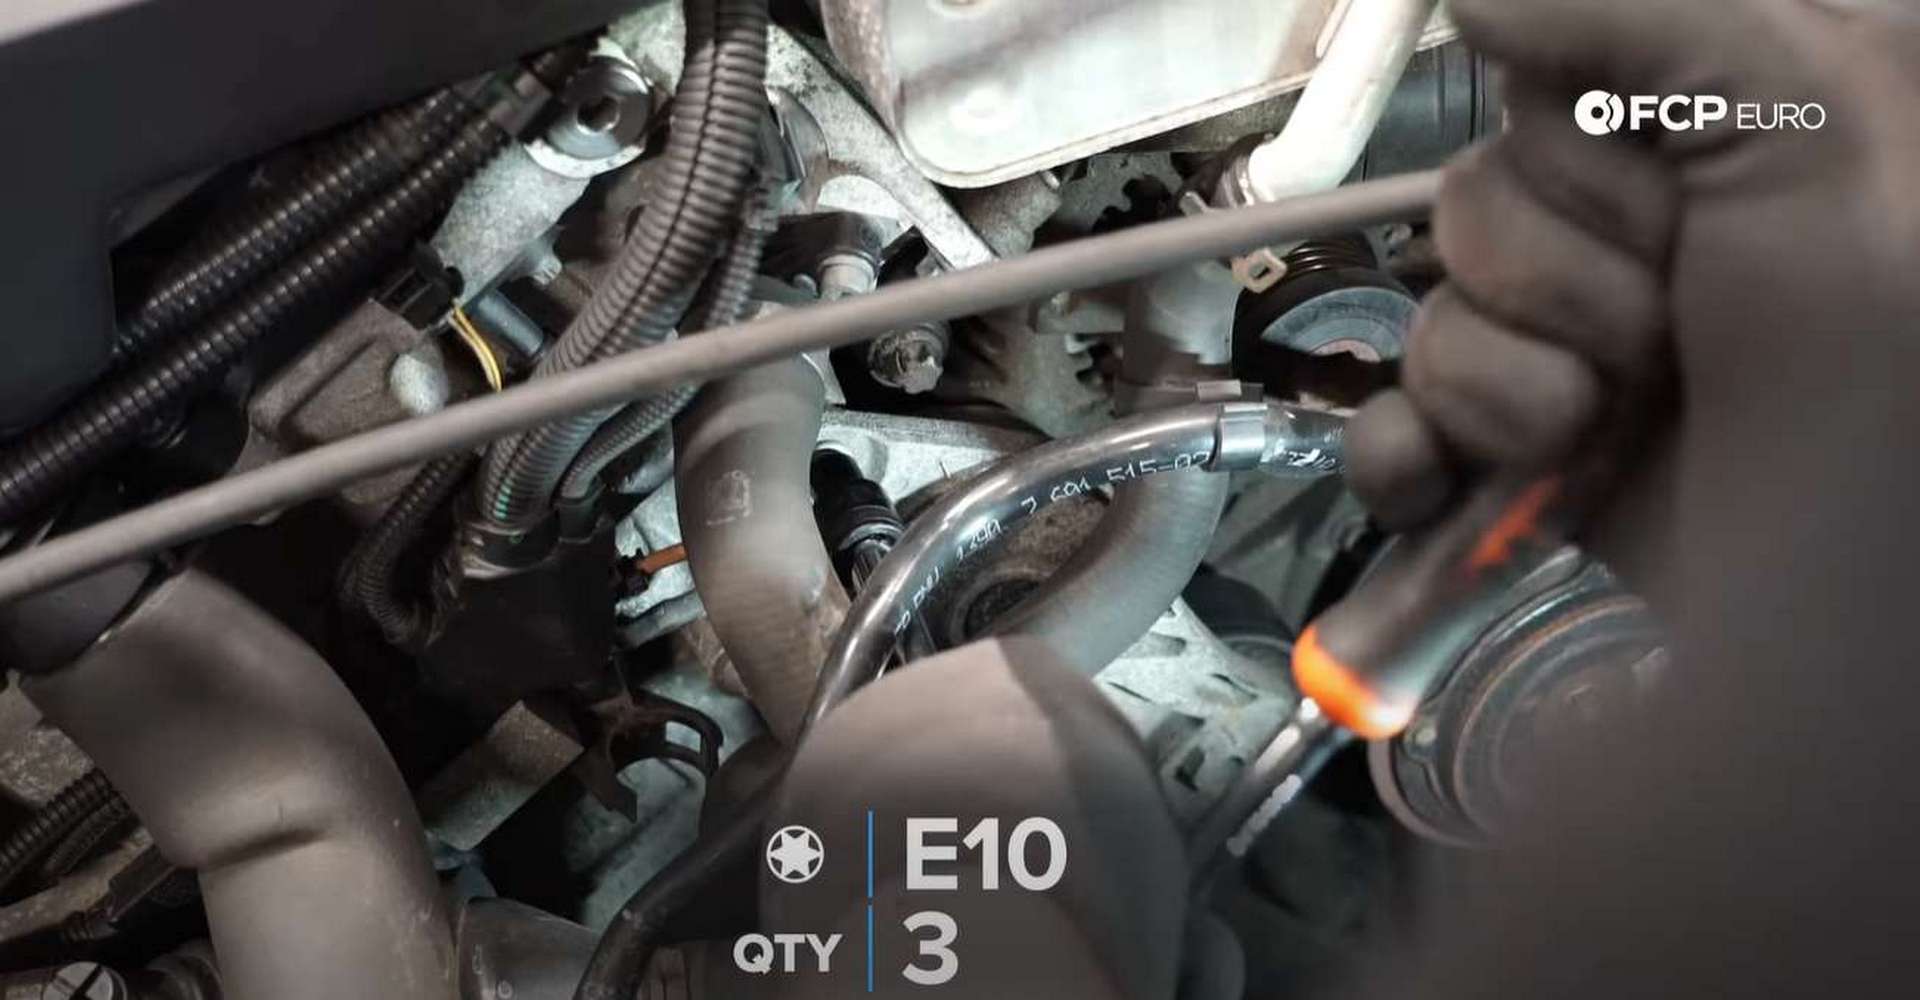
Hold on to the tensioner when the last bolt is nearly out to prevent it from falling down the engine bay. Throw the old tensioner away after you remove it. Then, unbox the new one and fit it onto the engine.
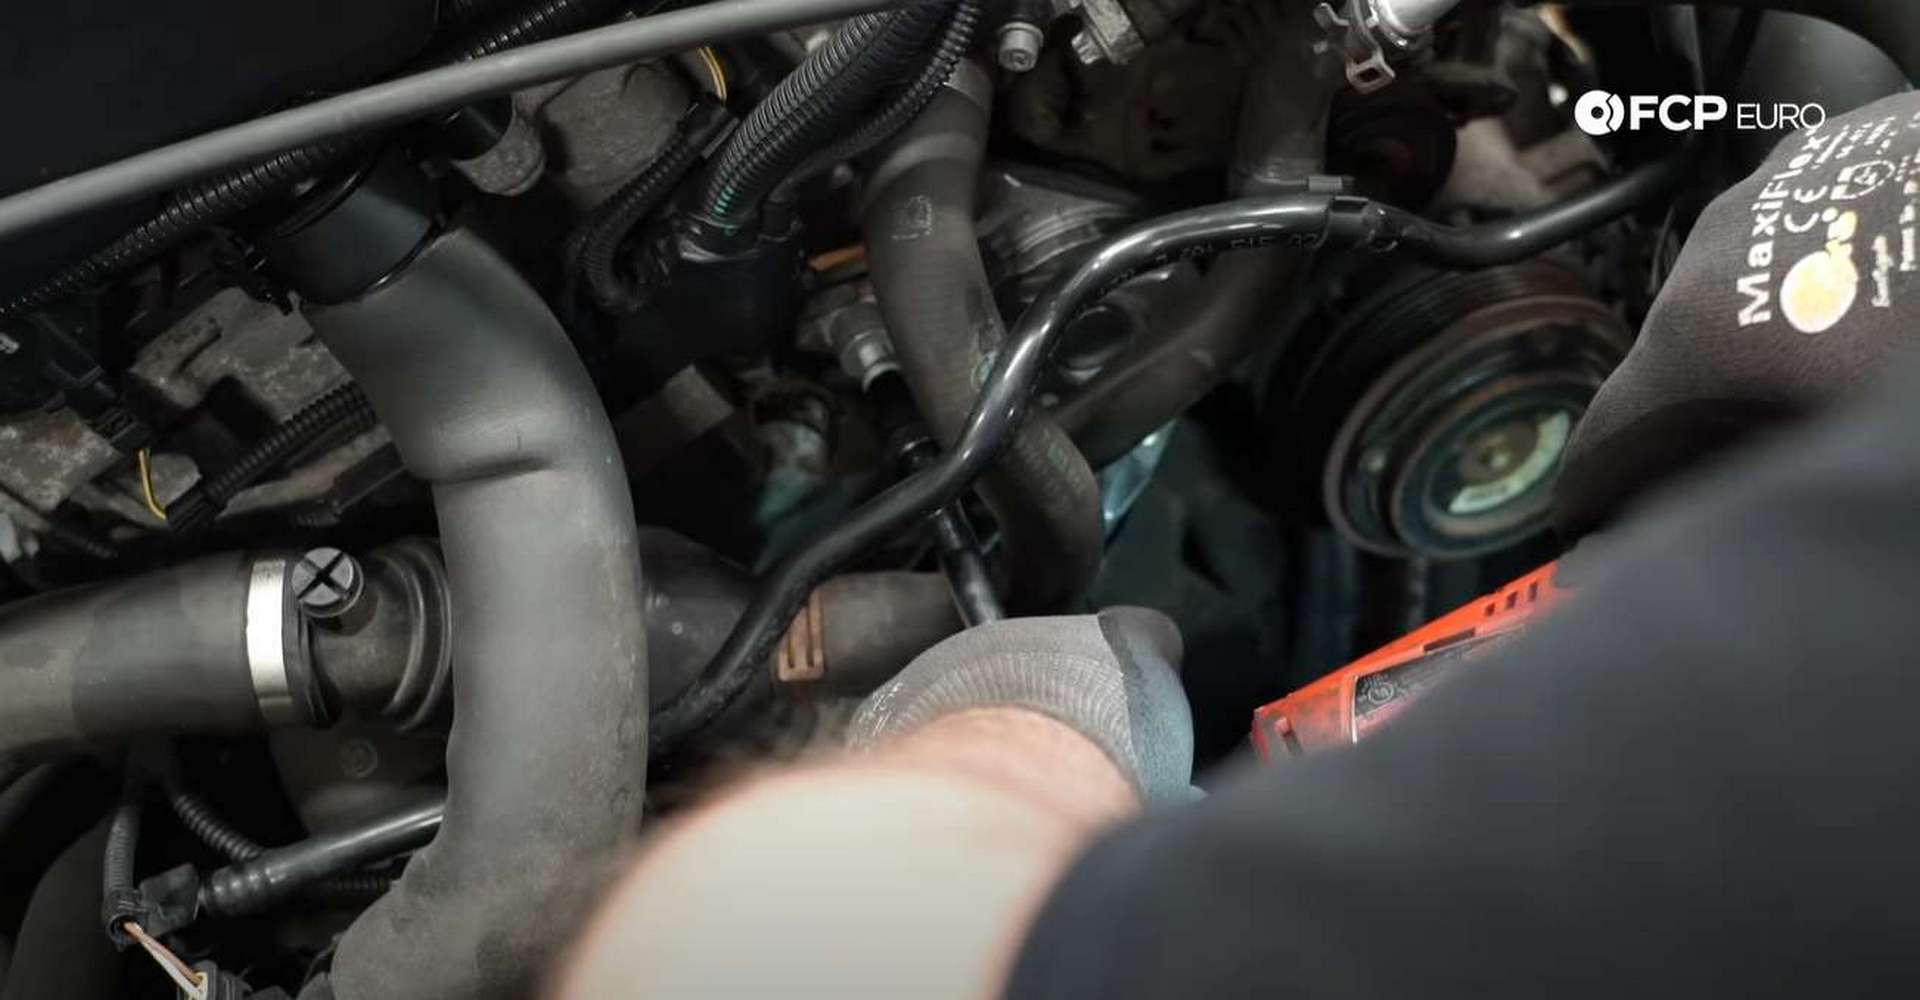
The new tensioner uses a pin to hold the tension off of the belt when you install it. Mount the tensioner to the engine with the pin-side facing out.
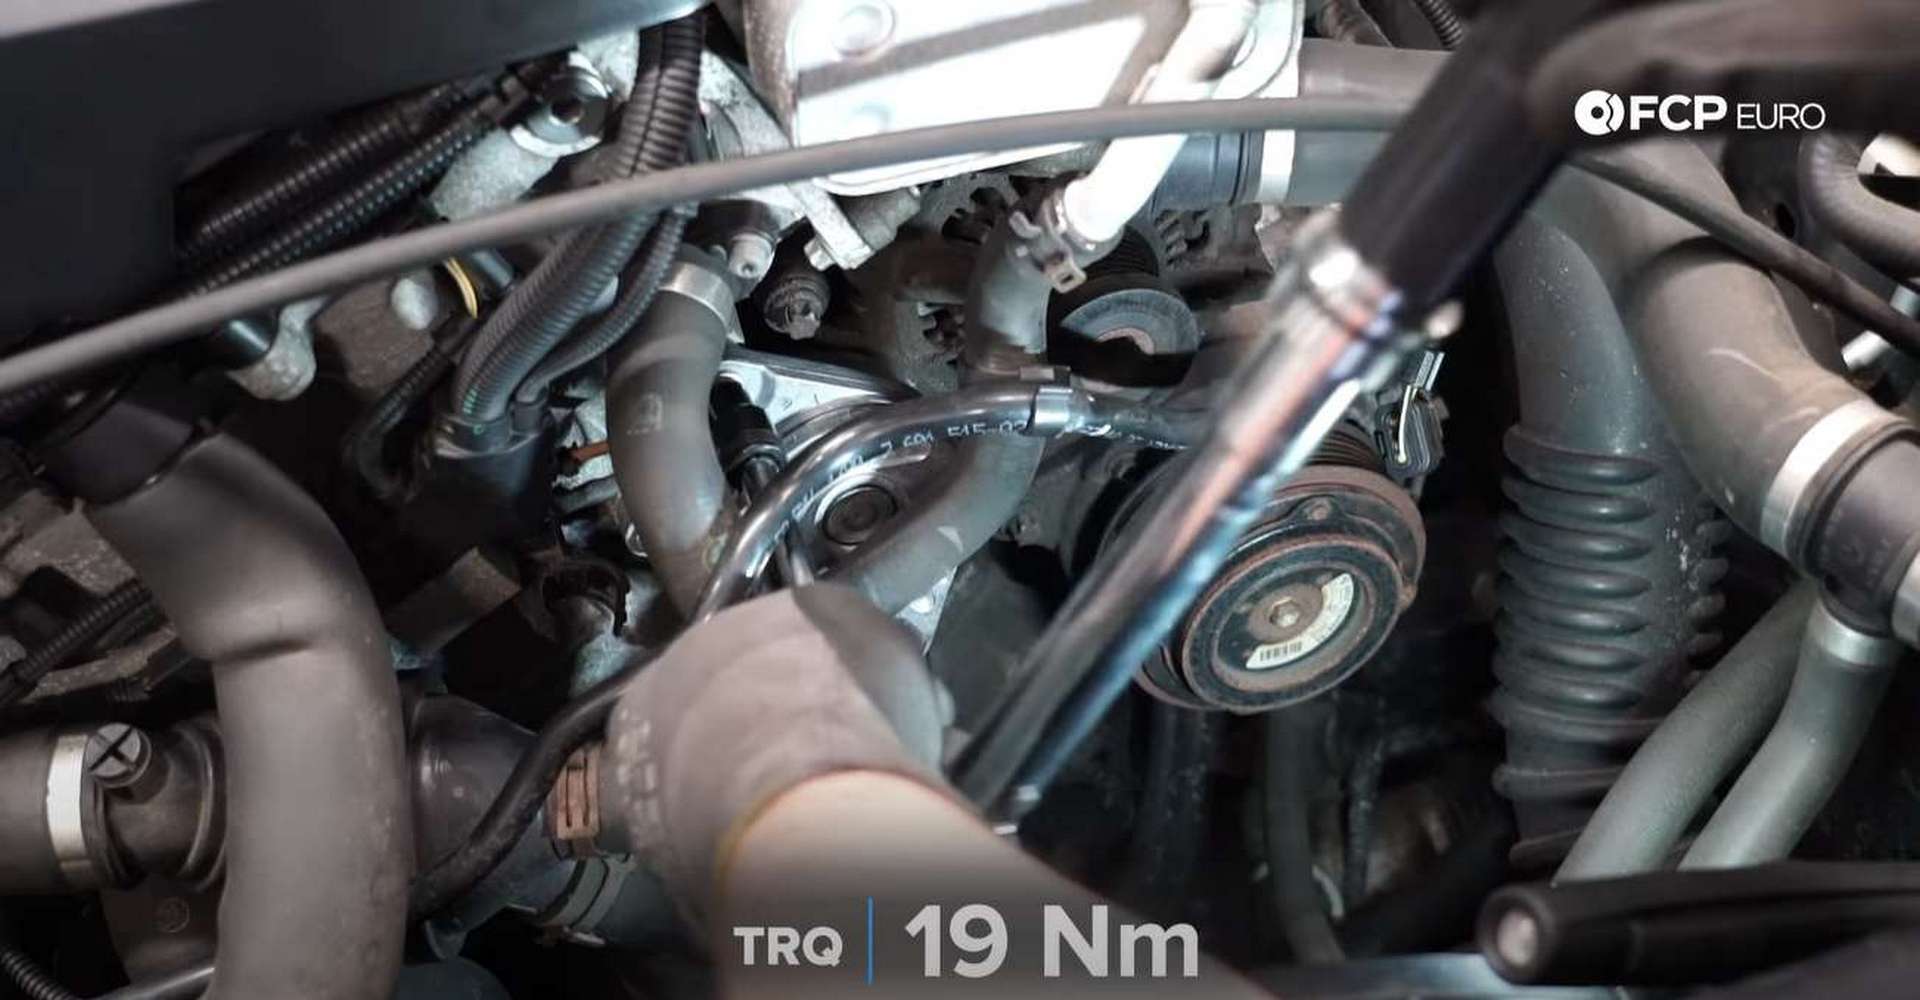
Thread in the tensioner's bolts by hand before driving them in with an E10 socket. Then, torque the bolts to 19Nm. After that, refit the belt to the pulleys and ensure its sitting flush in all of the pulley's grooves. Then, use the 16mm socket to rotate the tensioner just enough to allow you to pull the pin on the tensioner. Once the pin is out, let the tensioner put tension on the belt.
Step 3: Refit the intake
Slide the intake tube into position and ensure it's aligned properly on its tabs. Use a 7mm nut driver or socket to tighten its hose clamp.
Once in place, resecure the coolant line to the bottom of the tube. Then, refit the intake airbox to its mounting studs. Slide the intake tube onto the airbox and then secure them together using a 6mm socket or nut driver to tighten the hose clamp.
Lastly, plug in the mass airflow sensor and refit the hood cable back into its clips on the airbox.
BMW N20 Serpentine Belt & Tensioner Torque Specs:
- BMW Serpentine Belt Tensioner Bolts = 19Nm or 14 ft-lbs, of torque
Now you should be back to squeal-free driving for another 80,000 miles. If you're interested in more DIYs for your BMW, you can visit bmw.fcpeuro.com and subscribe to our YouTube channel.


