- 07/07/2021
- 7 Min Read
- By: Christian Schaefer
How To Replace A BMW E90 Steering Knuckle (BMW 328i, 330i, 335i, M3)

In their pursuit of lightness and steering response, BMW chose to ditch the traditional steel steering knuckle for one made of cast aluminum on the BMW E90. The cast aluminum piece works as intended and is significantly lighter than the steel piece, but trades off its durability for responsiveness. Because of that, the aluminum knuckles are prone to cracking if you hit a curb. The wheel and almost every suspension piece connects to the knuckle in some way, making it a critical part of the suspension and steering system.
Replacing the knuckle is a fairly time-consuming process, but is well worth the DIY. You won’t need an alignment afterward, you don’t have to deal with any fluids, and only an inexpensive special tool is needed to perform the replacement. Follow the steps below and you’ll have a fresh steering knuckle installed on your BMW in no time.
BMW Models and Years Applicable:
|
|
|
|
|
|
|
|
|
|
|
How much will it cost to replace a BMW E90 steering knuckle?
Replacing just the steering knuckle will cost you around $290 for a new Genuine BMW unit. However, a broken steering knuckle usually means more broken parts. You’ll need four new wheel bearing bolts too, as they are one-time use. They go for around $6, so put aside around $350 for all of the parts needed to replace the knuckle.
How long will it take to replace a BMW E90 steering knuckle?
The length of the replacement is dependent on the conditions that the car has been driven. Those who live in the rust belt should set aside some extra time to fight with potentially corroded bolts and fasteners. If all the bolts come out as they should, the replacement will take a couple of hours.
Parts required to replace a BMW E90 steering knuckle:
- Genuine BMW Wheel Bearing Bolt (x4 per knuckle)
- FAG Wheel Hub Assembly (Optional)
Tools required to replace a BMW E90 steering knuckle:
- Impact Gun (Recommended)
Steps required to replace a BMW E90 steering knuckle:
Step 1: Remove the brakes
Jack up the front of the car and place it onto jack stands. Then use a 17mm socket to remove the lug bolts. After that, start removing the brakes.

Use a 6mm hex bit socket to remove the set screw that secures the rotor to the hub. There is a reasonably good chance that you will encounter a seized set screw if you’re from an area dealing with corrosion. However, the screws are pretty soft, so you shouldn’t have any issues drilling it out if you strip the head.
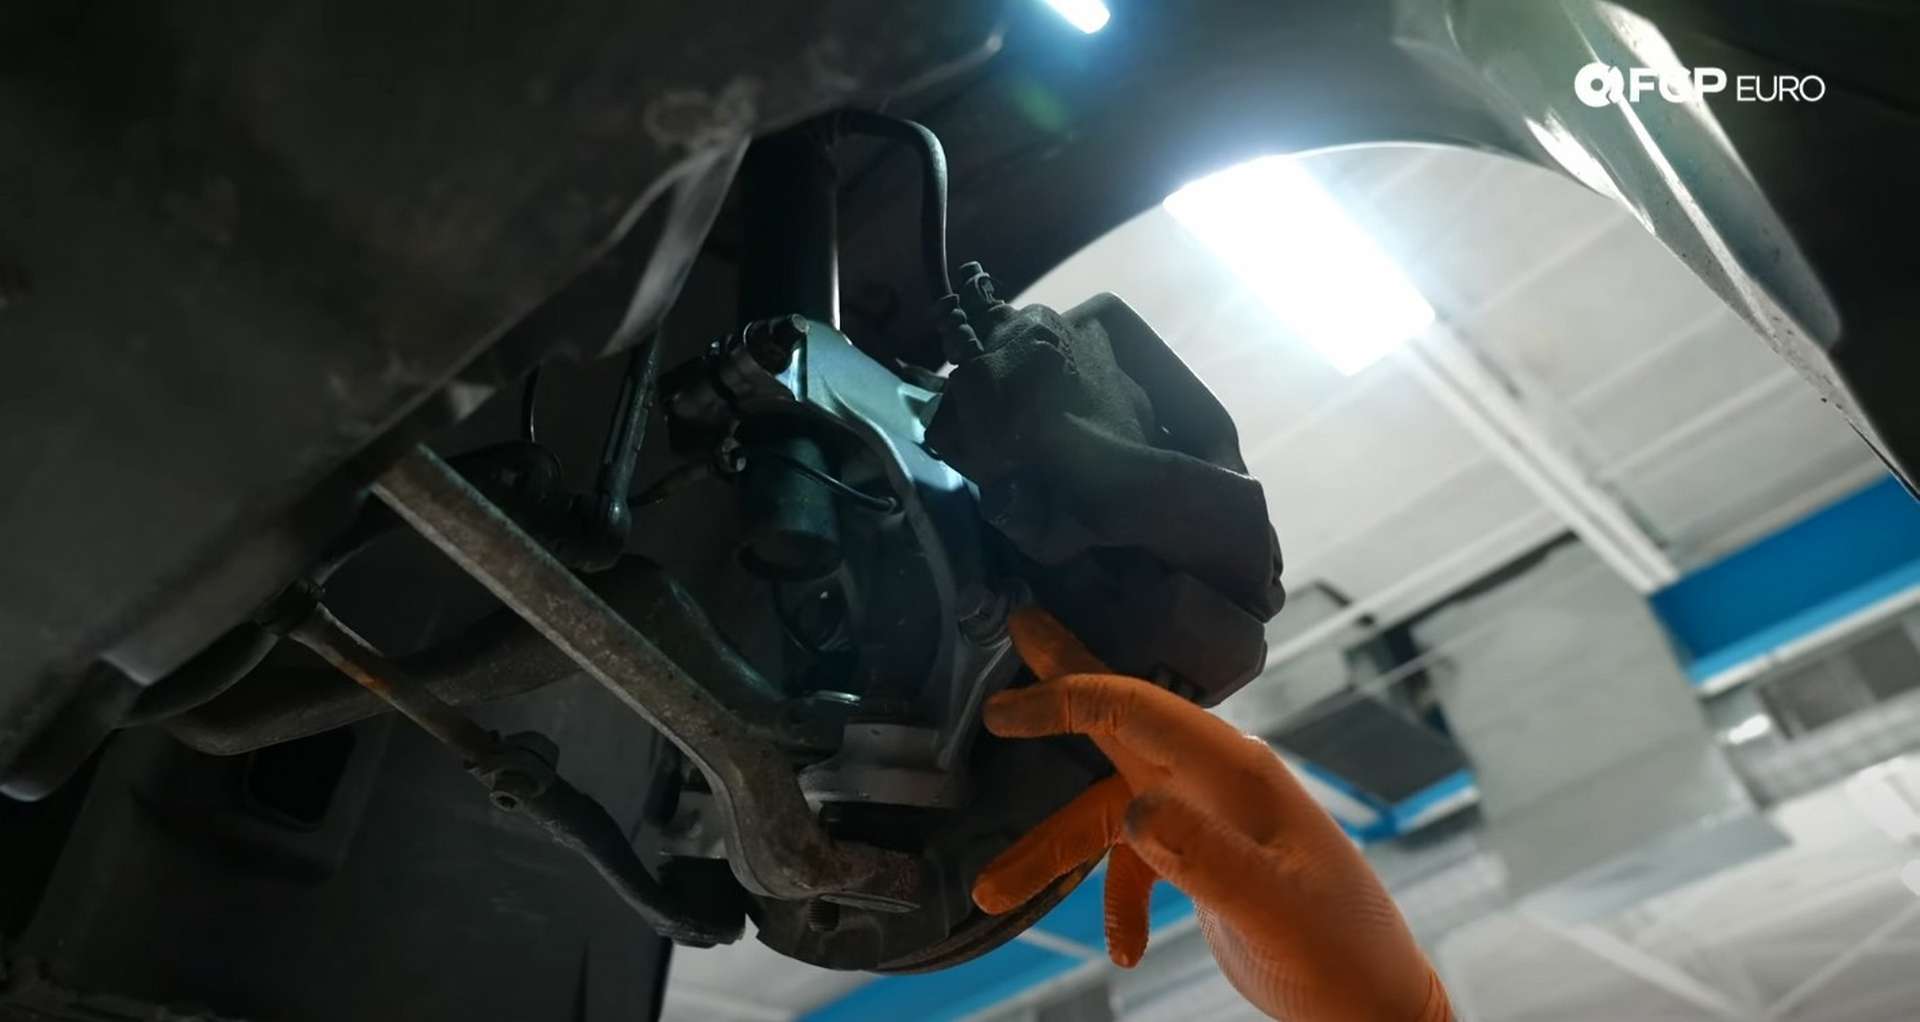
Next, use an 18mm socket to remove the caliper carrier bolts from the knuckle. You’ll need the 18mm swivel socket here if you’re using an impact wrench to remove the bolts. After removing the bolts, pull the caliper off of the rotor and hang it out of the way.
When you remove the caliper, don’t let it hang by its brake line. The caliper’s weight will put a significant strain on the rubber line and can cause it to tear. Use zip-tires, wire coat hangers, or the caliper hangers linked above, among other things, to hang the caliper out of the way.
Remove the rotor from the hub and set it aside. Then, use a 10mm socket to remove the dust shield’s mounting bolts.
Step 2: Disconnect the control arms
First up, use a T30 Torx bit socket to remove the wheel speed sensor from the back of the knuckle.
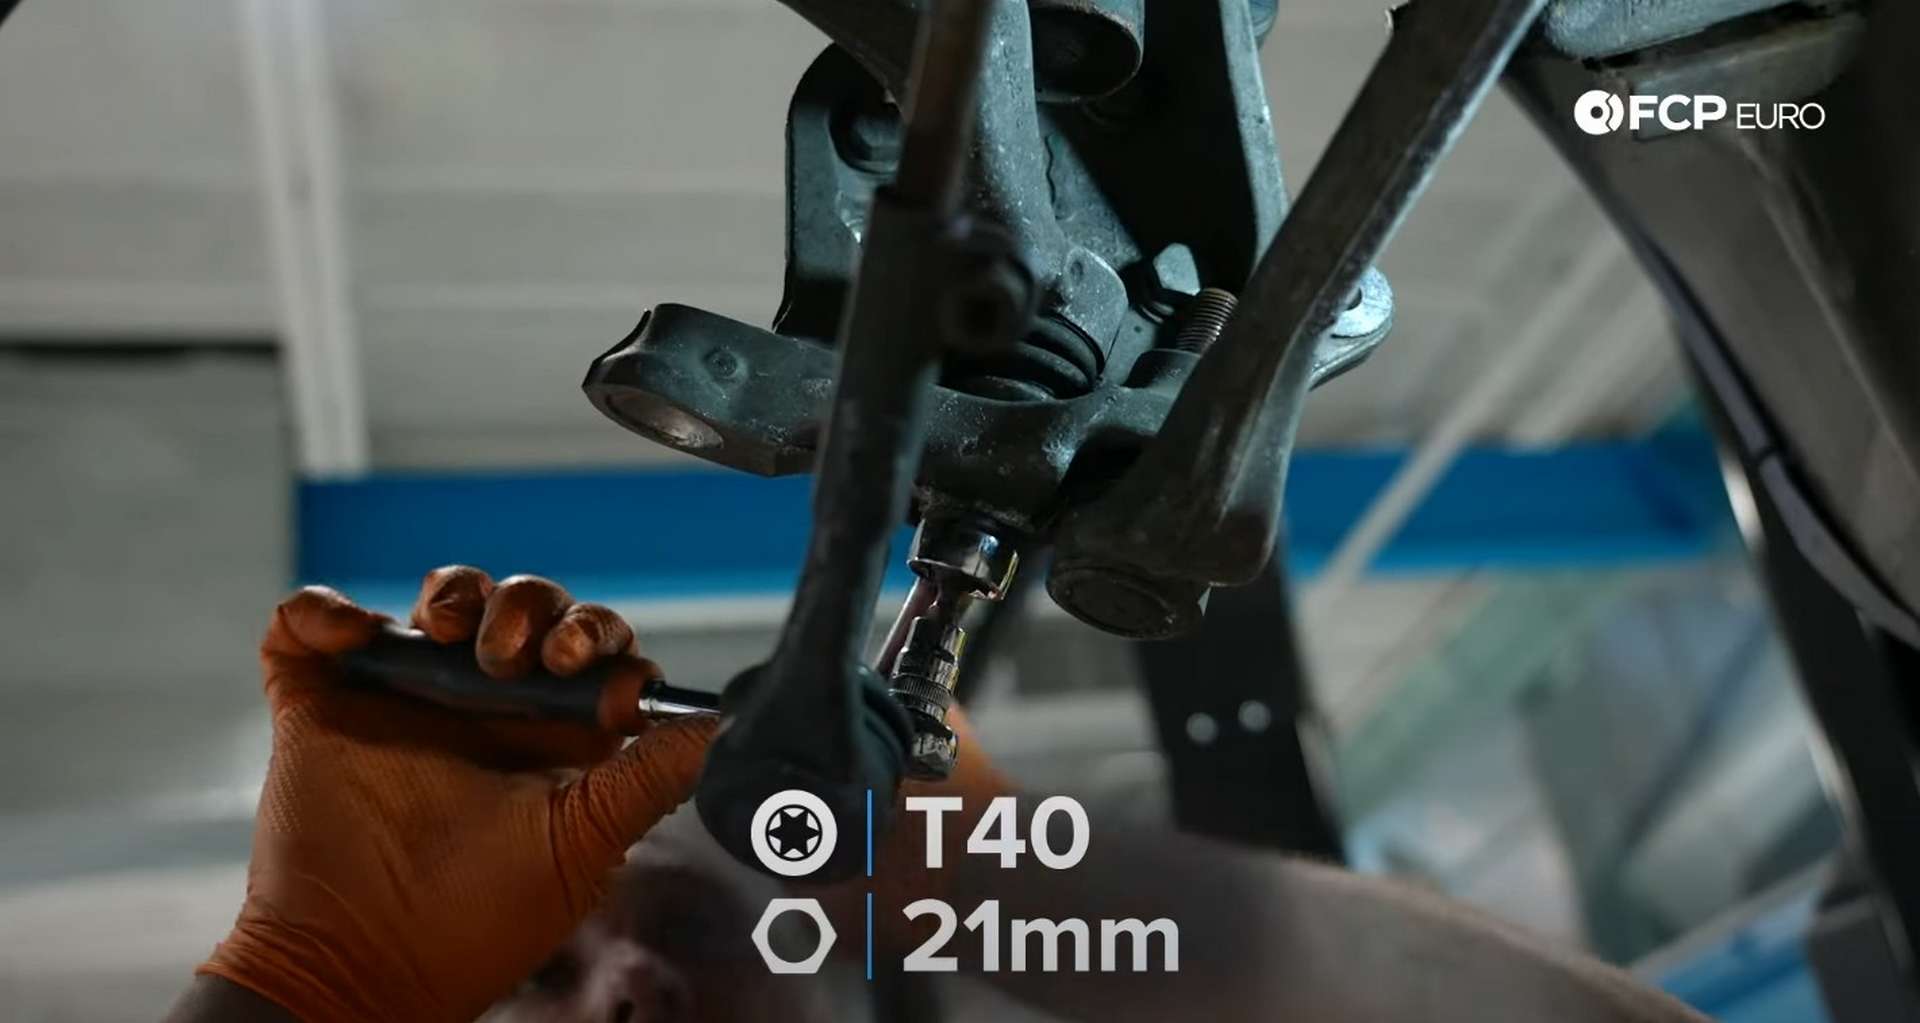
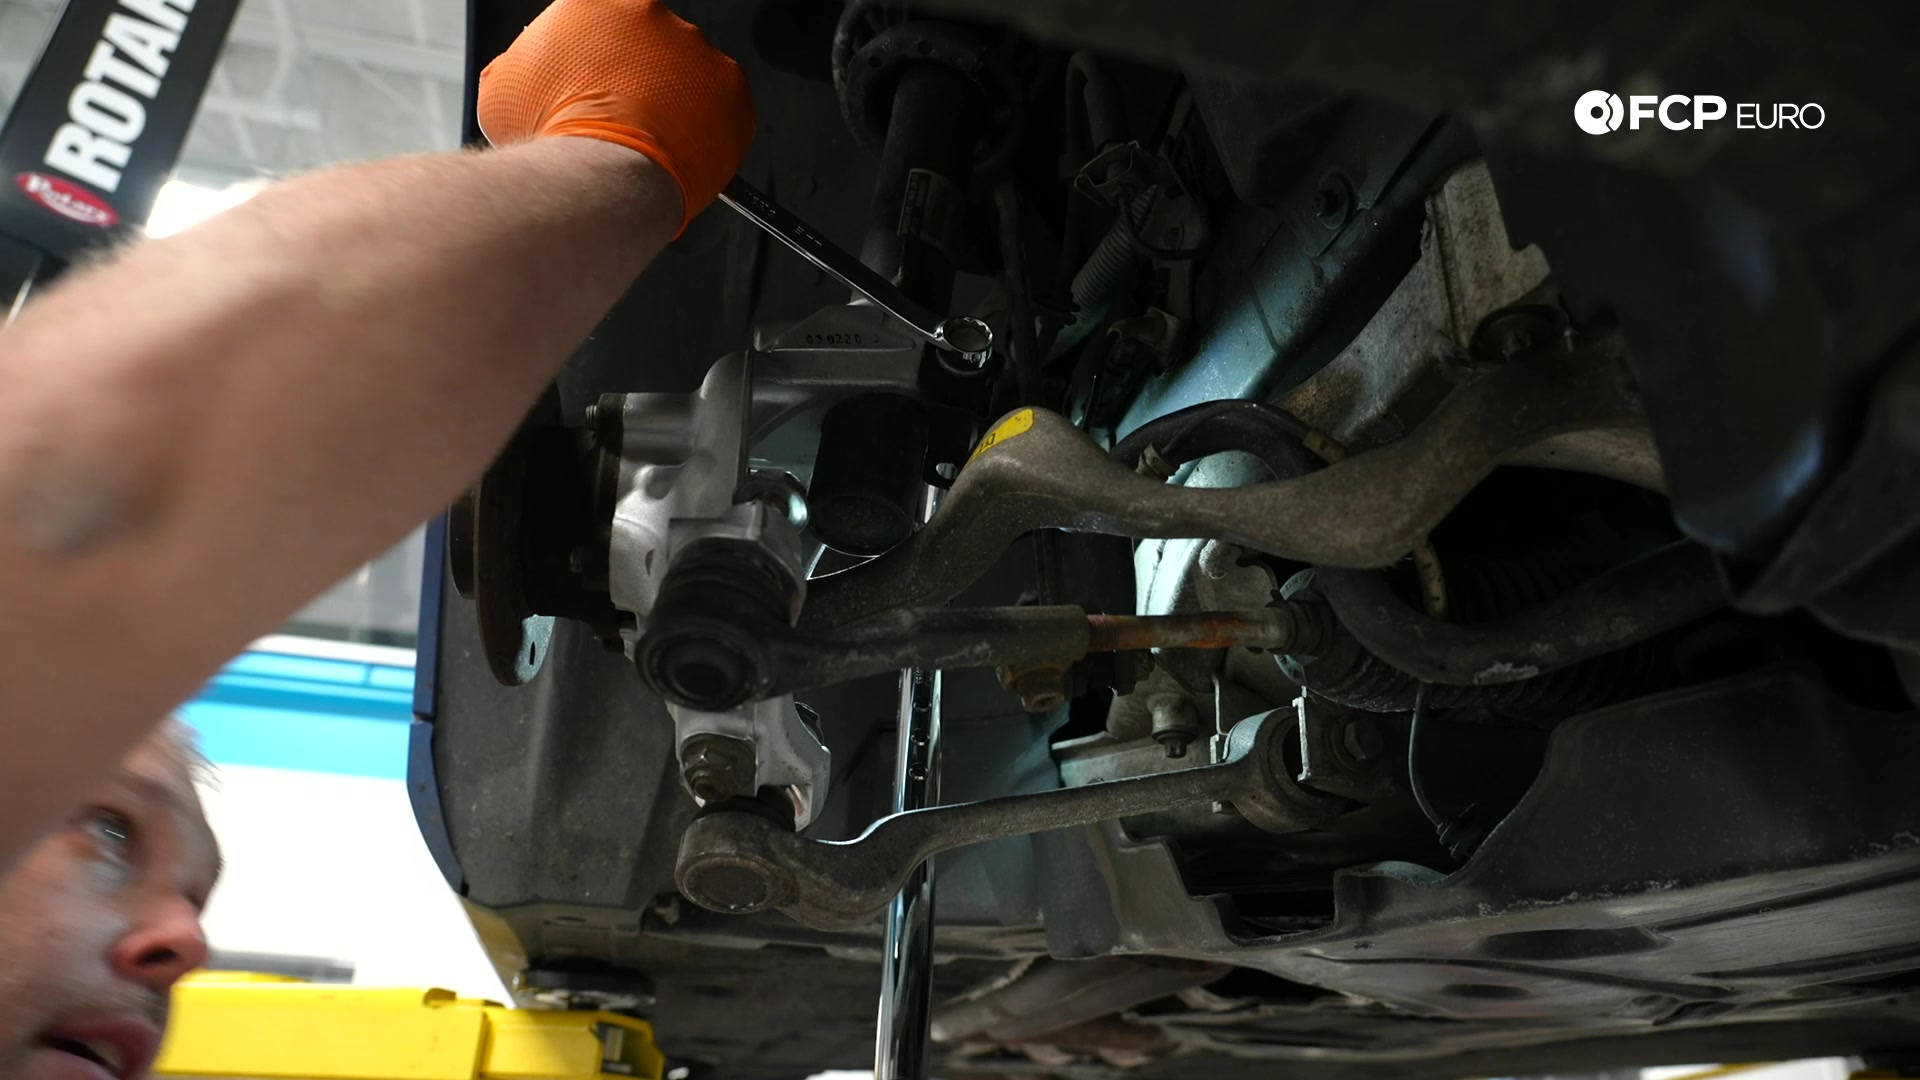
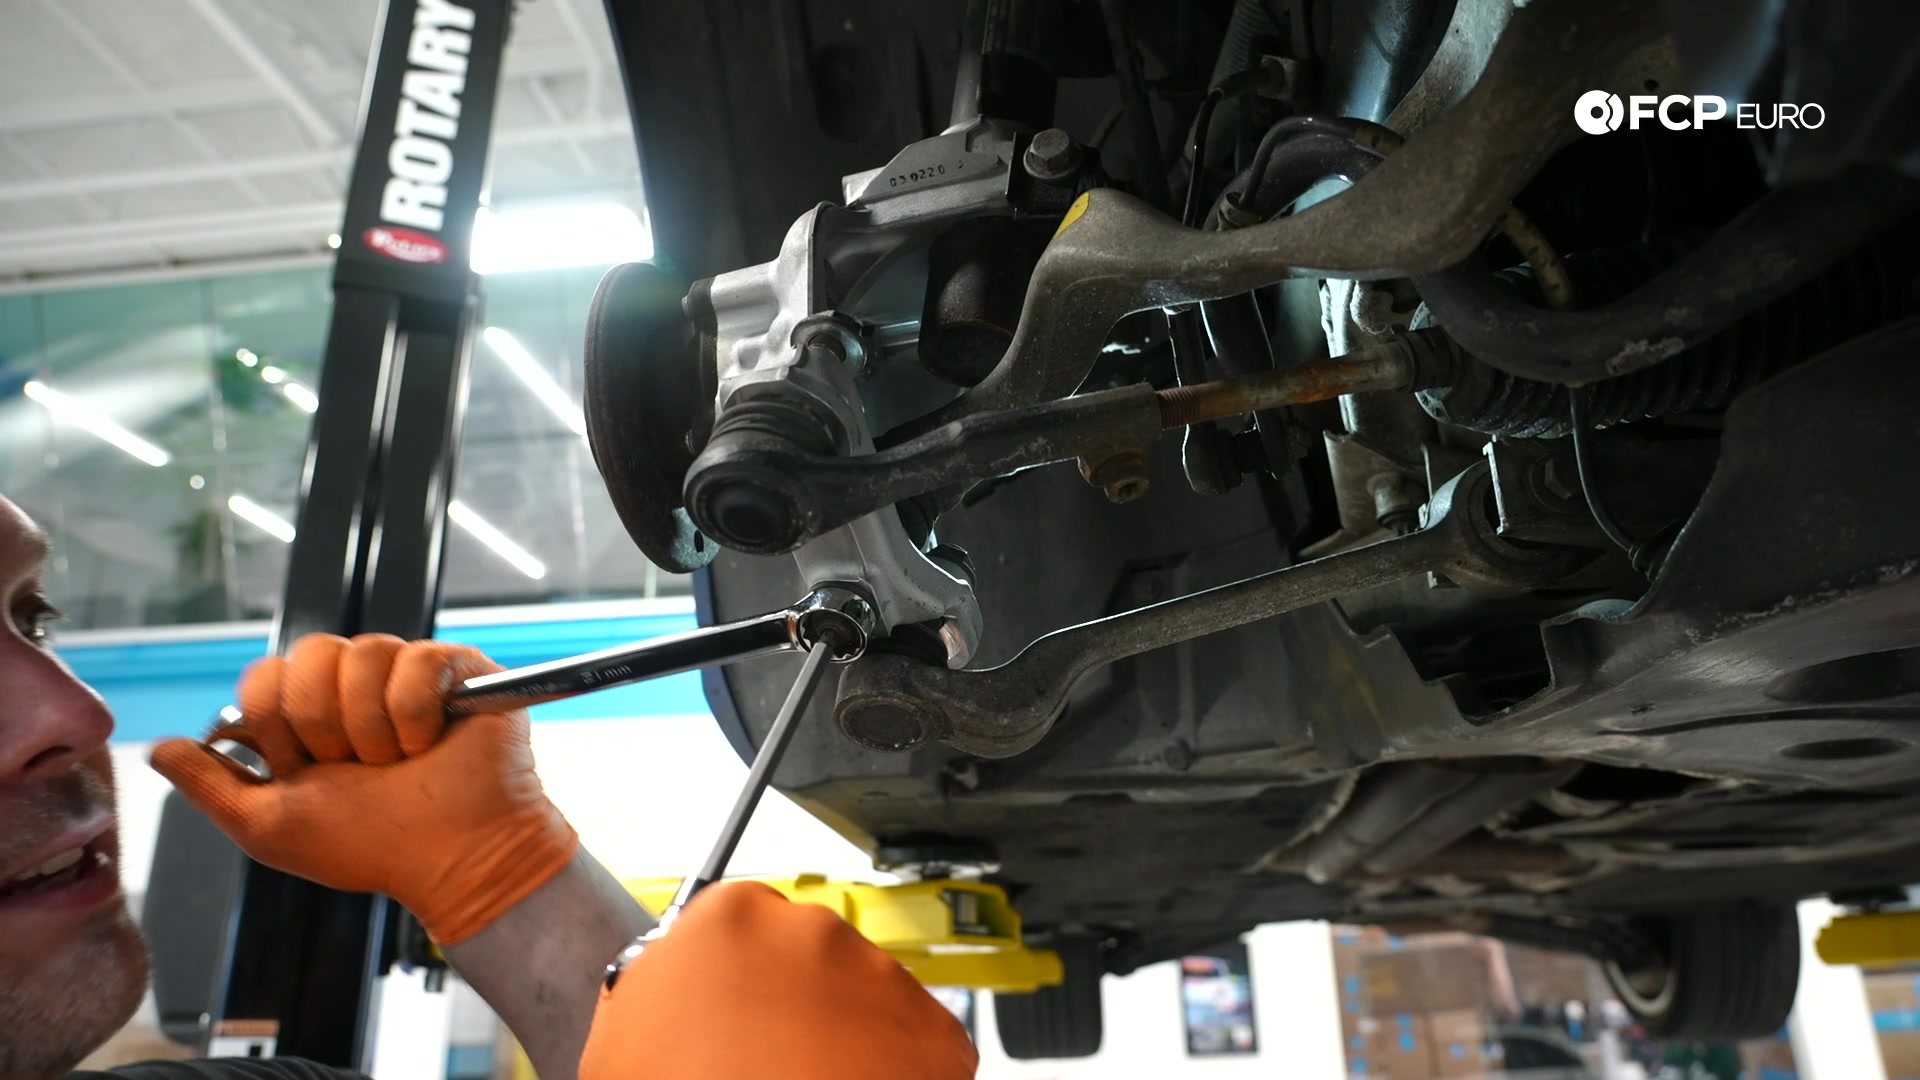
Remove the bolt and pull the sensor out of the knuckle. You can let the sensor dangle but ensure it is out of harm’s way. After that, remove the nuts for the two control arms and the tie rod end. They all require a long 21mm wrench or 21mm socket.
The chances are that the nuts will start to spin the ball joint’s stud. Counter hold the stud with a T40 Torx bit socket and spin the nut with a 21mm wrench.
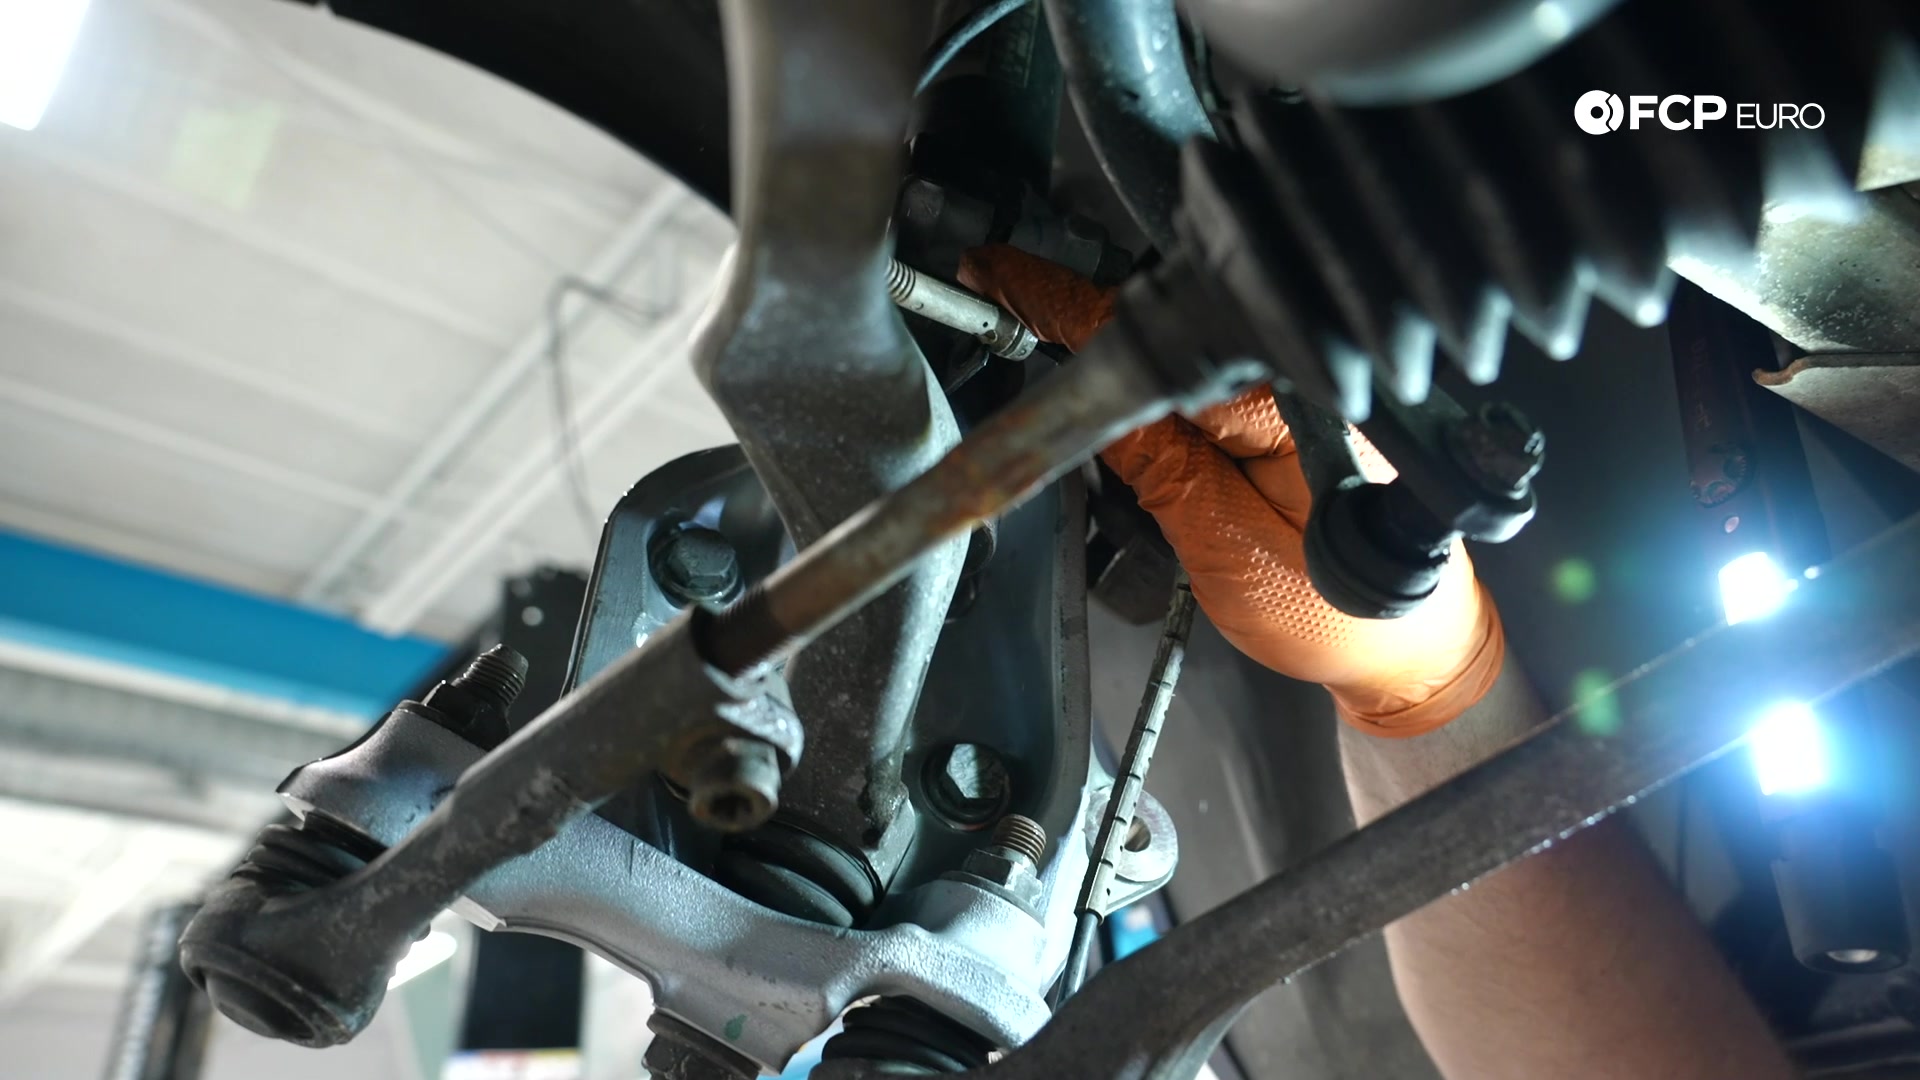
The tie rod end’s ball joint and the thrust arm’s ball joint use a tapered fit into the knuckle, and road grime and corrosion can prevent the ball joints from being separated from the knuckle. Use a hammer on the ball joint’s stud or a ball joint separator tool to free them from the knuckle.
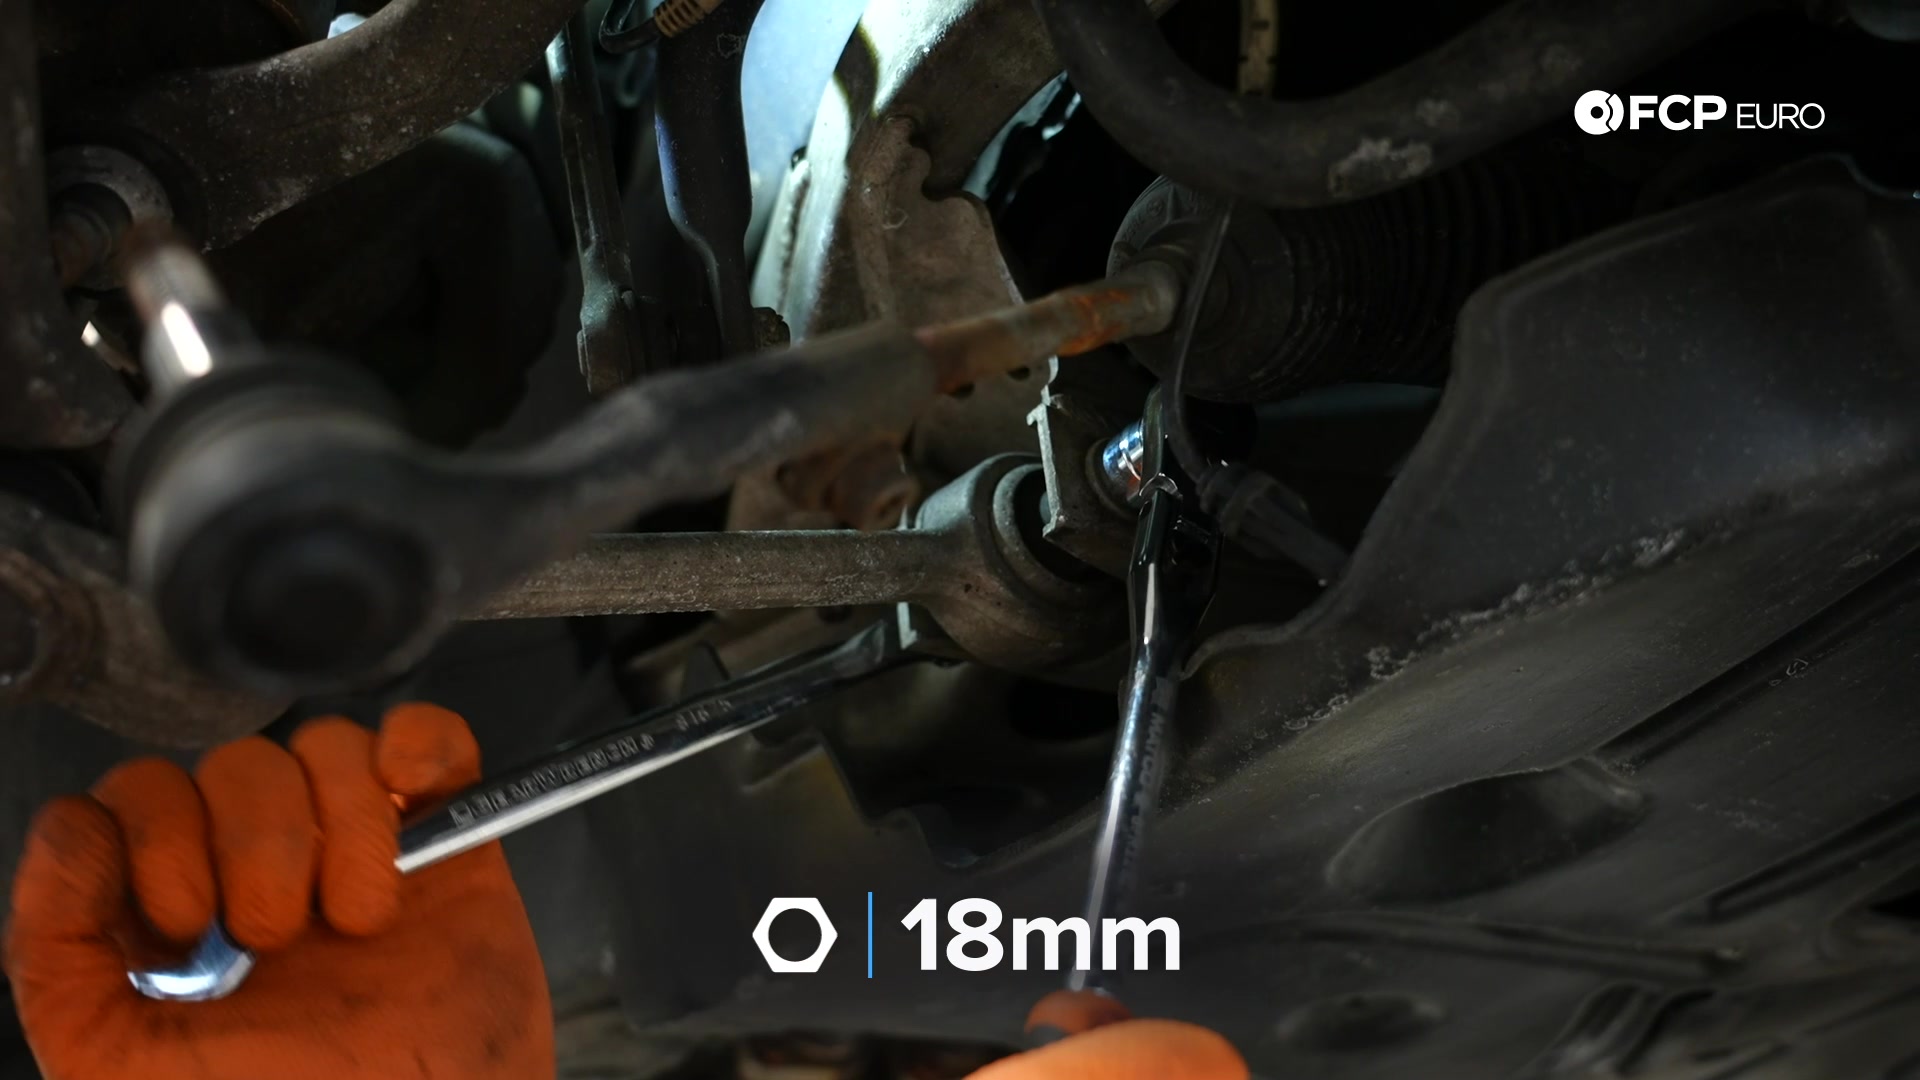
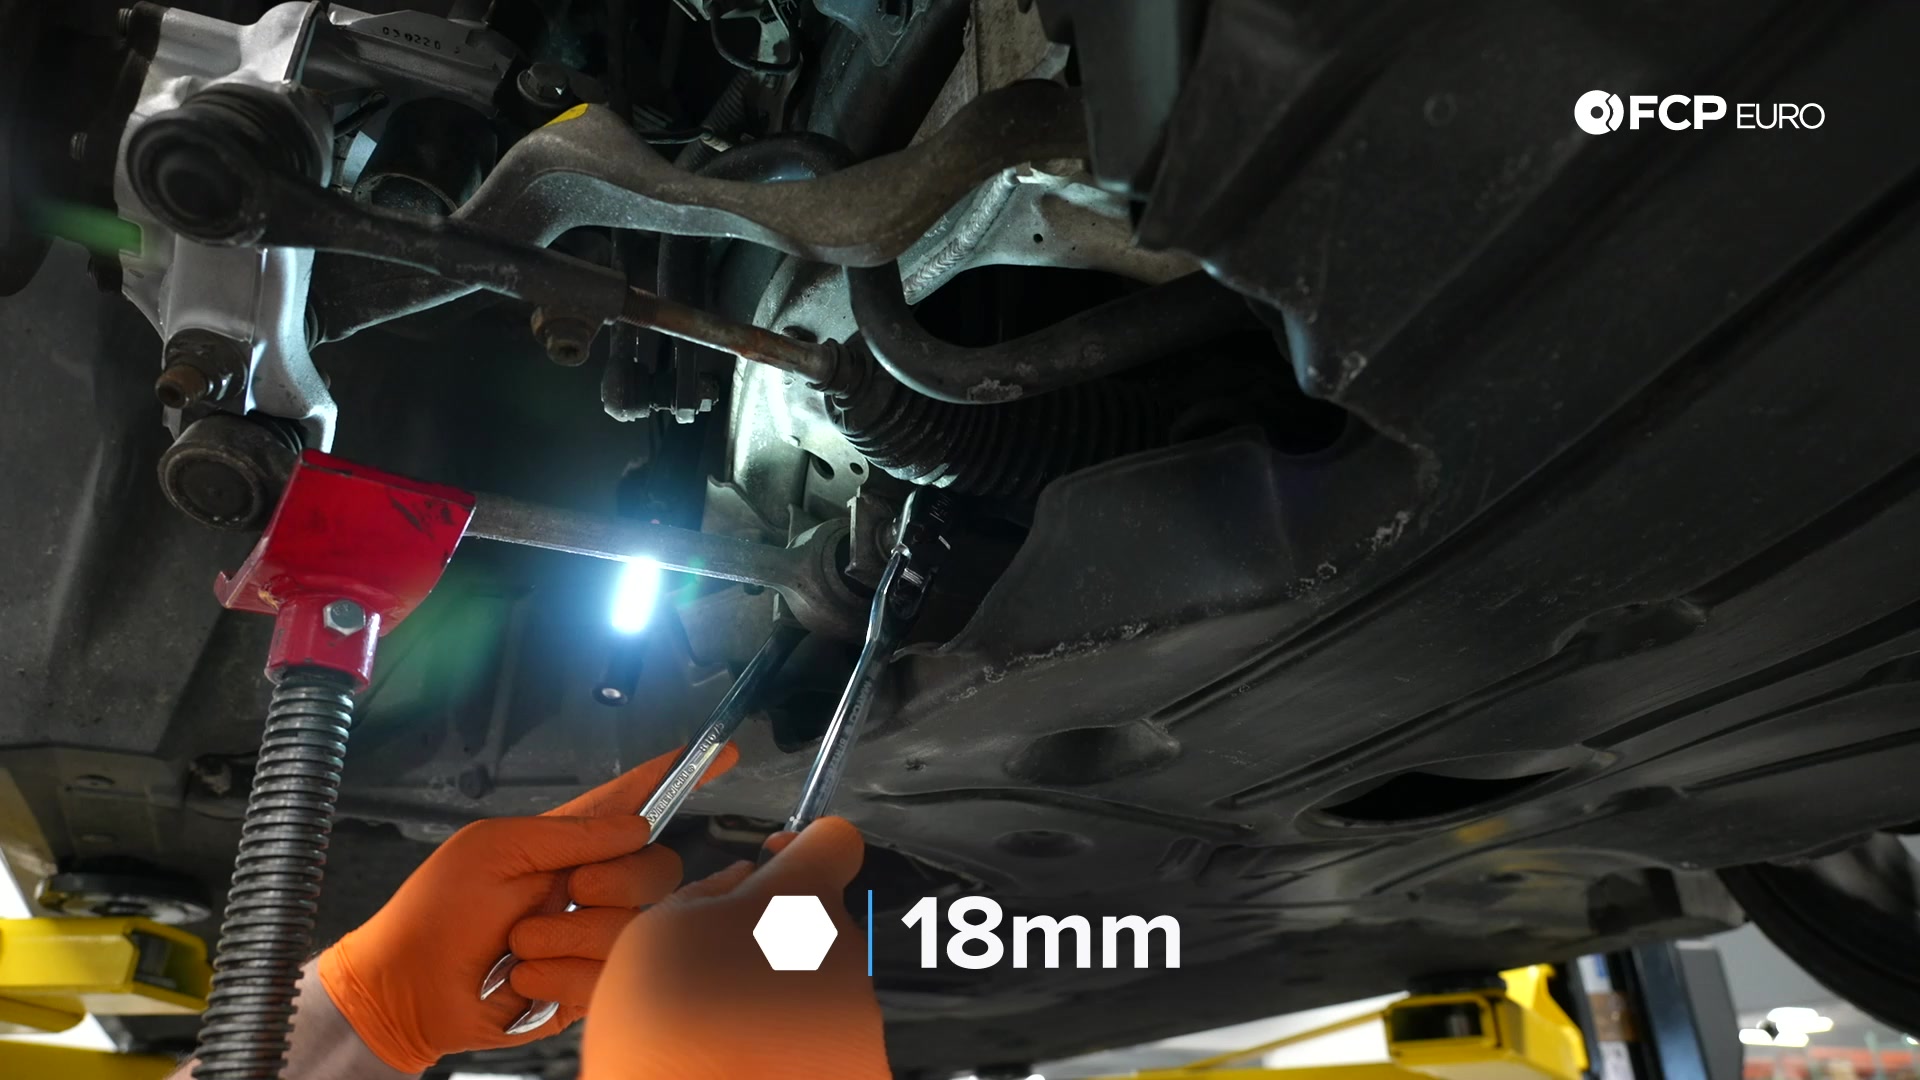
You may have trouble removing the toe arm from the knuckle. This is because the arm’s inner bushing is rubber and gets torqued at ride height to prevent binding, so the arm is under tension while the suspension is hanging. Use an 18mm wrench and an 18mm socket to loosen the toe arm’s inner bolt and remove the tension from the inner bushing.
Step 3: Remove the knuckle
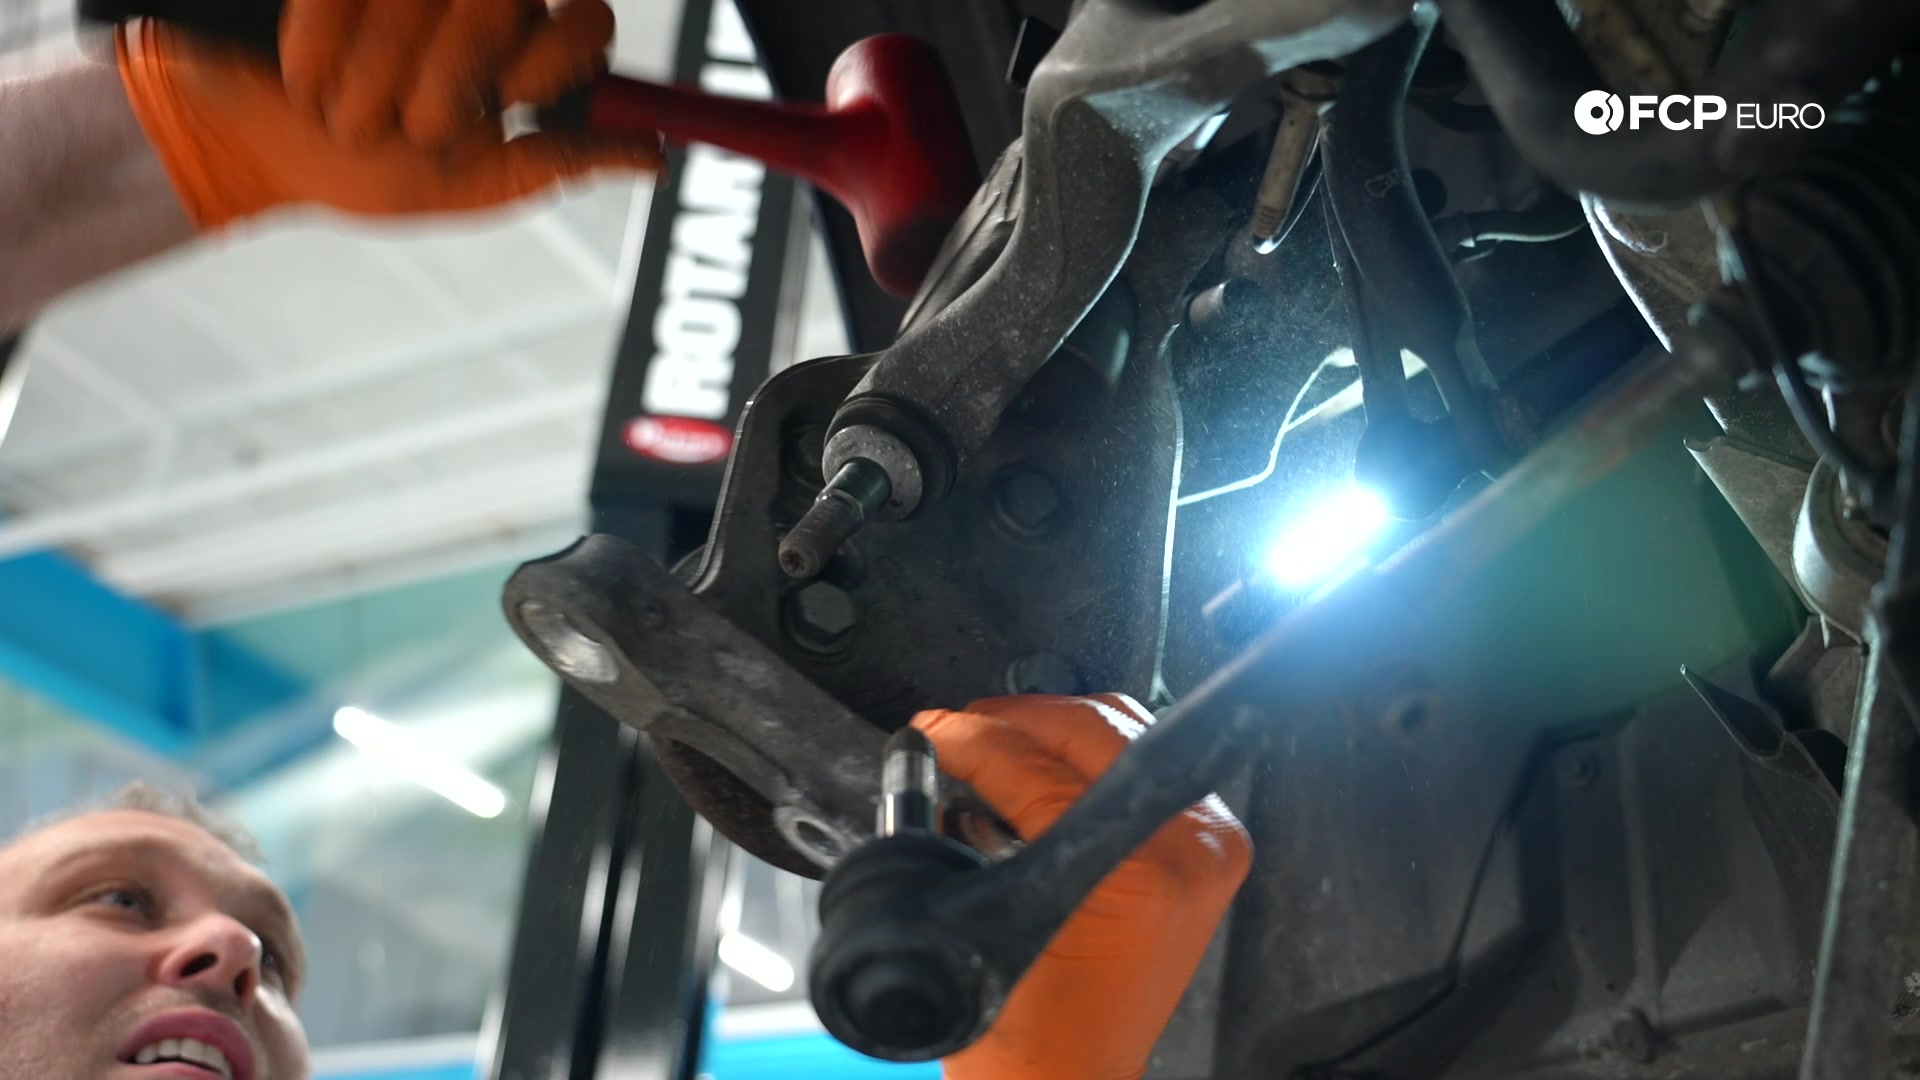
At this point in the job, the strut’s pinch bolt is the last piece holding the knuckle to the suspension. The knuckle may slide off the strut as you loosen the bolt, so support it with a jack or loosely place one of the ball joints through it and thread on its nut a few turns.
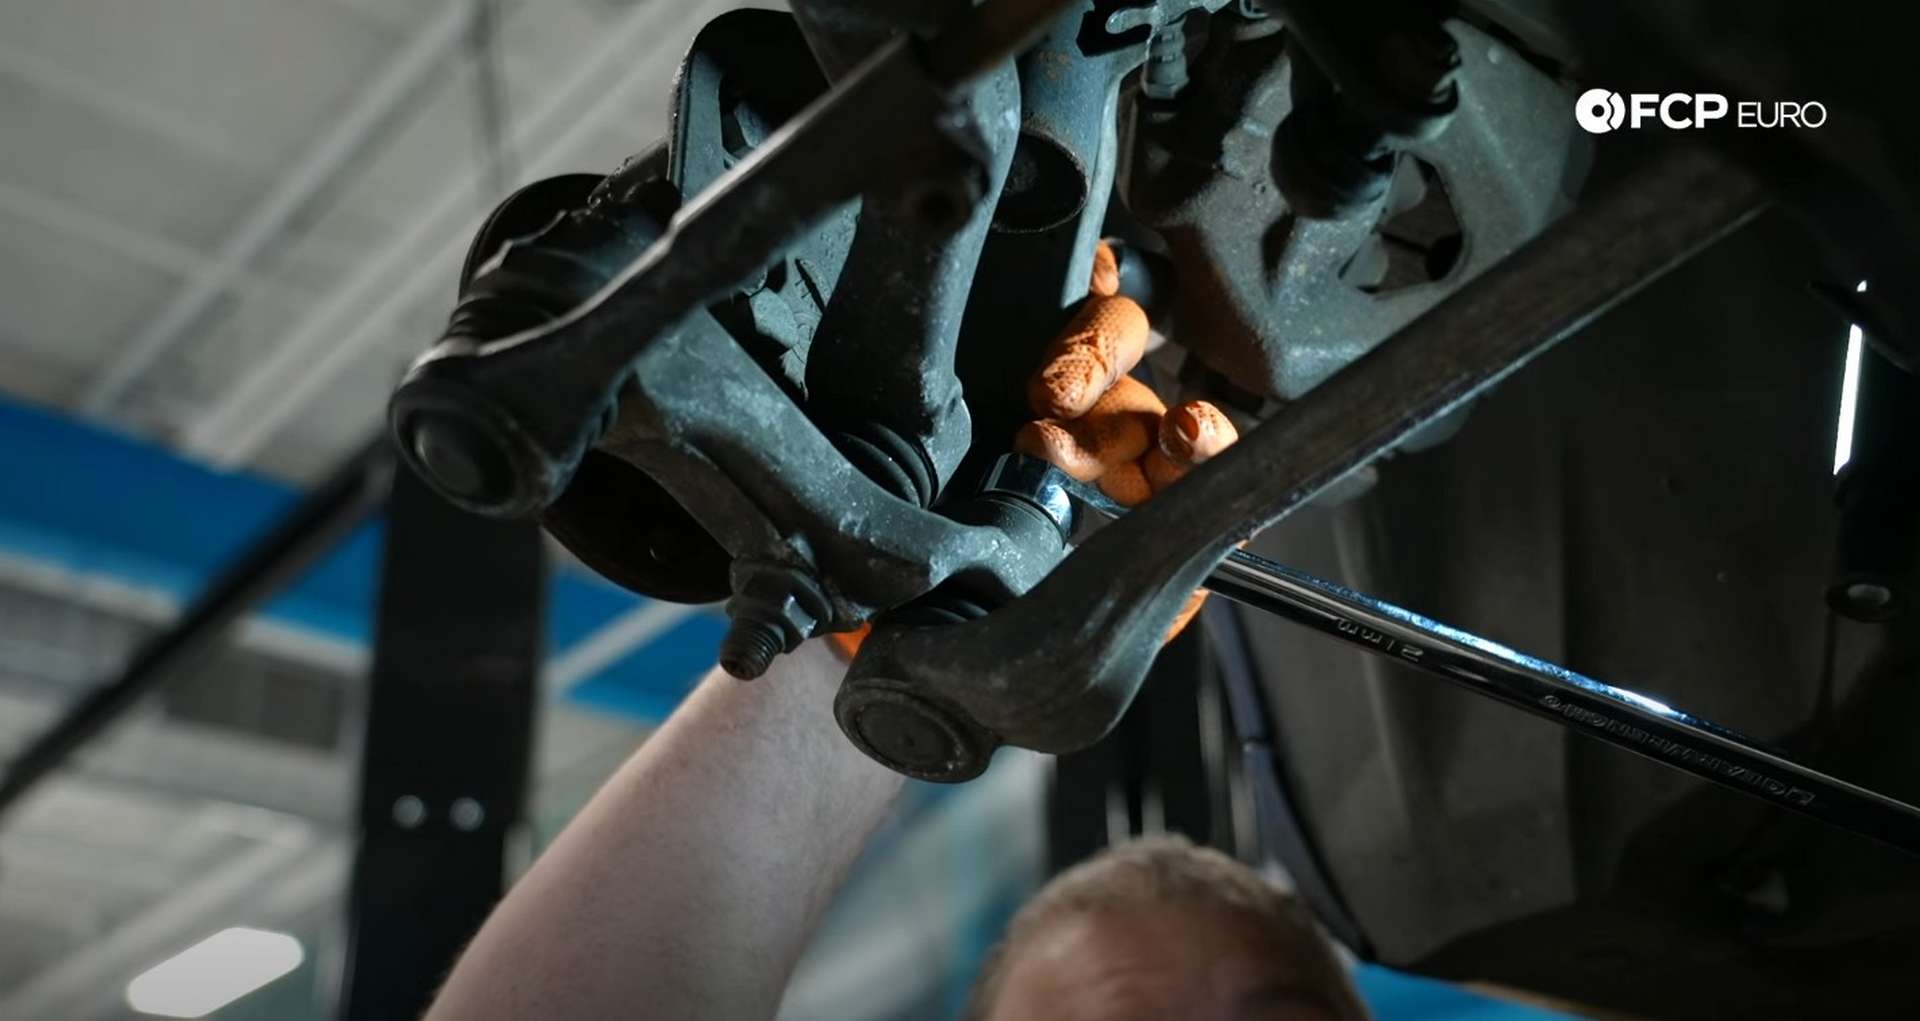
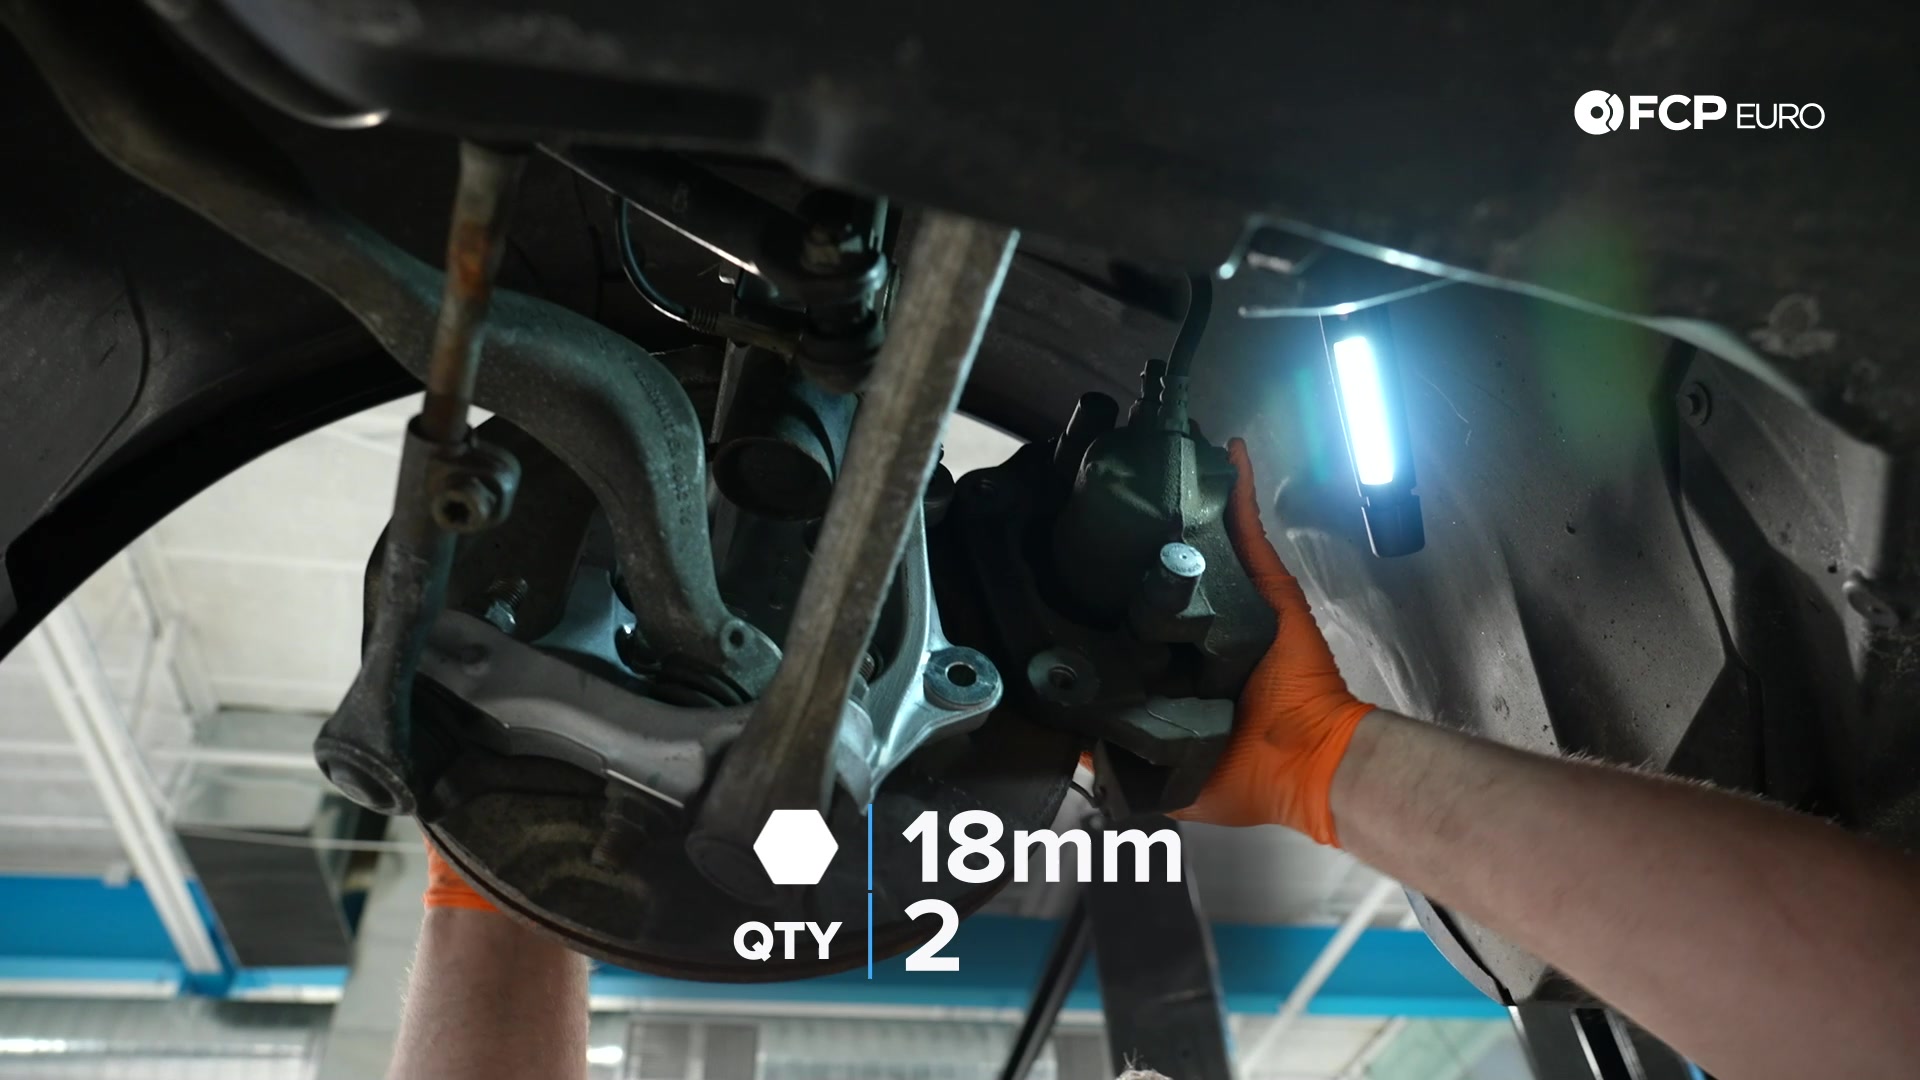
After that, use an 18mm wrench and an 18mm socket to remove the pinch bolt from the knuckle. When you remove the bolt, the wheel speed sensor bracket will come off with it. Place that aside to use on the new knuckle.
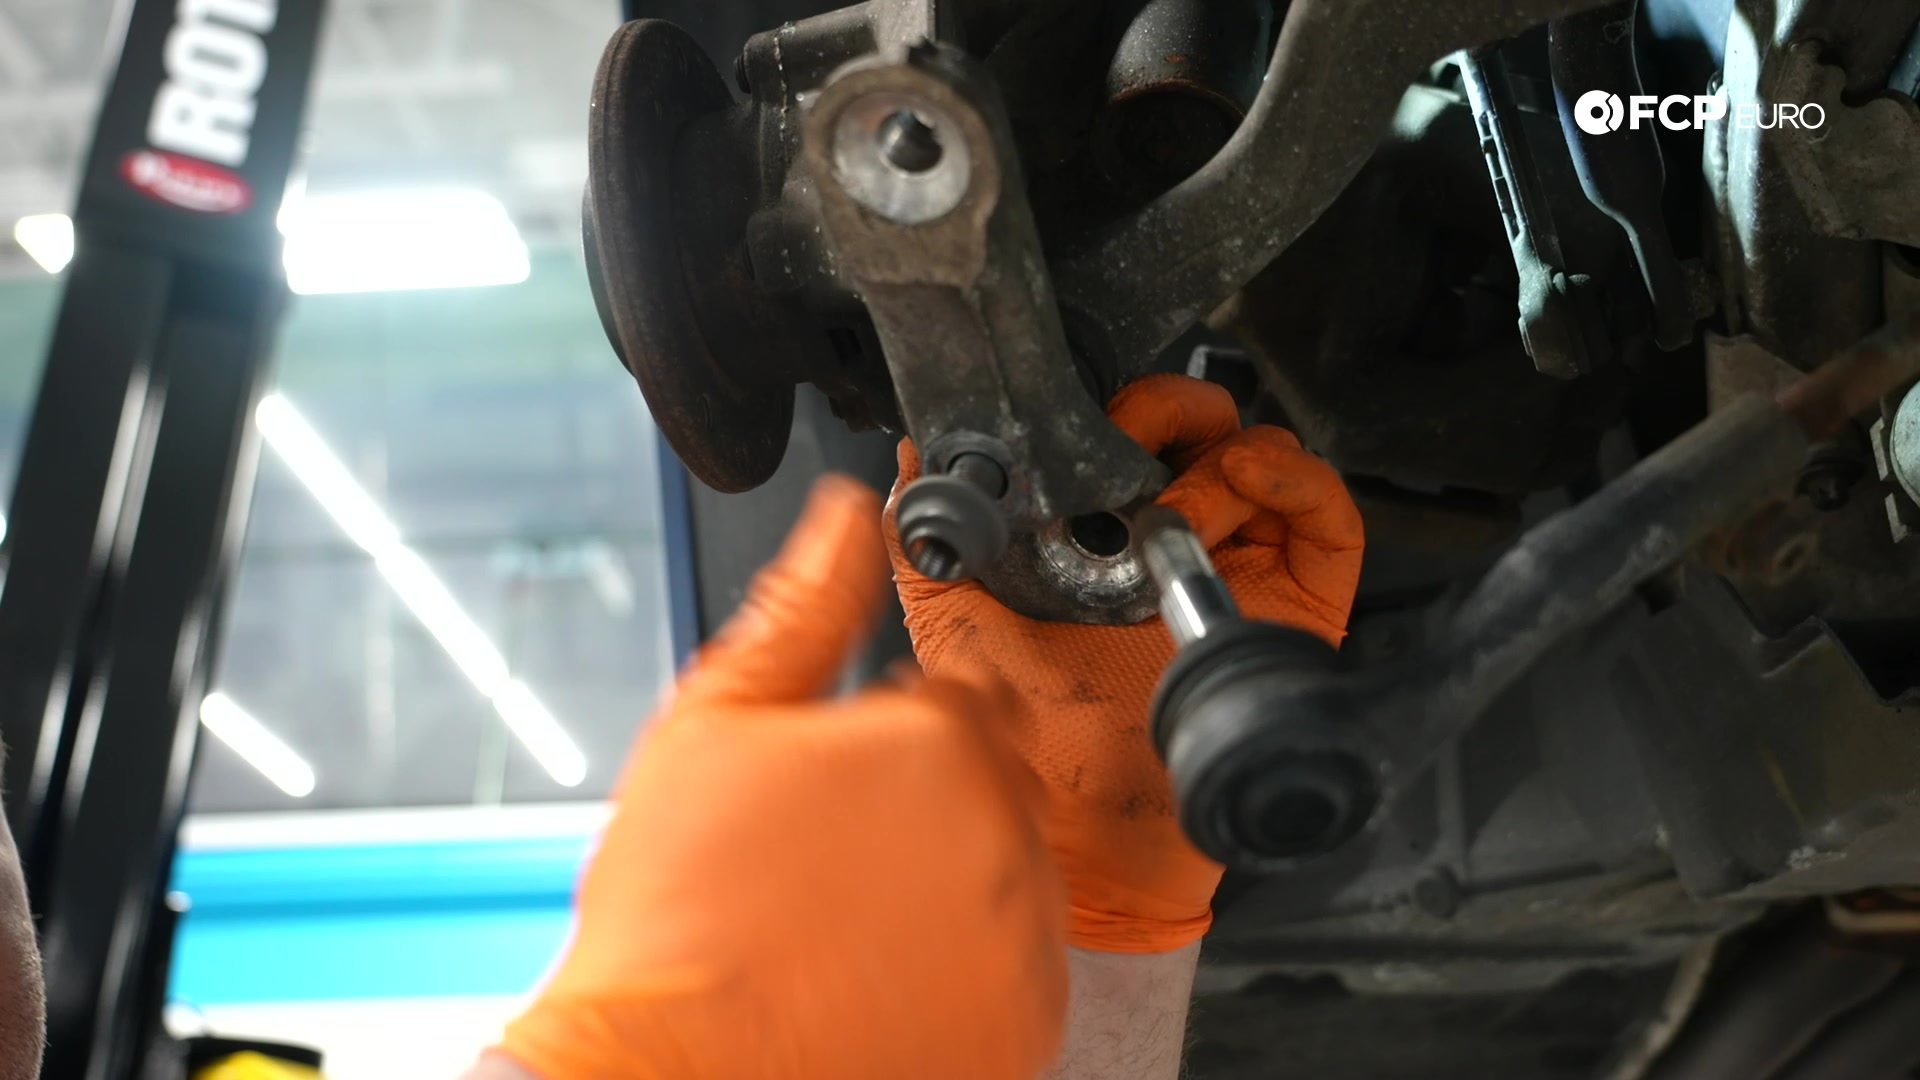
Next, use the spindle spreading socket to spread the knuckle around the strut. Place the socket in the knuckle and rotate it 90°. Disconnect the ratchet from the socket and then slide the knuckle off of the strut. If it still doesn’t want to slide off the strut, give it a few love taps with a dead-blow hammer.
Step 4: Prepare and install the new knuckle
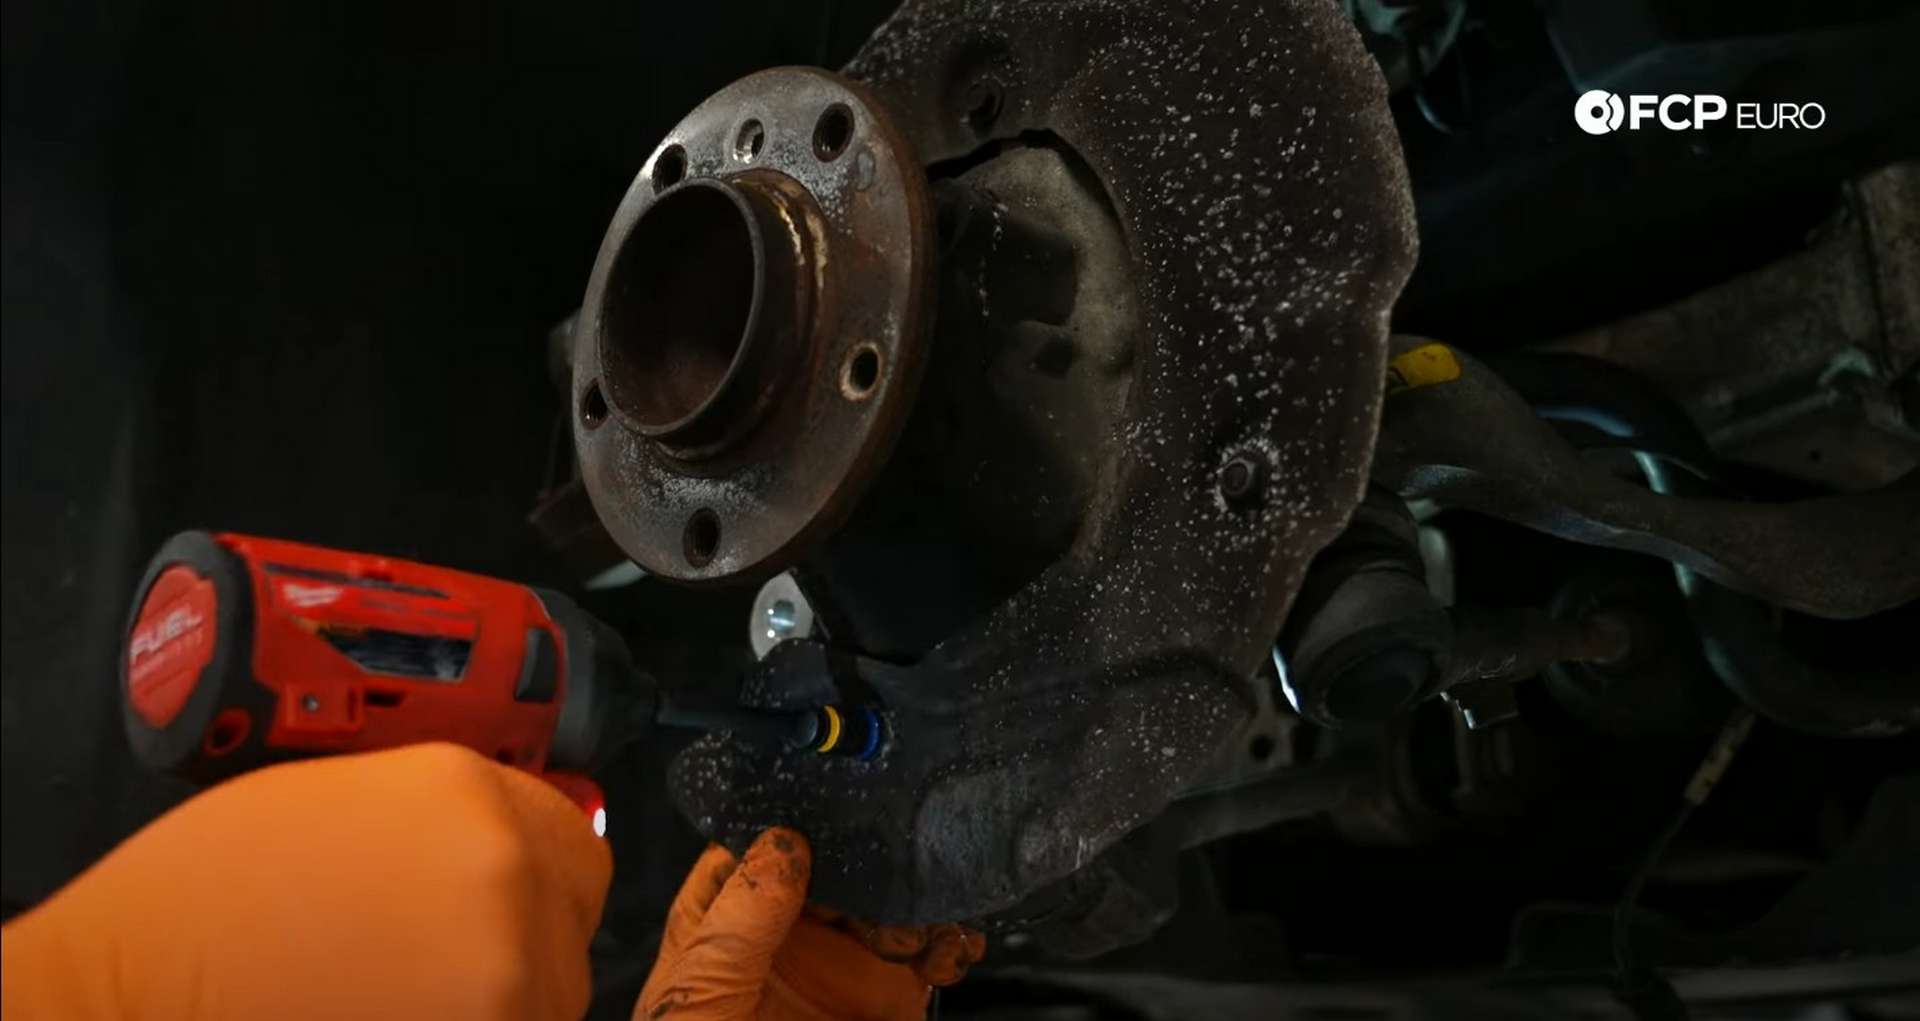
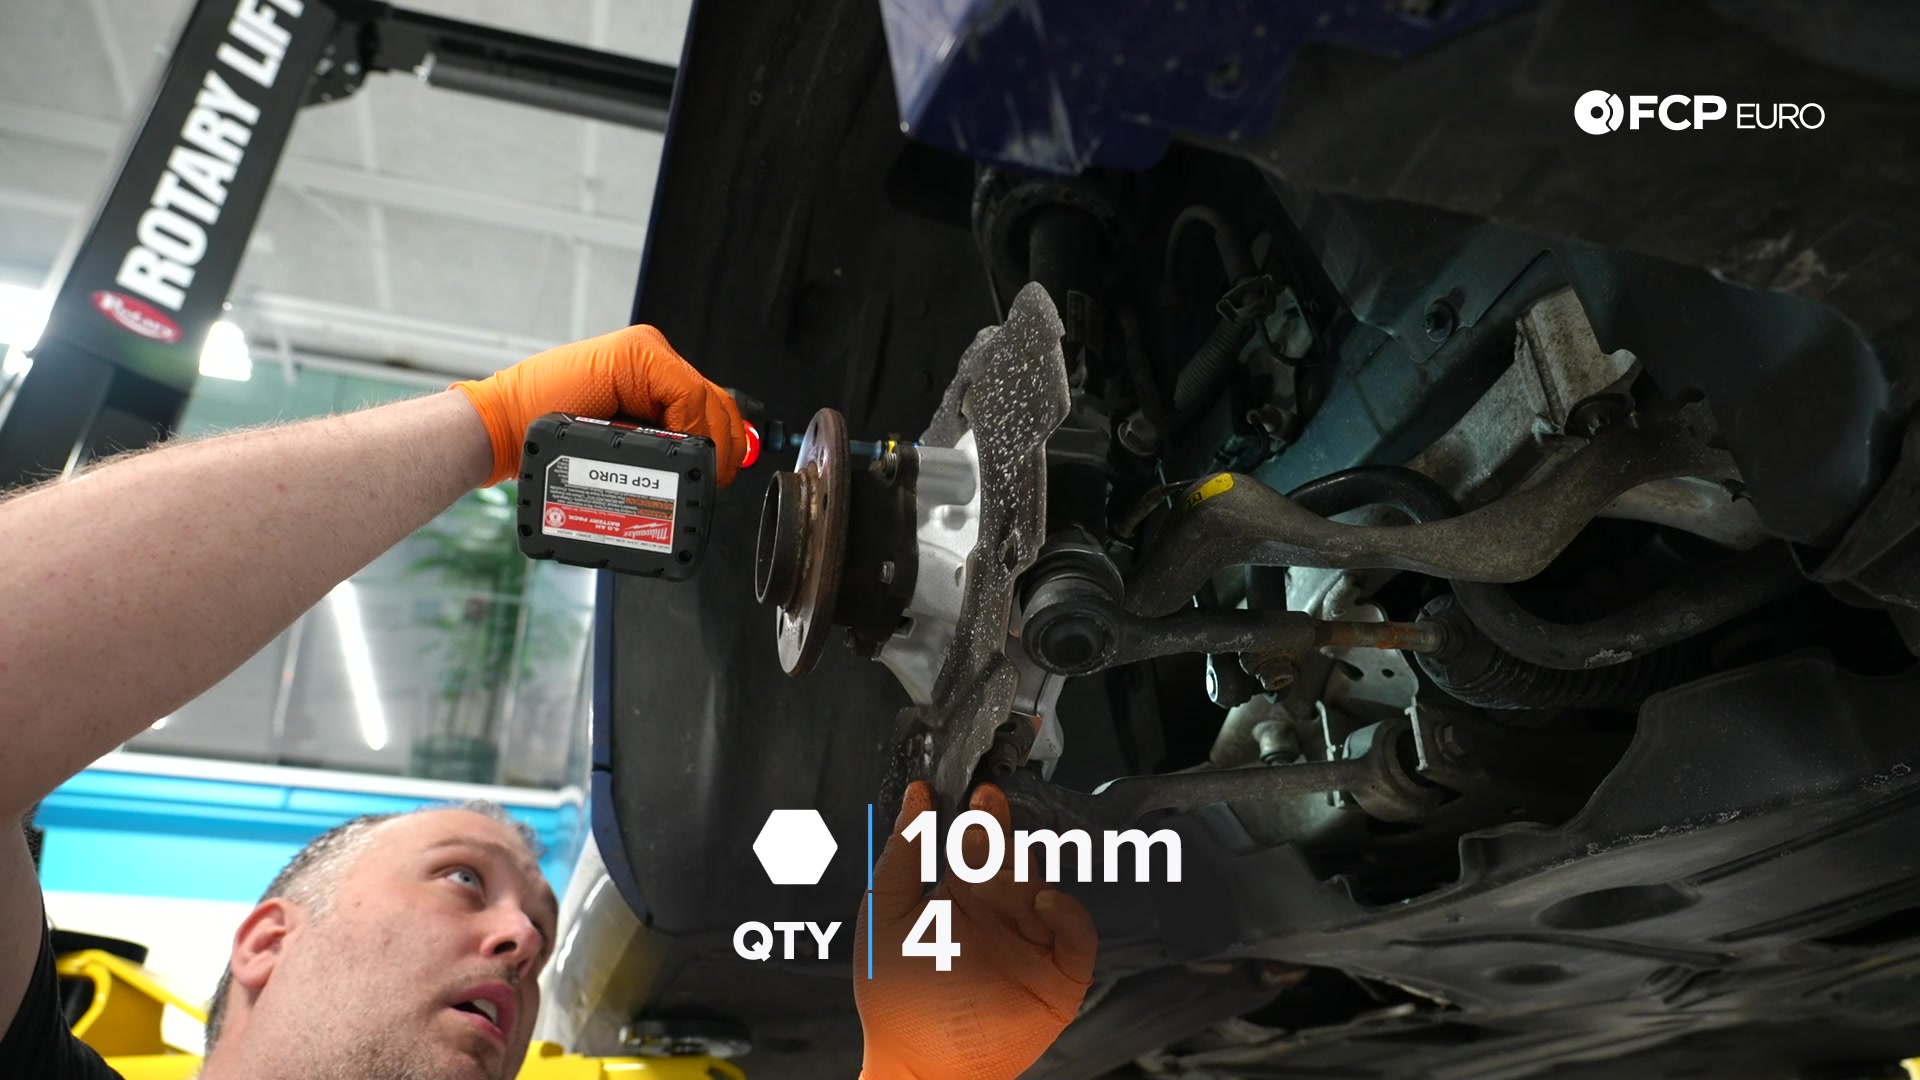
Get the old knuckle onto a work surface and use an 18mm socket to remove the wheel bearing’s four bolts from the back of the knuckle.
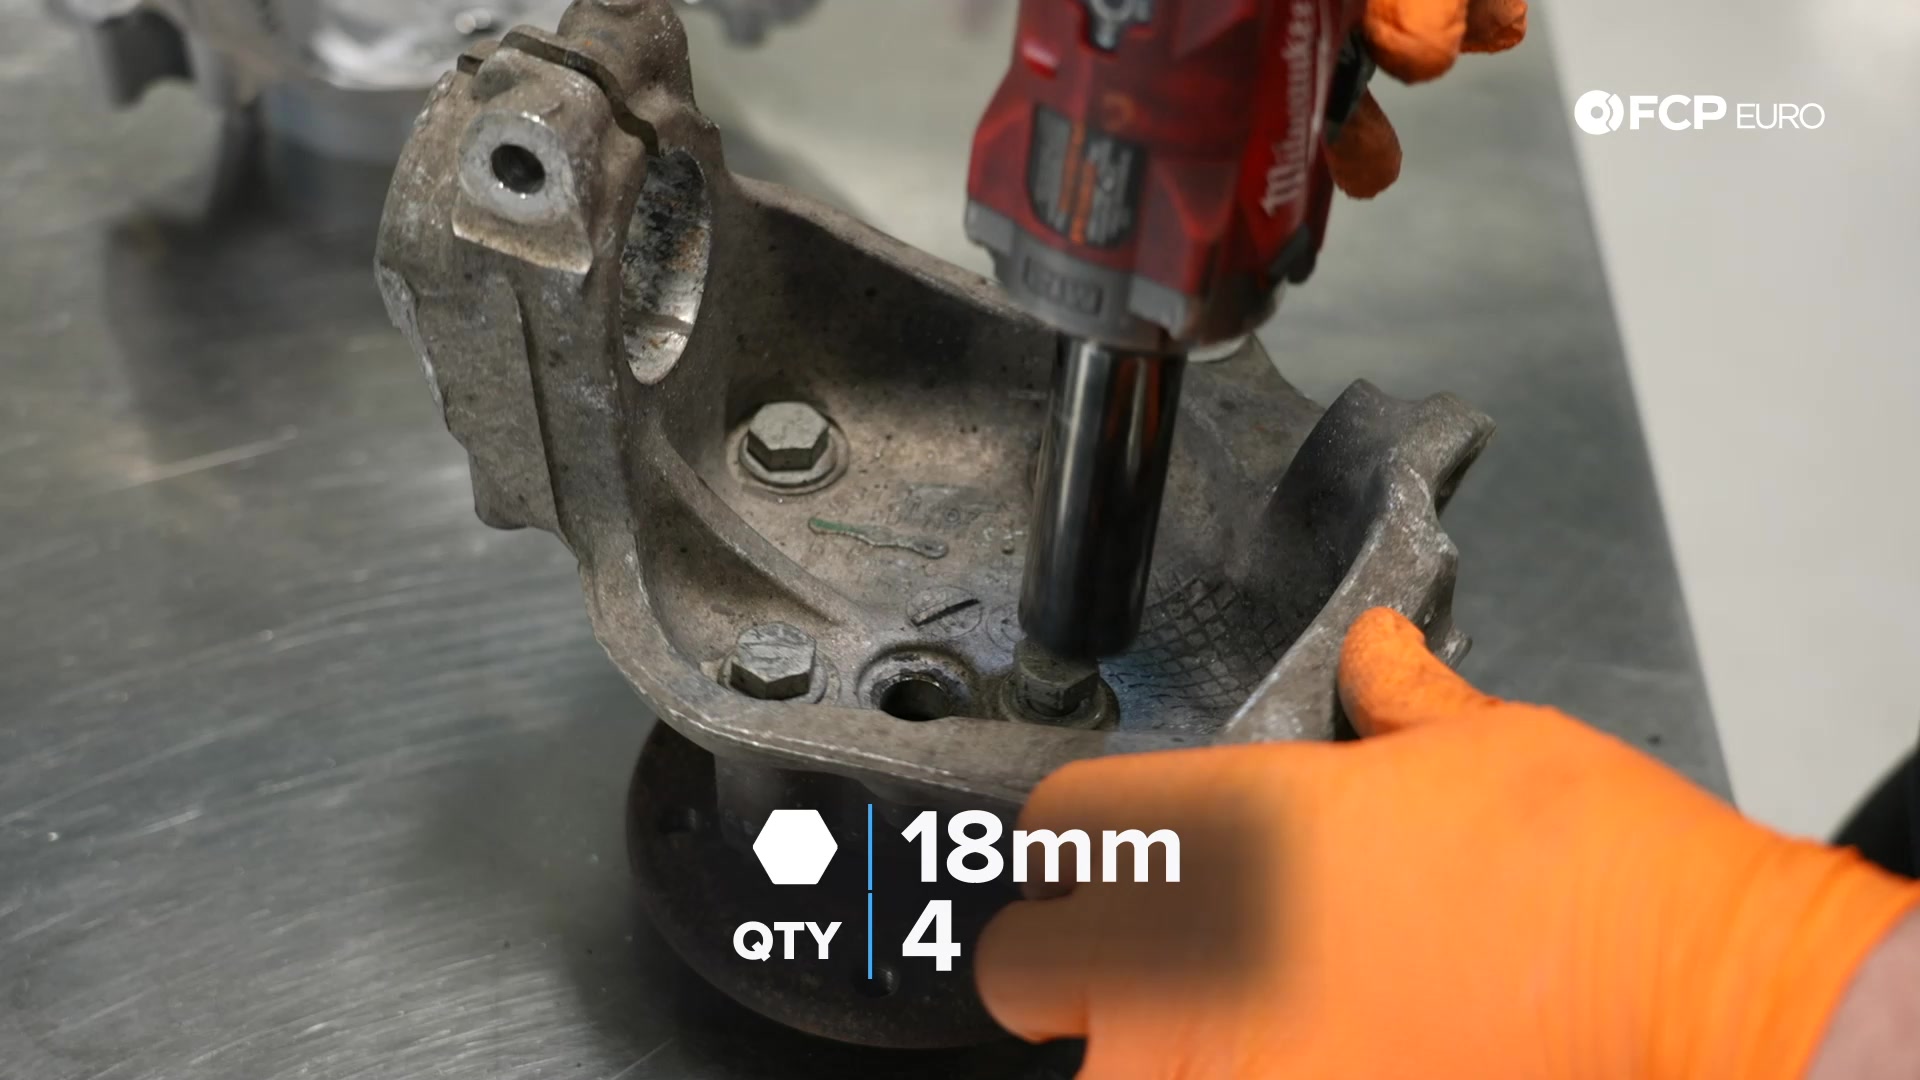
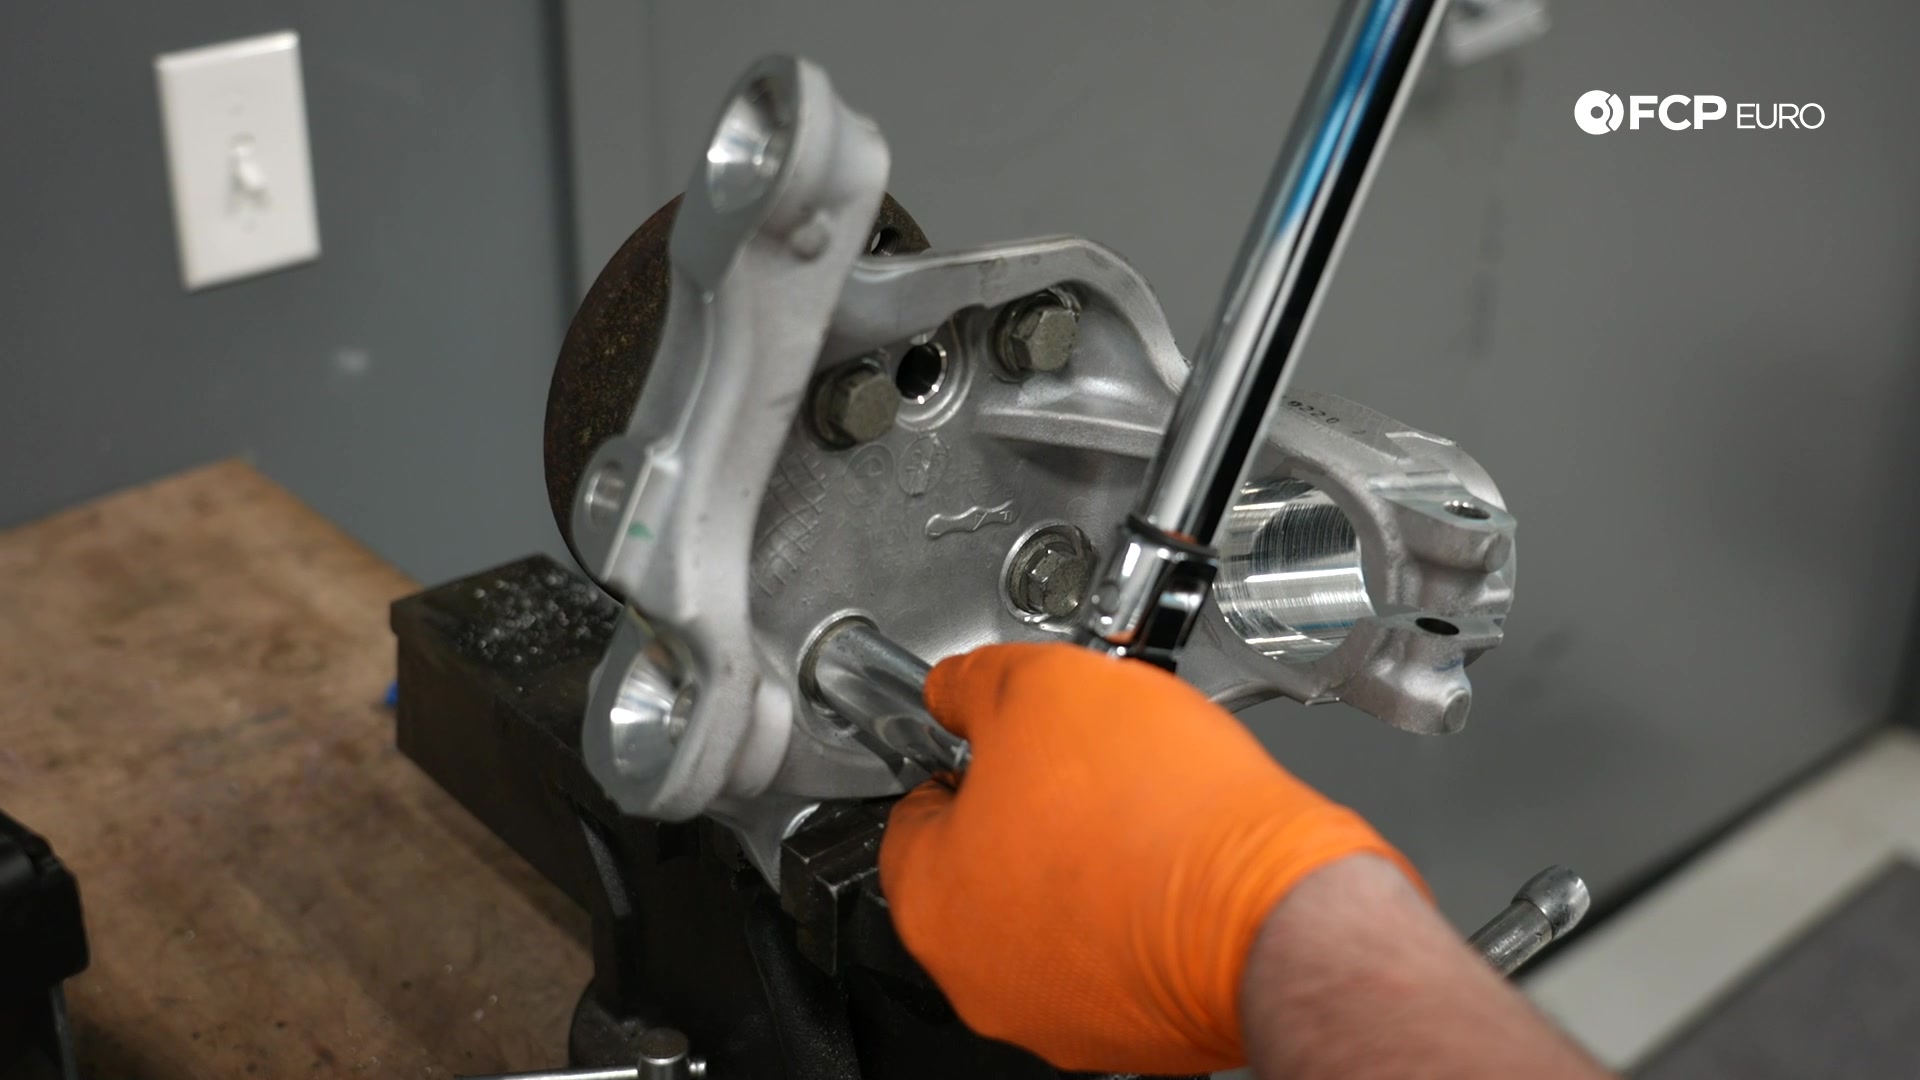
Next, get the new knuckle onto a work surface and install the wheel bearing. Unfortunately, wheel bearings are a common failure point on these chassis’, so now is your chance to replace it with a new one. Either way, place the bearing/hub assembly onto the new knuckle and thread in the new bolts. Thread in the new bolts by hand before using the 18mm socket to torque the bolts to 110Nm.
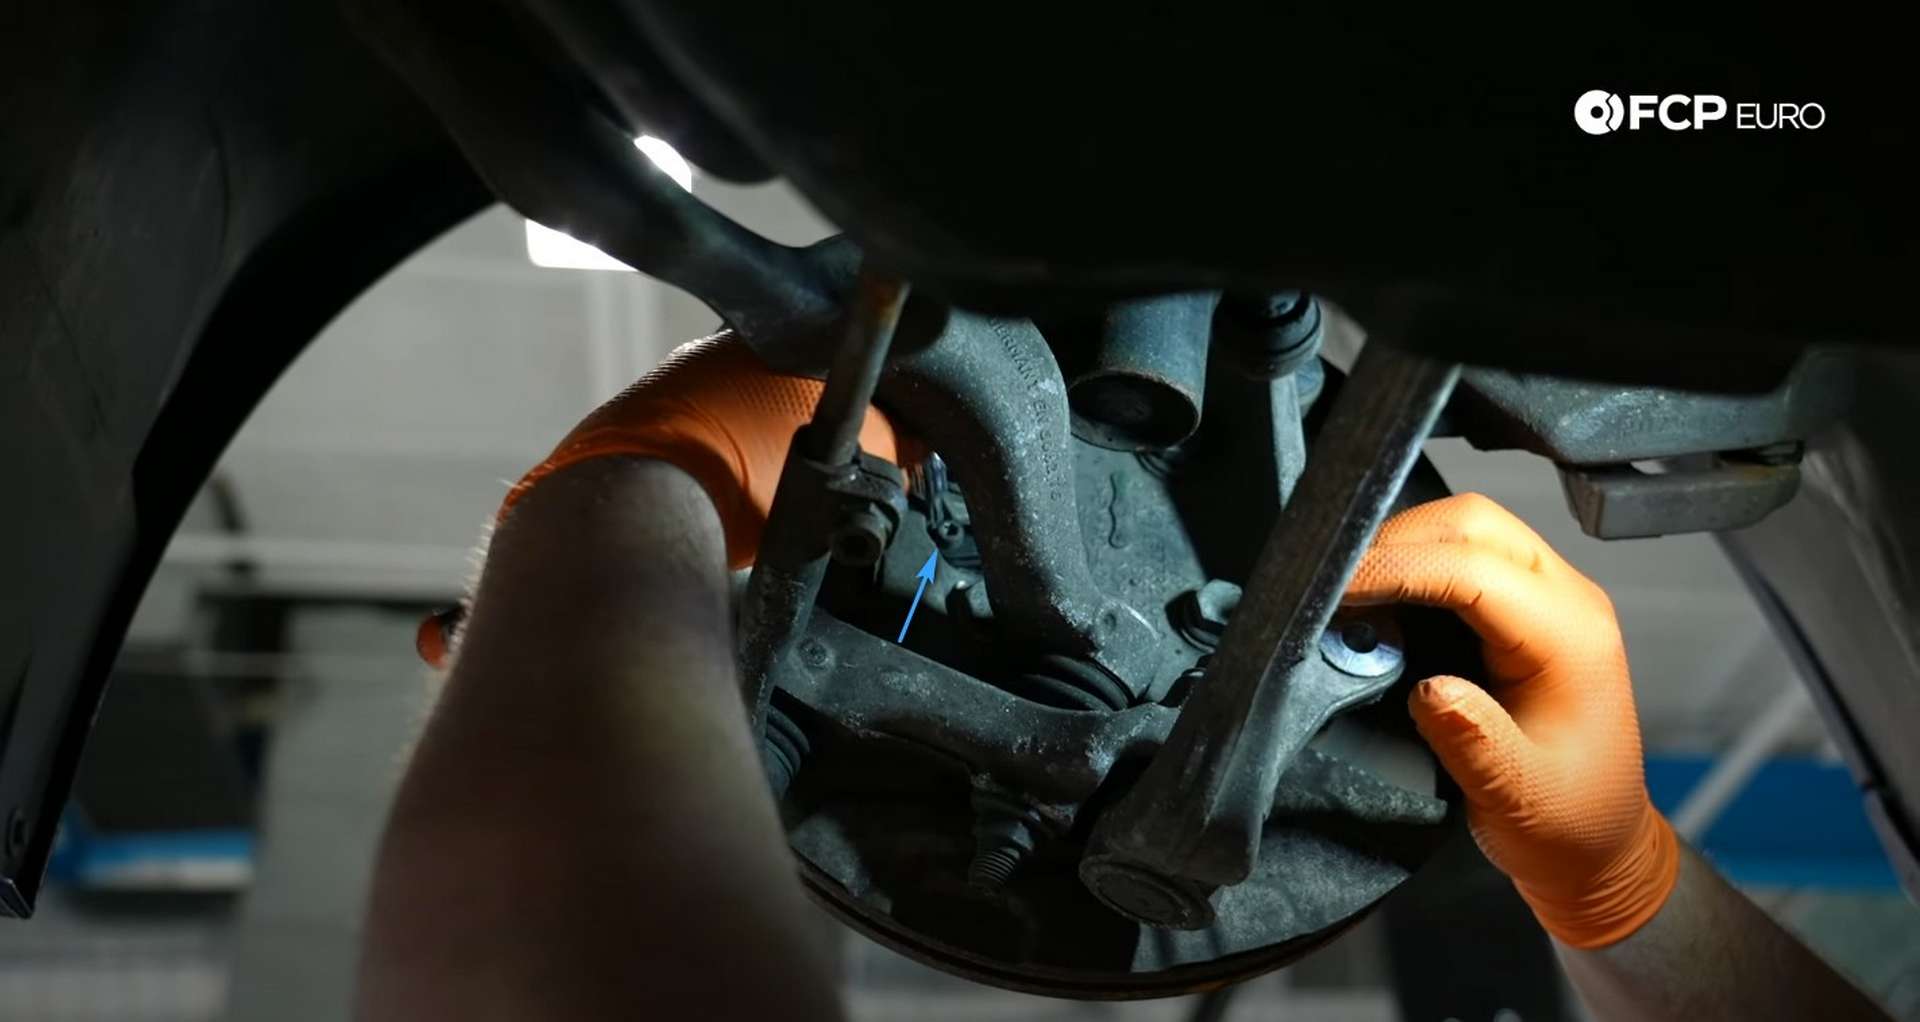
Then, use the spreader tool on the new knuckle. Spread the knuckle and leave the socket in place just as before. Before installing the knuckle, clean the strut’s body with a rag and some brake clean. Cleaning it now will ensure an easier installation and less corrosion build-up later. Then, slide the knuckle into position on the strut.
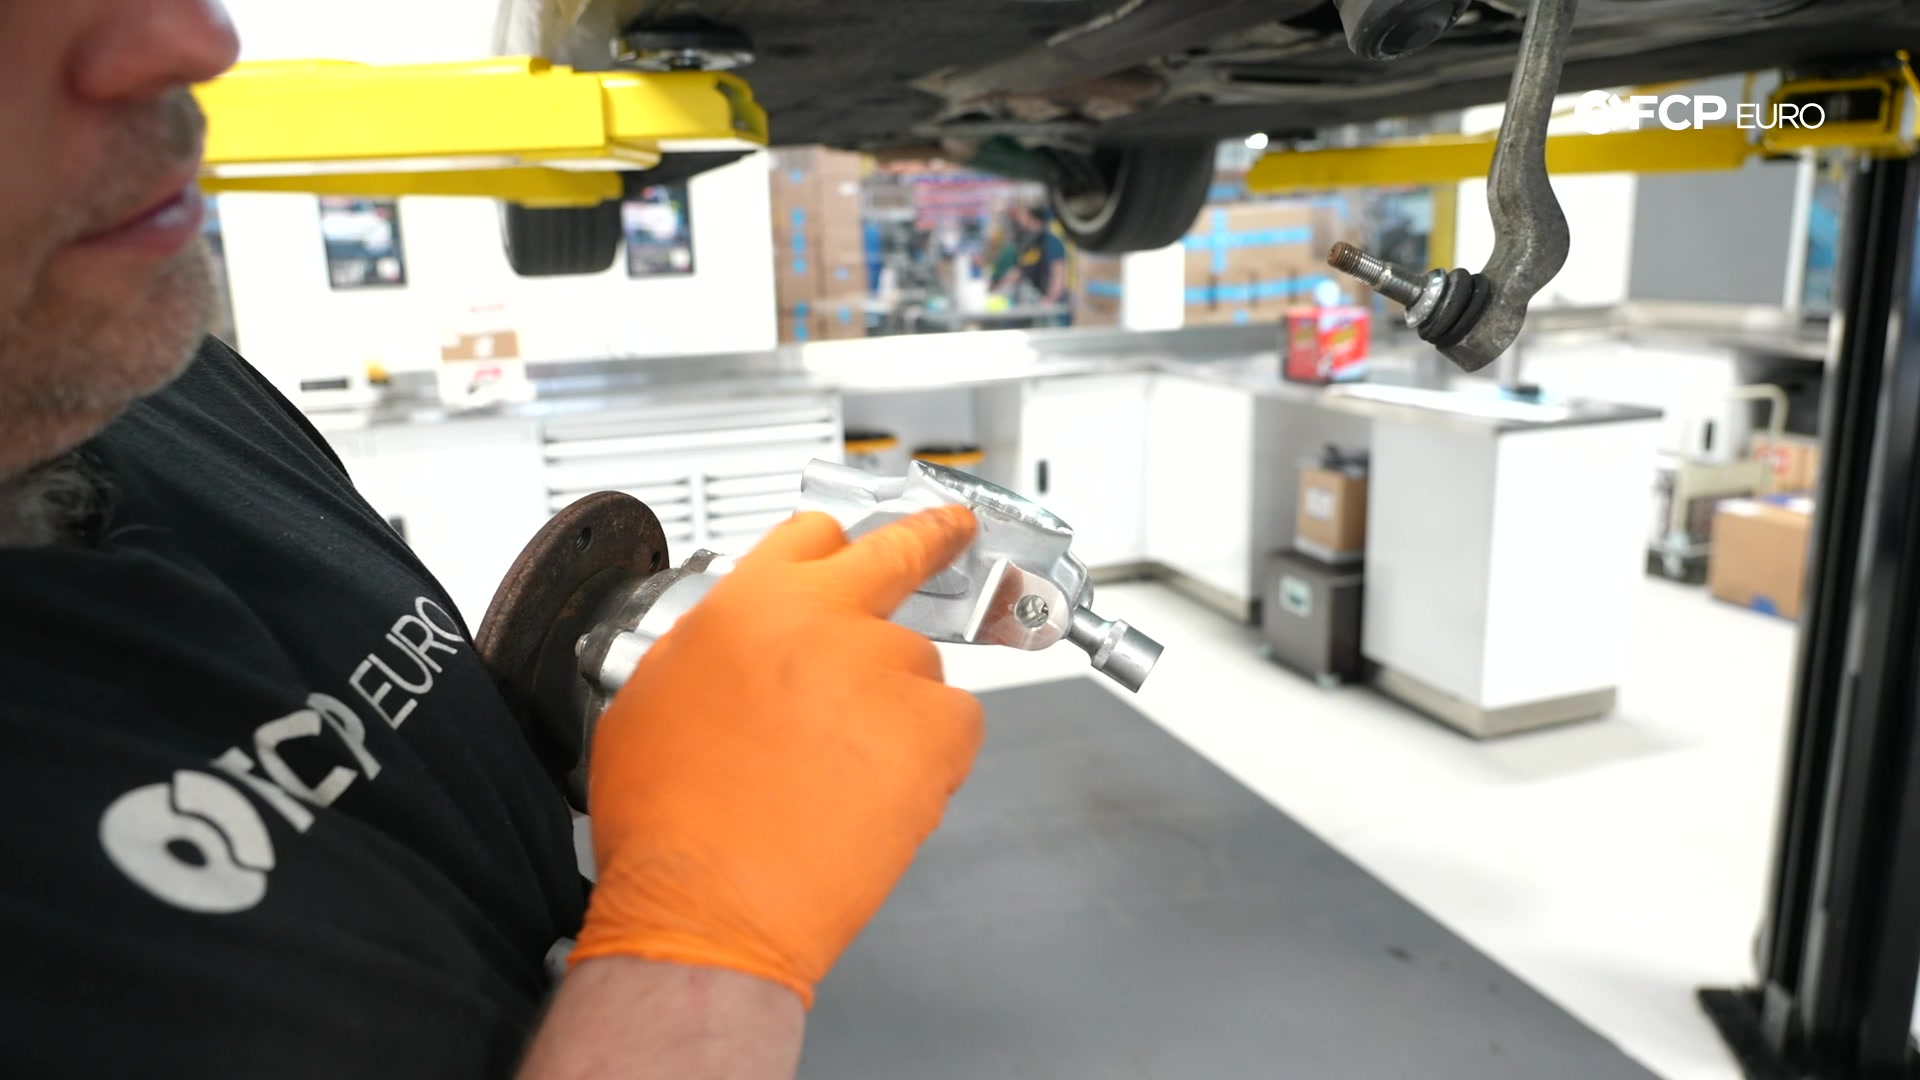
Next, pay attention to the machined notch on the knuckle’s leading side. Align that notch with the tab on the strut to ensure the knuckle is in the proper position. Once you have the knuckle on the strut, place the thrust arm’s ball joint through it and thread on the nut loosely. That will support the knuckle during installation.
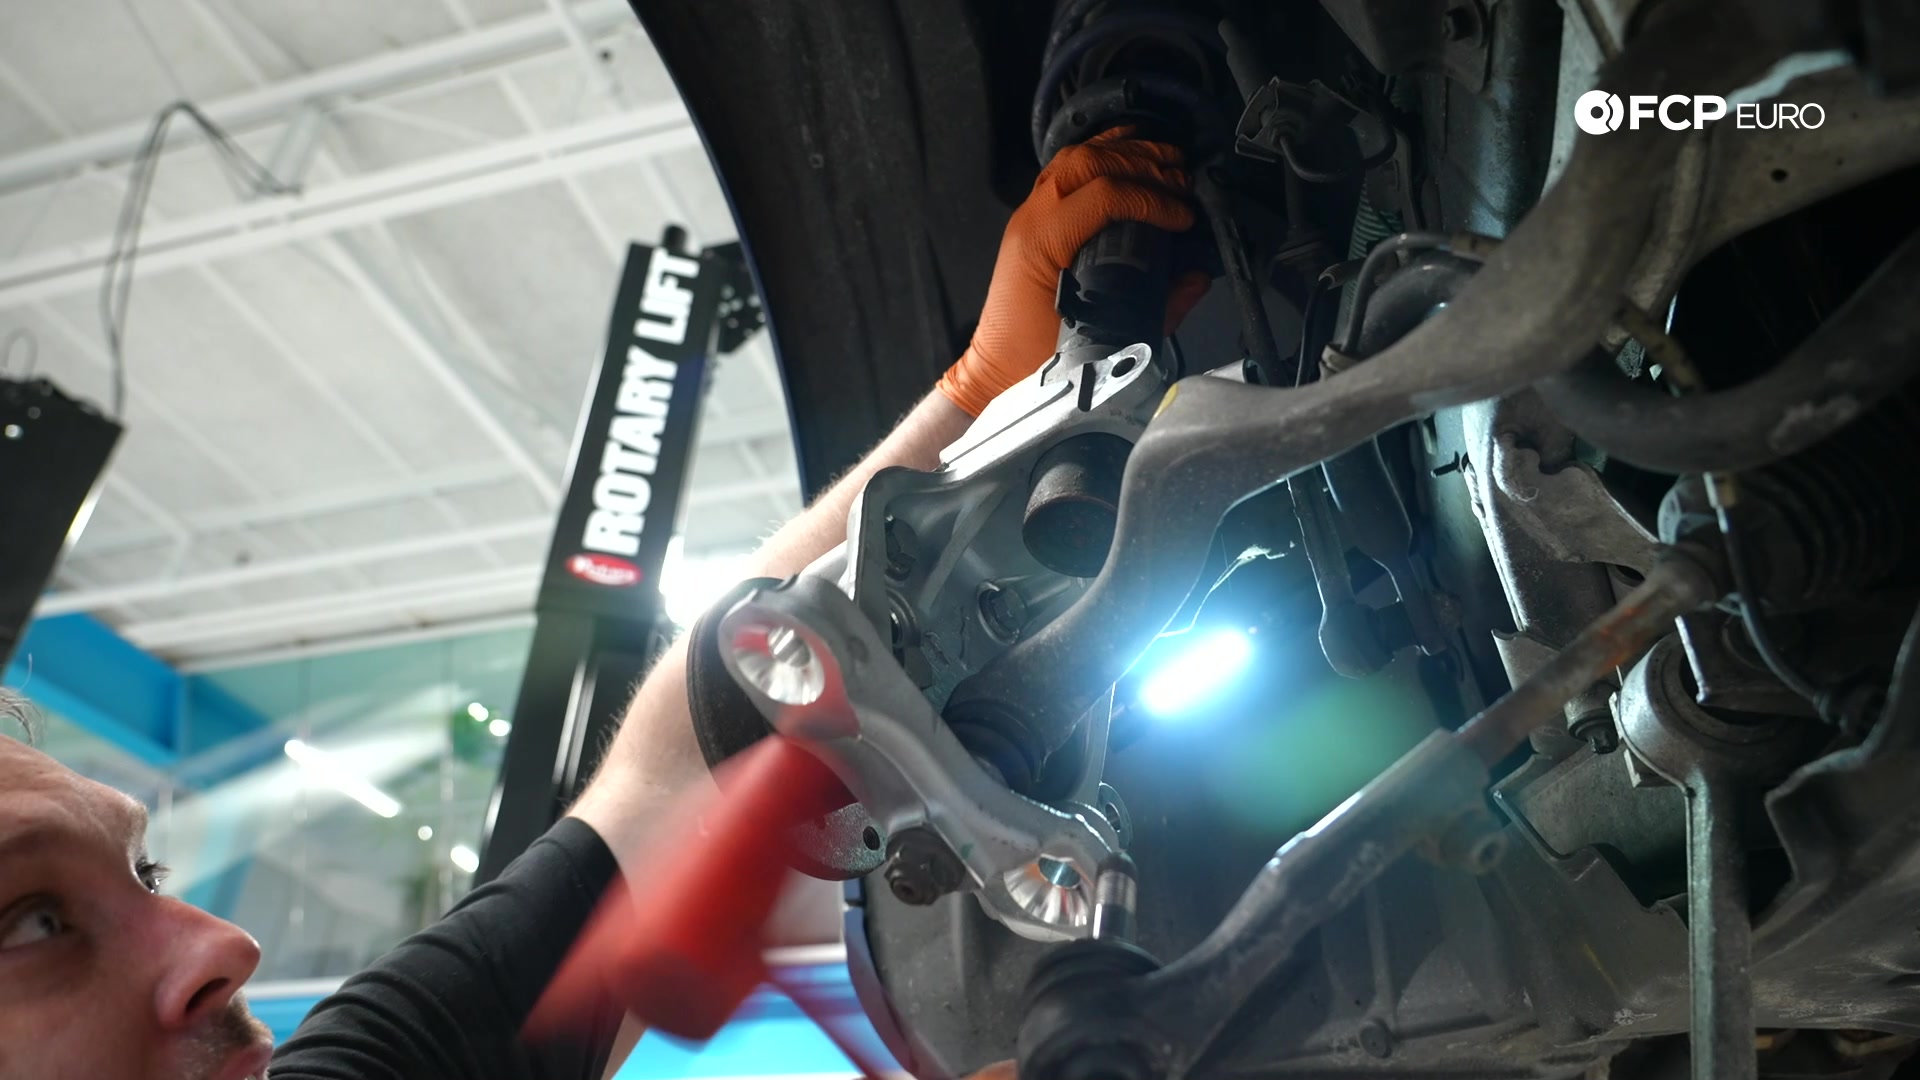
Slide it up on the strut, using a dead blow to persuade it up those last few millimeters if it doesn’t corporate. Then, once you think it’s in position, fit the control arms and the tie rod end into the knuckle. Loosely thread on their nuts to prevent them from falling out.
Ensure that the machined notch lines up with the strut’s tab one last time before using a ratchet to remove the knuckle spreading socket. Remove the socket and place the pinch bolt through its hole. Then, slip on the wheel speed sensor bracket before threading on the pinch bolt’s nut.
Counter-hold the bolt head with an 18mm wrench while using an 18mm socket to torque the nut to 81Nm.
Step 5: Secure the control arms
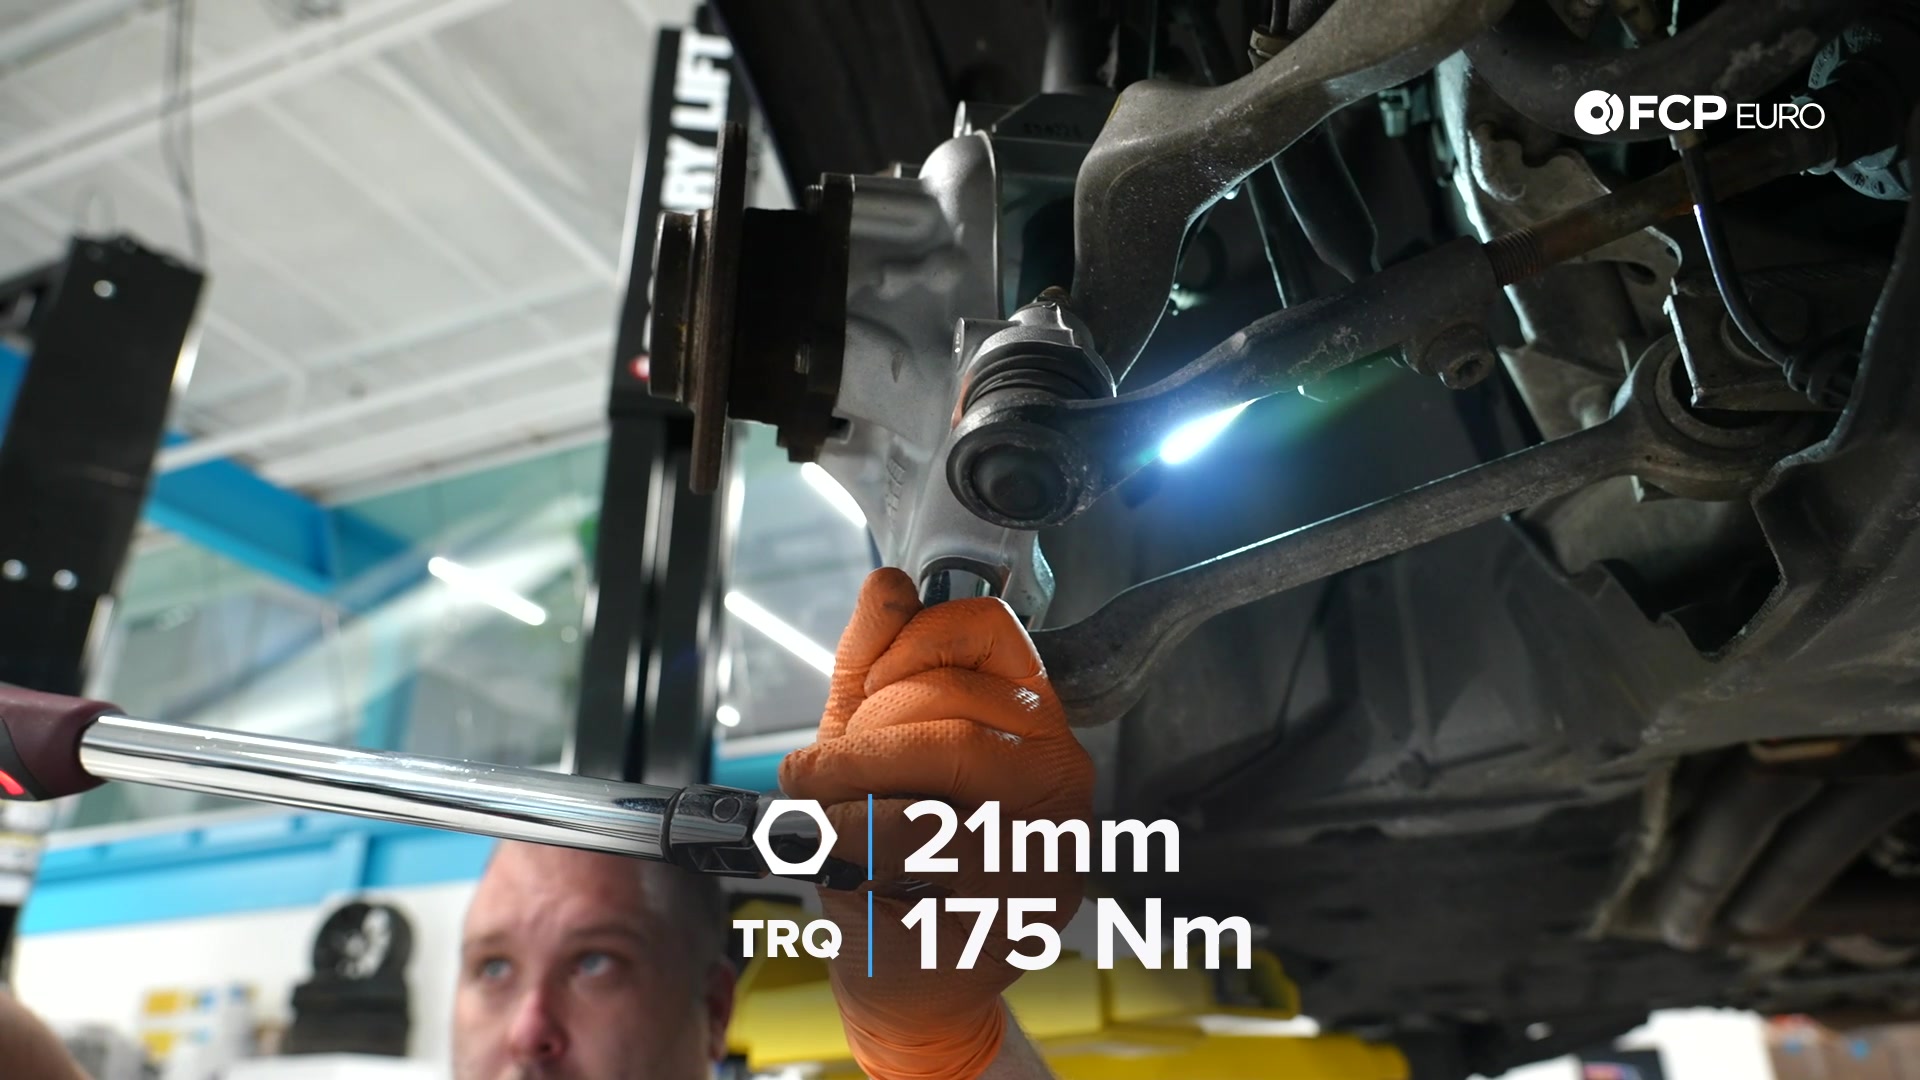
If you haven’t done so already, refit the two control arms and the tie rod end to the knuckle. Thread on the nuts by hand to prevent cross-threading. Then, use a 21mm wrench to tighten the nuts. Counter-hold the ball joint’s stud with a T40 Torx socket if the nut grabs the threads and starts to spin the stud.
Tighten all of the nuts before using a 21mm socket to torque the nuts to 175Nm.
Next, refit the wheel speed sensor. Slip its wire back into its bracket on the pinch bolt before fitting the sensor into the knuckle. Thread in the sensor’s bolt before using a T30 Torx socket to tighten the bolt.
Lastly, retorque the toe arm’s inner bolt. Use a jack under the knuckle to raise the suspension to ride height. Then, use an 18mm wrench to counter-hold the bolt head while using an 18mm socket to tighten the nut.
BMW uses two different classes of bolt for the inner toe arm mount. If the bolt head reads “8.8,” torque the nut to 68Nm plus another 90° of rotation. If the bolt reads “10.9,” torque the nut to 100Nm plus 90°.
Step 6: Refit the brakes
With everything behind the hub buttoned-up, start refitting the brakes. First, refit the dust shield to the knuckle. Thread in its three mounting bolts by hand to prevent cross-threading. Then, use a 10mm socket to tighten the bolts.
After that, refit the brake rotor. Thread in the set screw before tightening it with a 7mm hex bit socket, to secure the rotor to the hub. Then, remove the caliper from its hanger and fit it over the rotor.
Thread in the caliper’s two mounting bolts before using an 18mm socket to torque them to 110Nm.
BMW E90 Steering Knuckle Torque Specs:
- BMW Wheel Bearing Bolts = 110Nm or 81 ft-lbs, of torque
- BMW Pinch Bolt = 81Nm or 60 ft-lbs, of torque
- BMW Toe Arm Nut = 175Nm or 129 ft-lbs, of torque
- BMW Thrust Arm Nut = 175Nm or 129 ft-lbs, of torque
- BMW Tie-Rod End Nut = 175Nm or 129 ft-lbs, of torque
- BMW Toe Arm Inner Bolt (8.8 Spec) = 68Nm or 59 ft-lbs, of torque
- BMW Toe Arm Inner Bolt (10.9 Spec) = 100Nm or 74 ft-lbs, of torque
- BMW Brake Caliper Mounting Bolts = 110Nm or 81 ft-lbs, of torque
That’s all there is to it. It’s a lot of labor but well worth the savings over having an independent shop perform the replacement for you. If you're interested in more DIYs for your BMW, you can visit bmw.fcpeuro.com and subscribe to our YouTube channel.


