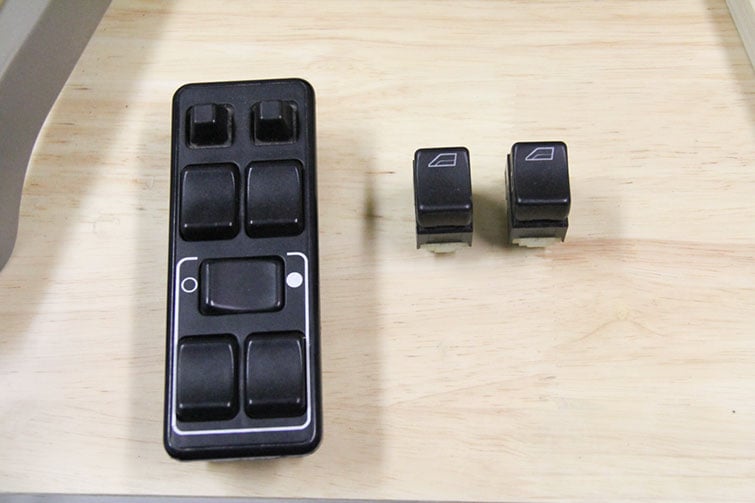
Last week, I wrote about upgrading your window switches to lighted window switches, bringing a little bit more life into the cabin of your old faithful brick. You may also remember that I scored a generous serving of miscellaneous parts for only $20. I knew in the back of my mind that there was a high probability of some of these parts being bad, hence the cheap price. But like many readers, this is the gamble many of us play when we visit the junk yard.
To my dismay, I was right. But fortunately, I was also right in thinking that these switches are easily fixable. Thanks to old-school manufacturing, we’re not dealing with cracked circuit boards or bad solder, but simply a common case of old age: oxidation on this old Volvo 940.
The symptom of oxidation is pretty simple. Instead of seeing your window wind down by pressing the switch, all you hear is a “click”, and no window movement. In simple terms, your electric window motor is receiving electricity, but not enough of it. The oxidation on the contacts prevents the appropriate amount of current to flow to the motor to actuate the window, but just enough for you to hear a “click”. Here’s how to fix it:
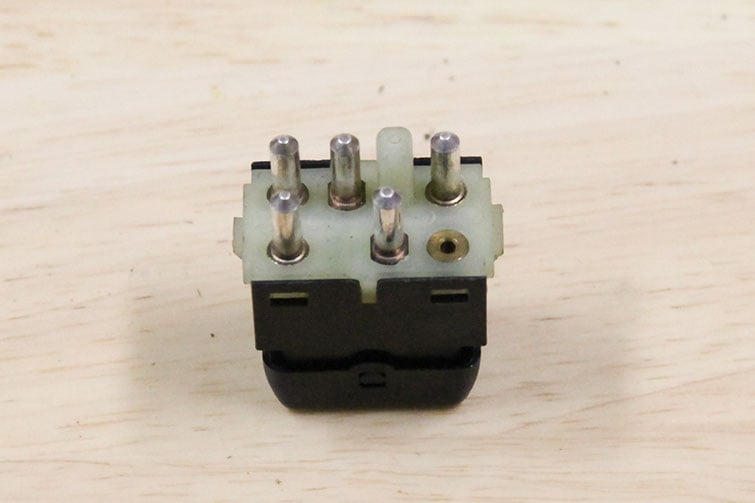
Step 1: Remove the switch
Removing the switch is going to be the most difficult part of the process. Follow my instructions from my previous how-to, and pull that switch out. How to Install Lighted Window Switches in a Volvo 940
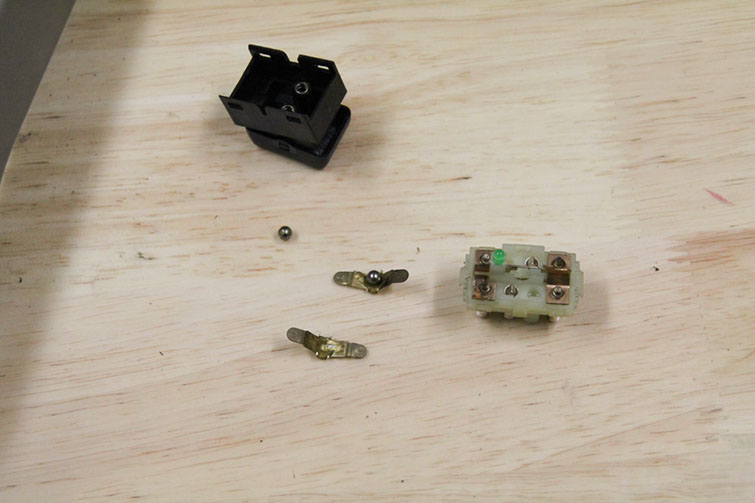
Step 2: Remove the switch cover
Using a small screwdriver, detach the four small clips along the perimeter of the cover. Be careful not to break them.
Step 3: Take apart the switch…carefully
Underneath, you will find two small ball bearings, two connectors, and four contacts. Don’t lose any of these parts! Luckily, they should have grease on them, so the ball bearings should not roll away very quickly should you forget they reside in the switch.
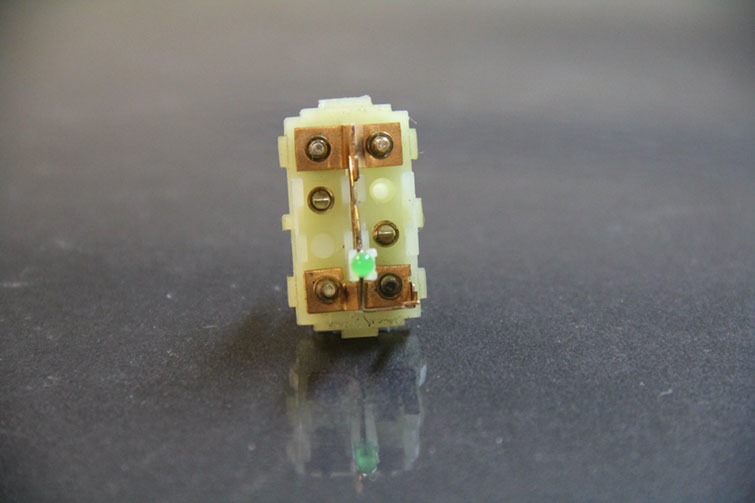
Step 4: Clean the contacts
In the picture below, you can see an oxidized contact (black) and a clean contact (copper). The dark oxidation is all that is needed to prevent the current from flowing through. Take some isopropyl alcohol on a cotton bud, and clean off the oxidation.
Step 5: Reassembly and testing
Reassemble the switch and plug it in to test. You’ll want to make sure your switch works fully before putting it back into the car. If all goes well, you’ll have a working window once again.