A relay is a simple device, but when a relay fails, its can be very difficult to diagnose. The Volvo 940 has a very common failure of the Radio Suppression Relay. Despite the name, it neither suppresses anything nor is it related to the radio. What it does is simply give power to the fuel injectors. This failure can also be intermittent, causing many headaches for the unknowing owner dealing with Volvo relay failures.
All mechanical relays operate pretty much the same. A small current is used as a signal to active an electromagnet, which in turn closest the circuit with a larger current. What fails is usually the solder at some connection point inside, commonly the connection at the large current. With a simple soldering iron and a steady hand, you can fix your relay and save some cash for dinner.
Step 1: Examine your relay
If your relay has a plastic casing, you're good to go. If it has a metal casing, your chances of placing it back on properly are slim. Plastic casing allows it to bend, letting you pull the innards out. Many times, a relay will still work, even if the solder is cracking. With solder cracking, its only a matter of time before it meets its end. The relay I decided to take apart was not the aforementioned radio suppression relay (as I already fixed it) but an overdrive solenoid relay.
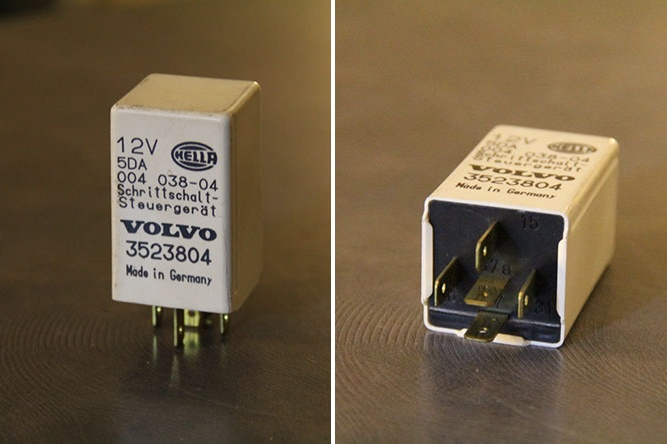 The overdrive solenoid relay
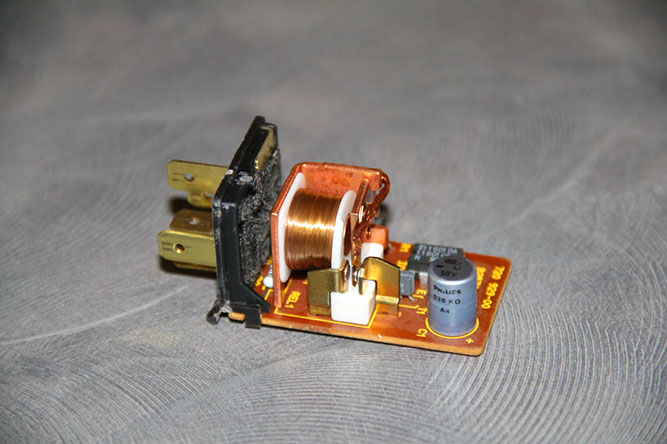 Inside of a relay. The wound spool of wire is the electromagnet.
Step 2: Remove the casing
Simply take a flat head screwdriver or two and pry open the casing around the tabs. It takes a bit of finesse, but can be done without seriously damaging the relay. A few small bends or gouges is fine.
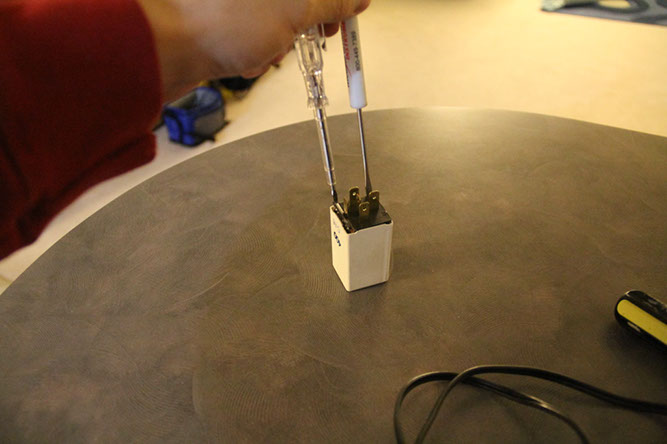 Use flat head screwdrivers to slowly open the casing
Step 3: Find Your Cracked Solder Joints
Once you have your relay apart, look closely to find the cracked solder joints. On my relay, they were readily apparent. If they're not readily apparent, its not a bad idea to simply re-flow the solder on all the joints. It is not uncommon for a relay to look fine, but perform sub-par.
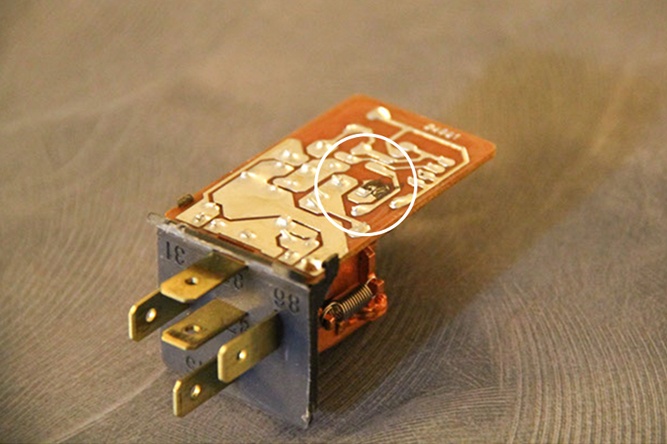 Broken Solder
Step 4: Reflow the Solder or Add Solder
Take your soldering iron and hold it right up the the solder joint. If you feel you need to add more solder, there should be no issues with compatibility. Make sure you don't let the solder flow into an adjacent area where it shouldn't be, creating an extra contact. If you accidentally do that, just heat up the solder and remove it with a piece of braided copper.
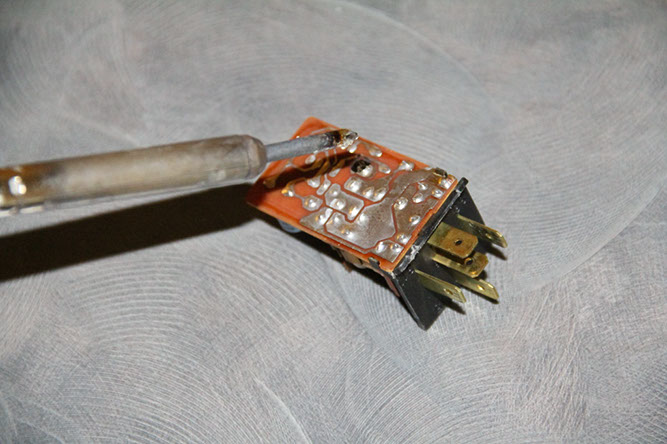 Soldering the relay
Step 5: Reassemble your Relay
This is the easy part. Just snap it together, and you're good to go. Plug it in, and enjoy your old car a little bit more.
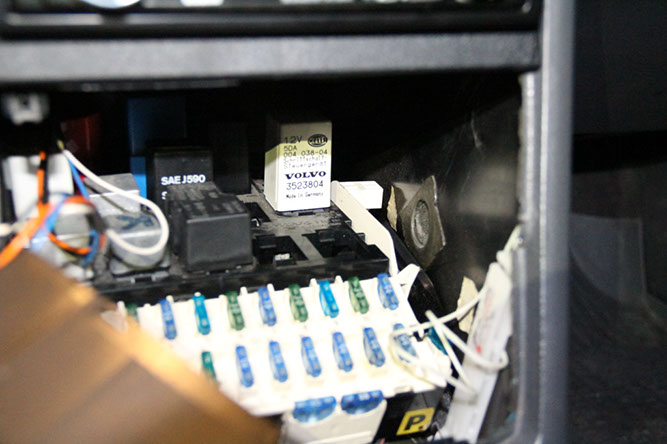 Accessing the relay under the dash