- 01/31/2017
- 2 Min Read
- By: Michael Hallock
How to Remove/Replace Front Seats in a P1 Volvo (C30/C70/V50/S40)

Whether you are replacing your seats, or simply removing them to clean up crumbs and salvage loose change, taking a seat out of a vehicle can sound like a very daunting challenge. However, with just a few basic tools, the seats can easily be removed in a matter of minutes.
It is important to note that modern Volvo car seats like those on the Volvo C30, C70, V50, S40 have airbags in the side bolsters; part of their side impact protection system (SIPS). Whenever tampering with an airbag or airbag connection, the battery should always be disconnected prior to unplugging the components.
Removal and replacement of safety components is done at your own risk. In the event that something is not reconnected properly, there is a chance of getting an "Airbag Service Message" which only a dealer can reset.
Please do not let this warning seem too intimidating, as the seat removal process is fairly straight forward.
Necessary Tools:
- Metric ratchet set from 8mm-15mm (actual sizes may vary depending upon model year)
- Small flat head screw driver
Removing the Seats:
Step 1. Disconnect the battery. Do not attempt to reconnect the battery until the seats have been replaced and the wiring harness connectors are secure.
Step 2. Remove the back seat floor mats to provide easier access to the seat rail bolt covers.
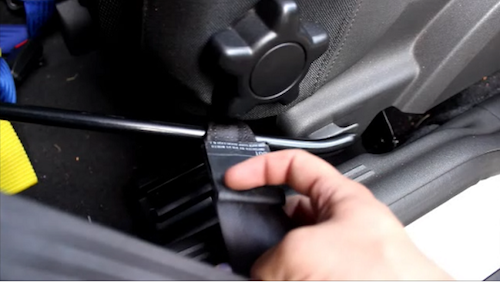
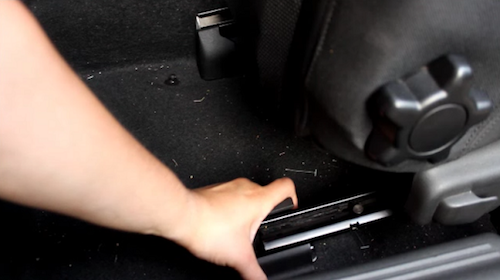
Step 3. On the C30 and C70, there is a guide rail for the seat belt to slide out of the way for back seat entry. This guide rail will have to be removed.
Begin by sliding the end cover off by hand.
Then remove the exposed bolt. On my C30, this required a 14mm socket.
With the bolt removed, slide the rail out of the seat. It will be fed through both the seat belt and a small circular opening on the car seat frame.
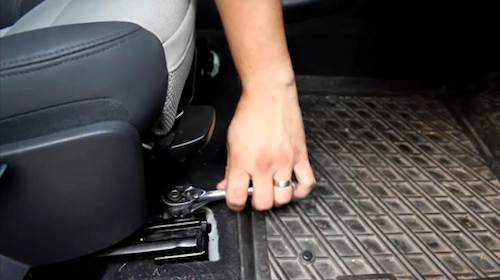
Step 4. With the seat slid forward, pry off the two end caps which cover the seat rail bolts.
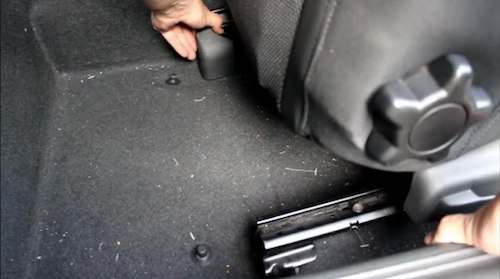
Then use a ratchet to remove these bolts. On my C30, these also required a 14mm socket.
Step 5. With the seat now slid backward, pry off the remaining two caps which cover the other seat rail bolts. These front caps will have small release tabs which must be depressed with a flat head screw driver when removing.
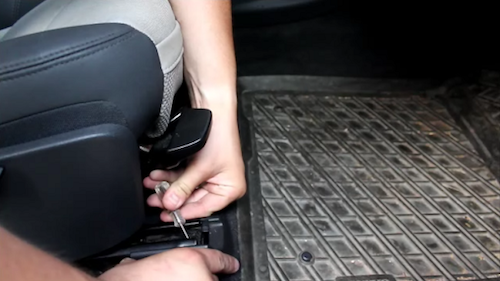
Once again, use a ratchet to remove these bolts.
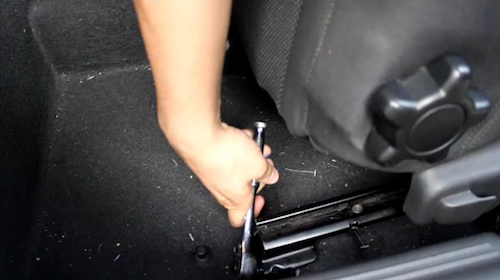
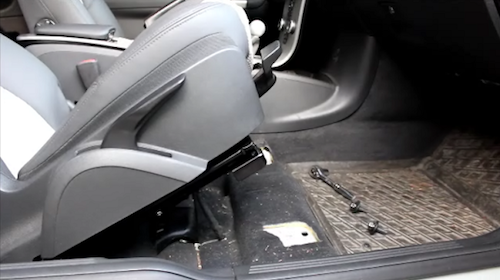
Step 6. With the bolts removed, tilt the whole seat backwards for better access to the wiring harness. Be careful not to lift the seat too far, as it may cause stress on the electrical connectors.
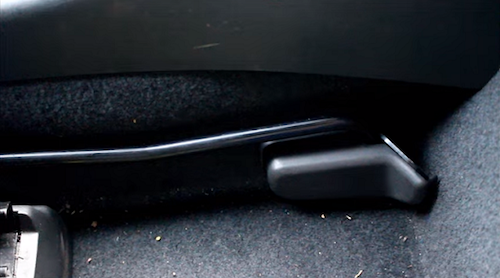
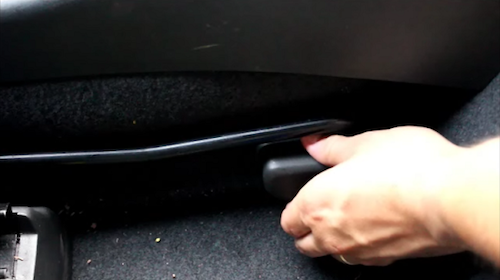
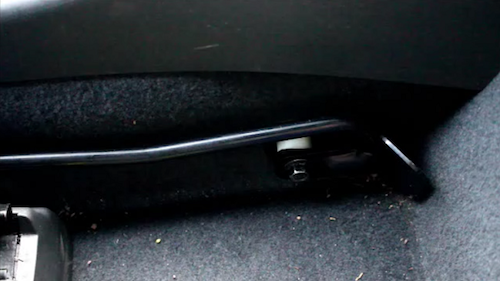
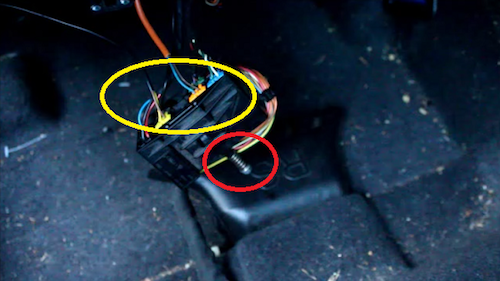
Step 7. Underneath the seat, you will find the wiring harness. To provide easier access, use a flat head screw driver to depress a plastic release tab which holds the harness to a metal bracket. This will allow you to slide the harness off of the bracket and give you a bit more working room.
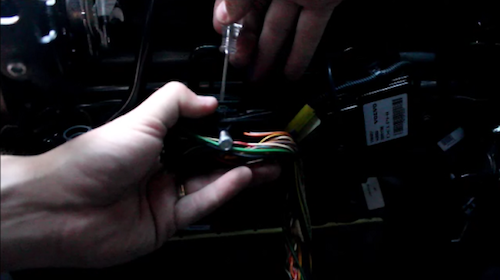
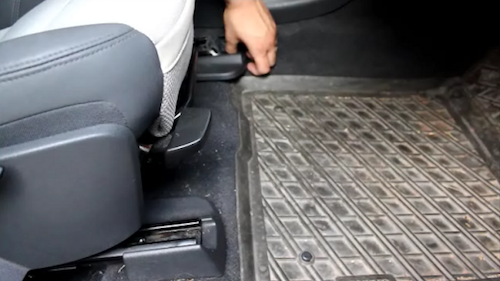
You can either disconnect the entire harness by removing the bolt (circled red in the picture below). On my C30, this bolt requires a 10mm socket.
Or, you can remove each individual electrical connector (circled yellow).
Step 8. Once the harness has been disconnected, confirm that nothing else is tethered between the seat and the floor. It can then be lifted straight out of the vehicle.
Simply follow these instructions in reverse order for replacing the seat. As mentioned before, do not reconnect the battery until you are certain all of the electrical connectors are secure.
I have removed the seats in all of my cars to either clean the carpets, replace the skins, or swap in racing buckets. In the event that clogged sunroof drain causes water to puddle up on the floor boards, removing the seats may even become a necessity to properly mitigate the effected area. However, I personally would not consider seat removal to be required for a basic interior detailing.