- 06/01/2020
- 6 Min Read
- By: Christian Schaefer
How To Remove A BMW M50, M52, S50, & S52 Intake Manifold (BMW E36 328i, BMW E36 M3, & More)

American automotive regulations are quite different from that of Europe’s. As such, Americans had to miss out on decades worth of performance legends, like the European-spec BMW E36 M3 and the parts that made them—well, them. Now that time has passed, many enthusiasts are changing their US-spec parts to that of their European counterparts. The Euro-spec E36 M3 received an individual throttle body system, among other improvements, giving that version substantially more power than its American counterpart. For American-spec cars, several vital enhancements can be made on the intake side, alone.
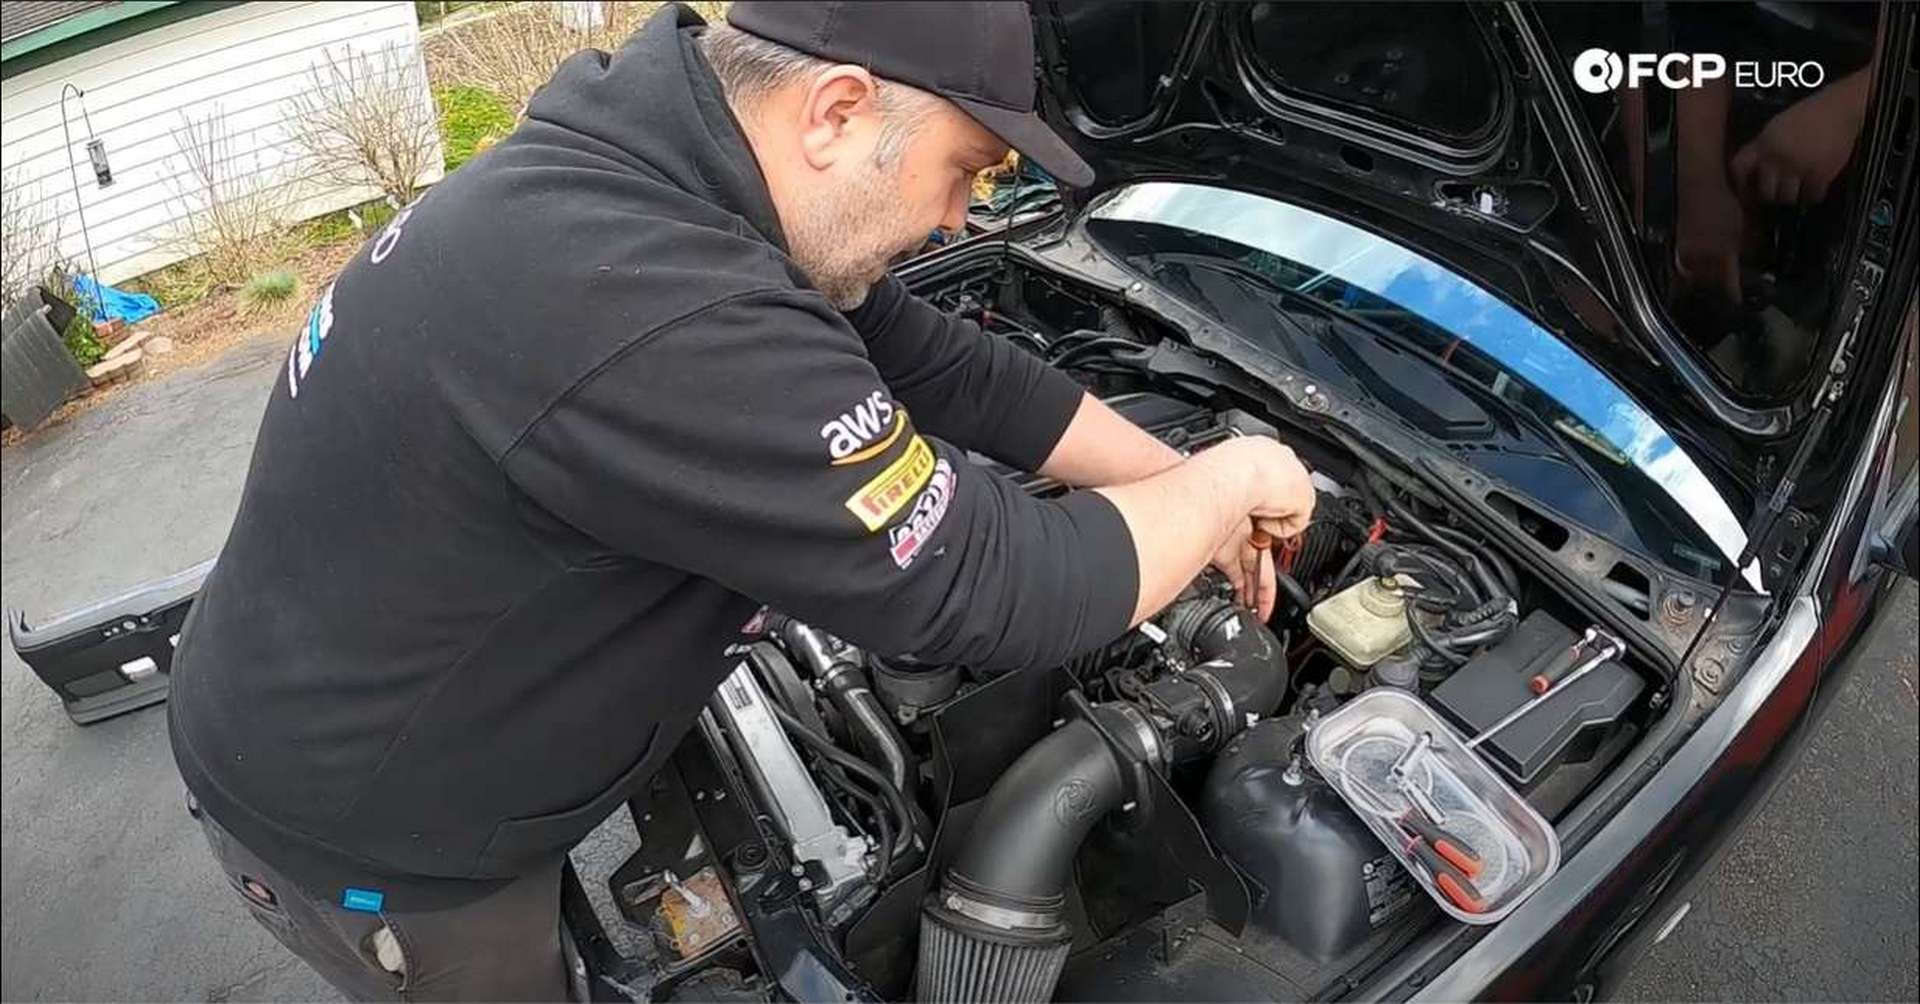
For those looking for more power or to make any other improvements on the driver’s side of the engine bay, the removal of the intake manifold may be necessary. While not overly complicated, removing the intake manifold can be tedious. Luckily, our man Gareth Foley had to do just that, showing us the process in the video below.
BMW Models and Years Applicable |
|
|
|
|
|
|
|
|
|
|
|
|
|
|
|
|
|
|
|
|
|
|
|
How long will it take to remove my BMW M50/M52/S50/S52 Intake Manifold? |
The answer to that question depends on several factors. The engine bay sizes between the different chassis that carry these engines aren’t all the same size. A smaller engine bay could mean a more difficult time getting to individual components. The amount of time could also be determined by any aftermarket parts that may have been previously installed, such as a cold-air intake kit. Thirdly, your familiarity with this job, and these cars will play a role in the job’s length.
If this isn’t something you usually do, budget an hour for the job to be safe. In our video, Gareth removes it in less time than that, but he is very familiar with these BMW engines.
What will it cost to remove my BMW M50/M52/S50/S52 Intake Manifold? |
It’s hard to say what it would cost from a dealer because the removal is always part of a more significant job. If you’re following this DIY and doing it yourself? It’ll only cost you time.
Tools required to remove a BMW M50/M52/S50/S52 Intake Manifold |
Steps required to remove a BMW M50/M52/S50/S52 Intake Manifold |
Step 1: Remove the intake tubing
*The car being used has had its Automatic Stability Control deleted, and is using an aftermarket intake. The process will be slightly different for those without modifications.*
Start by removing the Mass Air Flow sensor connector by twisting it to the left and pulling it off. Next to the MAF sensor is the Evap Purge solenoid. Disconnect that from the plug as well. Next, loosen the clamp holding the intake to the throttle body.
With the clamp loosened, gently wiggle the boot off of the throttle body. There is a hose connected to the bottom of the intake tube for the Idle Air Control valve. Pull that hose off, and the intake will be free to be removed.
Step 2: Remove the vacuum lines and electrical connections on the upper portion of the manifold
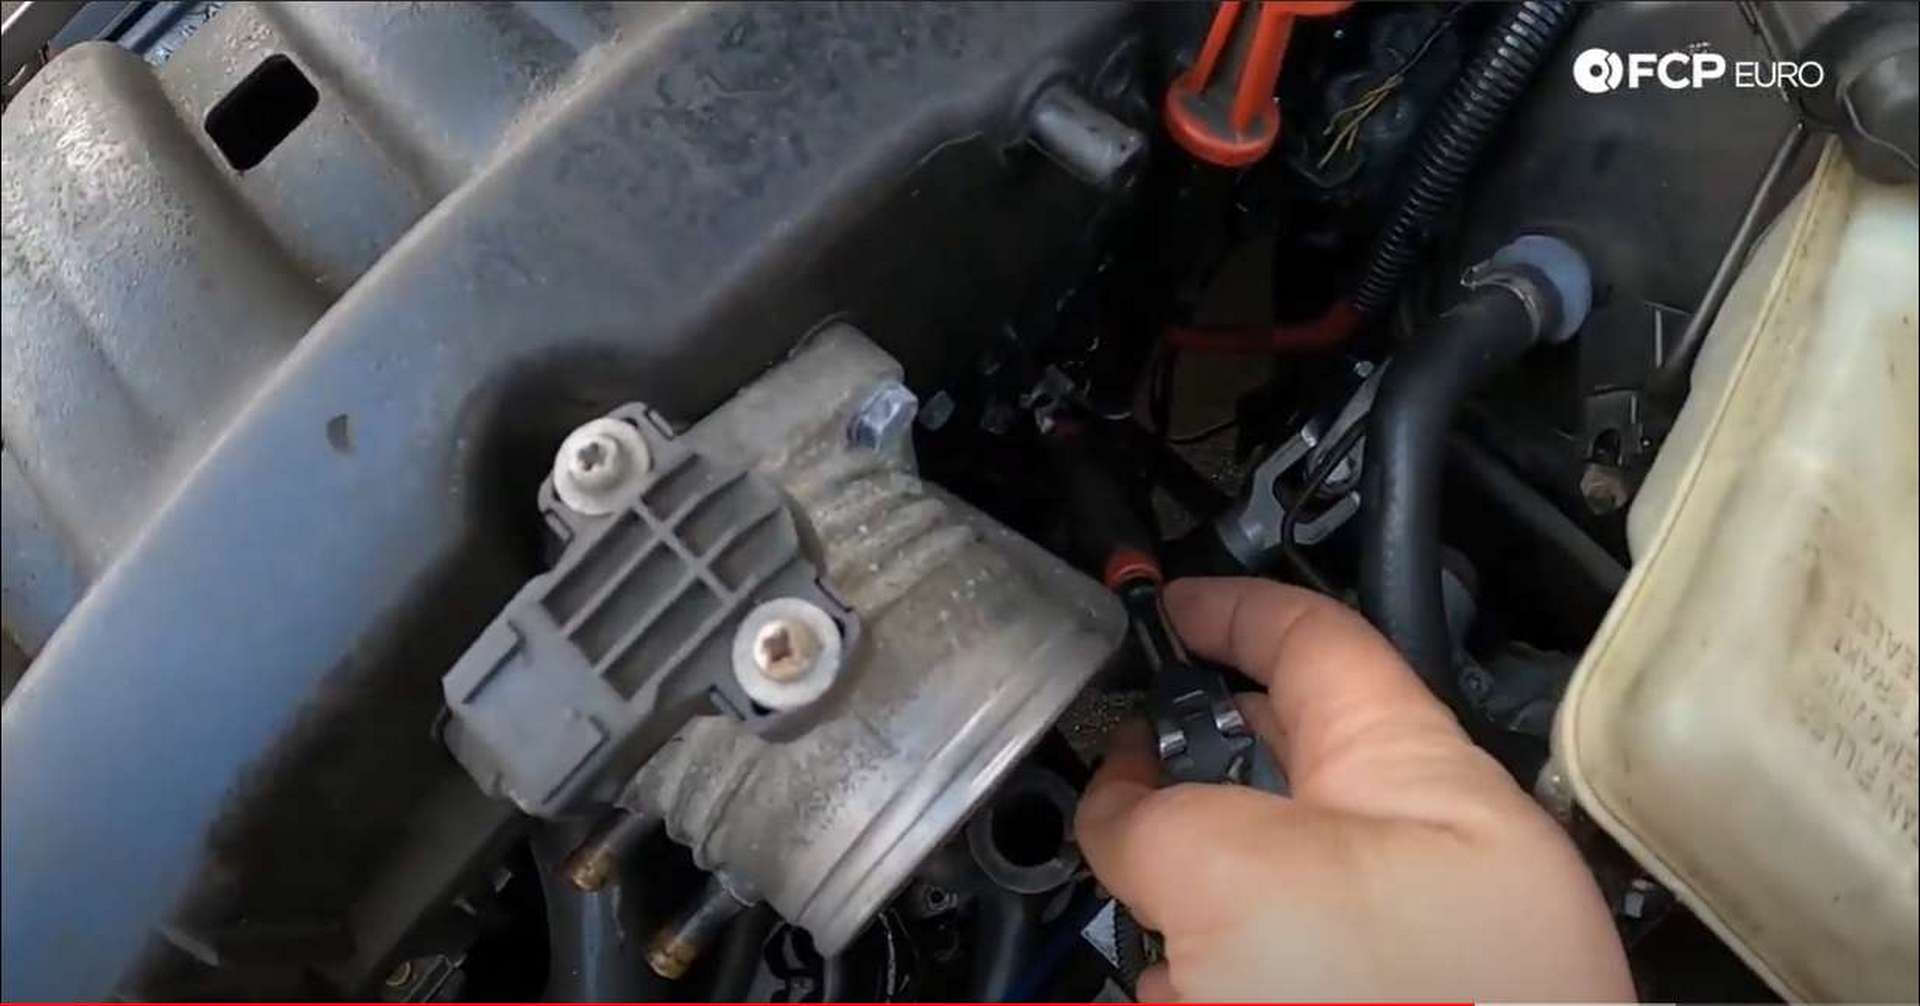
Remove the Throttle Position Sensor connector by pushing down on the metal tab on the connector and pulling it off of the throttle body. If your Evap Purge valve mounts to your intake manifold, pull it off and disconnect the feed hose from it. The feed hose runs into the bottom of the valve.
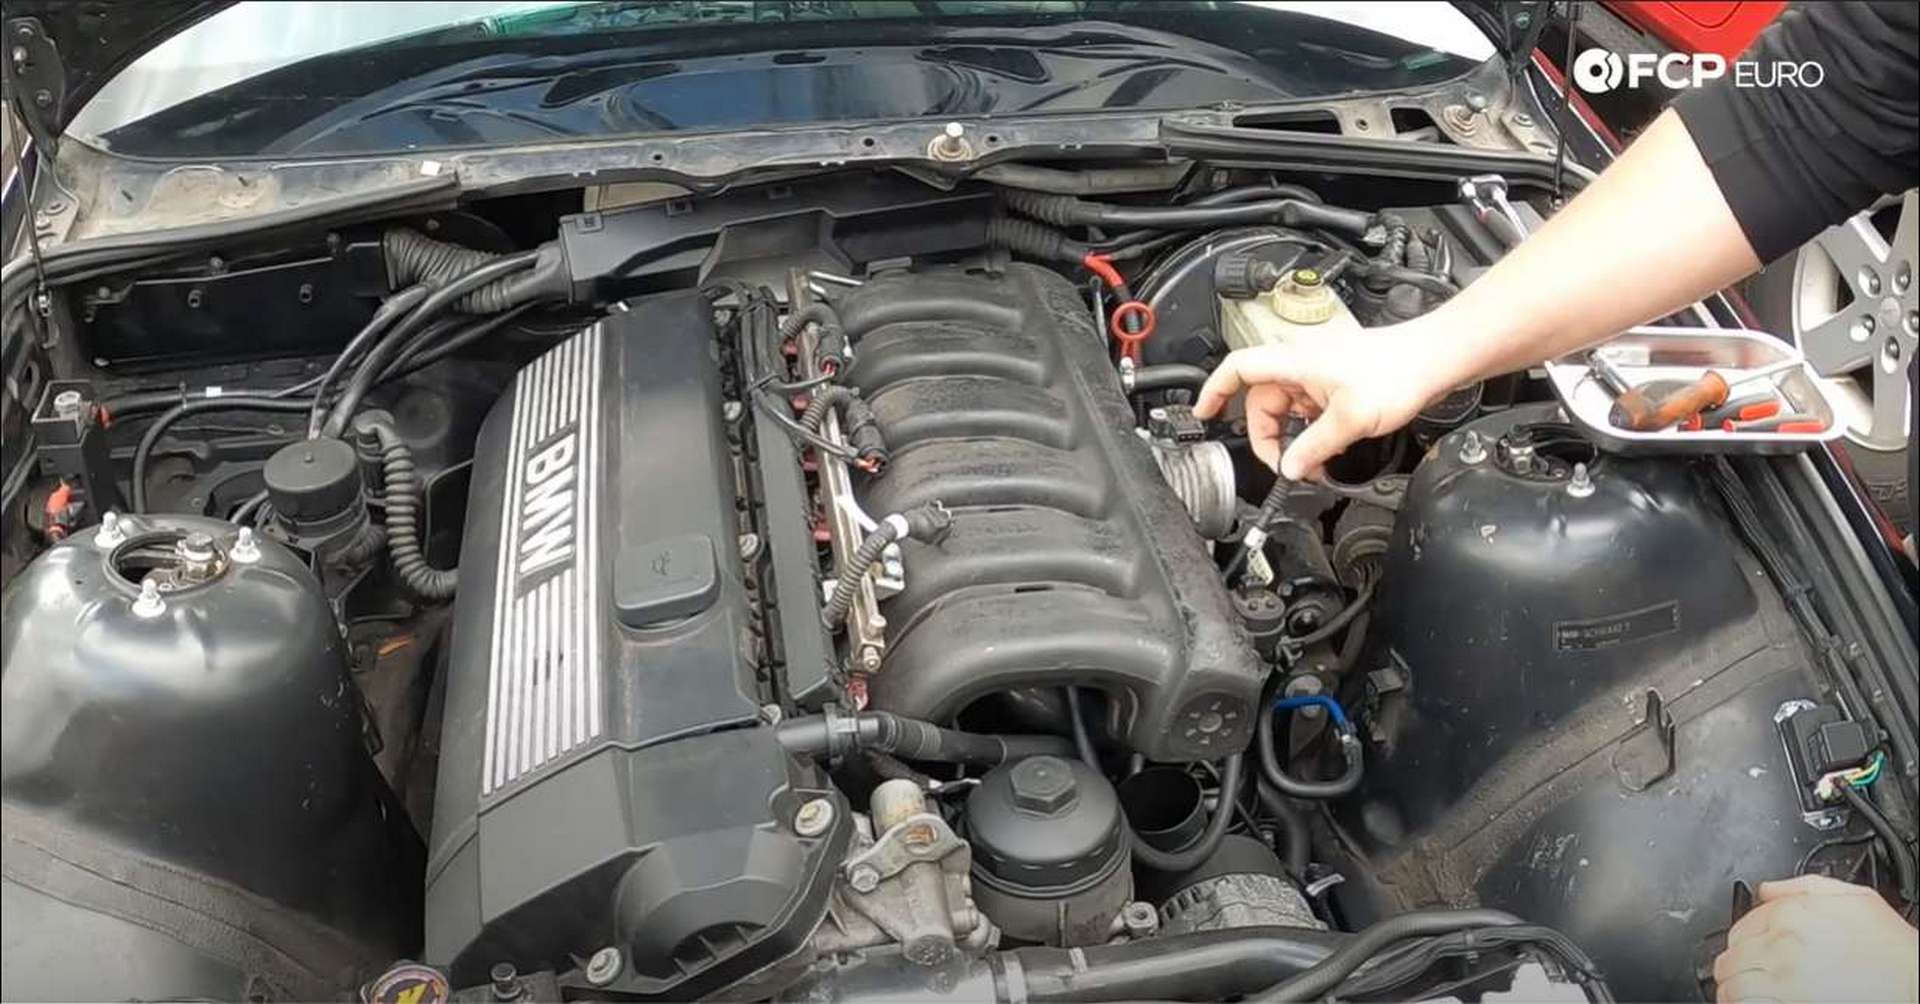
If your car uses OBD-2, you will have an Intake Air Temperature sensor to the right of the throttle body. Push in the metal tab on the connector and pull it off.
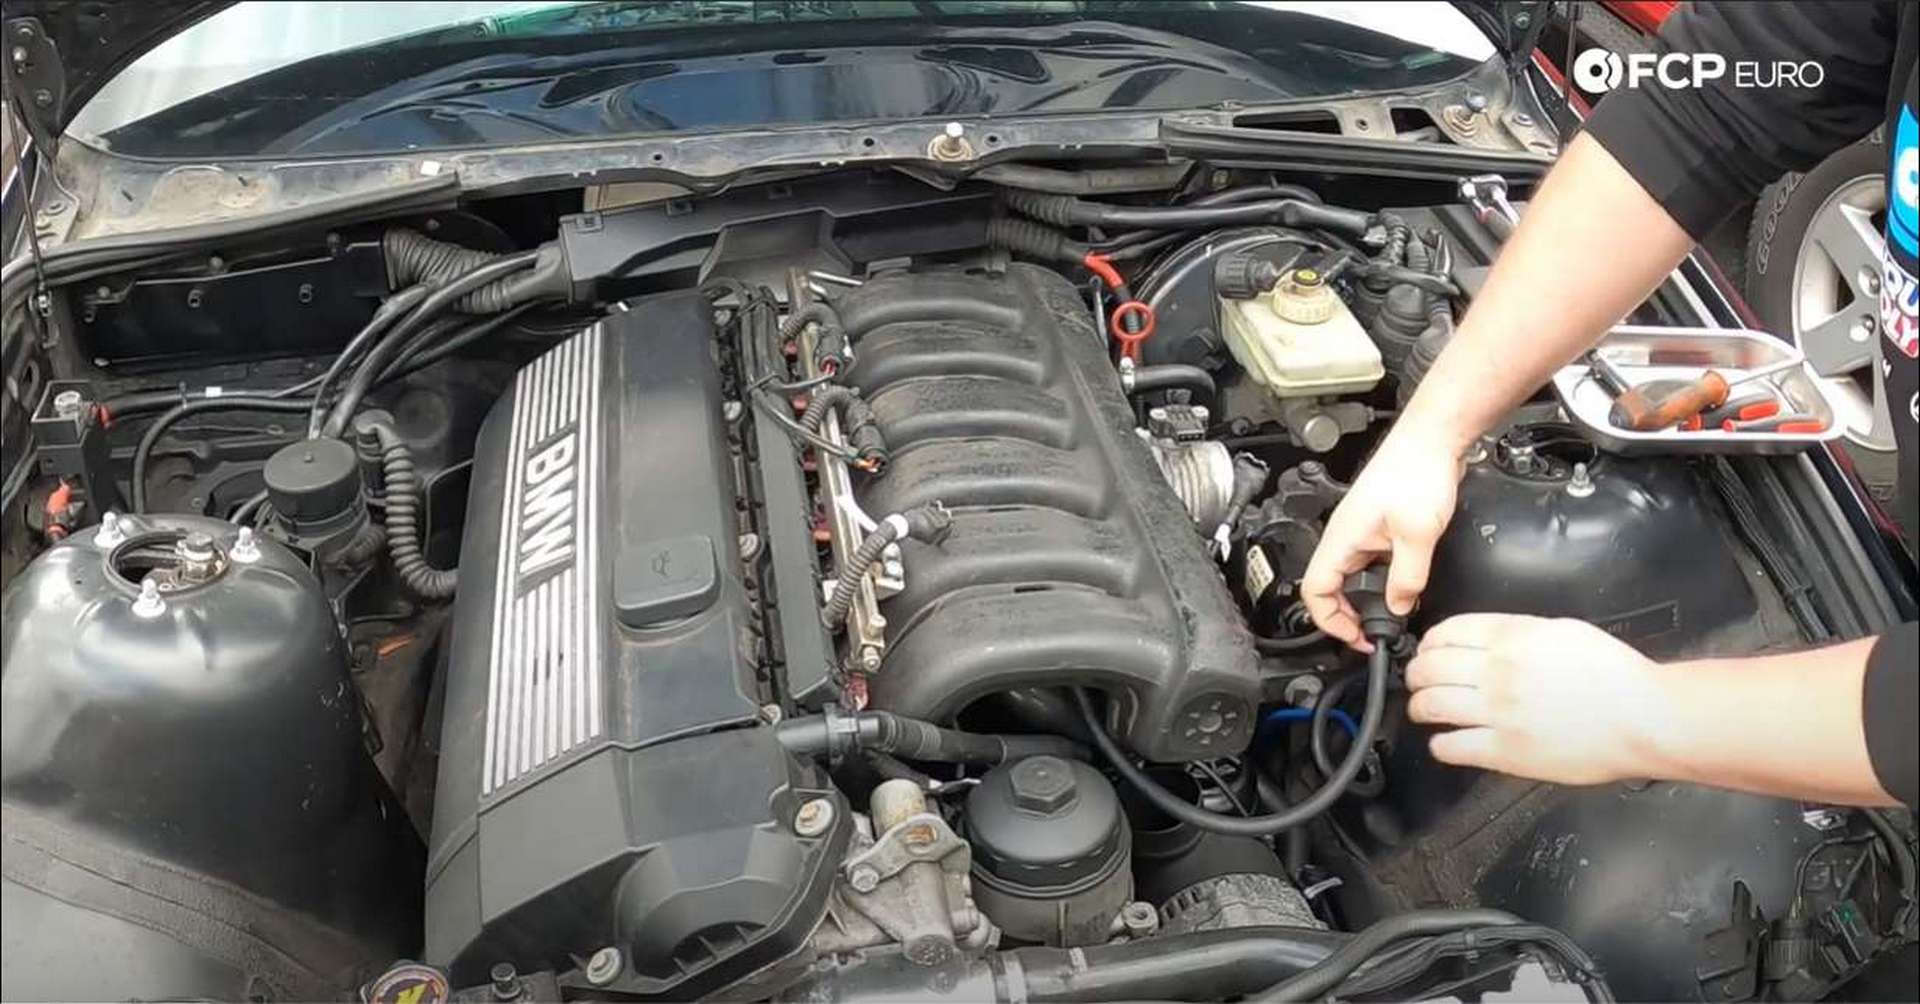
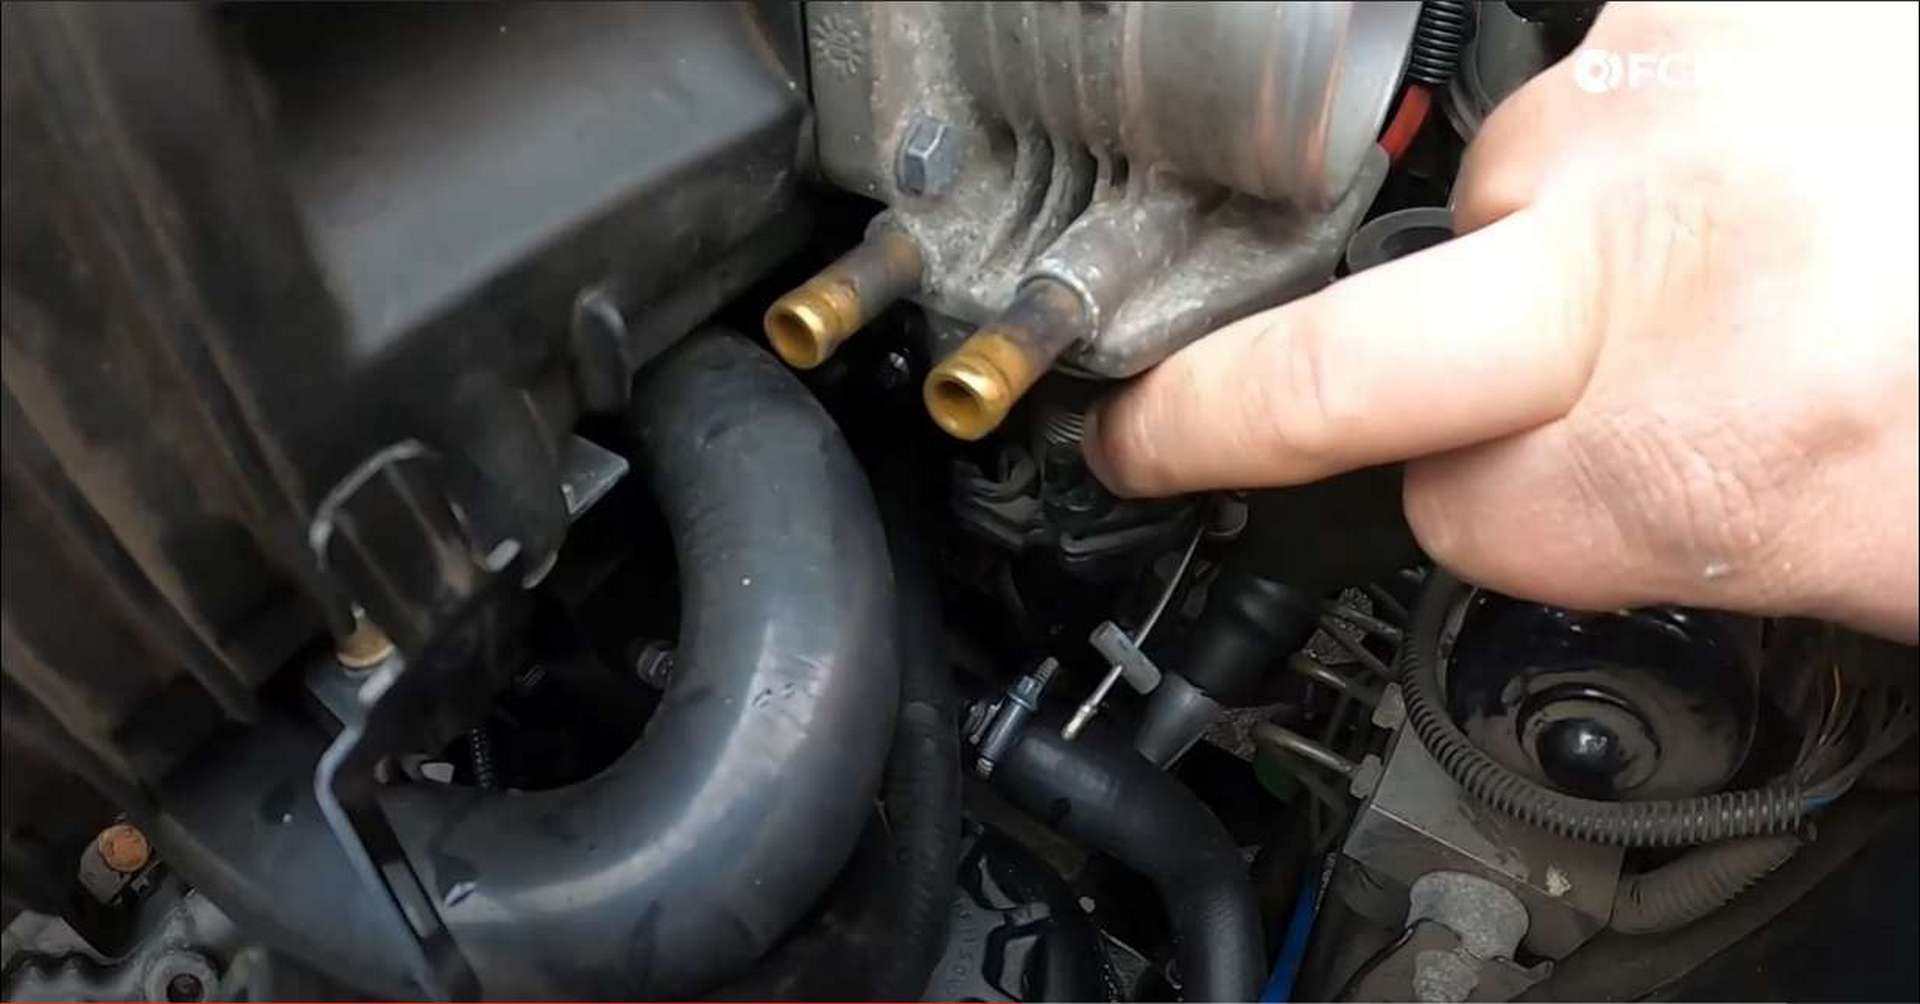
Step 3: Remove the throttle body coolant lines
BMW, like many other manufacturers, uses coolant to keep the throttle body warm in the winter. Take a flat-bladed screwdriver and loosen the two clamps holding the hoses to the throttle body. Gently twist the lines when pulling them off to free them from any corrosion.
Have a rag handy when removing the lines as there may be residual coolant in the lines and throttle body.
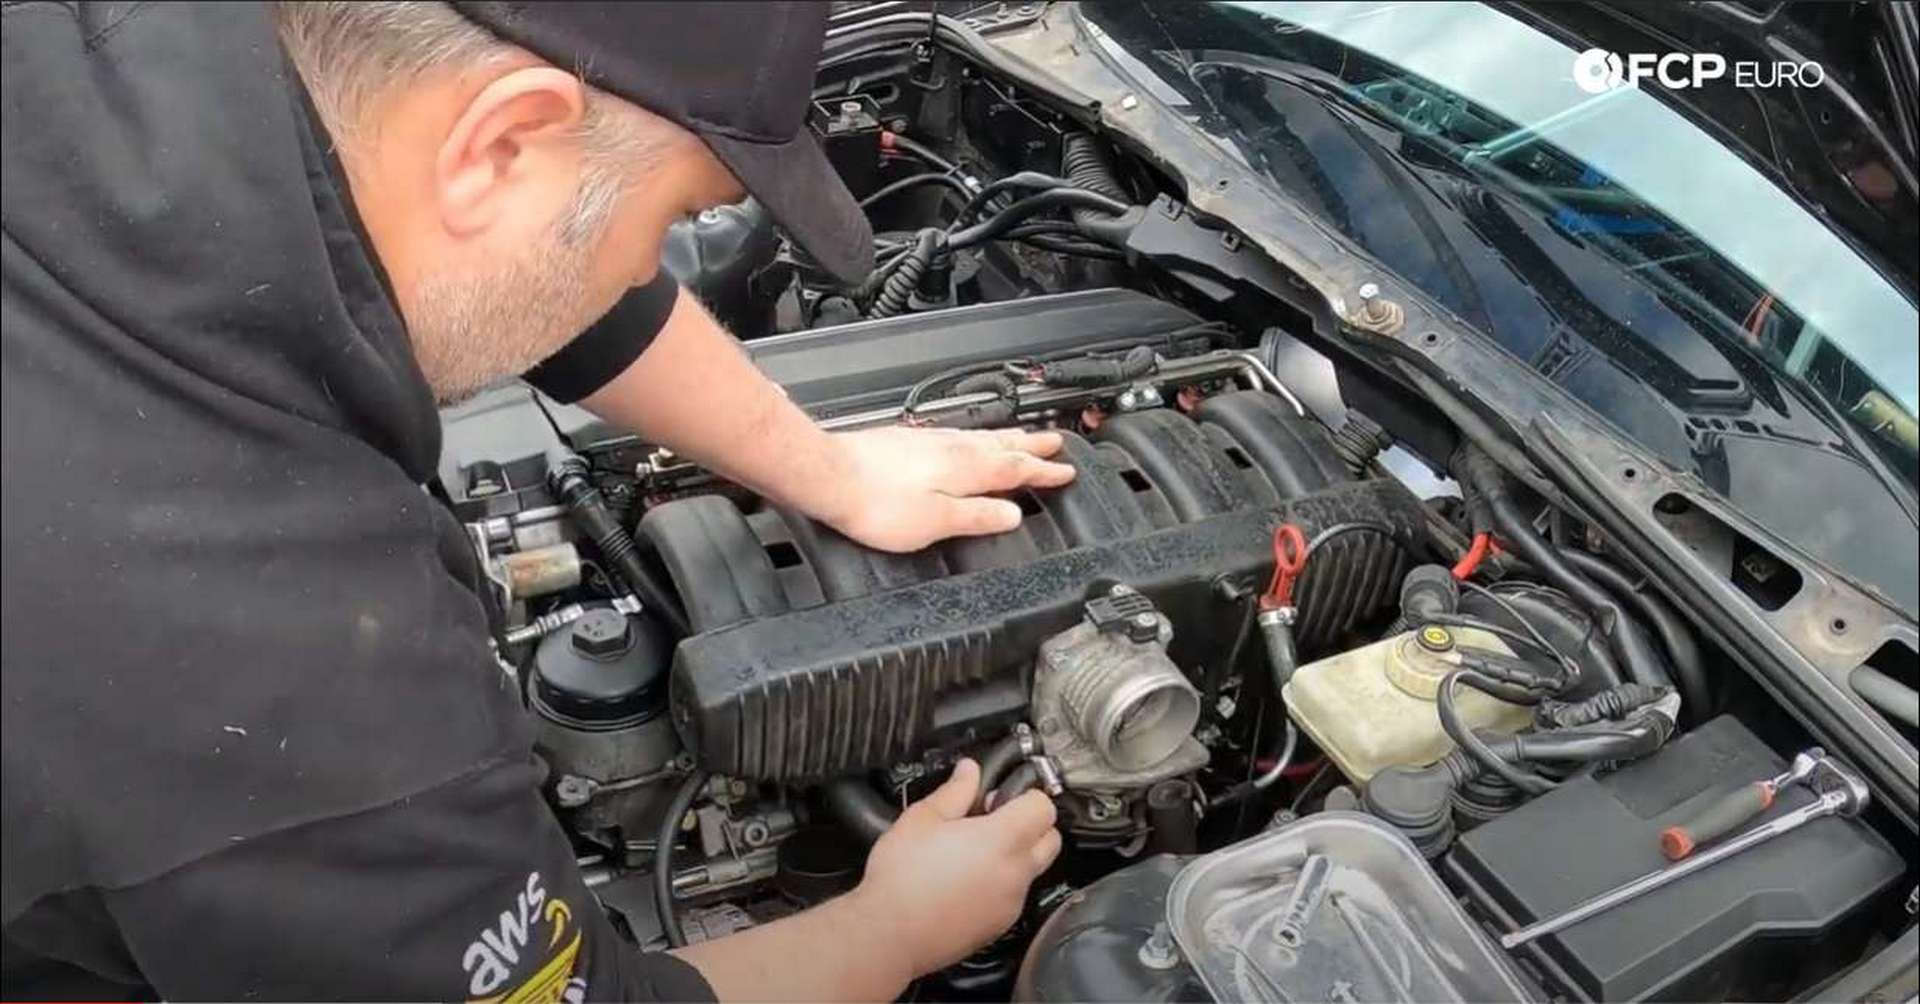
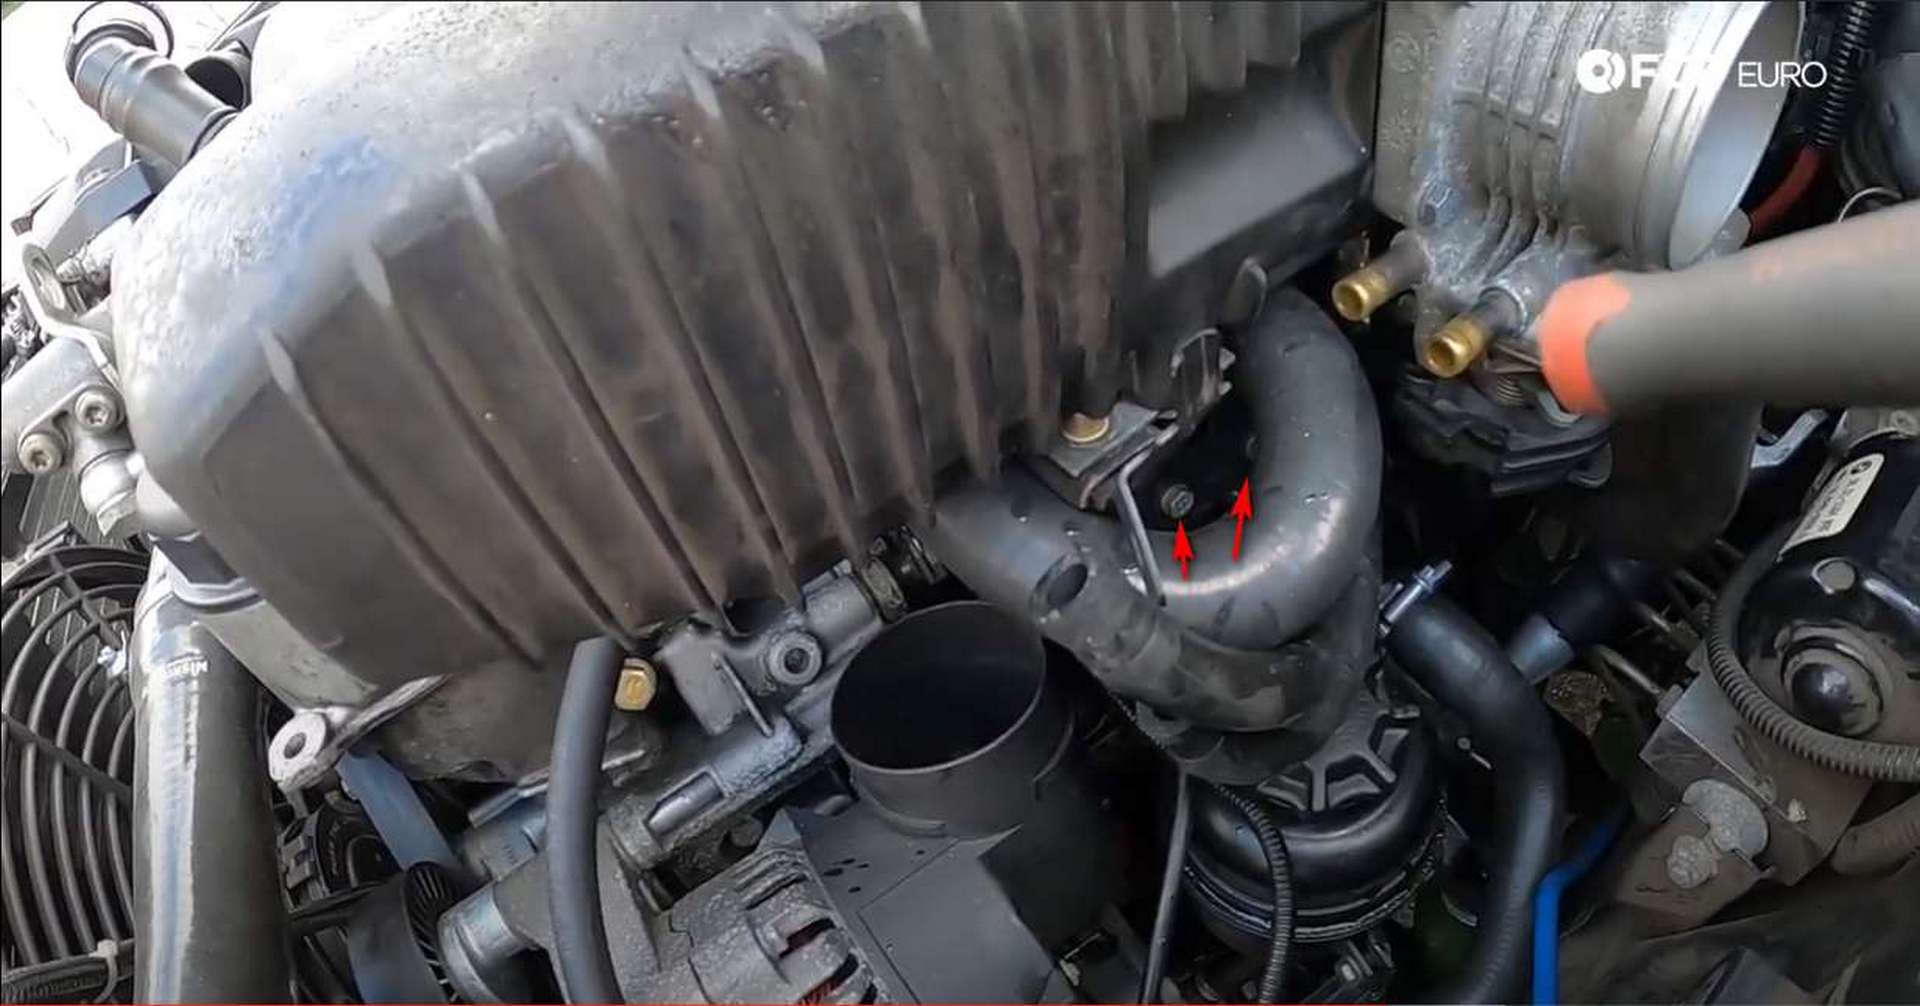
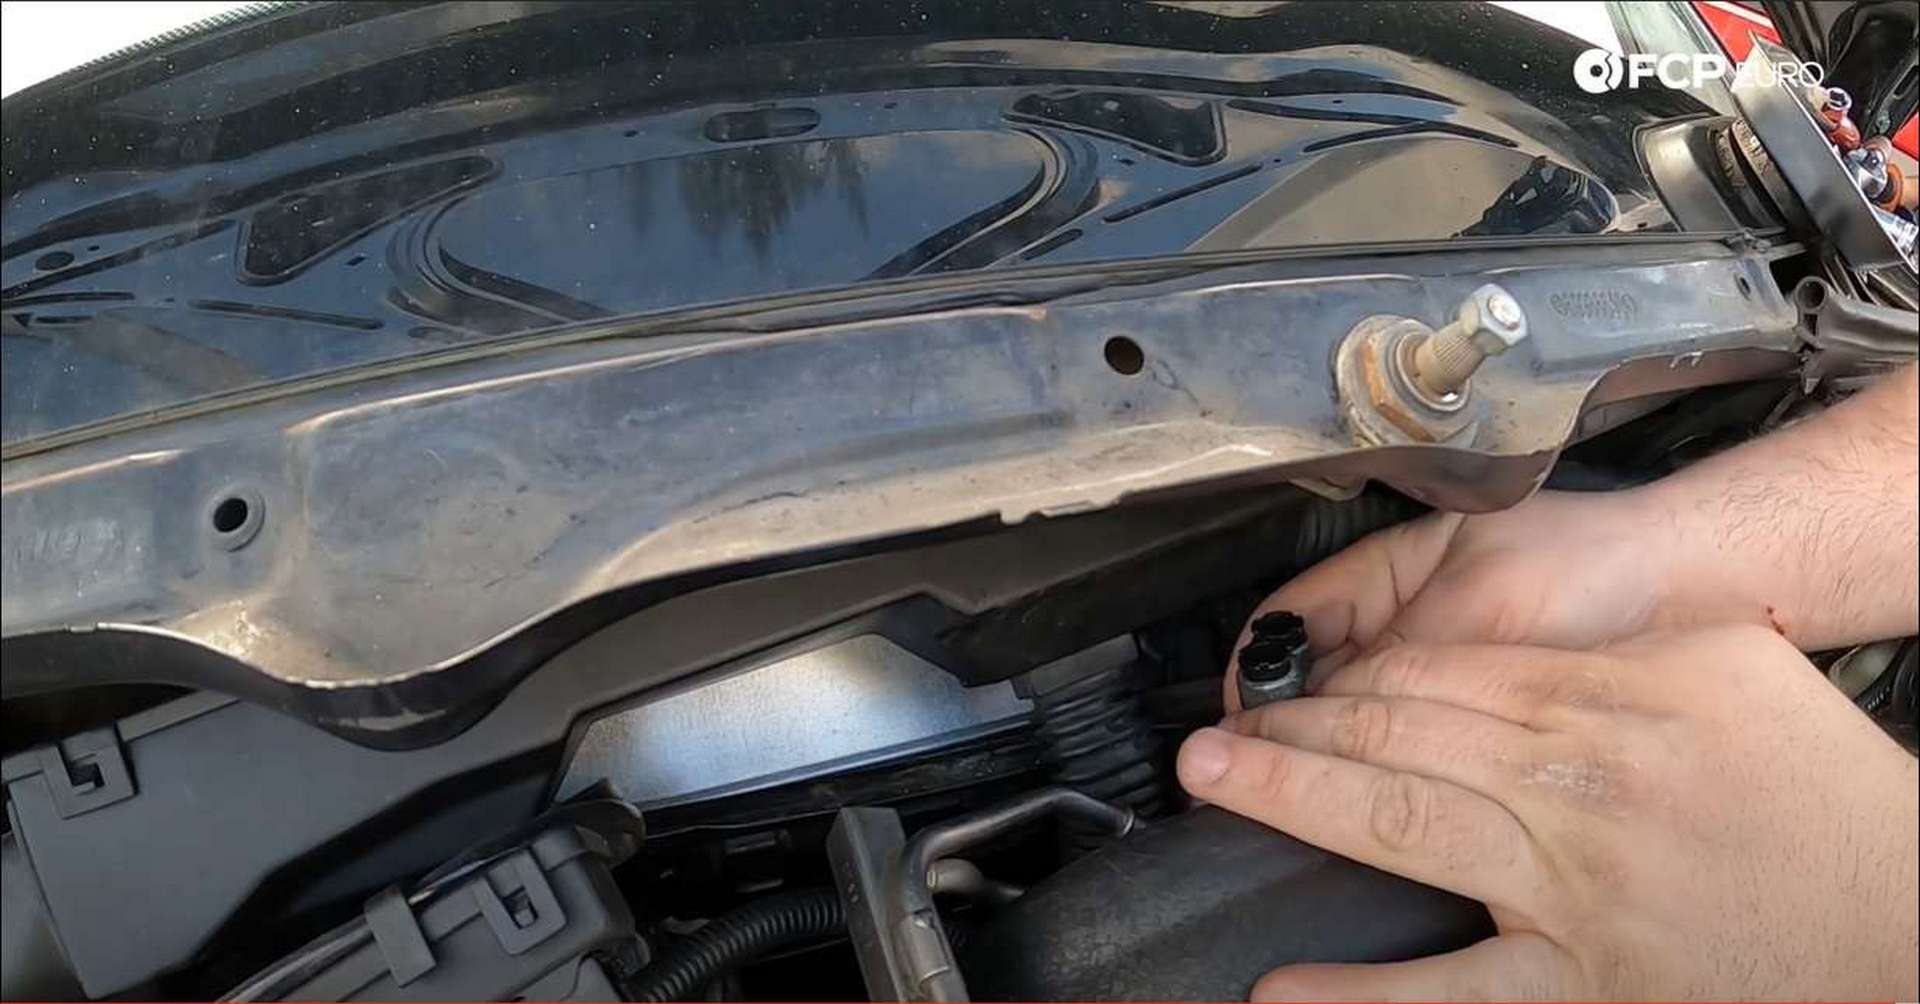
Step 4: Disconnect the crankcase vent line
At the front of the engine, there is a crankcase vent line attached to the valve cover. Pinch the locking tabs on either side of the connector and wiggle the line free. An o-ring seals this line to the valve cover, so it can be difficult to remove.
The vent line sees a lot of heating and cooling from being connected to the valve cover, causing the connection to become brittle over time. If this line is original, there is a good chance that it will break during removal.
Just behind where that line connects to the valve cover, there is an electrical connection for the Crankshaft position sensor. Like the other electrical connections, push down on the metal tab and pull to remove the connector from the wiring harness.
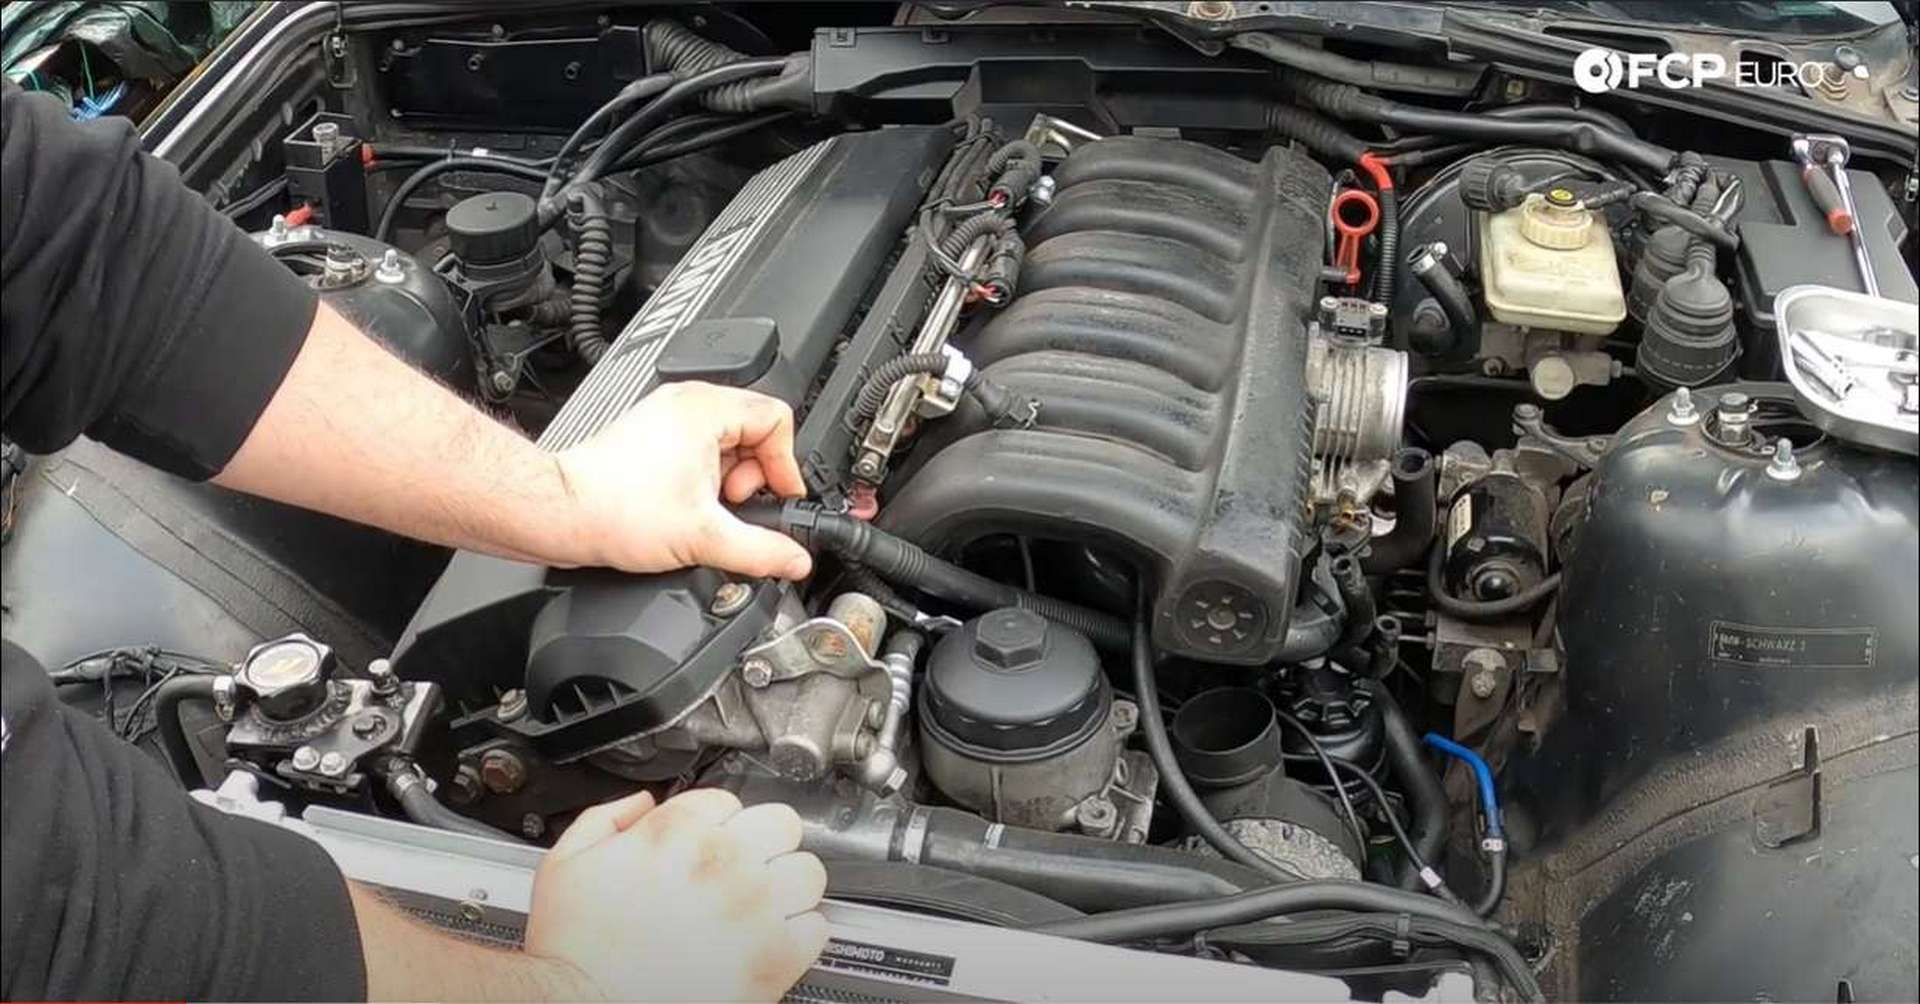
Step 5: Disconnect the fuel injector harness
For this DIY, the injectors and fuel rail will be removed with the intake manifold.
The fuel injector harness plugs into each injector. The injector plugs are locked in place by a u-shaped metal clip. The tips of the clip need to be pulled away and back from the top of the plug. Use a couple of pick tools to pry back on the tips and free the plugs.

You will know the clip has moved enough when the bottom of the clip looks like the photo above. Repeat that procedure for the rest of the injector clips and then remove the plugs from the injectors.
Step 6: Remove the throttle cable
The throttle cable uses a barrel nut, at its end, that sits in the throttle arm and keeps tension on the cable and gas pedal. Grab the throttle arm under the throttle body, and hold it open by hand. With the throttle held open, use the pick to move the barrel connector out from where it sits in the arm. Once the barrel connector is out, the cable will be free of the throttle body.
Pop the cable out of the black plastic clip, just to the rear of the throttle, and the cable will now be free of the intake manifold.
Step 7: Remove the intake manifold nuts
Just behind the injectors, on the manifold, are the seven nuts that keep it bolted to the cylinder head. Use an 11mm socket and a long extension to remove the nuts from their studs.
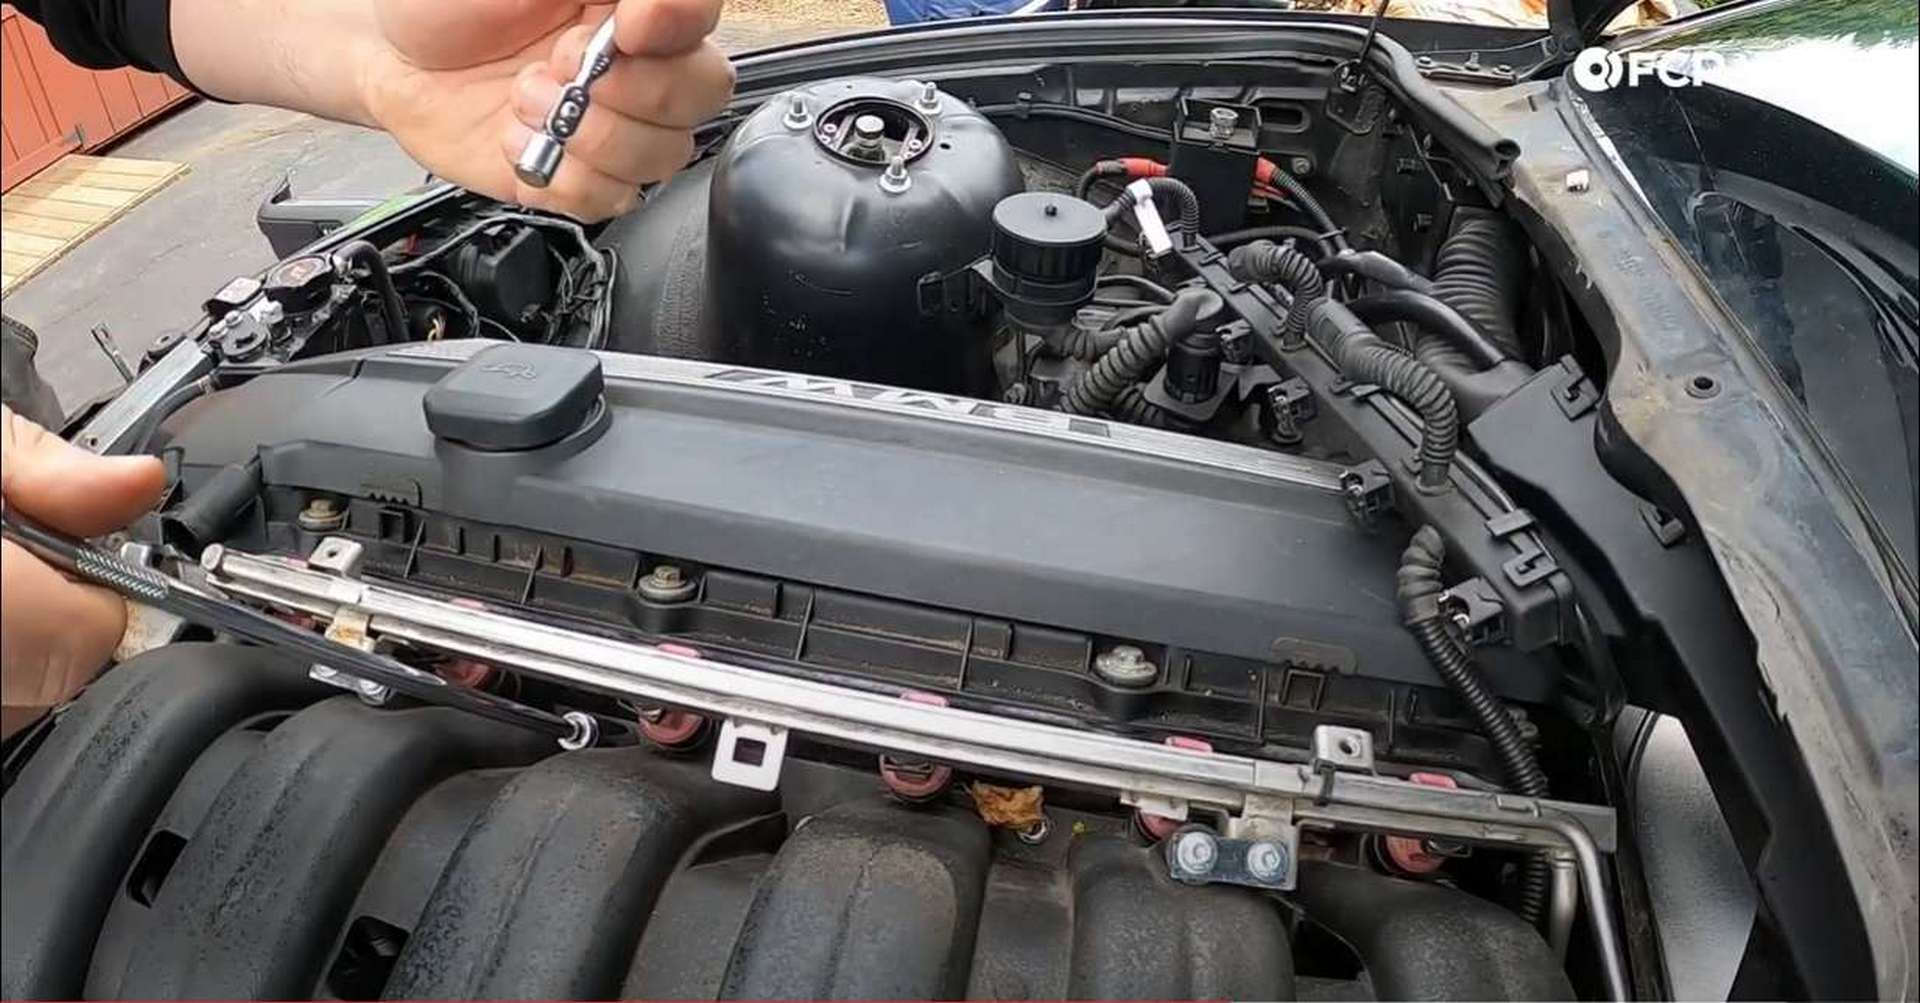
An extendable magnet can help retrieve the nuts once they are off the studs.
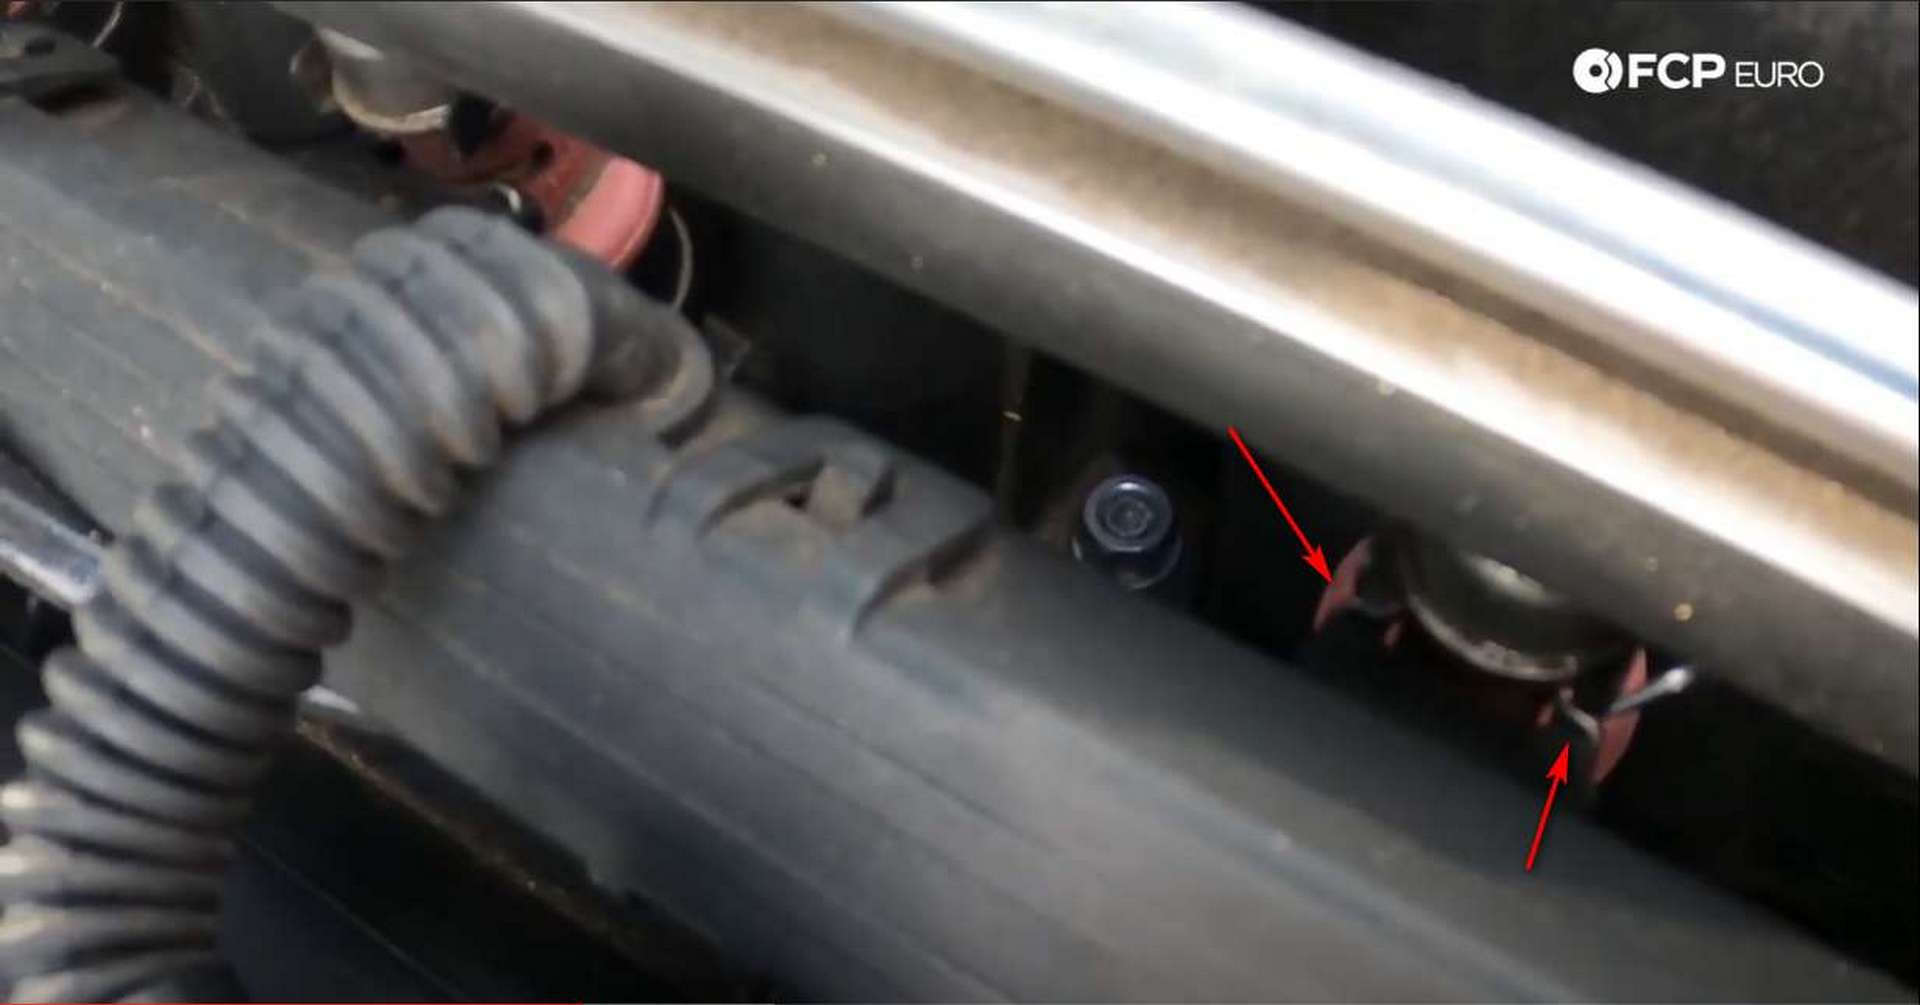
Step 8: Remove the manifold support brackets
The intake manifold is supported by a bracket, located under the intake runners. To free the manifold, remove the two 10mm bolts securing it to the bracket.
The oil dipstick tube uses the intake manifold as support and bolts to it with a 10mm bolt. The dipstick tube is the last component that needs to be unbolted from the intake manifold.
Step 9: Remove the last few, hard to reach, connections
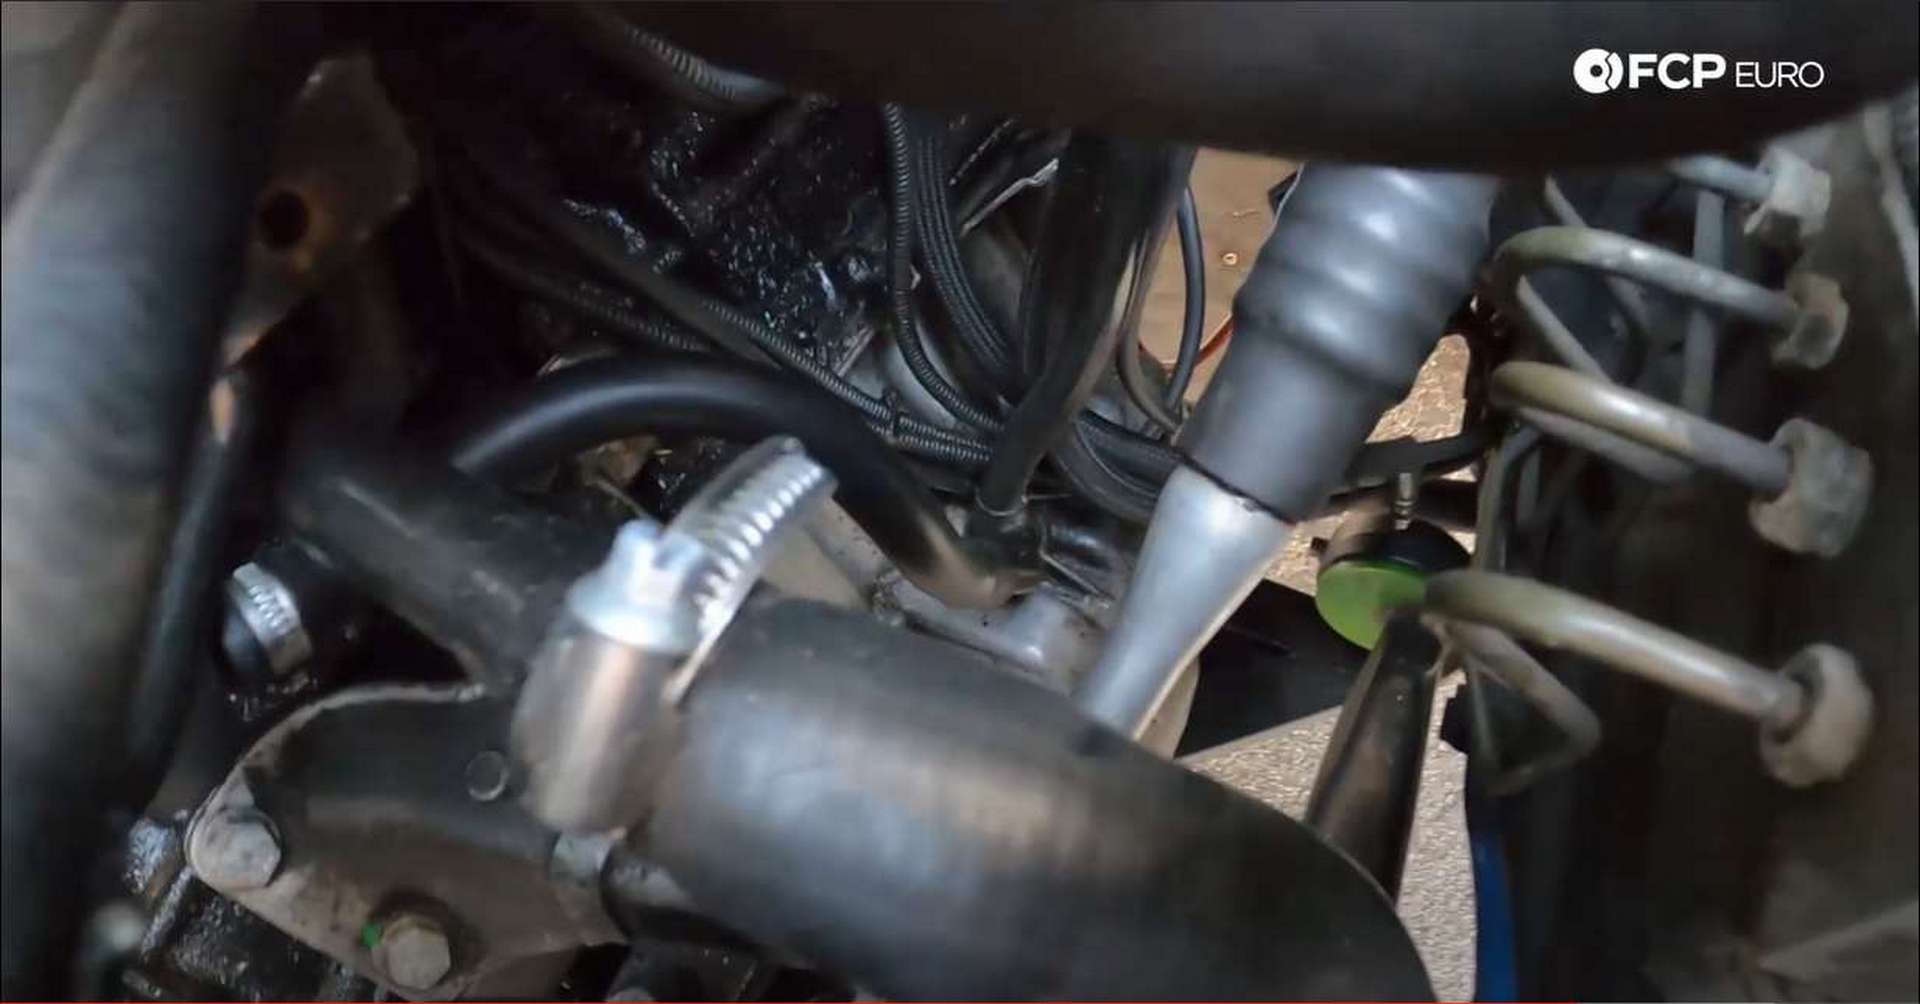
Just past the oil dipstick tube, tucked under the manifold, is the Idle Air Control valve. It is connected to the main engine harness using the same type of connector as the Crankshaft Position Sensor. Feel around with your hand until you find it, then press down on the metal tab and pull to disconnect it. Also in that area is a small vacuum line for the fuel pressure regulator.
Next, remove the crankcase vent return line. Follow the oil dipstick tube down to where it enters the crankcase. Right next to that is where the crankcase vent return line drains into the crankcase. The line just needs to be pulled off.
Step 10: Disconnect the fuel lines
Just behind the intake manifold, against the firewall, is where the fuel lines connect to the fuel rail. These engines don’t use a returnless fuel system, meaning that any fuel unused by the injectors gets sent back to the tank. The feed and return lines look very similar, so before you remove them, mark which line goes to its corresponding end of the fuel rail.
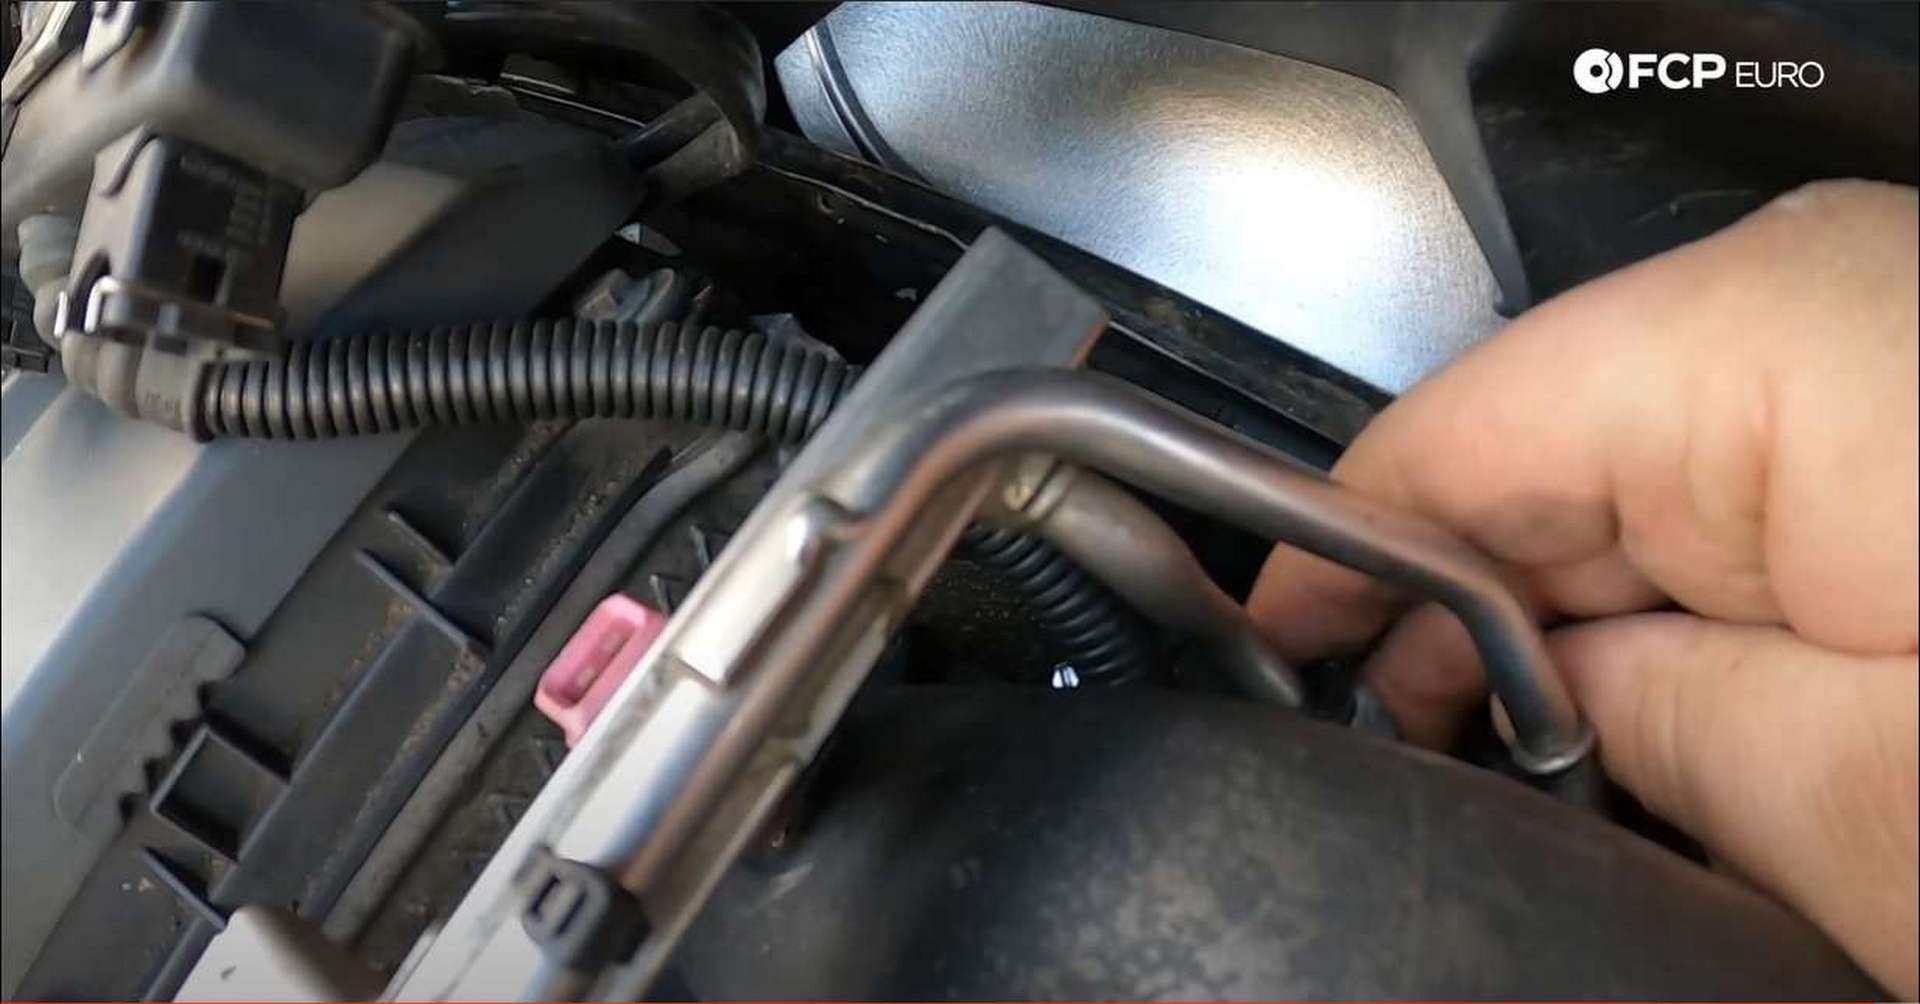
Push down on the black inner sleeve, while pushing the line upwards. will unclip the lines and they will then be able to be pulled free of the rail.
Step 11: Remove the intake manifold
Everything is now disconnected from the intake manifold, and it is held in place the studs it sits on. Carefully and slowly lift it up and out of the engine bay. There are a lot of lines intertwined under the manifold; some may get caught while lifting it out.
The intake manifold is now out of the car and can be replaced or reused depending on your needs. While the manifold is off, it would be a good idea to check the condition of the parts that reside under it. Changing the starter, the coolant transfer pipes, IAC valve, or the PCV, will all be much easier with the intake manifold removed. If you are going to leave the engine without the intake manifold installed for an extended period, cover the intake ports on the cylinder head with a rag or tape. Covering the intake ports will ensure that no foreign contaminants enter the engine.
If you’re interested in more DIYs for your BMW, you can visit bmw.fcpeuro.com or subscribe to our YouTube channel.


