- 10/05/2020
- 11 Min Read
- By: Christian Schaefer
How To Overhaul The BMW E46 M3 Rear Subframe (Part 1)

The rear subframe, in any car, is a significant component. The subframe acts as a mounting point for all of the rear suspension components and the rear differential. Its made to withstand all of the drivetrain's twisting forces while carrying the load from the suspension components. The subframes themselves are strong in the BMW E46 chassis but have several failure points around them that should be addressed as soon as possible.
Keeping up with your BMW E46 M3's rear subframe is an essential part of the ownership process, especially when it's prone to cracks and failures. Follow along with the video and write-up below as Gareth Foley, our BMW catalog manager, takes you through the process of refreshing the rear subframe and some components around it, including the differential mounts, trailing arm bearings, and camber arms.
BMW models and years applicable:
- 2001-2006 BMW M3
- 2006-2008 BMW Z4M
Why should you overhaul your BMW E46 M3 rear subframe?
Since the chassis' debut in 2000, the rear subframe issues have been a constant source of worry from owners. The subframe mounting points in the chassis are prone to cracking and have failed in some cases. BMW and aftermarket companies have all come out with weld-in reinforcement plating to help prevent this issue.
Along with the subframe mounting points, the rear trailing arm bushing mounts are prone to the same kind of cracking and failure. Reinforcement plating for these mounting areas will come with the subframe reinforcement kits.
Beyond the cracking issues, worn bushings and mounts will create problems of their own. The OEM rear trailing arm bushings are rubber and degrade quickly from use. As they get softer, the back end becomes more unpredictable under braking and through the corners. Aftermarket companies produce polyurethane bushings and press-in Heim joints to replace the OEM softness. The differential mount bushings can also be changed to aftermarket polyurethane to remove the sloppy acceleration feeling that worn OEM rubber mounts will give you.
How long will it take to overhaul a BMW E46 M3 rear subframe?
This DIY is not for the faint of heart, and its complexity is reflected in the time required to complete the job. Even with all of the proper tools, lots of space, and help, this job can take several days. The youngest chassis is now 16 years old, and corrosion is relatively standard. Fighting with seized or stripped bolts is a real possibility and a time killer.
If you can, gain access to a lift. Having a shop with air tools and a press can speed the process up, but won't guarantee anything. A good torch will help with removing any corroded fasteners. Put aside at least a full weekend if you intend to take on this project in your garage or driveway.
What will it cost to overhaul a BMW E46 M3 rear subframe?
Beyond fixing any possible cracks in the chassis, the bushings in the subframe should be replaced. Factory bushings are fine, but there are several upgraded choices that we recommend. In this DIY, we use Synchro Design's rear trailing arm bushings. Their monoball kit eliminates the twitchy back end that develops when the factory bushings start to wear. Their bushings cost $265.
The differential mounts that we install in the DIY come from Revshift. They are made from polyurethane and are a slightly higher durometer than the factory rubber pieces. The kit costs $109. Additionally, we install Eibach rear camber arms. These eliminate the need for the eccentric bolt that BMW uses for the camber adjustment in the rear of the car. The new arms are adjustable, making up for the lack of eccentric bolt. The Eibach arms cost roughly $200.
In total, the upgraded parts cost roughly $580.
Parts required to overhaul a BMW E46 M3 rear subframe:
Tools required to overhaul a BMW E46 M3 rear subframe:
- Floor Jacks
- Jack Stands
- Pry Bars
- 24oz mallet
- 32oz ball peen hammer
- 24oz ball peen hammer
- Metal file
- Brass punch
- 1/2" torque wrench
- Ratchets
- Ratchet Extensions
- Large & small channel lock pliers
- Pliers
- Side cutters
- Needle nose pliers
- Various picks
- Screwdrivers
- 16mm stubby ratcheting wrench
- 13mm stubby ratcheting wrench
- 12mm stubby ratcheting wrench
- 17mm stubby ratcheting wrench
- 19mm stubby ratcheting wrench
- 12mm box end ratcheting wrench
- 11mm box end ratcheting wrench
- 10mm box end ratcheting wrench
- 13mm box end ratcheting wrench
- 16mm box end ratcheting wrench
- 18mm box end ratcheting wrench
- 19mm box end ratcheting wrench
- 21mm box end ratcheting wrench
- 14mm wrench
- 16mm wrench
- 17mm wrench
- 18mm wrench
- 19mm wrench
- 24mm wrench
- 27mm wrench
- E12 socket
- E14 socket
- E16 socket
- 8mm socket
- 10mm socket
- 13mm socket
- 16mm socket
- 17mm socket
- 19mm socket
- 22mm socket
- 6mm six-point
- 7mm six-point
- 8mm impact socket
- 9mm impact socket
- 12mm impact socket
- 13mm impact socket
- 16mm impact socket
- 17mm impact socket
- 18mm impact socket
- 19mm impact socket
- 21mm impact socket
- 22mm impact socket
- 30mm impact socket
Steps required to overhaul a BMW E46 M3 rear subframe:
Step 1: Remove the disc brake assembly
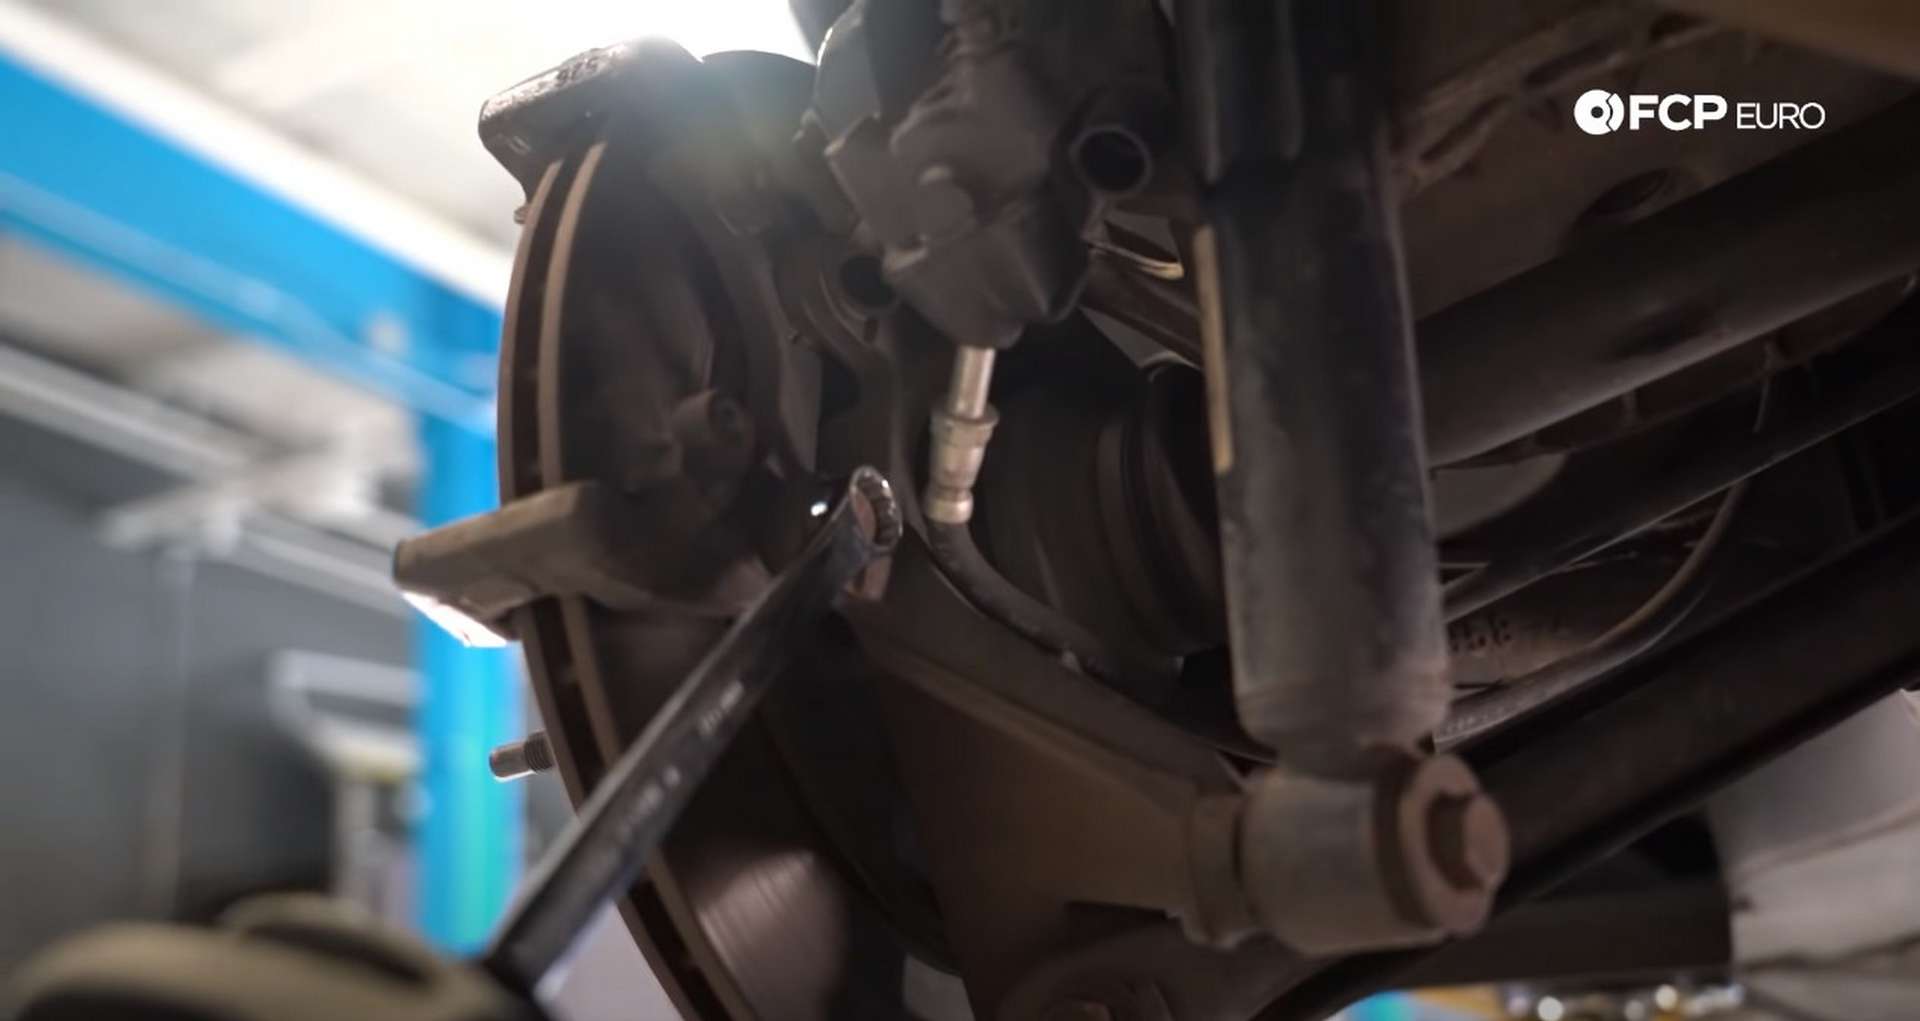
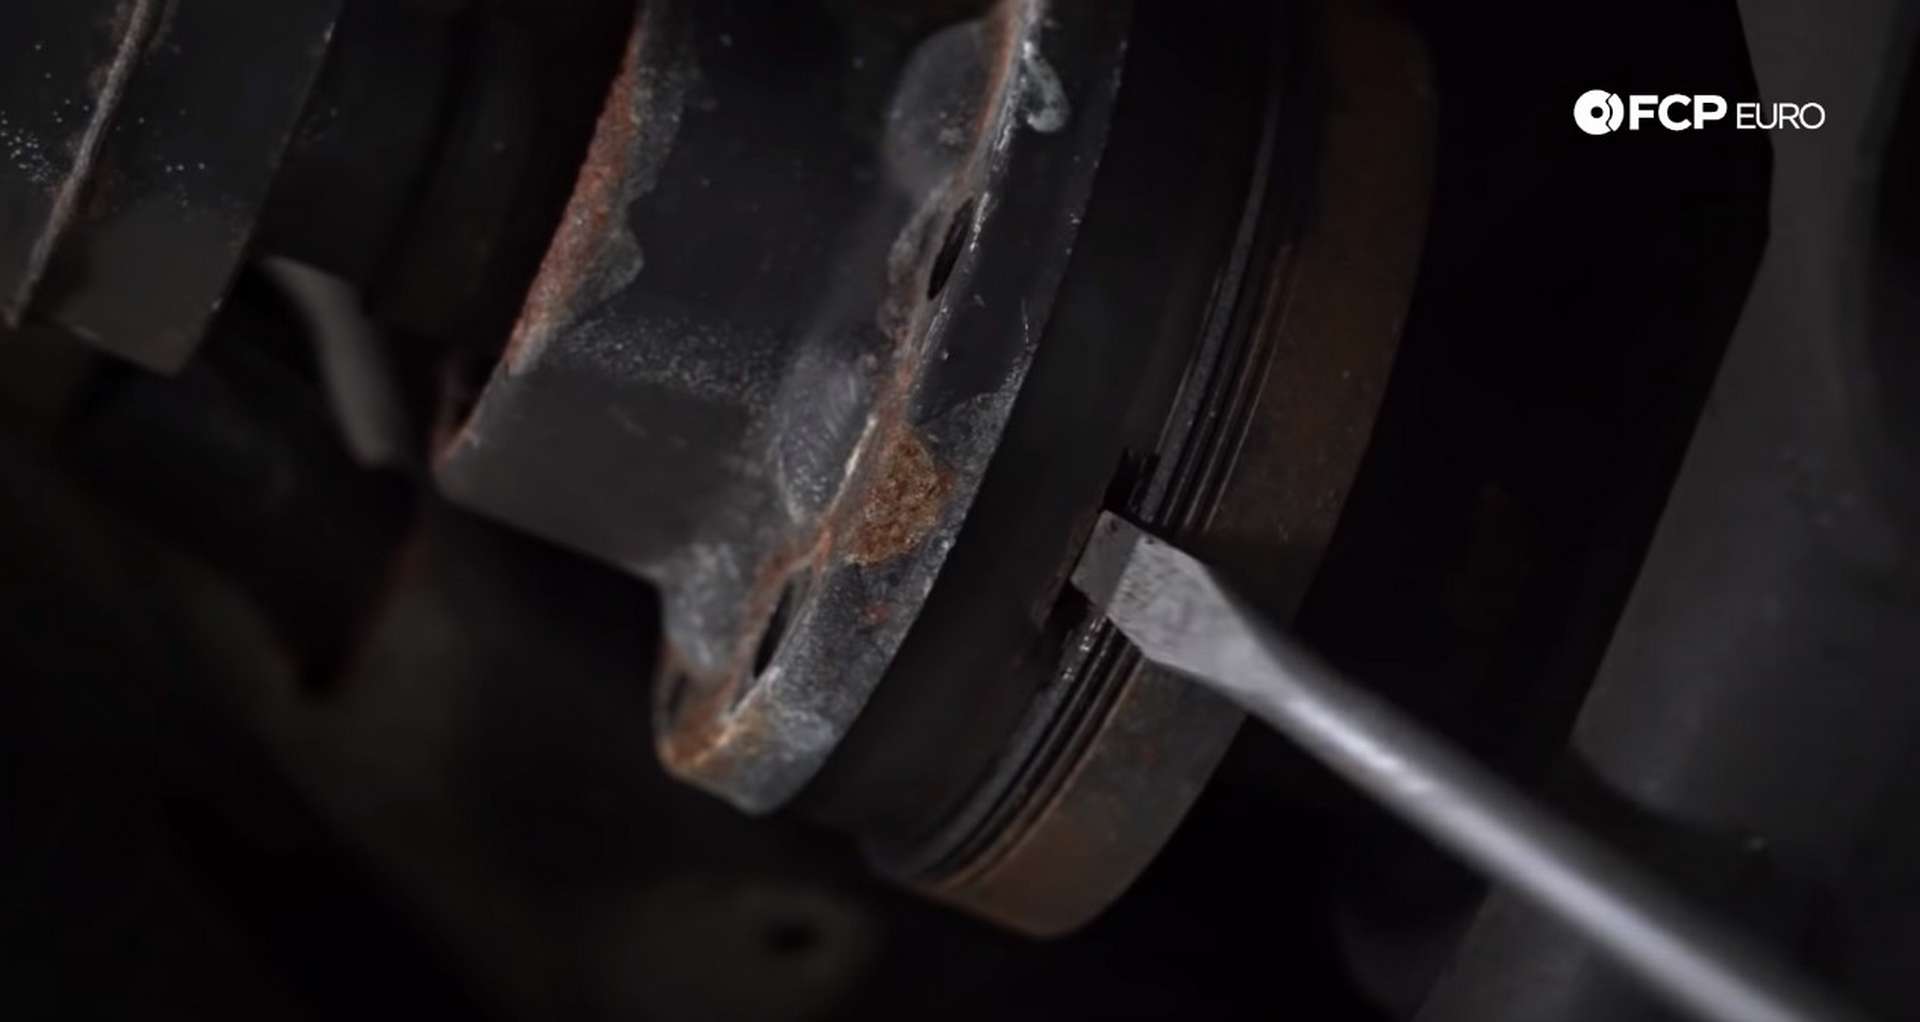
With the car in the air and the rear wheels removed, use a 6mm hex bit socket to remove the set screw in the brake rotor. The screws are known to seize from corrosion, causing the heads to strip, so be careful during removal. Use some rust penetrant or hit it with some heat to aid with the ease of removal.
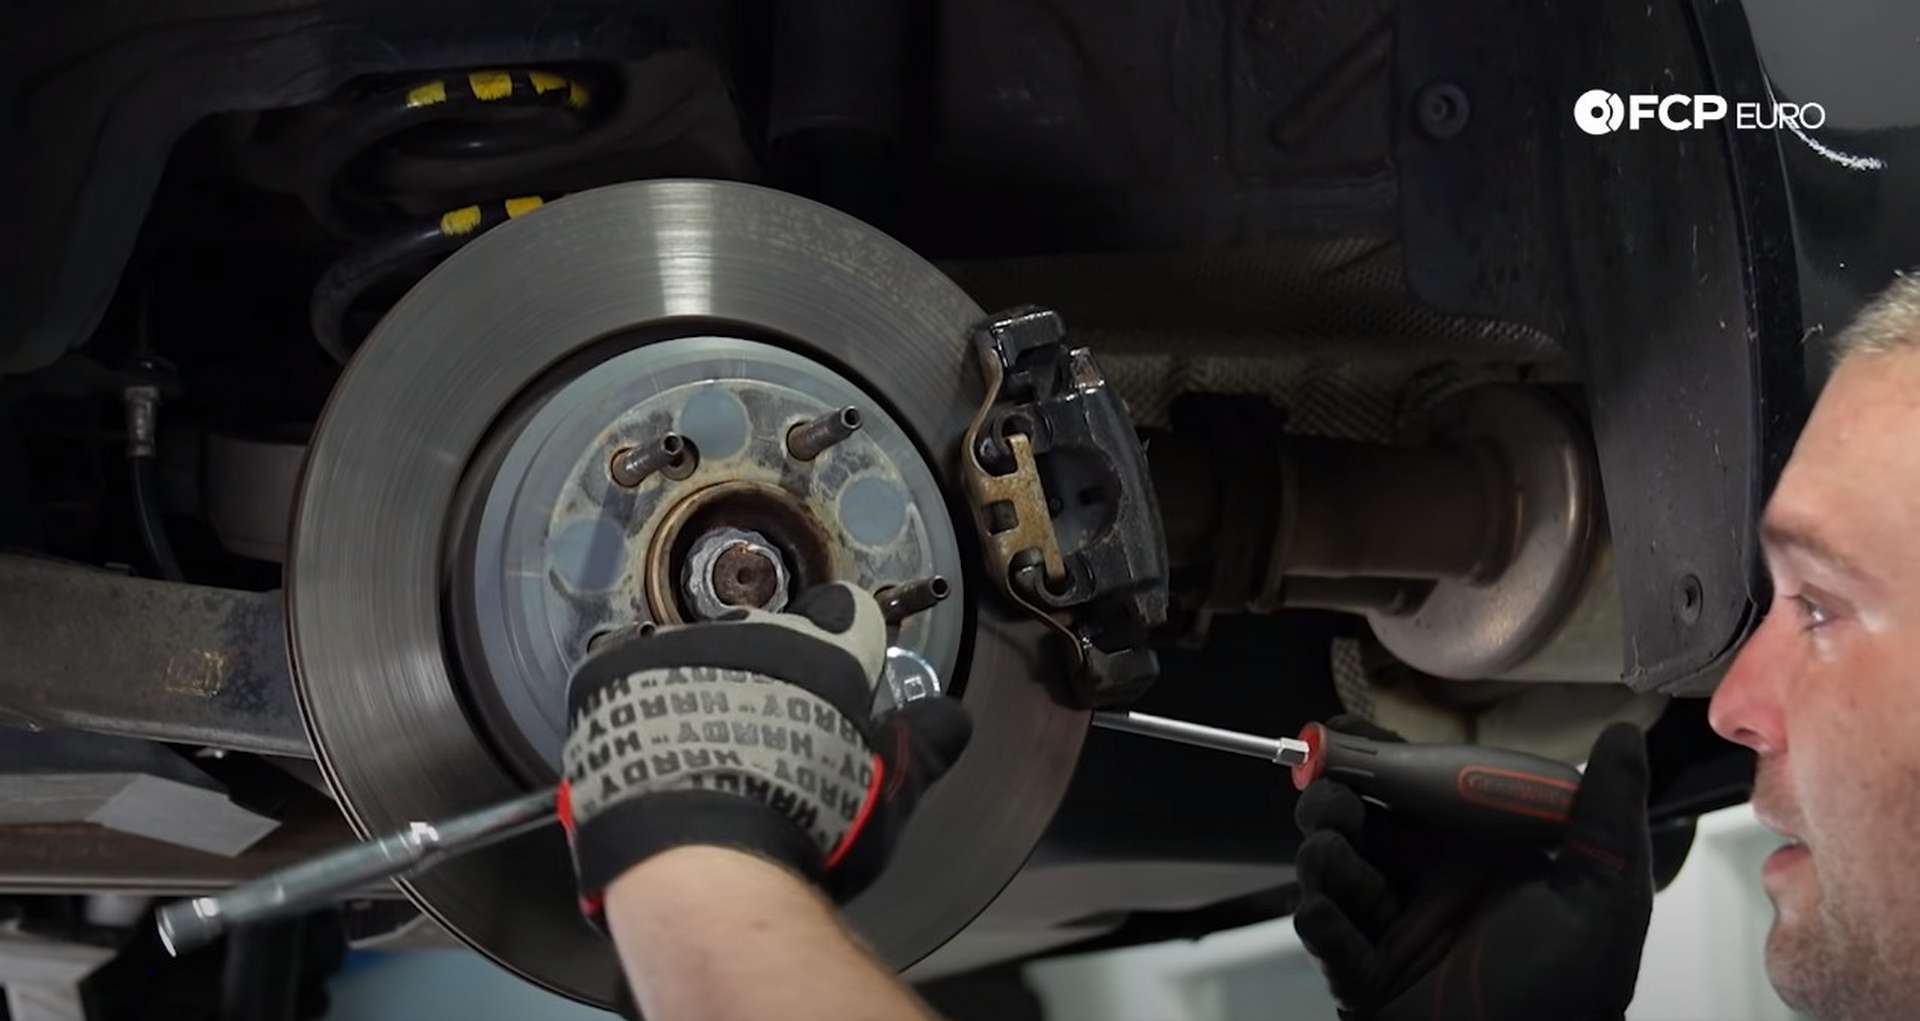
The rotor will spin while you try to remove the set screw, so stick a screwdriver into the rotor's vanes to brace it against the caliper and stop it from rotating.
Next, remove the rattle clip from the caliper. Use your thumbs to press up on the center of the clip, and they pull it out.
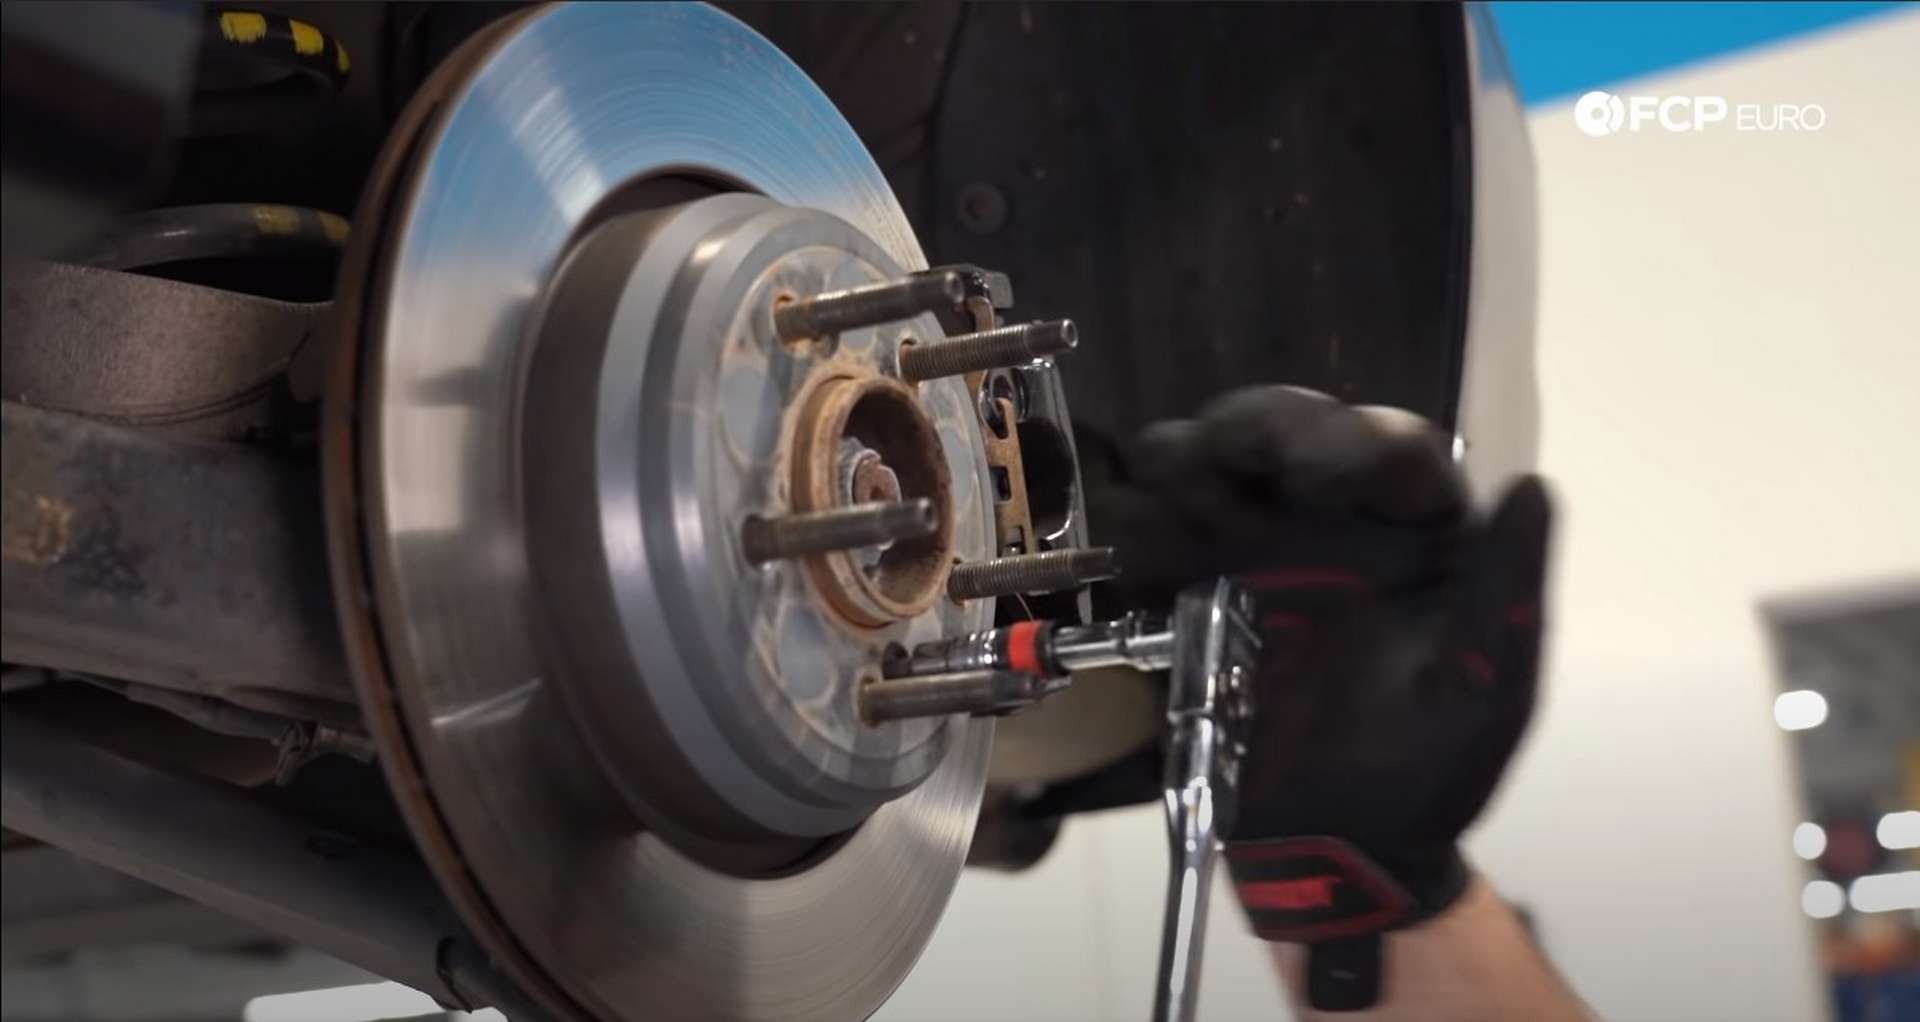
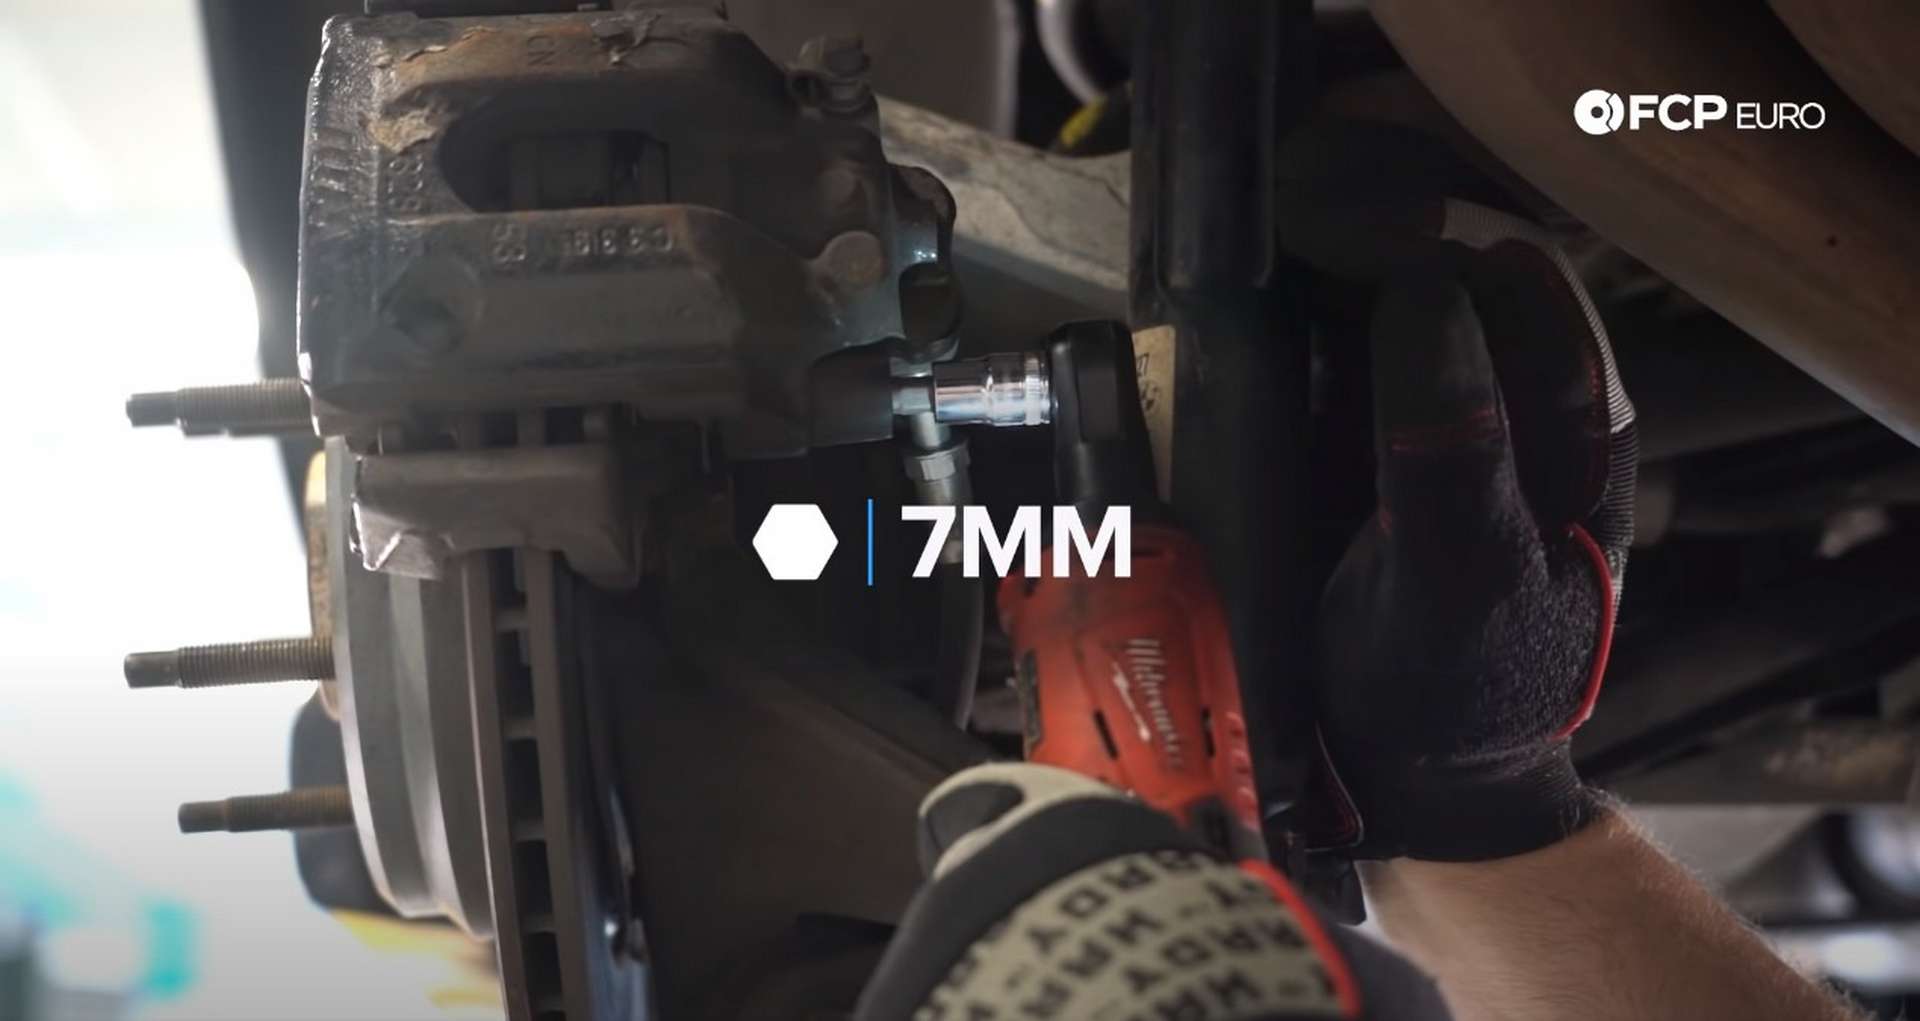
Head to the back of the caliper and remove the dust caps from the caliper's guide pins. Use a 7mm hex socket and remove the guide pins. Pull the caliper off of its bracket and hang it on the coil spring, for now. Then, use a 16mm wrench to remove the two caliper bracket bolts.
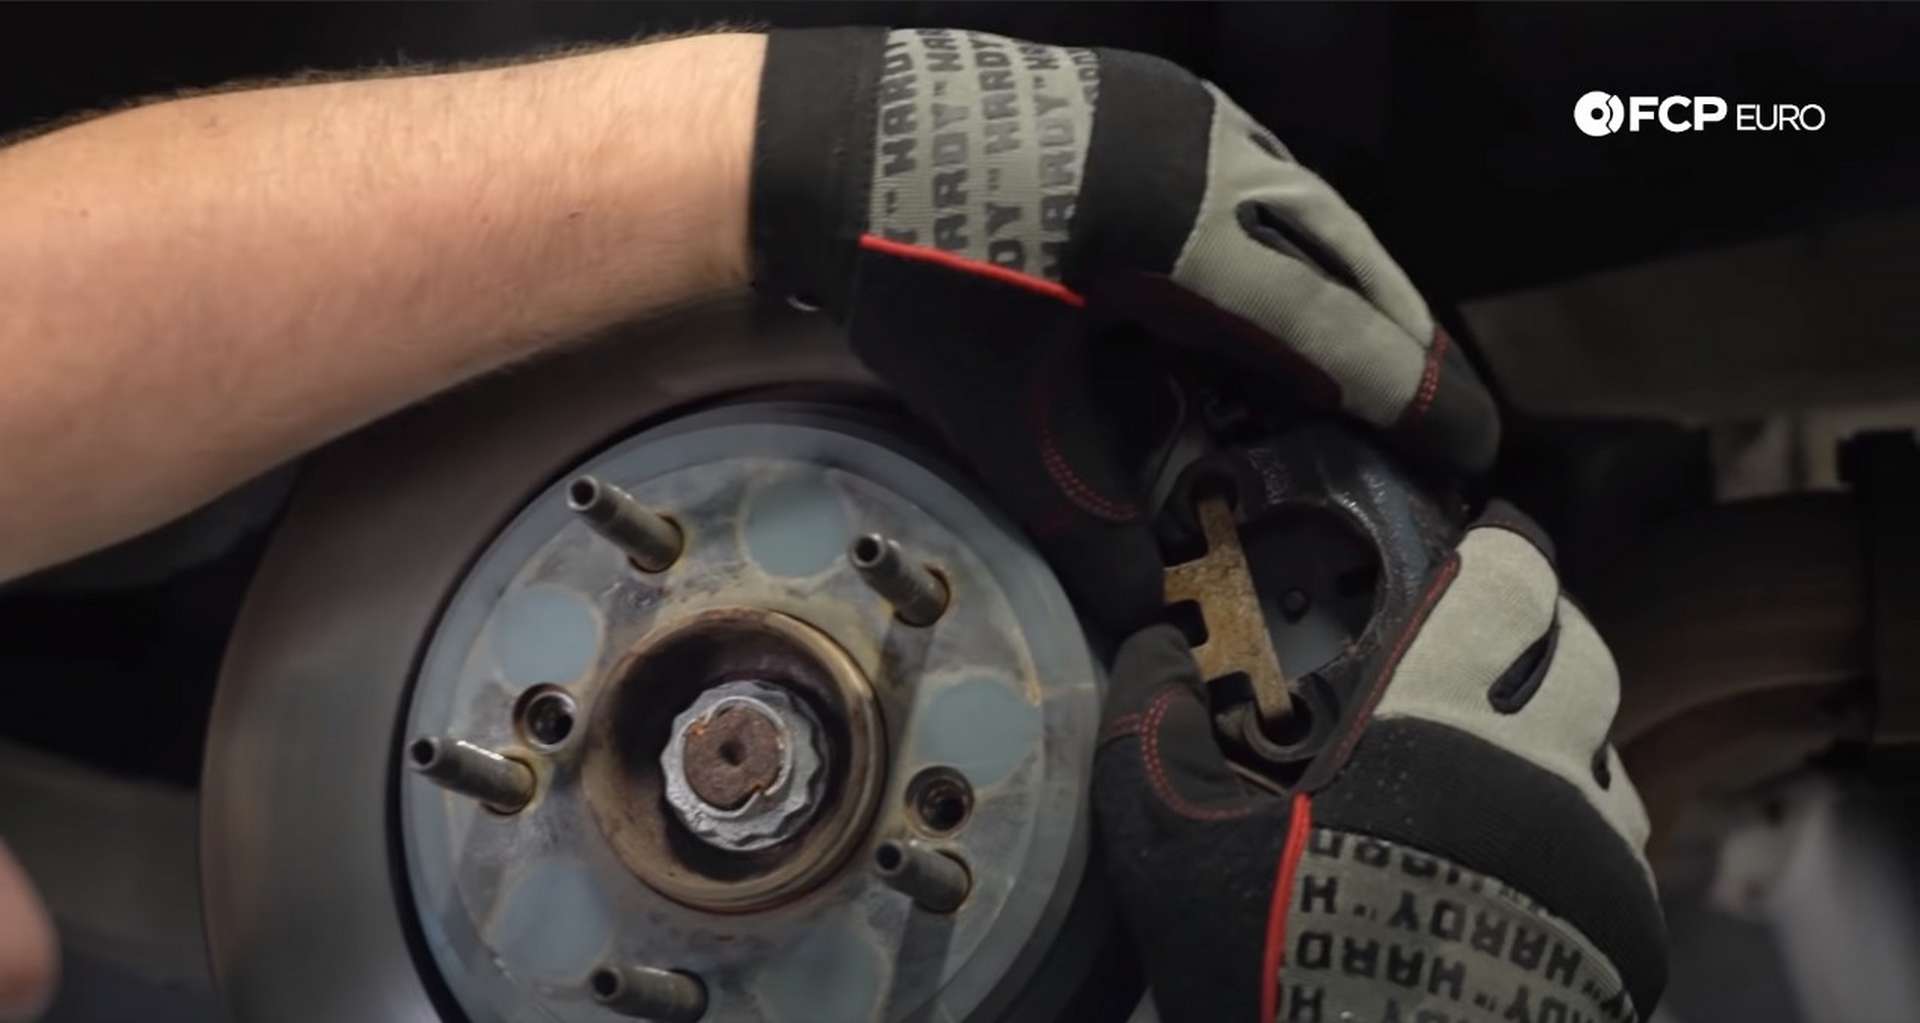
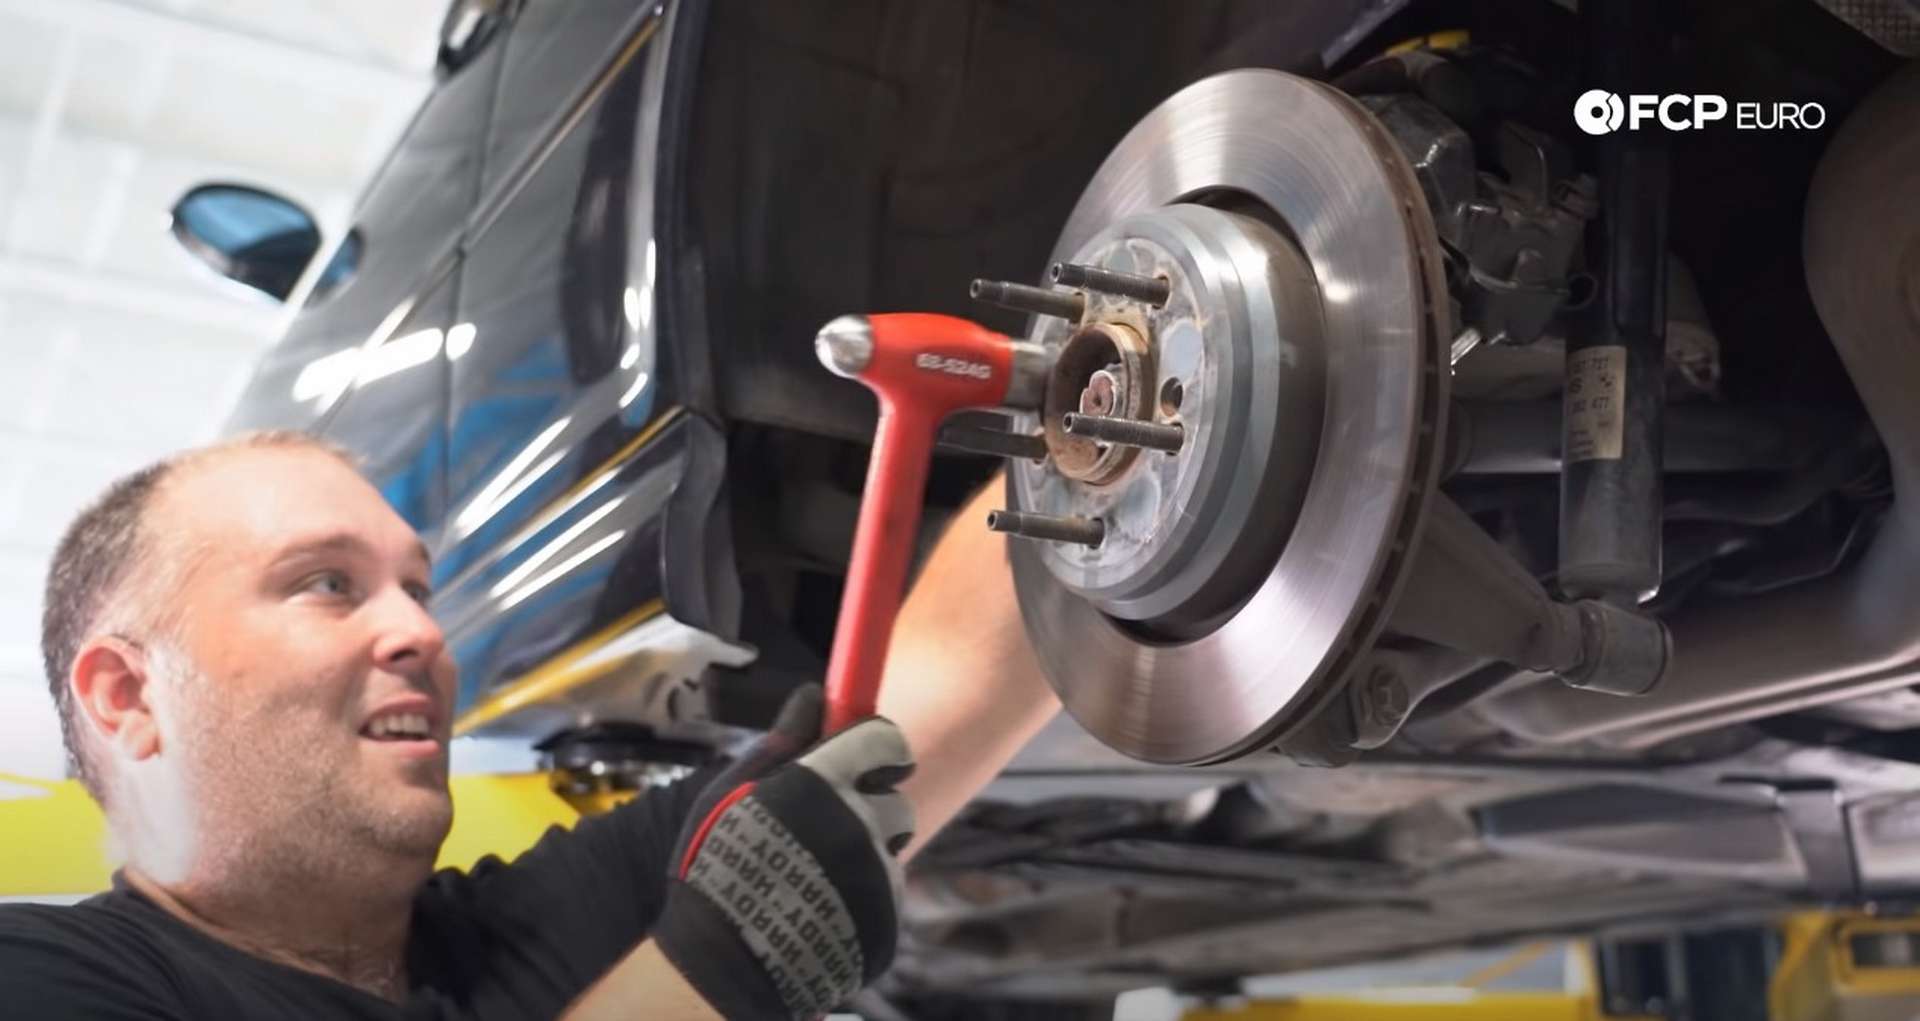
At this point, the rotor should slide off the hub. If it doesn't, give the center portion of the rotor a few taps with a hammer. This will break the corrosion and allow the rotor to be removed.
Step 2: Hang the caliper on the chassis
The coil spring will be removed during the subframe removal, so the caliper can't stay there. It needs to move to the front of the wheel well where it can hang on the chassis. Several parts need to move to get the caliper in its required position.
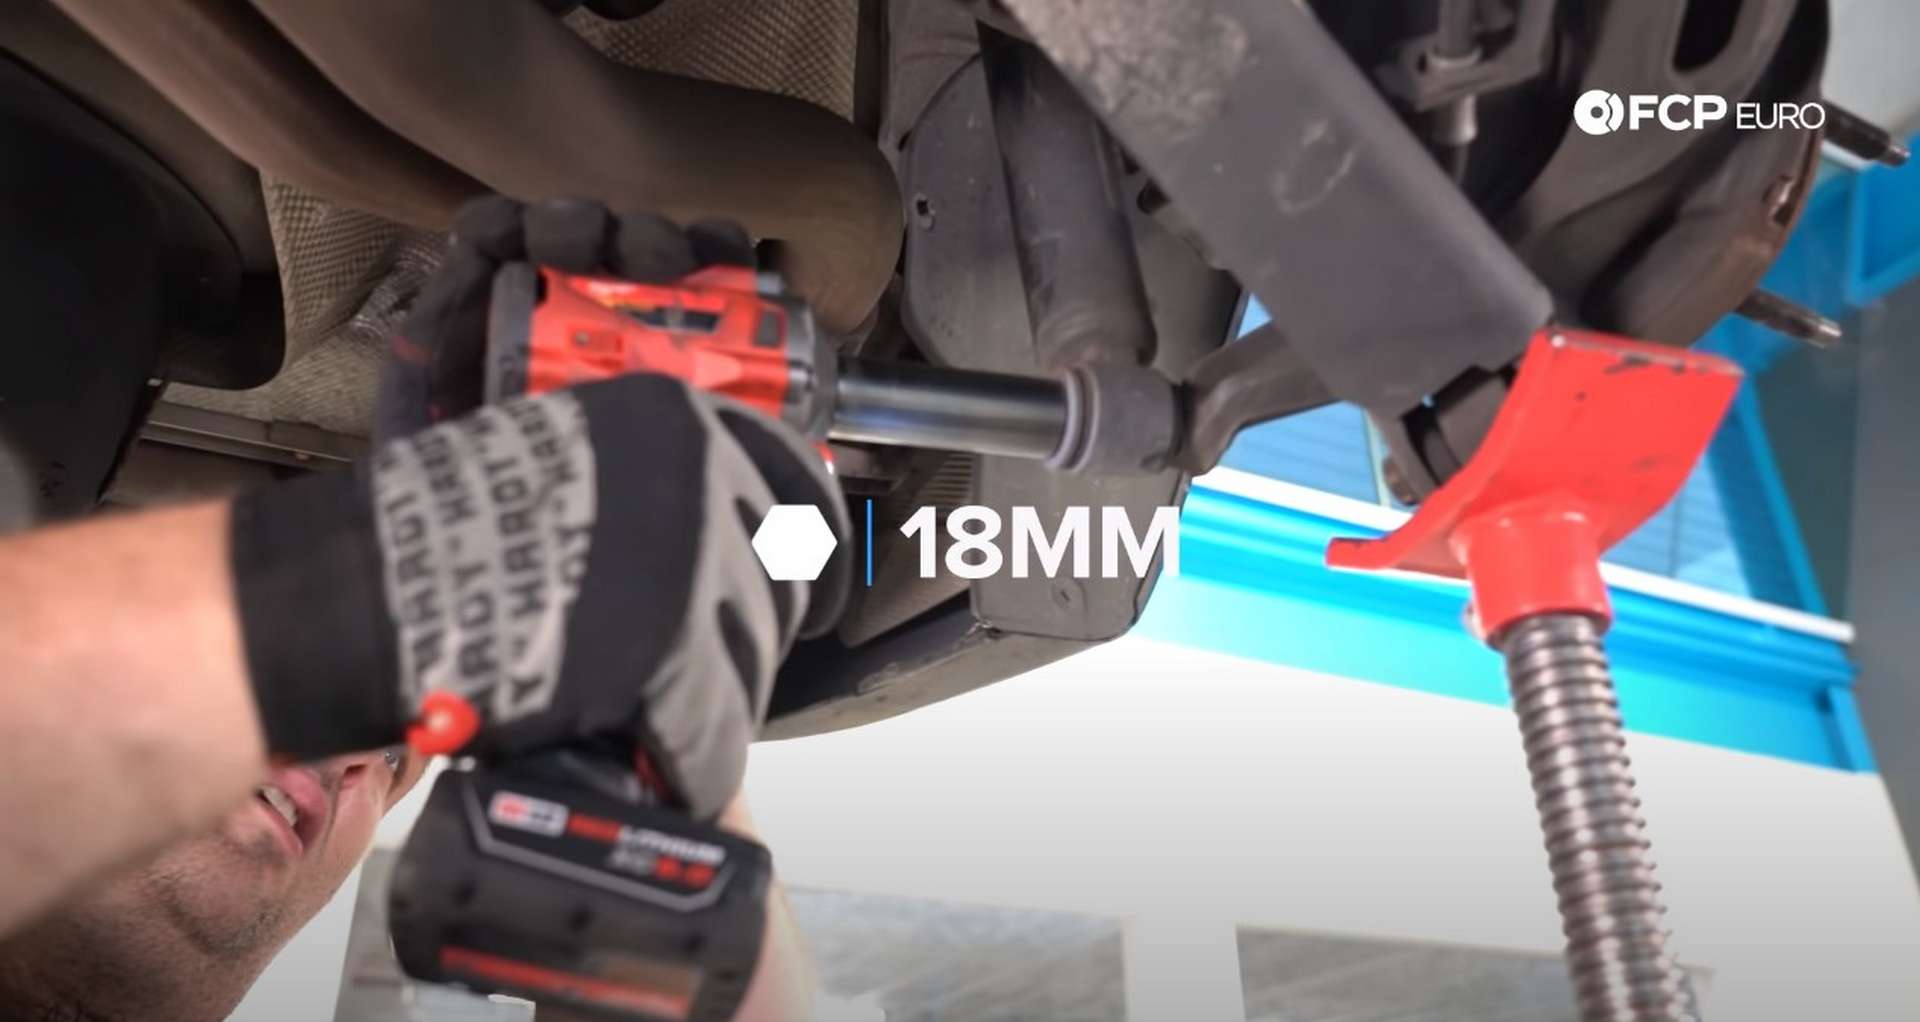
First, support the bottom of the hub by placing a jack under the knuckle where the trailing arm attaches to it. Then use an 18mm socket to remove the bolt for the lower shock mount.
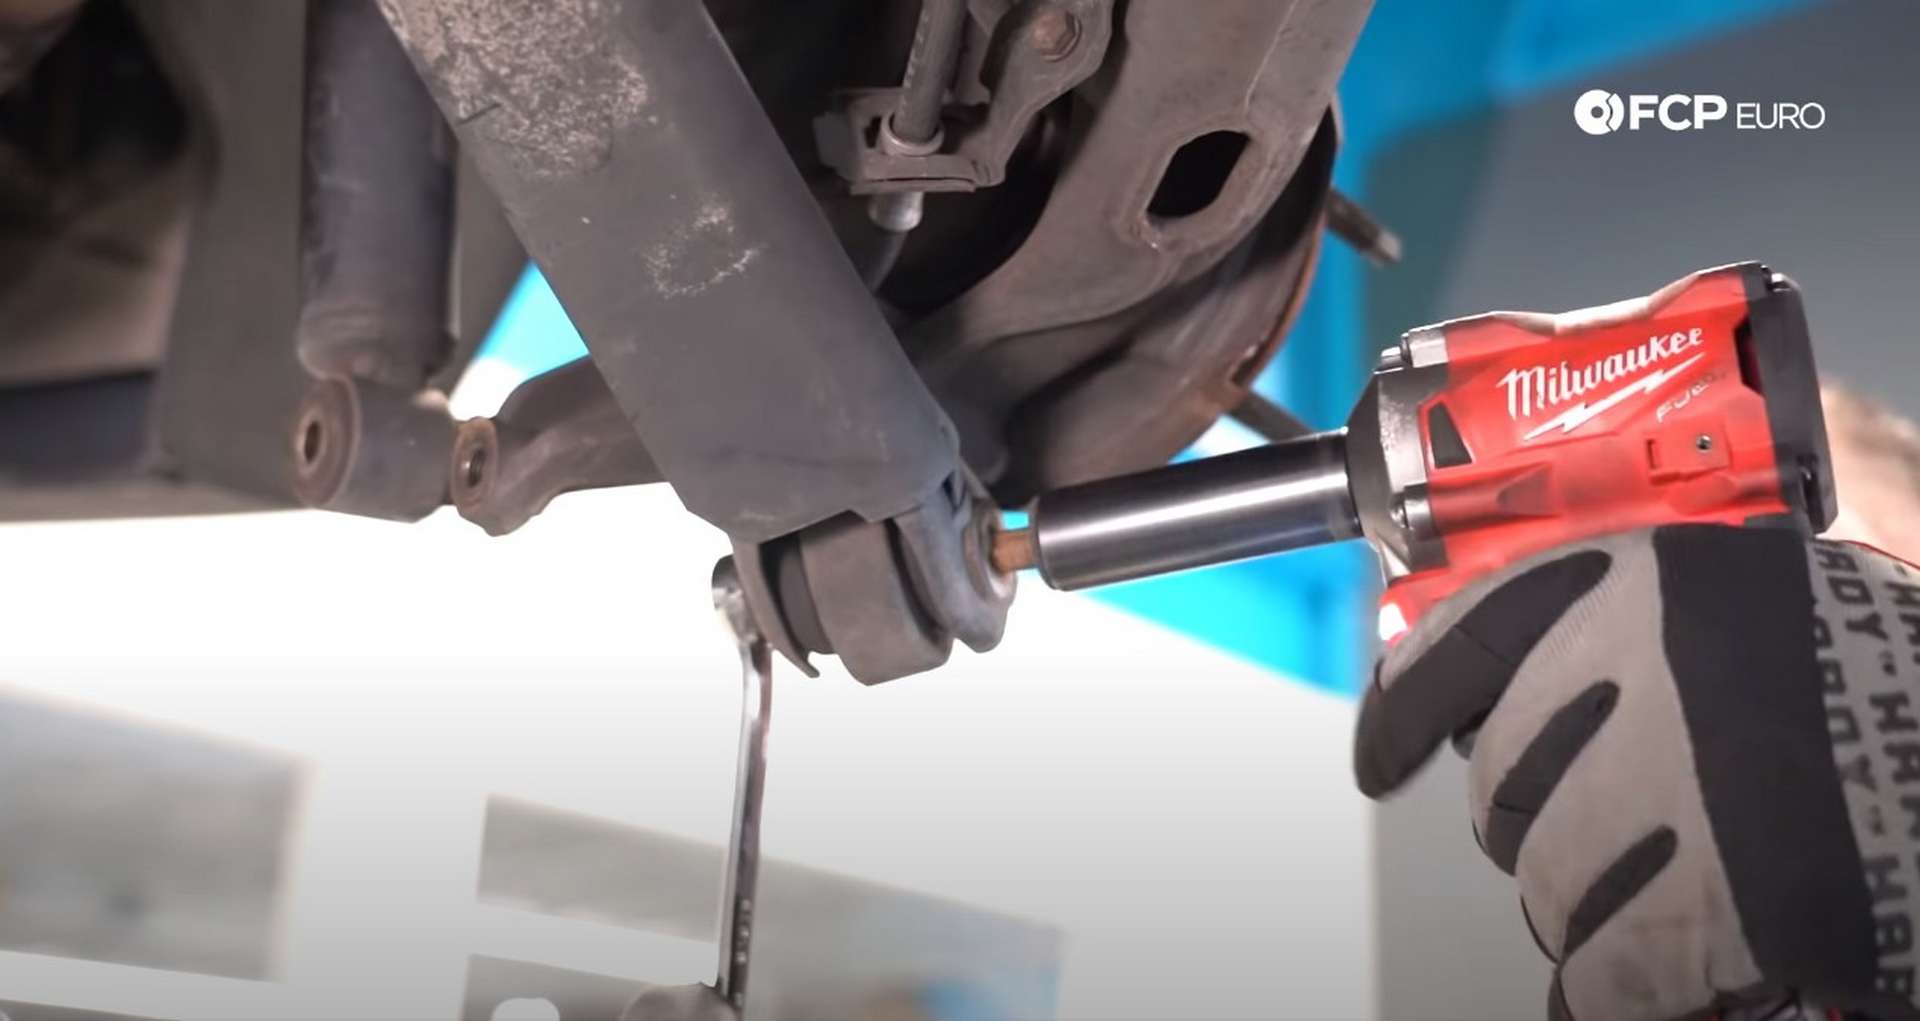
Next, cut the caliper from the spring and brace it somewhere so that it isn't hanging by the brake line. Then, use a pry bar to pull the knuckle down and create space for the coil spring to be removed. Remove the jack after you pull the spring out.
Finally, use an 18mm socket and wrench to remove the eccentric bolt and nut securing the trailing arm to the knuckle. With any luck, the bolt will come out quickly. In our case, the bolt seized inside of the metal sleeve in the knuckle's bushing. If your bolt is seized, you'll need to remove it with a cutting wheel.
Push the trailing arm down and pull the caliper forward through the gap. Use zipties or a bungee cord to hang the caliper.
Step 3: Remove the exhaust
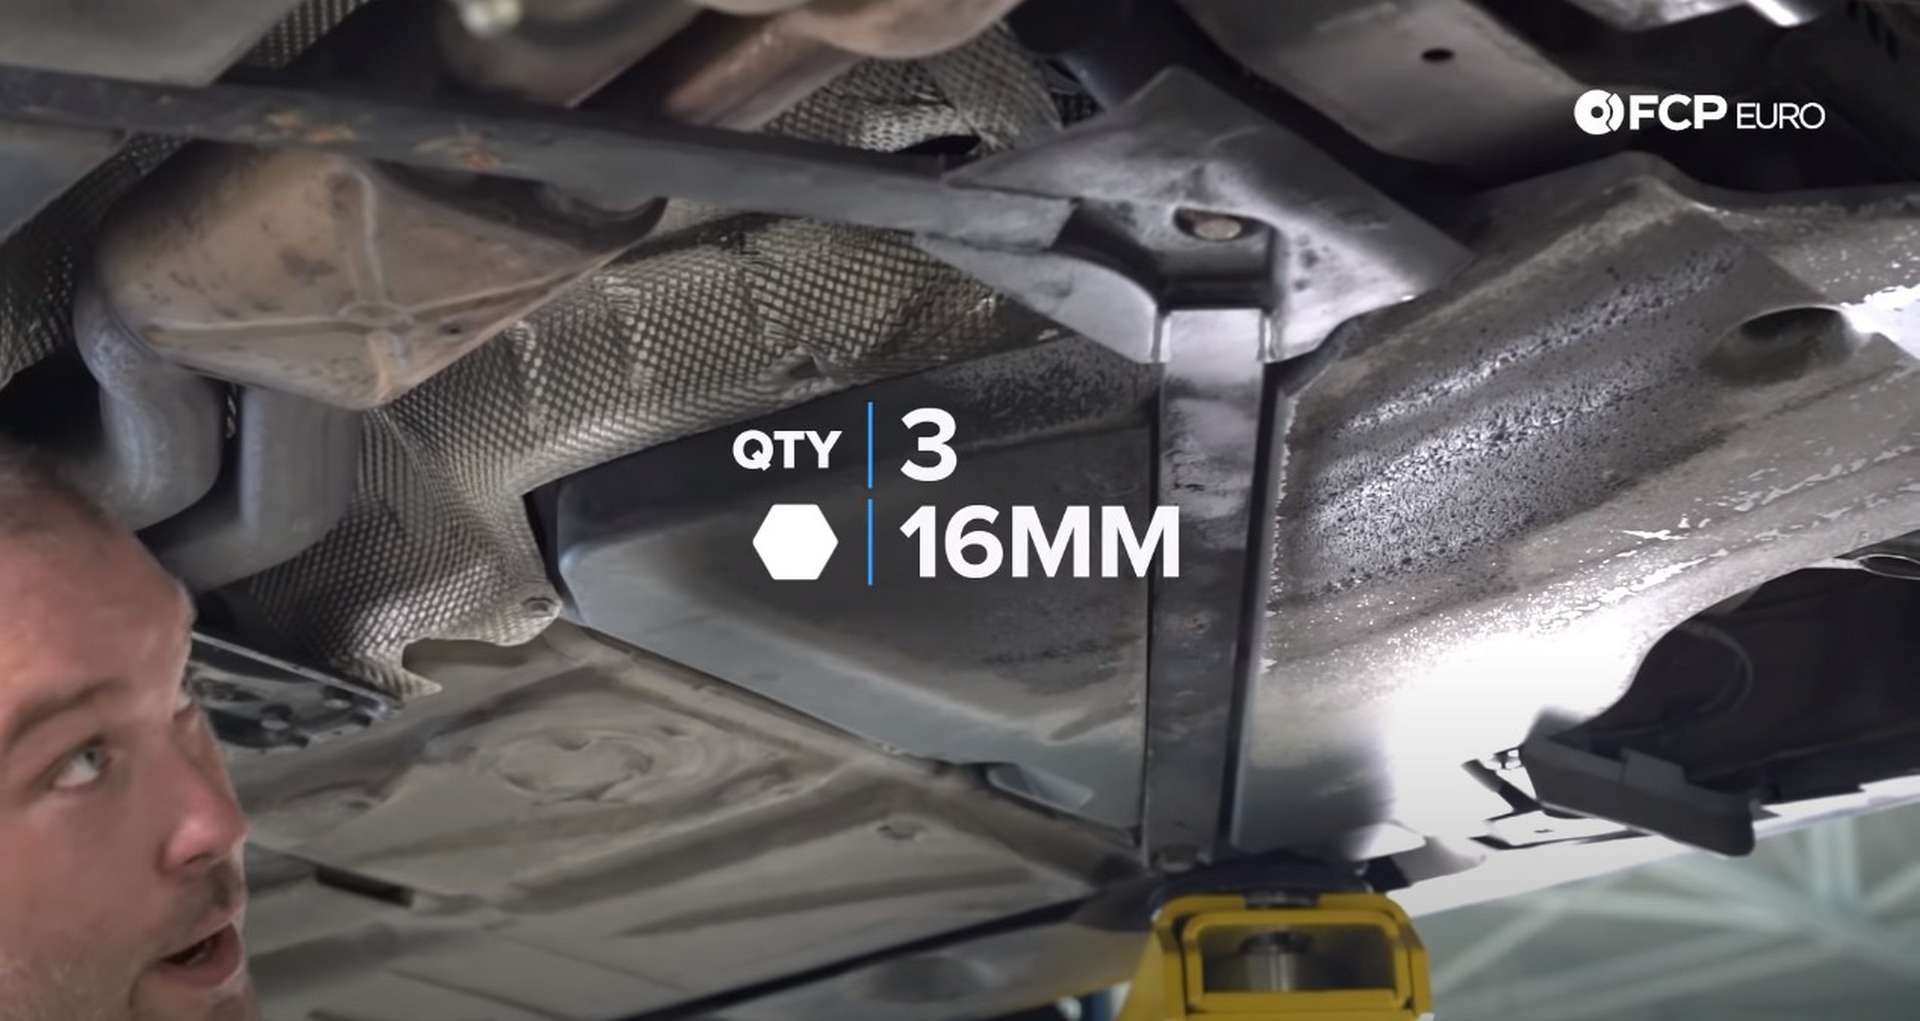
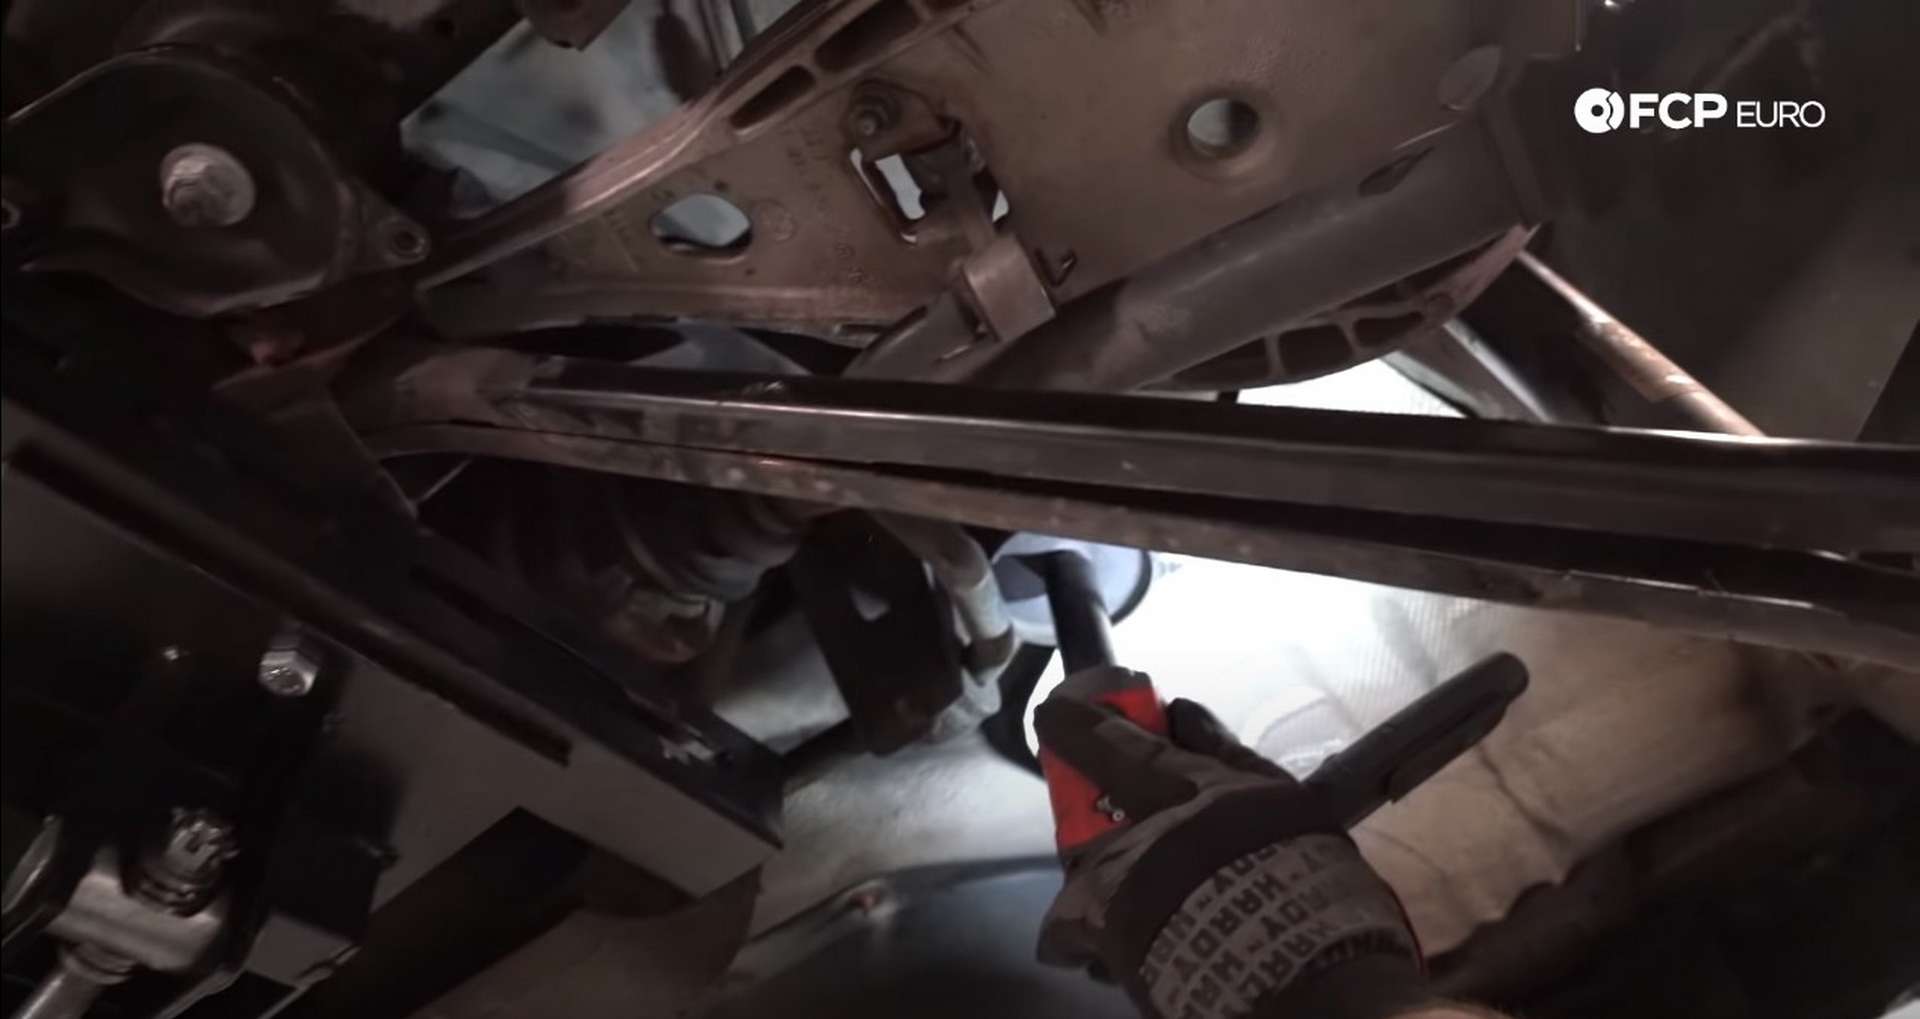
Just forward of the wheel well is a v-shaped chassis brace that covers the exhaust. Use a 16mm socket to remove the three bolts.
Just farther forward on the chassis from the v-shaped brace are two stiffening braces. Use a 16mm socket to remove the eight bolts for these two plates.
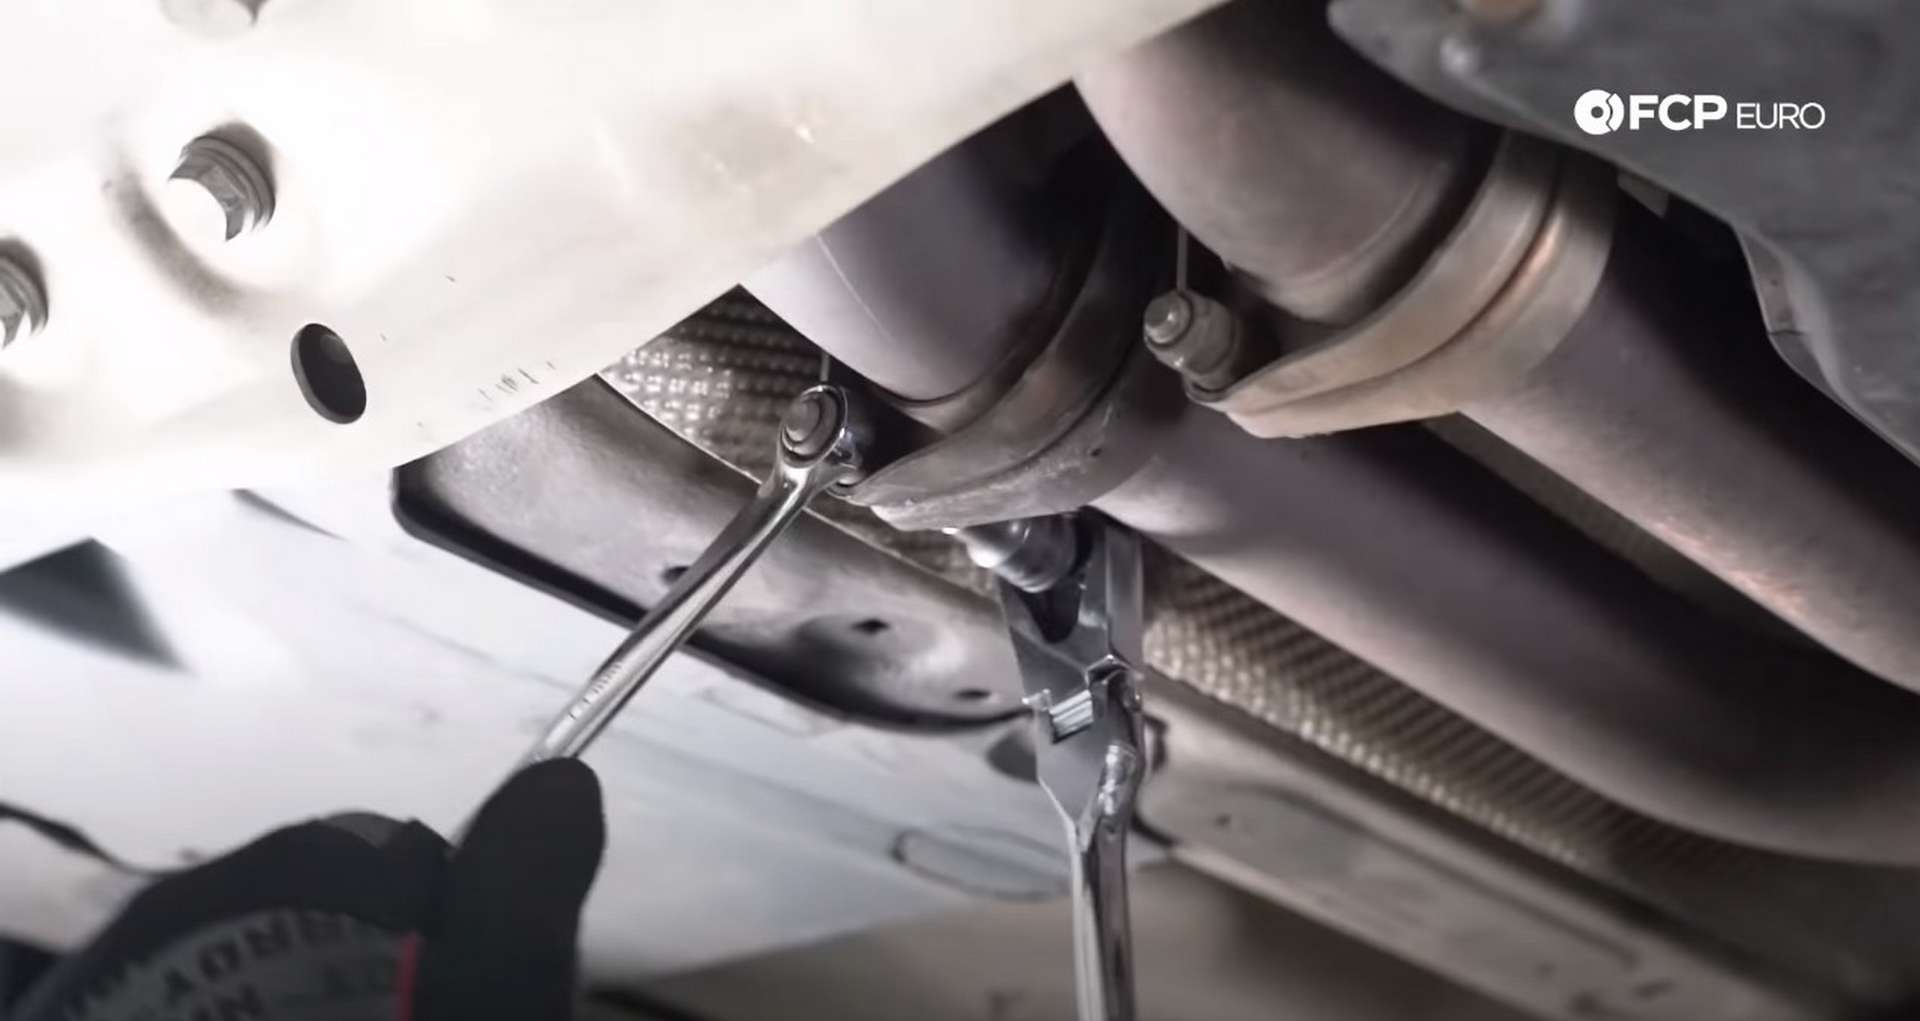
Then, unbolt the rear section of the exhaust from the forward section at whichever junction has the cleanest hardware. Use a 14mm wrench for the exhaust nuts and an E12 socket to counter-hold the bolt.
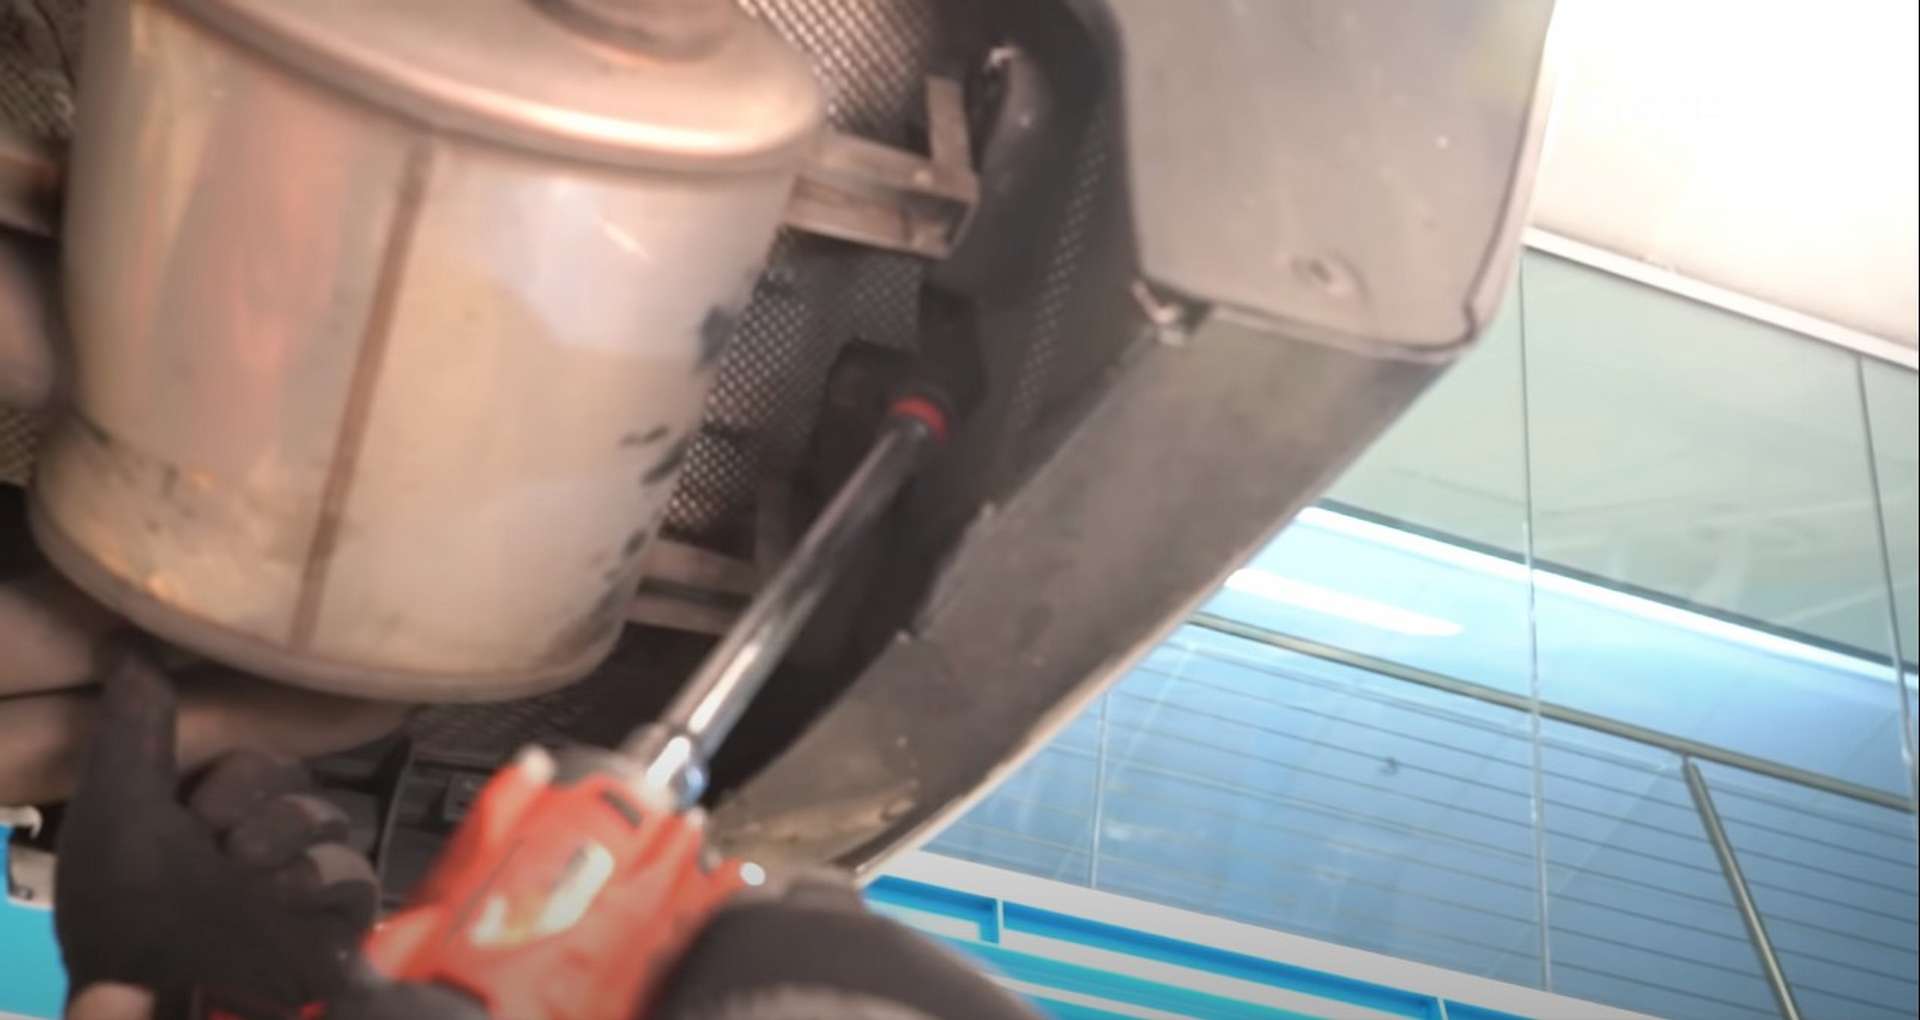
Next, head to the back of the car and use a 12mm socket to remove the six bolts from the three exhaust hanger brackets. Support the exhaust with a jack or a jack stand as it will fall out of the car once you unbolt the hangers.
Step 4: Remove various shields and wiring
On either side of the exhaust at the back of the car are two plastic splash shields. Each shield has three 8mm bolts and three pop rivets that secure it to the car. The shield wraps upward into the wheel well, mounted by the third pop rivet. Be careful when removing the shields from the vehicle. Dirt and debris may have gotten trapped in the shielding.
At the front of each rear wheel well are the connections for the wheel speed sensors. You can follow the wire on the trailing arm to the chassis where there will be a blue connector. Unplug the connector and then use a pick to open the wire, holding clips on the chassis.

The passenger's side will have two connections. Along with the blue wheel speed sensor connection, there is a green connection for the brake pad sensor. Disconnect them both and unclip them from the chassis.
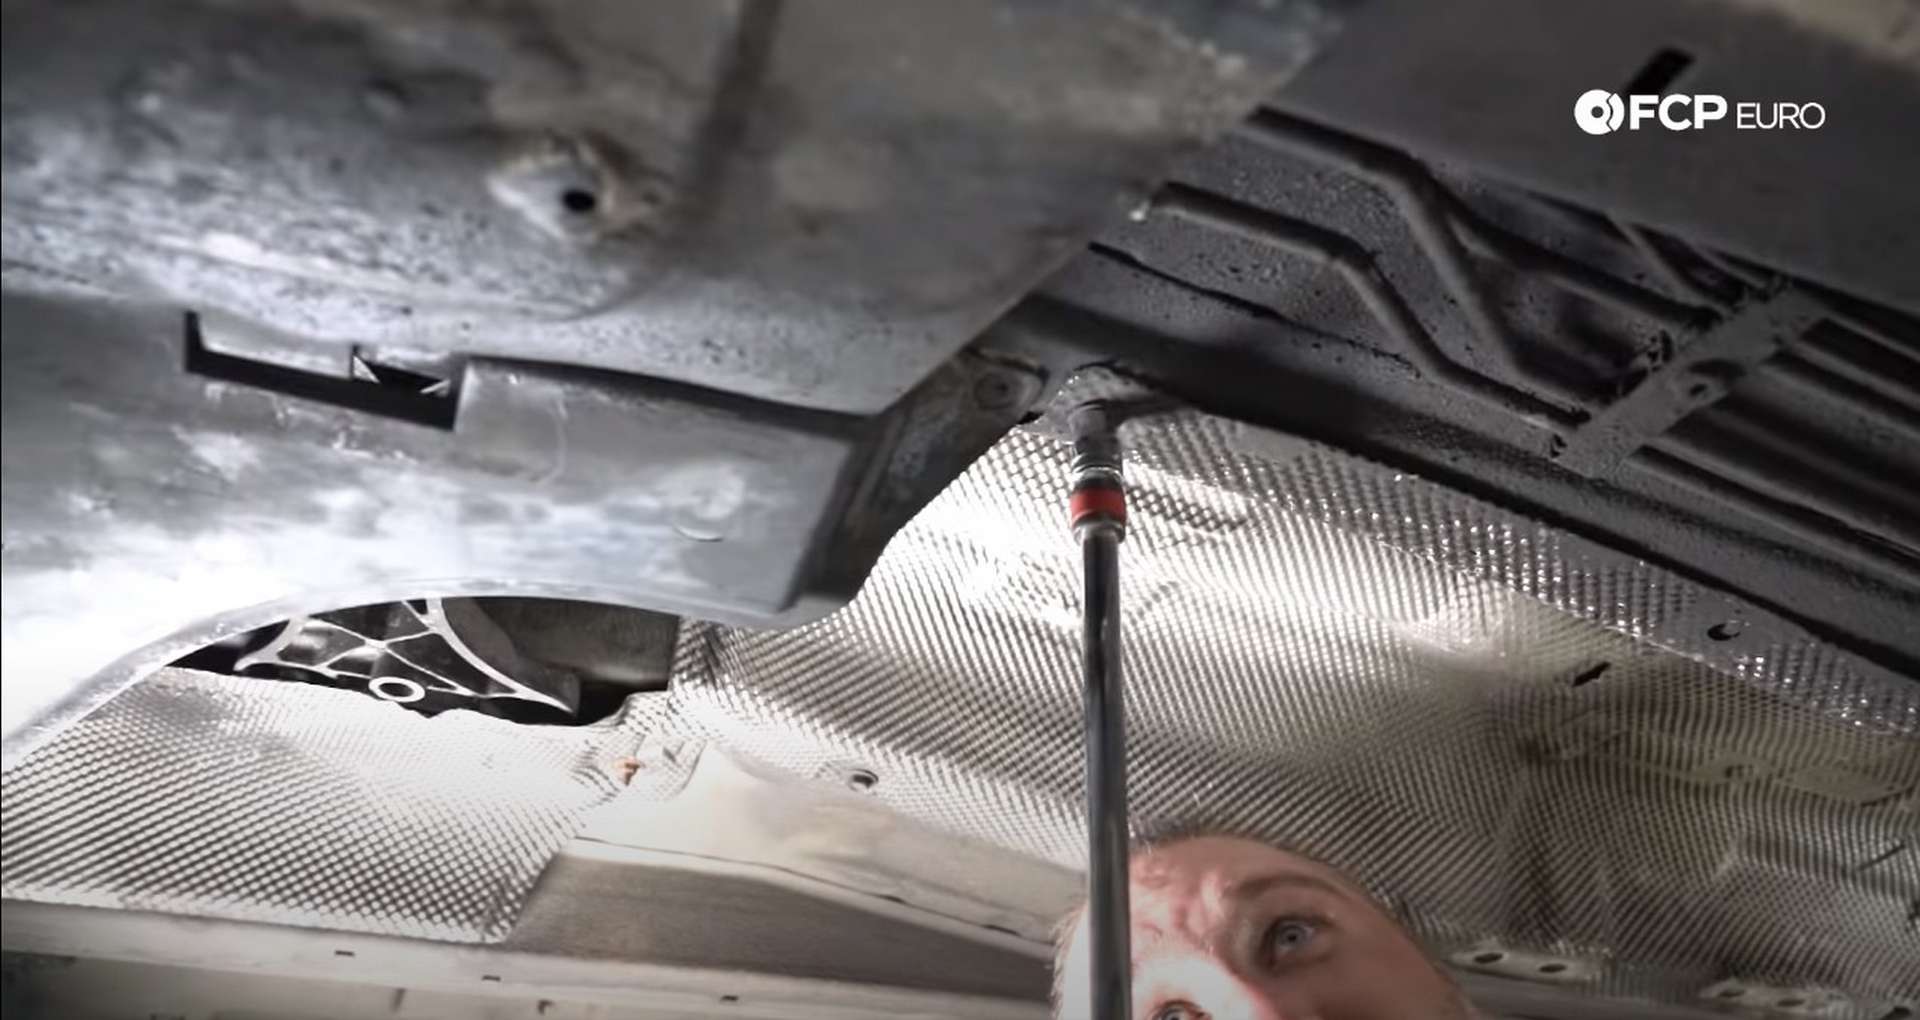
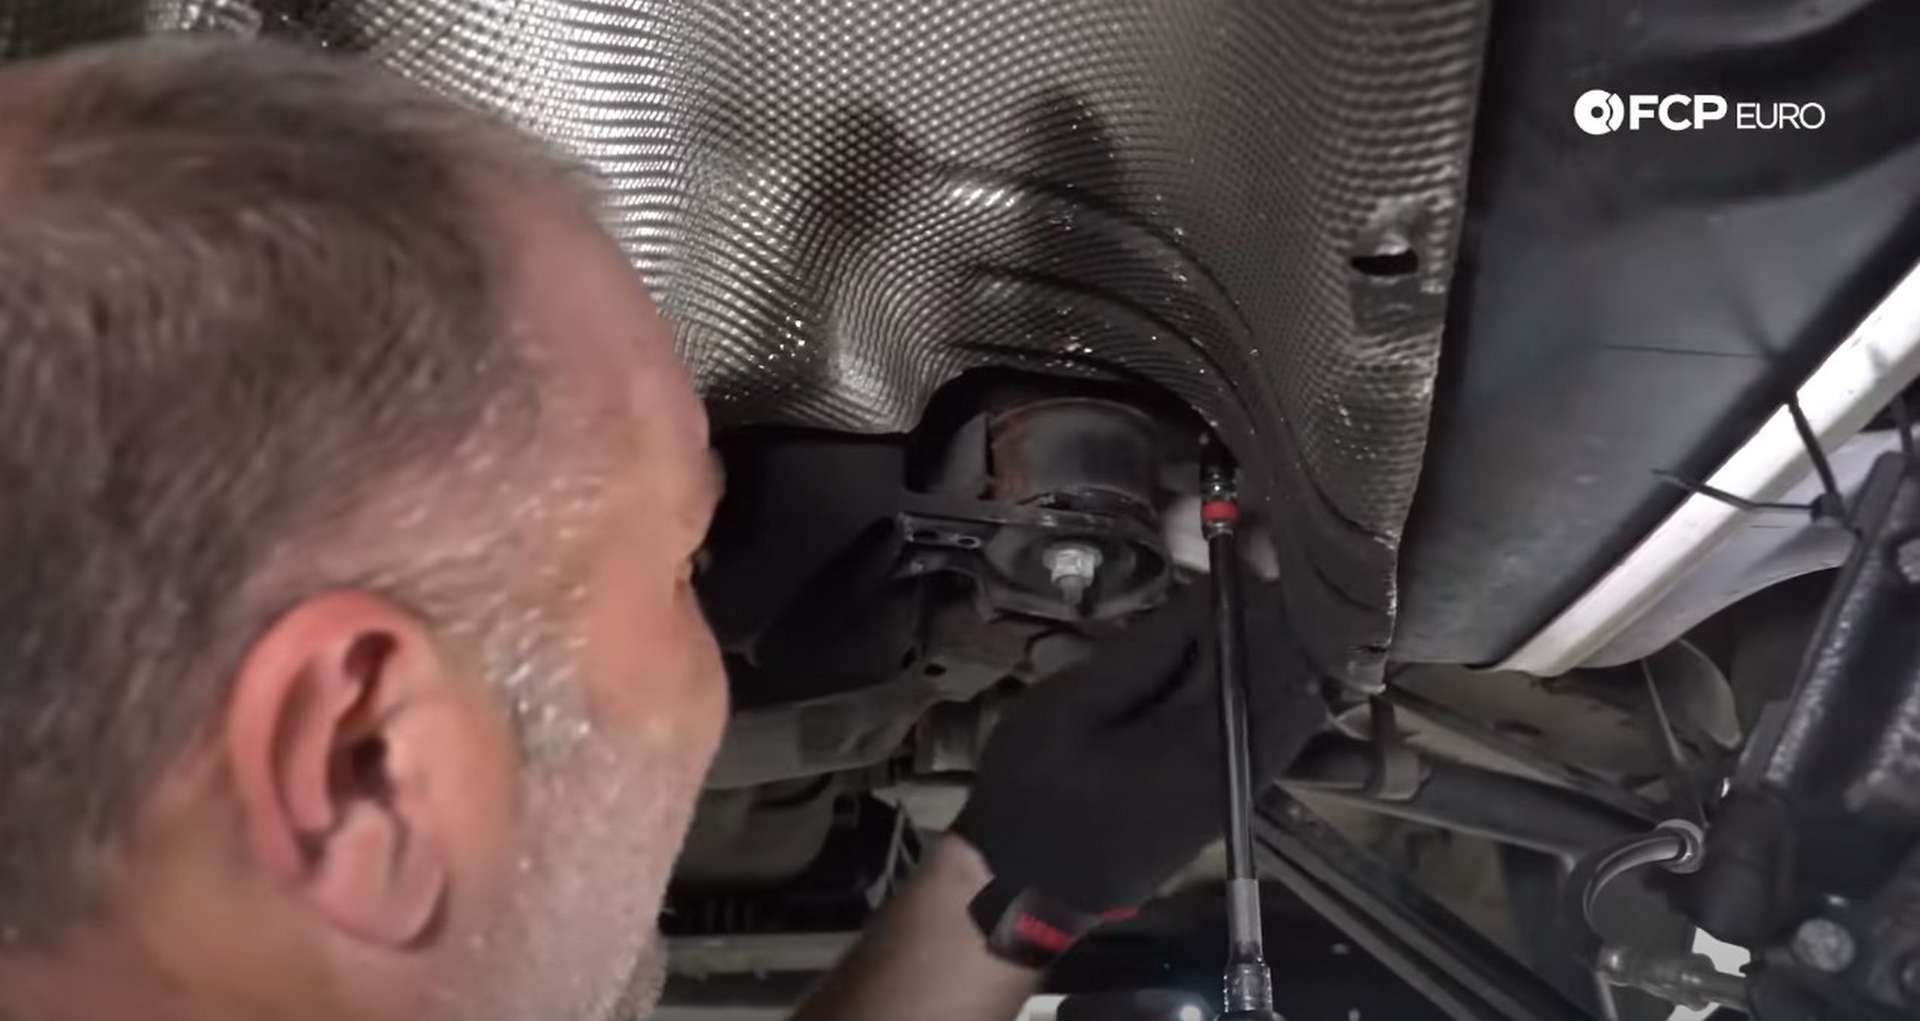
The exhaust heat shield that runs along the length of the driveshaft can be removed next. Use a 10mm socket to remove all its mounting bolts.
Step 5: Disconnect the driveshaft and parking brake cables
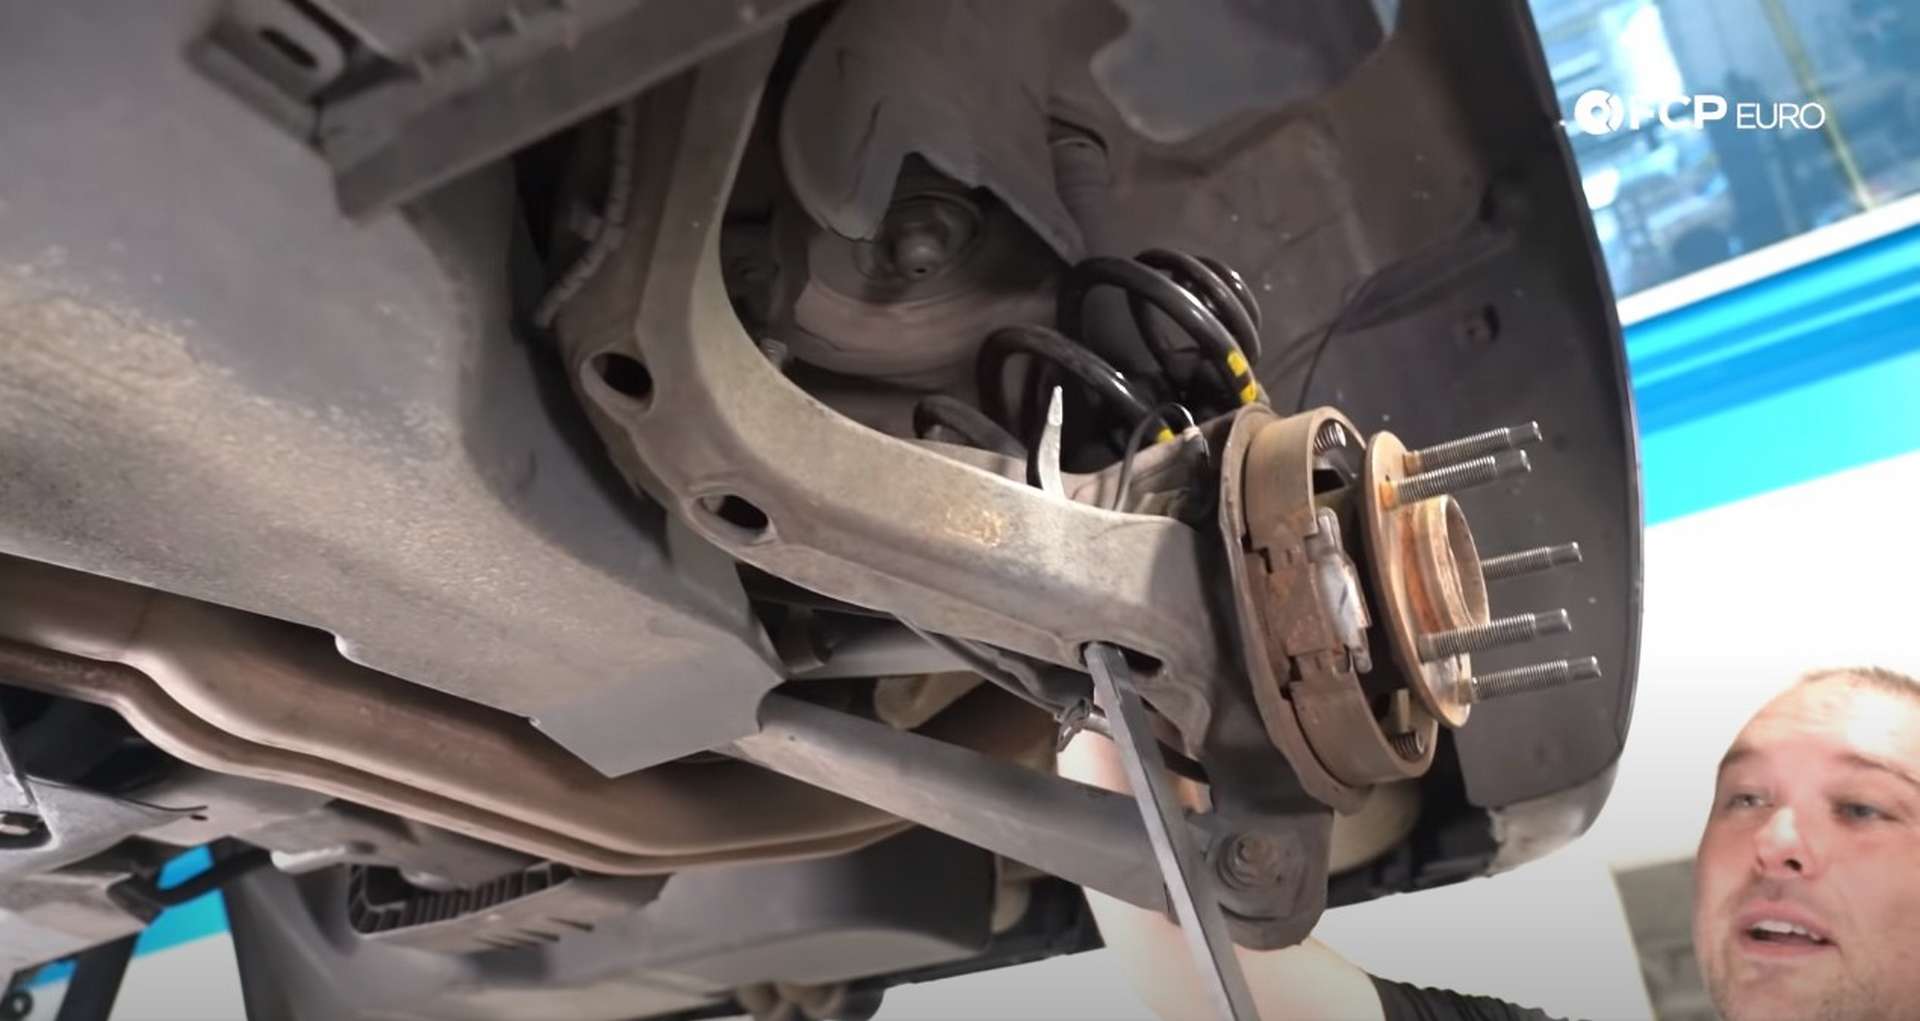
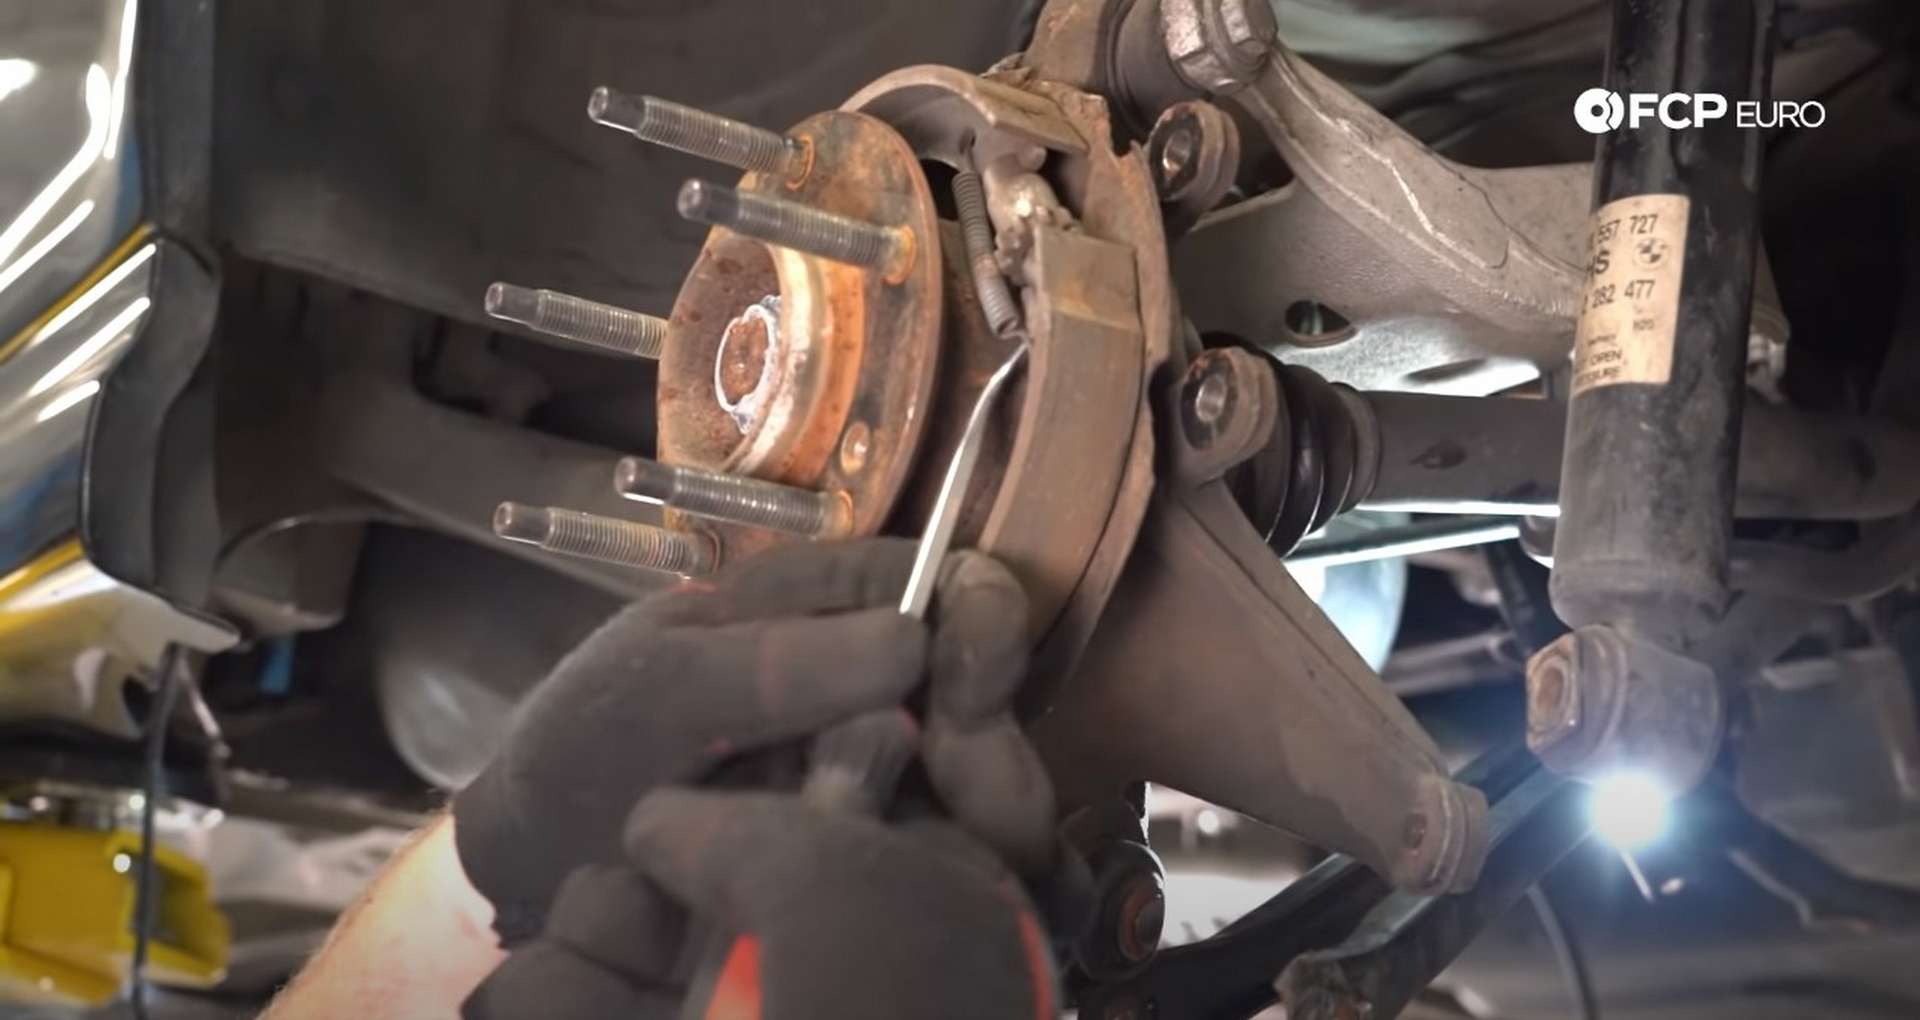
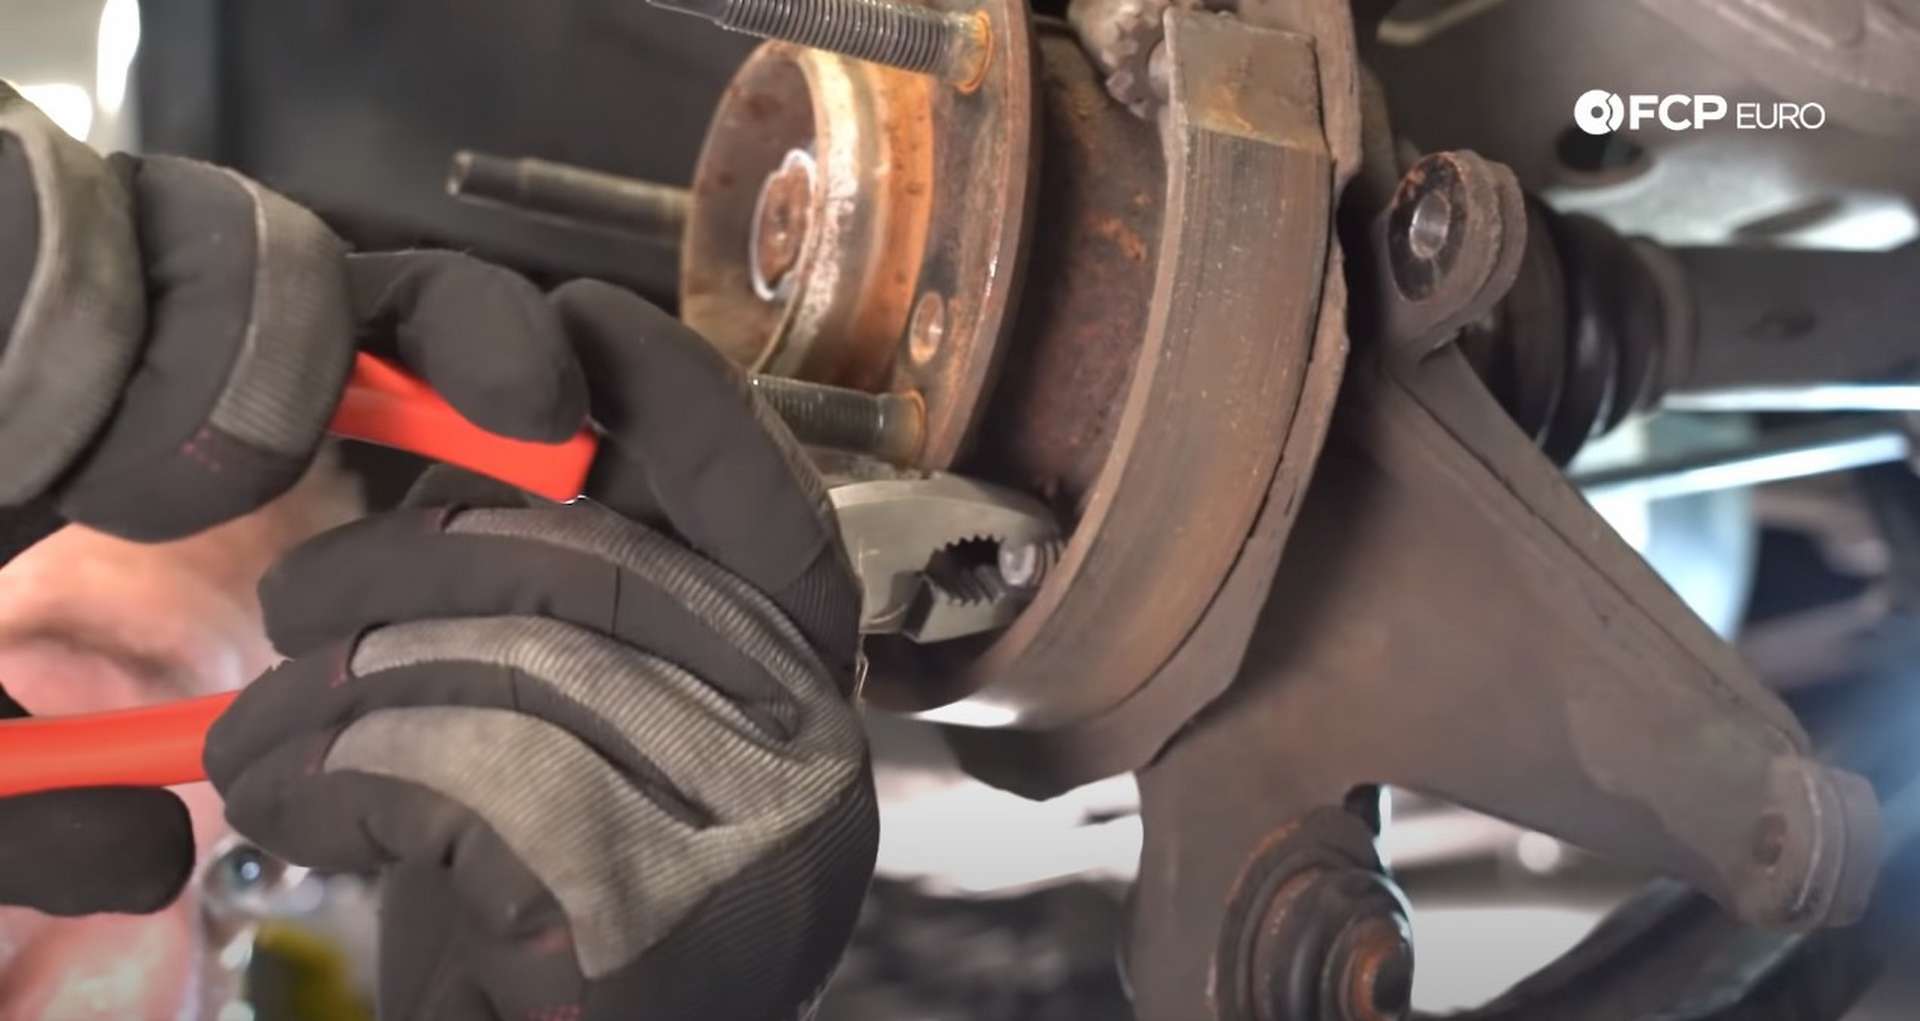
Using a pick tool, remove the springs for the parking brake shoes. Then, using pliers, grab the locks that secure the shoes to the backing plate, and rotate them 90°. Pull them out after rotating and remove the shoes.
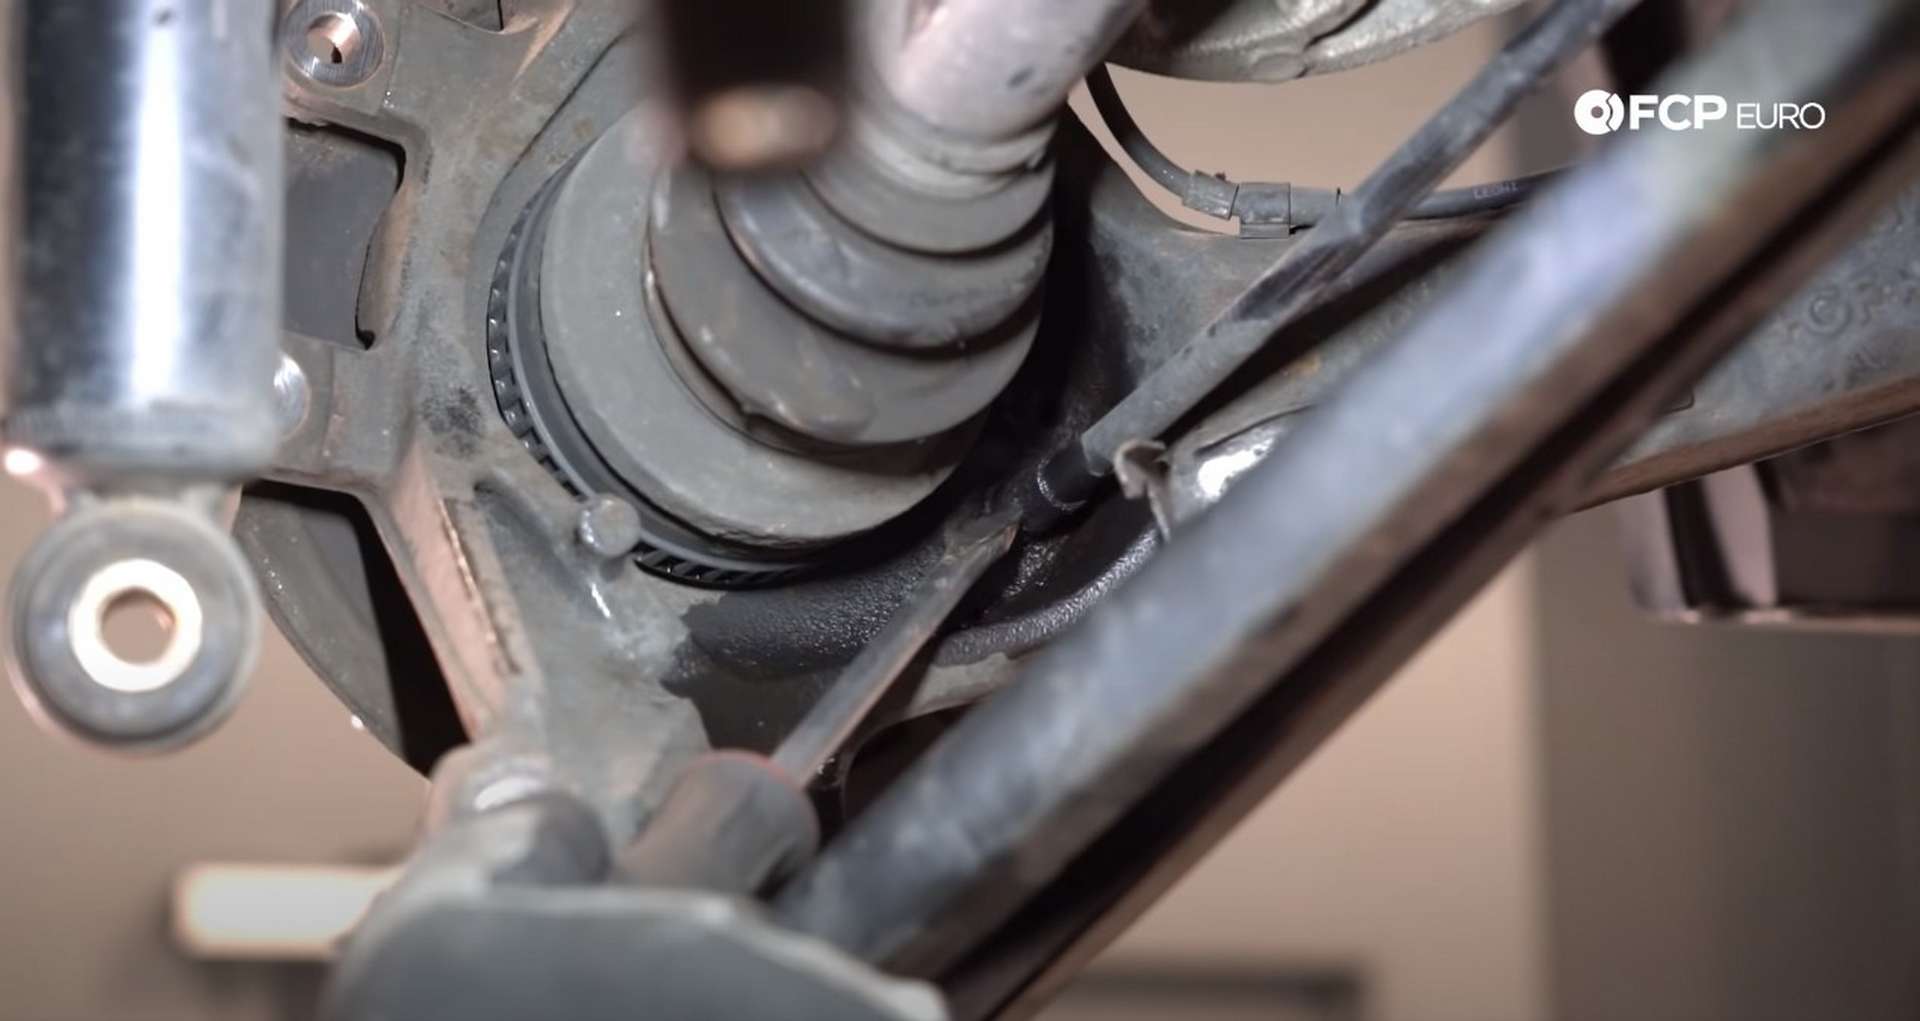
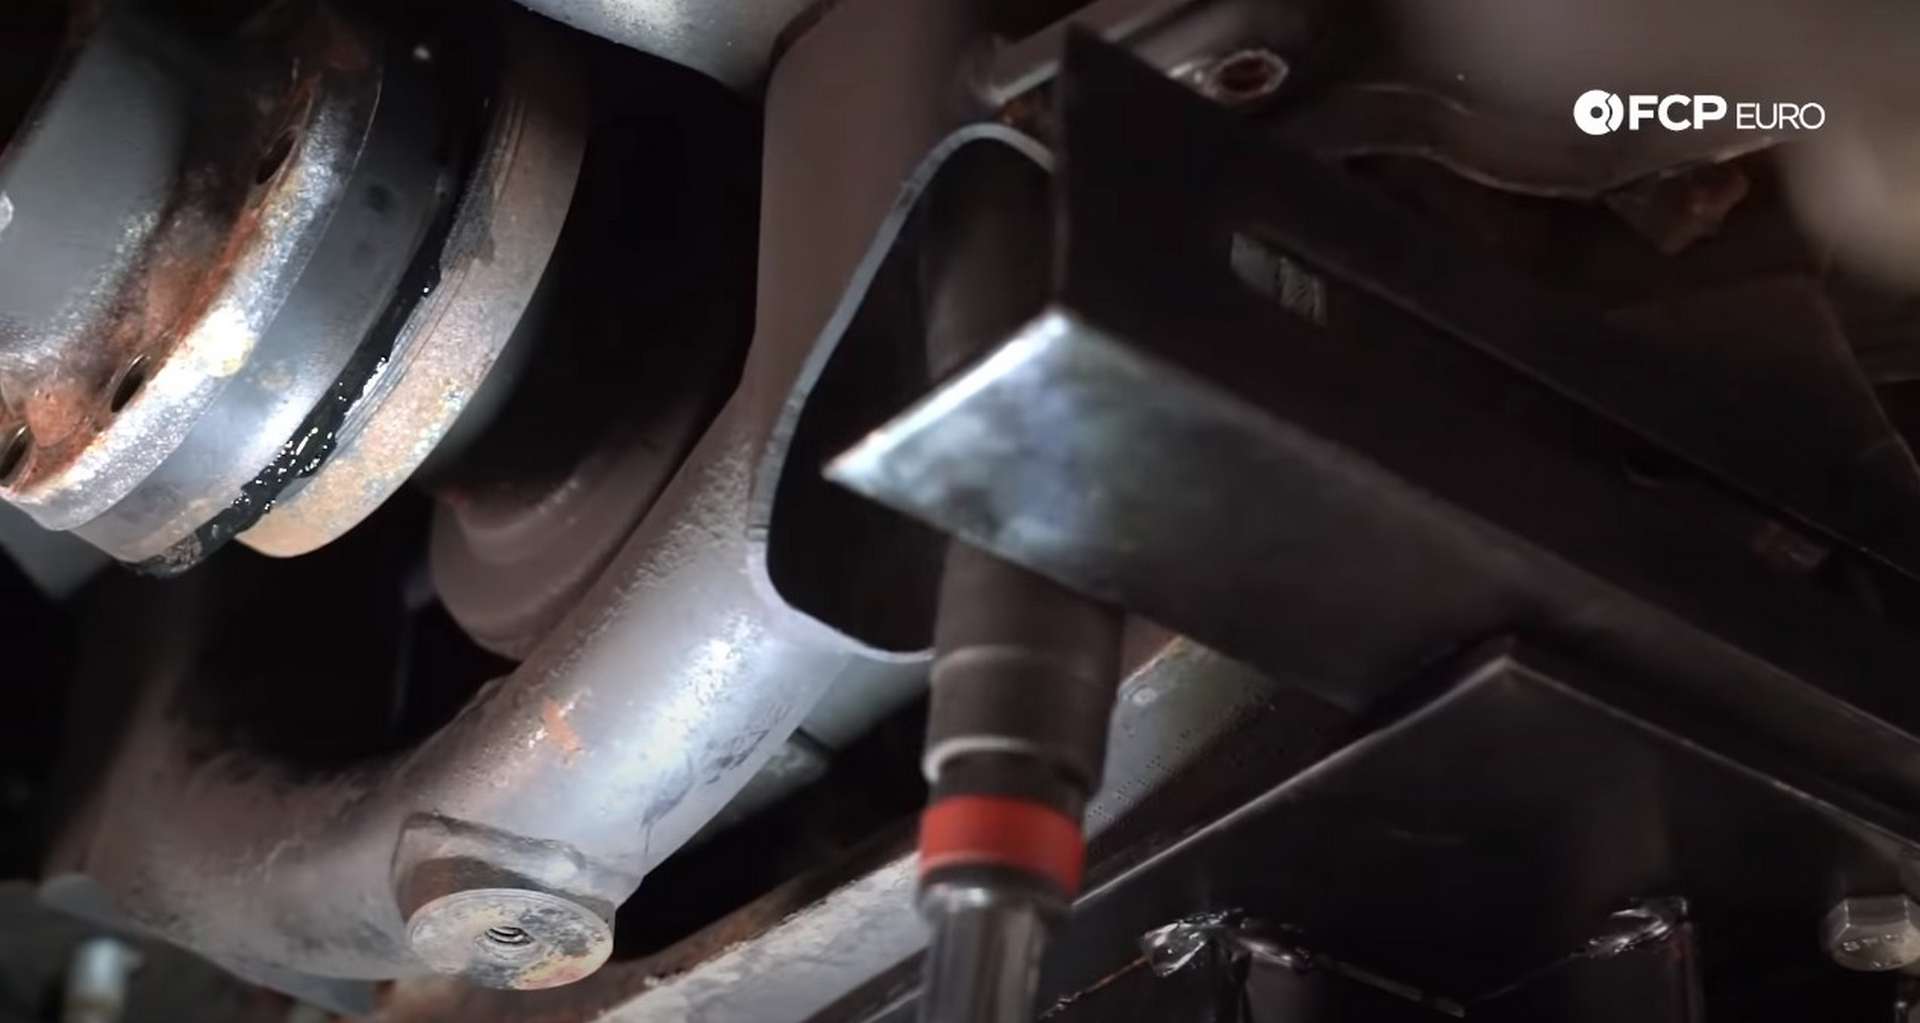
Head to the back of the knuckle and soak the parking brake cable in penetrant, where it meets the backing plate. Then, use a flathead screwdriver to rock the cable back and forth until it works its way out.
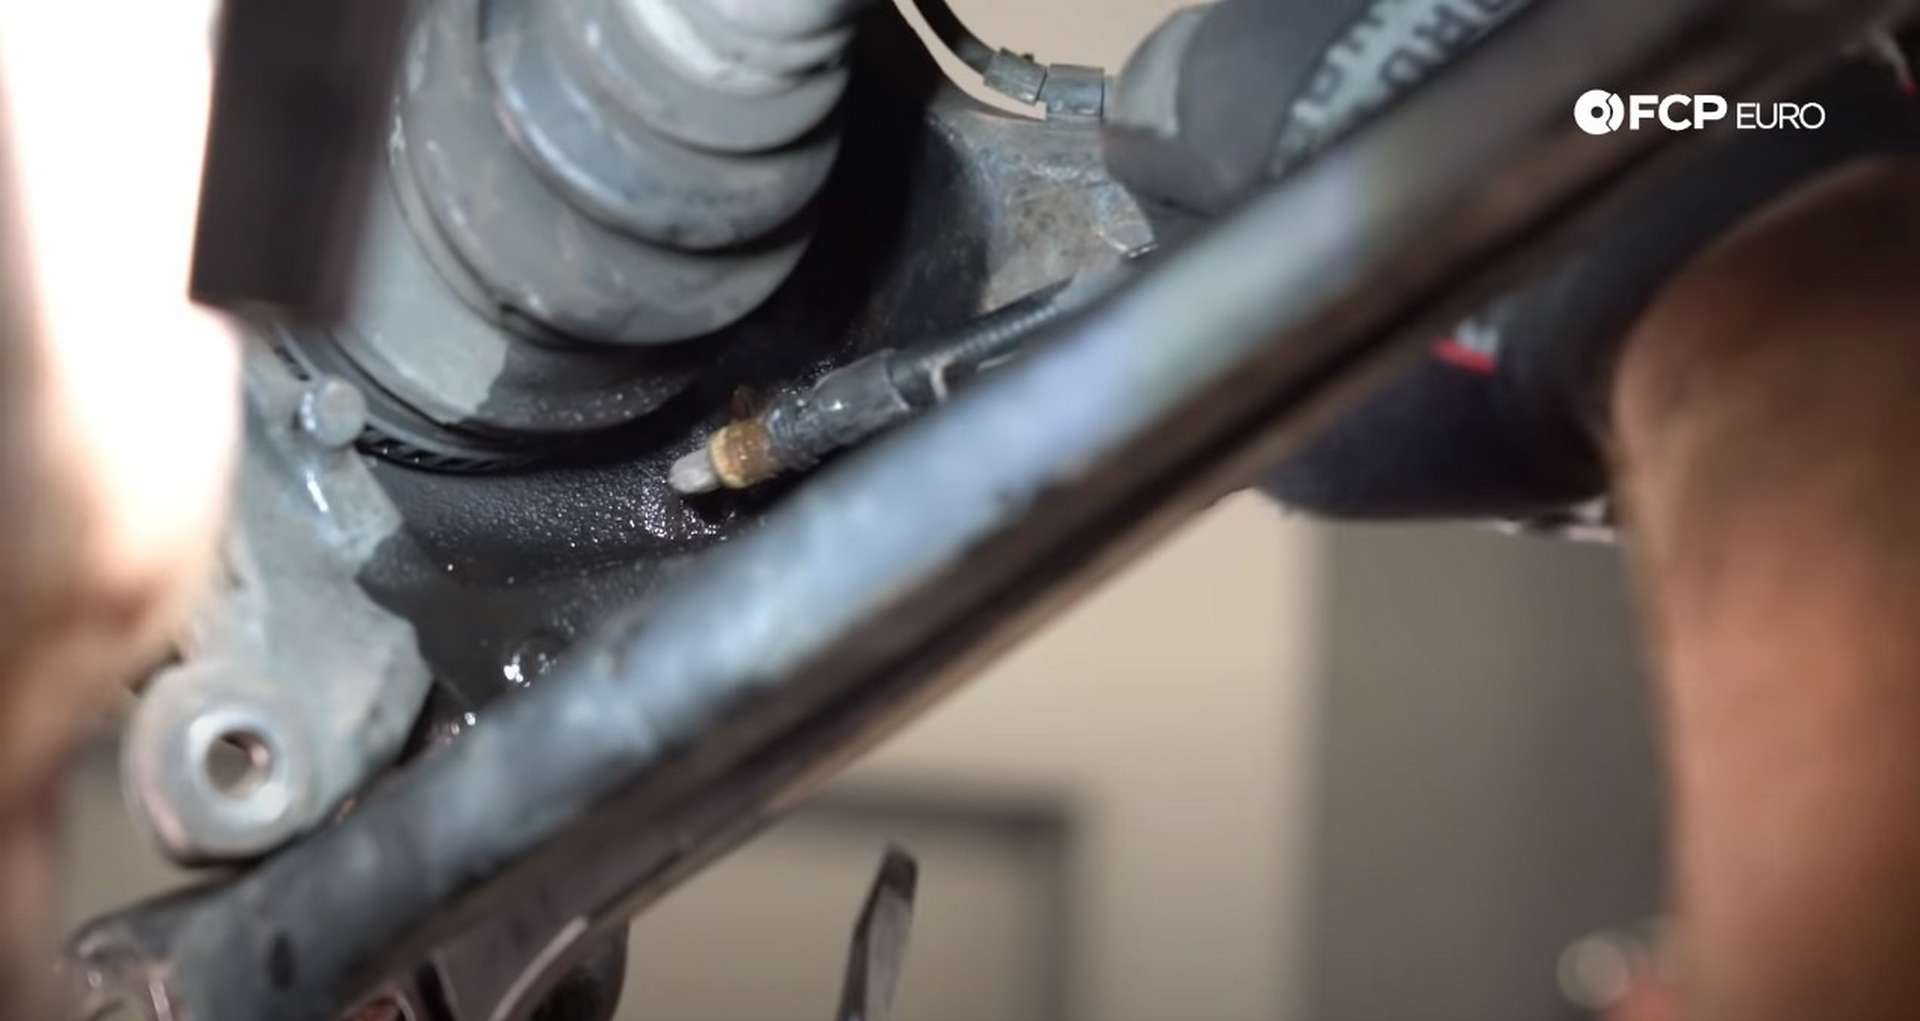
Next, grab the cable and pull it through and out of the subframe. Tuck the ends into the center support of the driveshaft instead of letting them hang down.
Then, use an E12 socket and remove the six bolts securing the driveshaft to the differential flange. There are two slots machined into the driveshaft flange to allow you to pry the driveshaft out of the differential flange. Use a flathead screwdriver to pry the driveshaft out of the differential.
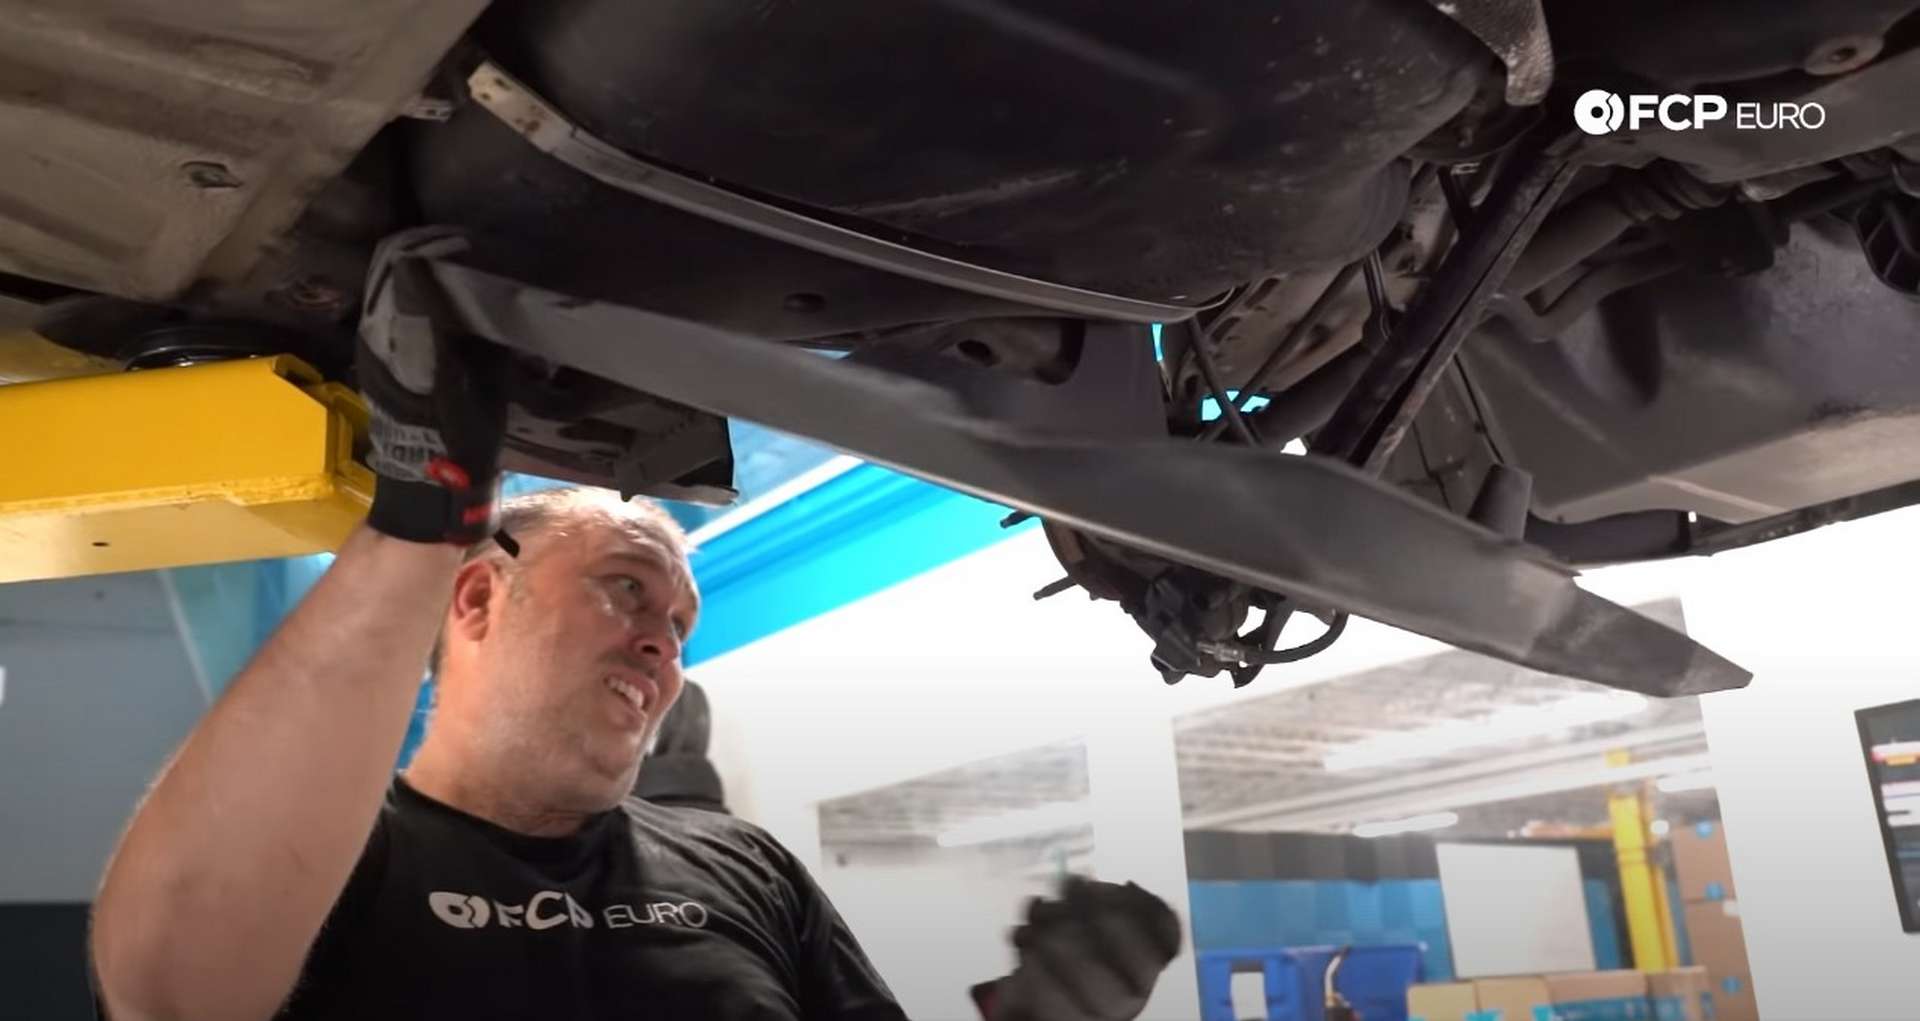
Step 6: Drop the subframe
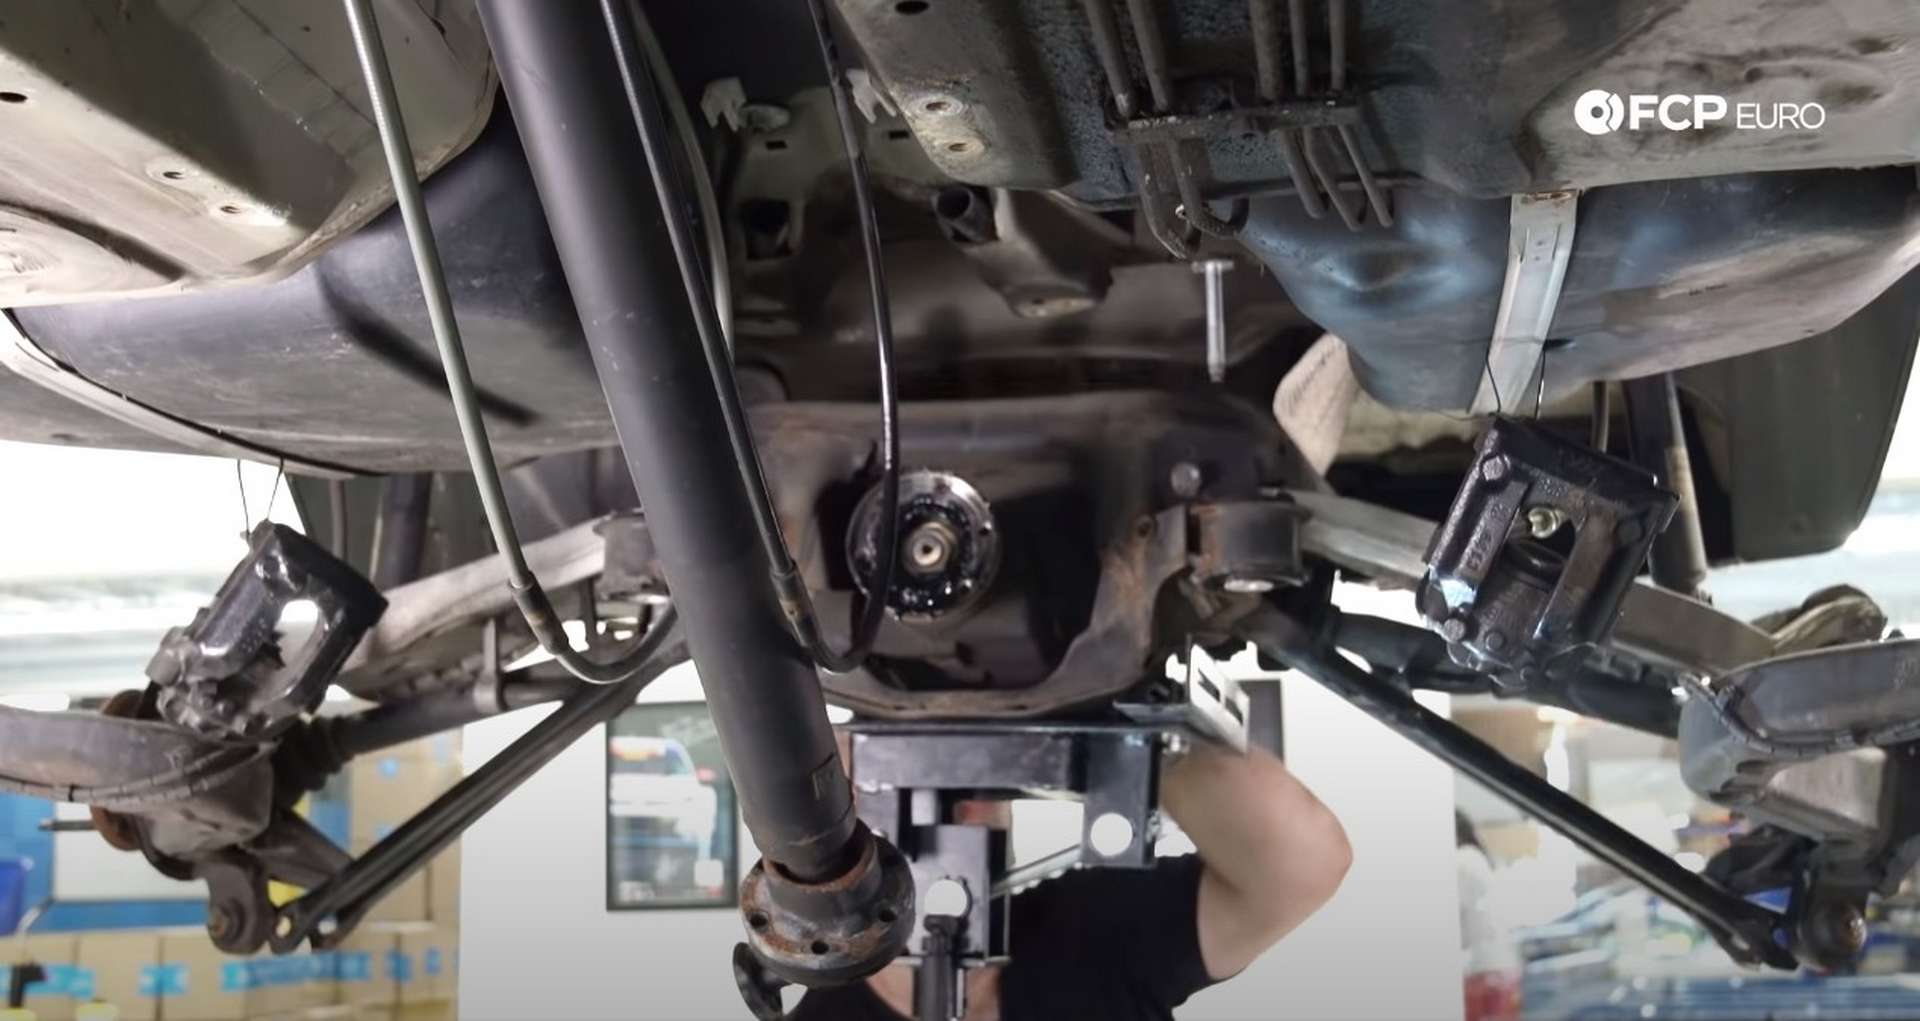
First, use an 18mm socket to remove the bolts mounting the trailing arms to the car. There are three bolts per side. After the bolts are loose, support the center of the subframe with a jack.
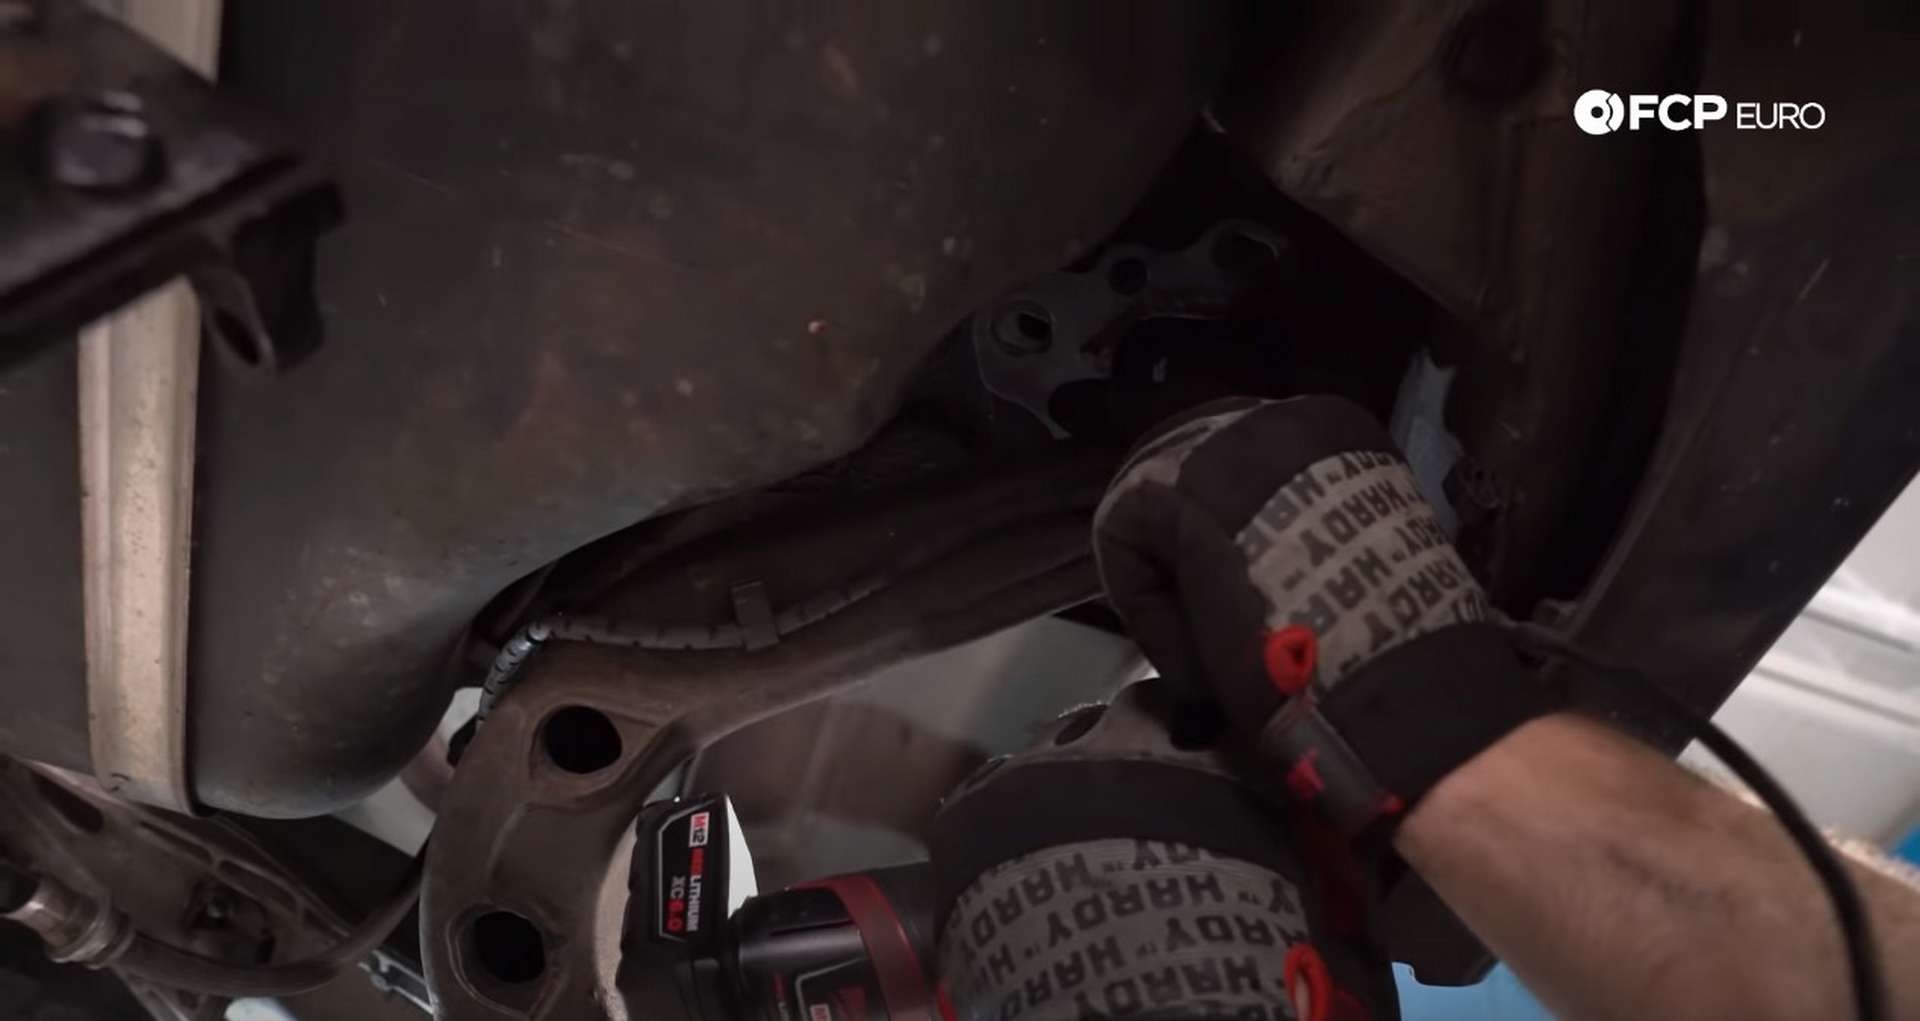
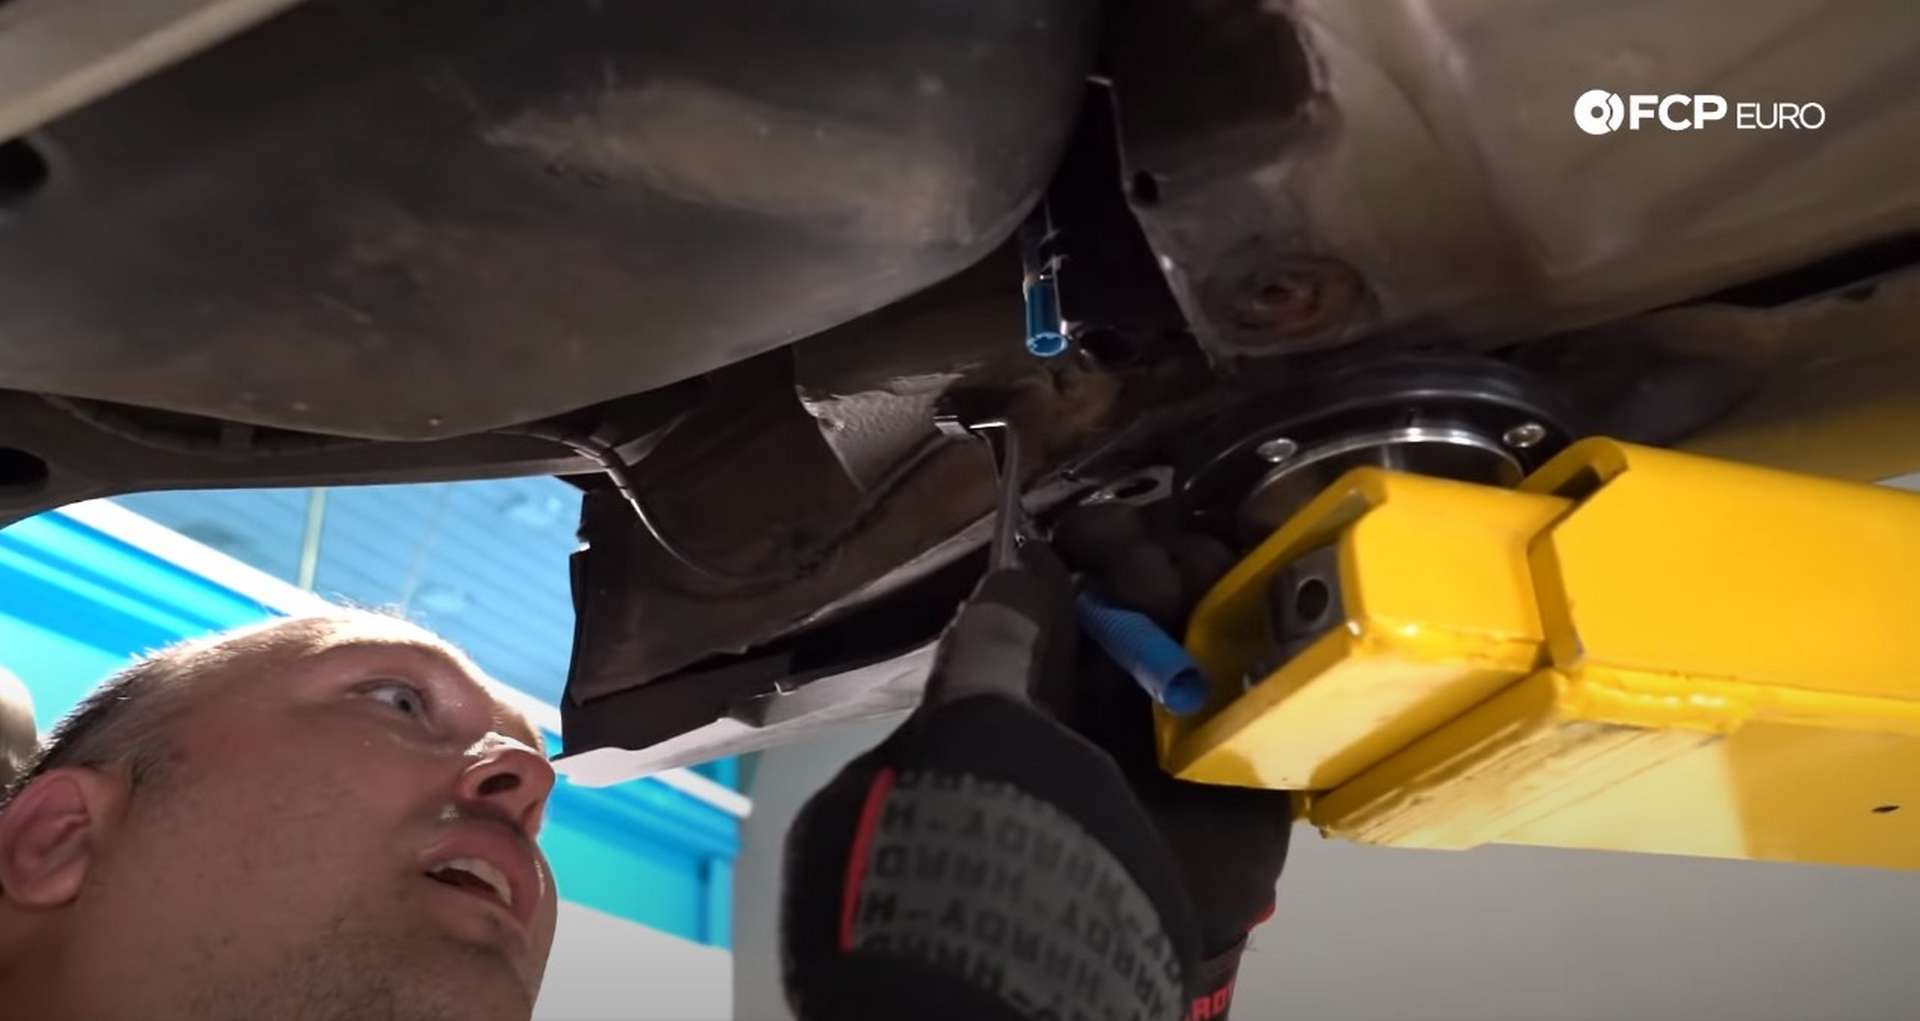
Next, use an 18mm socket to remove the two bolts that mount the subframe to the chassis. Then, use that same socket to remove the two nuts securing the subframe to the chassis. The bolts are at the rear of the subframe, and the nuts are towards the front.
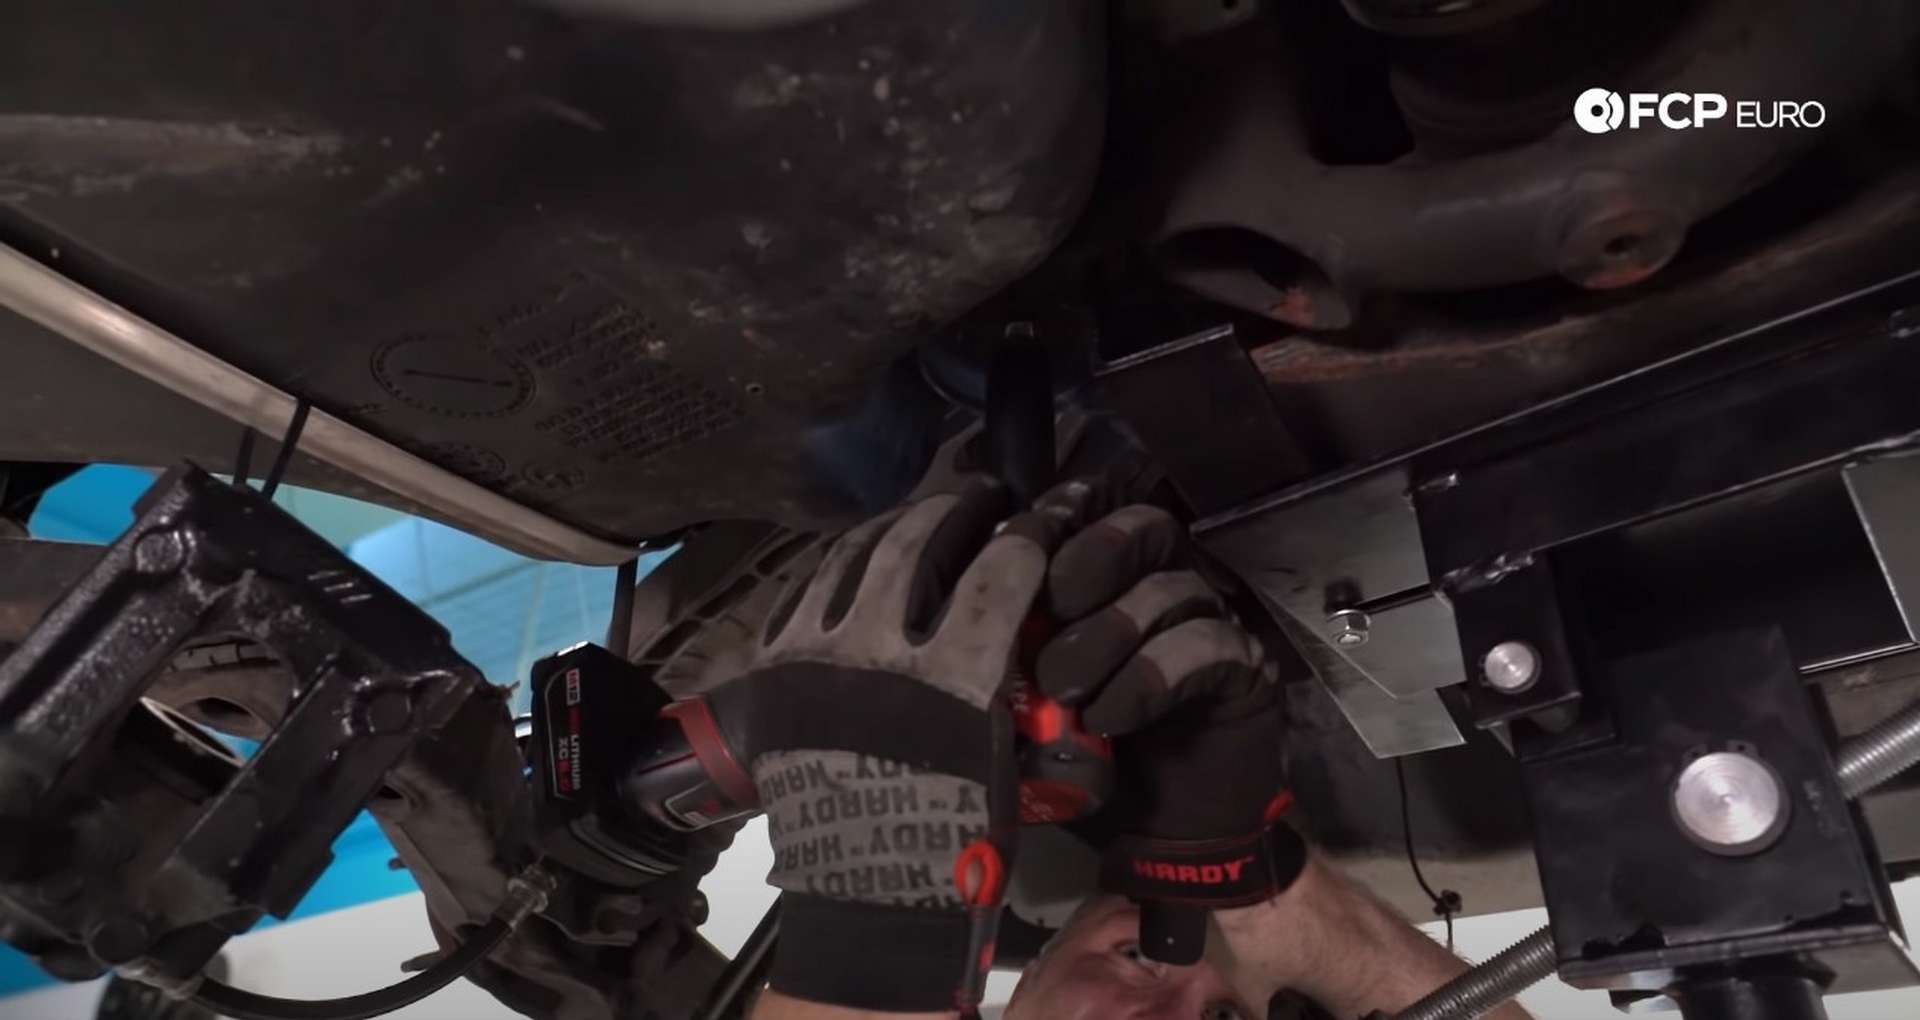
Finally, take a 13mm socket and remove the two self-taping fasteners securing the differential brace over the subframe.
Slowly lower the jack, allowing the subframe to come out. Go slowly and watch for various hangups from wiring and cables getting hooked. Pull the rear suspension assembly and subframe away from the car once it's lowered.
With everything removed from the rear, now is the time to check for any chassis cracks or rust forming. Concentrate on the trailing arm mounting points as well as all of the subframe mounting points. These are all common failure points on the E46 chassis and should be reinforced no matter the vehicle's driving duties.
Now that the subframe is out of the car, the bushings can be replaced and the chassis can be reinforced. Keep an eye out for Part 2 of this DIY, where we show you how to disassemble the rear suspension from the subframe and replace all of the bushings and mounts. If you're interested in more DIYs for your BMW, you can visit bmw.fcpeuro.com and subscribe to our YouTube channel.


