Many people seem down on the Nivomat dampener, however when working properly they do an excellent job at keeping everything level on the back of an AWD Volvo.
The idea behind the shock is the force of the road pushing back against the shock helps it 'pump up' and reach its specified level. If the rear of the car or just one side is sagging or seems to lose height faster then the other side, there is a good chance that you need to replace the Nivomats.
If you are unsure what shock you have...
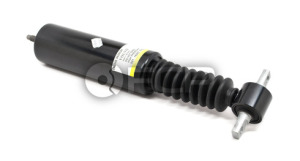
The Nivomat comes in a few different varieties. There are shocks marked '5' '6' & '7'. The ones marked 5 are probably not for your car. The number 5 Nivomat is for a Euro spec v70R. This means its meant to have lowering springs on it and should be paired with a proper set of springs before installing. 6 is found most often on the V70R and V70 AWD models. The tallest number 7 unit is found on the XC line of wagons and helps give it the ample ground clearance it should have. If you are unsure of what shock you have currently, a sticker can be found on the shock body itself. The ending number on the part i.e. Volvo Shock Absorber Rear Nivomat (S70 V70 AWD) - Marked "6" - Genuine Volvo 8626026.
While there are some guides out there for replacing these shocks with non load-leveling standard ones, the springs need to be changed as well and the ride will not be as taut. Nivomats come down in price considerably and we all know that sometimes there is nothing like the original.
To replace this these shocks is a pretty straight forward task but there are some fine points to be aware of.
Tools:
- 19mm deep socket
- 15mm deep socket
- Floor jack (x2)
- 10-12mm sockets
- Penetrating oil
- Impact wrench
- Replacement shock bushings (may not be needed)
Replacement
First, remove the rear portions of the wooden "trunk deck." Lift the second section on the inside of the car. Then peel up the two side lobe shaped pieces. Next remove the 4 10mm bolts holding the rear section in place. When they are off the flat and lift-able piece should pull forward and out of the car. From here you will see two oval plates that cover the tops of the shocks and act as dust/sound barriers. Remove the one you plan to start with, you will now see the 19mm bolt holding in the top of the shock. From here you should spray the penetrating oil on it and let it soak for a little bit. When its ready loosen the bolt with your impact wrench. This is the end of the shock tube so it needs to be taken off without any intense twisting force if you intended to save it. There is a tab on the top for the Volvo strut removal tool, however it is difficult to reach another wrench in there as it is so recessed. The shock shouldn't go anywhere as the weight of the car is very much on it.
Second get the car up in the air. Take note of how long the new Nivomat is. You will need just about that much space under the rear arm of the suspension in order to fit the new unit. With the car in the air remove the two lower 15mm bolts attached to the bottom of the Nivomat.
Third, raise the rear arm up to where the shock can fit out of the bottom. It will no doubt resist a bit as the hole is just the right size and corrosion can build up on the tube making it larger. This part of the operation is a bit hairy and you want to take your time. The arm should move up pretty easily and get you on your way. Refitting is the opposite of removal. I found it easier to loosely fit the bottom nuts first, then I attached the top, and returned to the bottom to get it secure.
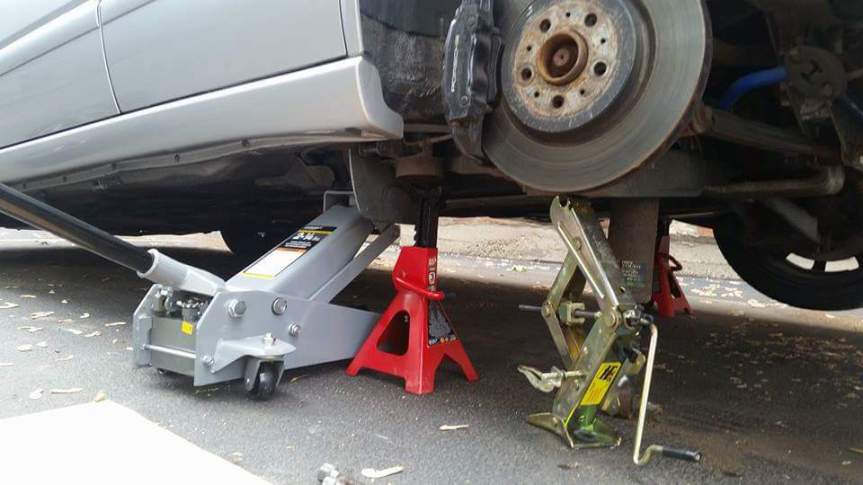 I used my oem jack to lift the arm up. I bent it in the process but it was easy to get back into shape.
To re-torque everything fit the bottom two bolts to 30ft lb, and the top nut to 18ft lb.