- 06/18/2020
- 7 Min Read
- By: Christian Schaefer
How To Install Coilovers On A BMW F30 (328i, 330i, 335i, & More)

The stock suspension on the BMW F30 chassis has been enjoyed on the street by many of its owners. However, those in search of more style have found the ride height to be higher than what they’d like, and have found coilover suspension is the best solution to this problem. They allow you to set the car as tall or low as you’d like while increasing the spring and damping rates, providing a firmer ride. Installing them yourself will be a long but rewarding experience.
The engineers in charge of suspension tuning at BMW have shown the world what a sports sedan should be for over half a century. Their continued success has led their company to become synonymous with sporty and well-refined driving experiences. For those of us who like to tinker, however, leaving the suspension alone may not be an option. Focus on high-performance driving, and you’ll see that the street-tuned suspension doesn’t suffice. To remedy the soft suspension, you won’t have to look hard to find the multitude of aftermarket suspension offerings. Whether you’re prepping for your next track day, or just looking for better fitment, a set of coil-over suspension is a smart choice.
BMW F30 Models & Years Applicable:
|
|
|
|
|
|
|
|
|
|
|
Why you would consider a coilover suspension on your BMW F30:
- Adjustable height
- Stiffer springs and damping
- Adjustable compression and rebound
The benefits of an aftermarket coilover suspension on your BMW F30 apply to those whose car is more than a daily driver. From a performance aspect, the stiffer springs, adjustable damping, and reduced size can help when setting up a car for a race track. Aftermarket coil-over suspension will be thinner than the stock struts allowing for wider wheels and stickier tires. The stiffer springs will help keep the car flat through the corners, and the increased damping will provide more feedback through the steering wheel.
Coilovers will also work in show car applications. There are individual companies out there that have designed their suspension with a maximum drop in ride height as their main selling point. They won’t be great for performance driving, but they’ll help your Rotiforms look hella-sick.
How long will it take to install the coilovers on my BMW F30?
The removal of the old suspension and installation of the new coilovers can be tedious on the BMW F30. There are quite a few nuts and bolts that need to be removed, and new hardware isn’t always the same size. Put aside a few hours, at the least, before starting the job.
Corrosion on the nuts and bolts under the car will significantly extend the length needed for the job. Conversely, the use of an impact wrench will help to make things quicker. Rust penetrant and a torch can also help in getting past corrosion.
What will it cost to install the coilovers on my BMW F30?
On top of whatever you end up paying for the coilovers themselves, add on another four hours of labor. Shops will charge around an hour per corner for the installation. You’ll also need an alignment afterward, regardless of who does the job.
With the alignment, the installation will total near $600.
Tools required to install coilovers on a BMW F30:
- 8mm Socket
- 10mm Socket
- 13mm Socket
- 14mm Socket
- 16mm Socket
- 17mm Socket
- 18mm Socket
- 21mm Socket
- 16mm Wrench
- 18mm Wrench
- 21mm Wrench
- E12 Torx Socket
- E18 Torx Socket
- T30 Torx bit
- CTA 4005
- 5mm Allen
- Ratchet Set
- Channellock Pliers
- Dead-blow Hammer
- Torque Wrench
- Flat-head Screwdriver
- Punch
Parts required to install coilovers on a BMW F30:
Your choice:
Steps required to install coilovers on a BMW F30:
Step 1: Jack up the car and remove the rear wheels
This step is open to some interpretation. Jack up a rear corner, the entire rear of the car or the whole car, and set it on jack stands if you have them. Once off the ground, remove the wheels with a 17mm socket.
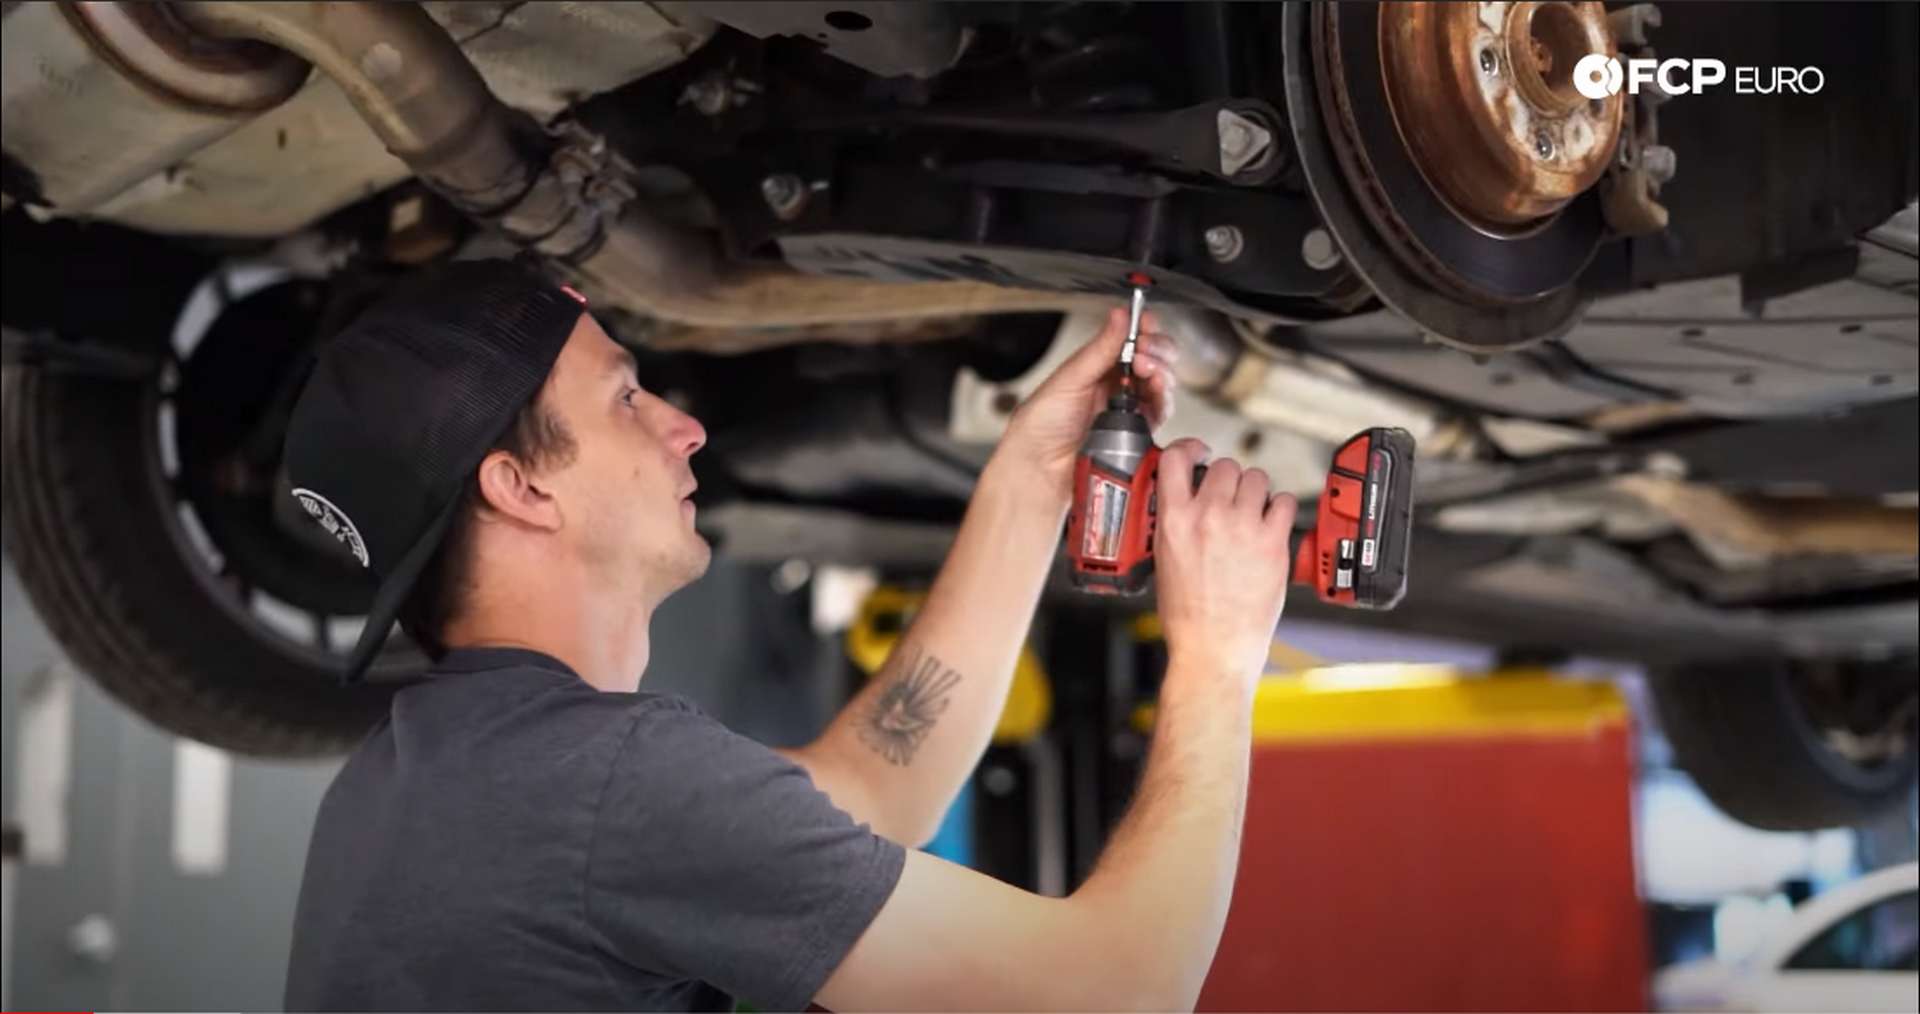
Before you can remove any of the suspension, the lower control arm cover needs to be removed. Use a ratchet and a deep 10mm socket to remove the four bolts used to mount the cover.
Step 2: Remove the knuckle bolt and lower shock mount bolt
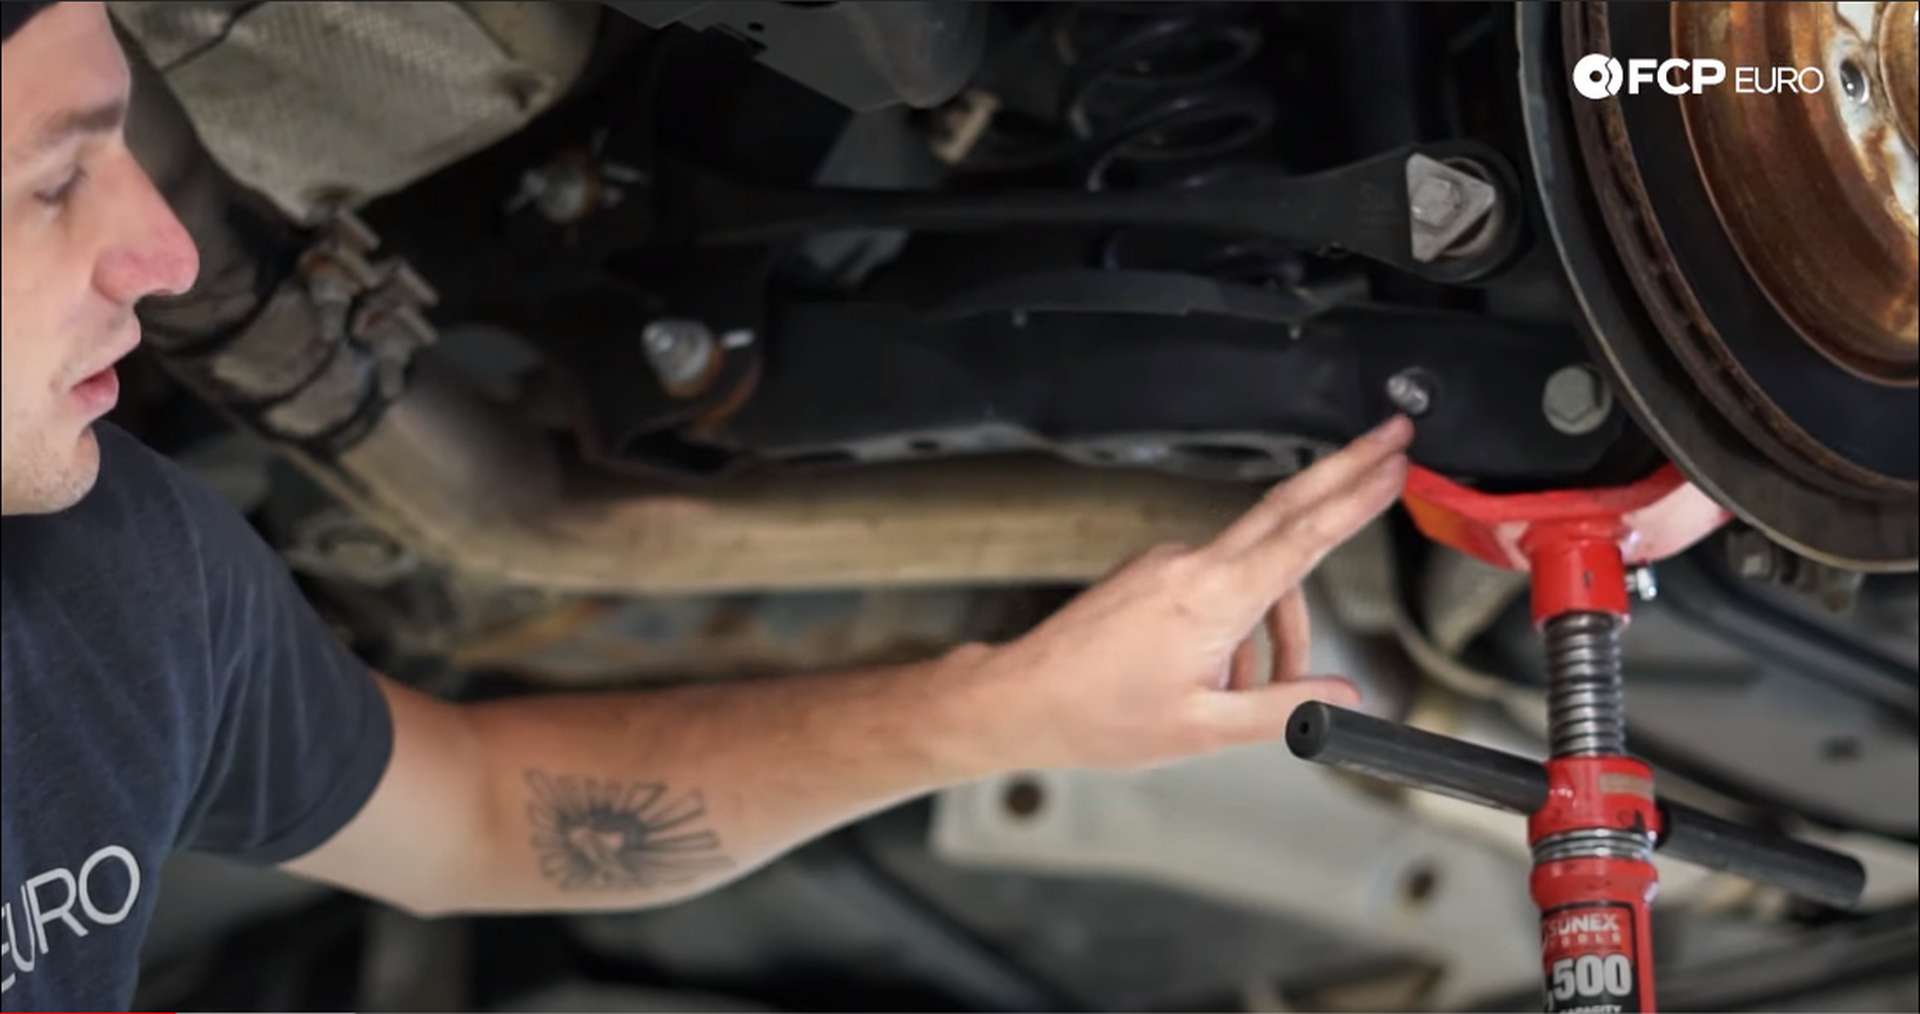
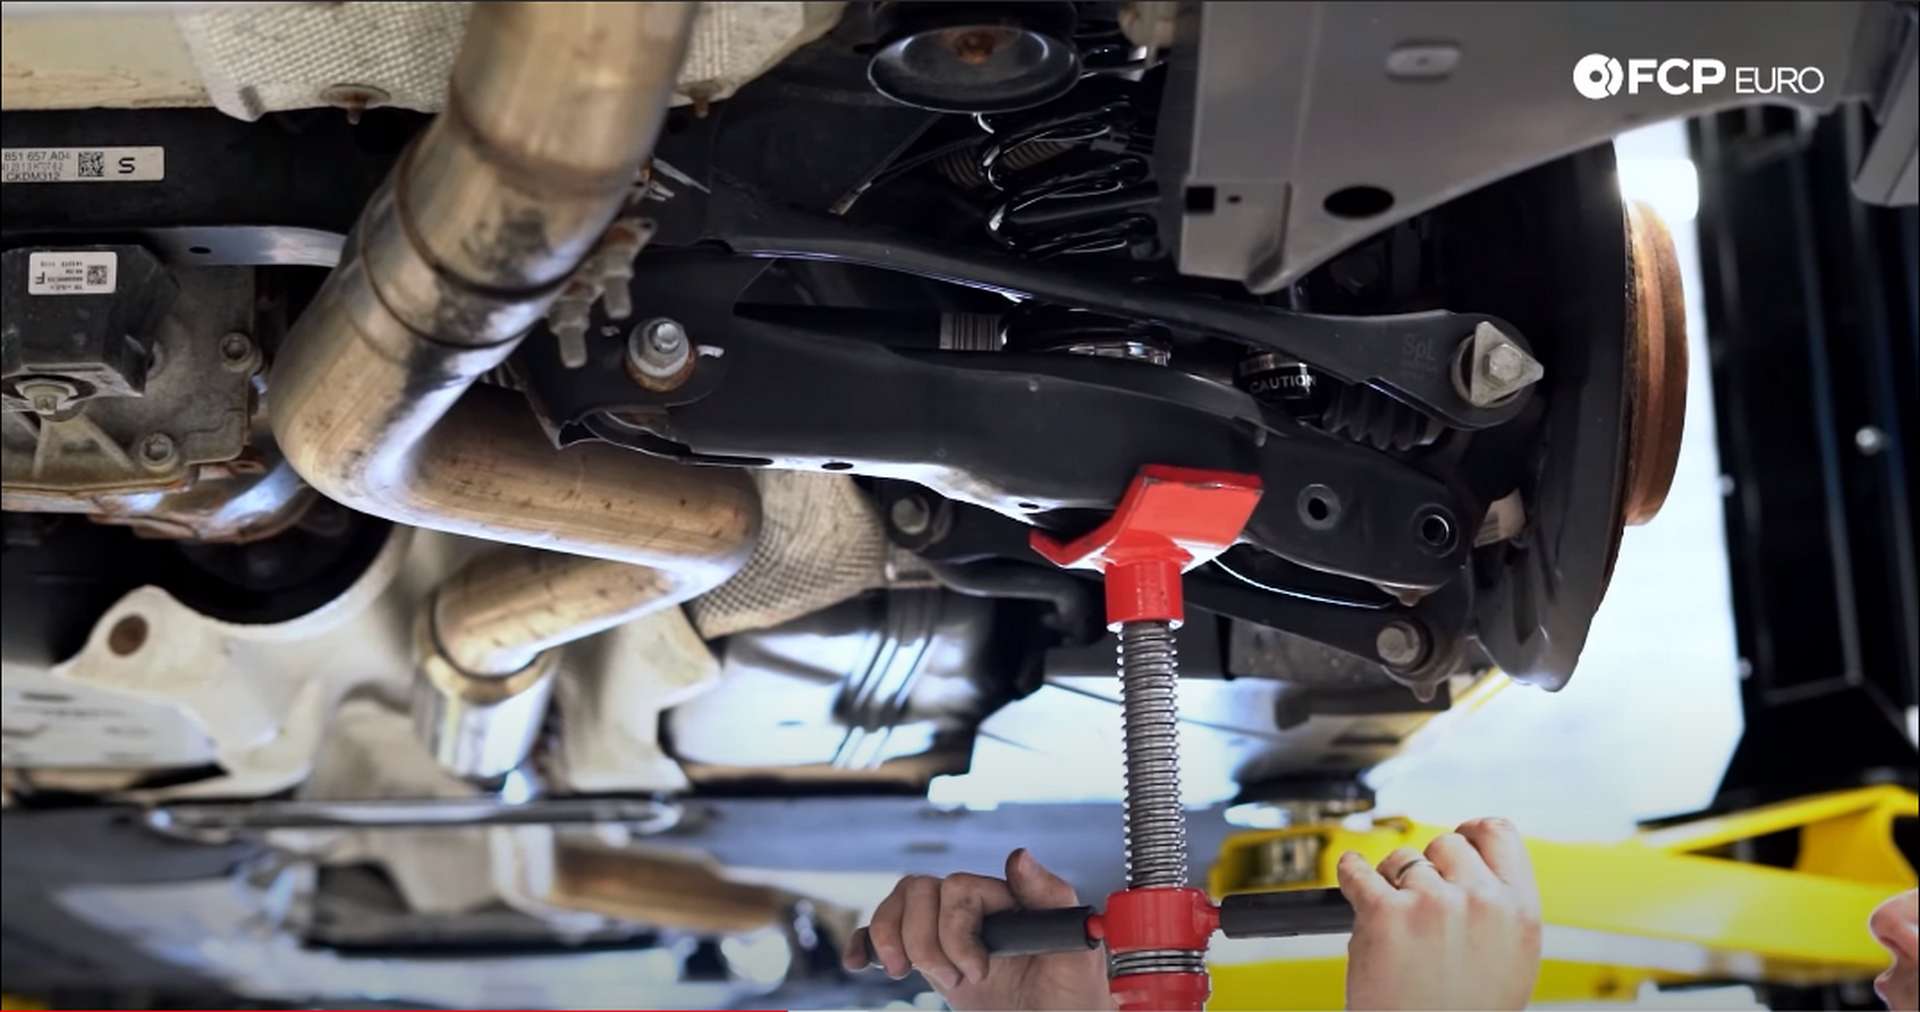
The outer two bolts on the rear lower control arm need to be removed to get the spring and shock out of the car. The spring is also putting tension on the arm, so it will need to be supported before unbolting anything.
Take your jack and place it under the control arm. Next, raise it up until it is putting pressure on the arm.
The suspension bolts can now be removed safely. The inner bolt used to support the shock needs an E18 socket to hold the head and a regular 18mm socket to remove the nut. Remember to put the bolt back in with the head facing towards the front of the car.
The outer bolt connects the control arm to the knuckle. Using a 21mm wrench, hold the head of the bolt while removing the nut with a 21mm socket. This bolt opposes the shock bolt. The head faces towards the back of the car.
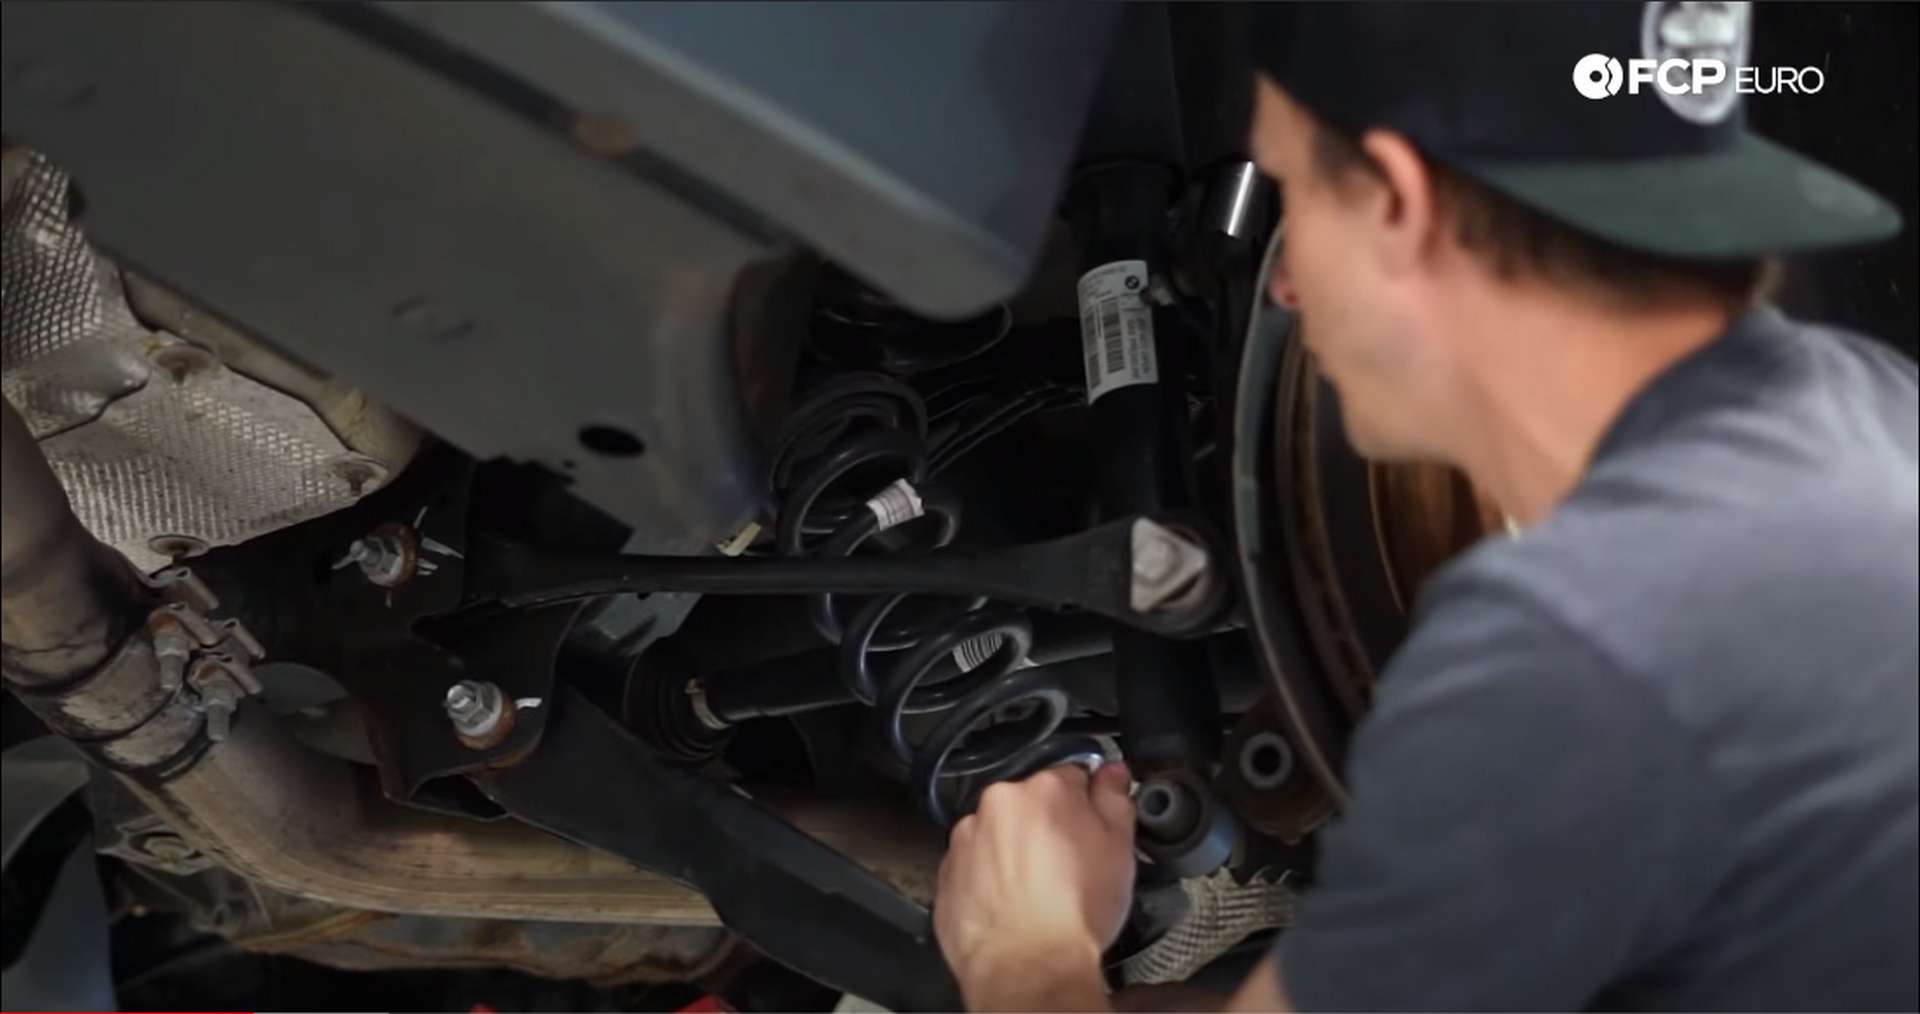
Step 3: Remove the spring and shock
With the bolts removed, slowly let the jack down. Next, push down on the arm and pull out the spring and its bottom rubber.
Three E12 bolts secure the shock mount into the body. Remove them and pull the entire shock assembly out of the car. Push the control arm down and out of the way to create space to remove the shock.
Now that the shock has been removed transfer the mount to the new strut. To get to the nut, pop off the white, plastic cap, using a flathead screwdriver. A single 16mm nut holds the shock into the mount.
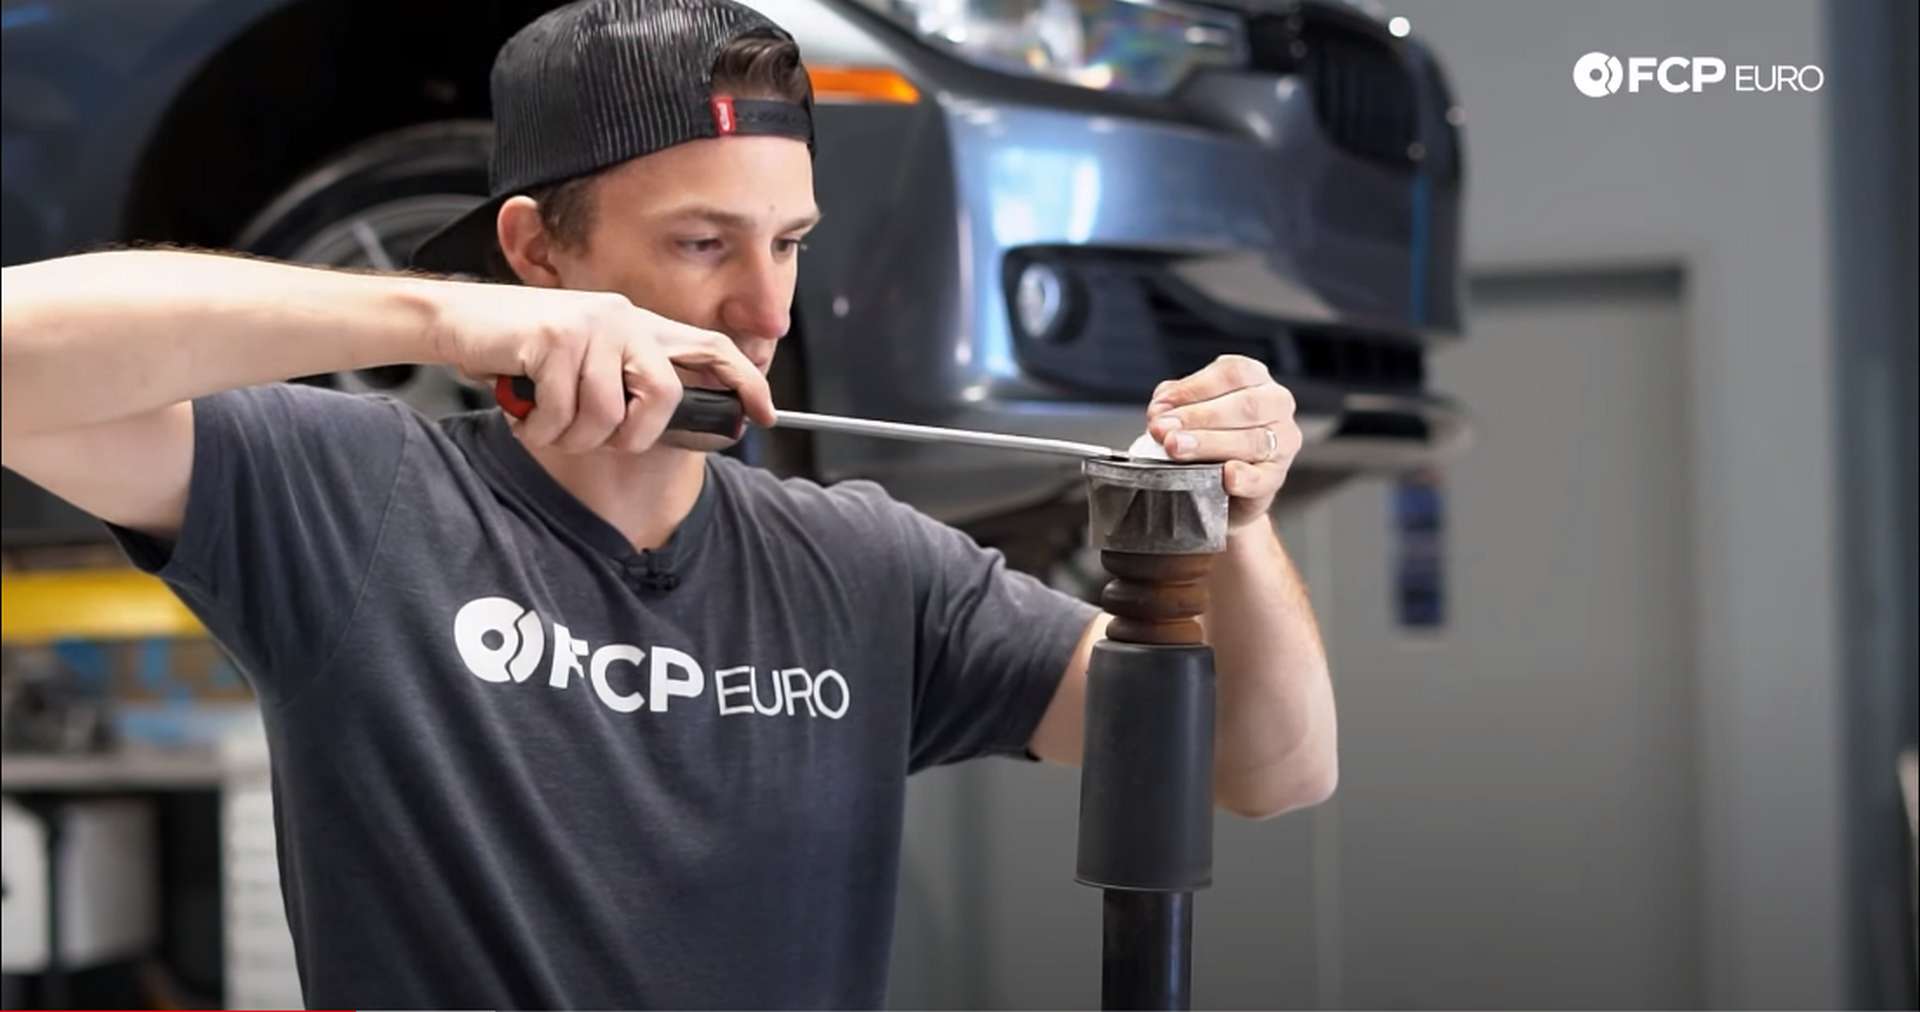
Place a short 16mm socket onto the nut and hold it on with a pair of channel locks-this will counter hold the shock. Next, use a 5mm Allen through the middle of the socket to loosen the hock off of the nut. An offset 16mm box wrench would also work on the nut. Pay attention to the orientation of the shock mount. The single bolt hole goes toward the front of the shock and should do so on the new one.
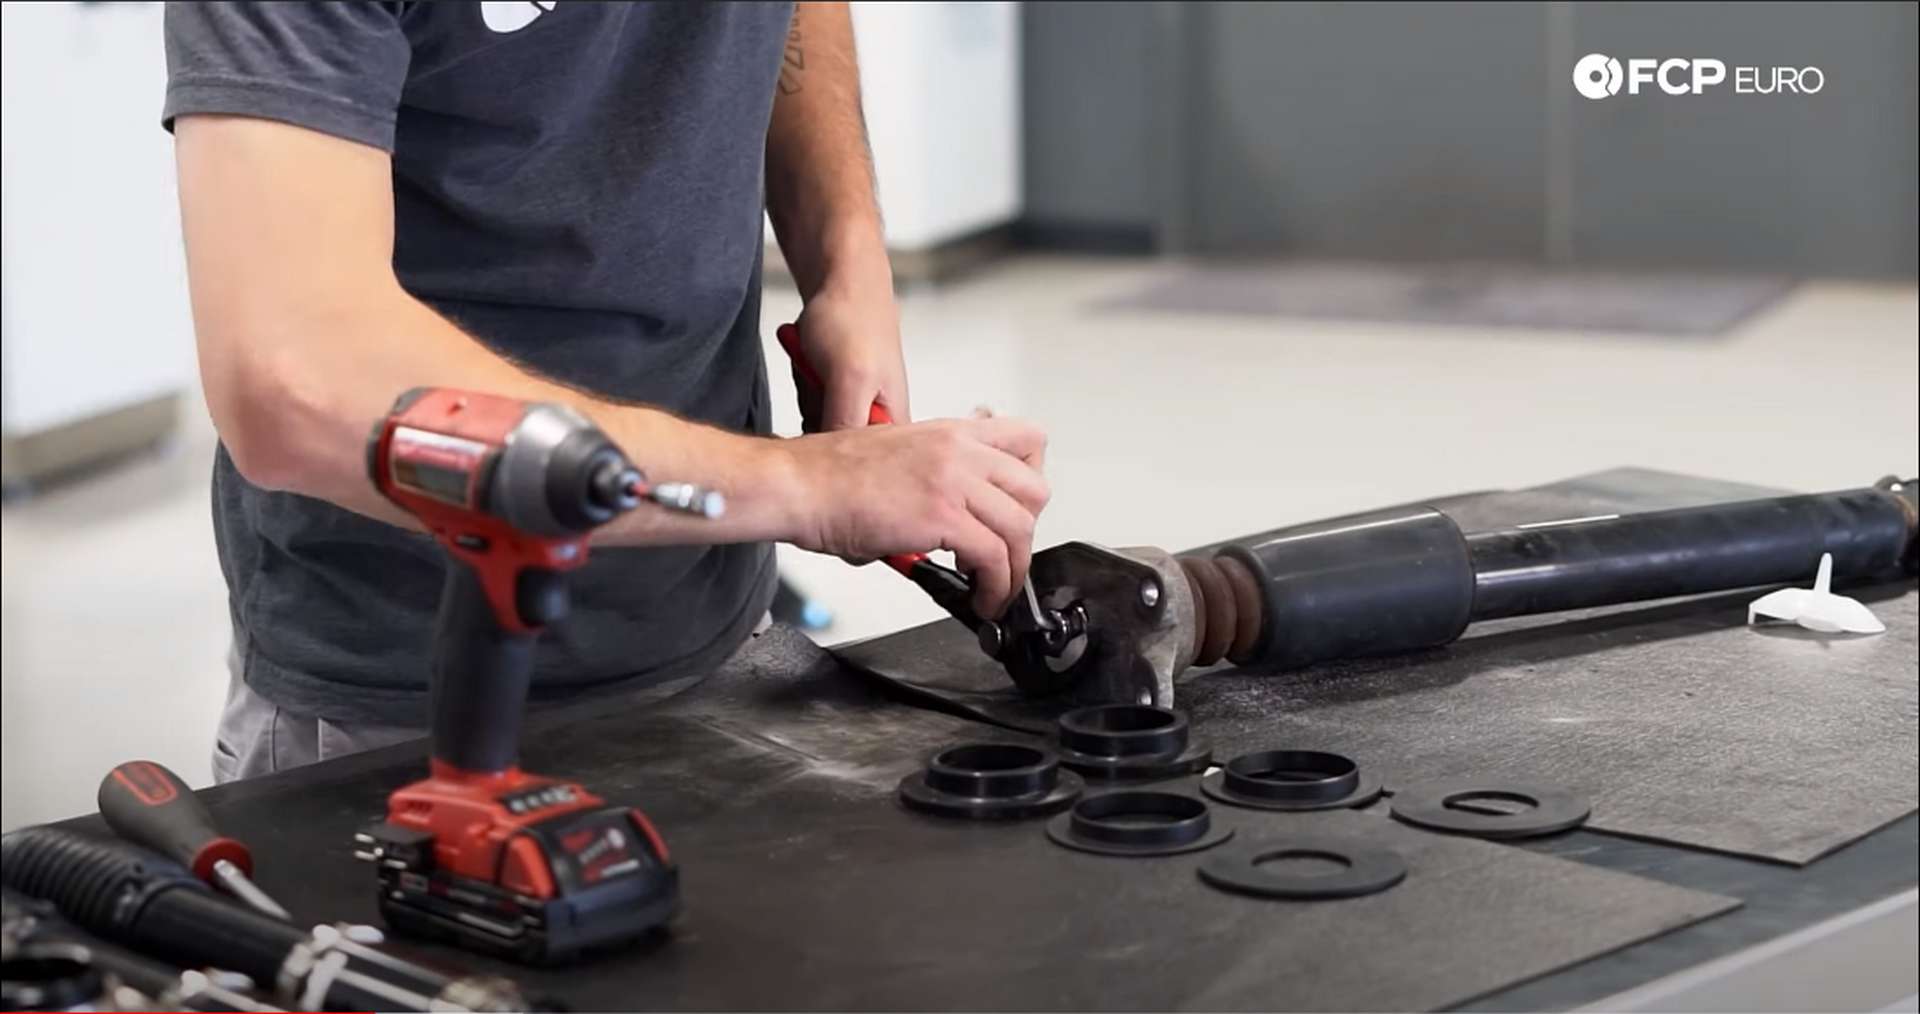
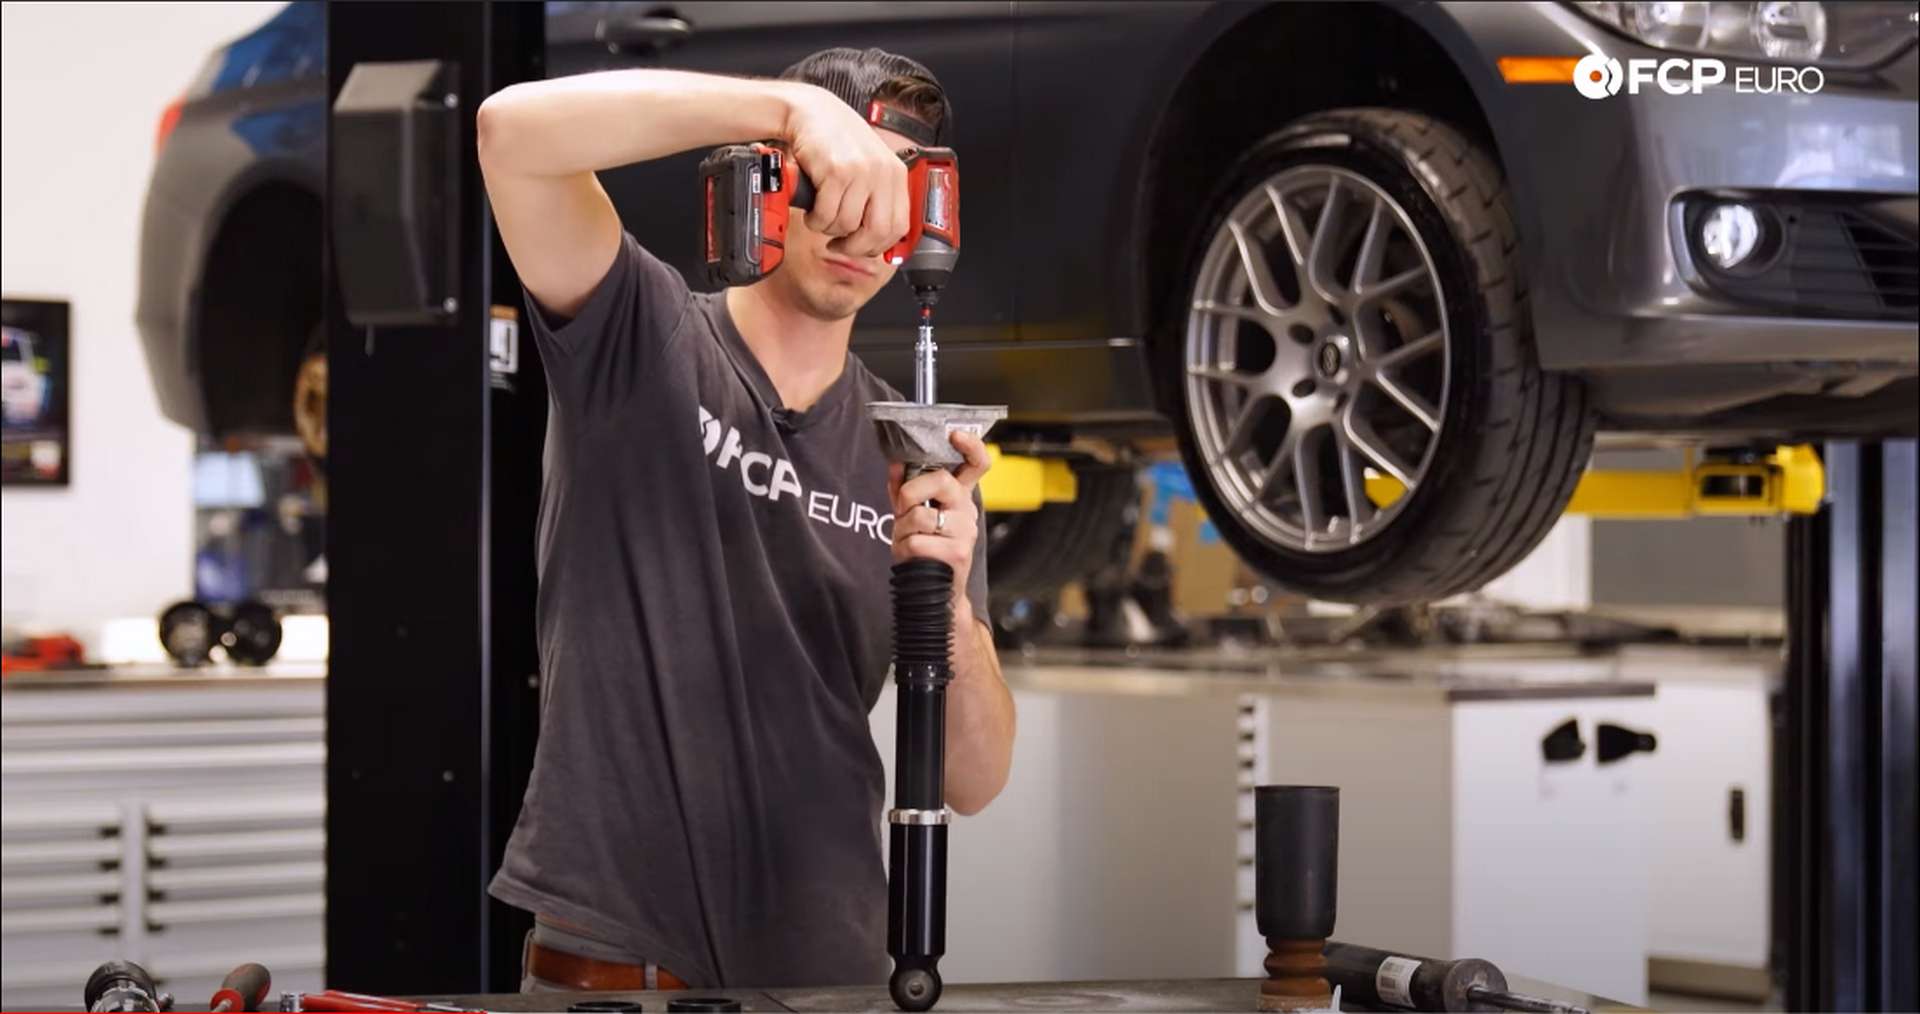
The bump stop and dust cover will remain attached when the shock mount is removed. Pull these off; they are no longer needed. Using the supplied nut in the coilover kit, ours was a 14mm, use the appropriate socket to secure the mount to the new shock.
Step 4: Install the new rear shock and spring
Before installing anything, you need to remove the upper spring perch. The perch sits in the body and its where the top of the spring sits. Give it a few taps with the dead-blow and pull it out.
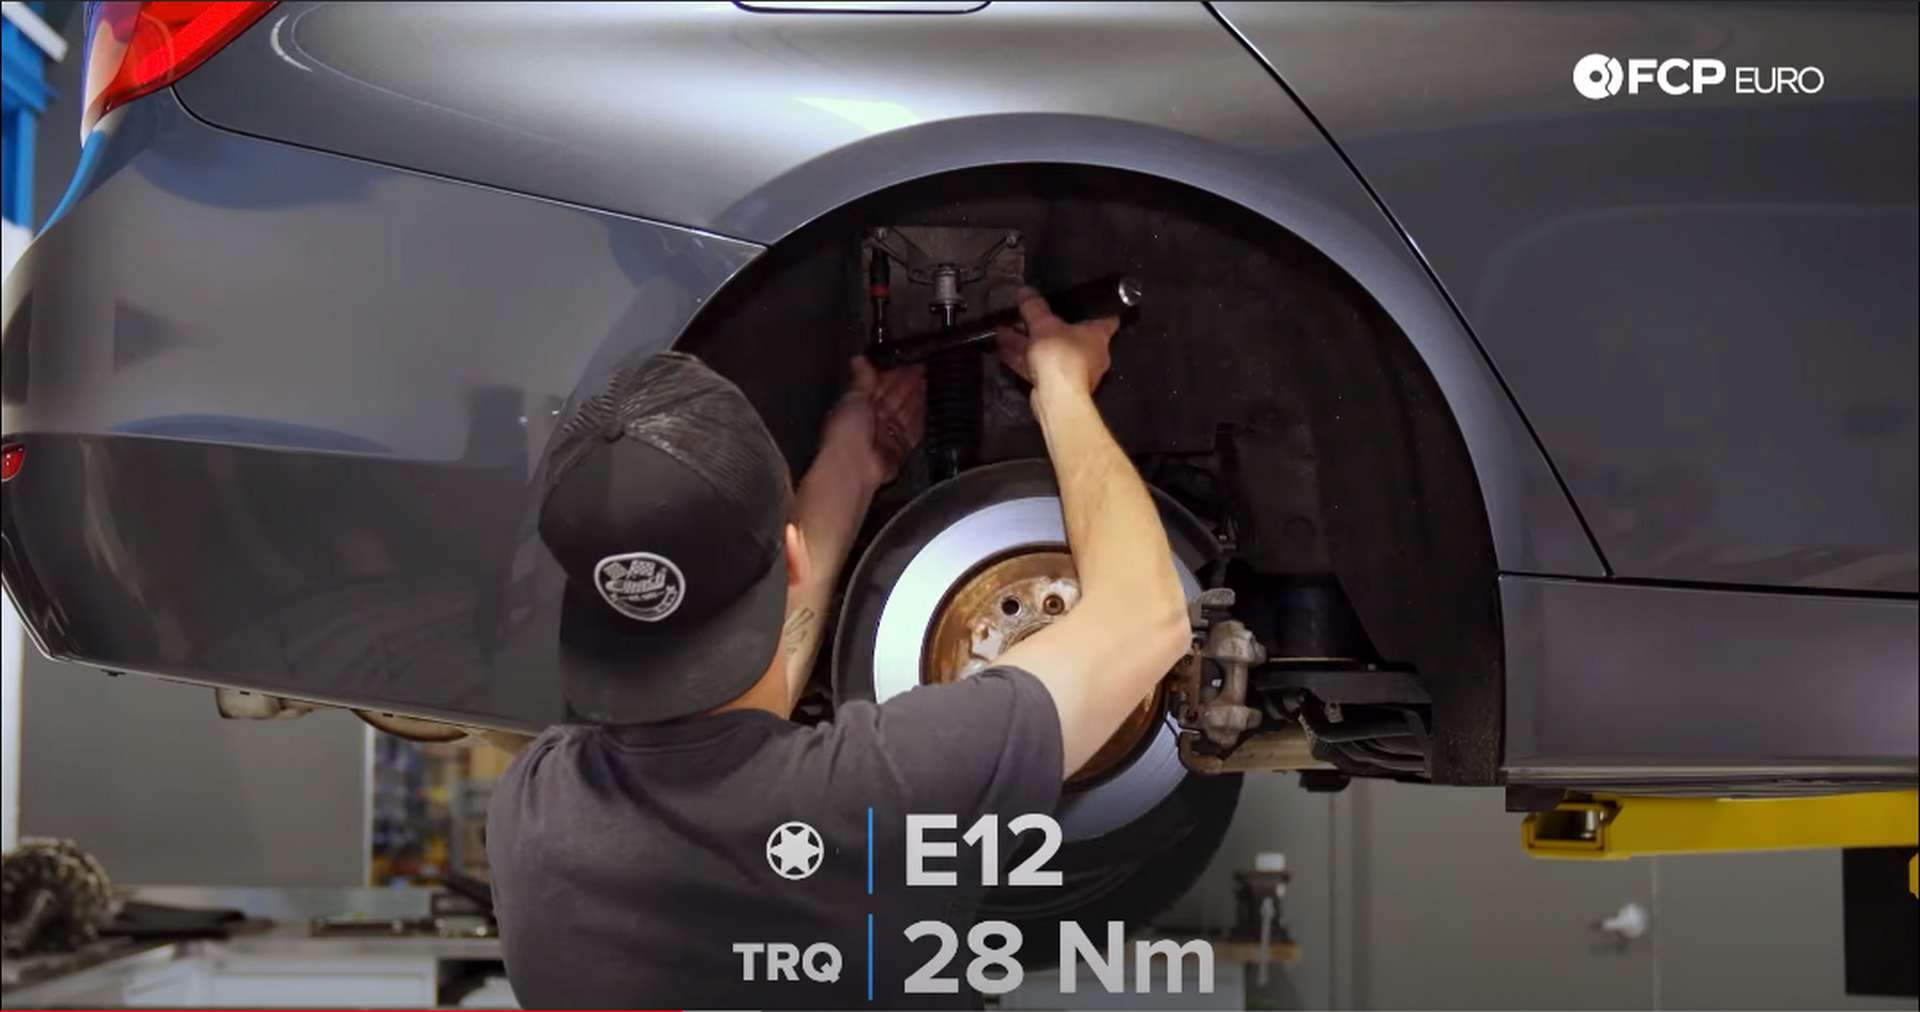
With that out of the body, you can start to install the new shock. Thread the three E12 bolts in by hand before using any tools. Doing so will ensure the bolts don’t get cross-threaded. Once the bolts are finger tight, torque them down to their appropriate spec.
Now, put together the spring and the adjustable perch to the directions given in the coilover kit. Once they’re together, take them as one item and position them with the bottom of the spring perch facing up. That part of the perch will fit into the body where the old spring perch mounted. The threaded collar should be sticking out while the short non-threaded portion will be inside the chassis when done correctly.
With the spring seated in place and the shock mount torqued, bring the jack back under the control arm. Jack it up under the end of the arm to compress the spring and line up the holes for the two mounting bolts. Remember the orientation of the bolts when putting them back in and be sure to torque them to their correct specs.
Now, put the plastic cover back on.
Repeat these steps for the other rear corner of the car.
Step 5: Detach the front sway-bar and loosen the knuckle
With the rear completed, jack up the front of the car and remove the wheels.
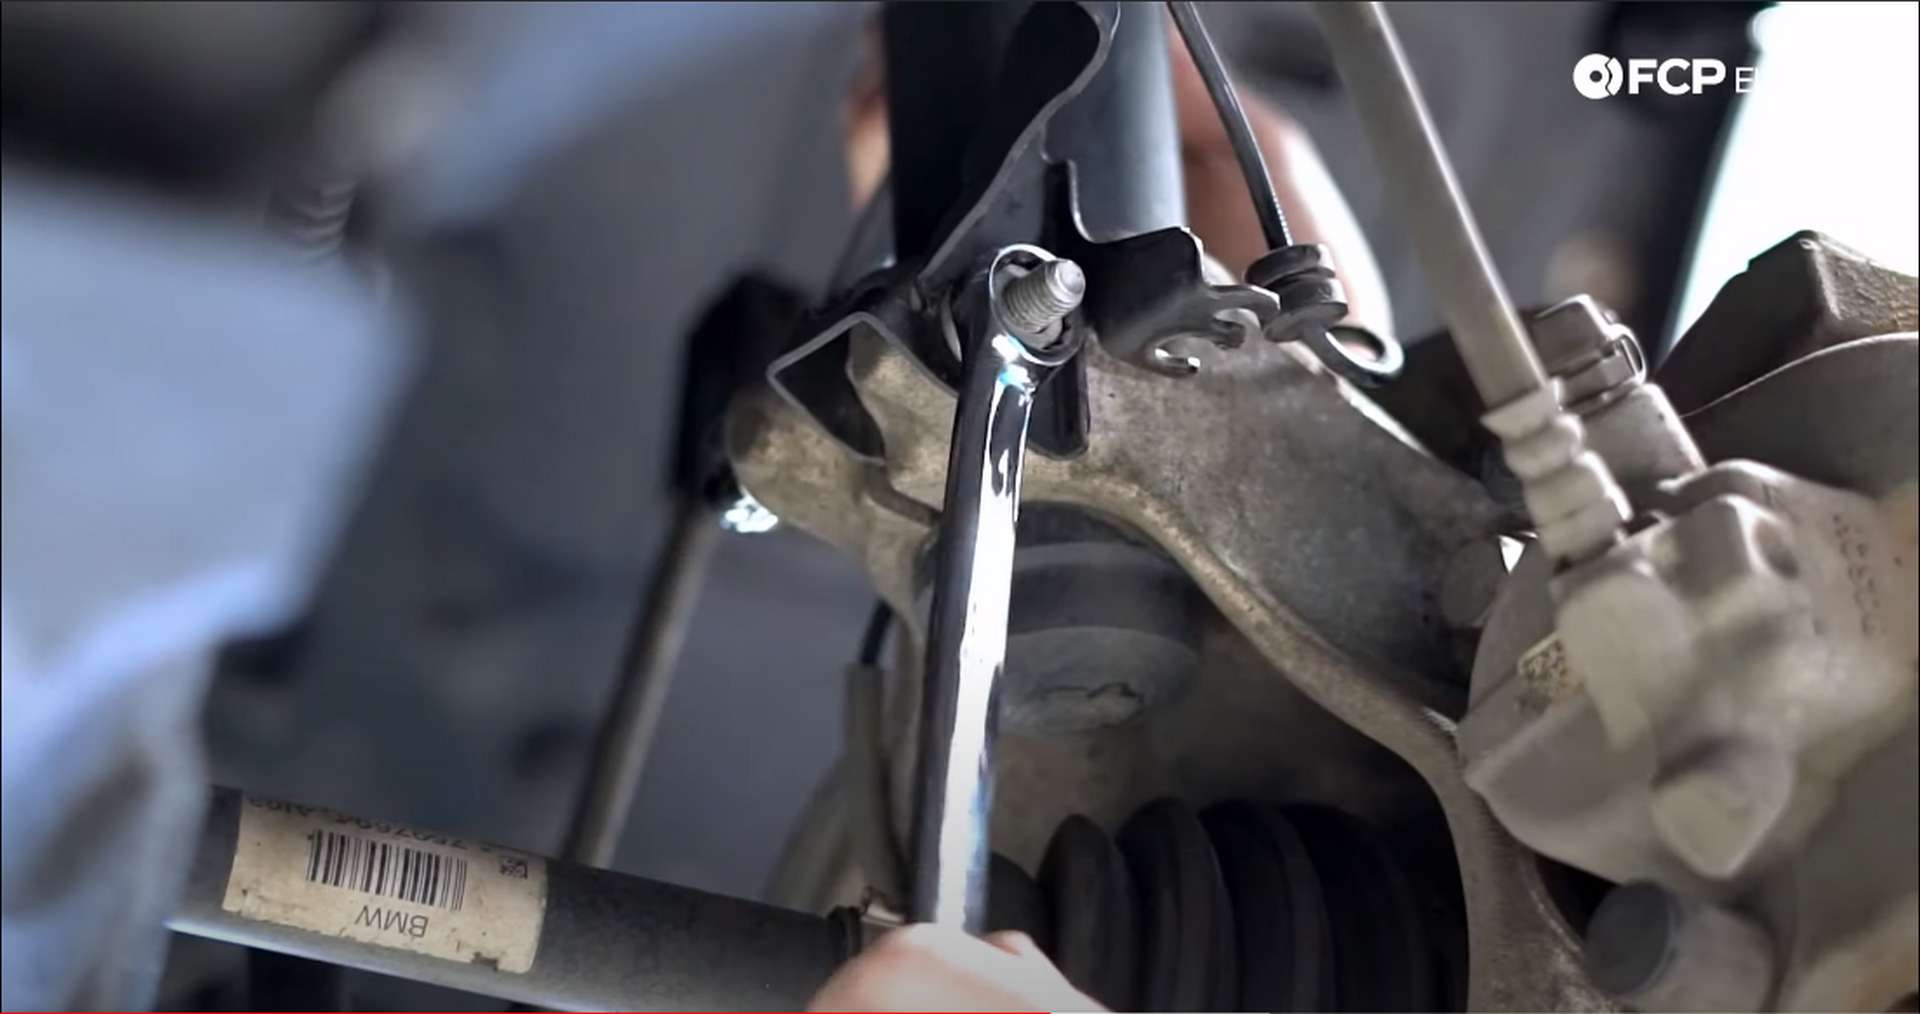
The sway-bar end link bolts to the back of the strut. Counter-hold the end link ball joint with a T30 Torx and use a 16mm wrench to loosen the nut. Remove the end link and push it out and away from the strut.
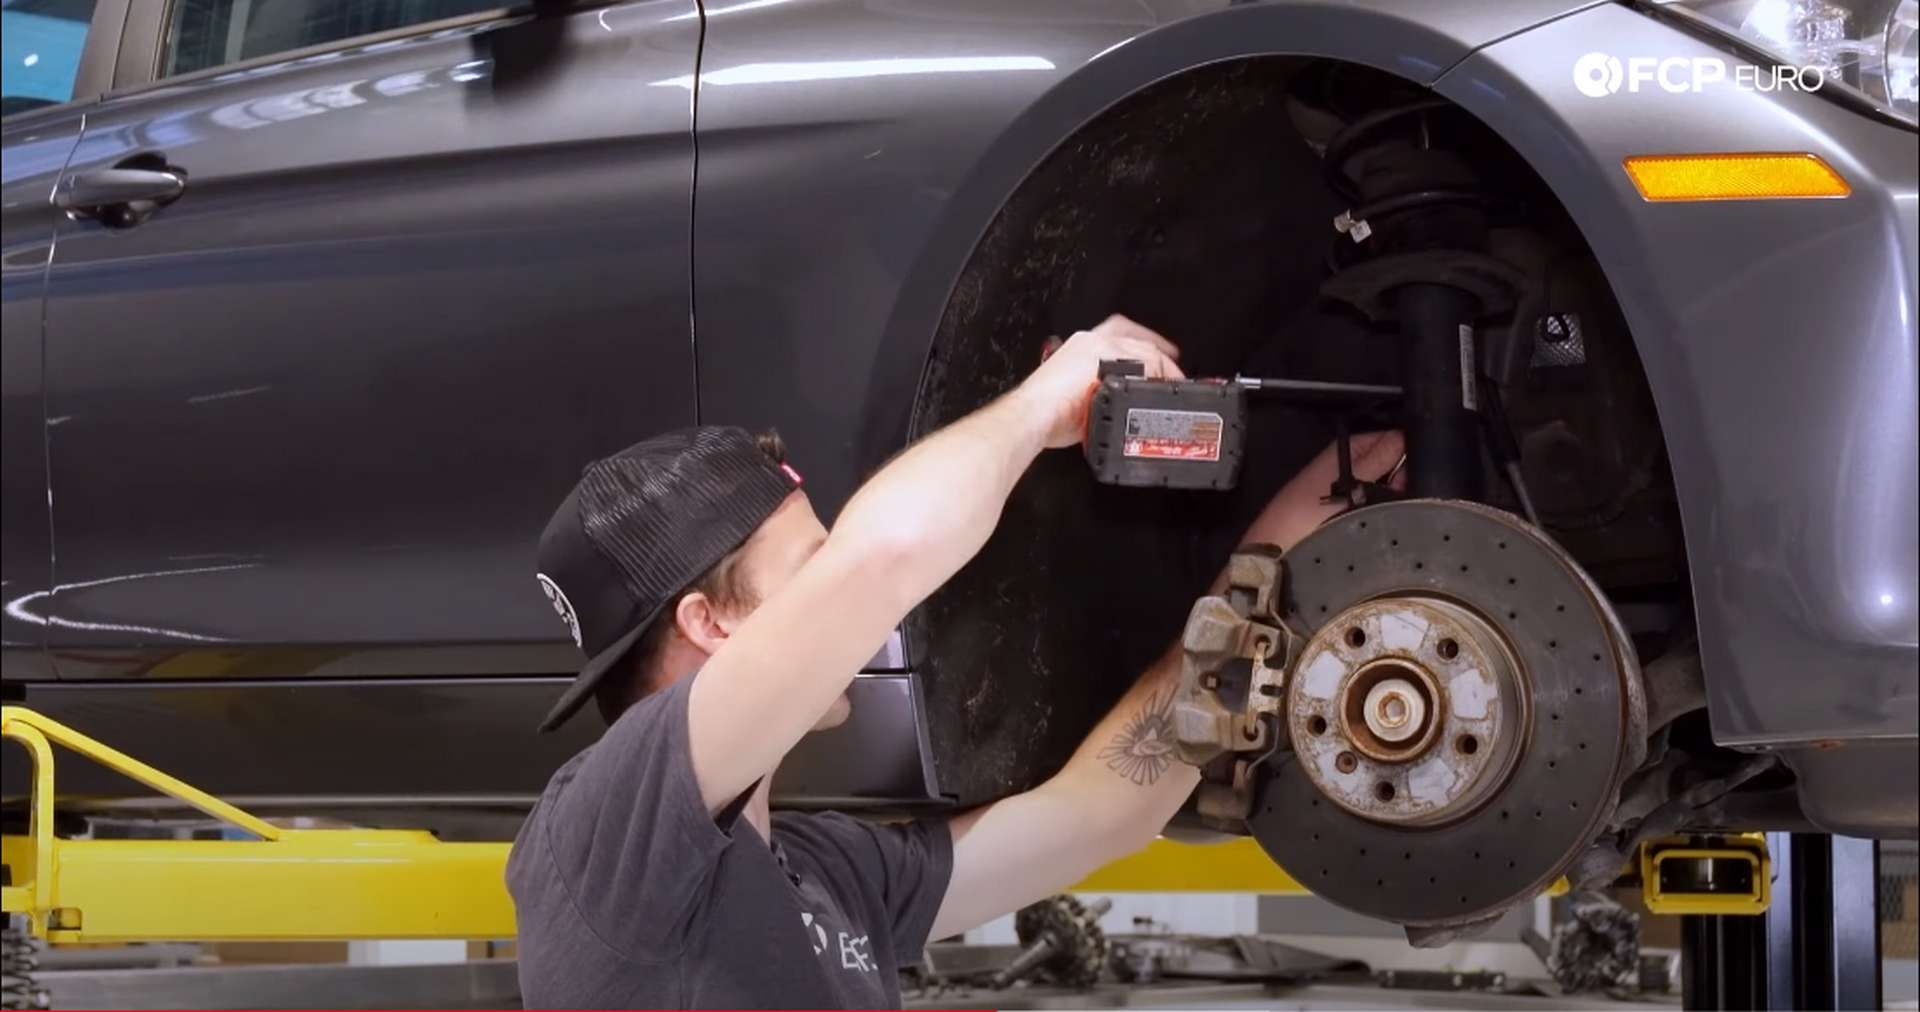
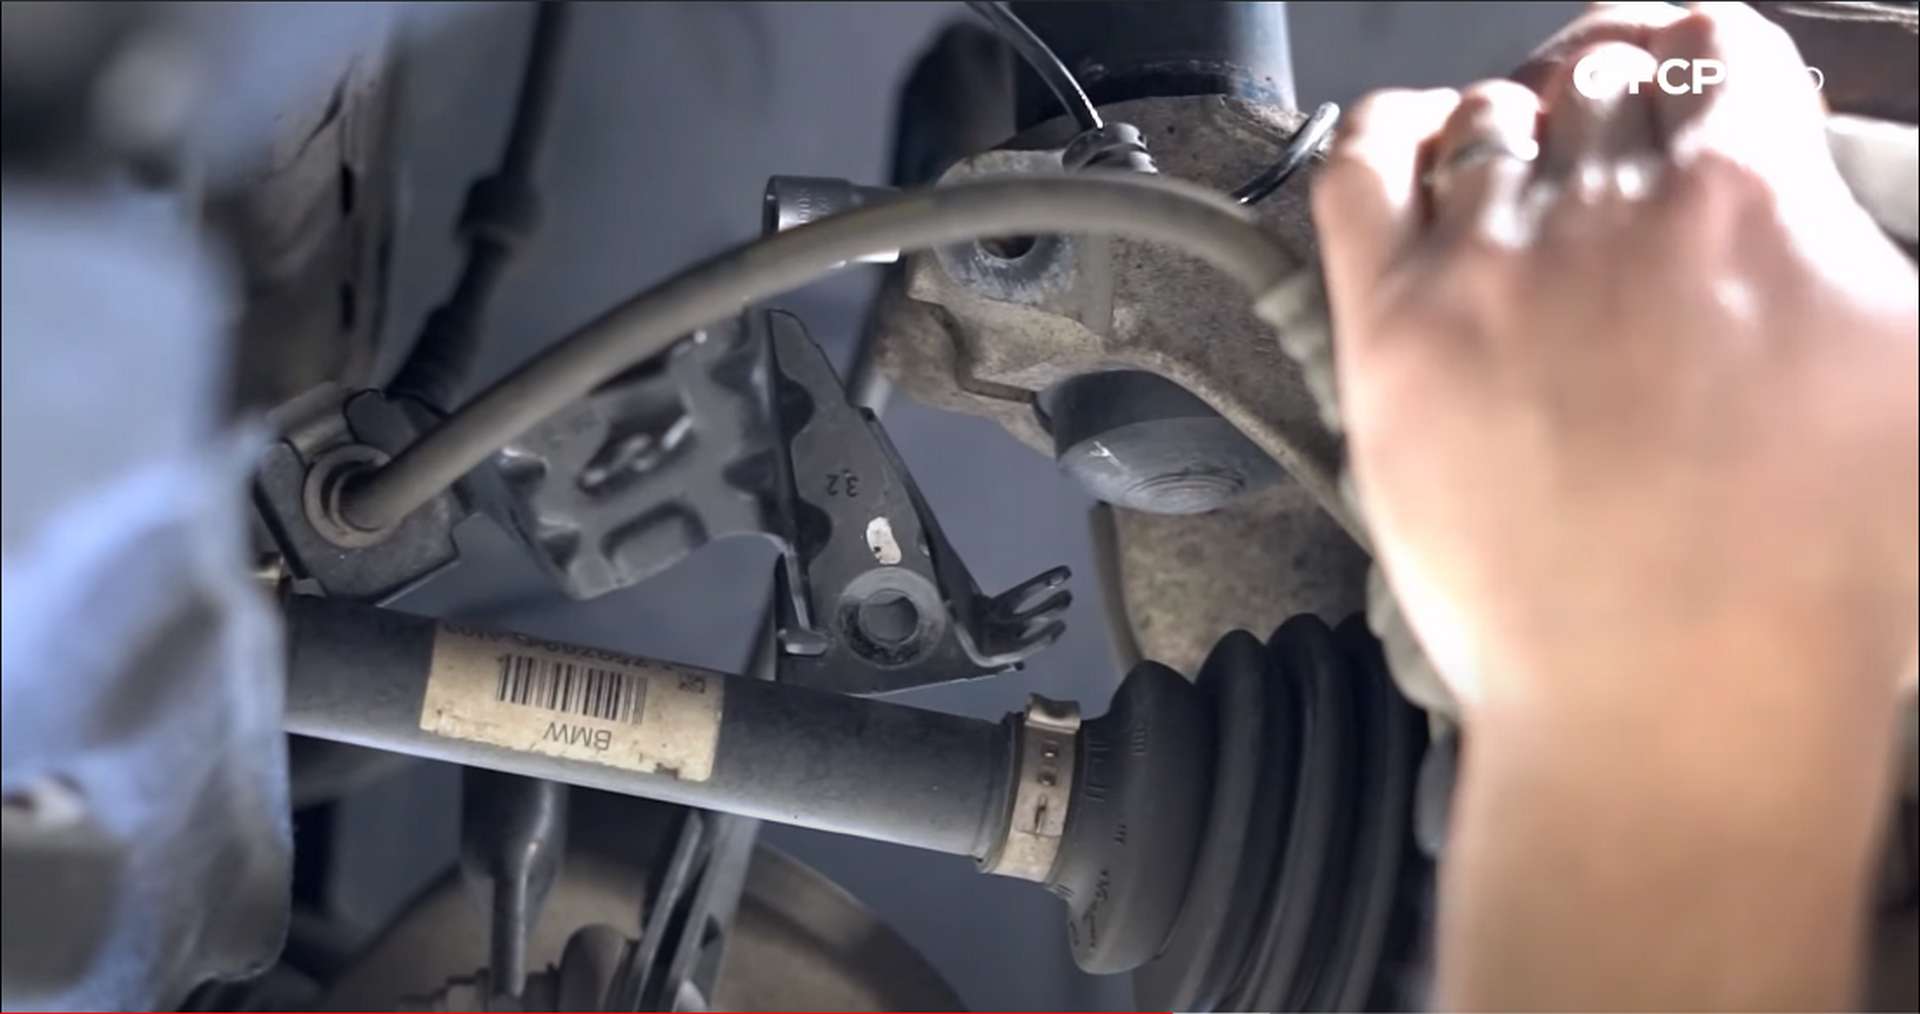
The ABS line bracket mounts onto the back of the knuckle. Pop the ABS line off its tab so that it doesn’t get caught when removing the strut. Next, hold the head of the bolt with an 18mm wrench and remove the nut with a 16mm wrench or socket. Remove the bolt and move the brake line bracket aside, clearing space to get to the back of the knuckle.
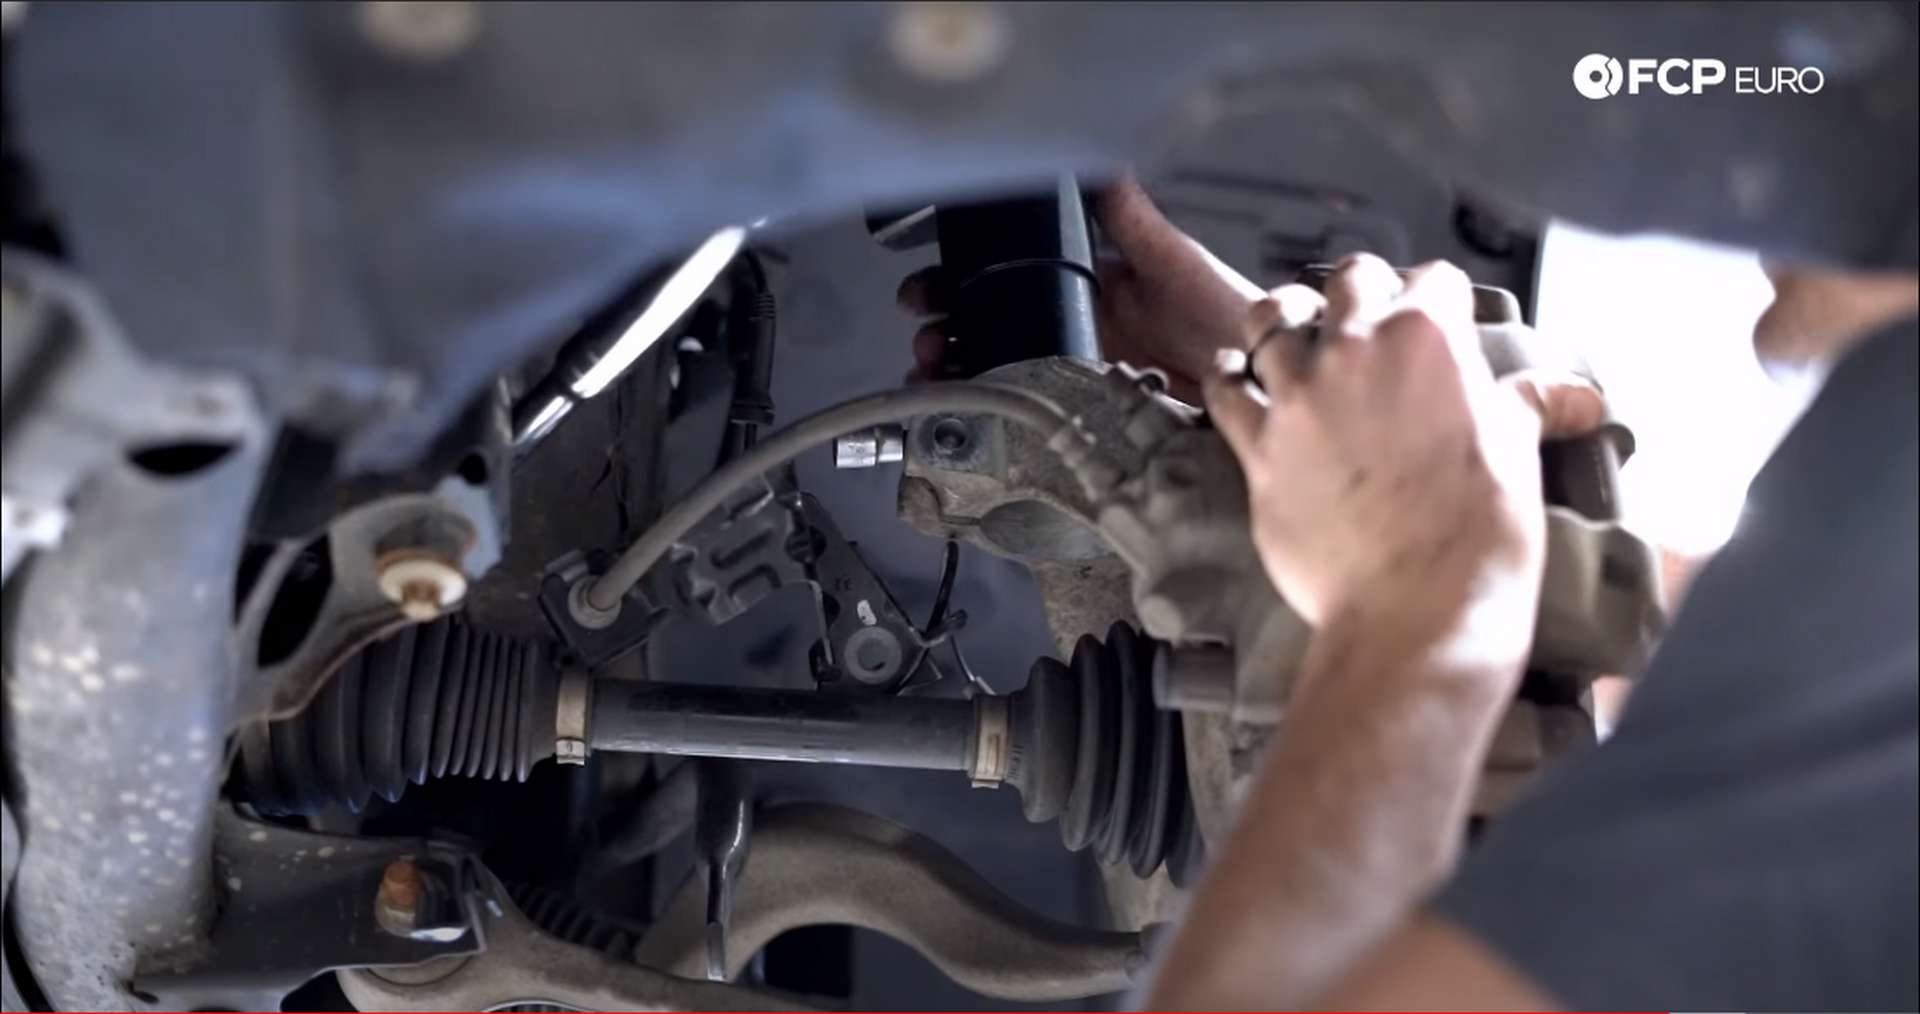
Step 6: Spread the knuckle and free the strut
Spread the knuckle open to free the strut. Use the CTA 4005 tool or a screwdriver to spread open the back of the knuckle.

The control and thrust arm bushings are under tension with the suspension isn’t under load. Attempting to push the hub assembly down to free the strut would be near impossible with the bushings under tension, so they need to be loosened before the strut can be removed.
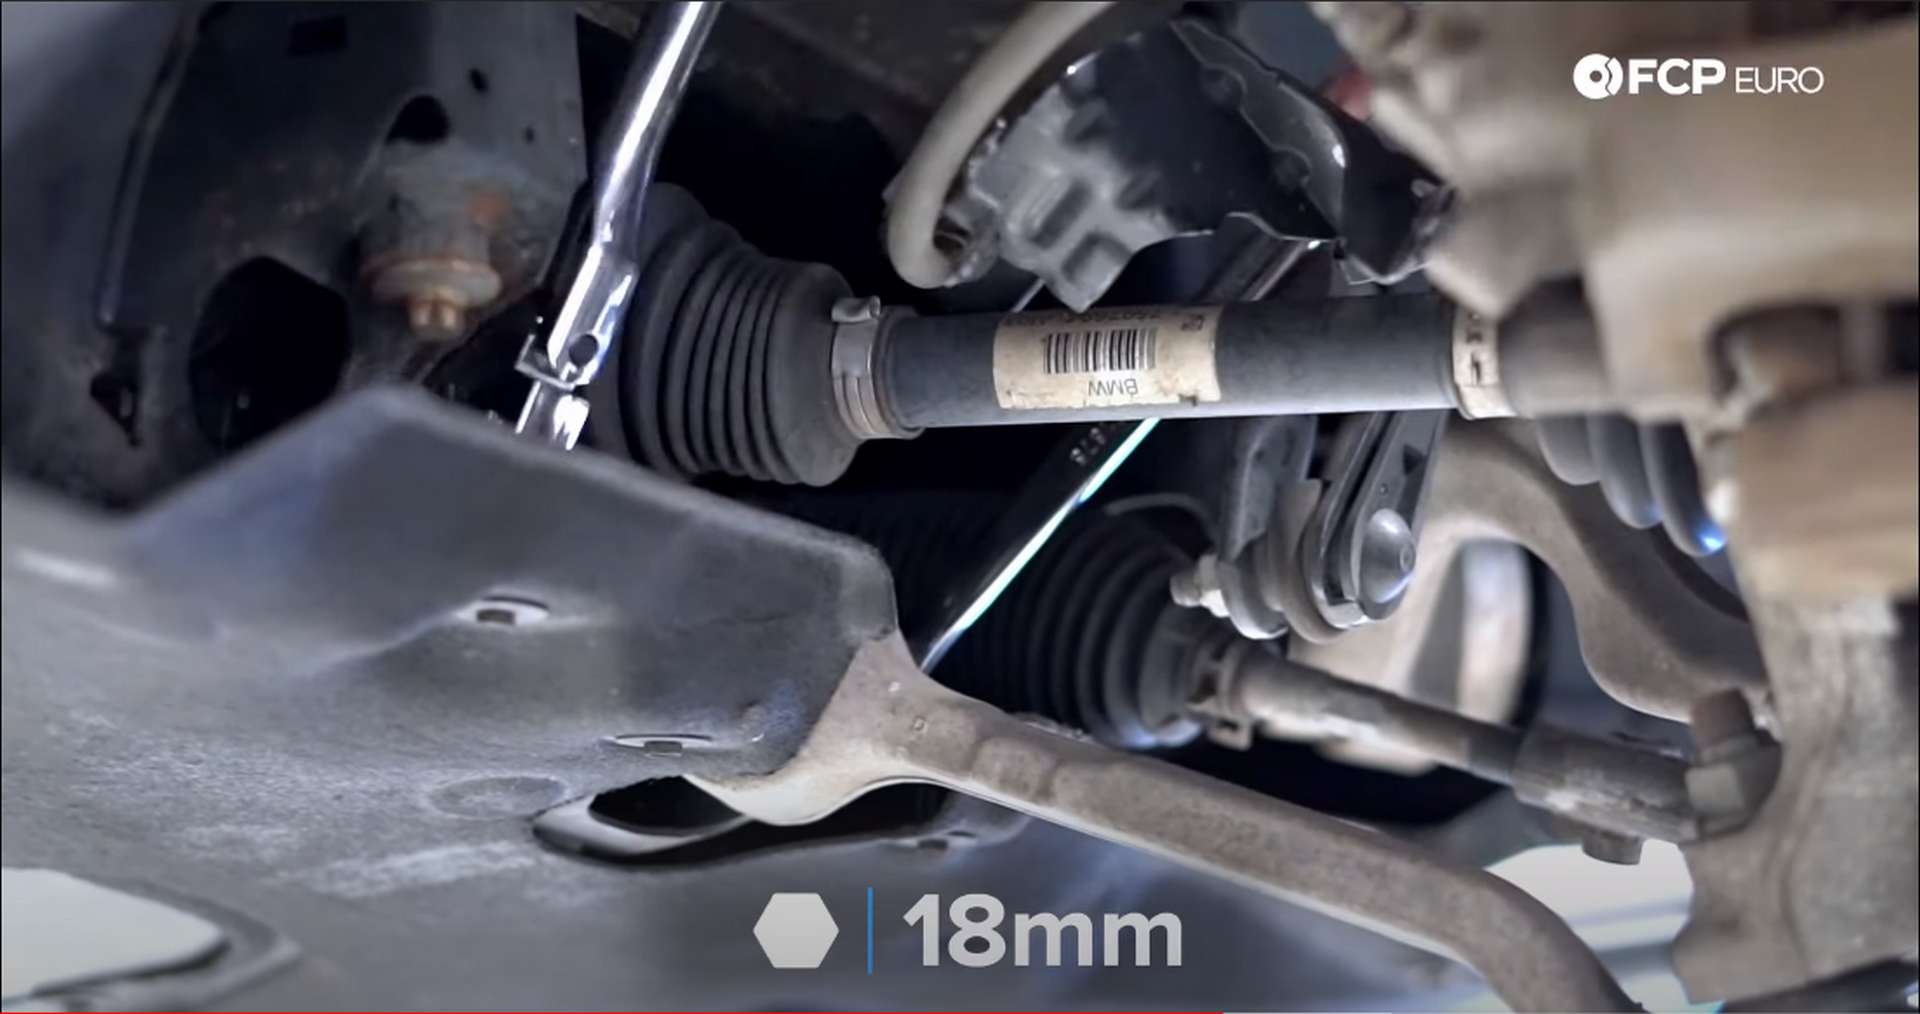
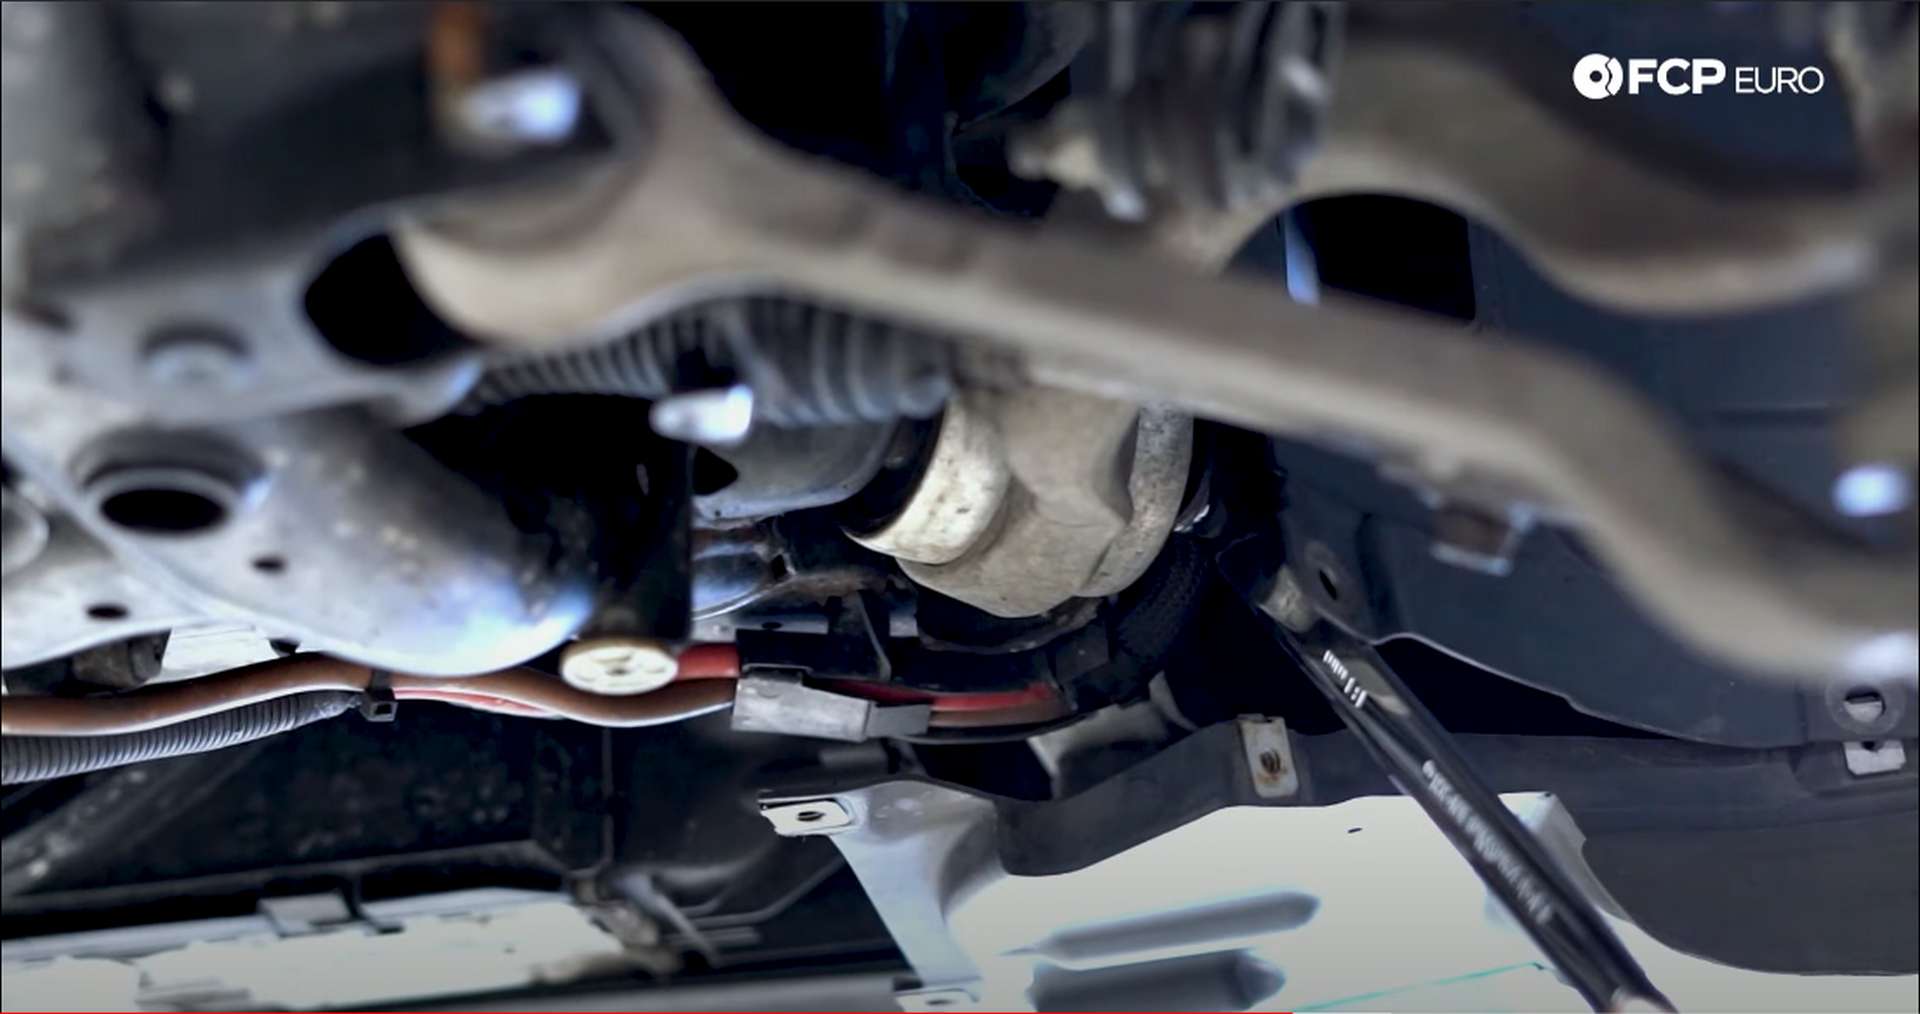
To get to the front control arm and thrust arm mounting bolts, remove the protective underbody panel. It is secured to the bottom on the car with a number of 8mm bolts that varies between models.
Next, take an 18mm socket and an 18mm wrench and loosen the control arm bolt. Do the same to the thrust arm mounting bolt, just forward of the steering rack.
Now, take hold of the brake caliper and brake rotor. Wiggle them back and forth while pushing down to move the bottom of the strut out the knuckle slowly. The lack of tension from the bushings should let the knuckle assembly slide right down and off the strut.
Step 7: Remove the strut top mount bolts and remove the strut assembly
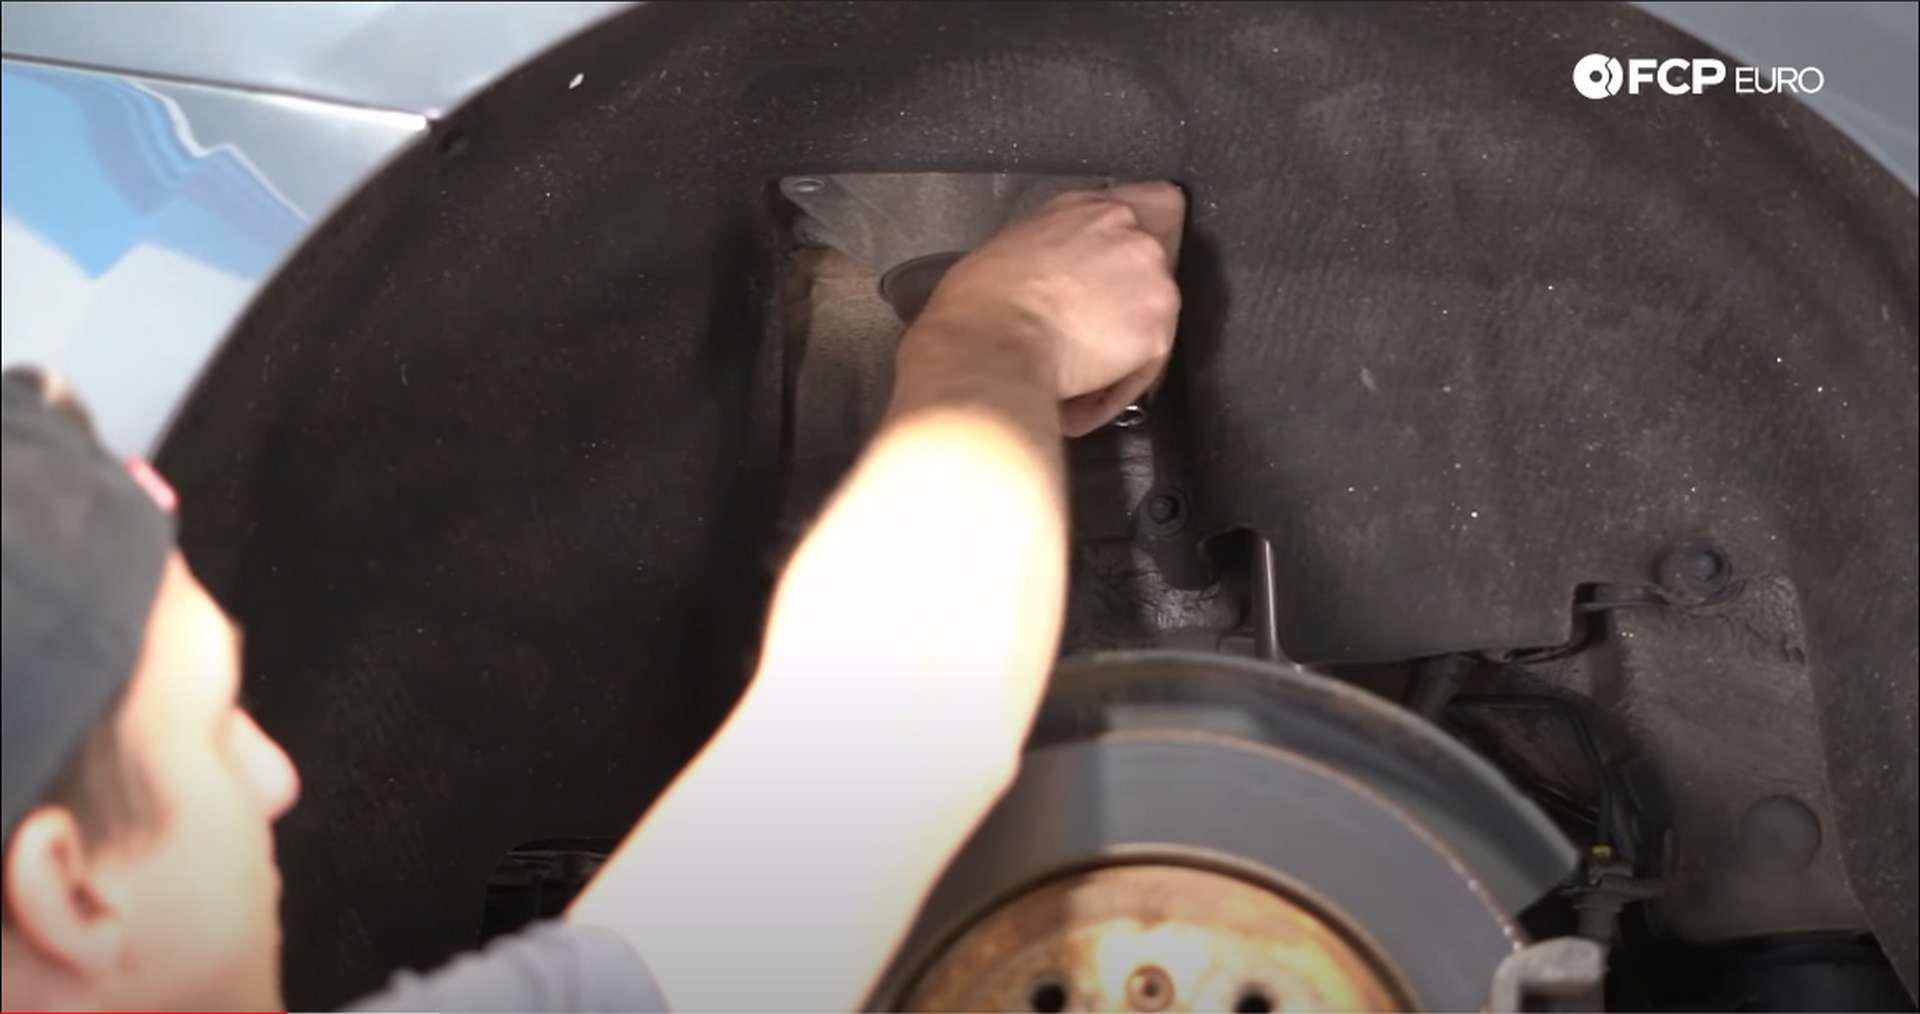
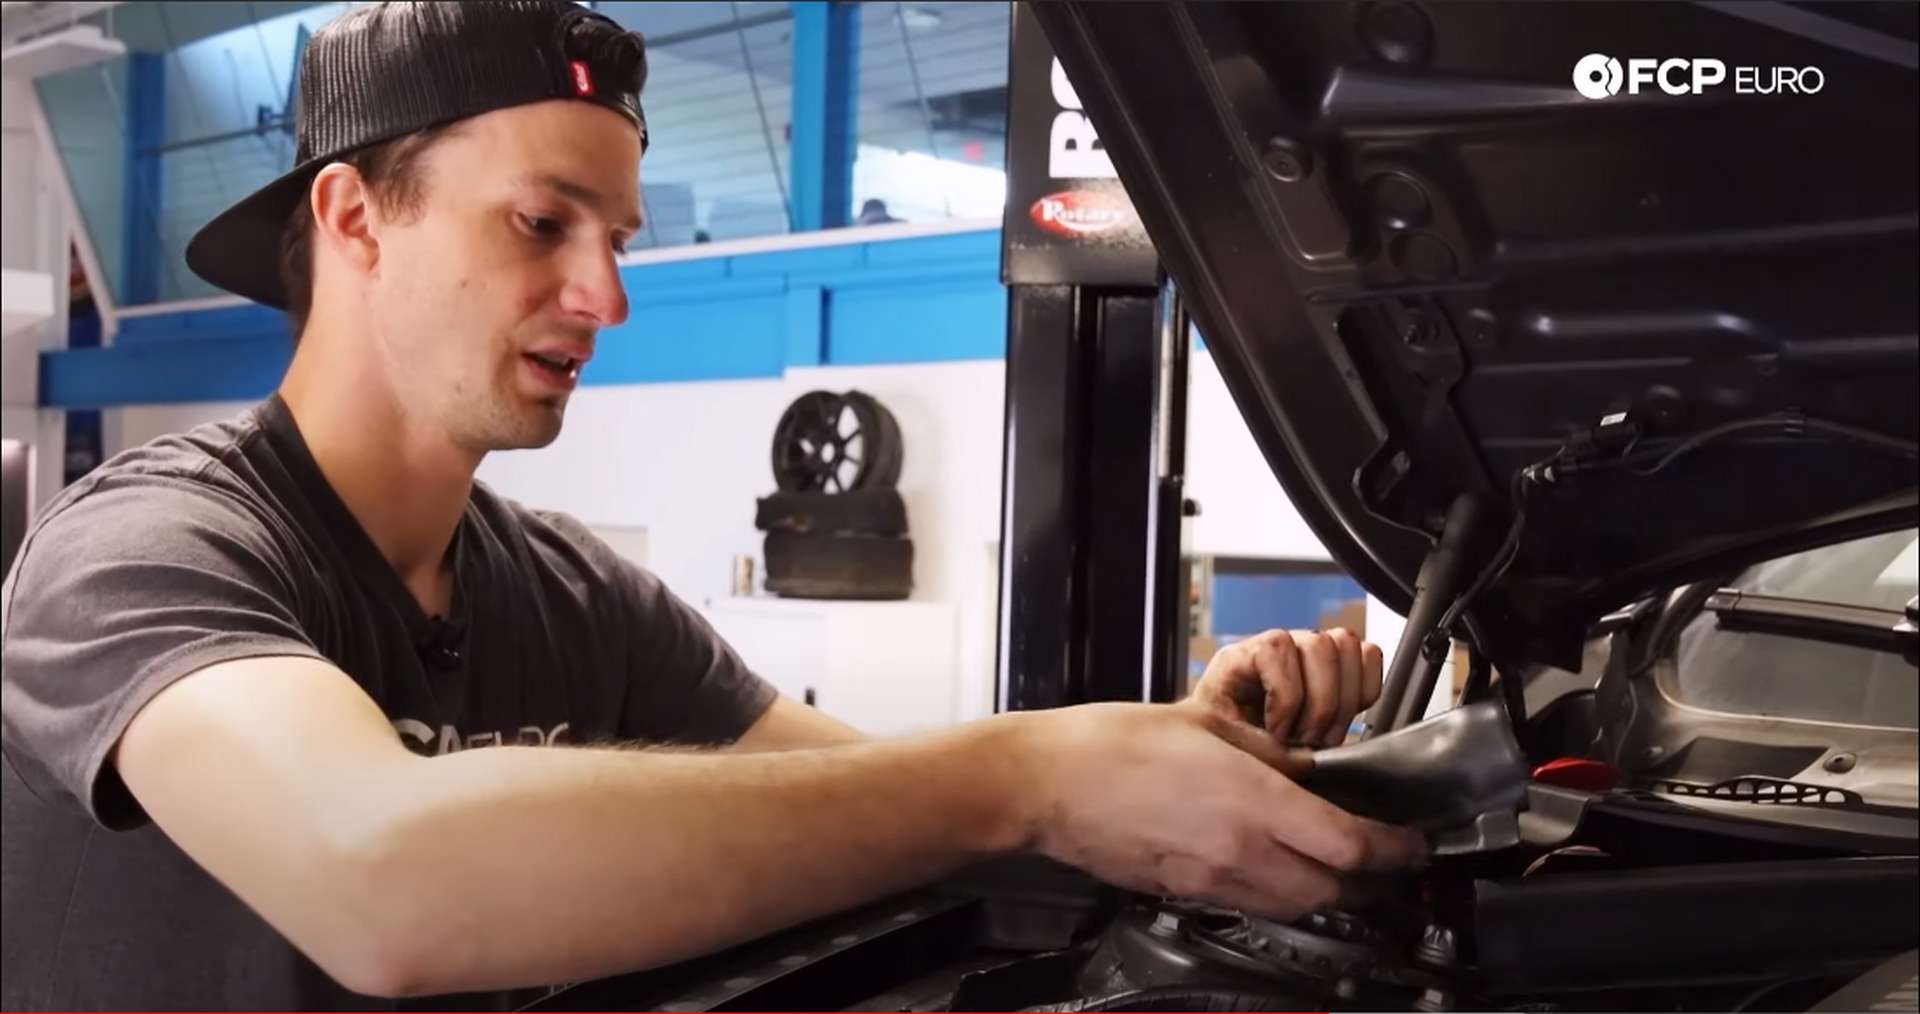
The top mount is the only thing holding the strut into the car. Three bolts hold it in the strut tower. To get to these bolts, open the hood.
Inside the engine bay, you’ll find both strut towers. Start by popping off the plastic cowl just behind the strut tower. Next, remove the rubber cover from the strut top. With the cover removed, you’ll see the bolt that attached the strut tower brace to the tower itself. Remove this using an E18 Torx socket.
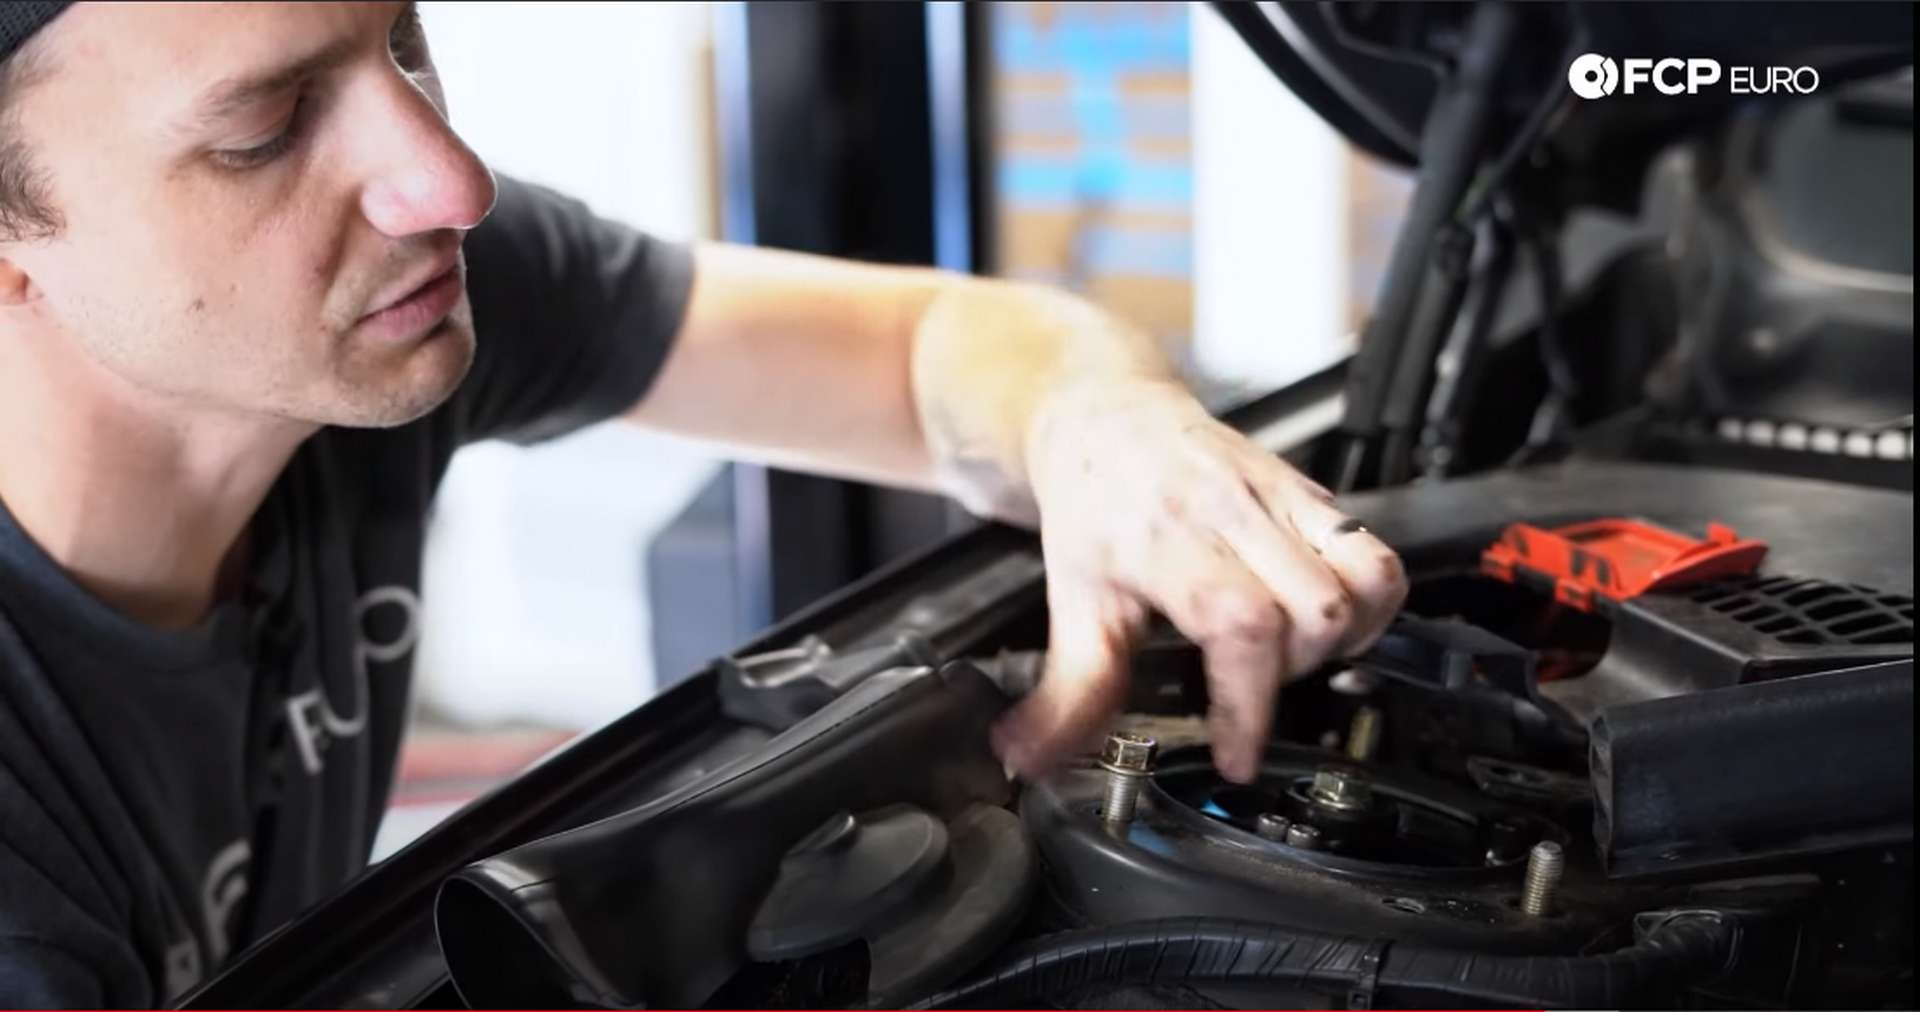
Now you can remove the three 13mm bolts from the strut top and pull the strut assembly out of the car. Grab hold of the strut assembly when removing the last strut top bolt; otherwise, it will drop out of the car.
On the passenger’s side of the car, under the plastic cowl, is a positive battery terminal used to jump-start the vehicle. Be careful when removing the strut bolts here as any tool that hits it while touching a bolt will ground the terminal and create a spark.
Step 8: Install the new strut assembly
The kit we used for this DIY has slight differences from the original BMW parts, and other kits will too. Be sure to check any instructions included with the kit. The new strut tops use studs and nuts rather than bolts like the OEM BMW parts. Our kit also supplies a different sway-bar end link because the mounting point on the strut is different.
Start by putting the strut mount threads through the top of the strut tower and finger tightening the nuts. Next, remove the sway bar entirely, unless your kit doesn’t require a change in end link. The end link uses a 16mm nut and needs to be counter-held with a T30 Torx.
Now, place the jack underneath the knuckle assembly. Align the bottom of the strut with its spot in the knuckle. Next, jack up the assembly to seat the strut. Once the strut is entirely in place, remove whatever tool you used to spread the knuckle.
The bolt used to clamp the knuckle around the strut is a one-time use, stretch bolt. You will need another bolt before installing the new strut assemblies.
Put the ABS bracket back on the knuckle, and put the bolt through. Use an 18mm wrench for the head of the bolt and a 16mm wrench to tighten the nut. Pop the ABS line back into its tab now, so you don’t forget it.
Connect the new end links once both front corners of the car are done. This will save you from fighting the sway bar on the first corner. If you are installing the BC Racing kit like us, one nut will be 16mm, and the other nut will be 17mm. Both will need to be counter-held with a 5mm Allen wrench.
Step 9: Tighten up all of the fasteners
With the strut secured in the knuckle, you can tighten down everything that is left. Check the list below to see which bolts get tightened to a specific spec. Any other bolt can be made tight by hand. When everything is tight and torqued to spec, put the plastic underbody panel back on. After that, bolt the wheels on and set the car on the ground to admire all of your hard work.
You’ll need an alignment now that everything is done. The alignment requires a special machine and an experienced technician, so it’ll need to be done at a shop. Skipping the alignment will lead to premature wear on suspension components and tires, as well as poor handling.
BMW F30 Coilover Install Torque Specs
- BMW F30 Rear Shock Mount Bolts = 28Nm or 20.7 lb-ft of torque
- BMW F30 Lower Rear Shock Bolt = 100Nm or 73.7 lb-ft of torque
- BMW F30 Rear Knuckle Bolt = 100Nm or 73.7 lb-ft of torque
- BMW F30 Front Knuckle Pinch Bolt = 44Nm or 32.5 lb-ft of torque, plus 90°
- BMW F30 Thrust Arm Mounting Bolt = 100Nm or 73.7 lb-ft of torque
- BMW F30 Control Arm Mounting Bolt = 100Nm or 73.7 lb-ft of torque
- BMW F30 Lug Bolts = 119Nm or 88 lb-ft of torque
With the new aftermarket coilover suspension installed on your BMW F30, you’re now ready to hard park or hit the race track. If you’re interested in more DIYs for your BMW, you can visit bmw.fcpeuro.com and subscribe to our YouTube channel.


