
The BMW E36 chassis 3-series is one of the easiest and cheapest ways to get into Bavaria's best sports sedans. Nearly thirty years after their debut, they remain a great choice for a track rat, drift missile, show car, or daily driver. The popularity of the BMW E36 has spawned huge aftermarket support from nearly every continent globally, and suspension upgrades are possibly the biggest area. Whether it's a $3000 set of Ohlins or a $995 set of BC Racing coilovers, finding the right suspension for your application is easy in whatever your budget may be.
The combination of MacPherson front suspension and BMW's C-link rear suspension allows for easy removal and installation right in your driveway. As big as the job may seem, only a handful of tools are needed, and none of them is a specialty. Follow along below as Gareth guides you through what it takes to install a set of coilovers on your E36.
BMW models and years applicable:
|
|
|
|
|
|
|
|
|
Why you would consider a coilover suspension upgrade on a BMW E36?
- Adjustable height
- Stiffer springs and damping
- Adjustable compression and rebound
The benefits of an aftermarket coilover suspension apply to those whose car is more than a daily driver. The stiffer springs, adjustable damping, and reduced size can help set up a car for a race track from a performance aspect. Aftermarket coil-over suspension will be thinner than the stock struts allowing for wider wheels and stickier tires. The stiffer springs will help keep the car flat through the corners, and the increased damping will provide more feedback through the steering wheel.
Coilovers will also work in show car applications. There are individual companies out there that have designed their suspension with a maximum drop in ride height as their main selling point. They won't be great for performance driving, but they'll help your Rotiforms look hella-sick, bro.
How long will it take to install coilovers on a BMW E36?
The removal of the old suspension and installation of the new can be tedious. There are quite a few nuts and bolts that need to be removed, and new hardware isn't always the same size. Put aside a few hours, at the least, before starting the job.
Corrosion on the nuts and bolts under the car will significantly extend the length needed for the job. Conversely, the use of an impact wrench will help to make things quicker. Rust penetrant and a torch can also help in getting past corrosion.
What will it cost to install coilovers on a BMW E36?
On top of whatever you end up paying for the coilovers themselves, add on another two hours of labor. Shops will charge around a half-hour per corner for the installation. You'll also need an alignment afterward, regardless of who does the job.
With the alignment, the installation will total near $500.
Parts required to install coilovers on a BMW E36:
Tools required to install coilovers on a BMW E36:
- 12mm Socket
- 13mm Socket
- 16mm Socket
- 17mm Socket
- 18mm Socket
- 16mm Wrench
- 18mm Wrench
- Ratchets
- Impact Wrench (Optional/Recommended)
- Torque Wrench
- Pry Bar
- Hammer
- Penetrant
- Screwdrivers
Steps required to install coilovers on a BMW E36:
Step 1: Remove the front strut
Jack up the front of the car and place it onto some jack stands. Then, use a 17mm socket to remove the wheels.
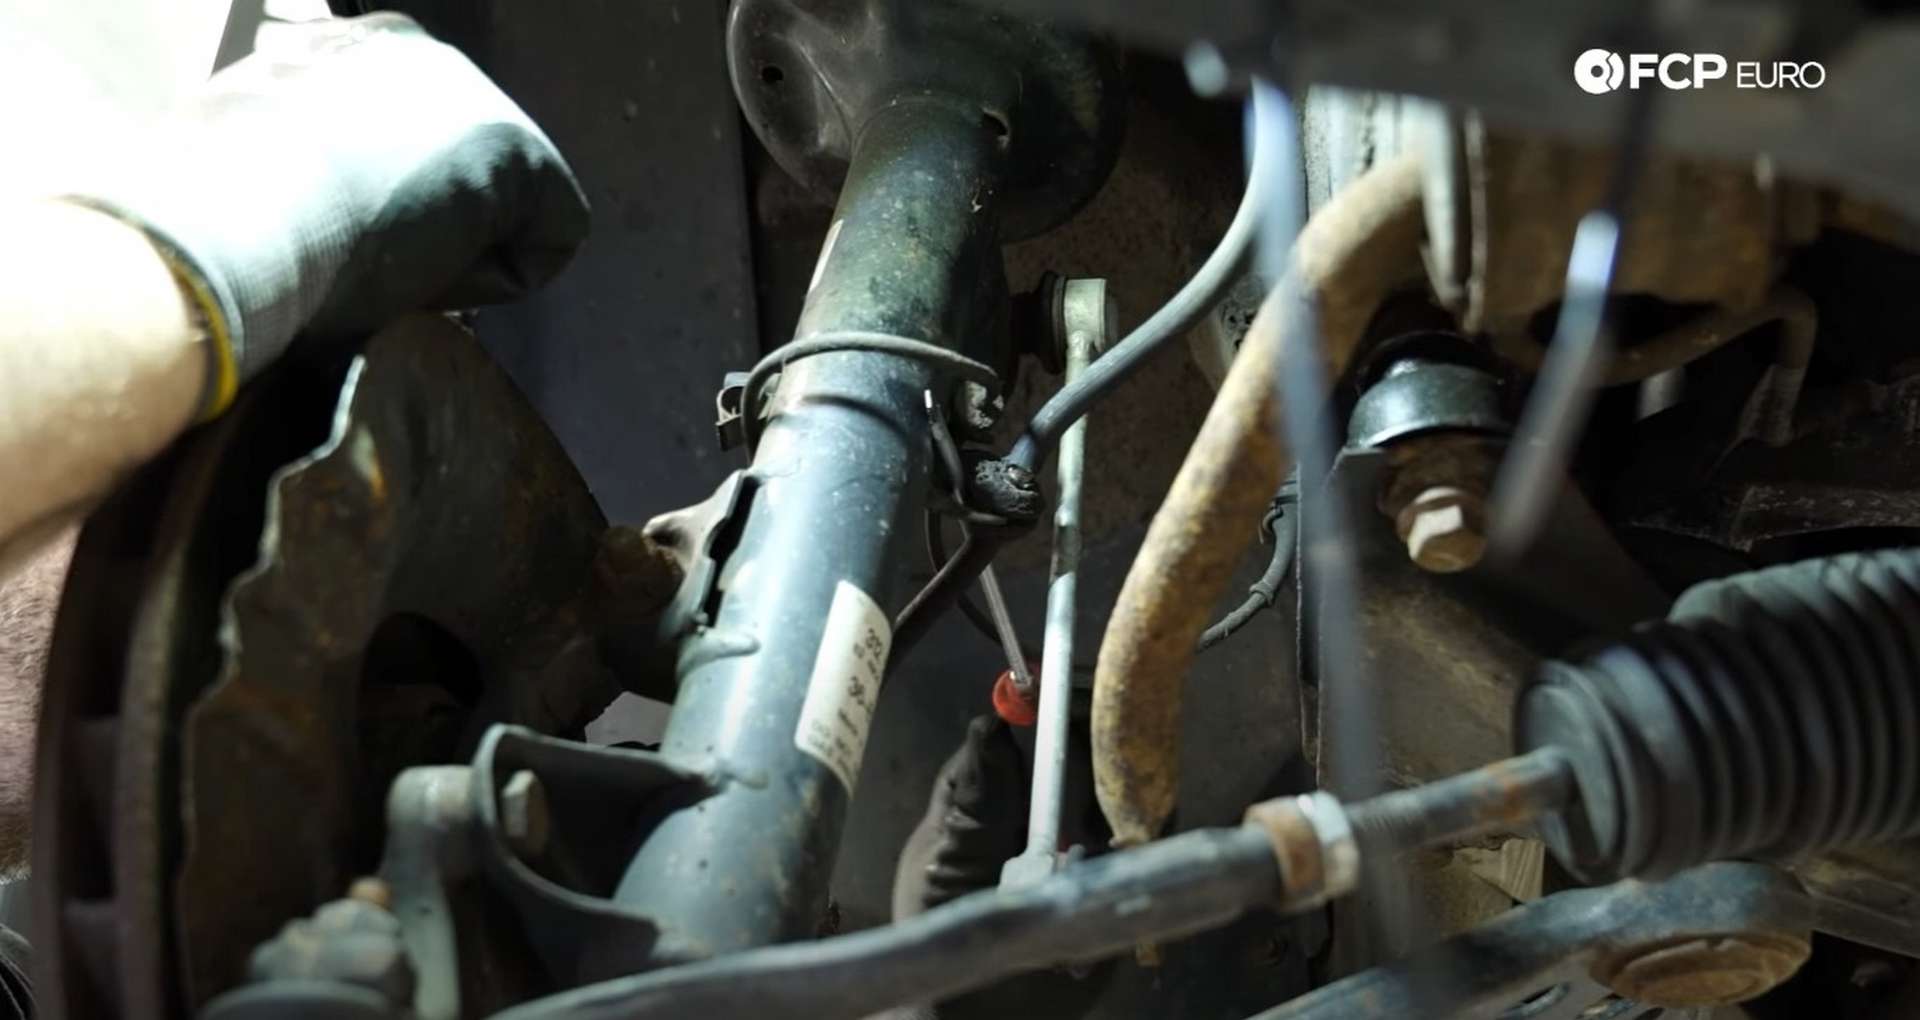
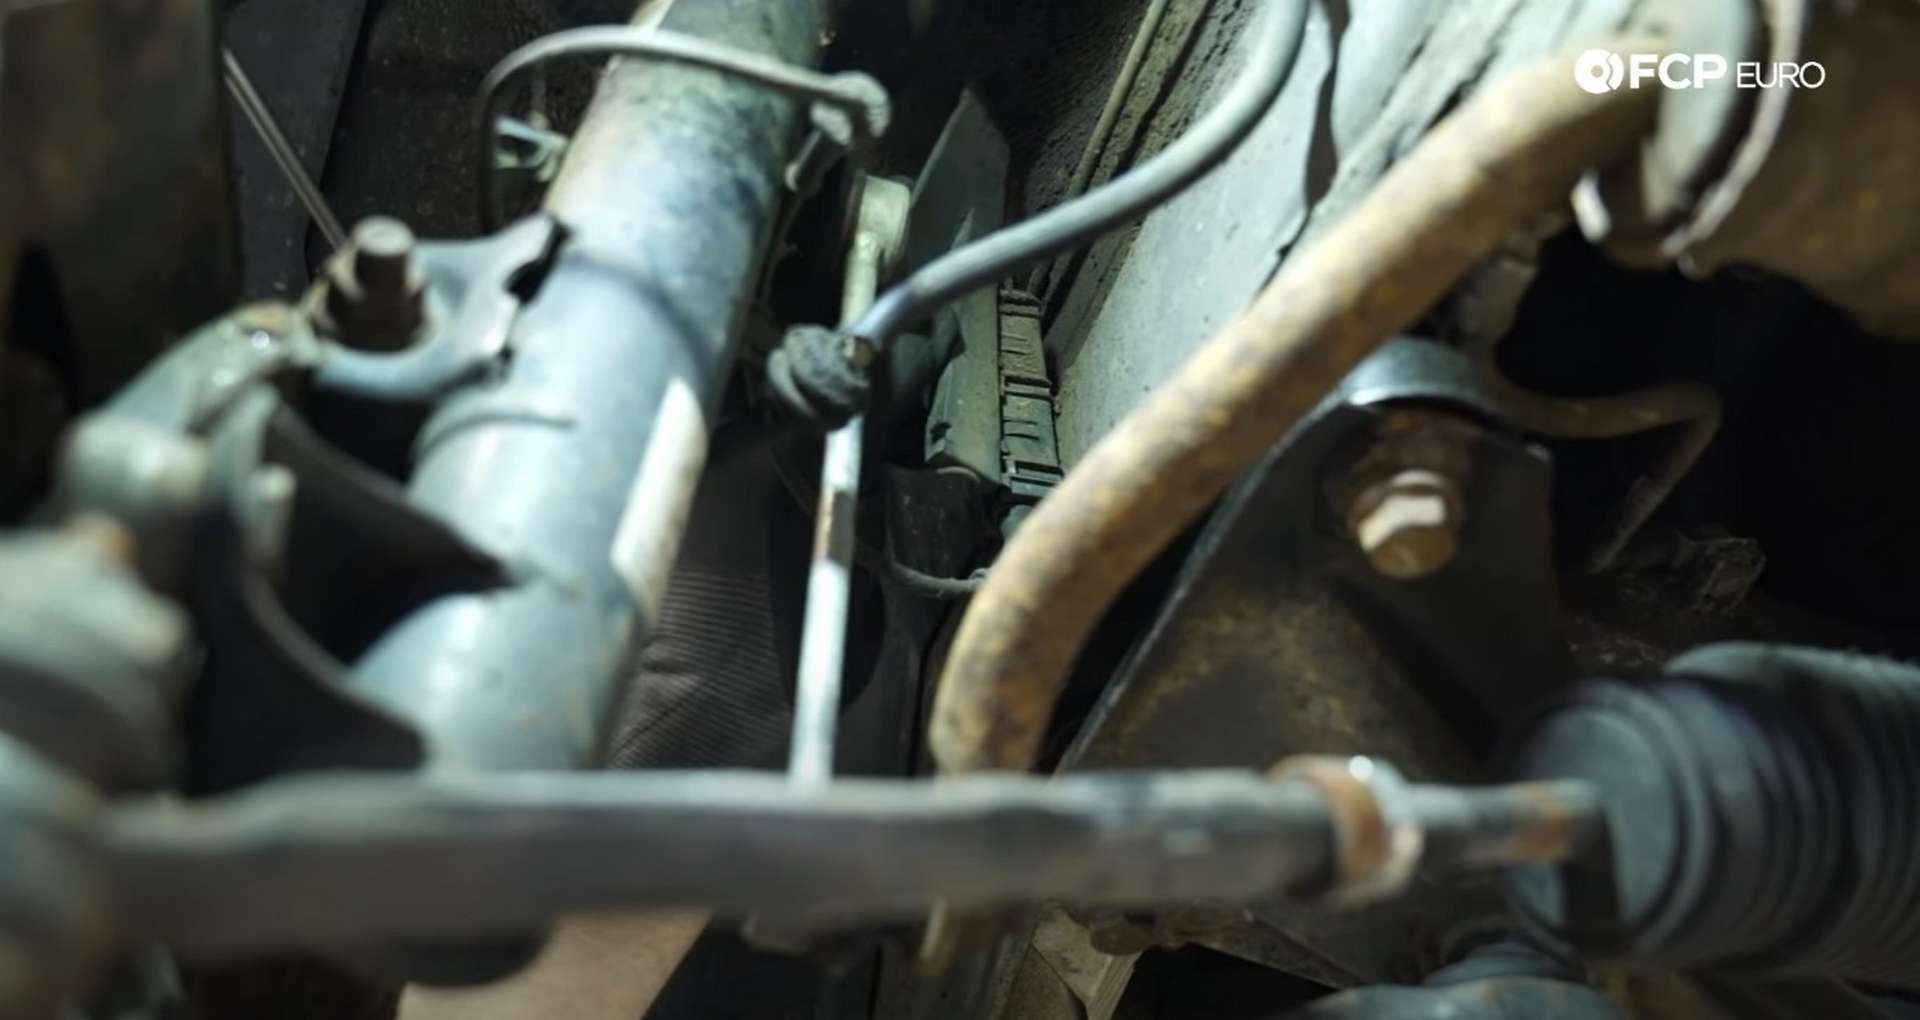
The wheel speed sensor and brake line are held into brackets on the strut. Pop the wheel speed sensor line out of its retaining clip and use a pick or screwdriver to pry the brake line off its mounting tab.
A connection for the wheel speed sensor sits in a plastic box on the inner fender. Open it and disconnect the wires to give yourself more space to remove the strut without damaging anything.
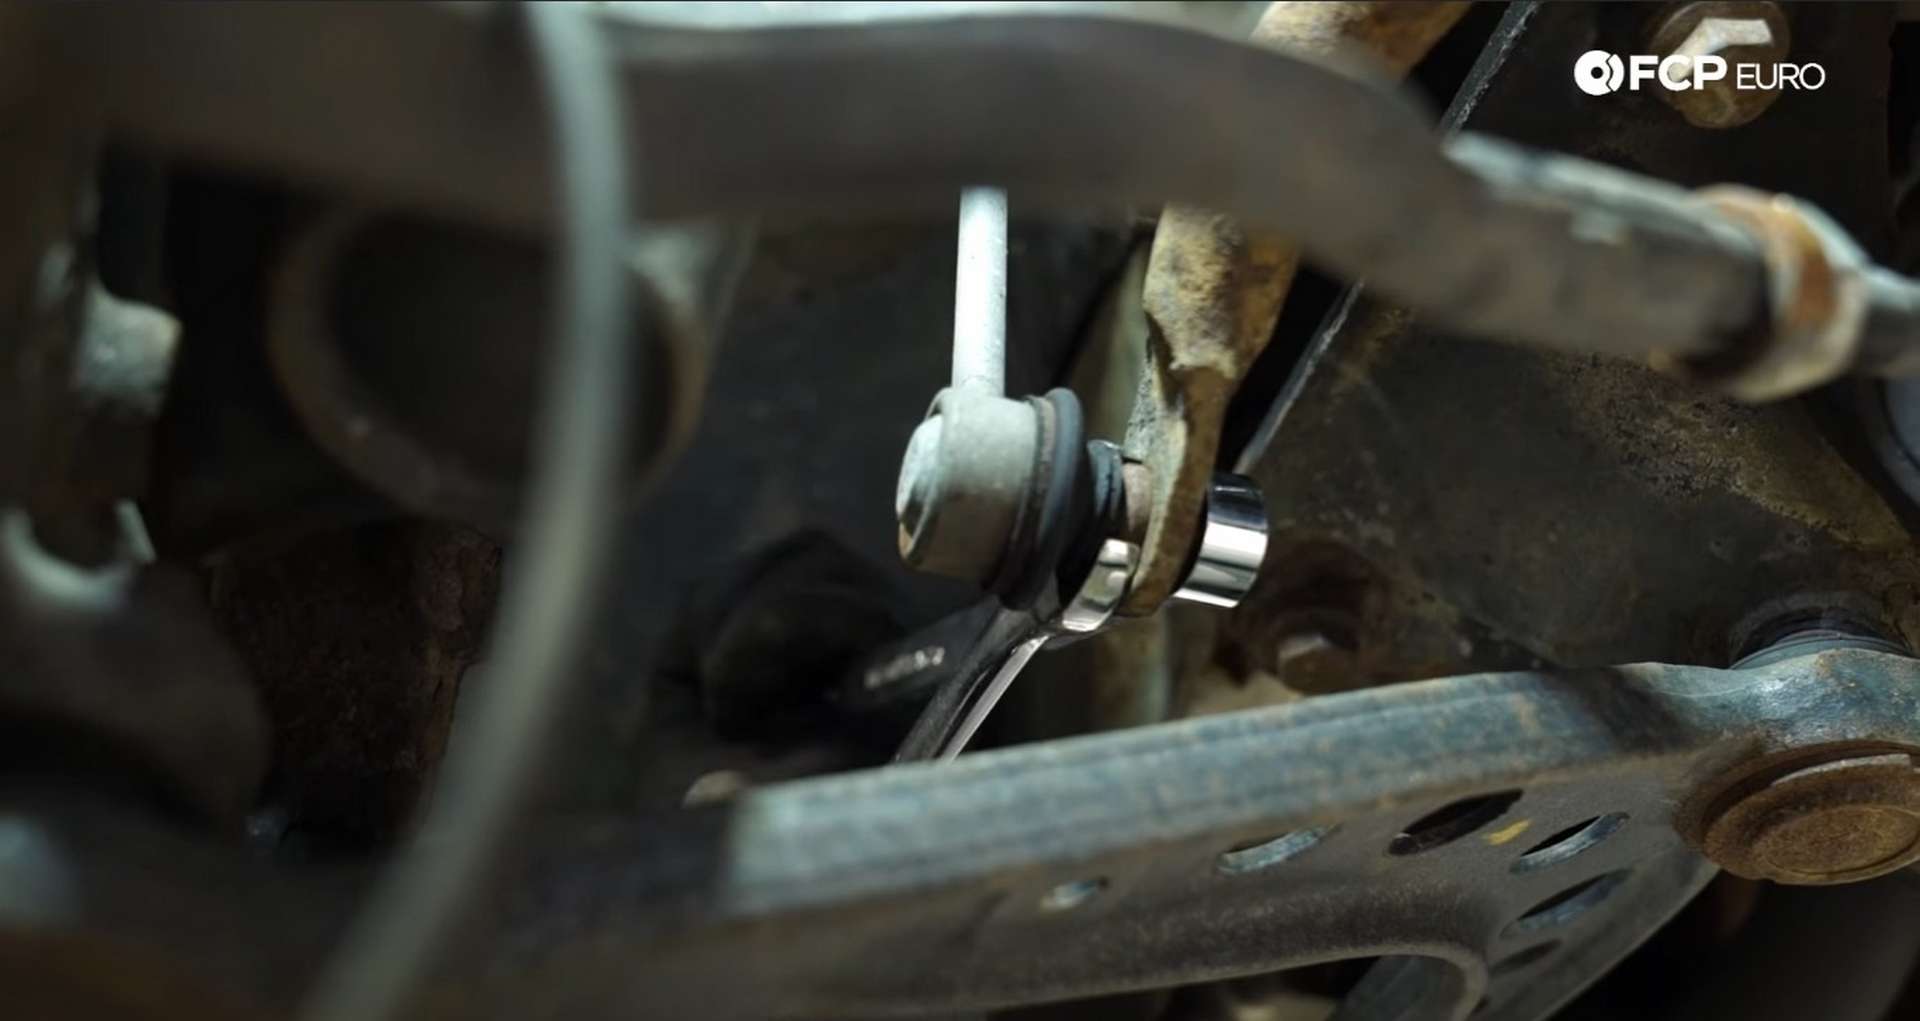
Next, disconnect the endlink from the sway bar. Use a 16mm wrench to hold the endlink and use another 16mm wrench or socket to remove the nut.
Three bolts secure the strut to the knuckle. Use an 18mm socket to remove the two lower bolts. These bolts have Loctite on them from BMW, so they will be tough to break loose. A long breaker bar or impact wrench is best to use in this application.
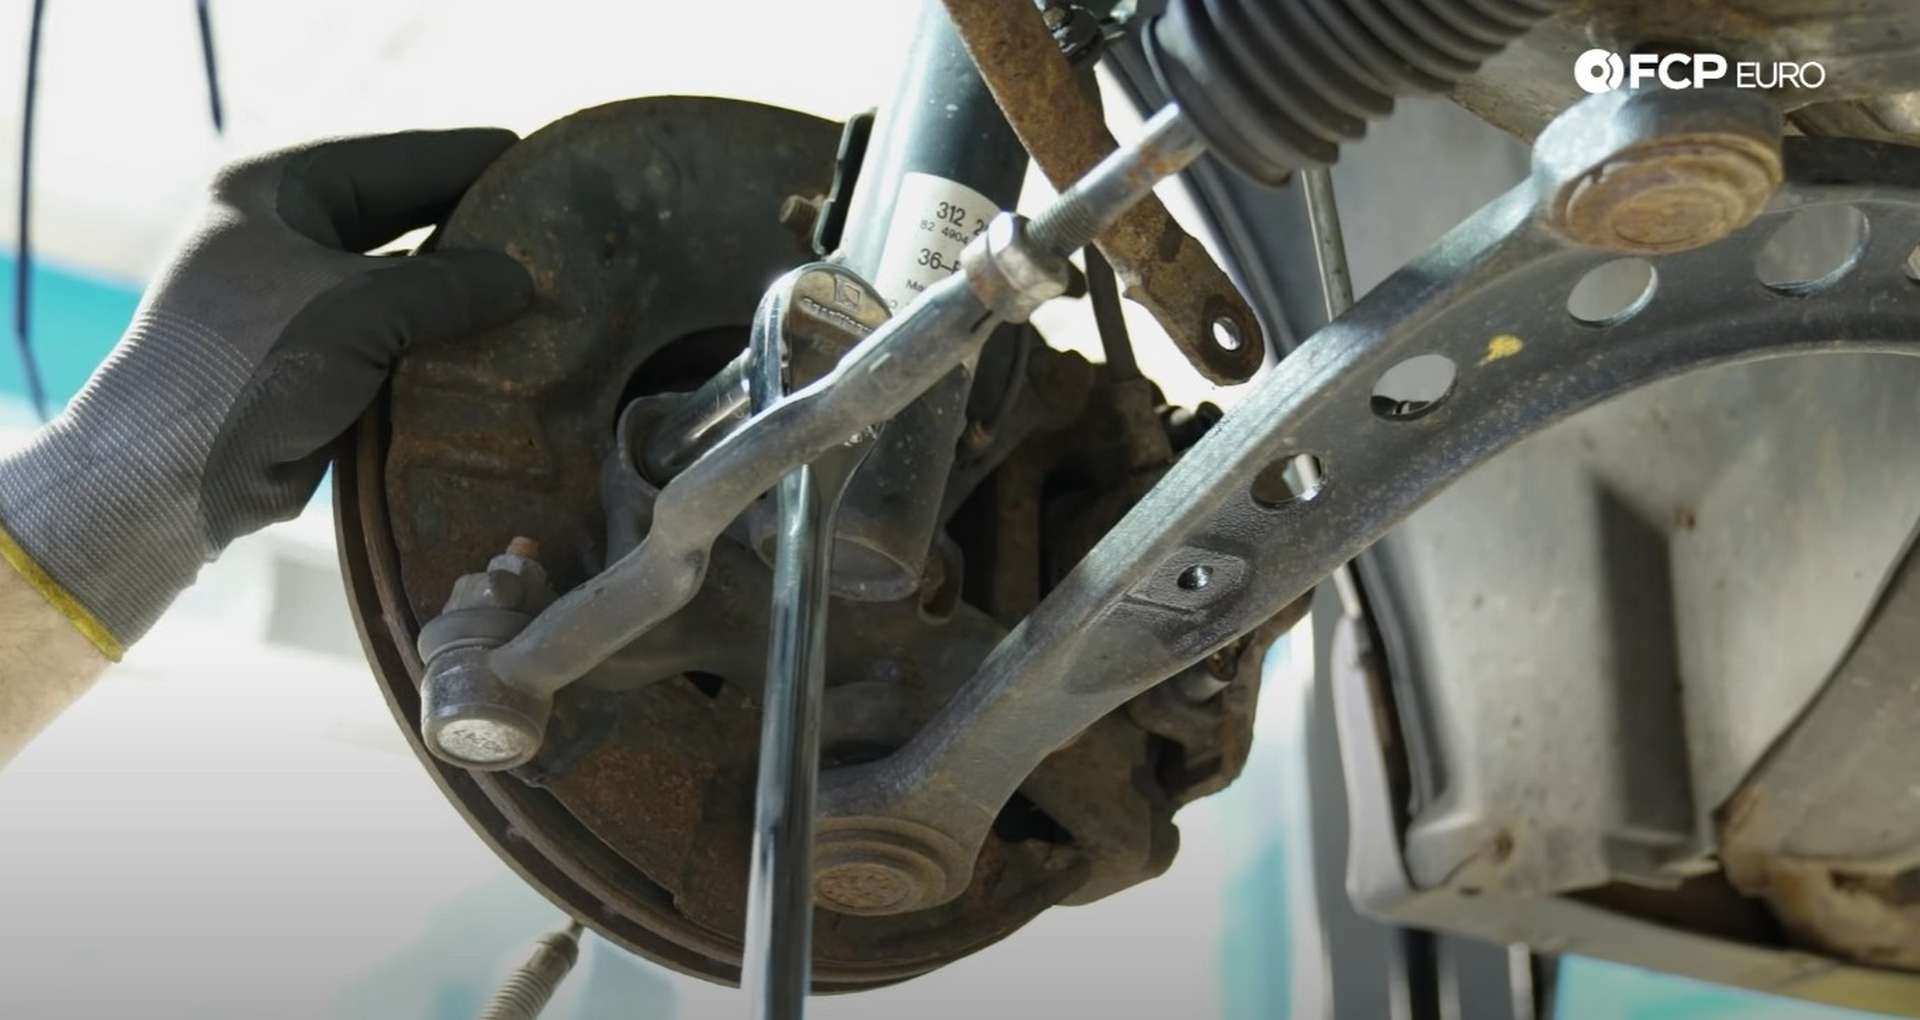
Use an 18mm socket and 18mm wrench to remove the upper knuckle bolt. Cars in areas with rust issues can have the upper bolt seize in the knuckle. If that happens, thread the nut back on a few turns, and hit it with a hammer. If it still doesn't come loose, use a MAP-gas torch to heat the knuckle, and then hit it with a hammer.
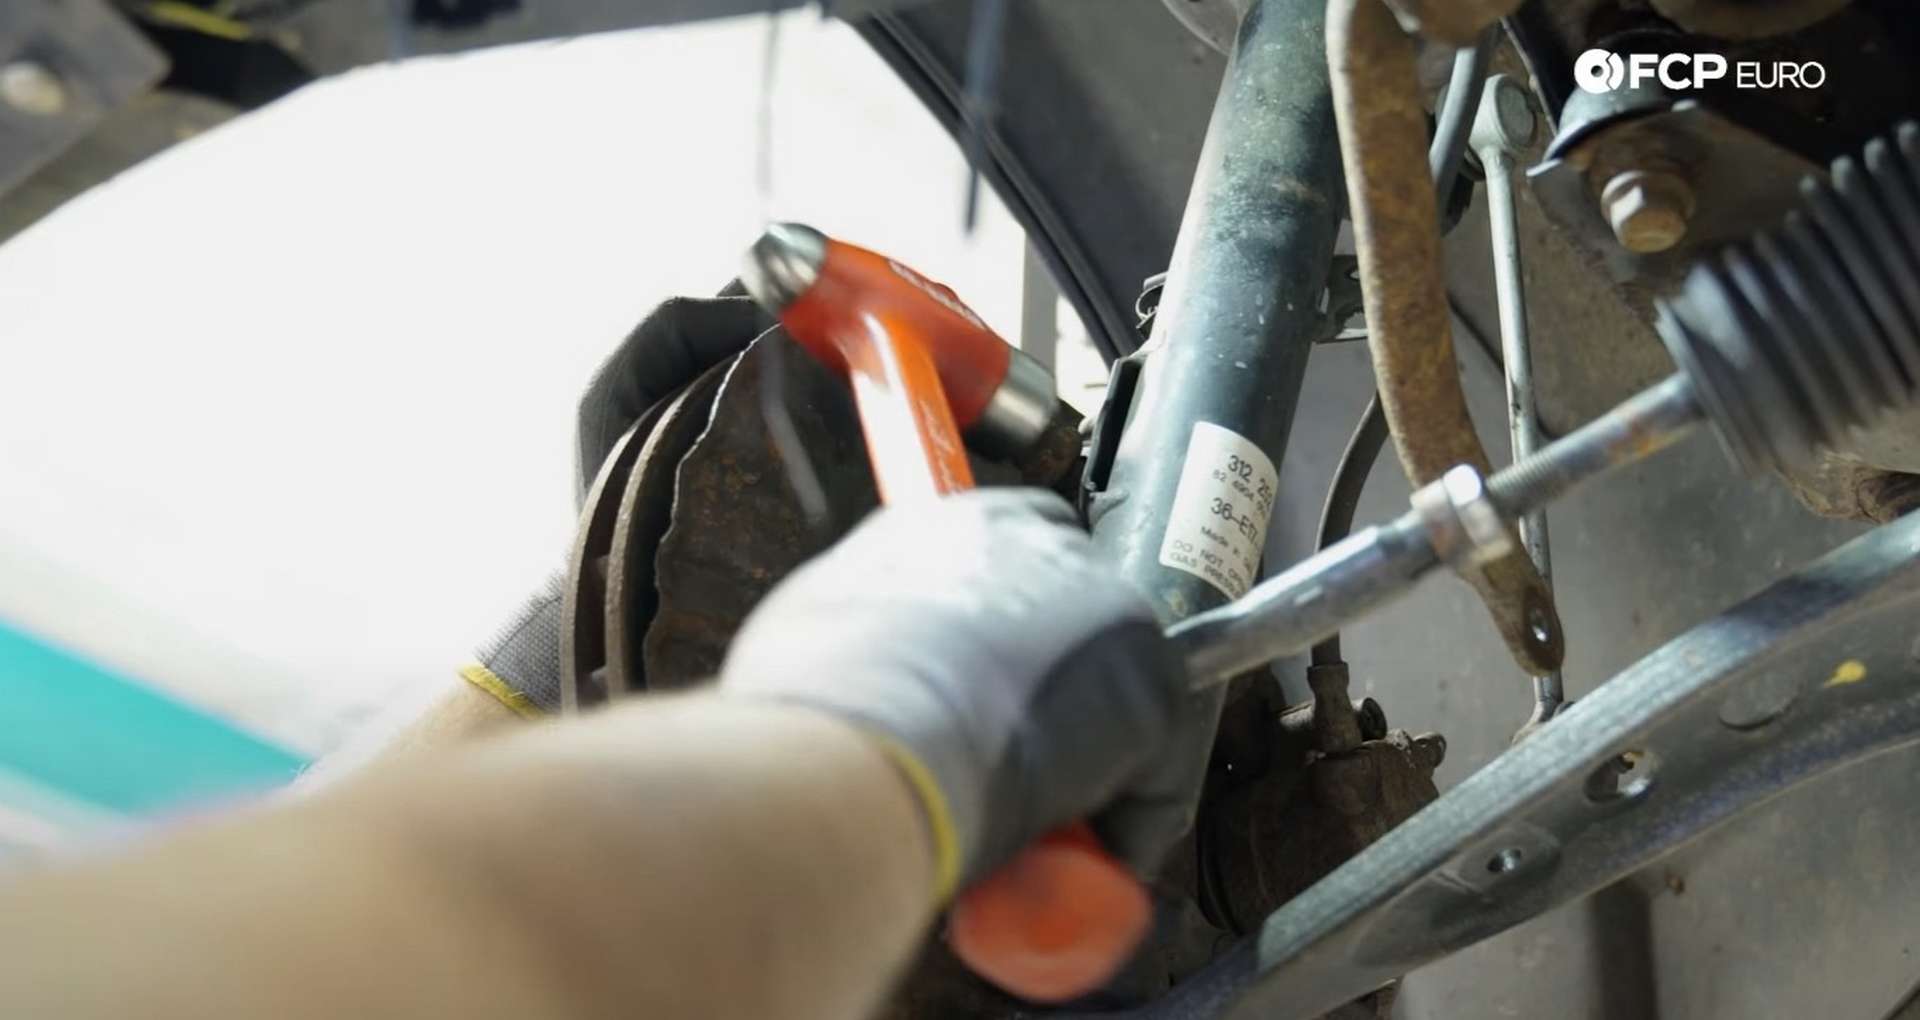
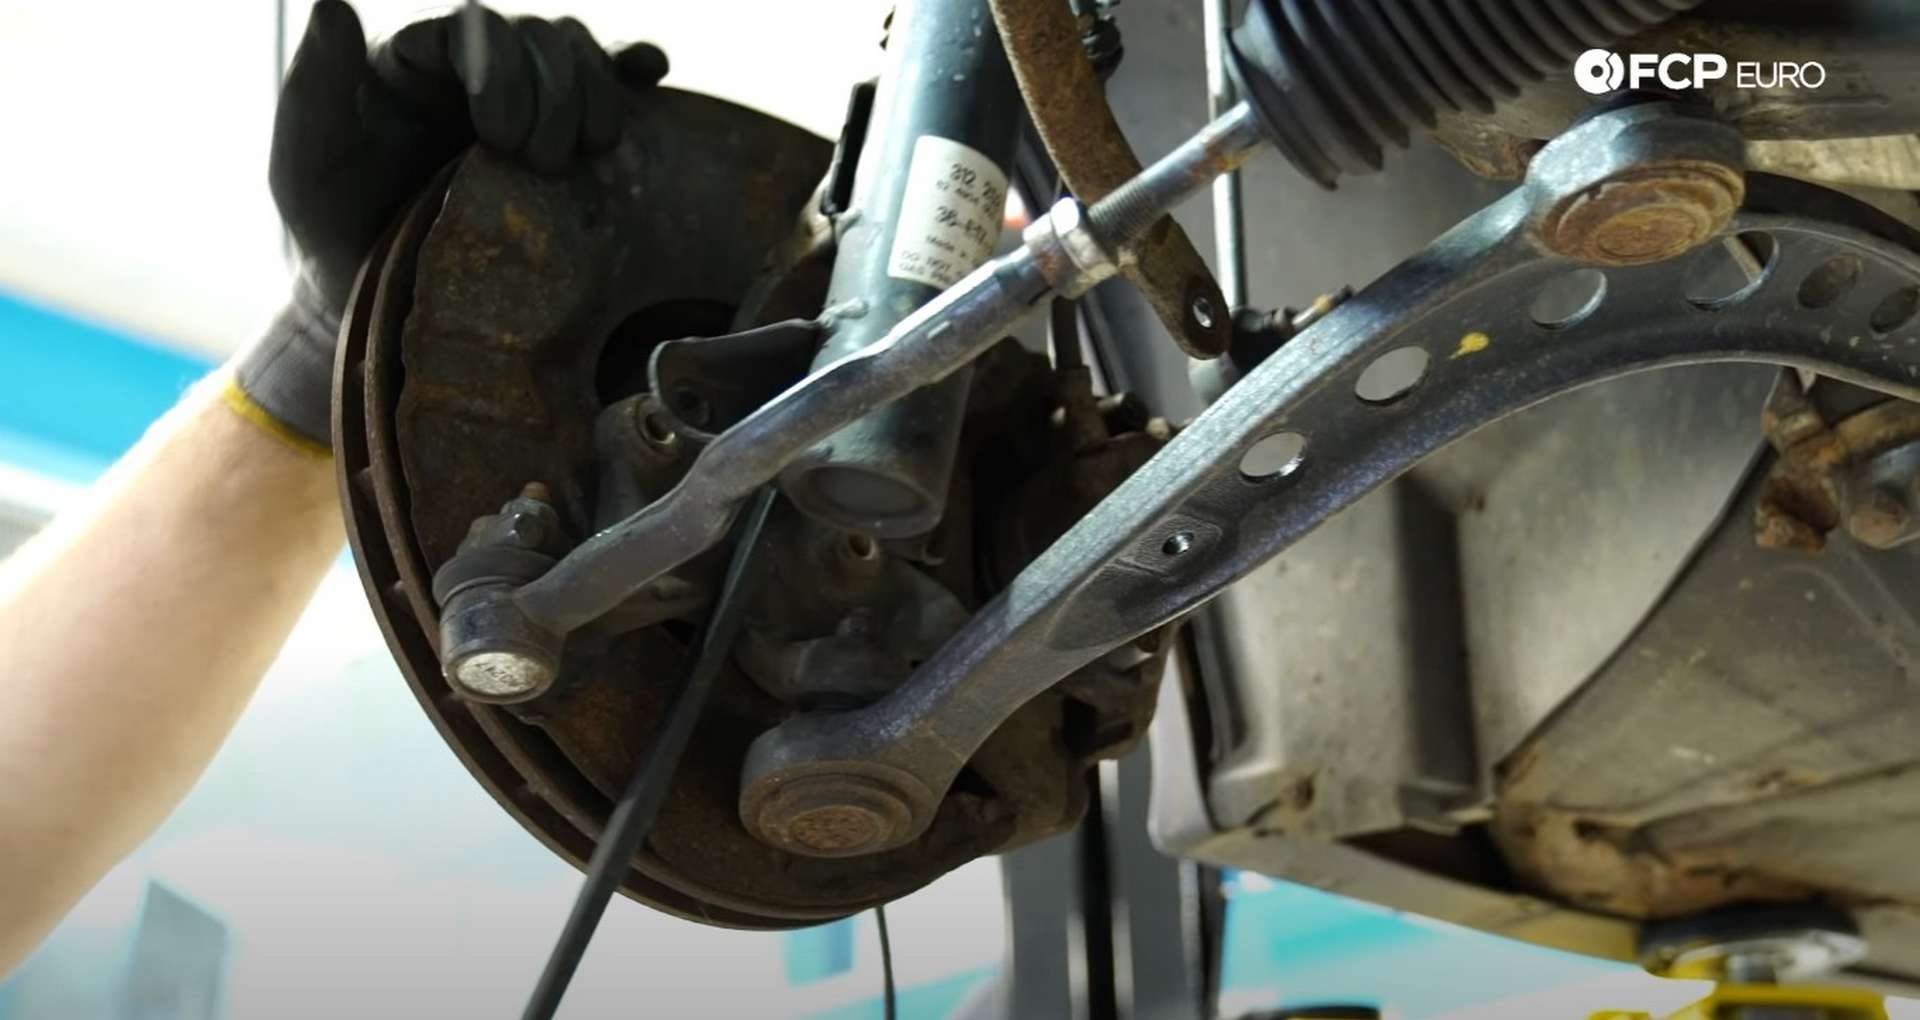
The best way to separate the strut from the knuckle is with a big screwdriver or pry bar. You can also hold the strut in place and grab the rotor to force the knuckle back and forth.
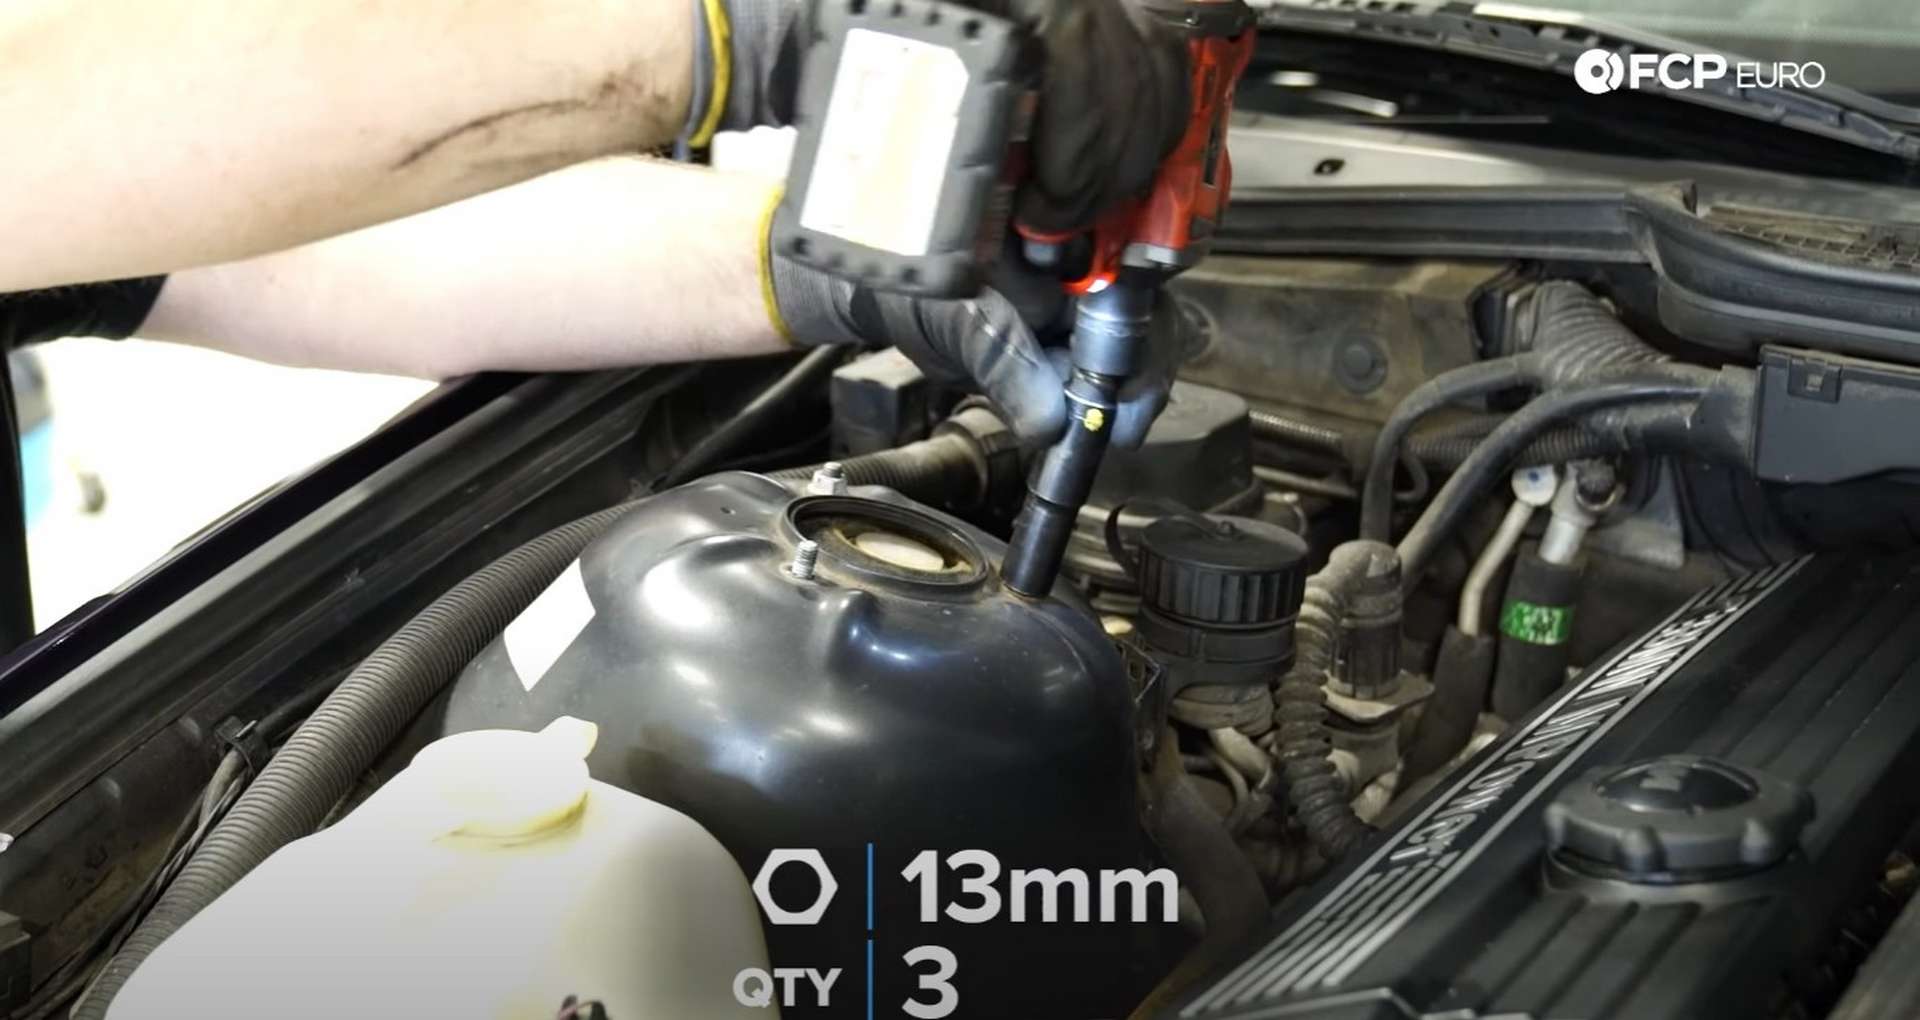
Lastly, head up into the engine bay and use a 13mm socket to remove the strut top nuts. The last strut top nut is the last thing holding the strut to the car, so hold the strut with one hand as you remove the last nut. Otherwise, the strut will fall right out of the car and potentially damage something.
Step 2: Install the new front suspension
The front BC Racing coilovers we installed in this DIY were directional, so make sure you are installing the correct strut at each corner. Now would also be a good time to try and set the ride height you're looking for. Eyeball it the best you can to give yourself less work later.
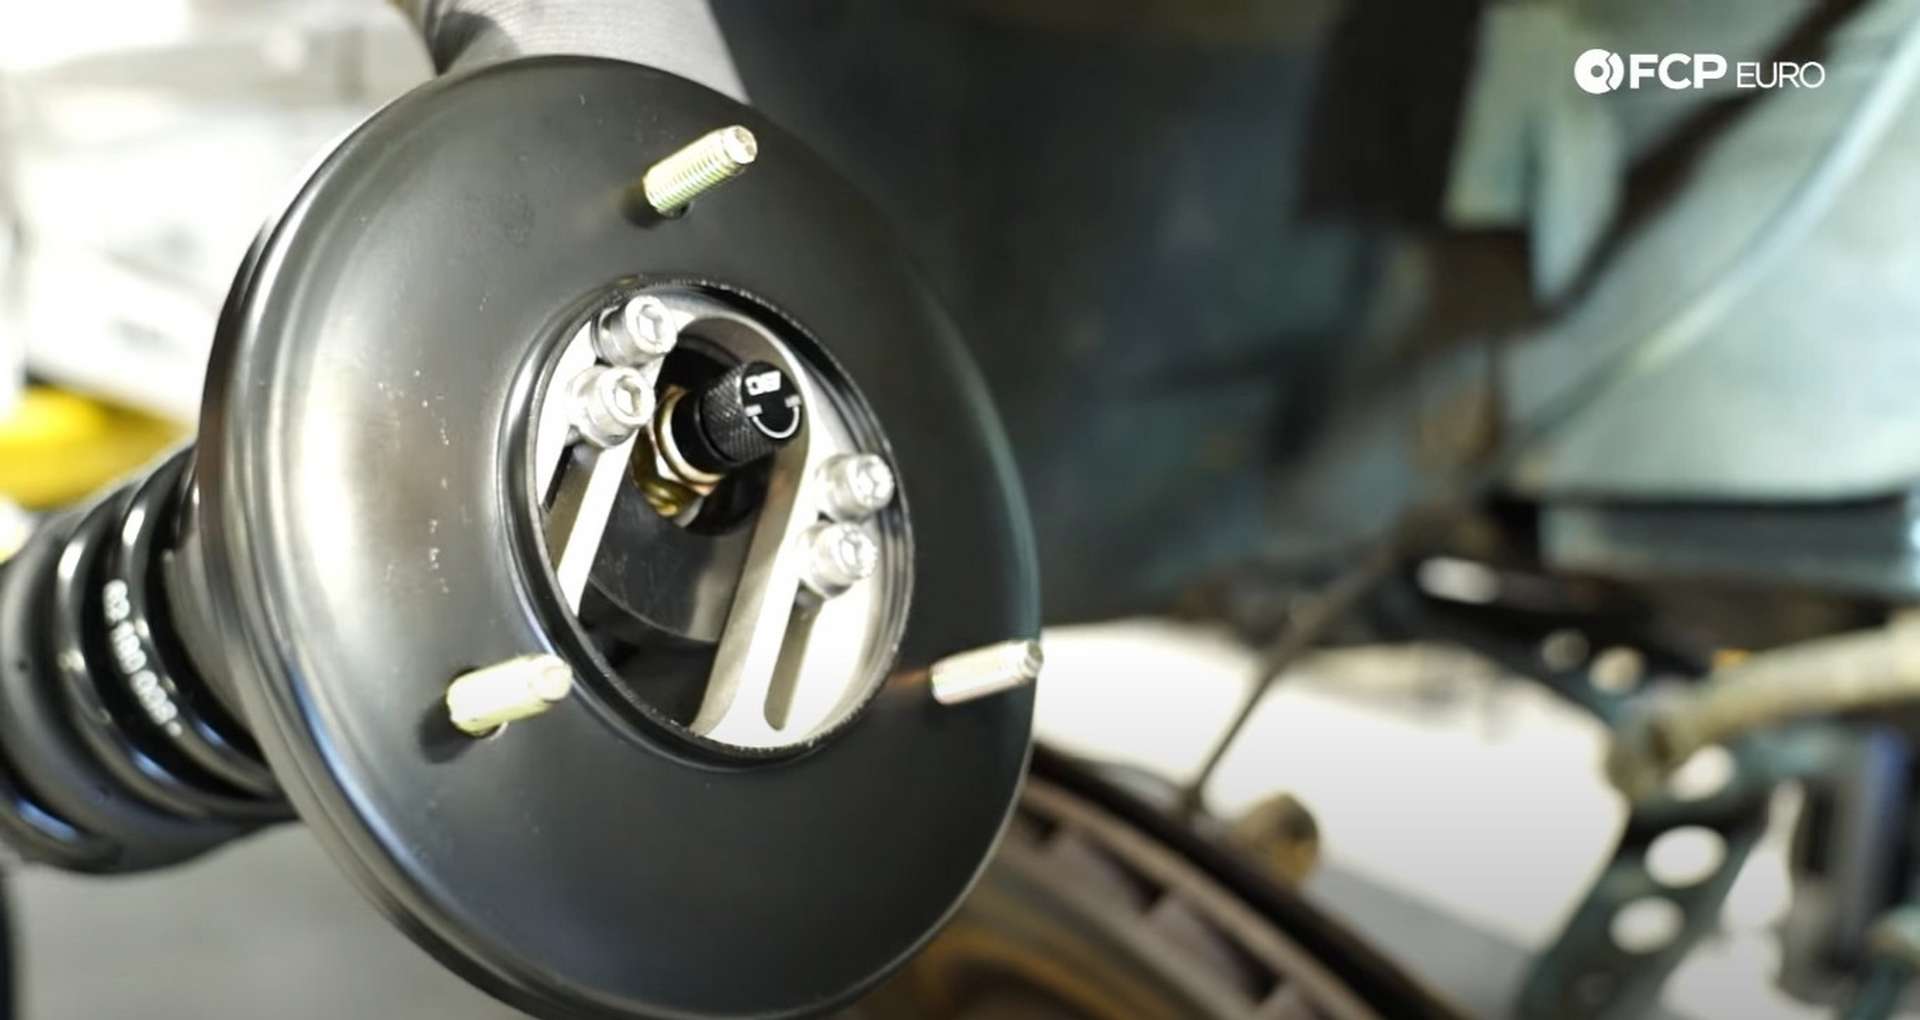
These coilovers also came with adjustable camber plates for strut mounts. From experience, Gareth says you should give the top mounts plenty of negative camber before mounting them in the car. Then, start installing them once you have your initial suspension settings set.
Maneuver the coilover up into the wheel well and through the strut tower. Thread on the strut tops nuts to hang it in place. The hardware included in whichever kit you choose may be a different size than the factory hardware. The BC Racing kit uses a 12mm nut for the strut tops rather than the OEM 13mm.

Wait until there is a load on the suspension to tighten the top nuts. Next, place a jack underneath the knuckle and raise it until the knuckle aligns with the mounting holes on the strut.
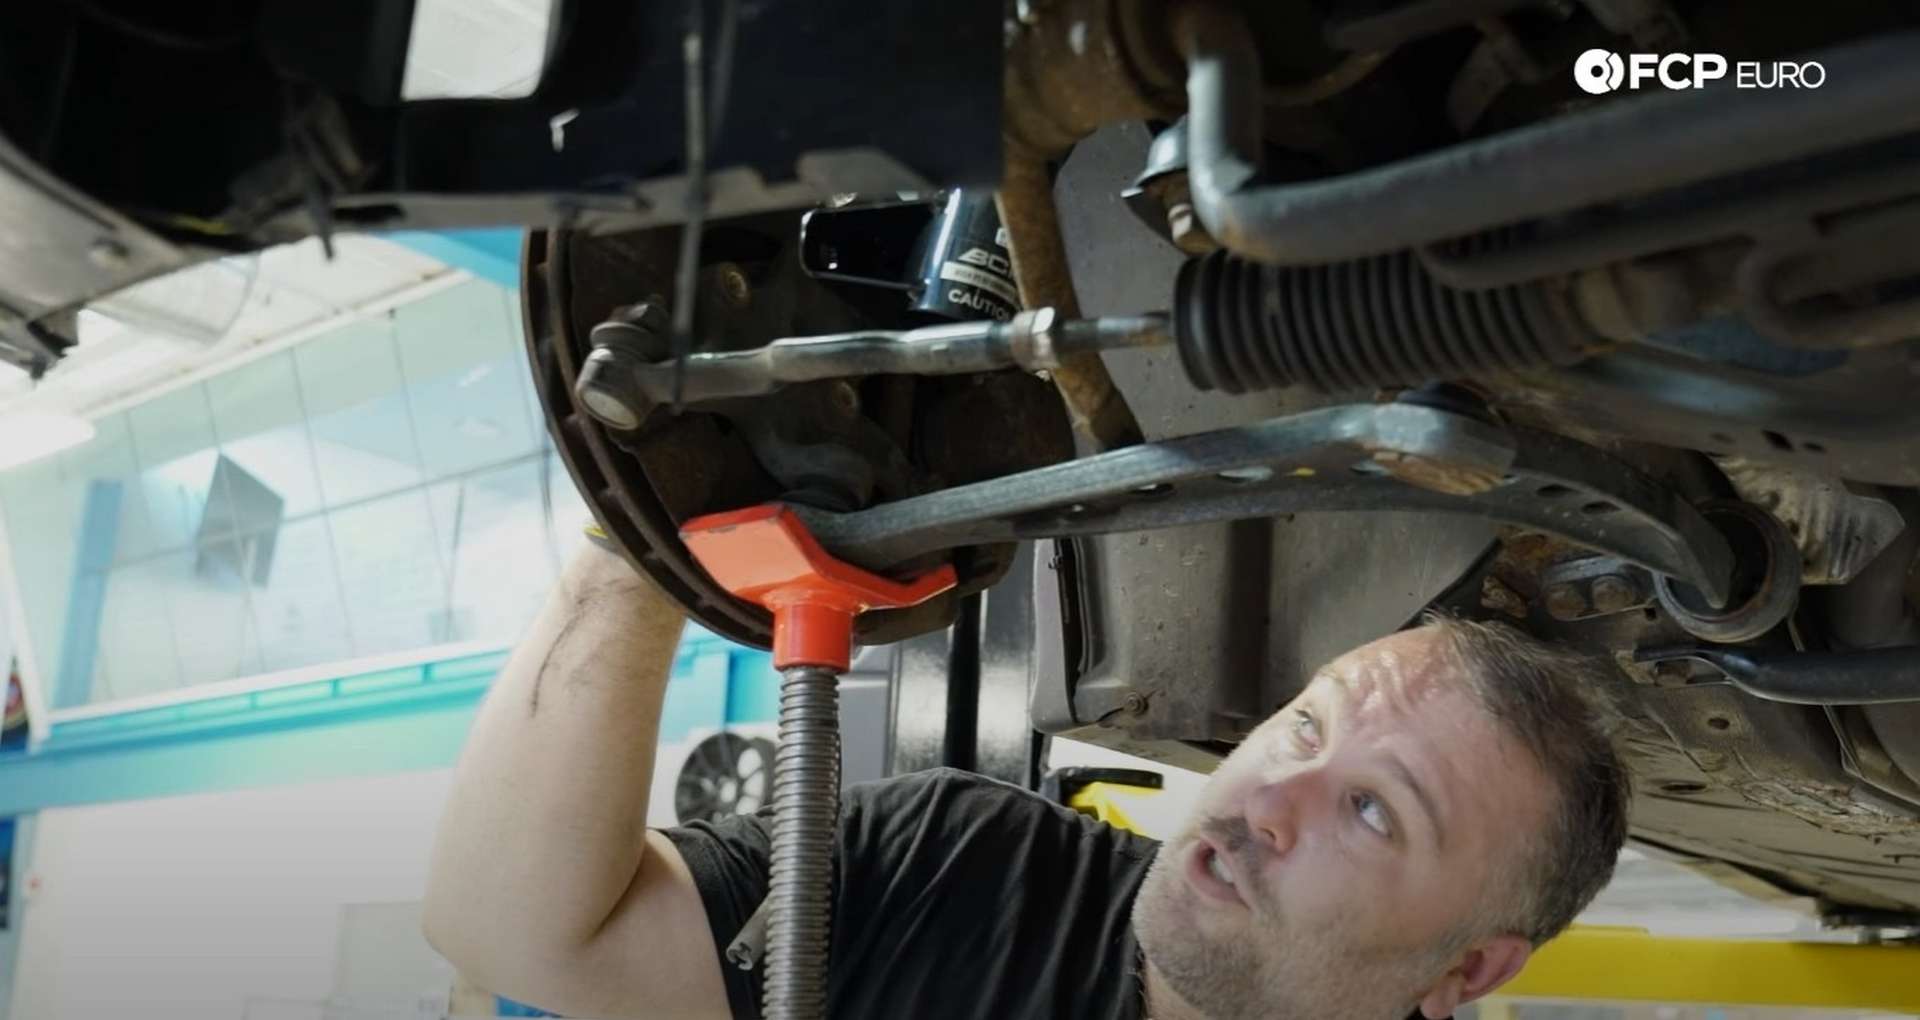
Install the two lower bolts before tightening the top one. You should replace the lower bolts with new ones from BMW that have fresh Loctite on them. Thread them in by hand before driving them in with an 18mm socket.
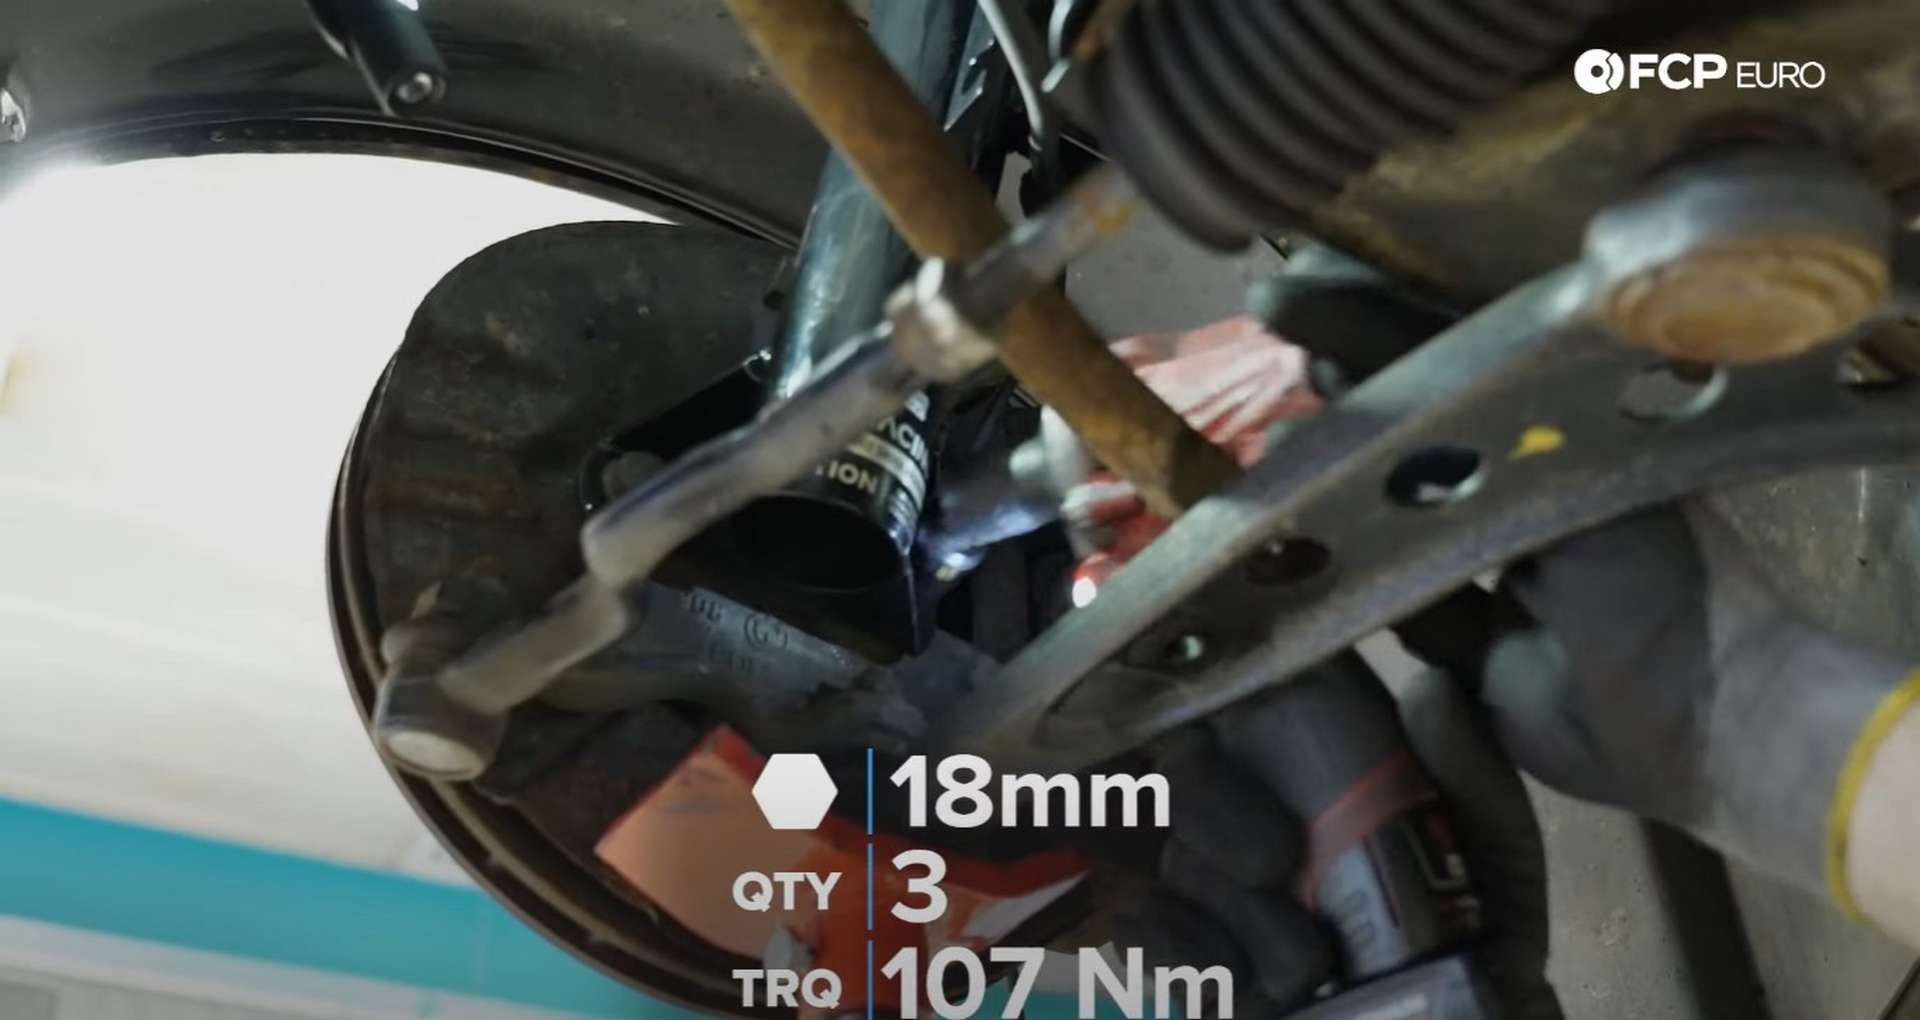
Use the 18mm socket and a torque wrench to torque all three bolts to 107Nm.
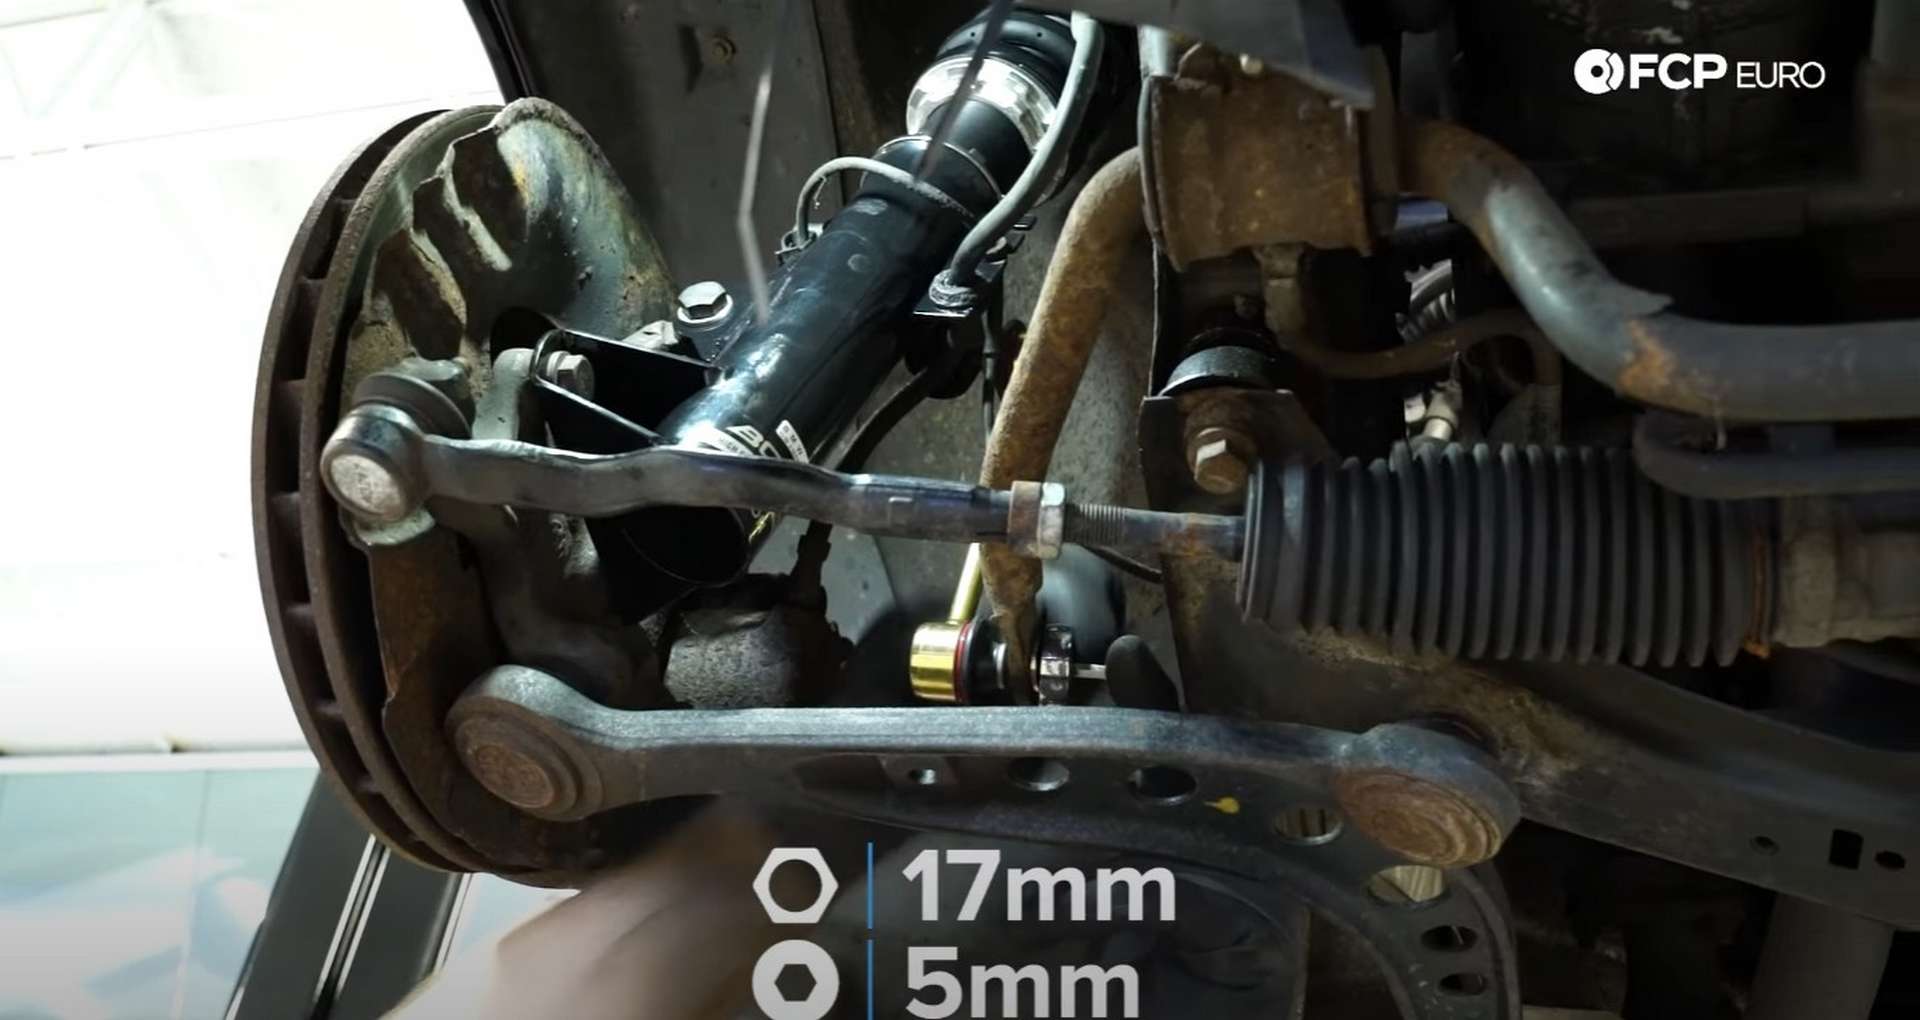
The BC Racing kit also comes with a new and shorter end link meant to work with their coilovers. Loosely fit both ends into place before using a 17mm wrench to tighten the nuts. Rather than having a second wrench to counter-hold the end link, you need to use the 5mm Allen key BC Racing supplied.
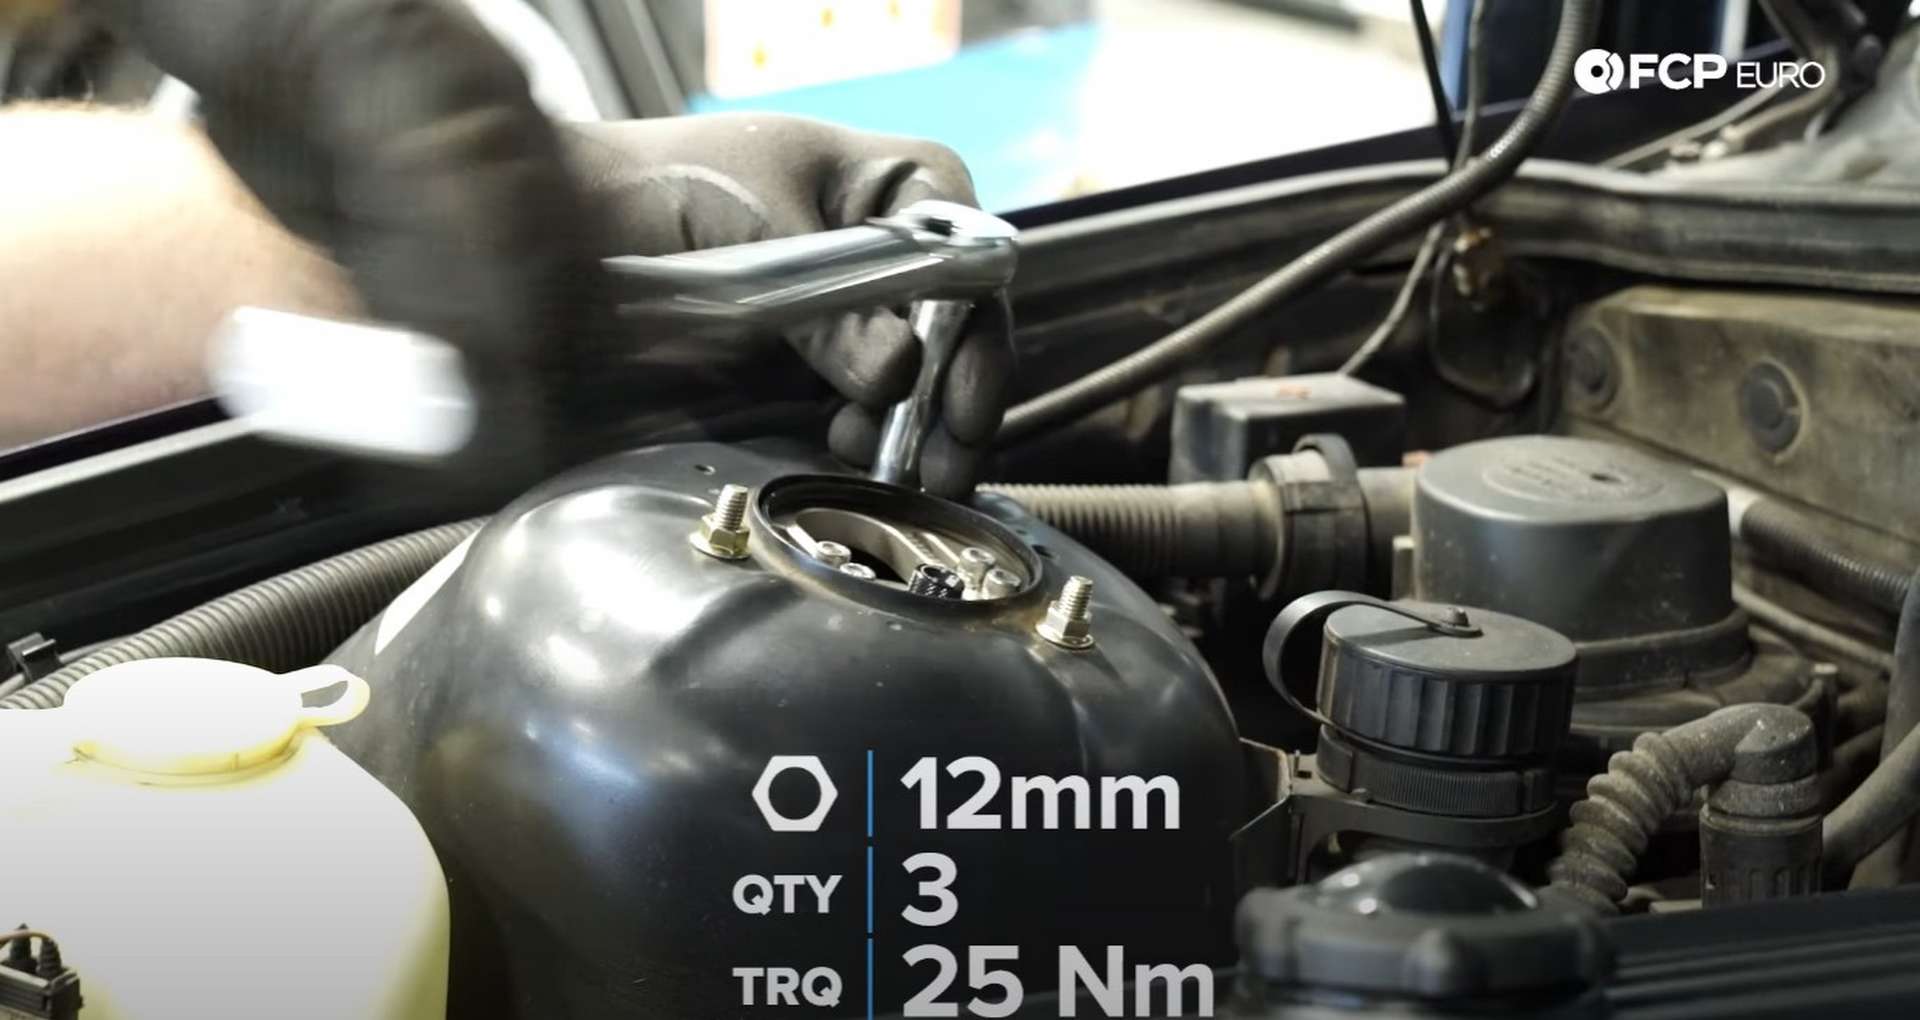
After that, refit the wheels and set the front of the car onto the ground. Lastly, tighten the strut top nuts with a 12mm socket, if you're using the hardware supplied by BC Racing, and torque them to 25Nm.
Step 3: Remove the rear shock and spring
Jack up the rear of the car and place it onto some jack stands. Then, use a 17mm socket to remove the wheels.
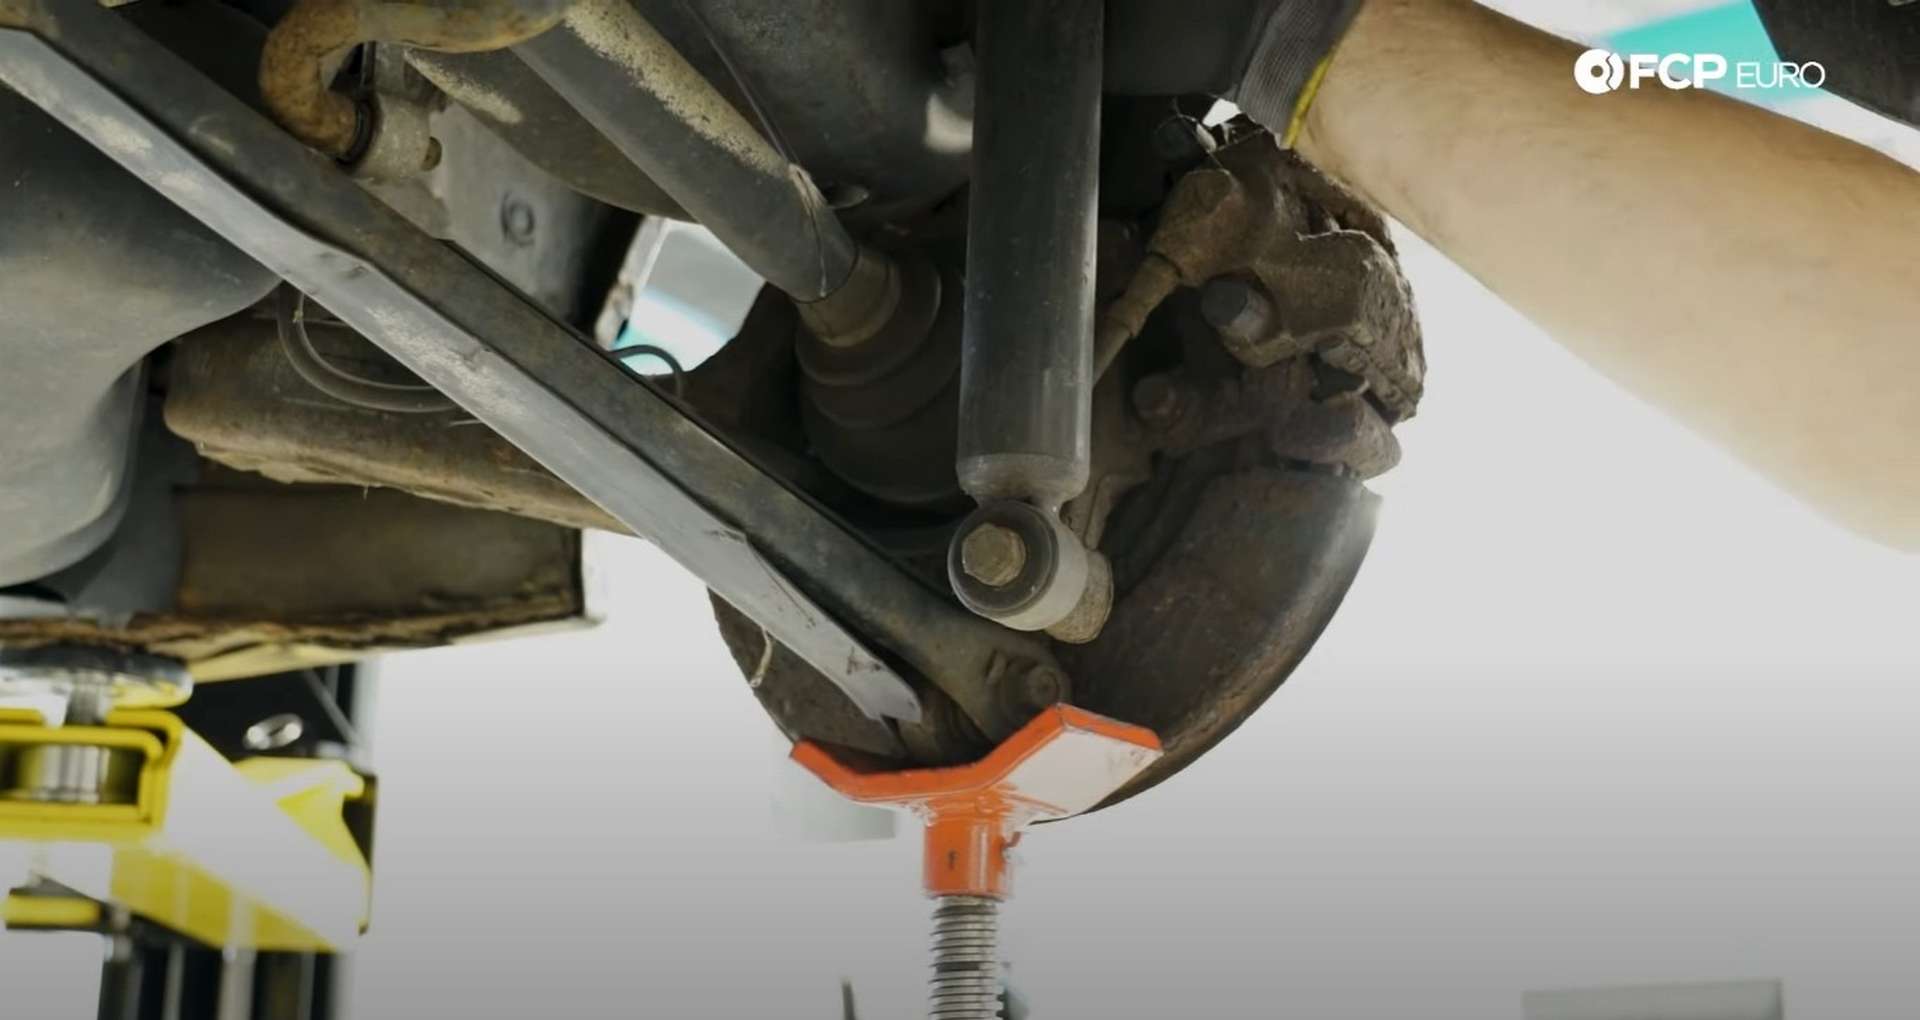
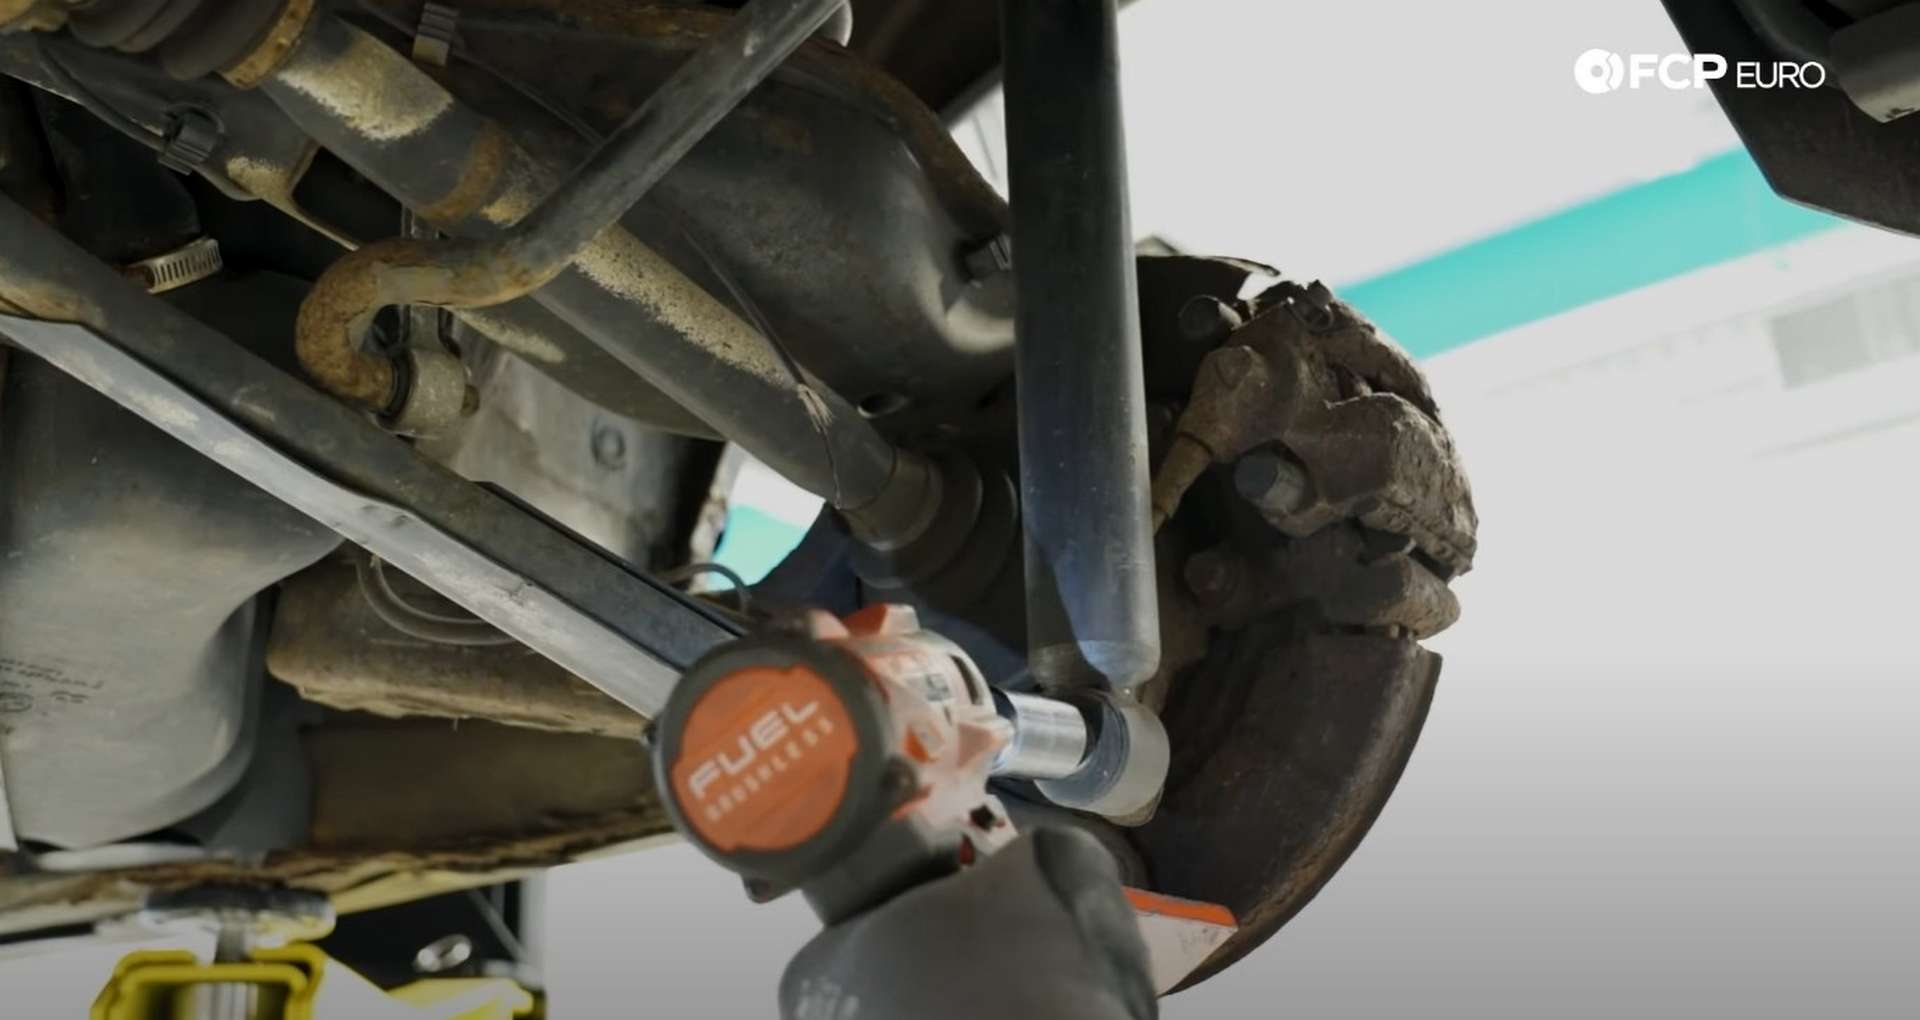
With the car in the air, the rear spring is putting tension on the shock. Place a jack under the rear trailing arm mount and raise the suspension slightly to remove the tension. Then, use an 18mm socket to remove the lower shock bolt.
With the shock unbolted, the push the suspension down and remove the spring. A pry bar will help you leverage it out of the spring seat. Then, head into the trunk.
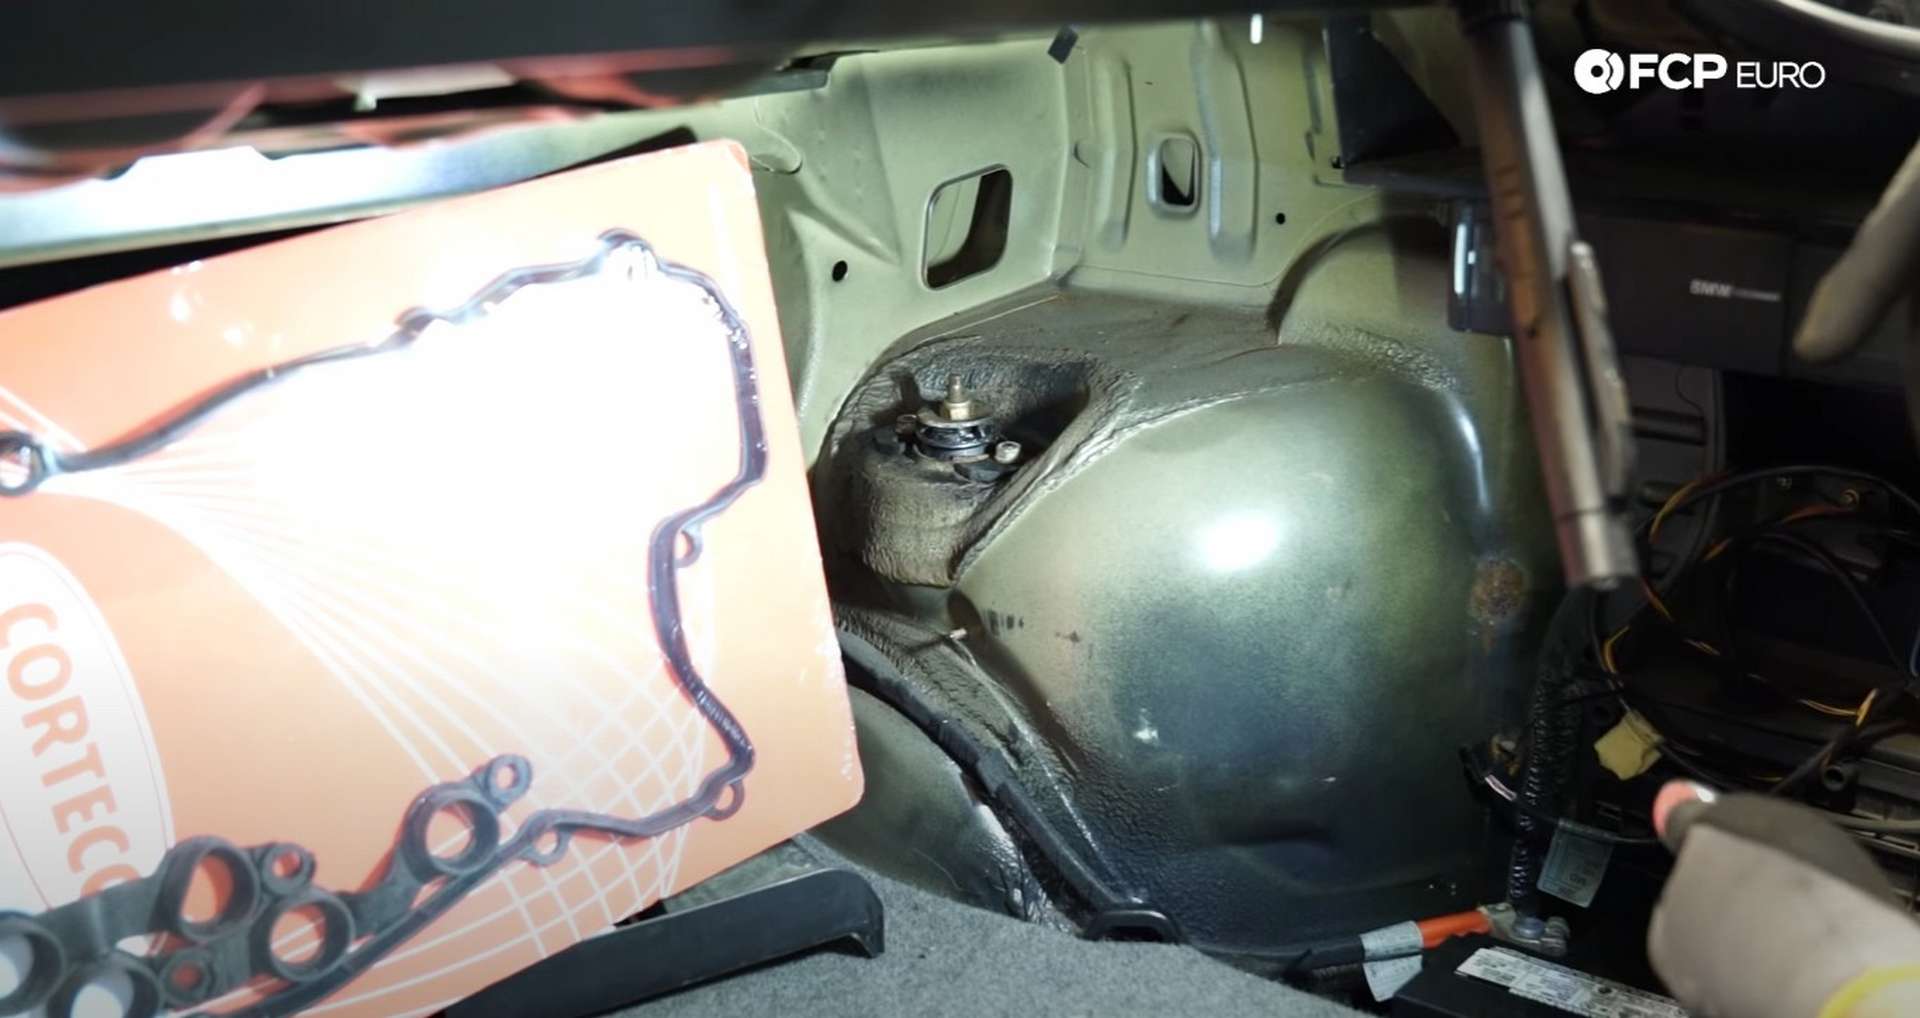
Use a 13mm socket to remove the two nuts securing the strut to the shock tower.
Step 4: Install the rear suspension
You need to put together the rear upper spring seat before putting the spring in the car. Thread the top rings onto the seat, place the poly spring insulator on top, and then fit that assembly onto the large rubber spring pad.
Install the non-threaded spring seat onto the lower spring pad and place the spring on top. The adjustable perch assembly will sit atop the spring.

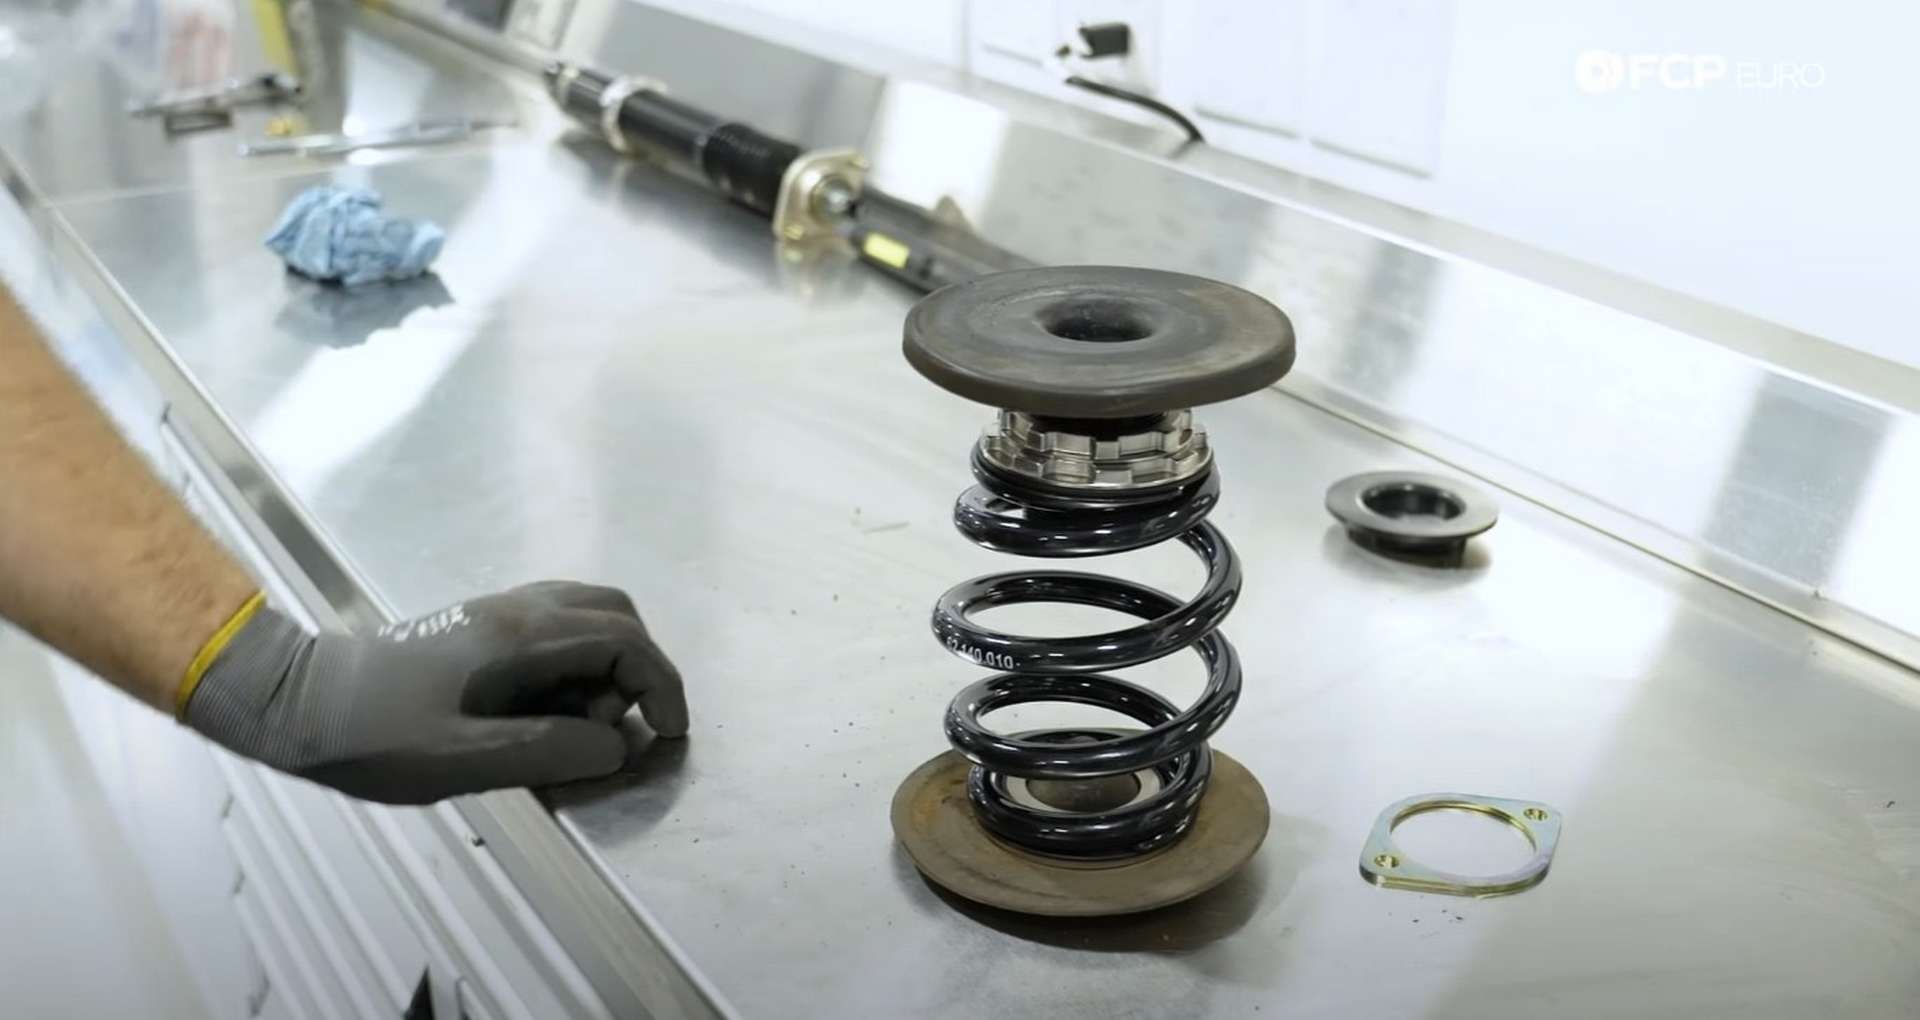
Place the lower spring seat into the control arm. Then, place the spring onto it and the adjustable perch on top of the spring, as pictured above. Because the new spring is so much shorter than the original, the upper perch may not meet the chassis. You'll fix this issue later.
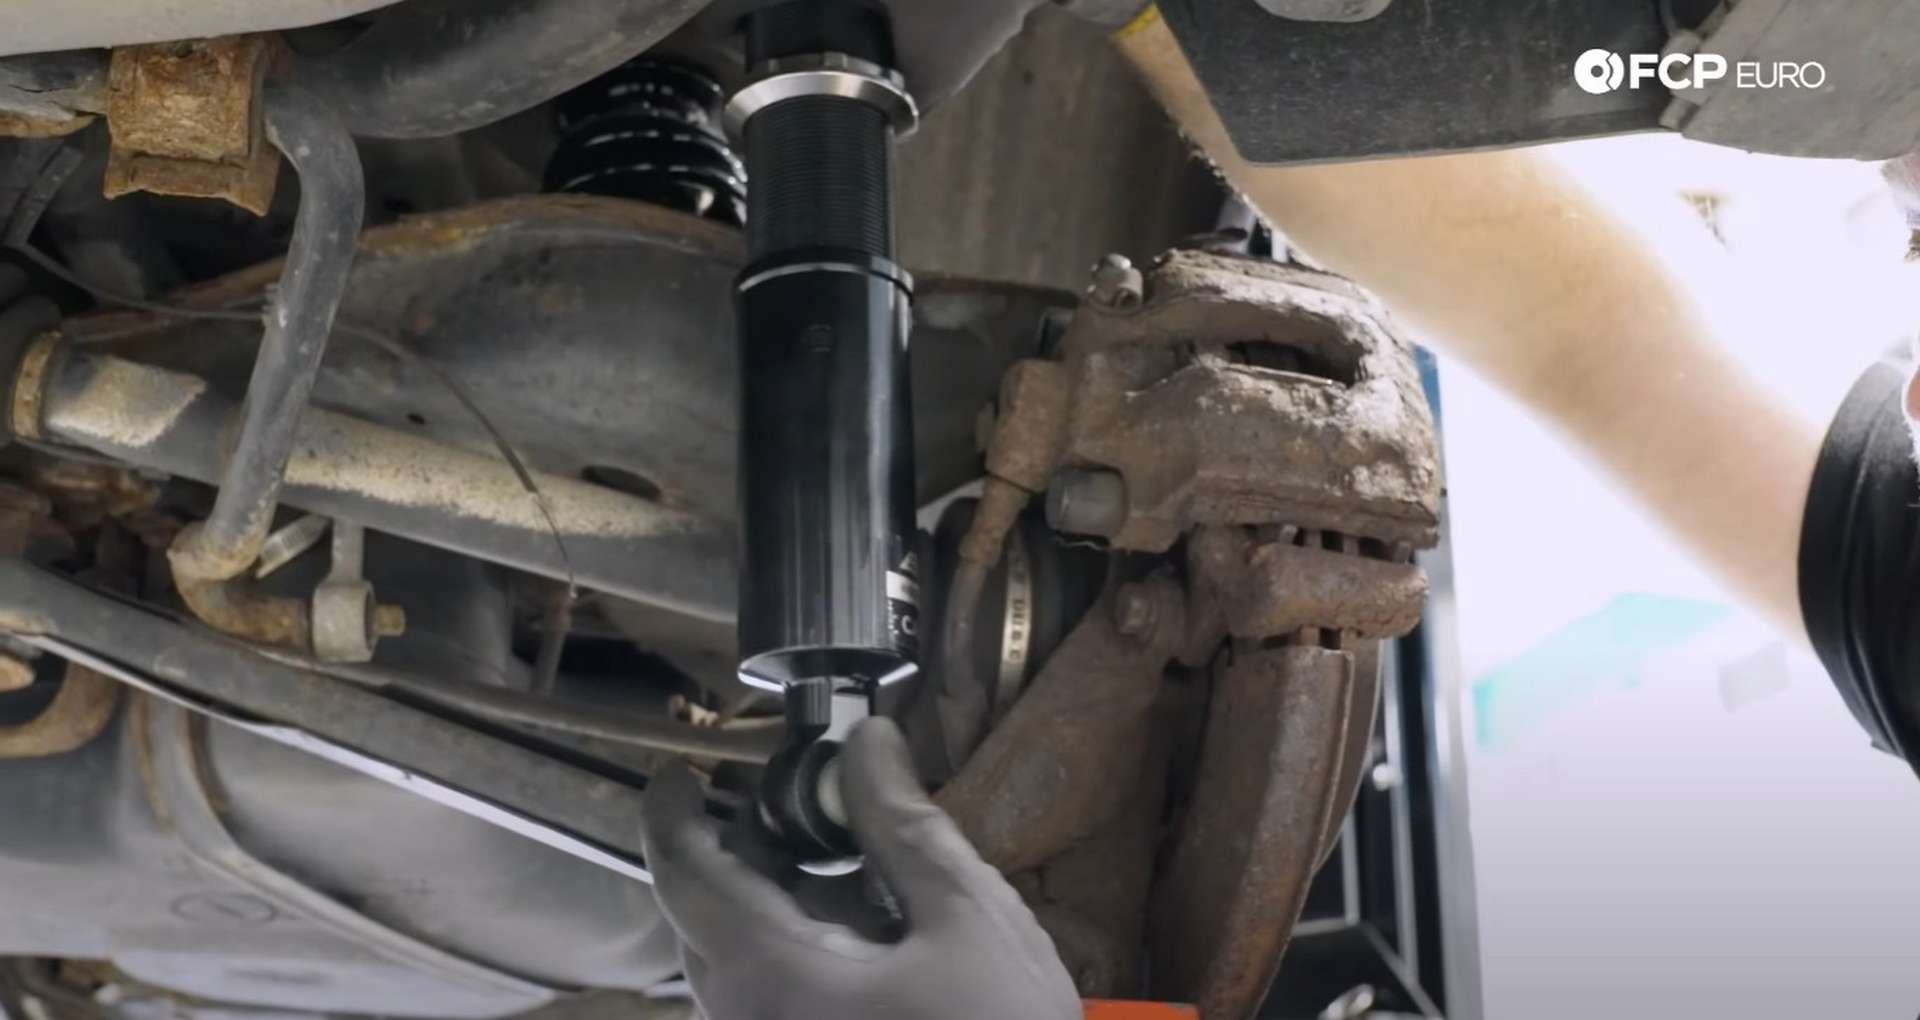
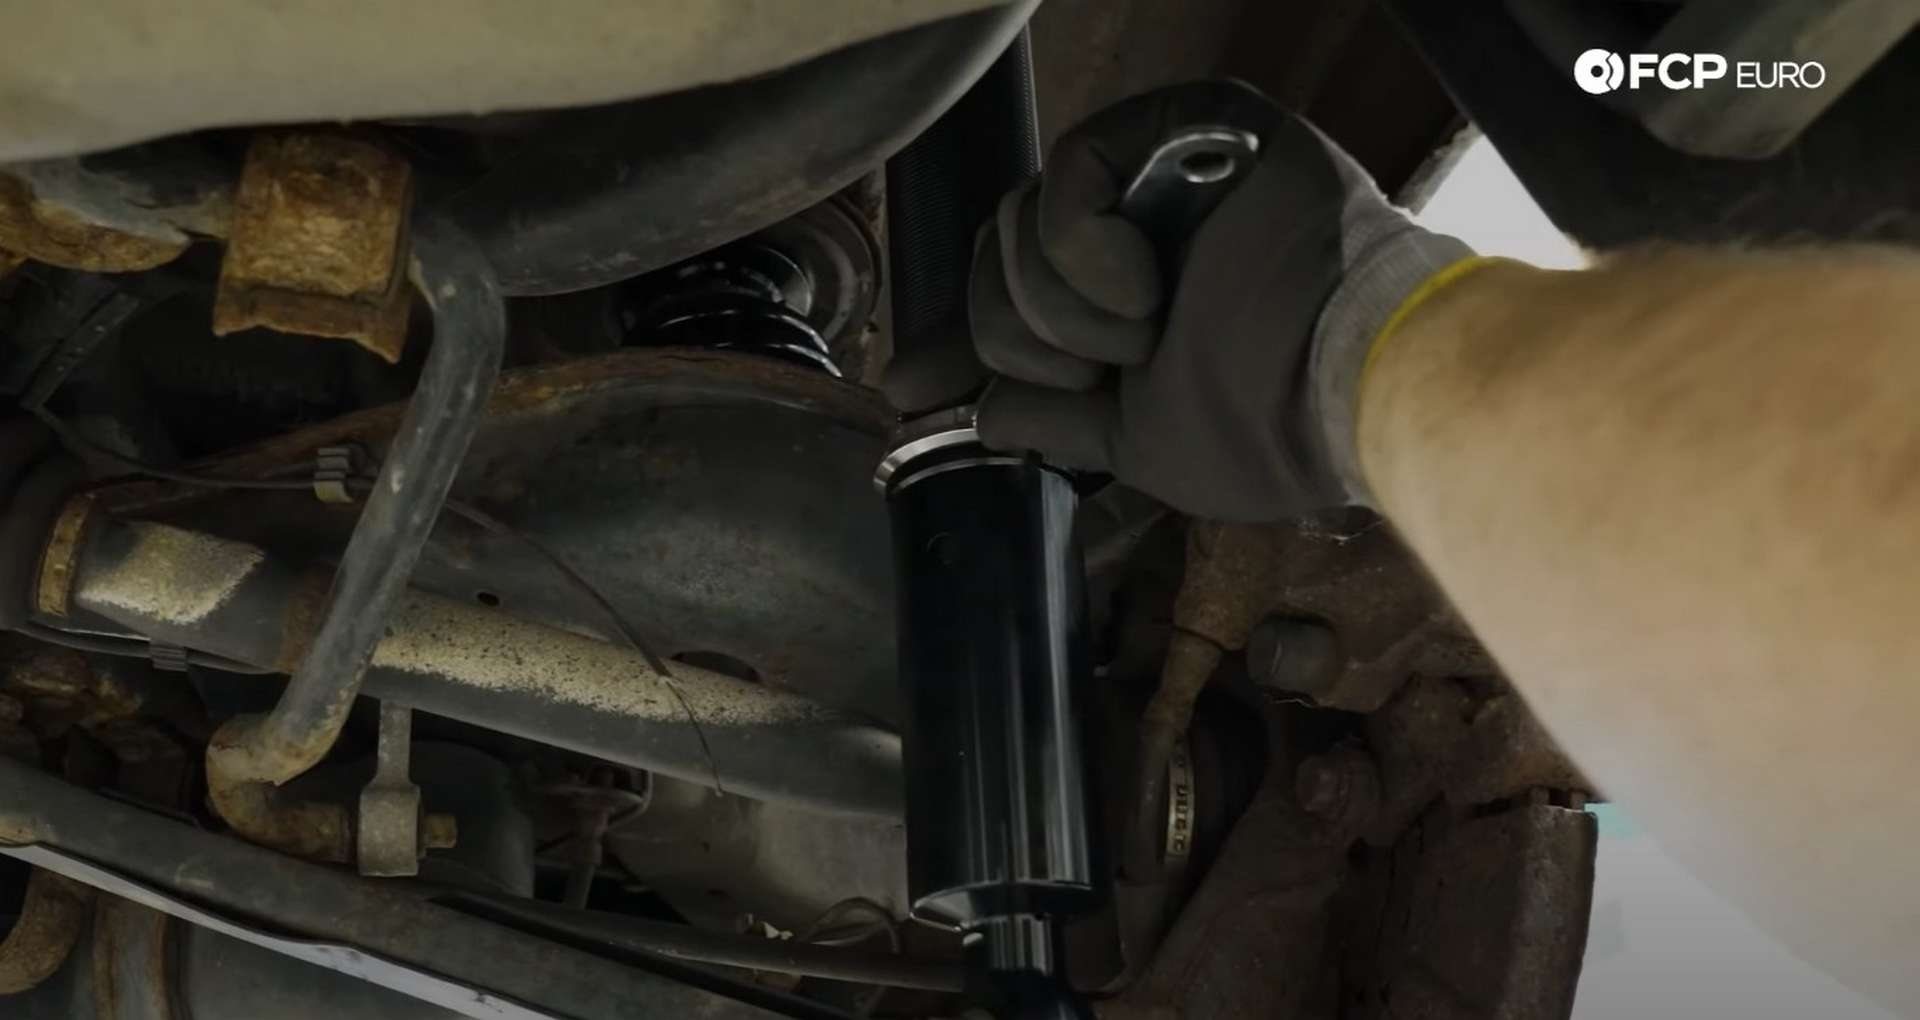
Next, install the shock into the shock tower. You'll need another person to hold the shock up as you thread on the nuts.

BC Racing chose not to use a helper spring, so they want you to preload the main-spring to prevent it from coming loose while the suspension is at full droop. Place the jack back under the trailing arm and raise the suspension until the spring is compressed about 10mm. When you do this, ensure that the upper perch is seated on the chassis properly. Then, loosen the collar on the shock and extend it until the bolt holes of the knuckle and shock line up.
Once the holes are aligned, thread in the lower shock mounting bolt. Spin the locking collar down until it hits the lower body and tighten it with the supplied wrench. Tightening it will lock the shock's length adjustment and prevent it from changing.
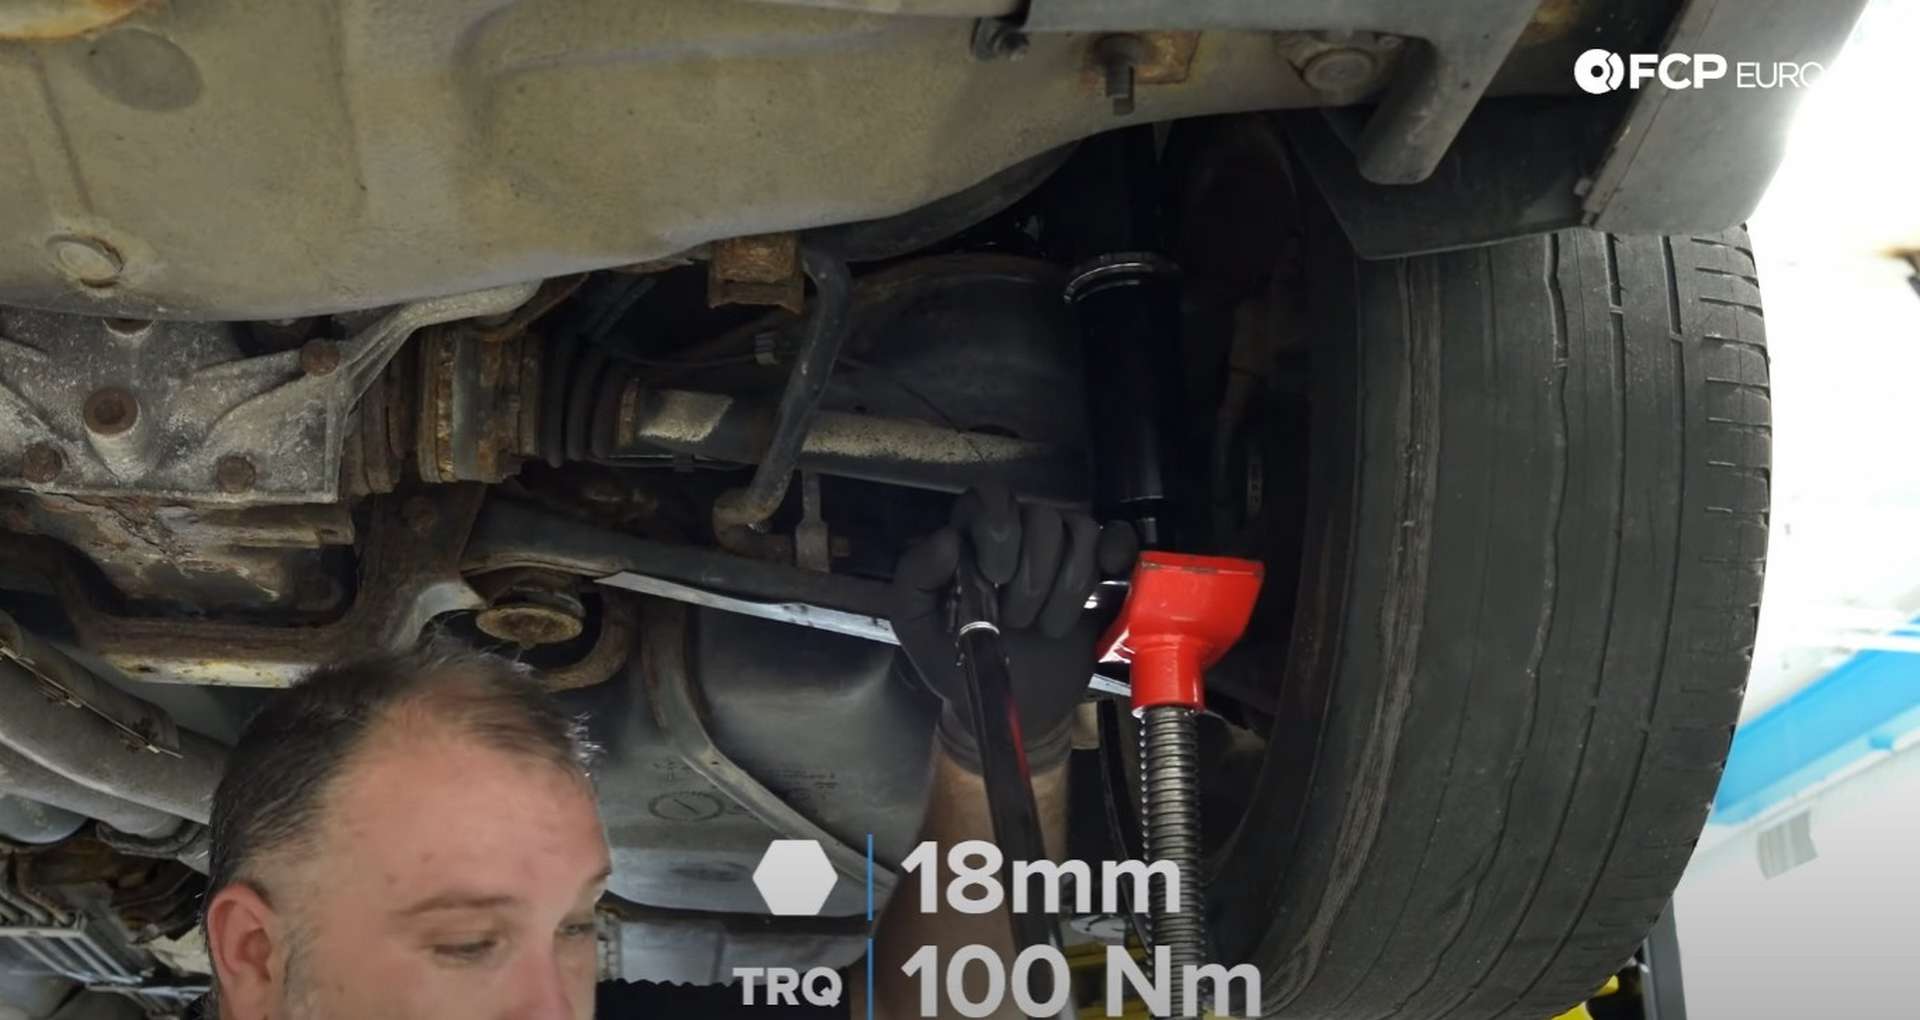
Do your best to use the jack to raise the suspension to its estimated ride height. Then, torque the lower shock bolt to 100Nm with an 18mm socket. Torquing the bolt at ride height sets the proper tension in the bushing.
Refit the wheels to the car and lower it to the ground. In the trunk, use a 12mm socket to torque the upper shock mounting bolts to 25Nm.
BMW E36 coilover torque specs:
- BMW Front Strut Bolts = 107Nm or 79 ft-lbs, of torque
- BMW Lower Shock Mount Bolt = 100Nm or 74 ft-lbs, of torque
- BMW Upper Strut Mount Nuts = 25Nm or 18.4 ft-lbs, of torque
- BMW Upper Shock Mount Nuts = 25Nm or 18.4 ft-lbs, of torque
With the new aftermarket coilover suspension installed, you're now ready to hard park or hit the race track. If you're interested in more DIYs for your BMW, you can visit bmw.fcpeuro.com and subscribe to our YouTube channel.


