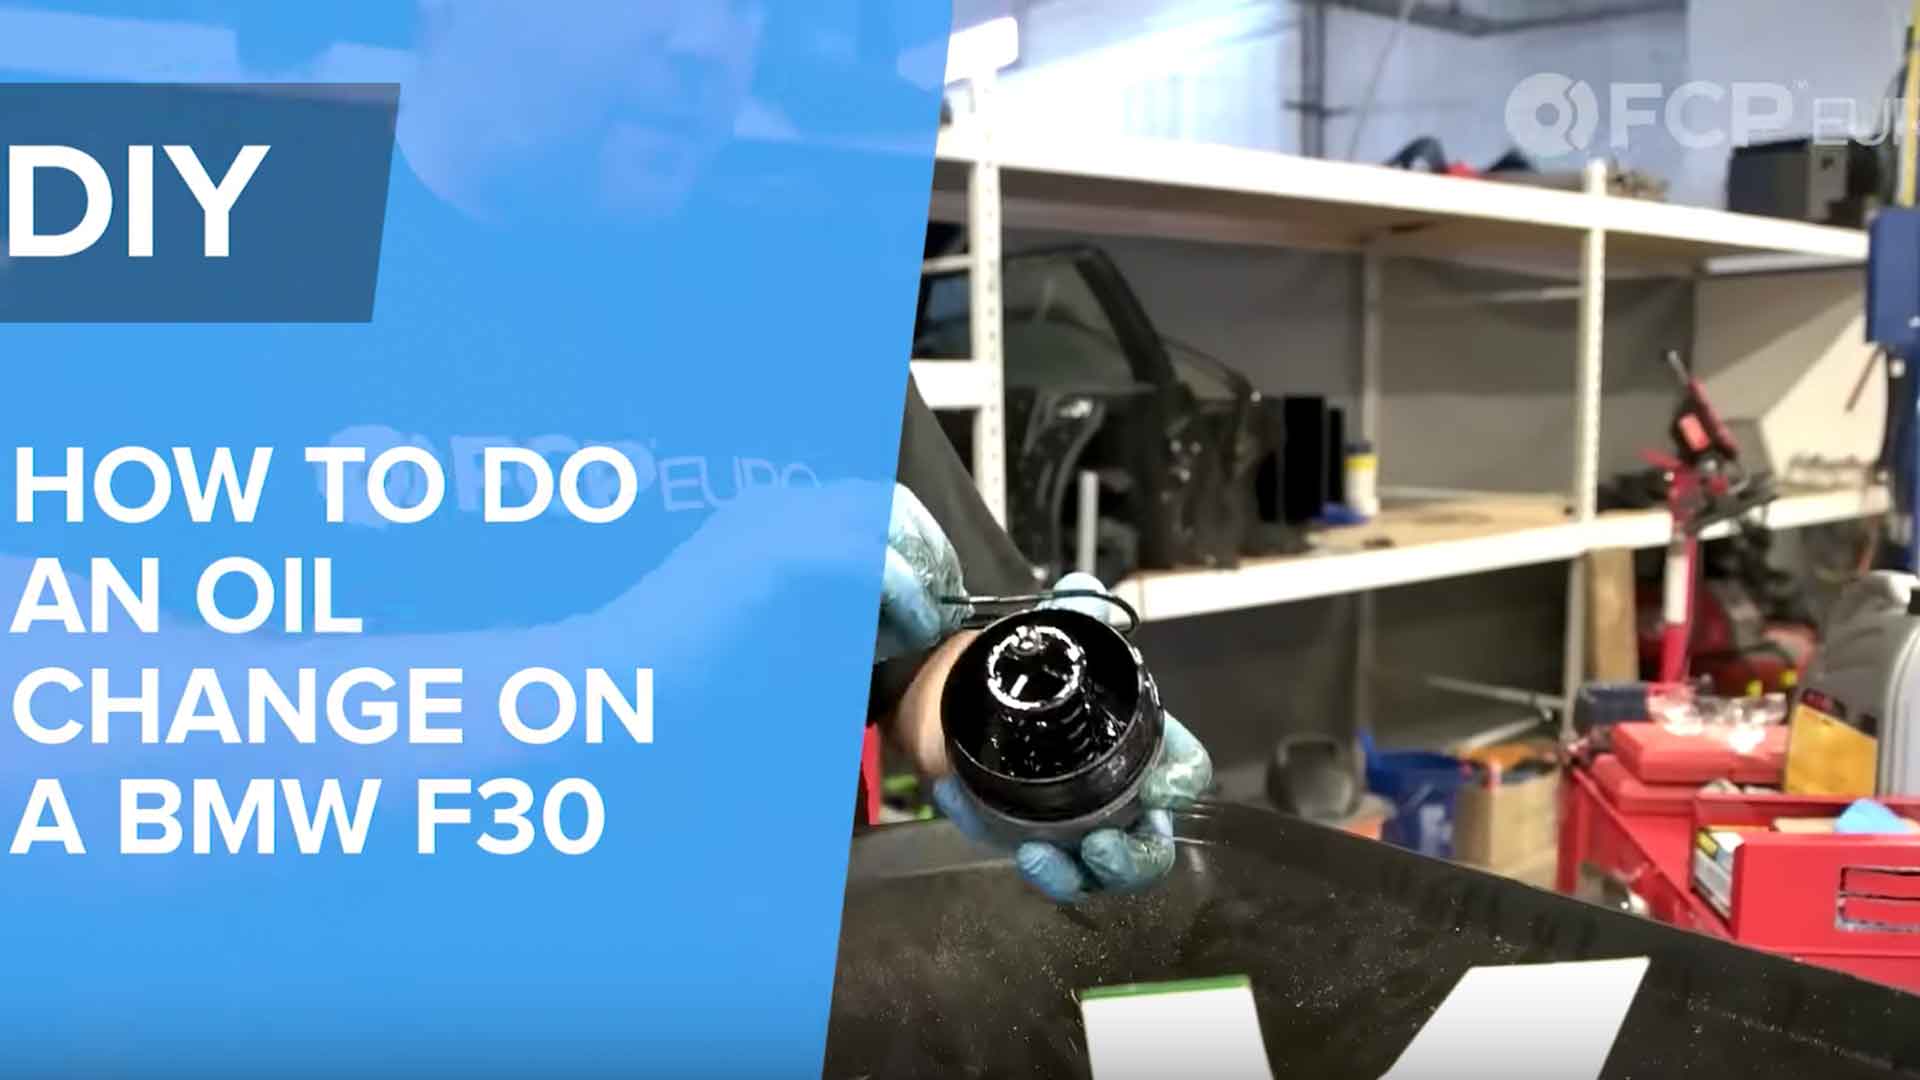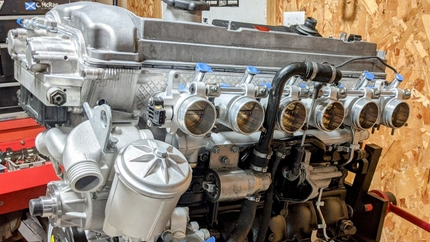
If you've changed oil on any vehicle, you already know the drill. N20 and N26 engines used in the F2X and F3X cars predominantly feature a plastic oil pan on the rear wheel drive models which is a departure from what BMW normally does. However, plastic engine oil pans are nothing new in the automotive industry. When changing oil on one of these cars, the procedure when replacing the oil pan drain plug varies from what you’re normally used to.
Step 1:
Get the front of the car in the air and make sure it’s properly supported. You can accomplish this with a floor jack and jack stands, drive up ramps, or a lift (if you have access to one). Make sure the car is stable before you crawl under it.
Step 2:
Pop the hood. Take the oil filler cap off and loosen the oil filter housing cap. To release the oil filter housing cap you will need to use an 86mm 16 flat socket. We used CTA 2489 for this as it’s what we keep in stock. The reason for taking the the oil filler cap off and loosening the oil filter housing is to allow the engine oil to drain quicker and to allow for the oil filter housing to drain.
Step 3:
Go under the car and open the oil drain plug access door. At this point you will see the drain plug and the difference you are dealing with. It’s not a traditional style drain plug. In fact, it’s an almost identical design to what ZF uses on the oil pans for their 6HP and 8HP transmissions.You will need a 10mm hex key or hex socket to remove the drain plug. Oil should drain quickly since the engine only holds 5 liters of oil.
Step 4:
Open up your oil filter kit and check the included components. You will receive a new drain plug with rubber o-ring, an oil filter cartridge, and two oil filter housing cap o-ring. At this point your engine will be drained completely so take the new drain plug and apply a thin coat of oil to the o-ring prior to installation. Thread the new drain plug in by hand and torque to 8Nm. If you don’t have a torque wrench that can do this make sure the plug is hand tight and nothing more. It is easy to strip or break the plastic plug.
Step 5:
Remove the oil filter cap with the oil filter. Remove the old oil filter cartridge and remove the old oil filter cap o-ring. Replace both with the new parts provided in the oil filter kit. Make sure that you apply a thin film of oil to the big o-ring that seals the cap to the housing and also lubricate the smaller o-ring that seals the filter support to the bottom of the housing. Slip on the new filter and thread the cap on by hand to ensure you don’t cross thread the cap. Once the threads are engaged take your ratchet and cap socket and tighten. Verify the cap is torqued to spec at 25Nm.
Step 6:
Fill the engine with 5 liters of LL-01FE oil (for N20’s up to MY 2015) or LL-14FE oil (MY 2016+). Start the engine and let it run looking for any leaks. At this point follow the appropriate steps to rest your oil service light. Also verify the oil fill level via the OBC.


