- 07/07/2020
- 3 Min Read
- By: Christian Schaefer
How To Change The Oil In Your Volvo S40 (Volvo P1 Chassis)

Taking care of the oil in your car is the basic ownership skill number one. Oil that isn’t properly maintained can be a potentially catastrophic engine issue waiting to happen. Changing your oil yourself is very simple and falls in the category of things every car owner should know. Leaving the same oil in an engine for too long can cause discoloration inside the engine at the least, and it can fully lock an engine up at worst.
You need to start somewhere if you’d like to attempt DIY services on your vehicle and this is one of the first on the list. Checking the level of the oil and changing it when it comes time to is one of the most important aspects of car ownership and is often overlooked. Its simplicity cannot be understated and successfully completing the job yourself will always give you a sense of accomplishment.
Volvo Models and Years applicable:
|
|
|
|
|
|
|
|
Symptoms and effects of needing an oil change in my Volvo P1:
- Increased engine wear
- Decreased fuel mileage
- Decreased engine performance
The condition of the oil is critical for properly caring for an engine’s health. The oil is there specifically to lubricate everything in the engine. Over time the oil’s lubricating properties wear away from the heat and use, leading to a need for its replacement. Without changing it, the oil will degrade, turning from a slick oil into a thick sludge.
How long will it take to do a Volvo P1 oil change?
If you have the tools and can follow instructions, the job shouldn’t take more than a half-hour. This is nearly as simple as it gets with only a few parts needing to be removed.
What will it cost to do a Volvo P1 oil change?
The kit we offer includes everything you’d need for the job at $69.07. A dealership will have all of the parts you’d need but will charge more for the parts and you’d need to pay for the labor, doubling the cost of the job. An independent shop would charge less than a dealership but would still run you mare than doing the job yourself.
Tools required to do a Volvo P1 oil change:
Parts required to do a Volvo P1 oil change:
Steps required to do a Volvo P1 oil change:
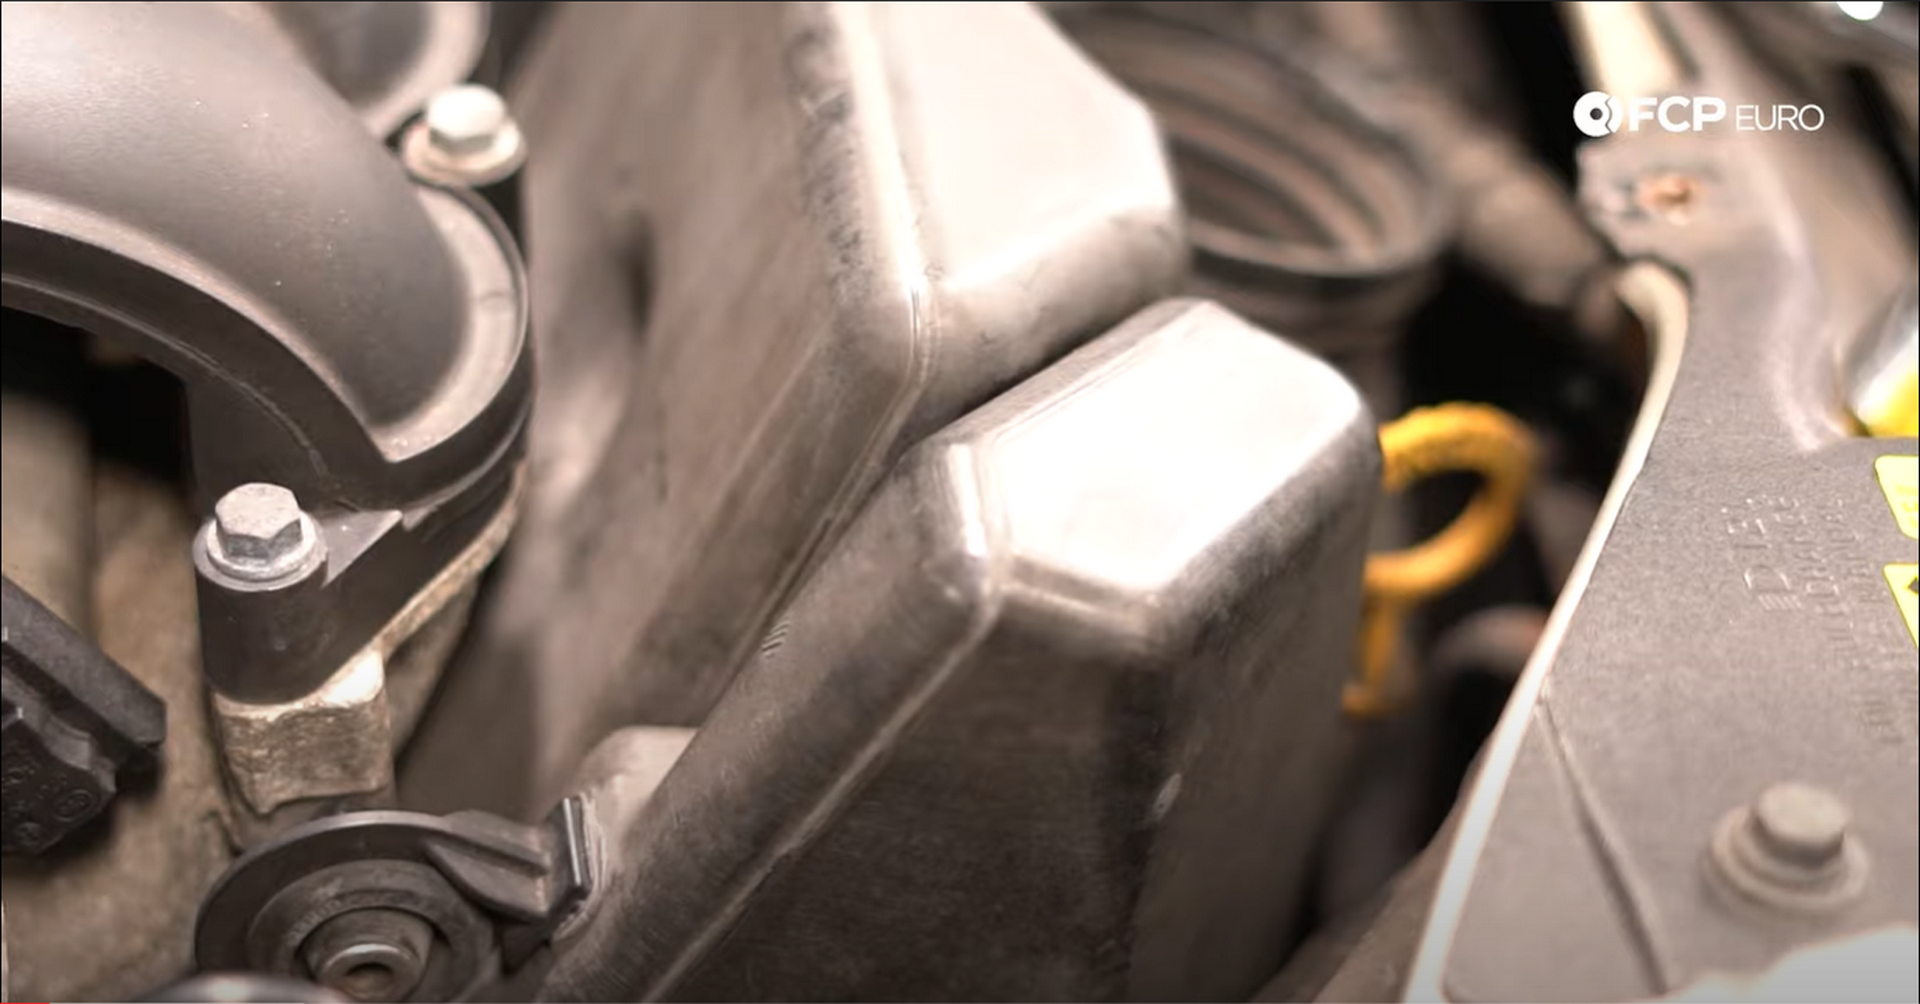
Step 1: Expose the oil filter
The oil filter is mounted on the front of the engine and is tucked underneath the intake air box elbow. The top portion of the airbox snorkel is secured down by two 10mm bolts. Remove the bolts and pull the snorkel out.
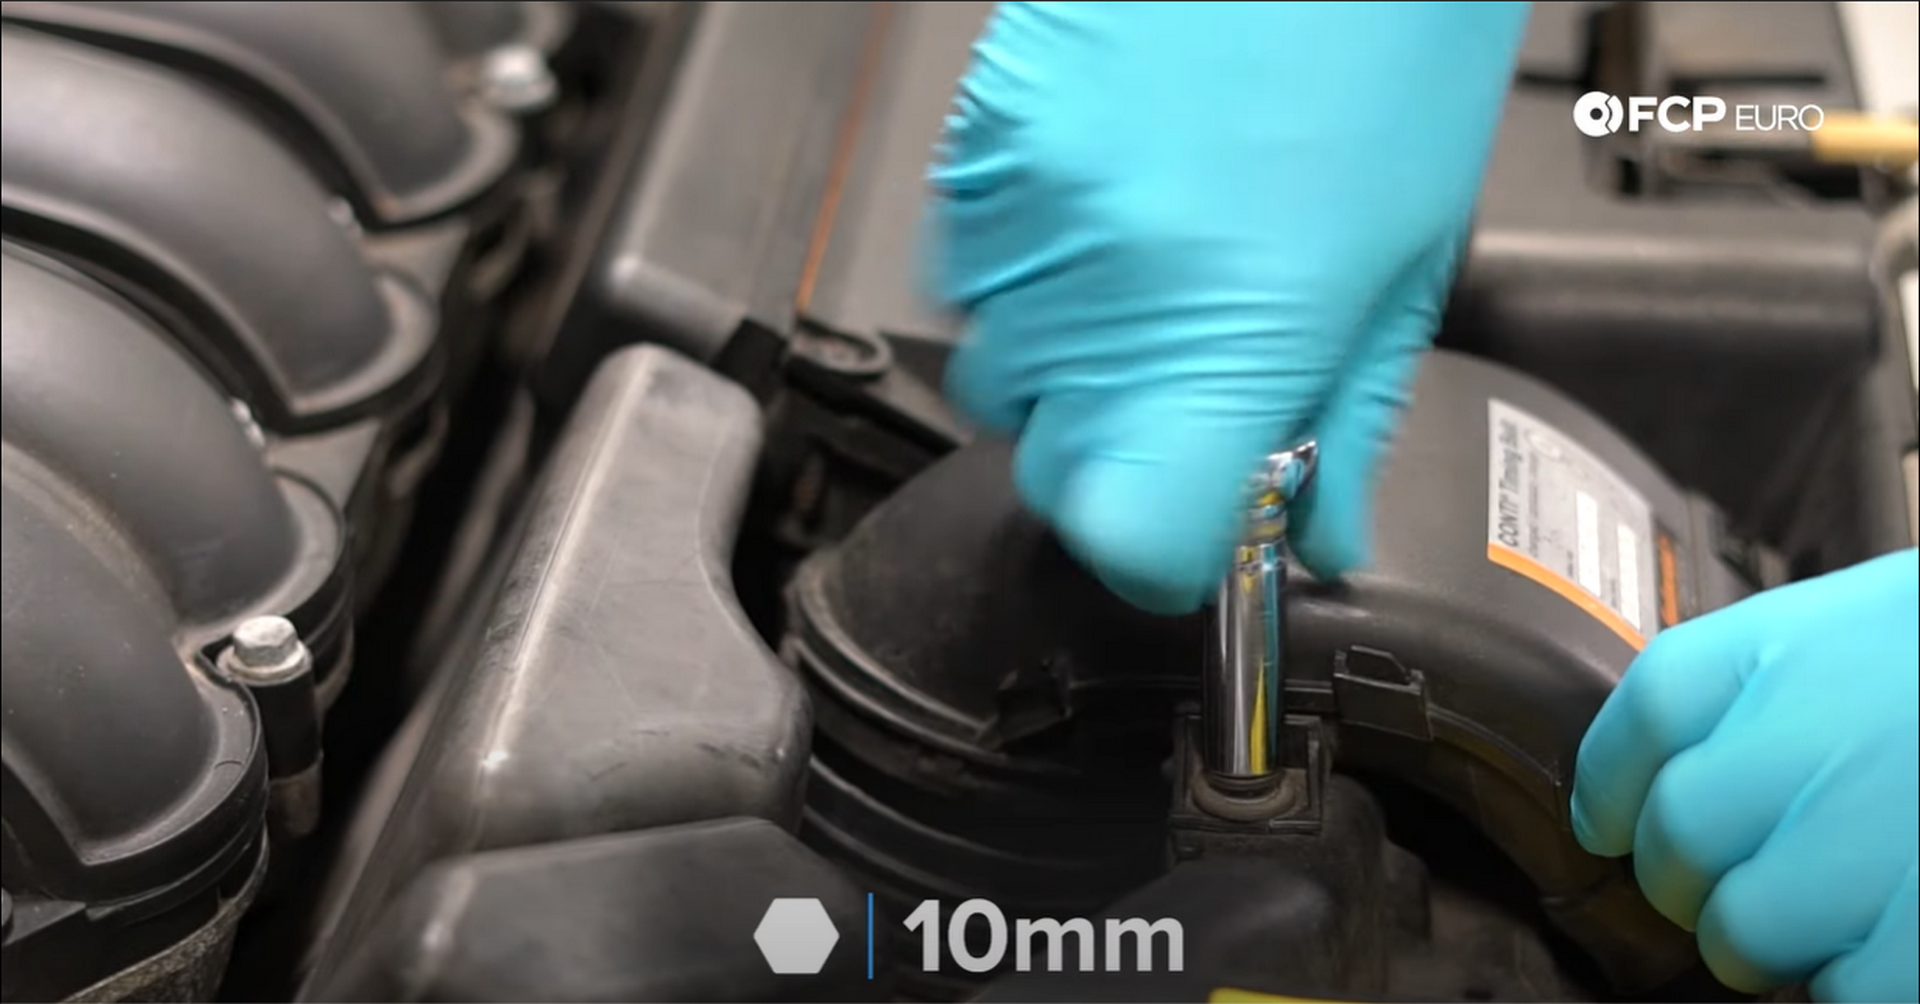
The elbow beneath the snorkel needs to be removed as well. On the left side of the elbow, at the back, there is one 10mm bolt mounting it to the engine. Remove the bolt and pull the elbow out.
Step 2: Drain the oil
Take the 36mm socket and loosen up the oil filter cap until you can see the o-ring. After the oil filter cap is loosened, remove the oil filler cap on top of the valve cover. Opening these both up will allow air to get into the engine as the oil flows out, preventing any oil from staying inside.

Next, jack the car up and remove the Phillips-head screws that mount the splash shield to the bottom of the car. Locate the oil drain plug on the backside of the engine after the splash shield is removed. Position a drain pan under the plug and remove the plug with a 17mm wrench.
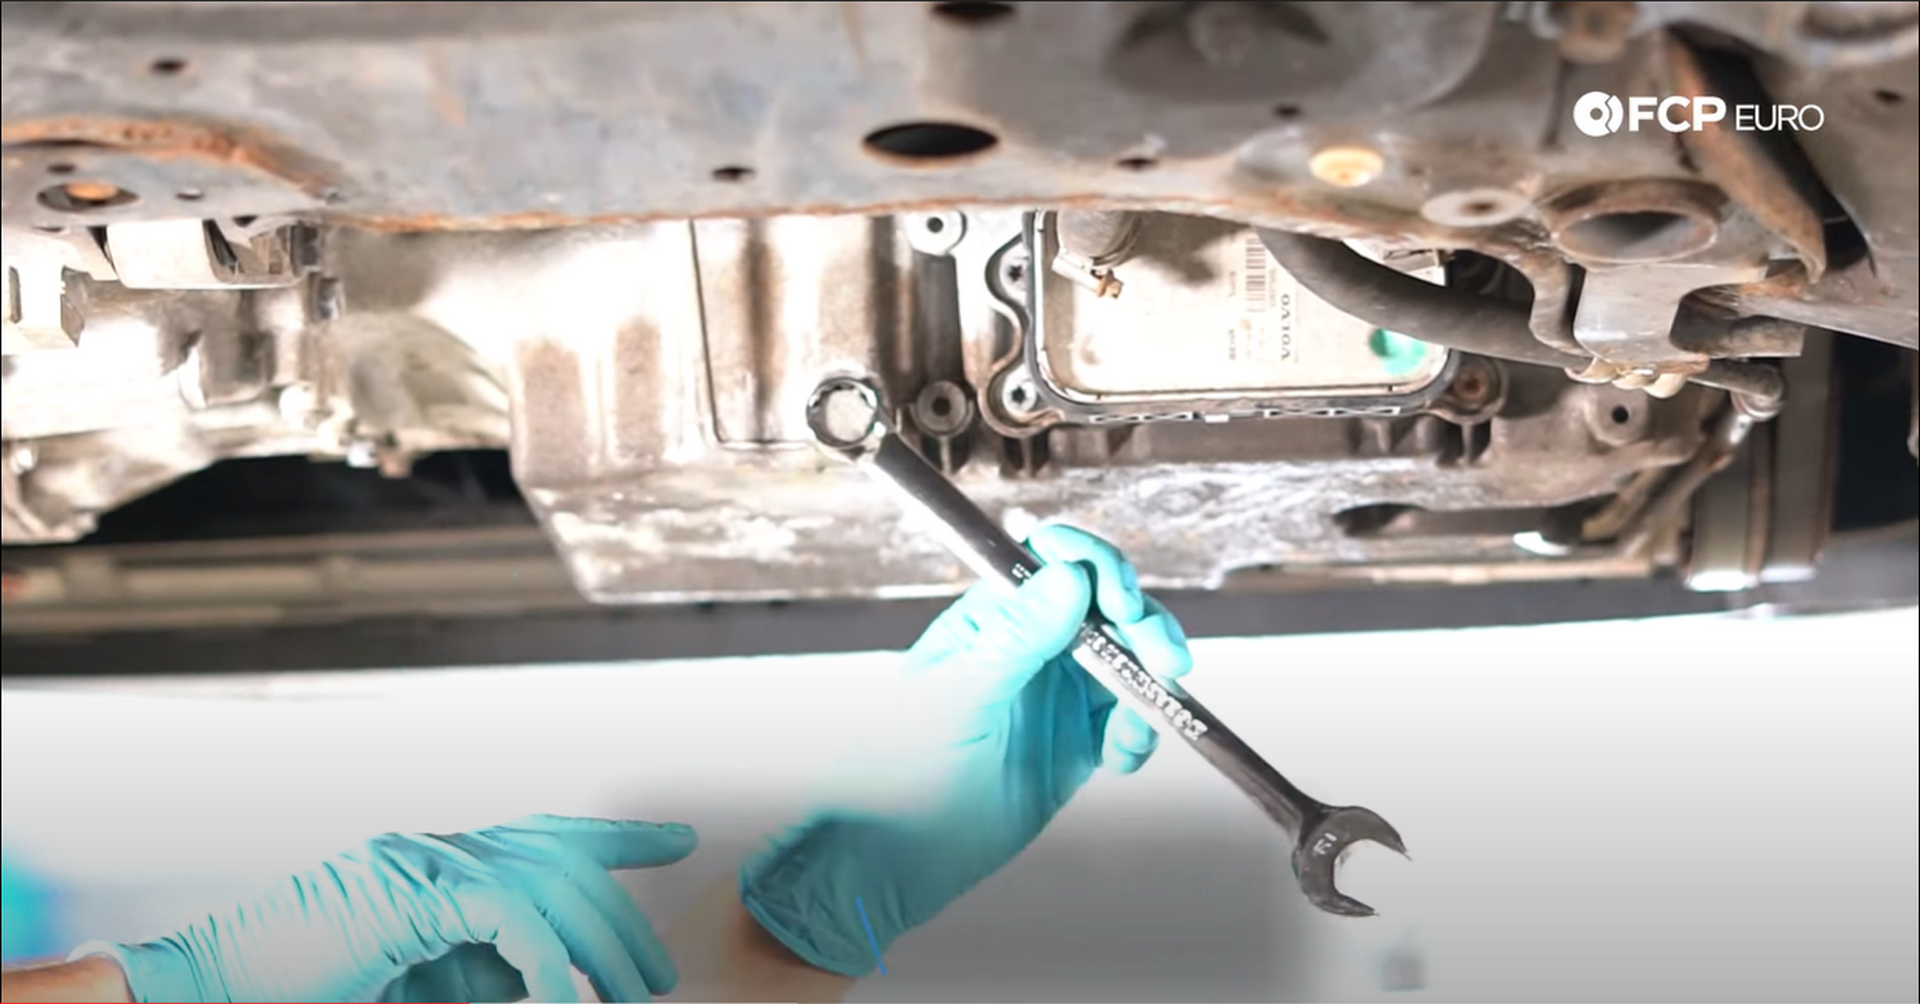
When all of the oil has drained out, install the new crush washer and drain plug. Get the new drain plug snug, but don’t put an excessive amount of force into it. The oil pan is aluminum and it will crack it the plug is tightened too much.
Step 3: Change the oil filter
The oil filter is seated into the filter cap and will come with the cap when removed. Have some rags handy when removing it to prevent oil from dripping on the car or yourself.
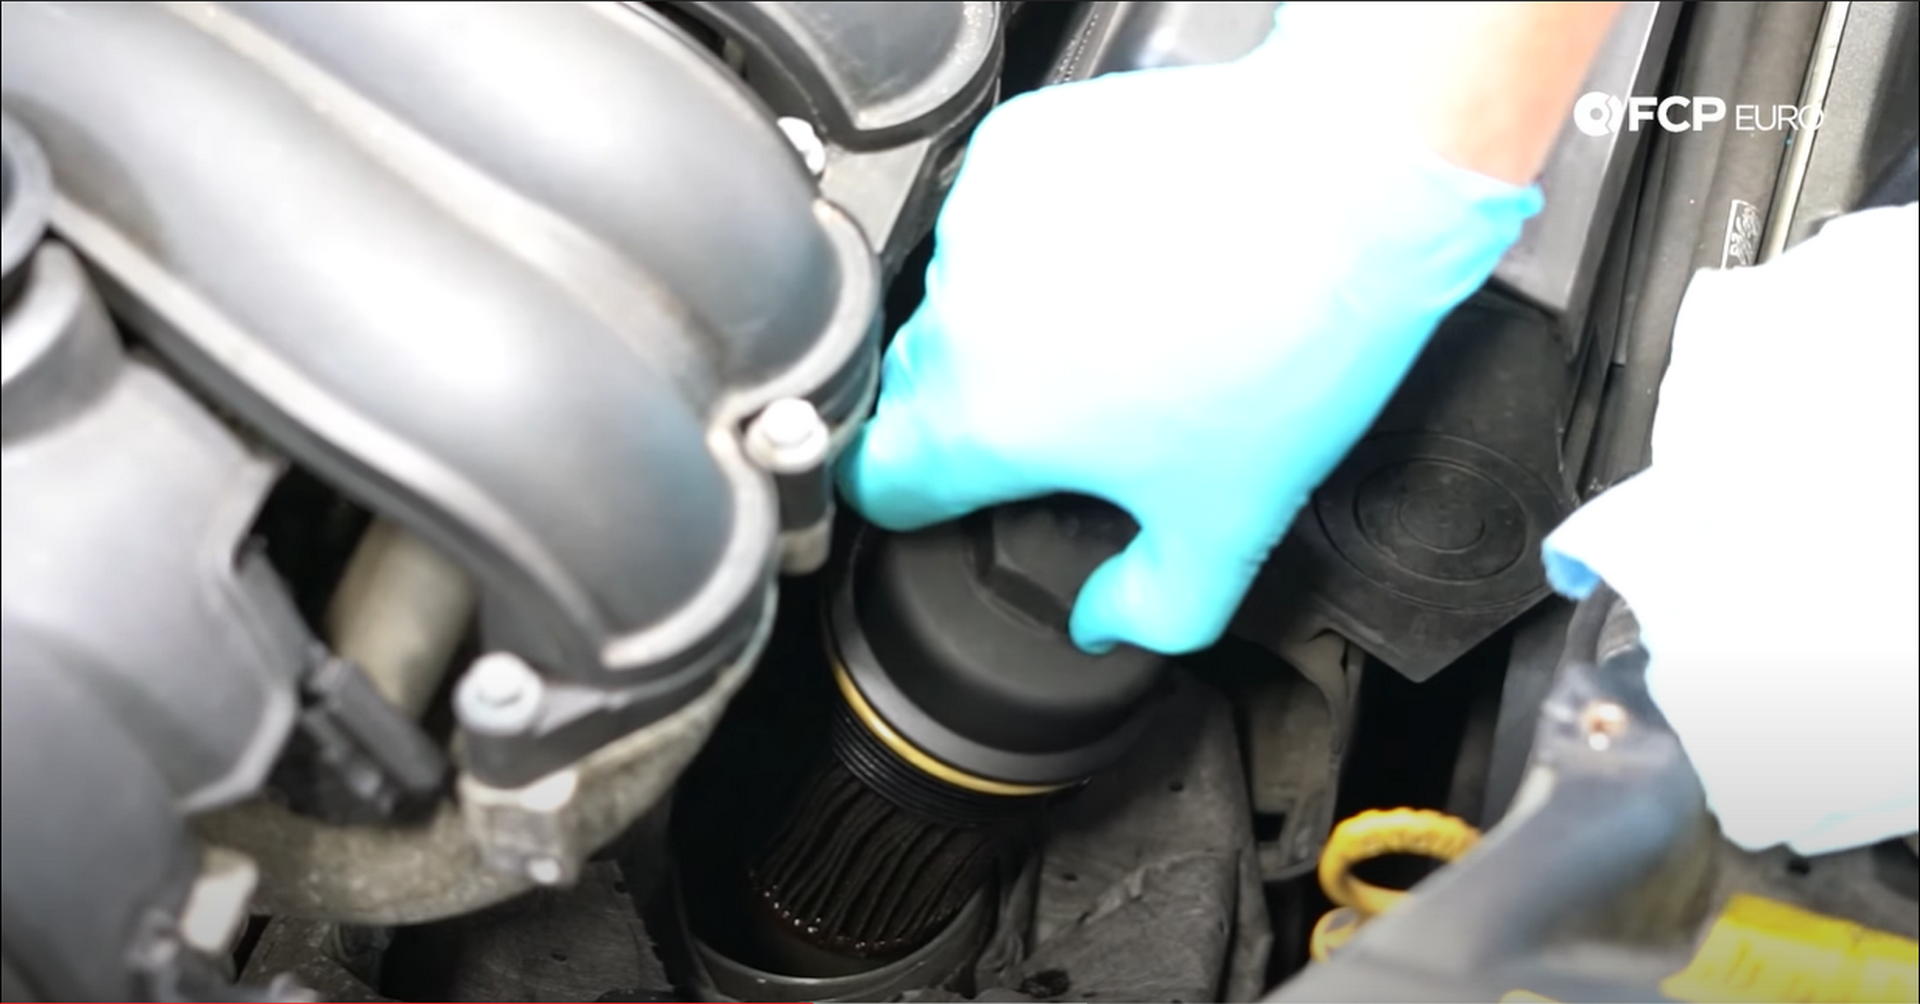
Pull the old filter and o-ring off of the filter cap and throw them into the trash. The new filter is not directional, so it can be installed onto the cap either way. Next, slide the new o-ring onto the cap and put the filter assembly back into the housing. Tighten the filter cap to 25Nm or 18.4 lb-ft of torque.
Step 4: Fill the engine with oil
Take the supplied oil and pour it into the engine.
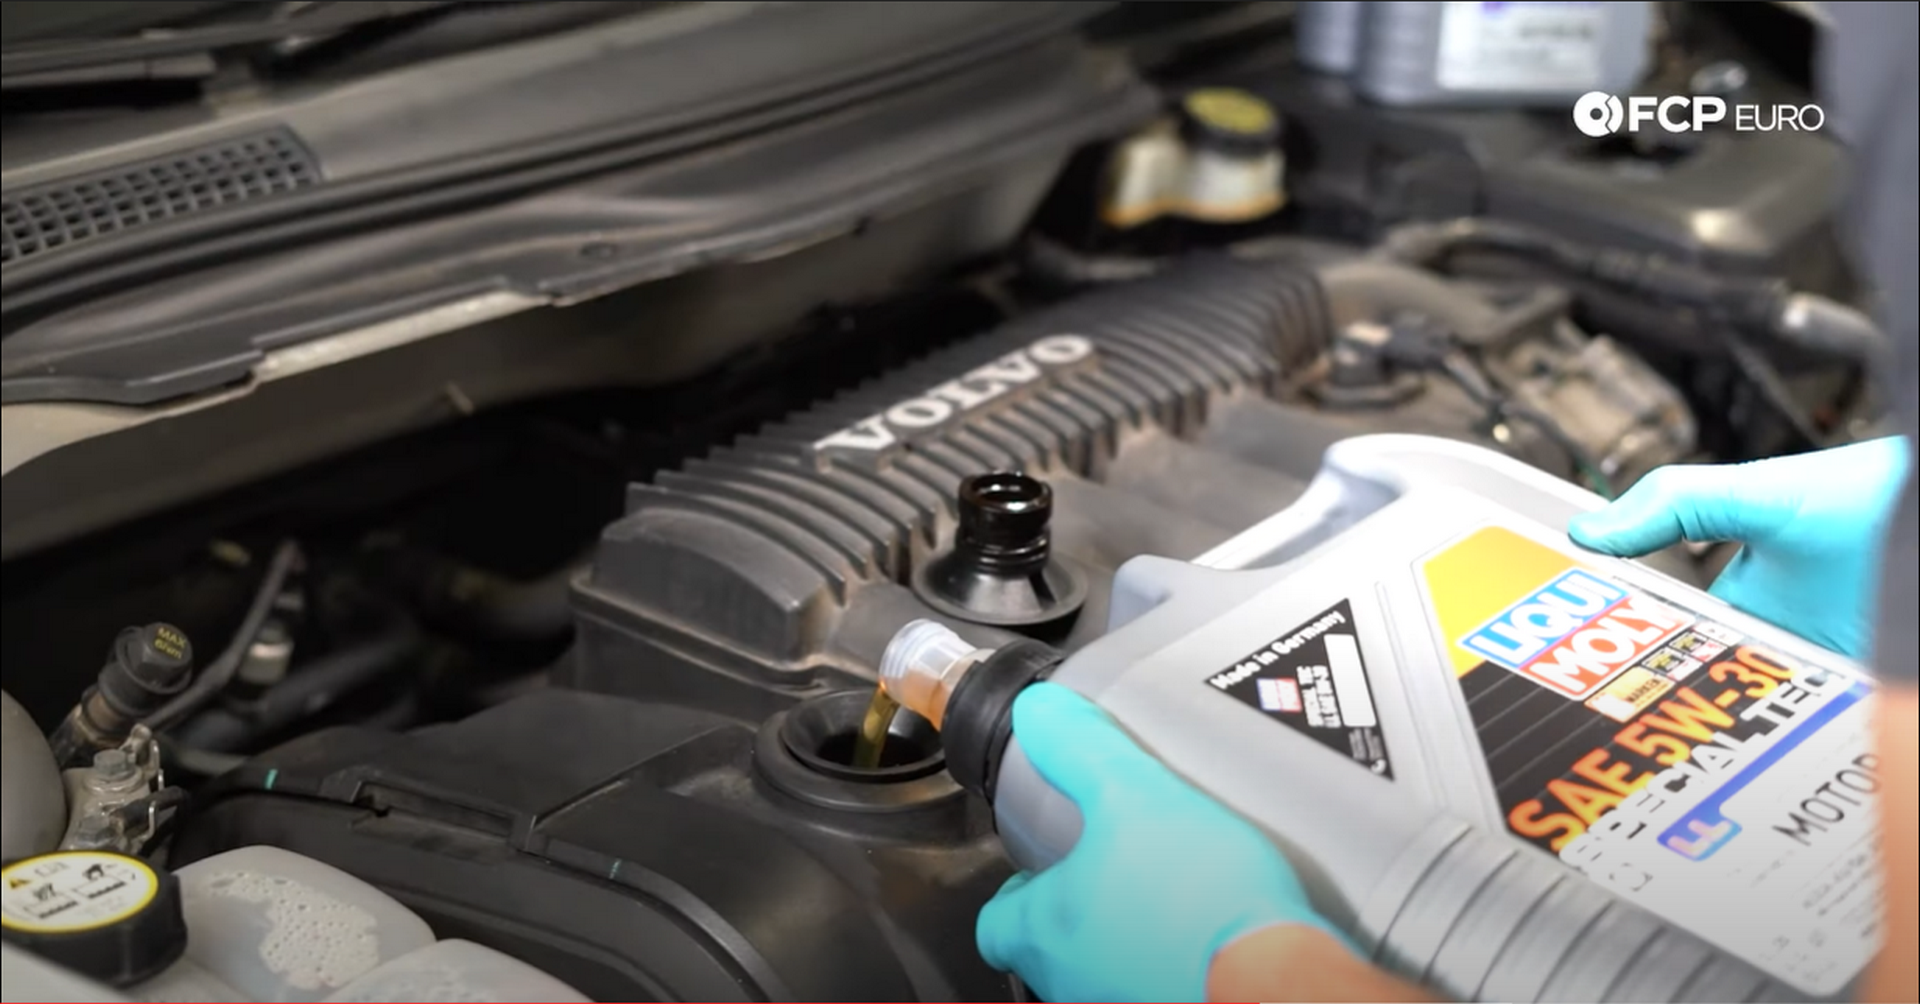
Check the dipstick after filling the engine. Also, check under the car at the drain plug to see if there are any leaks. If the plug it leaking, tighten it until it stops. Start the car and let it run for a minute or two, before checking the dipstick again. The oil should be just up to the full line on the dipstick.
Step 5: Refit intake and underbody pieces
If there are no leaks and the oil level is good, refit the splash shield under the car using the Phillips-head screws. Next, refit the intake elbow and the snorkel in the opposite order that you removed them. After they’re bolted in, shut the hood as the oil change is now complete.
If you’re interested in more DIYs for your Volvo, you can visit volvo.fcpeuro.com and subscribe to our YouTube channel.


