All you need is basic hand tools to fix the bouncy rear end of your E30.
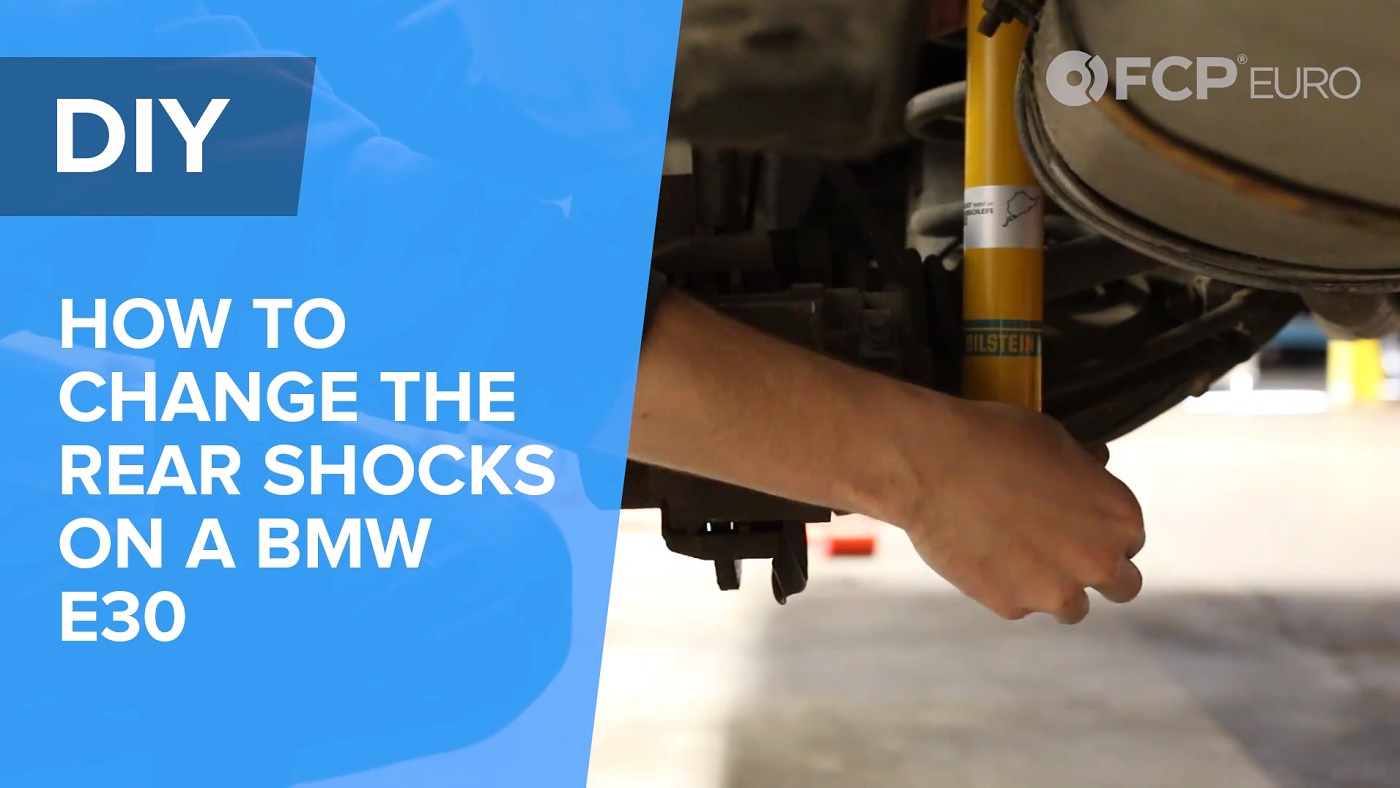
If your E30's rear end feels bouncy and unplanted there is a good chance your rear shocks are toast. You can verify this by attempting a bounce test to see if the shock can control the oscillation of the spring. Alternatively, if the shock absorbers are covered in oil this is a sign they are leaking and require replacement. The good news is, this is an easy repair which requires minimal hand tools or equipment. You can even do it with the car sitting on the ground. We decided to install Bilstein B6 Performance shocks in this DIY to improve handling performance and response. Afterall, Bilstein yellow body shocks + E30 is a winning formula.
Video: For a full tutorial on the process, click the video below and don't forget to subscribe.
Tools needed to complete this repair:
- Ratchet
- 13mm socket or 13mm wrench
- 17mm socket or 17mm wrench
- 19mm socket or 19mm wrench
- Impact gun (if you have one but not needed)
- Torque wrench
- Vice grips
- Shock Absorber (will vary depending on what you choose to install, we chose Bilstein HD)
- 33521128819 - Shock Mount (x2)
- 33521129263 - Dust Sleeve (x2)
- 33521091427 - Dust Sleeve Support Washer (x2)
- 33521117677 - Shock Mount Support Washer (x2)
- 07119905374 - Shock Mount Nut (x4)
- 07129922436 - Shock Shaft Mount Nut (x2)
Step 1:
Jack up the rear end of your E30 and make sure it's stable before ever putting your body under the car. You do not need to jack up all 4 corners to do rear shocks. In fact you can even use ramps if you have them. Either way, make sure the vehicle is properly supported and stable before starting work
Step 2:
Open up your trunk and peel away the trunk liners to gain access to the shock mount nuts. The shock towers are located in the trunk. Use a 13mm socket or wrench to remove the two nuts from the studs. In our case the rear shock mounts had turned to rubber dust from excessive wear. Once the nuts are removed the shock will drop slightly.
Step 3:
Next you will remove the 19mm bolt that secures the lower shock mount to the trailing arm. This bolt is torqued pretty tightly. Once you break this fastener loose you can practically thread the bolt out with your fingers.
Step 4:
Now you will assemble your new shock absorber. In our case we carried over the dust bellow and some pieces of hardware by disassembling the shock. If you decide to go this direction, just keep track of how everything comes apart so you can easily assemble the new assembly. You will do the following to assemble the new shock absorber assembly.
- Slide bump stop onto new shock absorber
- Slide dust sleeve over bump stop
- Slide shock mount onto the end of the shock shaft (will sit on top of dust sleeve support washer)
- Slide top washer on top of the shock absorber. This washer has a dish to it. The dish should be facing upward
- Thread on new lock nut (size will vary by brand) and use a vice grip to counter hold the shock shaft while tightening the nut.
Step 5:
Install the shock absorber assembly by installing the lower shock mount bolt. This is the 19mm bolt. Thread by hand at first to get the threads started and then tighten with a wrench or ratchet. You will torque to spec later when the suspension is at ride height.
Step 6:
Using a jack, compress the rear coil spring to seat the studs of the shock mount up through the holes in the shock tower. Now go back into the trunk and install the 13mm upper shock mount nuts. Thread until fully seated. If you are installing a shock mount reinforcement plate make sure the plate is installed first.
Step 7:
Torque all fasteners to specification with the vehicle's suspension at ride height. Now you can enjoy the ride quality you've been missing this whole time.
Key torque specs for reassembly:
- Lower shock mount to trailing arm - 71-85Nm
- Upper shock mount nuts - 12-15Nm
- Shock absorber to shock mount nut - 14Nm


