Flushing the brake system on a 2001 Volvo S60 T5 is an easy DIY that takes about 1 hour to complete. I’ll show the traditional way below where you recruit a friend to pump the brakes while you bleed each corner’s brake caliper. You can opt to buy a 1-person brake bleeder system like the Motive Power Bleeder if you prefer but the concept of bleeding brakes is the same.
Parts & Tools You’ll Need:
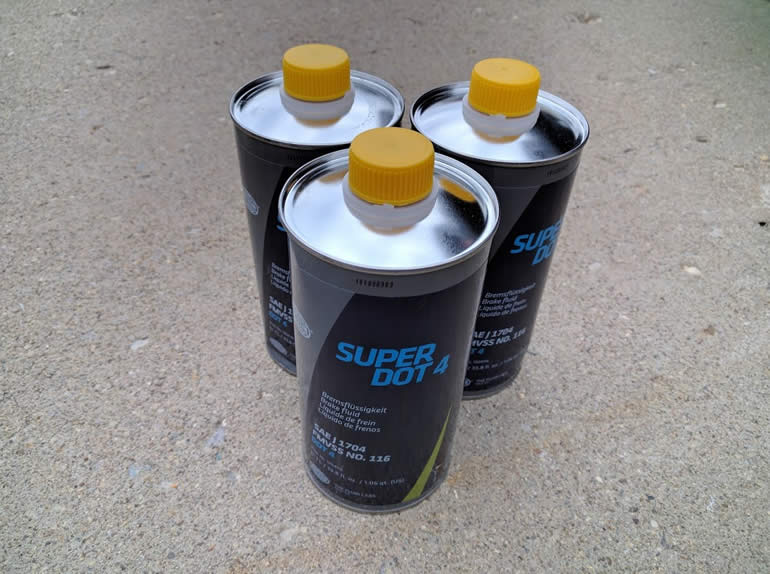
- Brake Fluid
- Floor jack, jack stands, wheel chocks
- Brake parts cleaner
- Wrenches
- Brake fluid catch container with a slip-on tube (or a drain pan)
- Flashlight (optional)
- Clean rags
- A friend to help pump the brake pedal
- About 1 hour of free time
Ready To Flush Your Brake System?
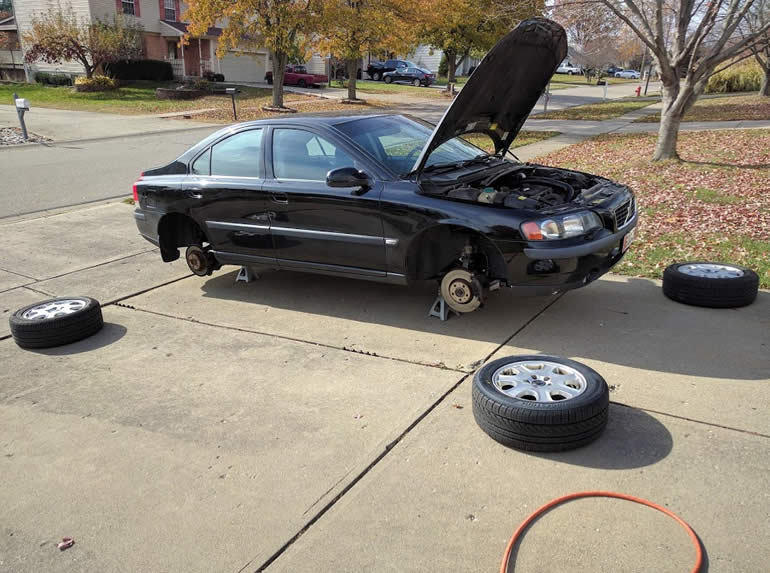
1.) Using your wheel chocks, jack and jack stands, raise all four corners and remove the wheels with a 19mm socket:
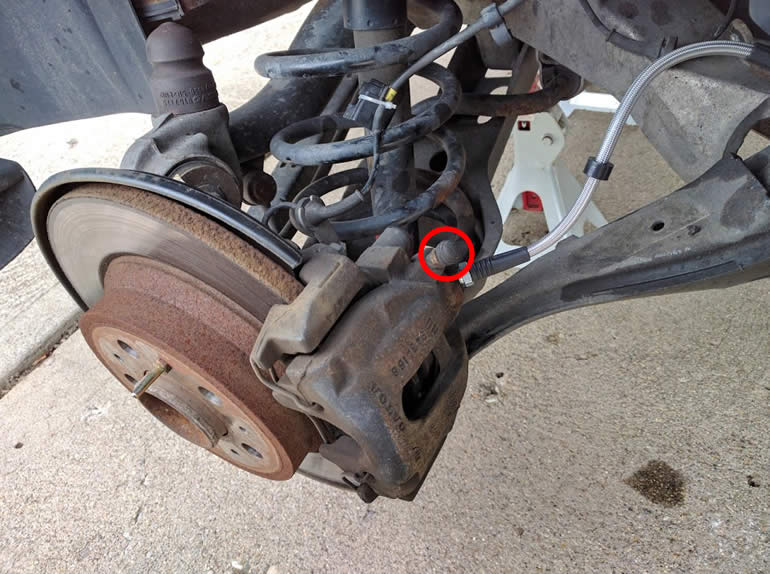
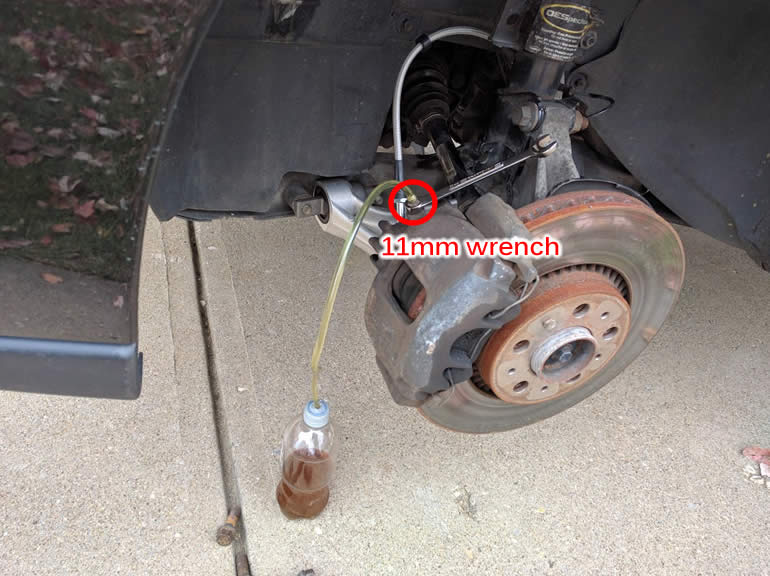
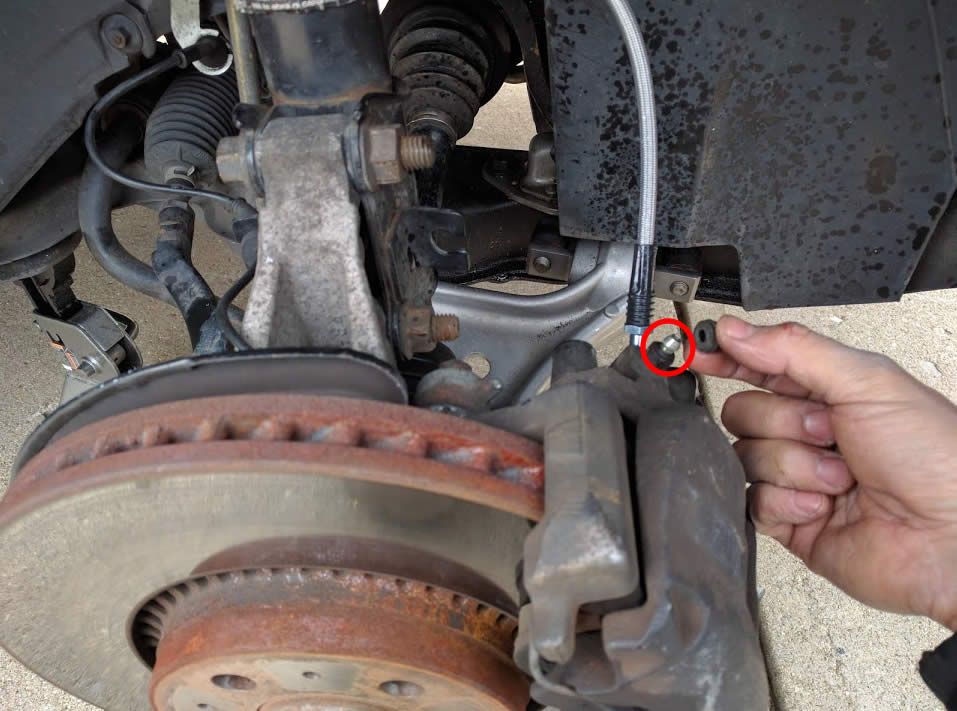
2.) Start with the rear passenger corner and pop off the bleeder screw cap. You want to start with the furthest brake caliper from the master cylinder and work your way to the last position which is the front driver corner.
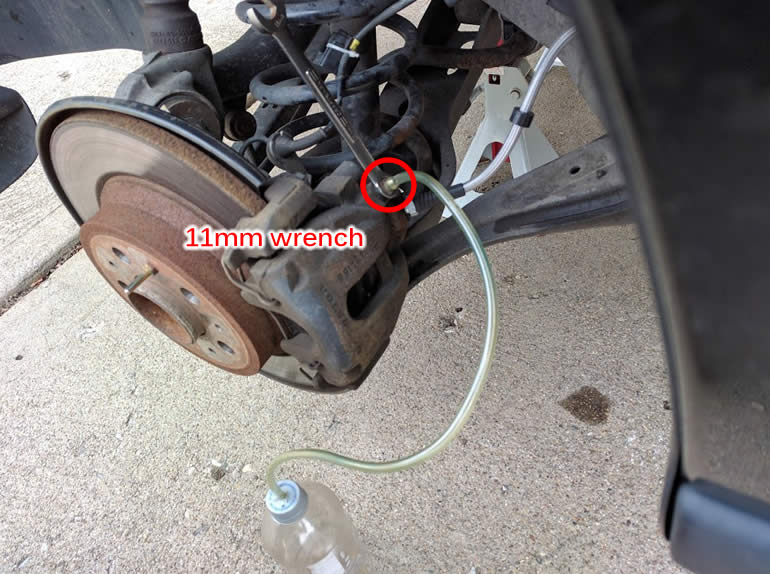
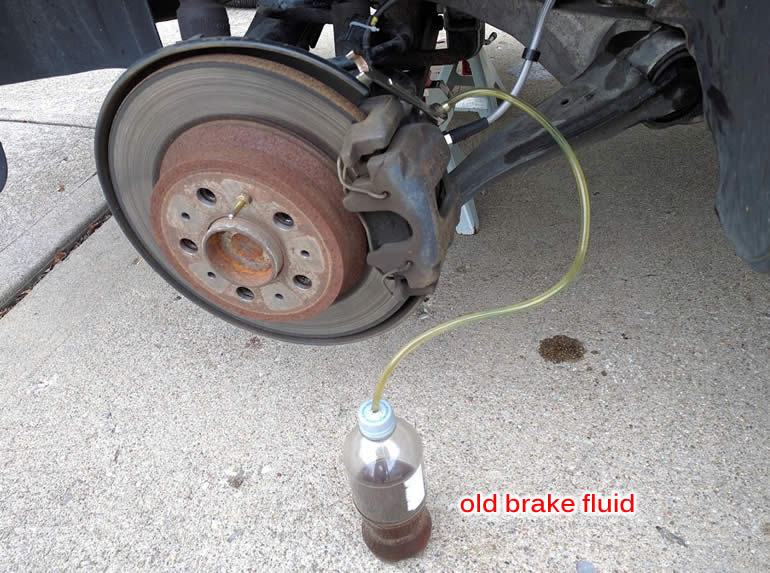
3.) Use an 11mm wrench and a slip-on tube connected to a brake fluid catch container and crack the bleeder screw open about 1/8 to 1/4 turn:
4.) Instruct your friend to pump the brakes while you maintain control of the bleeder screw and watch dirty fluid make it’s way into the catch container. This corner takes the longest as it’s the furthest away from the brake reservoir and your intent is to get all of the old fluid out while pouring in new fluid. It gets much faster with every subsequent corner as you get closer to the reservoir.
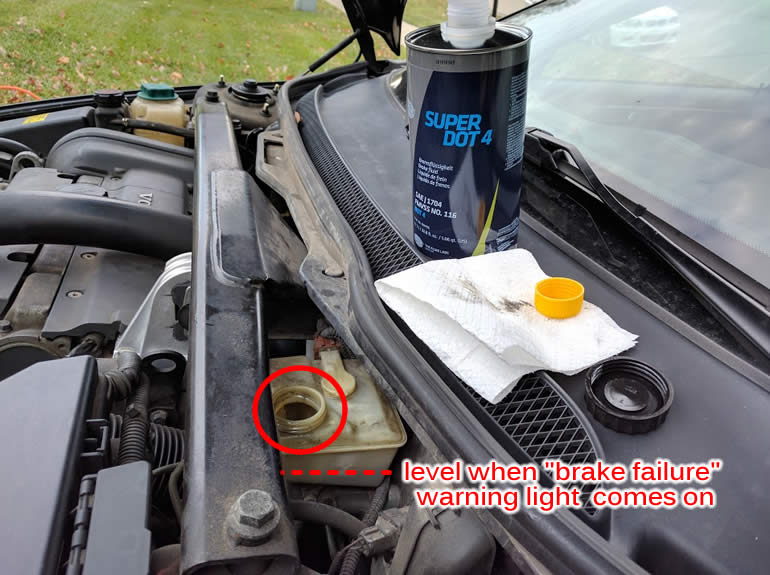
5.) Always check the brake fluid reservoir level to ensure it doesn’t go completely empty else you’ll risk having air stuck in the system. If your friend gets a “brake failure” warning light on the dashboard it means the the brake reservoir sensor tripped at the low level point and it’s time to top it off with new fluid. Be careful not to allow any brake fluid to touch the car’s paint as it will eat it up:
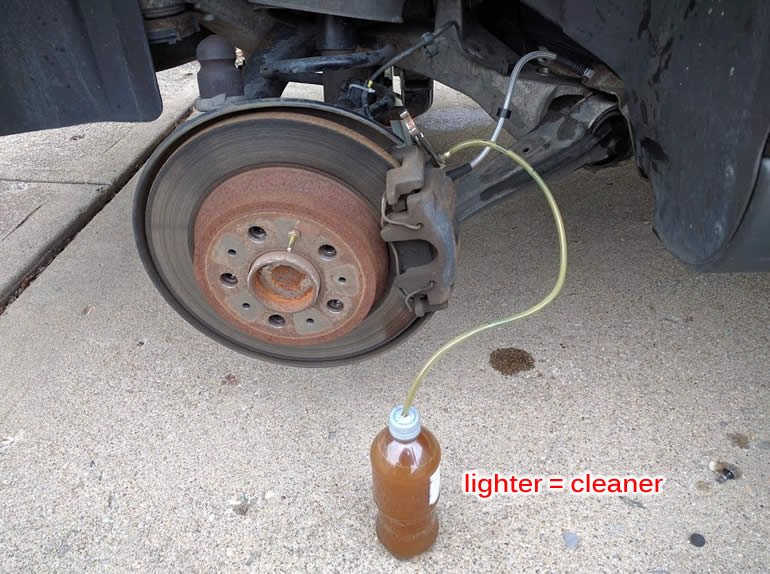
6.) Eventually you’ll see a lighter color come out which is a sign that the new brake fluid has made it through. While your friend is still pumping the brake pedal and you visually confirm the absence of air bubble in the attached bleeder tube carefully tighten the screw and detach the tube. Move to the rear driver side corner (the next closest corner to the brake reservoir) to repeat the process.
7.) Repeat the steps above for the rear driver side:
8.) Repeat again at the front passenger side and finally at the front driver side. Remember to always check the brake fluid reservoir to ensure it doesn’t go empty.
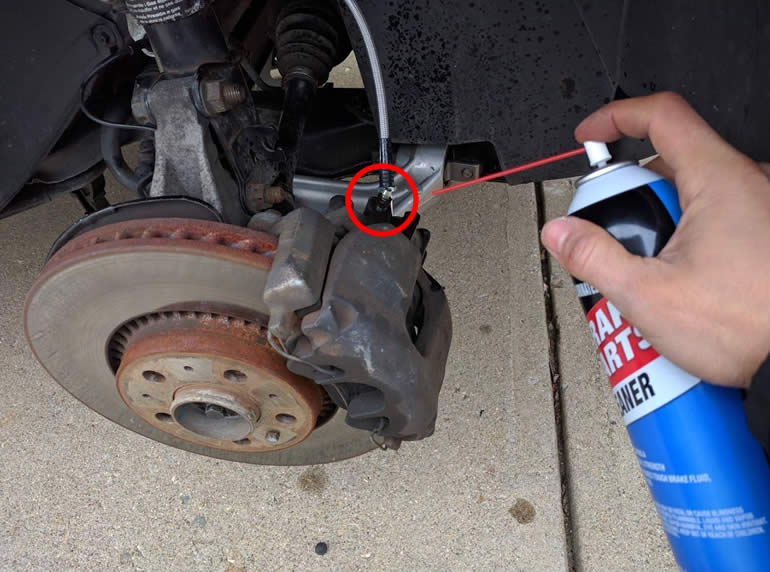
9.) When you’re done with all 4 corners and the brake fluid level is at the max level of the reservoir, clean up with bleeder screw with brake parts cleaner to check for leaks:
10.) Once you’ve confirmed that there are no leaks pop back on the bleeder screw caps:
11.) Reinstall the wheels, lower the car and torque the wheel bolts to 105 ft-lb in a criss-cross pattern.
Take the car for a test drive to ensure the brakes feel firm and treat your friend to something nice for the help!