If you notice that your brakes are beginning to feel spongy, despite significant meat remaining on the pads and rotors, it is probably time to bleed the brakes. Over time, dirt, air, and moisture can work their way into your brake line system, sacrificing brake bite and putting you in danger of not stopping. If the brake pedal can easily go to the floor, bleeding the brakes is an urgent service.
The following instructions will step you through the standard process for bleeding brakes and flushing the brake system with new fluid.
"This is a similar for all cars, though specific tool sizing may vary."
What is the difference between "bleeding" and "flushing?"
Bleeding the brakes involves pressurizing the hydraulic system and forcing any air pockets out of the brake lines.
Flushing the brakes proceeds with a similar method, with an objective to completely bleed the system with fresh fluid.
Please note that these instructions are for individuals working by themselves using a Motive power bleeder. Rather than using a power bleeder, you may have an assistant pump and hold the brake pedal while you work. However, the power bleeder method is more consistent for removing air out of the system.
Necessary Tools:
- Jack and jack stands
- Necessary tools for removing your wheels
- 9mm, 10mm, and 11mm crescent wrenches
- Motive Power Bleeder with appropriate adapter for your brake fluid reservoir
- Extra tubing (preferably clear with a 4mm inner diameter)
- Turkey baster dedicated for brake fluid
- Disposable jar, cup, or other container
- At least 1 liter of fresh DOT4 brake fluid (I use an ATE racing fluid for my cars). I suggest having more than 1 liter, just in case you make a mistake.
Flushing the brakes:
Step 1:
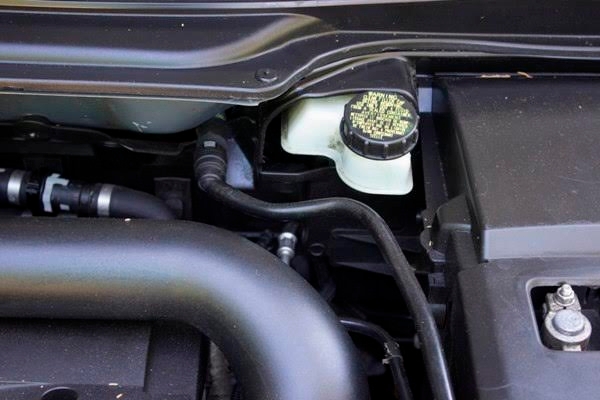
Open the hood and locate your brake fluid reservoir. It is important that you do not touch the brake pedal or start the vehicle while this cap is removed for risk of sucking air into the brake lines.
If you are flushing the brakes, proceed with steps 2 and 3. If you are simply bleeding the brakes, skip to step 4.
Step 2:
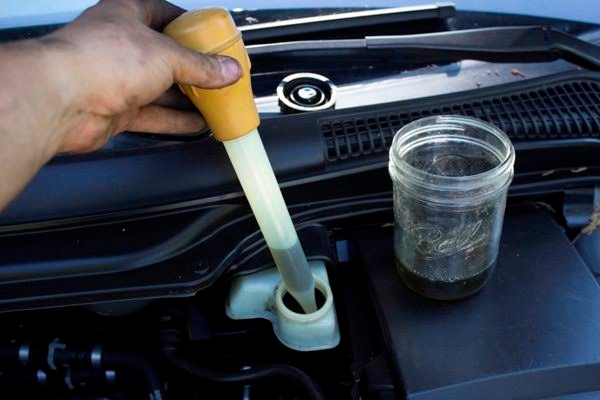
Remove the cap and use your turkey baster to extract as much of the dirty fluid as possible. Brake fluid is extremely toxic so any items touching this fluid should remain dedicated tools for brake fluid only. Never use this turkey baster for food again.
Step 3:
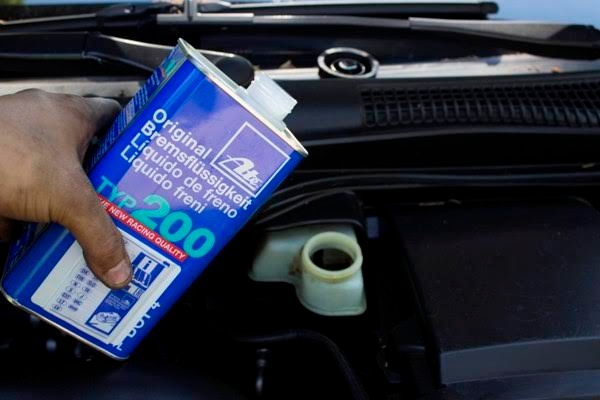
Refill the reservoir with fresh brake fluid. While brake fluid is extremely toxic, it will also eat through some plastics and paint. If any fluid gets on your vehicle's body work, immediately wipe it off using a damp rag. You may want to use a funnel when filling the reservoir, if you do not trust your steady hand.
Step 4:
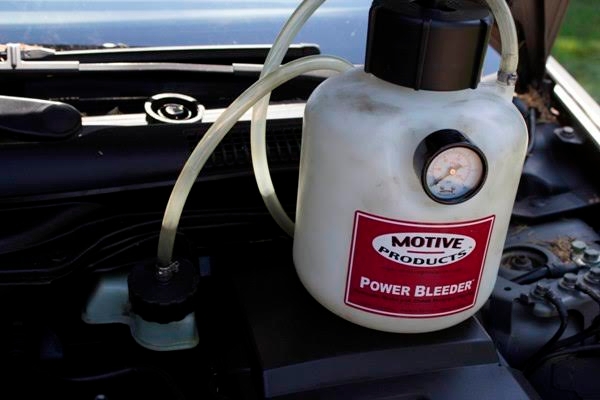
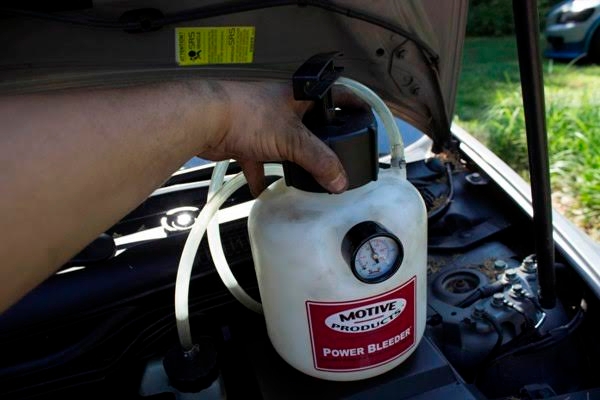
Traditionally, power bleeders can be filled with fresh brake fluid and used to force that fresh fluid into the system. To extend the life of the bleeder, and make clean up easier, I topped off the reservoir with fresh fluid and simply used the power bleeder to pressurize the system. This will require disconnecting the power bleeder multiple times to top off the reservoir with fluid, but it will be easier to control the fluid level and you will not have to clean your power bleeder afterward.
Step 5:
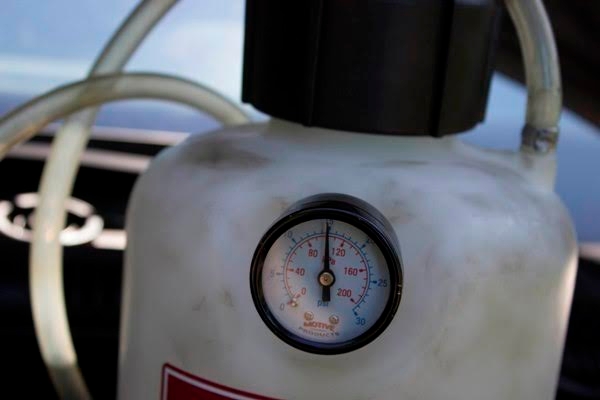
With the power bleeder securely attached to the reservoir, pump it up to 15psi. If the system is not holding pressure, you either have a leak in your power bleeder or a leak in your brake system.
P1 Volvos have a brake distributor, so it does not matter the order in which you flush/bleed the brakes. However, I still suggest starting with the caliper furthest from the master cylinder. On left hand drive P1 Volvos, the reservoir and master cylinder are located towards the front-left side of the firewall. Therefore, you should begin by bleeding the back right caliper, followed by the back left, front right, and then front left.
Step 6:
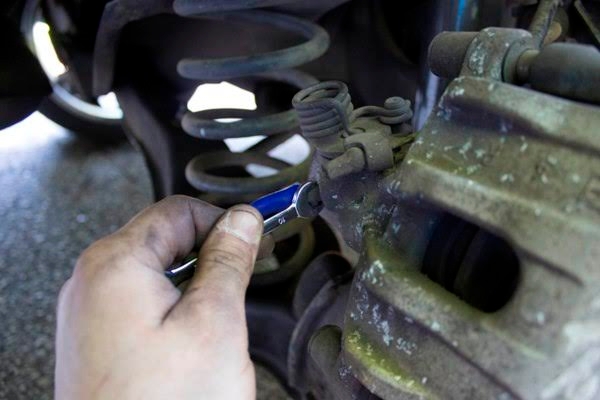
With the wheel removed and the vehicle securely resting on jack stands, locate the bleeder nipple on the back of the caliper.
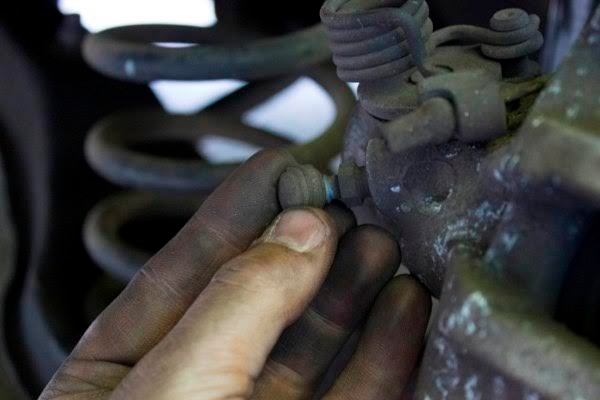
Step 7:
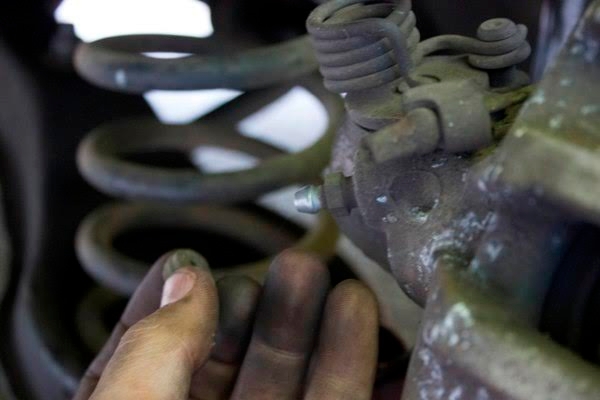
Remove the nipple cap by pulling it off.
Step 8:
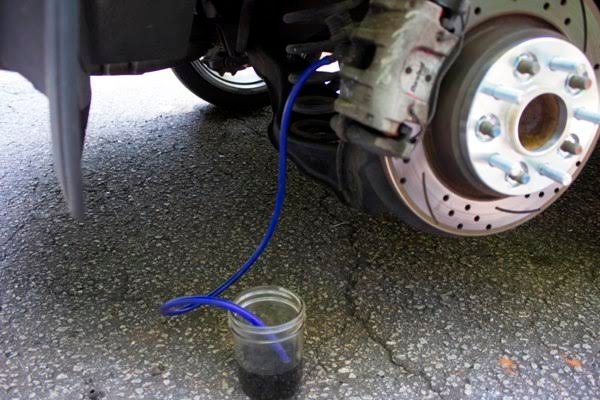
Attach your tube and run it into your catch container. I highly recommend using a clear tube so that you can watch the fluid drain, the blue tube was all I had available at this time.

Step 9:
Loosen the nut around the bleeder nipple to allow the fluid to begin flowing. I have seen 9mm, 10mm, and 11mm nuts on P1 Volvo calipers with no clear indication as to what size is used. It does not appear to be dependent upon brake size, front calipers, or rear calipers; the nut sizing is simply random.
Watch the fluid as it drips out of the tube and into your catch container. If it sputters at all, that is an indication of air being pushed out of the system. If you are flushing the brakes, leave the valve open until you see the fresh fluid begin to trickle out. As the stream flows steadily, quickly tighten the nut. From my experience, it generally takes about 20-30 seconds for all air bubbles to be worked out and the fresh fluid to begin flowing.
It is very important that you monitor the brake fluid level in the reservoir and not allow the pressure on your power bleeder to drop below 5psi. If the reservoir runs dry or you lose pressure, you will begin pushing air into the lines and this will require that you start the job all over.
Step 10:
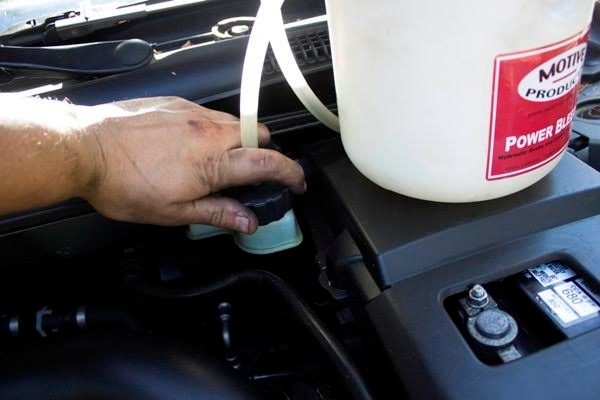
Using this method of putting fresh fluid directly into the reservoir, rather than filling the power bleeder with fluid, means that you will need to top off the reservoir between bleeding each caliper. With all the bleeding valves closed, release the pressure in the power bleeder by unscrewing the tank's cap. Once PSI has dropped to 0, you may unscrew the cap on the brake fluid reservoir and top off the fluid. It is important that you release the pressure from the power bleeder's cap and not from the brake fluid reservoir. Releasing pressure from the reservoir first, may result in brake fluid splashing over your engine bay.
Repeat steps 6 through 10 until all calipers have been bled.
Step 11:
Top off the reservoir with brake fluid so that the fluid level reaches the maximum fill line. Secure the reservoir cap, then start the vehicle. Pump the brake pedal a few times for pressure to build up. I highly suggest driving the car back and forth in your driveway, doing emergency stops, before you take it down a hill or on the public road. You may need to repeat the process of bleeding the brakes two or three times before the pedal is nice and firm.