- 12/20/2018
- 2 Min Read
- By: Evan Madore
How To Replace Your Spark Plugs And Ignition Coils On Your BMW (E90, E60, X3, X5, Z4)

Over time, countless thousands of ignition cycles cause your spark plugs to wear out and your ignition coil boots to degrade. This wear can be the cause of misfires and poor ignition. Spark plugs and ignition coils are often overlooked yet they're easily replaceable. With our ignition service kits and Gareth Foley's expertise, you can have your car running as smoothly as the day you purchased it.
Tools needed to complete this repair:
- Ratchet Set
- Torx Bit Set
- Underhood LED Light (Optional)
- Screwdriver Set
- Spark Plug Socket with Long Extension
- OBDII Scan Tool (Optional)
Parts needed to complete this repair:
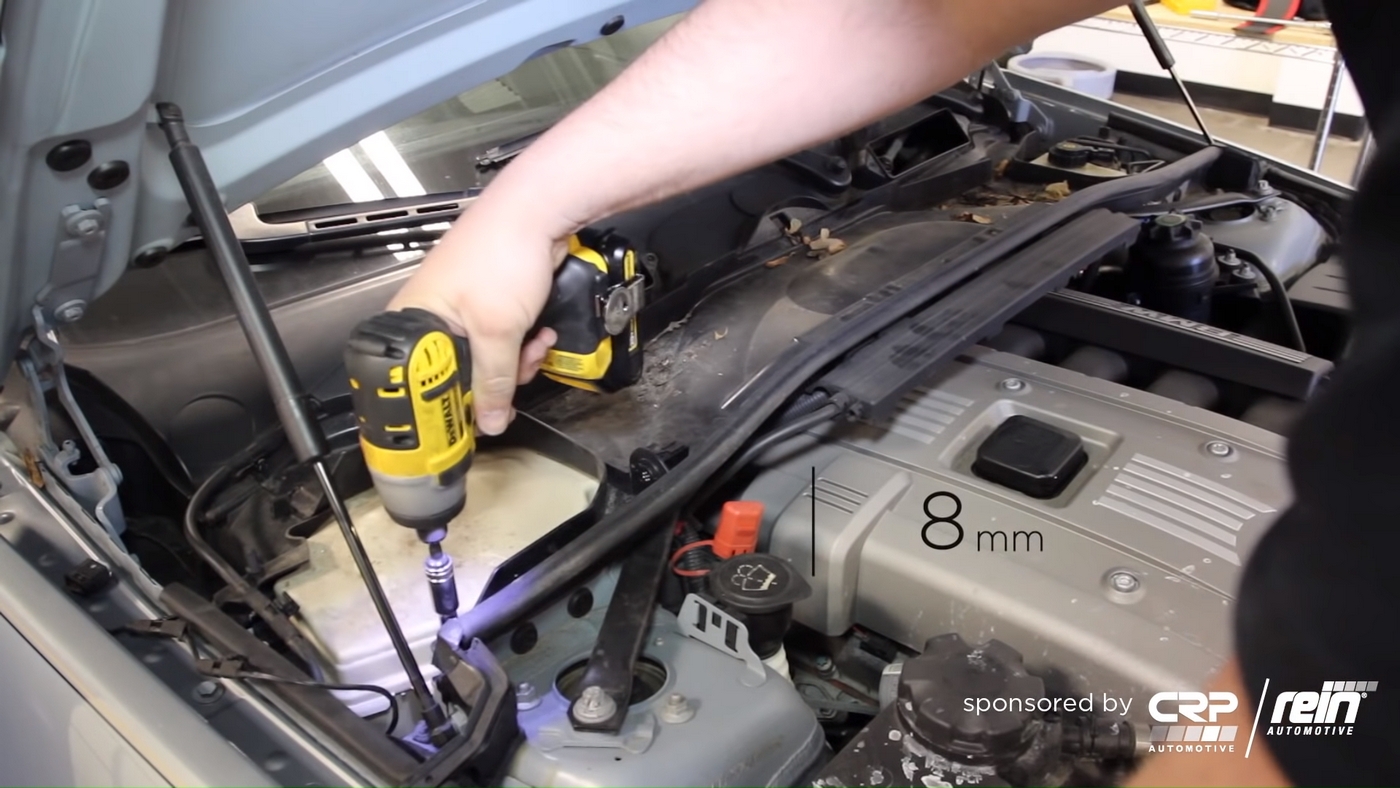
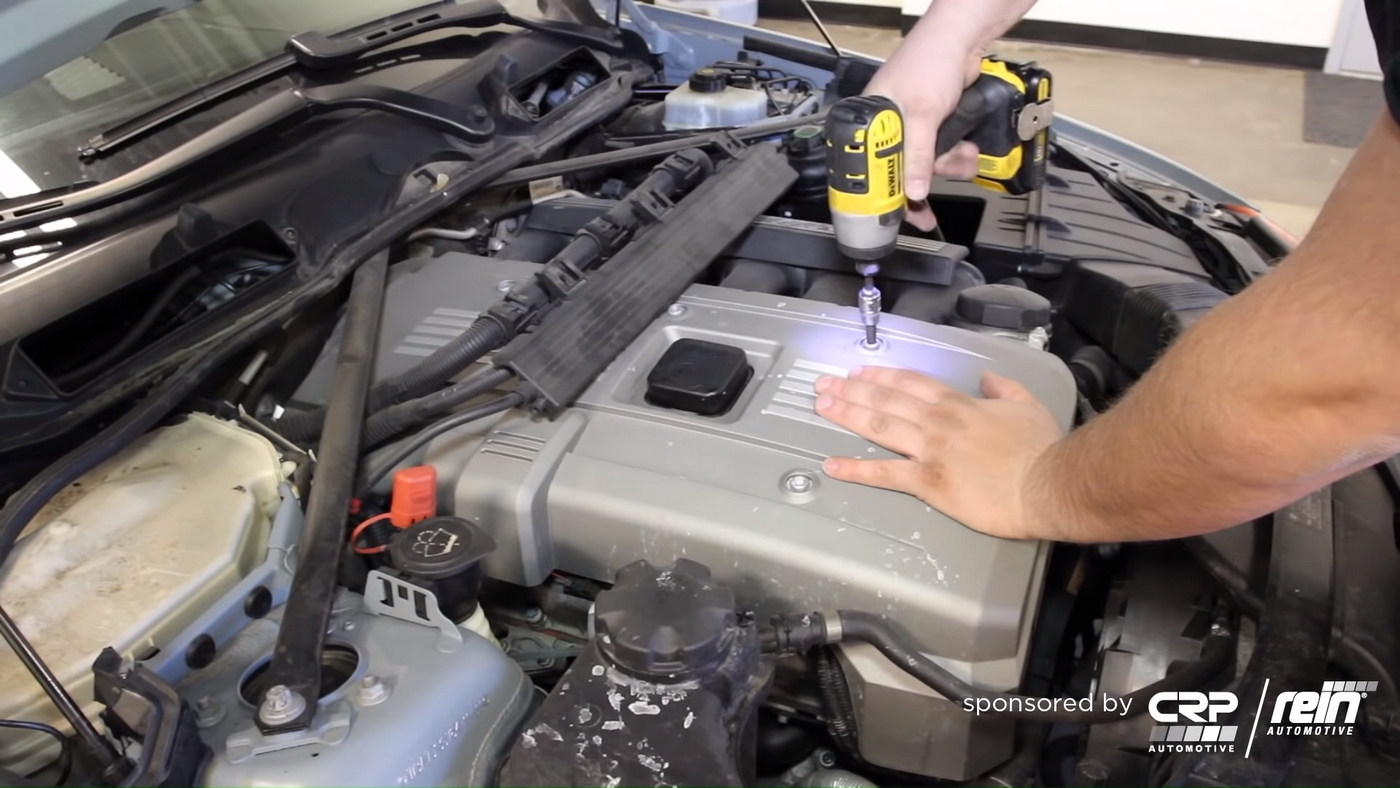
Step 1: Remove Covers, Cowls, and Sensors
Start by removing any covers and cowls that block access to your ignition coils. These are held in by 8mm nuts as well as plastic clips. These clips can be undone by hand or with a straight-head screwdriver. At this point, it helps to unplug any sensors and move the wiring loom out of the way. The main engine cover is held in place by T47 Torx screws. Once you remove these, you can remove the engine cover and gain access to the ignition coils. Since this kit fits quite a few different BMW models, your method might be slightly different than depicted.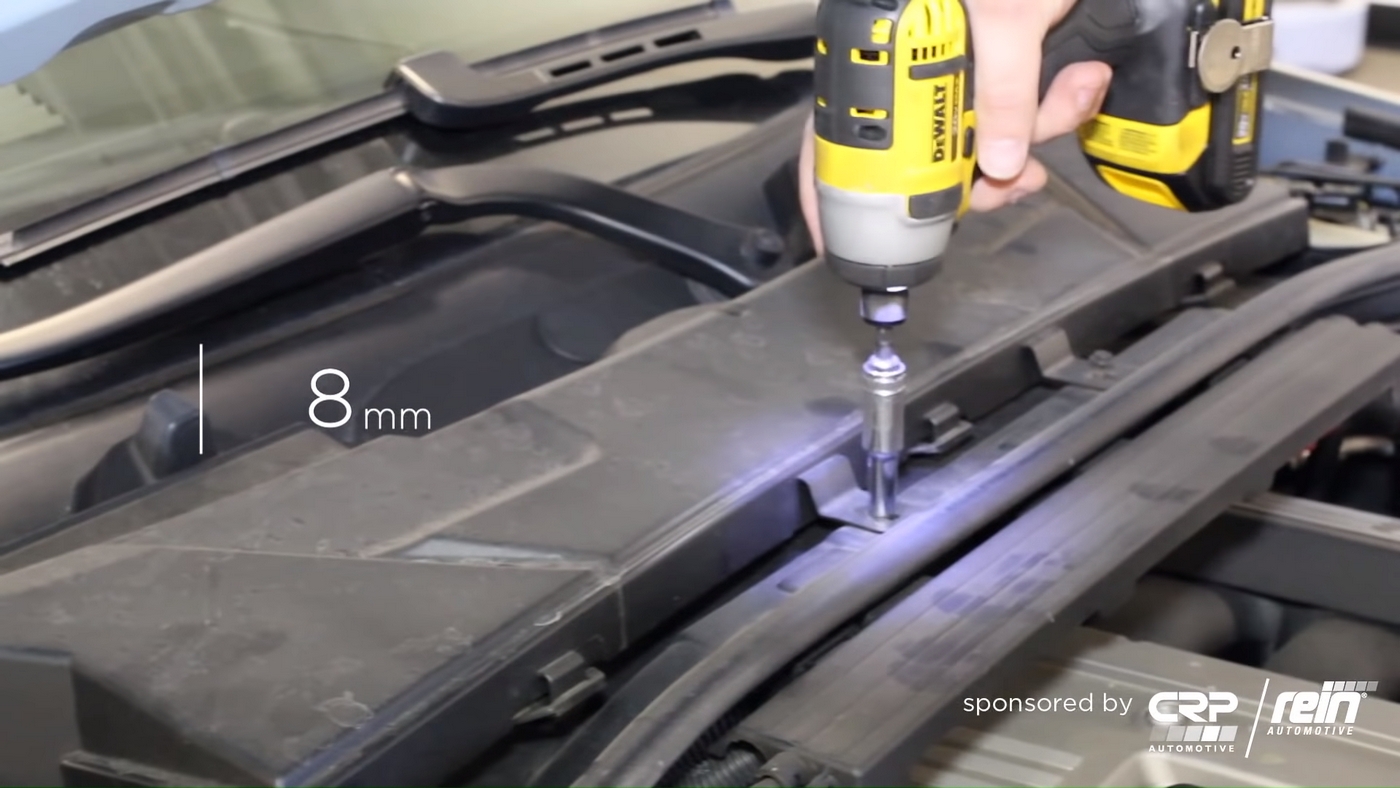

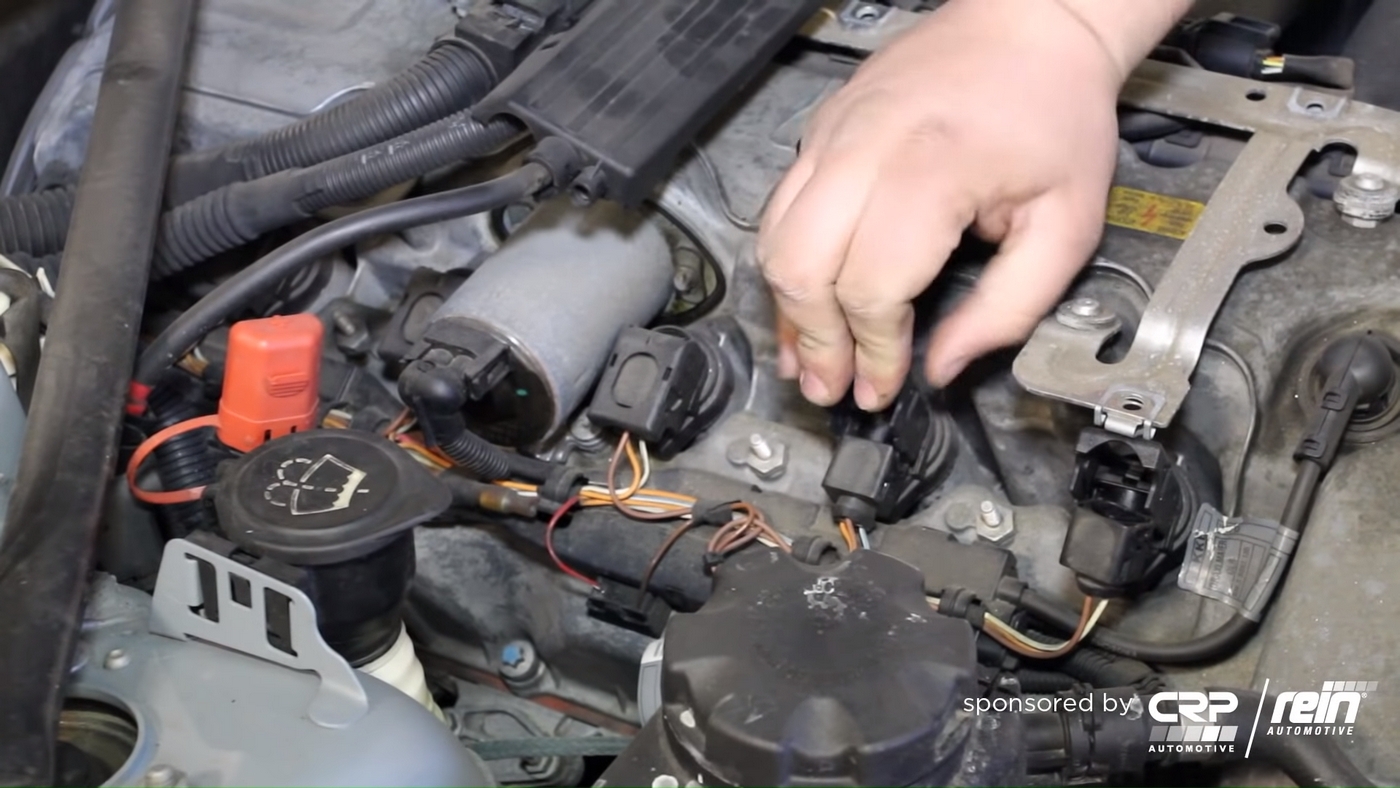
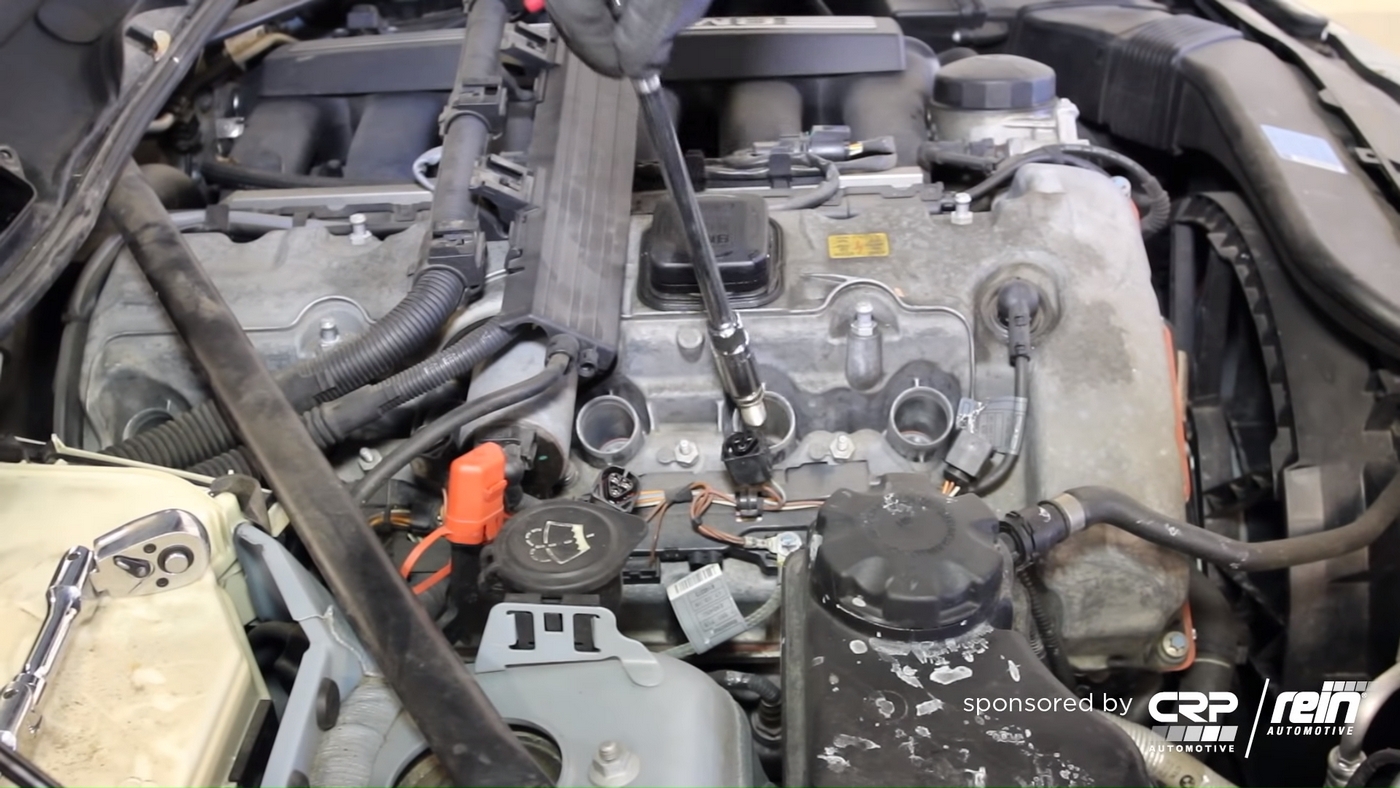
Step 2: Unplug and Remove Ignition Coils
The ignition coils are extremely simple to remove. Using only your hands, hold the top of the tab and pull upward. This will unlatch and eject the electrical connector. Then, pull upward on the coil and twist back and forth. They might be a little stubborn, but they will release from the spark plugs.
Step 3: Remove Spark Plugs
Removing the spark plugs is easy. For the rearmost plugs, you probably want a flexible ratchet or extension; otherwise, you have to remove the strut brace. Again, this depends entirely on what model BMW you are working on and how much you'd like to disassemble inside the engine bay. No matter the model, you are going to need a 16mm spark plug socket with a long extension.
Step 4: Inspect Plugs
Inspecting your old spark plugs is an underutilized diagnostic tool. The look and condition of your plugs can tell you a lot about what's going on inside each cylinder. By inspecting for soot buildup, discoloration, deposits, or physical defects, you have some insight about any issues with your engine. This is too extensive of a subject to go into here, there are hundreds of good resources about this subject online. 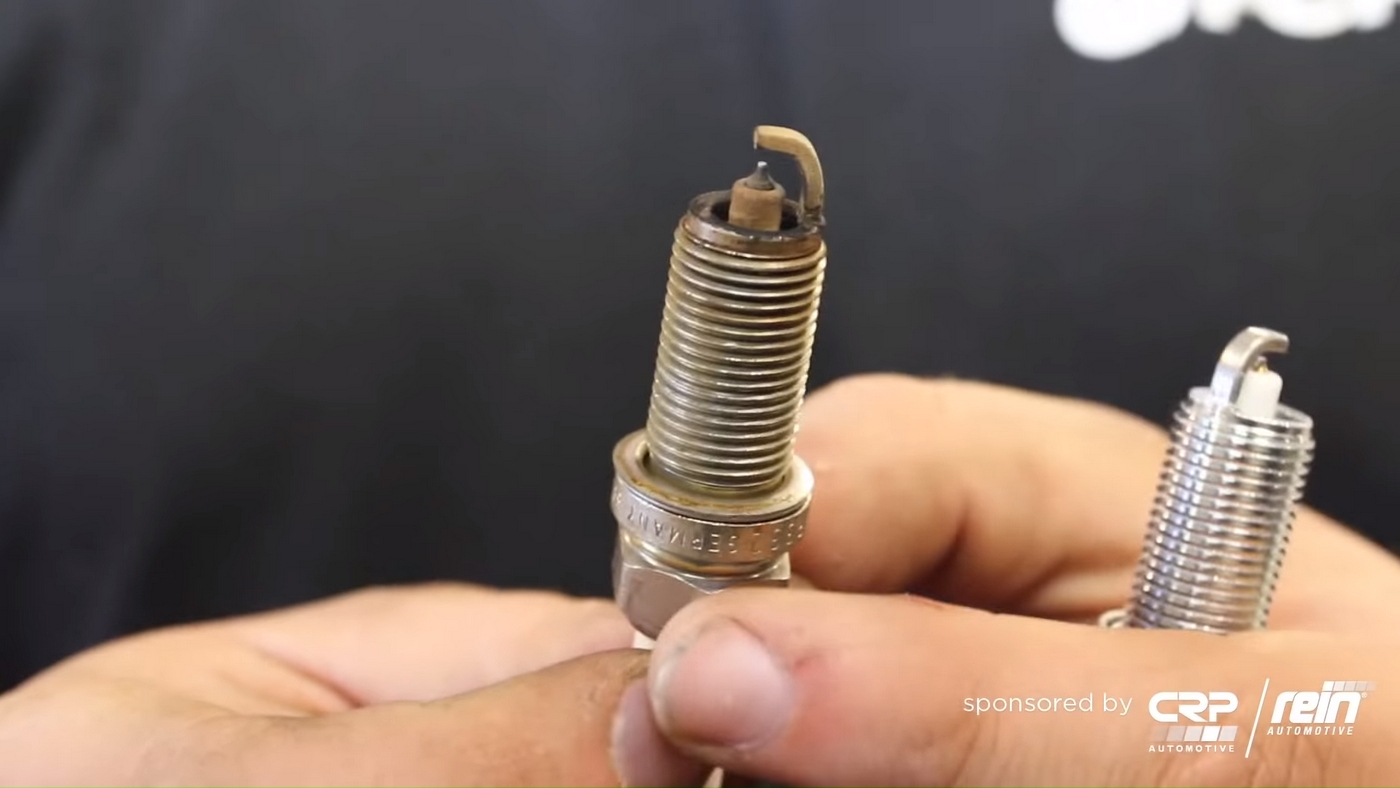
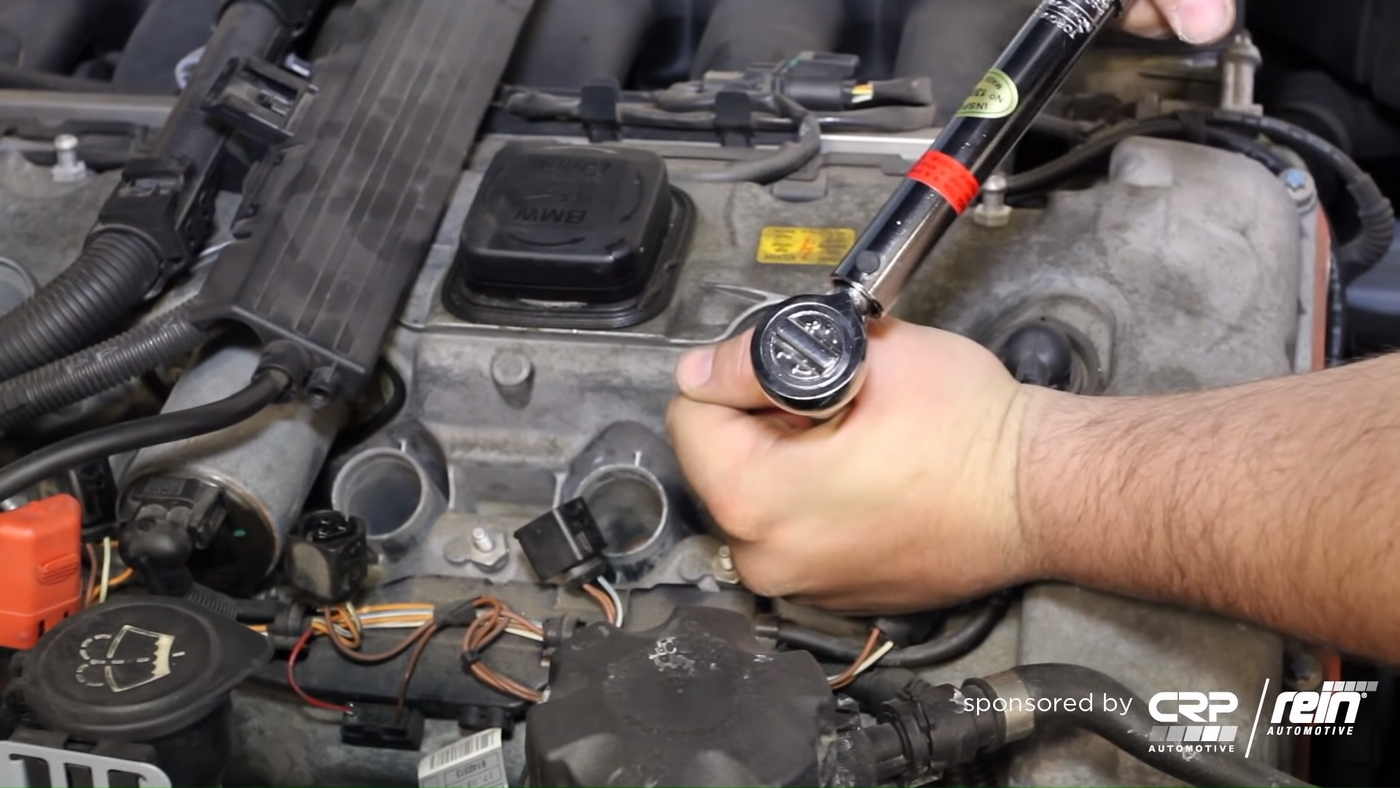
Step 5: Install New Plugs
Installing new plugs is straightforward. You always want to start plugs by hand as it's exceptionally easy to cross-thread them. Once they are snug, you can use a torque wrench to tighten them down to 23N•m. Some people recommend anti-seize on the threads, others don't. All we can advise is to follow the instructions on that matter per your manual. 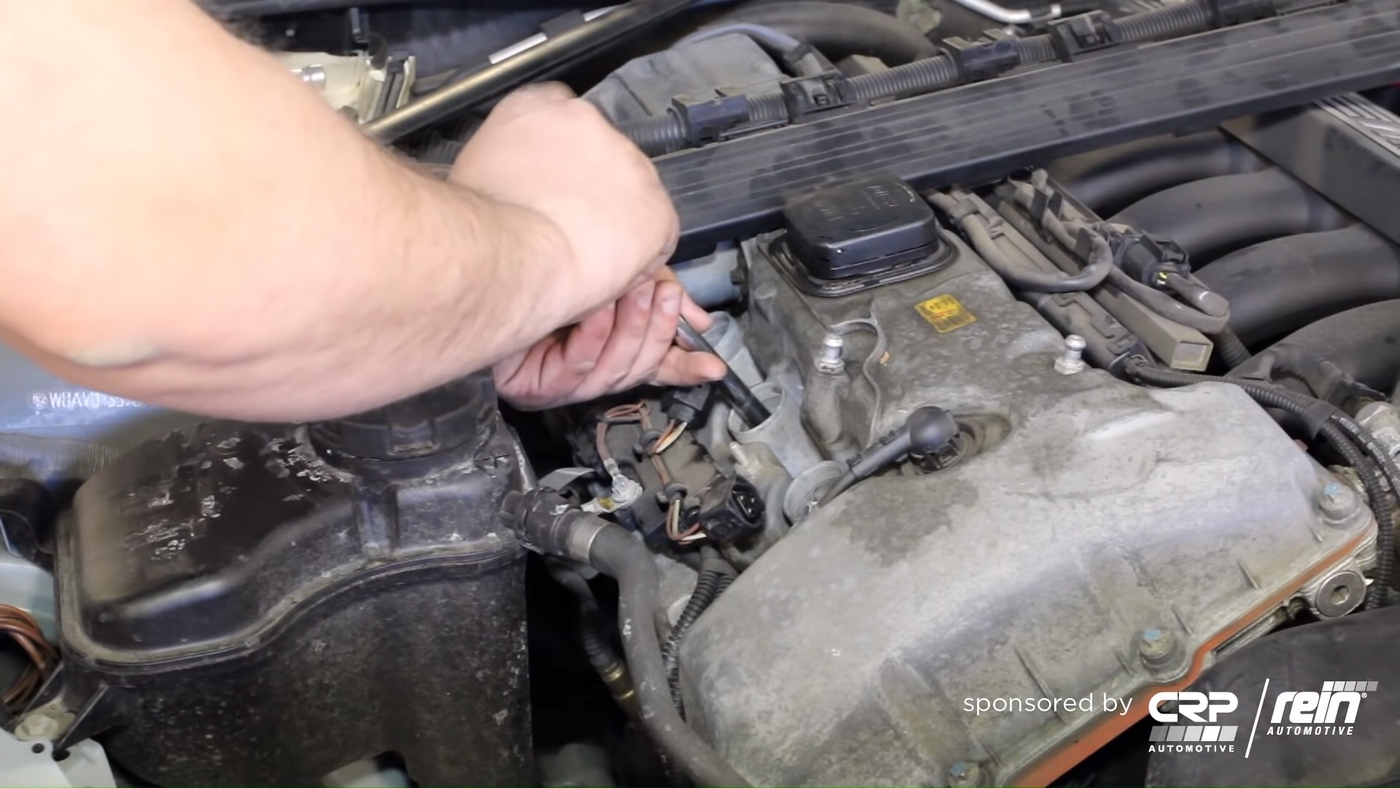
Step 6: Install New Ignition Coils and Reassemble
Installation of the new ignition coils is even easier than the plugs. For these coils, dielectric grease isn't really necessary as this style coil is very tight on the plug. The process is simply the opposite of step four. Just make sure that the new coil seats fully on the spark plug.
Now all you have left to do is reinstall the engine cover, cowls, and any wiring you moved during step one.

Checking your plugs whenever you do a tuneup is a good idea; it can give you some insight on the health of your engine. As affordable as they are, it's worth swapping them out whenever you have the chance. If you're wondering which ignition service kit you specifically need, click the link below and use the "My Garage" vehicle search. And as always, make sure to subscribe for more videos.